DIY: Constructing a poultry cage
Good day to you all here in the DIYhub community. It’s always a pleasure to be among people with a creative mindset. Every day would always be a day to learn something and gain additional knowledge to what one has learned before.
Today I would be sharing with the community HOW I CONSTRUCTED A POULTRY CAGE.
Poultry farming is also another lucrative business in the agricultural industry. It has been always about giving back to the community and this is done by farmers who are ready to keep their hands dirty for the people to survive.
Having a poultry farm could be of different ways which are either by having a cage or set of cages to rear them or having a brooding house for them. Both ways are cool for use and also depend on the financial capability of the farmer. Not everyone can afford to build a brooding house but building a cage could come way easier.
As an agriculturist, I would love to practice my profession and this is what made me take the step toward building the cage.
Since it’s something I have to do myself I couldn't do it all at once, so I had to split the process halfway. The first part is the building of the cage framework, and the concluding part is the dressing and finishing up.

Group screenshot of my captures. All images are mine.
TOOLS/MATERIALS
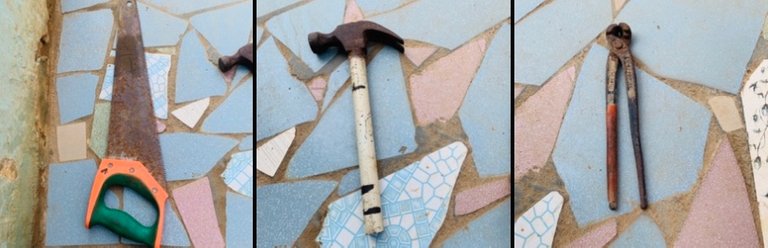
- HAMMER 🔨
- NAILS
- SAW
- WOODS 🪵
- MEASURING TAPE 📏
- CHISELS
- NETS
- PIPES
STEP-BY-STEP PROCESS
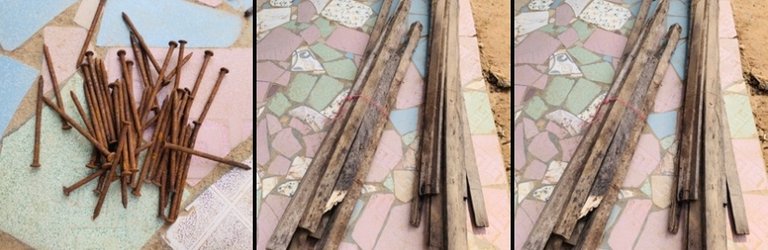
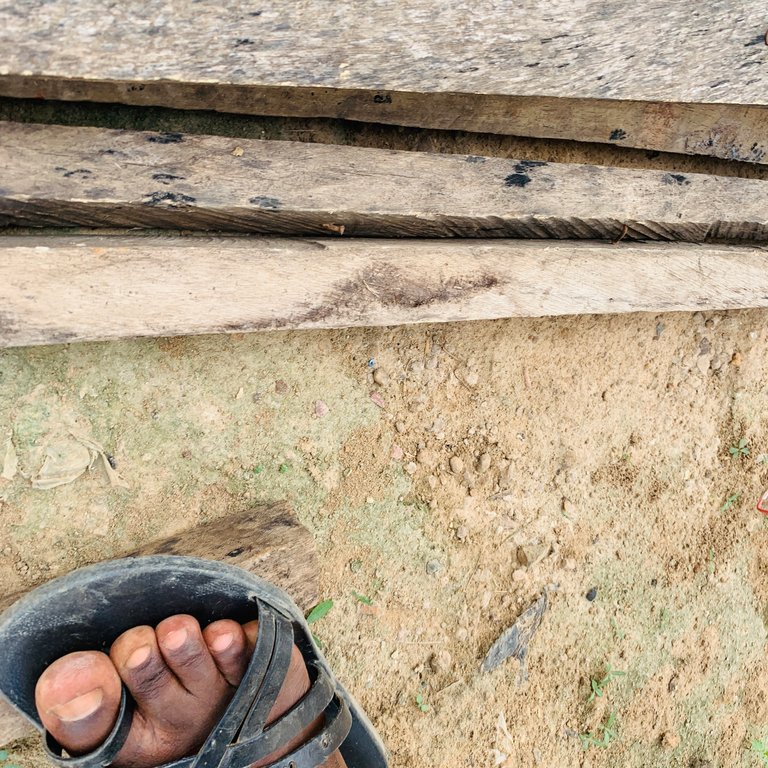
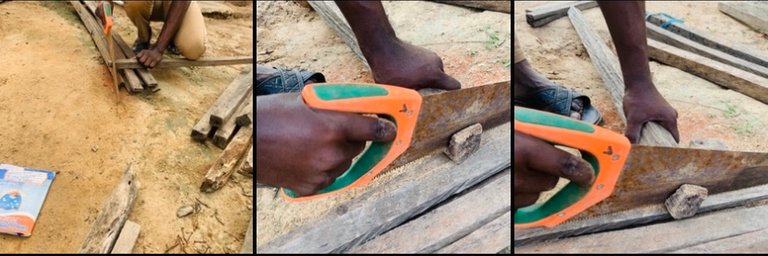
STEP 1: REMOVAL OF BURIED NAILS FROM WOOD
The first step I took was removing the buried nails from the woods. And this is because the woods I would be using are used already. They were dismantled, so there are some nails buried in them.
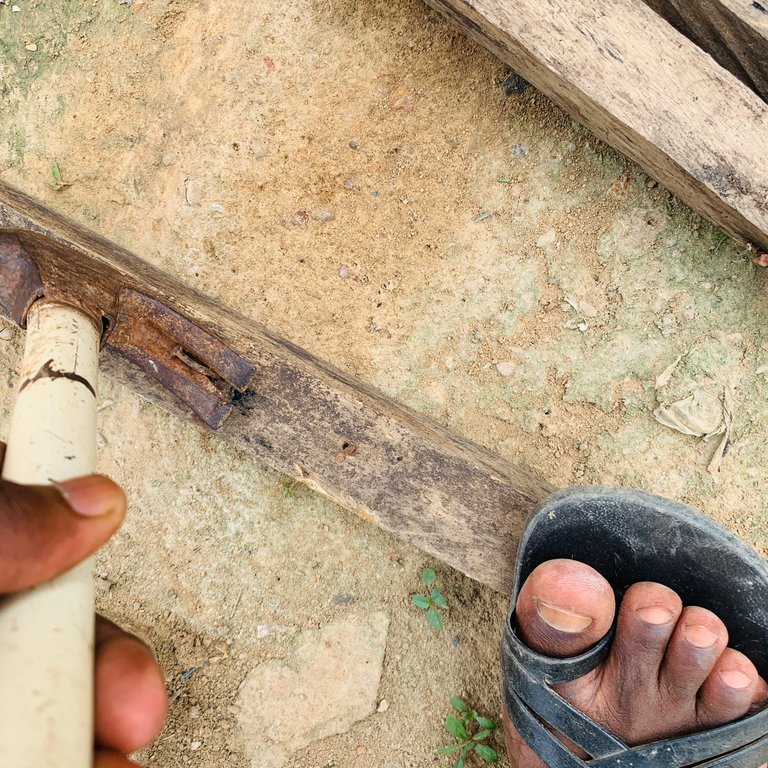
I used a claw hammer to remove the nails and that was the perfect tool for the removal. The nail jack, pliers, and pry bar could be a substitute depending on whichever you have.
STEP 2: MEASUREMENT
I had to measure 📏 before doing anything. Measurements play a great role when it comes to the construction if not your outcome won’t be what you planned for. So the measurements were done using a measuring tape.
I measured the length of where the cage will be standing so as not to construct a cake that will be longer than the available space.
The length was measured to be 100cm, the height was measured to be 150cm, and the breath was 50cm. So these measurements were our guide as to which wood will be more suitable in size and length.
STEP 3: CUTTING INTO SIZES
After measuring the next step to take is cutting out those sizes. The cutting stage is one of the most difficult and important stages in construction. Using a sharp saw made it easier and smooth.
STEP 4: PREVIEW
The cutting was successful and I got all sizes and the required numbers. I got four 150cm of wood for the stands. I got six 50cm of wood for the breadth, that’s three on each side. I also cut out six 100ccm wood for the length, three at the front and three at the back.
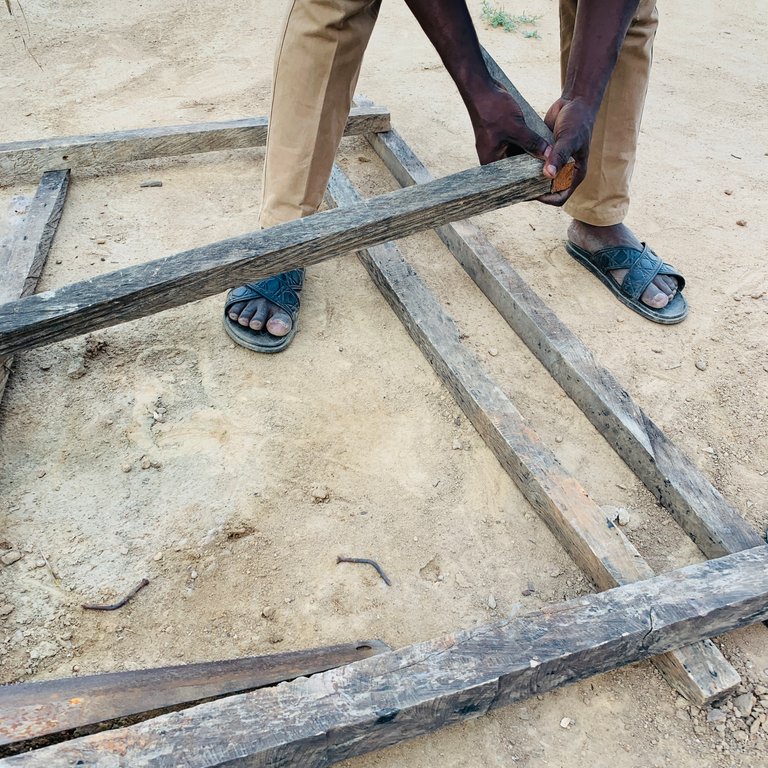
A preview was set up on the floor to see how it would look before joining them together in case there is a need for any adjustments in the sizes.
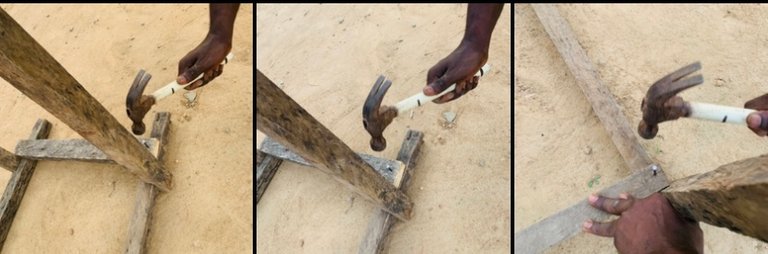
STEP 5: HAMMERING
The sizes were okay after the preview, then the next step was to join the woods together using the hammer and nails. The nail size used was two and a half inches long.
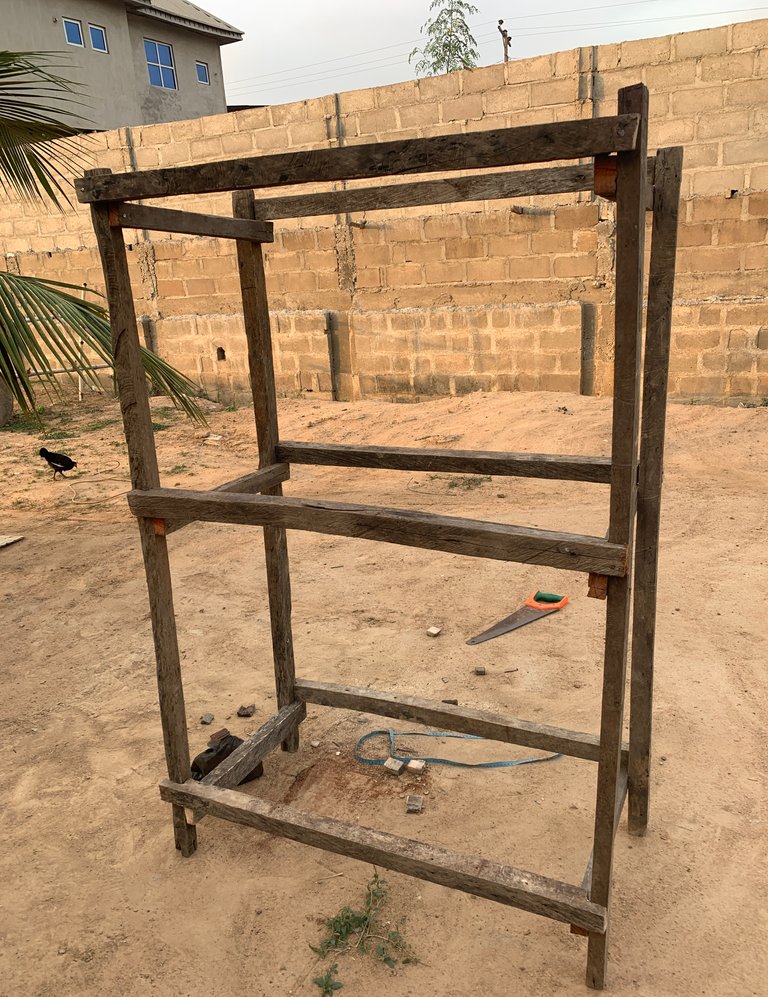
STEP 6: THE VIEW
Finally! The job is done.
The framework is complete and the cage was on its stand. It’s nice seeing the job done. The next thing to do is the addition of nets, feeders and drinkers, and a few other things which I will be discussing some other time.
This is all about today's homesteading experience. See you again next time.

Thank you for sharing this post in the DIYHUB Community!
Your content got selected by our fellow curator ashikstd & you just received a little thank you upvote from us for your great work! Your post will be featured in one of our recurring compilations which are aiming to offer you a stage to widen your audience within the DIY scene of Hive. Stay creative & HIVE ON!
Please vote for our hive witness <3
Thanks so much
You're welcome. Keep up the great work.
This post has been manually curated by @bhattg from Indiaunited community. Join us on our Discord Server.
Do you know that you can earn a passive income by delegating to @indiaunited. We share more than 100 % of the curation rewards with the delegators in the form of IUC tokens. HP delegators and IUC token holders also get upto 20% additional vote weight.
Here are some handy links for delegations: 100HP, 250HP, 500HP, 1000HP.
100% of the rewards from this comment goes to the curator for their manual curation efforts. Please encourage the curator @bhattg by upvoting this comment and support the community by voting the posts made by @indiaunited.
Thanks so much. I will do my best to be in support.
Congratulations @abdul-qudus! You have completed the following achievement on the Hive blockchain And have been rewarded with New badge(s)
You can view your badges on your board and compare yourself to others in the Ranking
If you no longer want to receive notifications, reply to this comment with the word
STOPCheck out our last posts:
Support the HiveBuzz project. Vote for our proposal!
Wow! this wouldn't have been an easy job for you.
This post was promoted by @dlmmqb in HL Community Hangout and has been selected to be curated by @lazy-panda of the Hive Learners Community.
Wow. Thanks so much for this bro 😎. I appreciate