DIY: How I fixed a wall light…
Good day to you all here in the DIYhub community. It’s always a pleasure to be among people with a creative mindset. Every day would always be a day to learn something and gain additional knowledge to what one has learned before.
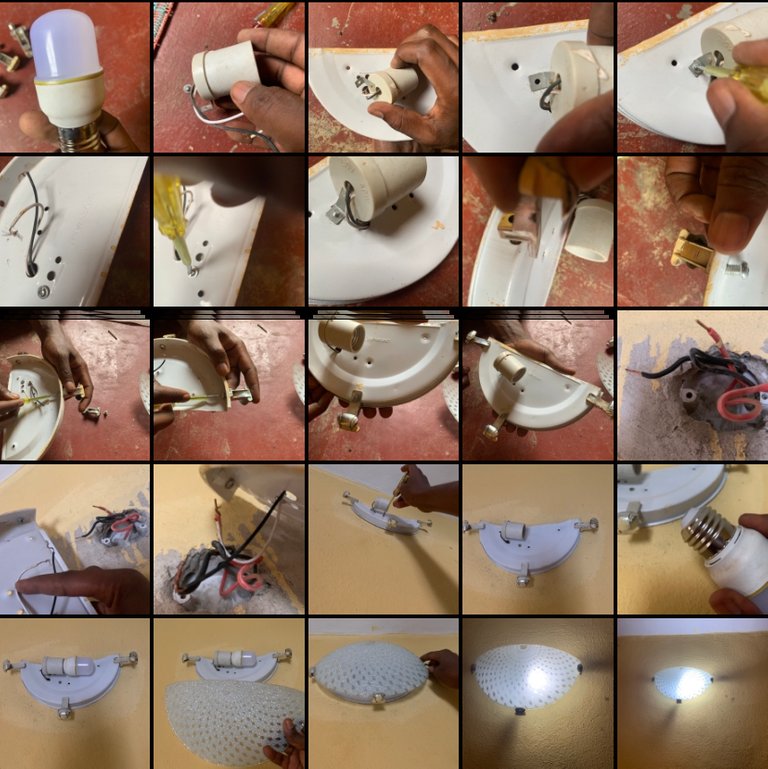
Group screenshot of my captures. All images are mine.
Today I would be sharing with the community how to FIX A WALL LIGHT.
Follow me as we learn how it works.
MATERIALS
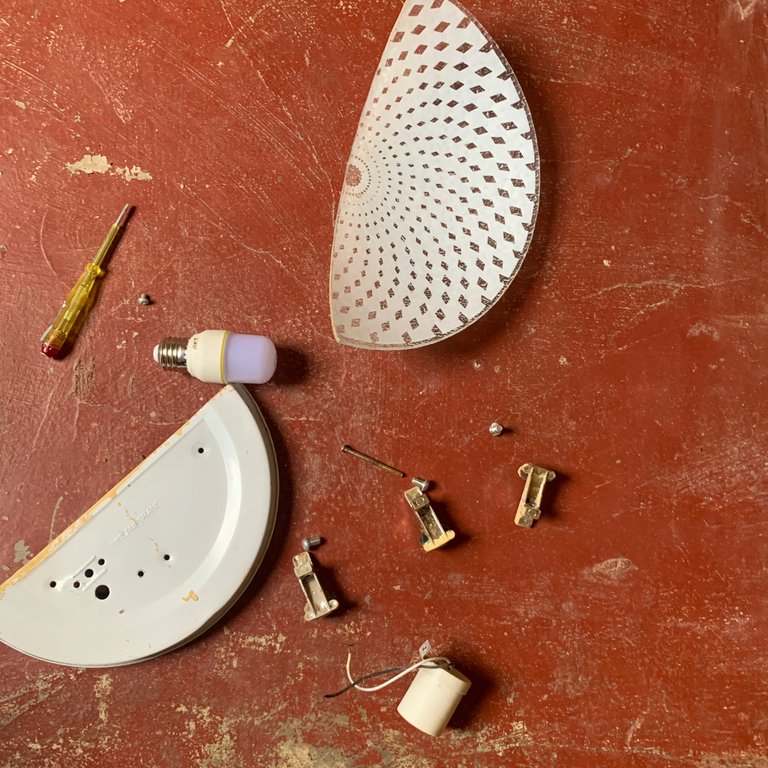
- BULB
- LAMP SHADE
- SCREWDRIVERS/ TESTERS
- HAND GLOVES (optional)
- LIGHT FITTING
- LAMP HOLDER
- SCONCE
STEP-BY-STEP GUIDE
STEP 1: COUPLING THE LIGHT HOLDER TO THE FITTING
After gettin your wall light and you get all necessary materials ready for the work done. It should be simple and easy if you get the steps done perfectly. One mistake could lead to loosing all parts again and coupling again.

So here the first thing is to fit the lamp holder with the filament for connecting it to the main wire inside the lamp fitting which would be later attached to the wall after wiring.
There is a screw that holds both the lamp holder to the lamp fitting. Use the screwdriver to tighten the screw so tight to avoid the lamp holder swinging here and there.

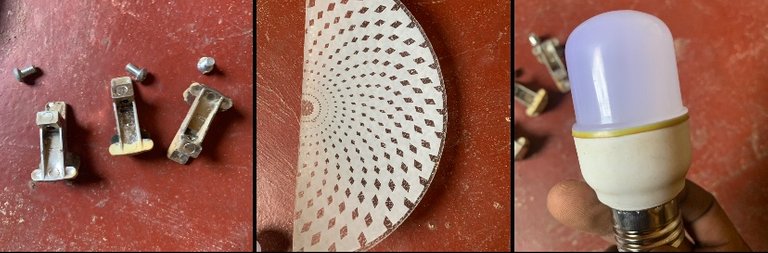
STEP 2: FIX THE SHADE GRIP
After carefully fitting the lamp holder, the next thing is to fit in the lamp shade grips. The essence of is to make sure the glass shade don’t slip off the wall and get broken.
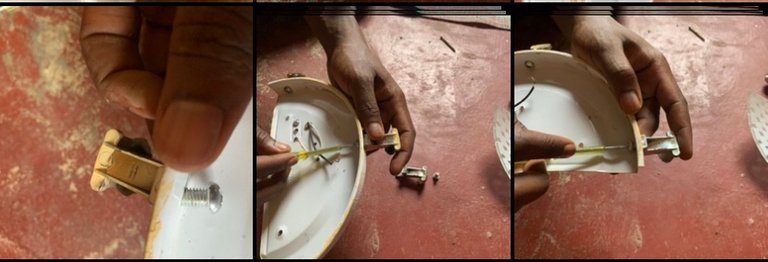
There is a screw to tighten each grip to the lamp fitting. Make sure the screw are well tightened to prevent any damage when fitted on the wall.

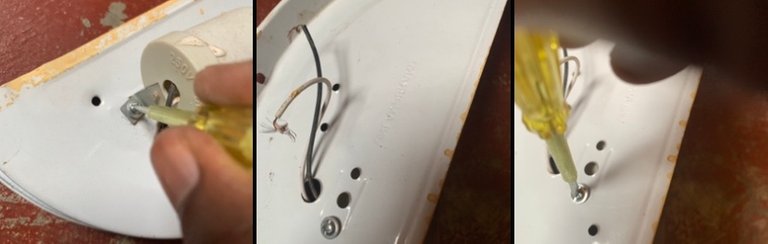
STEP 3: WIRING
The next thing to be done is wiring connections. There is a life wire (black colored) and a neutral wire (red colored) that’s connects to the bulb switch.
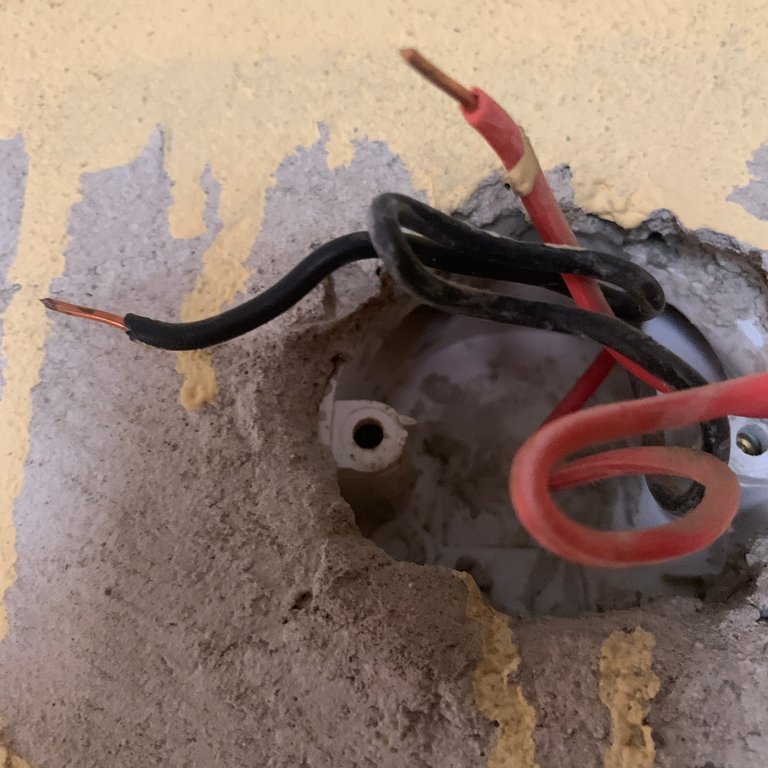
Connection the black life wire from the switch to the life wire from the lamp holder and connect the neutral wire from the switch to that from the lamp holder.
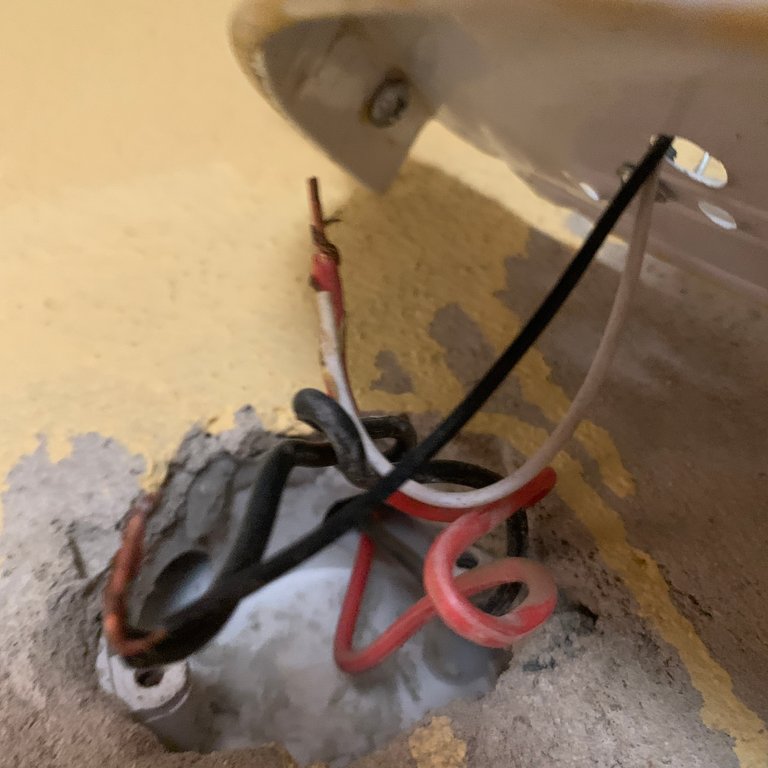
After that you tape the connection to avoid wire bridging together which might lead to a spark and cause damages.
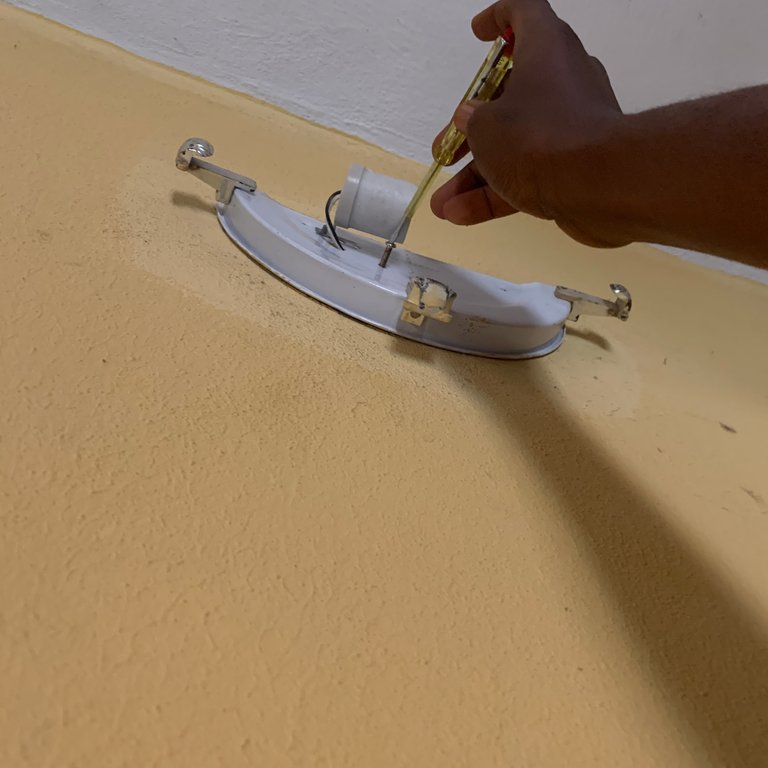
STEP 5: FIXING THE FITTINGS TO THE WALL
After successfully wiring the connection, the next thing to be done is to fix the fittings to the wall. There is a long screw that is there to tighten the lamp fitting to the wall. Get your screwdriver and tighten the screw to the wall.

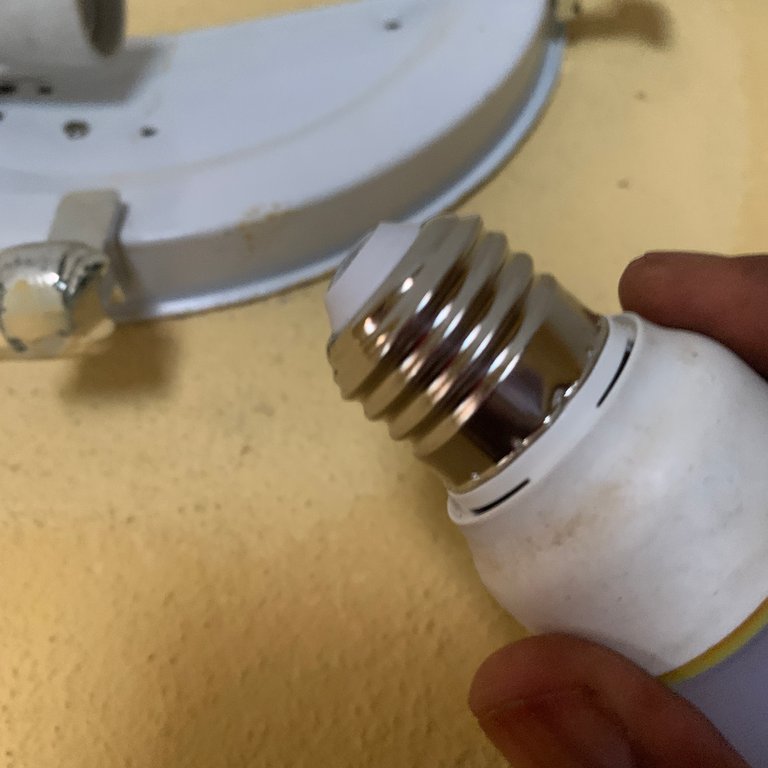
STEP 6: FIX THE BULB
Get your bulb and fix it to the lamp holder. Make sure to fix a screwed end bulb to a screw lamp holder and a pin end bulb to a pin lamp holder.

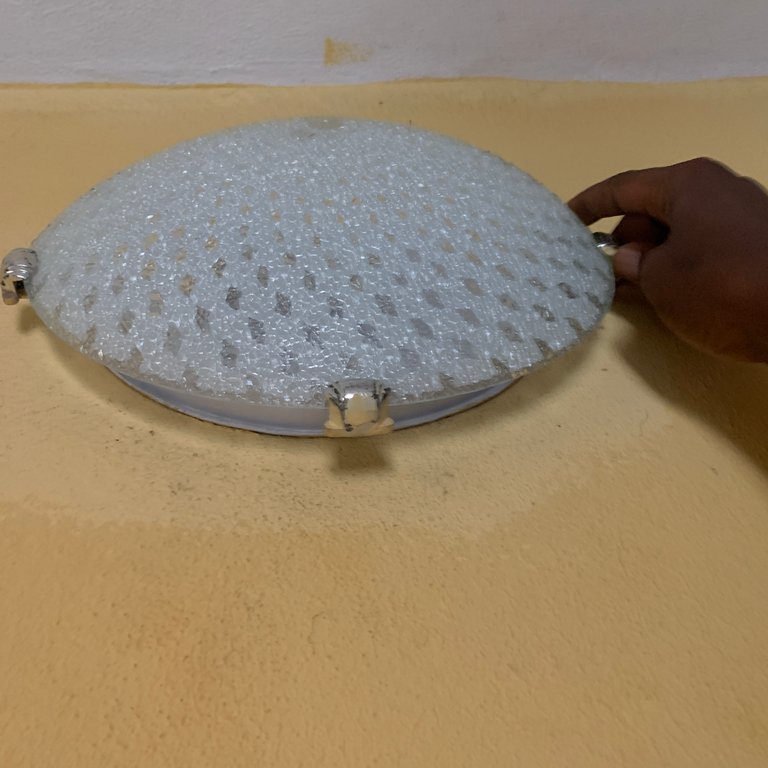
STEP 7: FIT THE LAMP SHADE.
The last thing to be done is to fix the lamp shade into the grip. It’s a glass ware so care should be taken when fitting it to the lamp fitting. After that it’s all done…

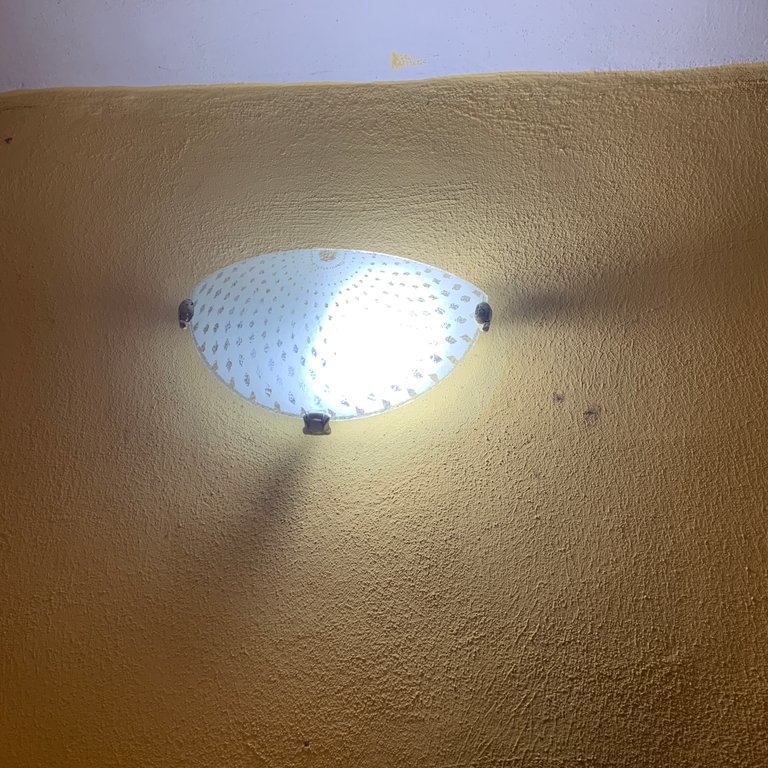
Finally! IT WAS A SUCCESS…
Thank you so much for journeying with me from the beginning to the end…

Great work bud. I remember this fancy bulbs have a lot of problems to me before.
!discovery 30
Oooh. Hope you were able to get them fixed?. Thanks so much for the contribution. I really appreciate 🙂
Yeah, it was fixed at the time.
You're welcome my gee 🤝🏿
That’s cool 😎.
This post was shared and voted inside the discord by the curators team of discovery-it
Join our community! hive-193212
Discovery-it is also a Witness, vote for us here
Delegate to us for passive income. Check our 80% fee-back Program
Thanks so much. I really appreciate
Thank you for sharing this post in the DIYHUB Community!
Your content got selected by our fellow curator stevenson7 & you just received a little thank you upvote from us for your great work! Your post will be featured in one of our recurring compilations which are aiming to offer you a stage to widen your audience within the DIY scene of Hive. Stay creative & HIVE ON!
Please vote for our hive witness <3
Congratulations @abdul-qudus! You have completed the following achievement on the Hive blockchain And have been rewarded with New badge(s)
Your next payout target is 2000 HP.
The unit is Hive Power equivalent because post and comment rewards can be split into HP and HBD
You can view your badges on your board and compare yourself to others in the Ranking
If you no longer want to receive notifications, reply to this comment with the word
STOPTo support your work, I also upvoted your post!
Check out our last posts:
Support the HiveBuzz project. Vote for our proposal!
This is timely in our situation. I may share this to my husband because one of our lights is damaged. Thanks for sharing this. ☺️
Oooh. That’s great
I Am glad it will be of importance to you.
Thanks for stopping by
You're welcome. ☺️
Wow this is a go post for those who are finding it hard to fix their light bulb. Well done sir
Thanks so much for stopping by. It’s a pleasure
Who would have thought it was so easy to fix a lampshade and bulb into the wall.
Truly knowledge is power. And ignorance is costly because we literally pay people to do these things when it would be cheaper to learn it and do it yourself.
This was very helpful and I will definitely return to this post as a reference guide if I ever want to fix a lampshade and bulb.
The layout of your post is comprehensive and easy to follow too so that's a plus!
Well done dear, make more of these if possible.
Yo! Thanks for the great and encouraging feedback. I really appreciate.
Always feel free to to check back anytime