Asean Hive Community Challenge #85 (Origami Time): A Pair Of Polo With Coat and Skirt and Four Dinosaurs
Hello everyone, it's me @aezielove once again joining this new Aesean Hive Community Challenge hosted by Sir @justinparke.
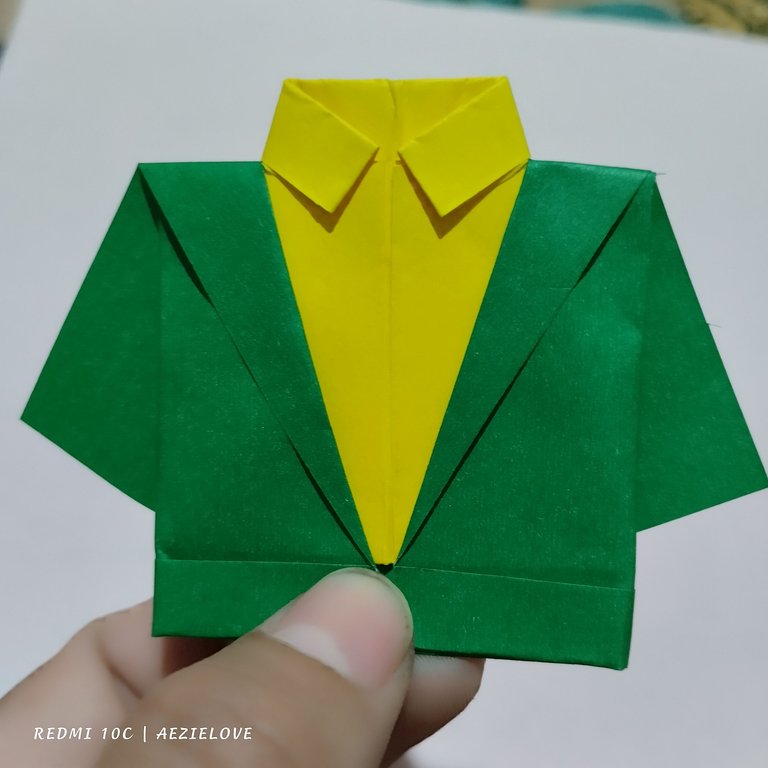
My Origami Entry:
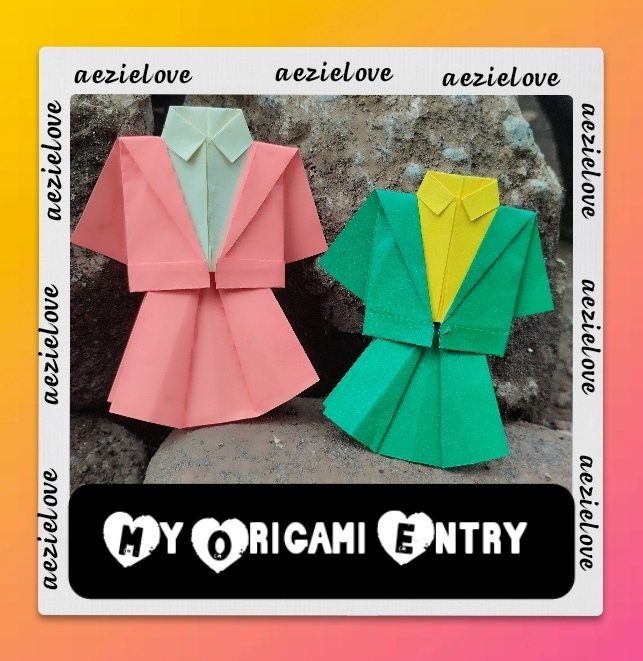
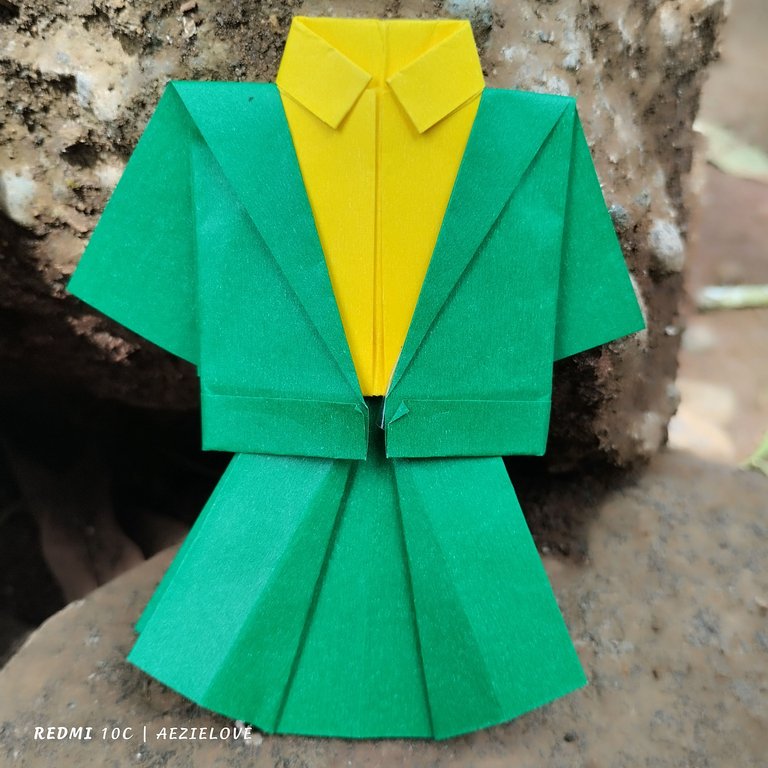
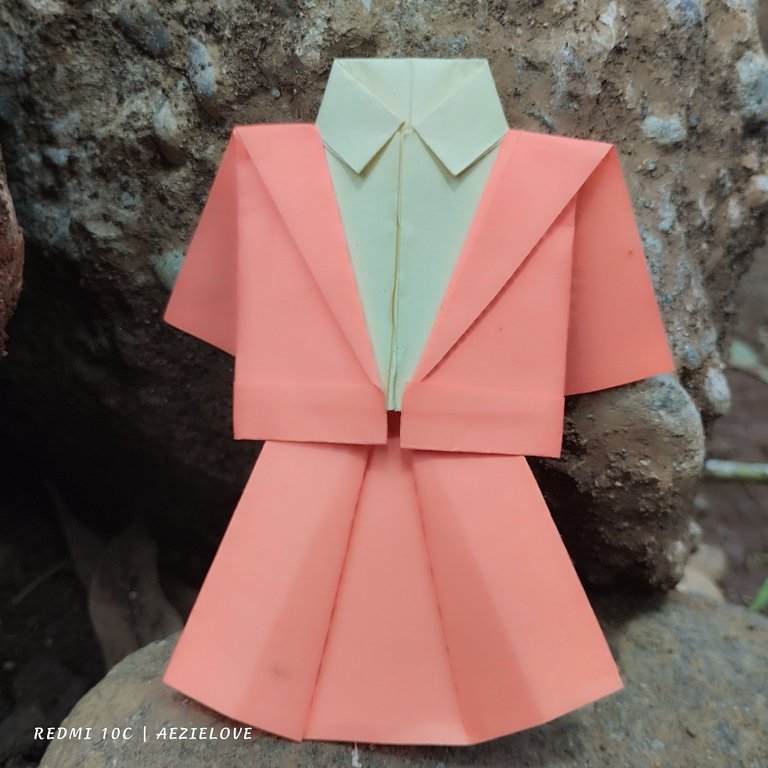
A Pair of Polo with Coat 🧥 and Skirt
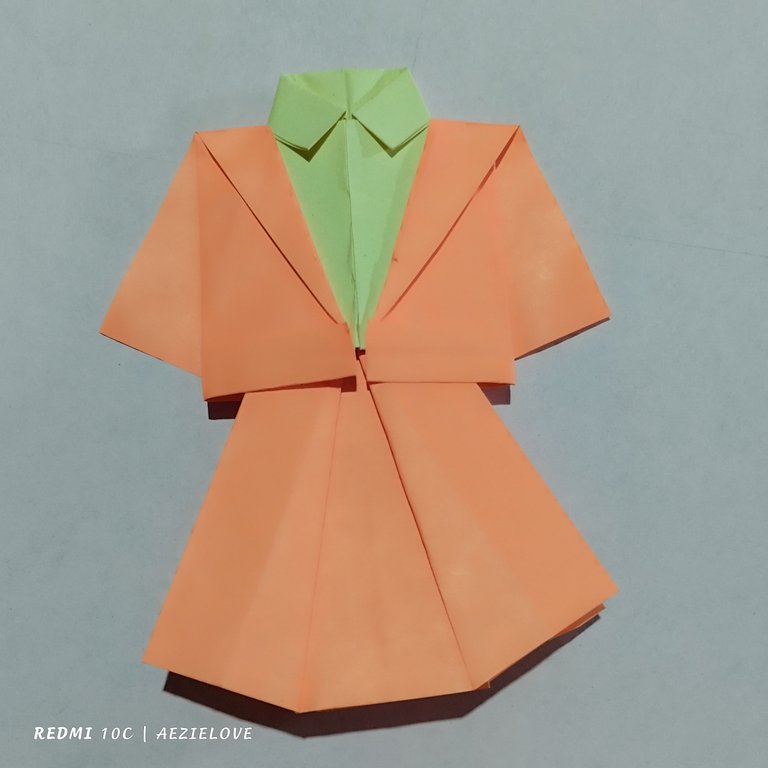
I don't have much ideas on what origami craft should I present for this entry at first but after watching some origami crafts on Facebook, I decided to made this *"Pair of Polo with Coat and Skirt"" since it's easier to do and my daughter love to have it so yesterday morning I made those two pairs using different colors of color paper. The color orange with light yellow polo was the first that I made. It was a sample one. I was following every steps that I saw on the video that I played. Then on the second pair that I made since I already get to familiarize every steps, what I did was take a photo of every steps so I could share here what I've learn.
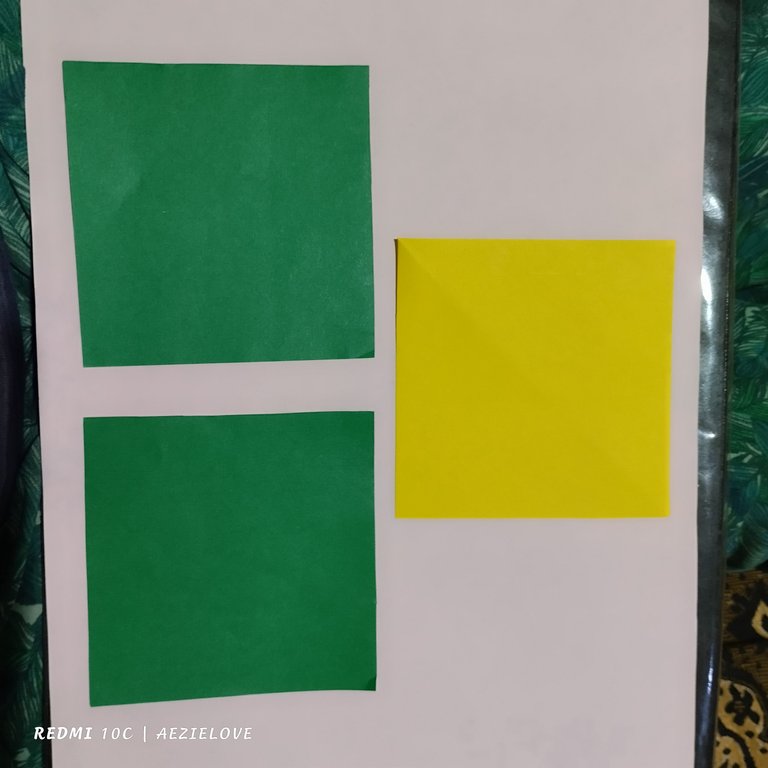
The only thing needed for this origami idea that I chose to make are three squared shape color paper. I didn't measure it. I just estimated those three which I think are enough to make this pair.
Note: The way I describe each step might be confusing to you who read this as I'm not really good at describing each step so I attached photos to make each step clear and it will be easy to follow. Thanks in advance for your understanding.
Steps in Making the Polo
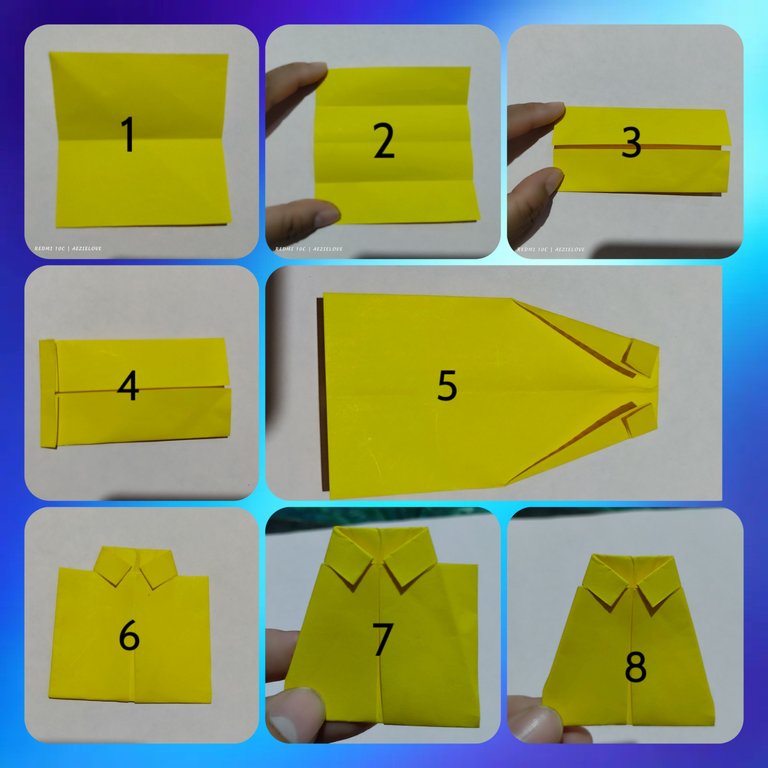
Get the yellow color paper and fold it in half.
Fold each half again. When it is open, the result is it is divided into 4 equal parts (refer to image 2)
Then fold a little on the other side of the paper just like what it is shown in the image 4.
After folding that side, I flip to the other side so I can start making the collar of the Polo. Making the collar, I pick both ends where the fold in image 4 is made. Make sure that both ends meet at the center.
Next is pick the bottom part and slowly fold it. The bottom must be place under the collar that is made.
Lastly, fold each side following the way the collar is fold. See the image 8 to see the result.
Steps in making the Coat
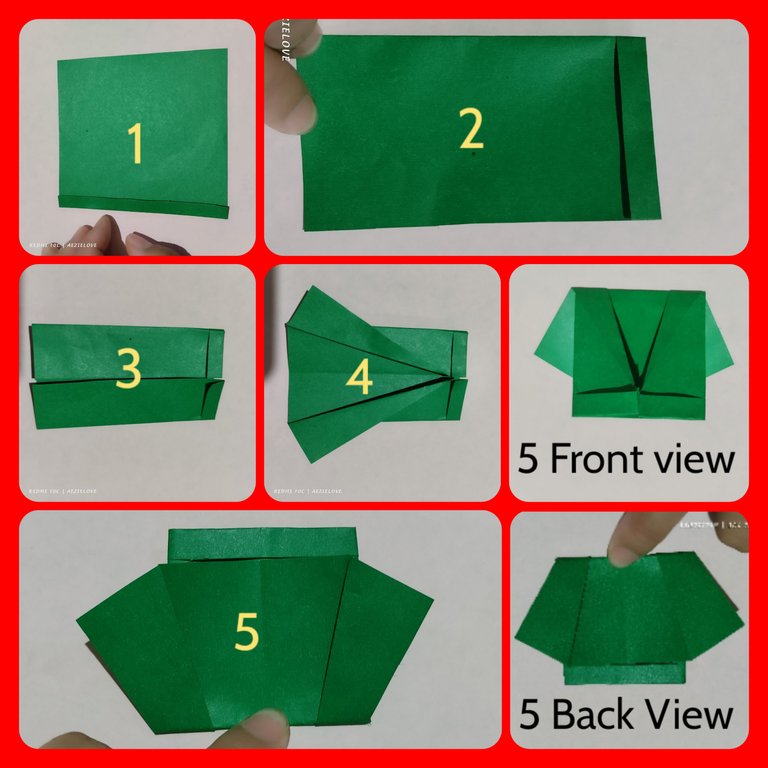
Get the green color paper and fold a little on one side of it.
Face the part where the small folded side is made then fold the paper into half. Then fold each half again. (Refer to image 3)
Then, fold it like the one shown in image 4.
Flip it to the other side then fold it like what is shown in the image 5. Then next photo of it are the view of the front and back.
Now that the polo and coat are already made, the next thing to do is put the polo inside the coat. And this is how it looks like.
Steps in making the Skirt
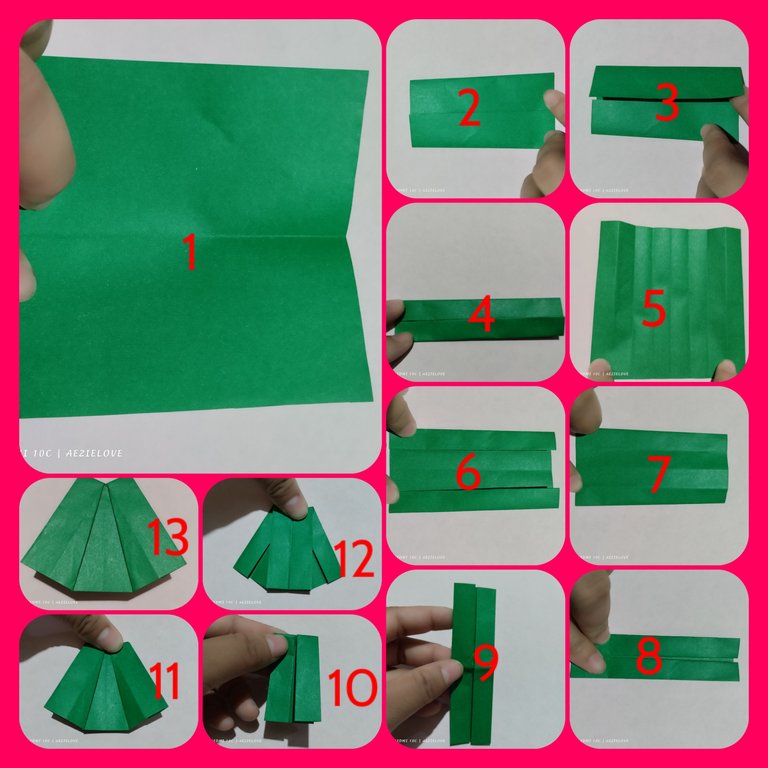
Get the last green color paper and fold it multiple times. In my part, each half has fold four times. (Refer to image 5 to see the number of folds I made.
Then fold the three folds each half has. The the only fold left were both beside the center. (Refer to image 6)
Next is flip to the other side (Refer to image 7).
Then fold the remaining fold that each half has. (See image 8)
After fold it like what is shown in image 9 and 10.
Then let's fold diagonally in each side to finally made it into a skirt. (See image 11, 12, 13)
The skirt is finally done. So I inserted it inside the coat and this is what these pairs look like.
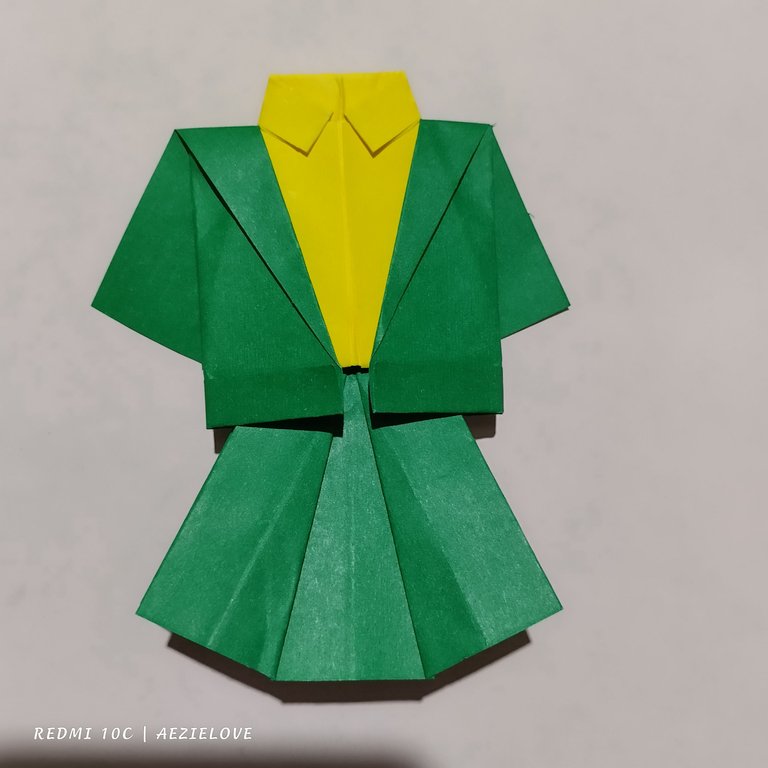
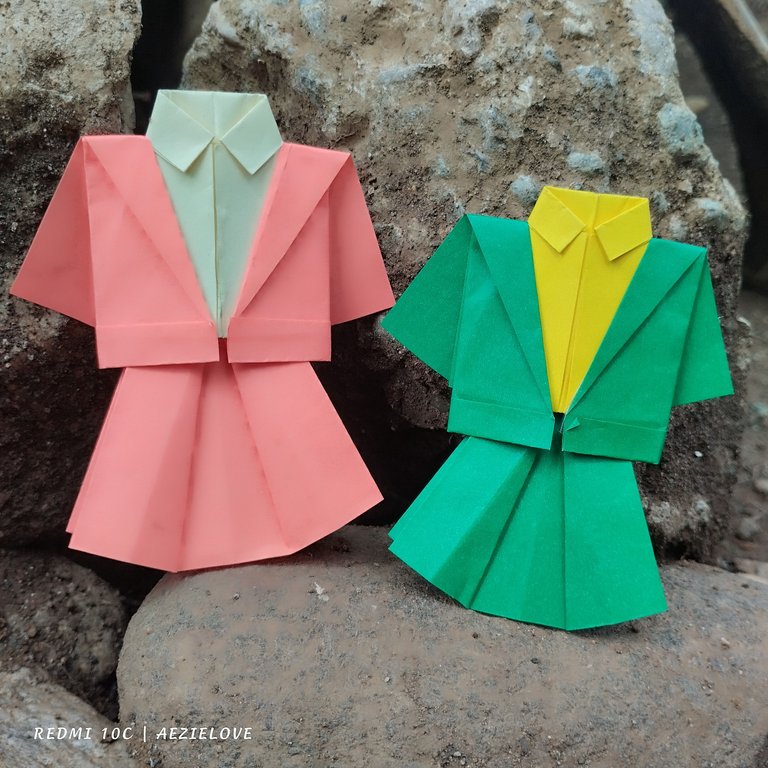
After taking a photo of it inside, I went outside to take another photo of those.
In the two photos above, I place each above the rock and take photo of it individually. Then I place the two pairs next to each other and then capture two or three photos but I'll only share a photo here and this is it.
My daughter love these so much and now she kept it inside her bag because she will show it to her friends when they will have class.
Thought that this origami entry is finish? No, not yet! Well, at first I was really thinking that I would just submit the one I showed above but things change this morning when there's no electricity here in our area. I got so bored and so too with my little ones so what we did was make another origami craft that is very interesting and here's what we made.
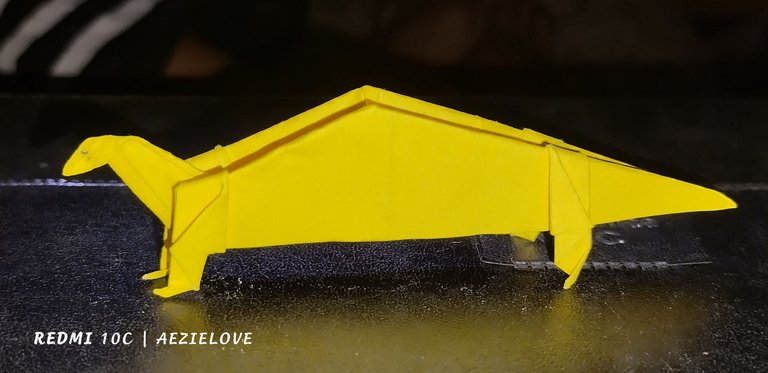
One Little Dinosaur and Three Big Dinosaurs
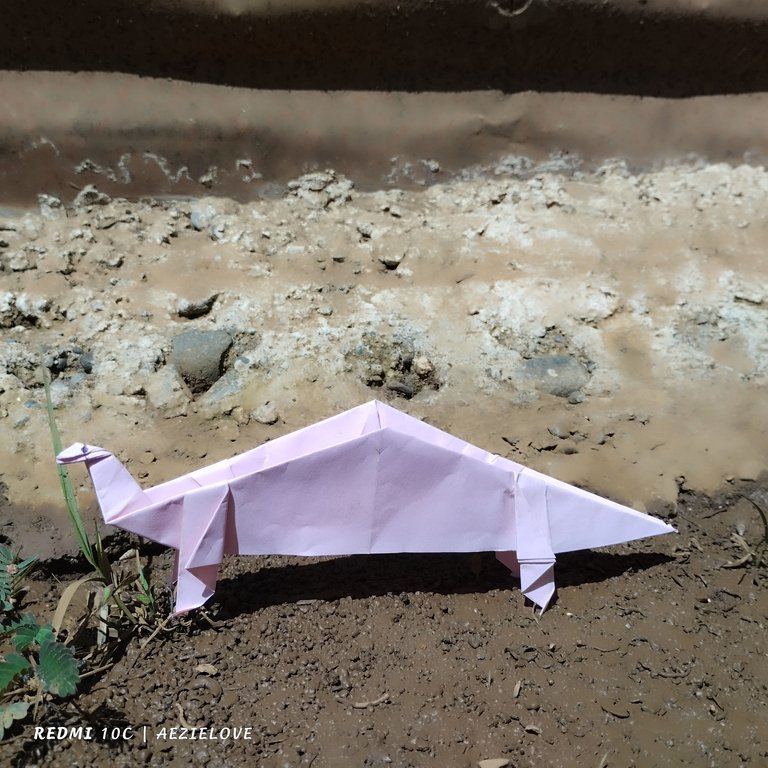
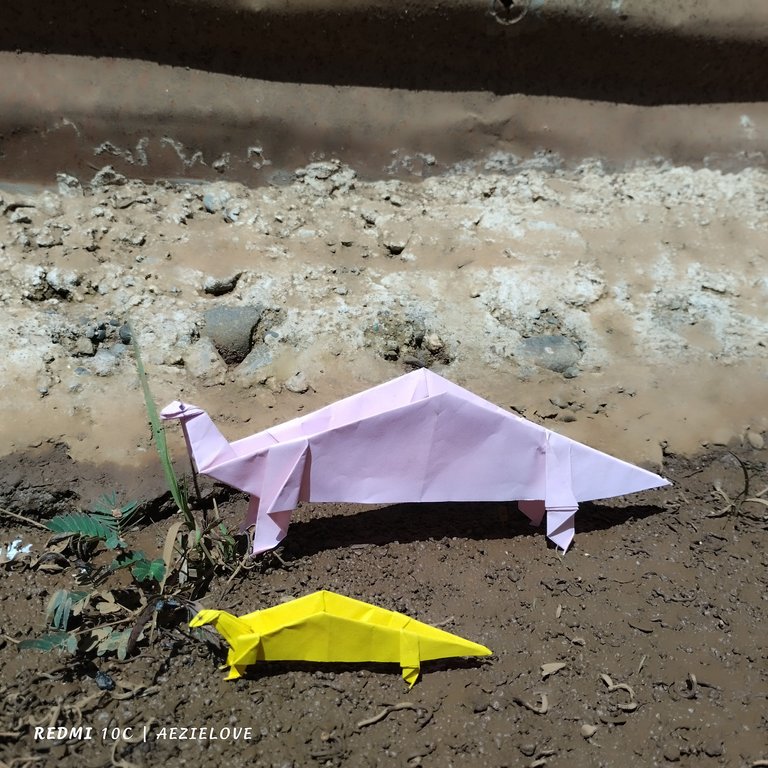
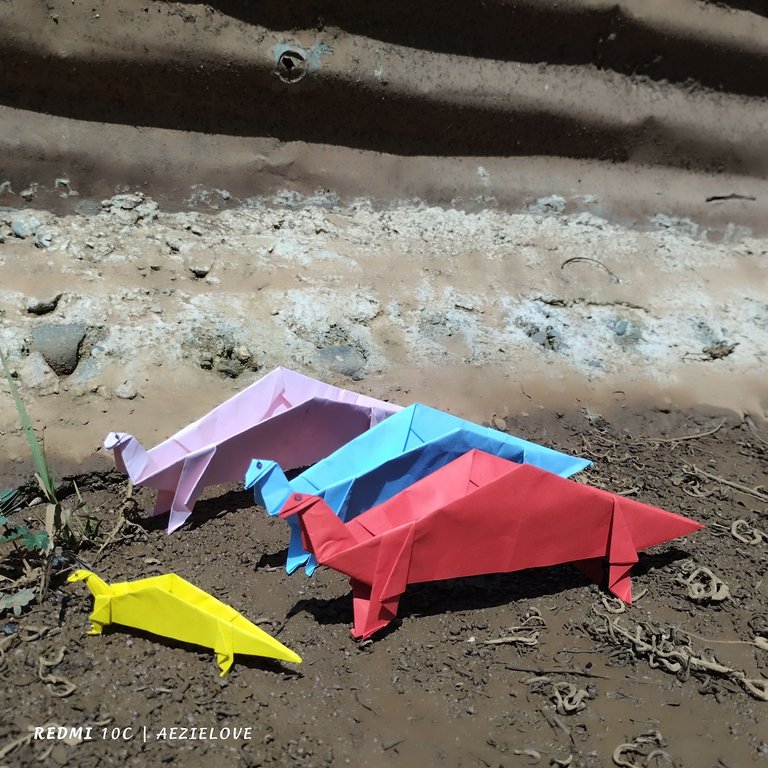
We placed the four dinosaurs outside and took photos of it and these three photos above are the result. They look so cute. My daughter own the pink and yellow dinausor while my eldest own the red dinausor and the blue one is for my youngest.
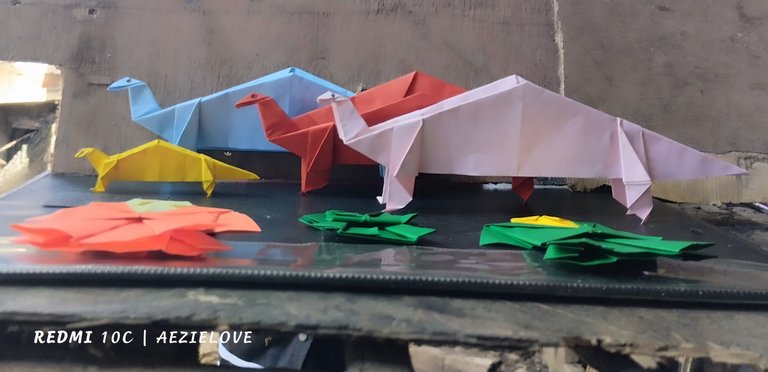
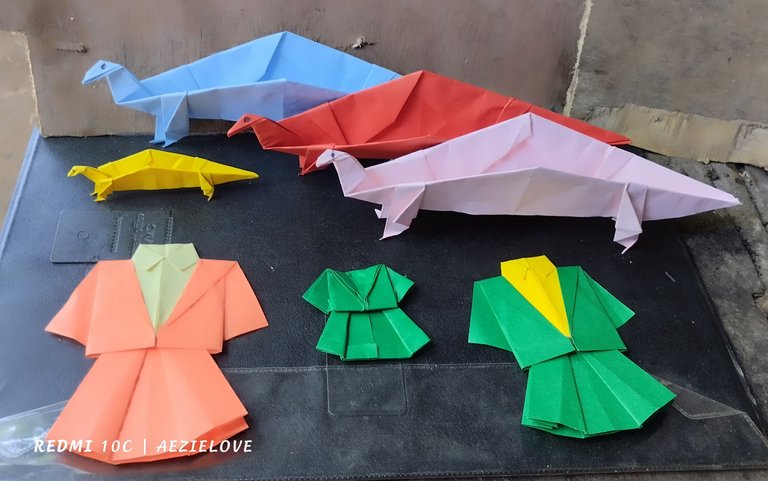
After taking photos outside, we brought those inside and take final photos. Those are the last three photos I took together with the two pairs of Polo with coat and skirt.
And this is where my blog ends today. Hope you had fun reading my blog. Thanks guys! See you on my next blog.
🪷 AEZIELOVE 🪷
Congratulations @aezielove! You have completed the following achievement on the Hive blockchain And have been rewarded with New badge(s)
Your next target is to reach 4000 upvotes.
You can view your badges on your board and compare yourself to others in the Ranking
If you no longer want to receive notifications, reply to this comment with the word
STOPThanks @hivebuzz!
You've got this @aezielove! Keep putting in the effort and you'll reach your target in no time.
Wow ka creative ba ani sis ui. Nindot sya bya cute kaau ba. Nice entry sis and Goodluck!
Ang sanina cute kaayo tan awon sis... Salamuch sis. Good morning!
wow the art is amazing thanks a lot for sharing the steps. keep sharing great posts.
Thank you @diyhub.
⋆ ᴛʜᴇ ᴘʟᴀᴄᴇ ғᴏʀ sᴏᴜᴛʜᴇᴀsᴛ ᴀsɪᴀɴ ᴄᴏɴᴛᴇɴᴛ ᴏɴ ʜɪᴠᴇ
⋆ sᴜʙsᴄʀɪʙᴇ ᴛᴏ ᴛʜᴇ ᴀsᴇᴀɴ ʜɪᴠᴇ ᴄᴏᴍᴍᴜɴɪᴛʏ
⋆ ғᴏʟʟᴏᴡ ᴛʜᴇ ᴀsᴇᴀɴ ʜɪᴠᴇ ᴄᴏᴍᴍᴜɴɪᴛʏ ᴠᴏᴛɪɴɢ ᴛʀᴀɪʟ
⋆ ᴅᴇʟᴇɢᴀᴛɪᴏɴ ʟɪɴᴋs 25 ʜᴘ⇾50 ʜᴘ⇾100 ʜᴘ⇾500 ʜᴘ⇾1,000 ʜᴘ
Wow! So cool, I still remember how to make a similar shirt from paper money. However, I certainly never combined it with an overcoat and a bottom half, that's a full outfit, proper paper fashion 😆😆😆. The dinosaurs are something I've never seen, love all your creations.
Thank you so much for loving those. Oh, I was supposed to add the steps on making the dinosaurs in this blog however at that time my phone's battery is limited and it was only at night that our electricity was restored.