💫Hermosa Gargantilla de Girasoles💫 //💫 Beautiful Sunflower Choker💫
Hola mis queridos amigos de hive y jewerly tengan un cordial saludo y un bendecido día,hoy quiero hablarles de un hermoso collar de flores,que he realizado con mucho cariño y dedicación para todos ustedes,mi querida comunidad de @jewerly
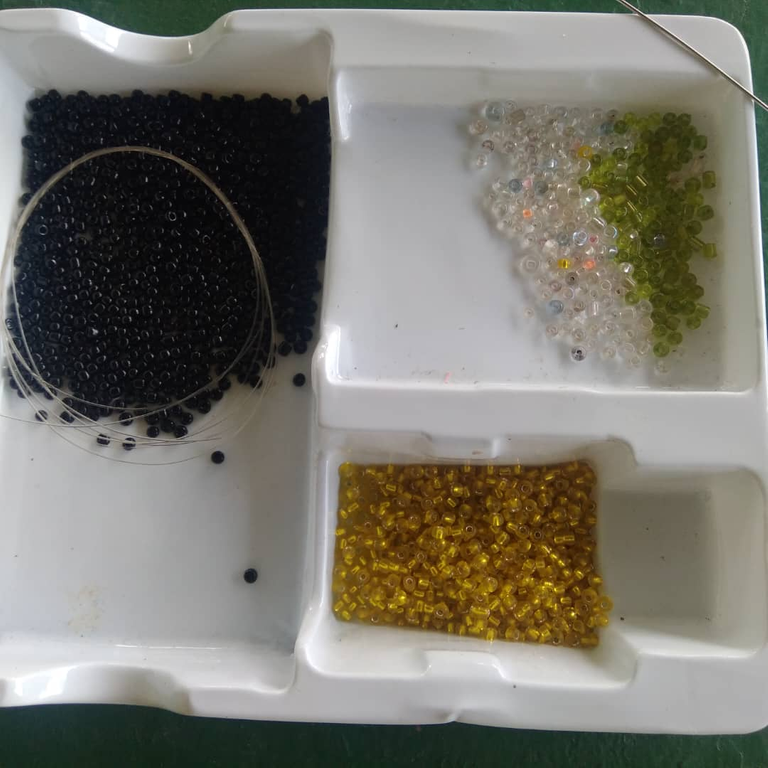
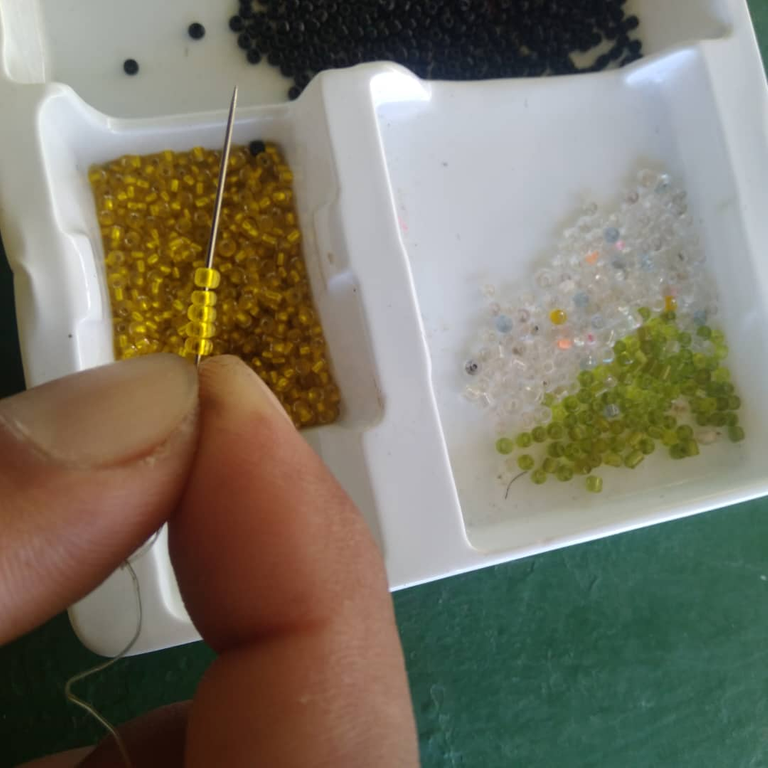
Quiero compartir con todos ustedes el proceso de elaboración de este hermoso collar,son pasos muy fáciles de seguir,a continuación les mostraré los materiales utilizados para la creación de este hermoso collar y son los siguientes:
💫MOSTACILLAS DE COLOR NEGRO
💫MOSTACILLAS DE COLOR AMARILLO
💫MOSTACILLAS VERDES
💫MOSTACILLAS TRANSPARENTES
💫HILO O NYLON
💫1 AGUJA
El proceso para la realización de este collar consta de varios pasos que son la siguientes:
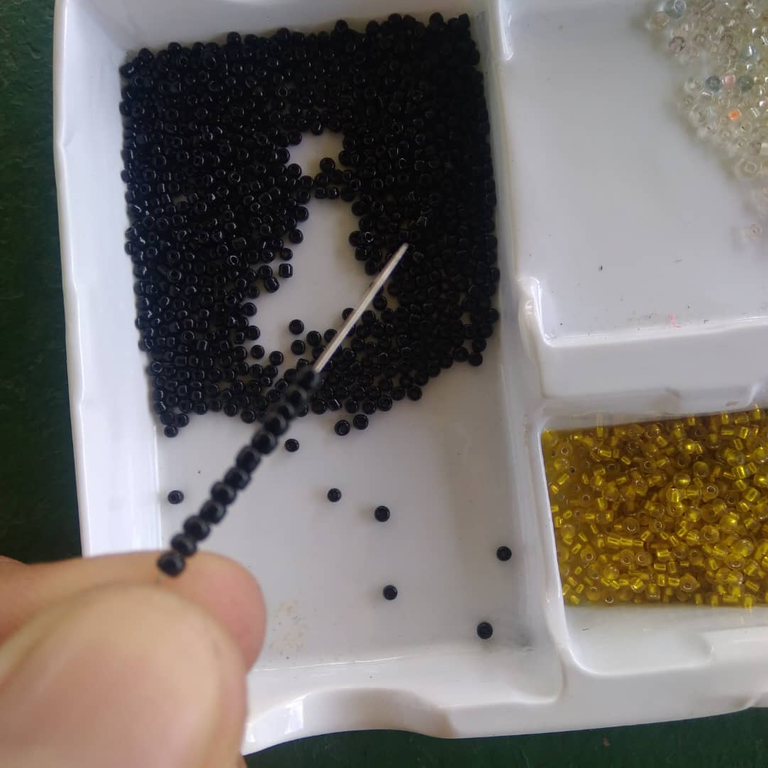
Paso 1
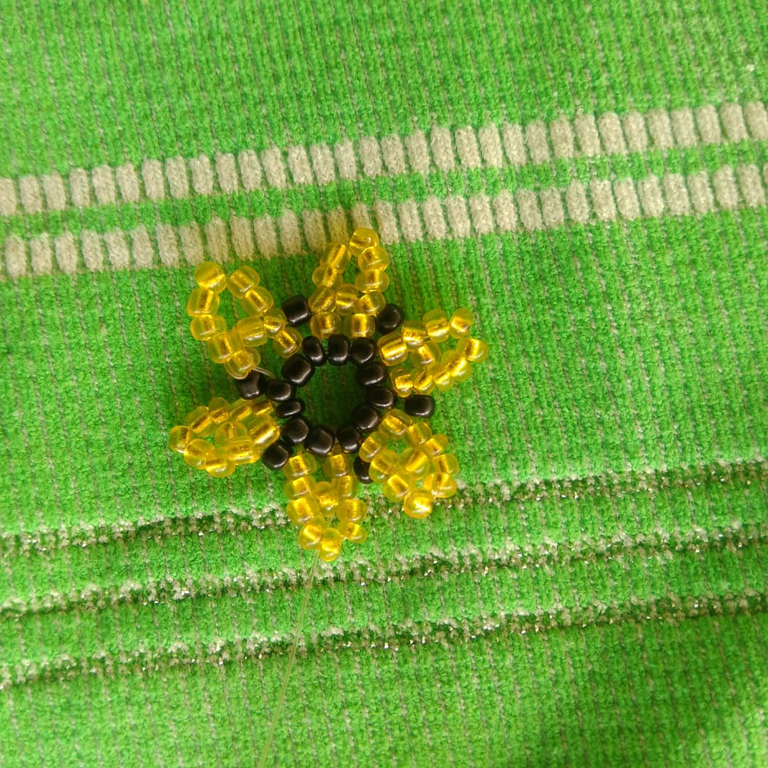
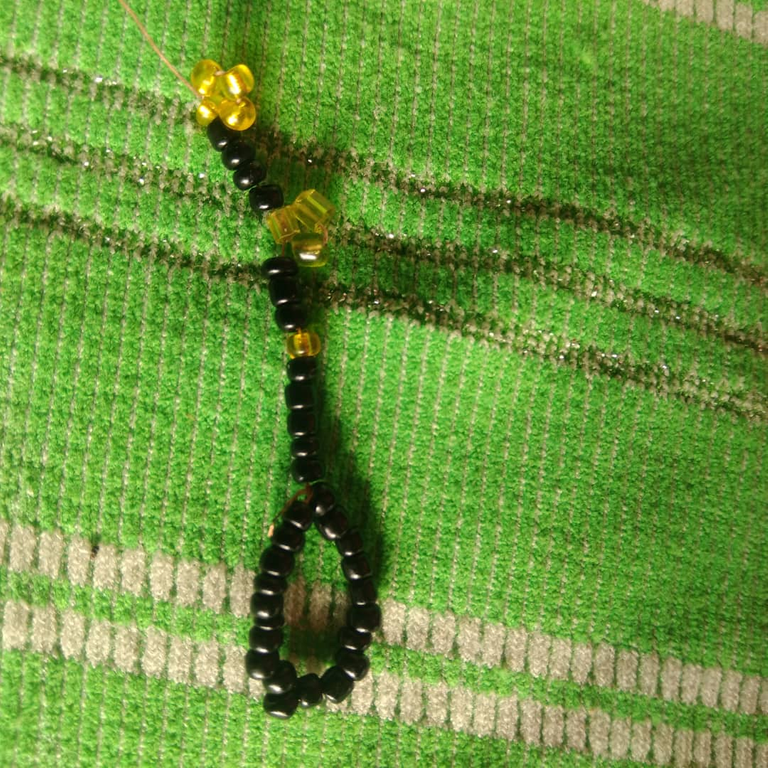
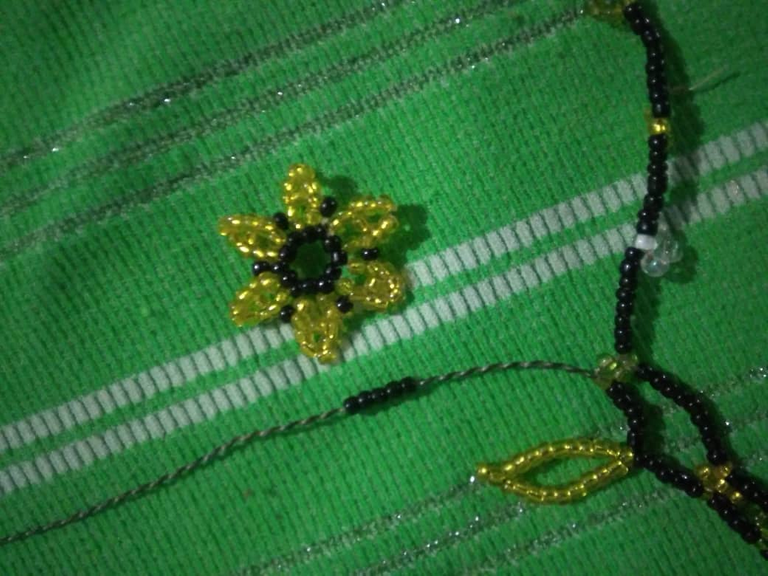
Lo primero que haremos serán 6 flores,todo depende cuanto le quieras colocar,lo siguiente es tomar la aguja y el hilo,introduciremos 12 mostacillas de color negro y haremos un circulo con ellas.
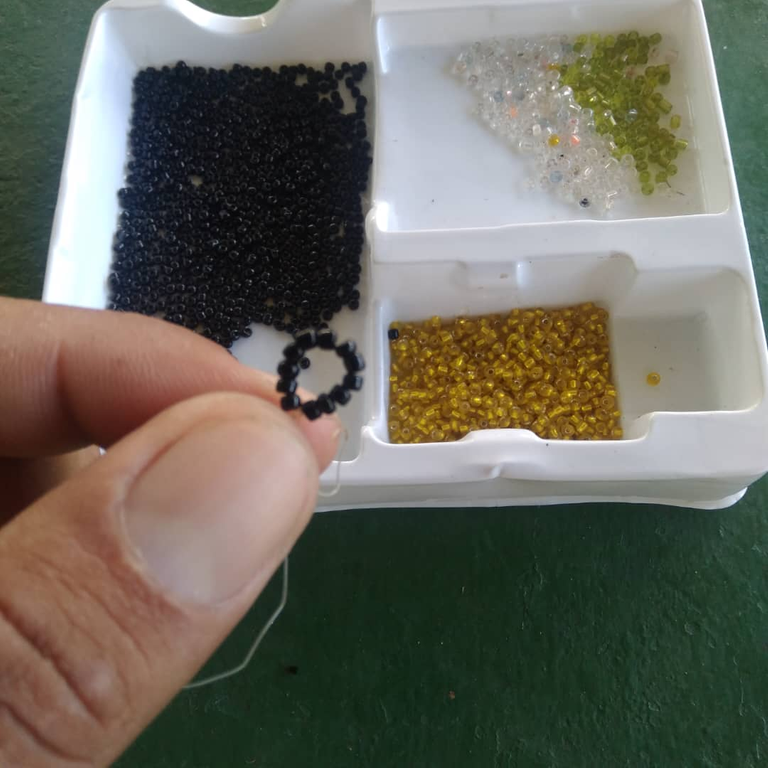
Luego introduciremos 5 mostacillas de color amarillo,Tomaremos nuestra aguja y saltaremos una de color negro,la introduciremos por la siguiente negra y halamos nuestro nylon,de esta manera ira quedando nuestra flor.
Luego repetiremos el proceso,Tomaremos 5 mostacillas de color amarillo y las introduciremos por 1 negra,siempre saltando 1 la metemos en la otra,halamos el Nylon y tenemos nuestra flor,este proceso hay que repetirlo 6 veces hasta tener nuestra flor completa.
Paso 2
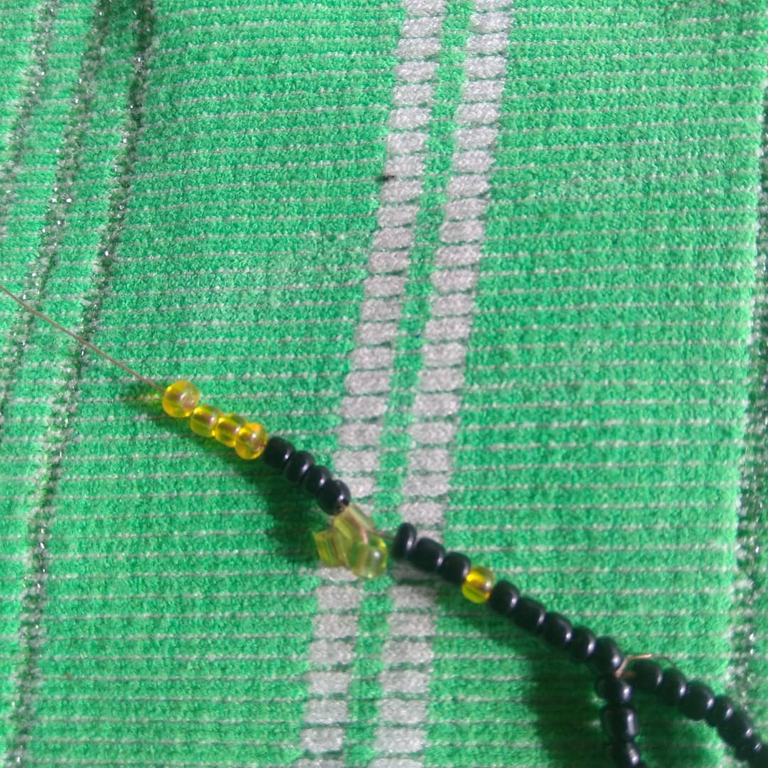
Al tener los 6 pétalos completos,pasaremos por 2 mostacillas amarillas nuestro Nylon y luego introduciremos 5 mostacillas amarillas,la vamos a colocar de la misma forma de las anteriores,saltando una amarilla la introduciremos y halamos nuestro nylon.

Lo siguiente que haremos es introducir 1 mostacilla de color negro,la vamos a introducir por la segunda del siguiente petalo,cabe destacar que se cayo la aguja y no la conseguí, pero improvise con una hecha en casa y trabaje y no tuve problemas,trabaje con comodidad.

Seguimos la misma secuencia tomando 5 mostacillas de color amarillo y Saltamos 1 mostacilla y la introduciremos en la siguiente,luego Tomaremos 1 mostacilla negra y la introduciremos en la segunda,de abajo hacia arriba,del siguiente petalo,
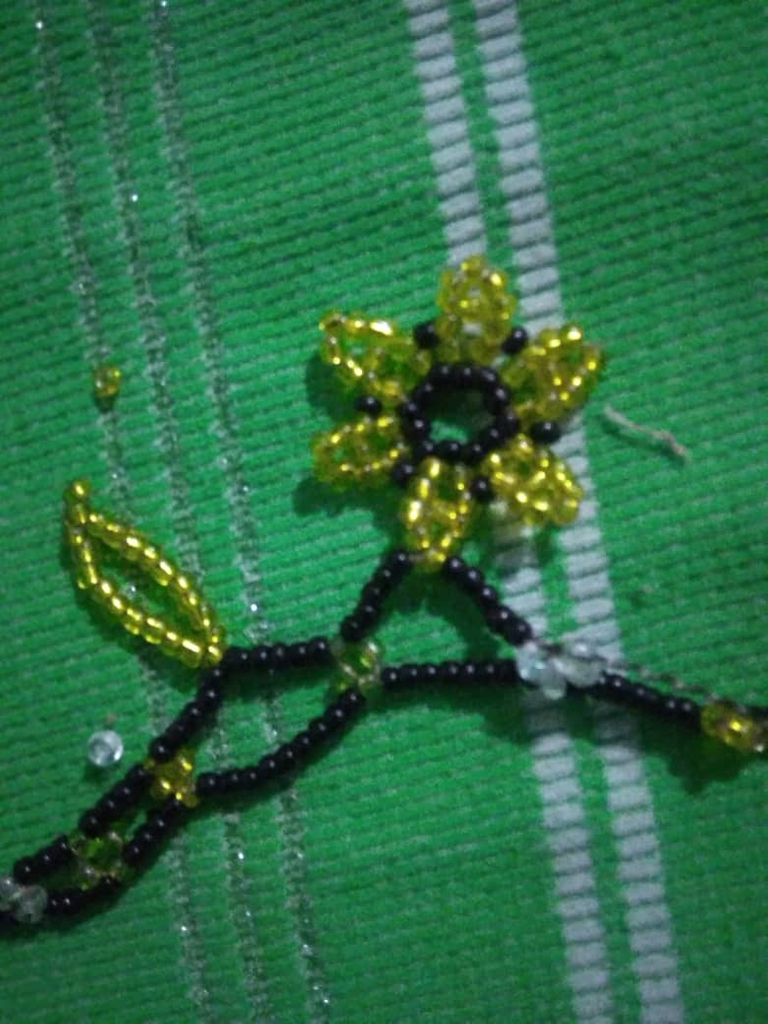
Seguimos hasta tener todos los 6 pétalos cubiertos con la mostacilla negra,y de esta manera nos quedo nuestra flor.
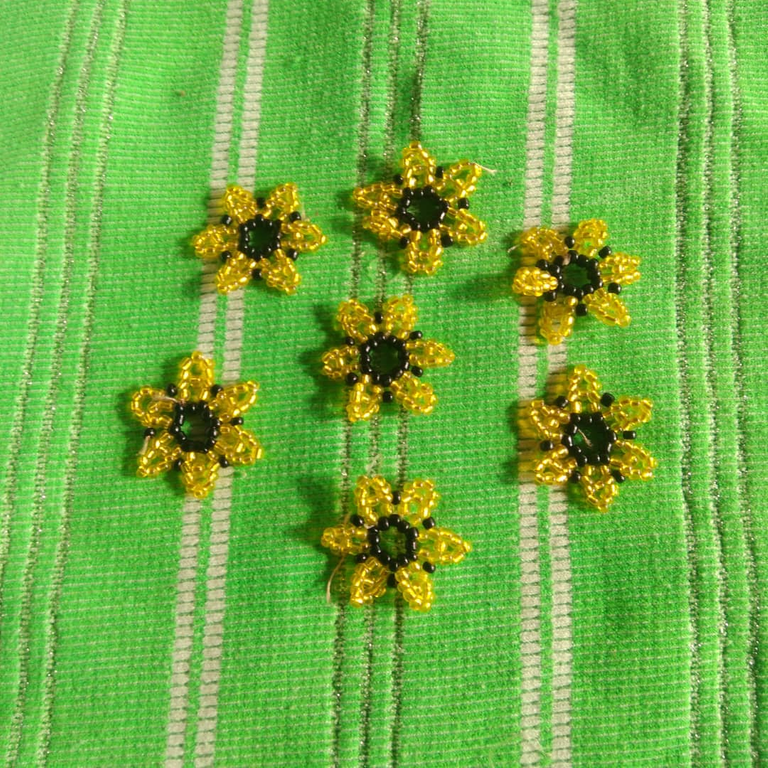
Realizaremos 6 mostacillas en total,yo hice 1 más para tenerla por cualquier imprevisto.jeje
Paso 3
Ya listas nuestras flores la colocamos al lado a esperar el turno de usarlas
Ahora comenzaremos a tejer nuestro collar
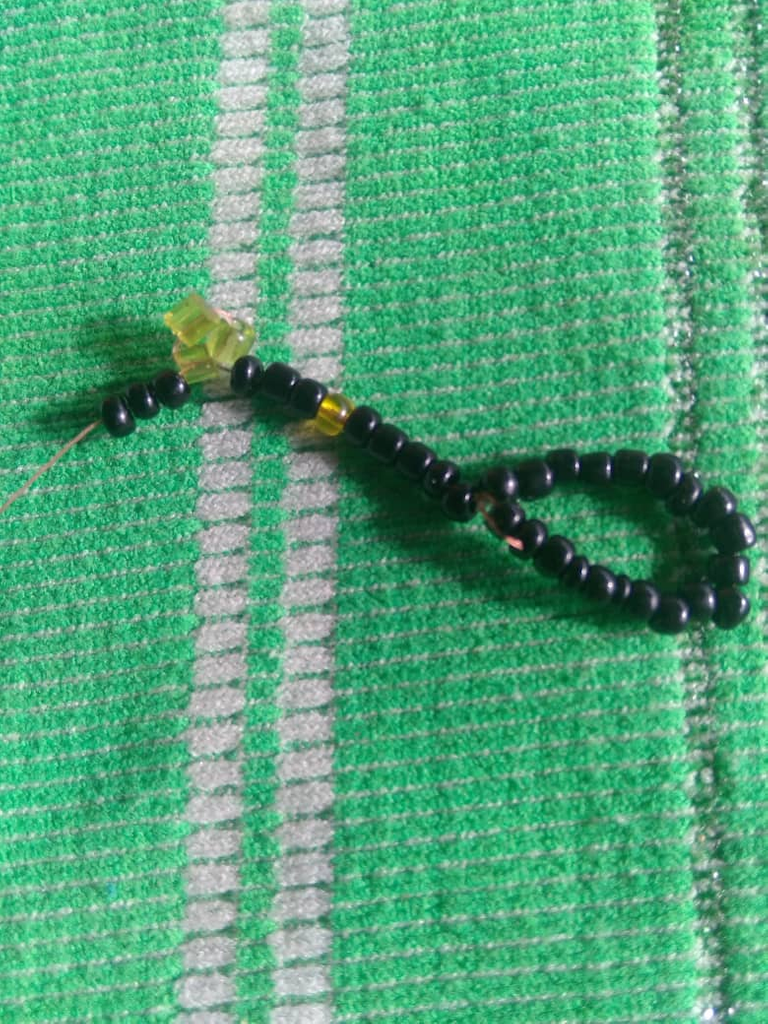
comenzaremos a hacerle un trancadero con mostacillas,si usted le gusta y tiene otro tipo de trancaderos se los puede colocar.
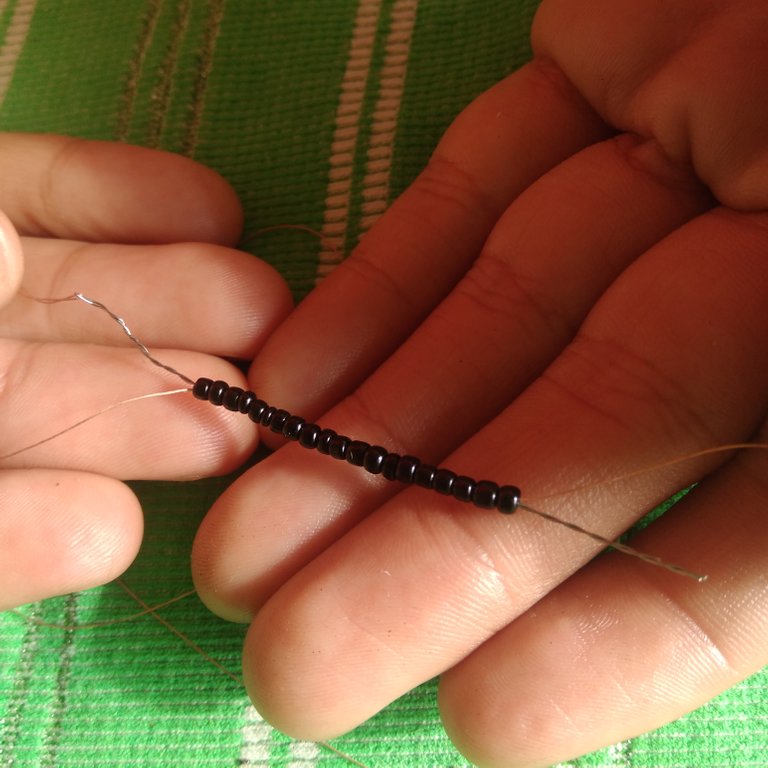
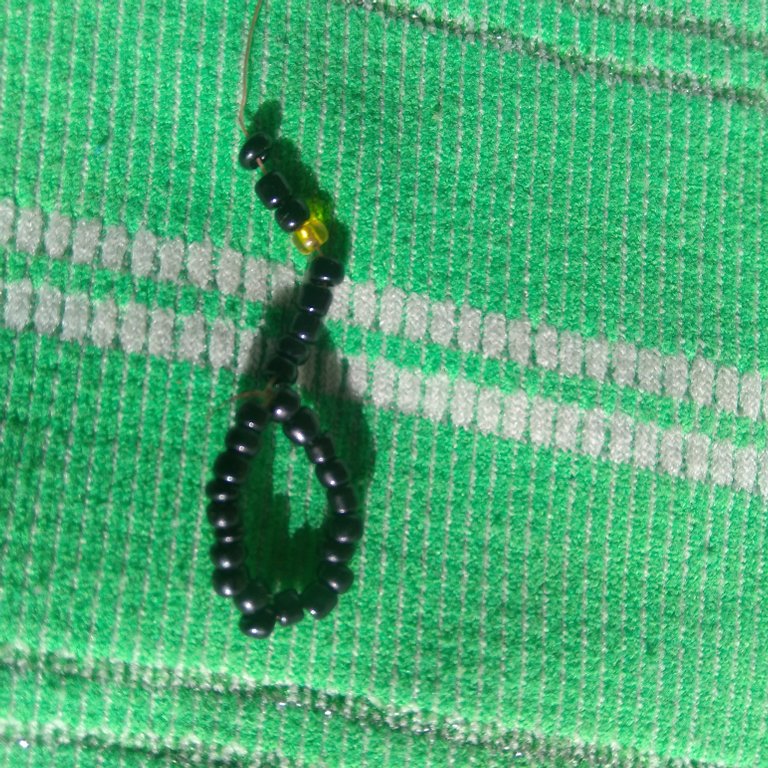
primero q haremos será tomar 20 mostacillas de color negro,hagamos un circulo y lo aseguramos para que no se nos salgan.

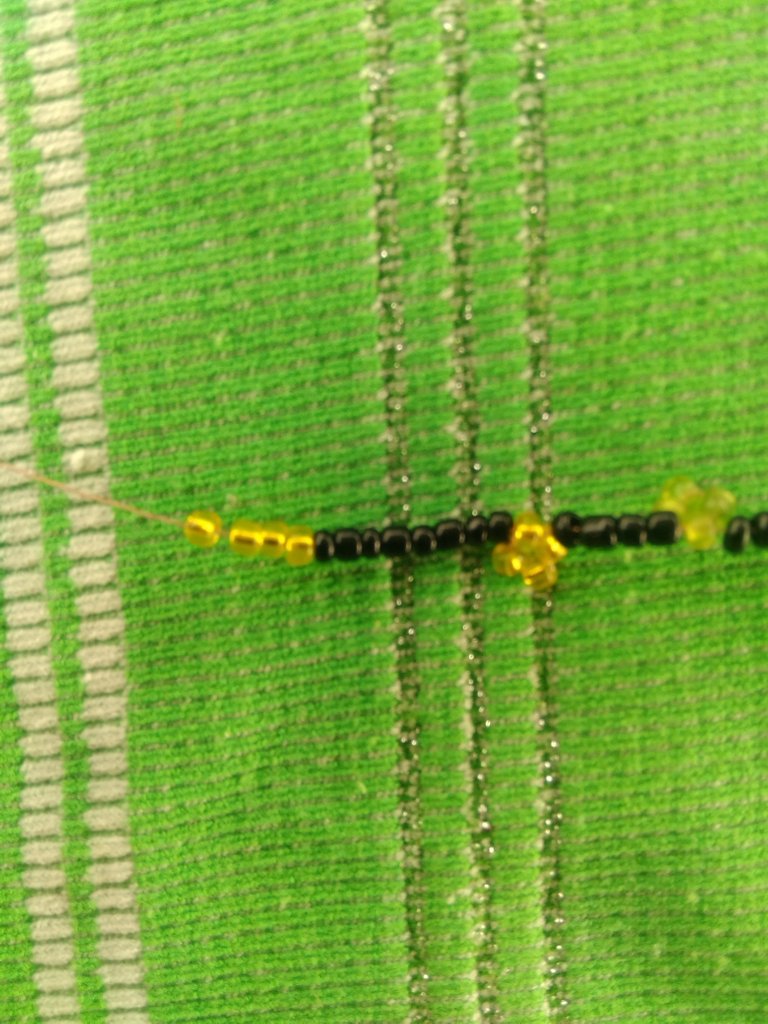
Luego introduciremos 5 mostacillas de color negro,le vamos a colocar 1 amarilla y 3 mostacillas de color negro.
Paso 4
Tomaremos 3 mostacillas de color verde y pasaremos nuestro nylon por la primera que introducimos Tiramos de el y haremos una pequeña flor,
luego tomaremos 4 mostacillas negras,estas son para la separación de las flores pequeñas
Luego introduciremos 4 mostacillas de color amarillo
Tomaremos nuestra aguja y la pasaremos por la primera de izquierda a derecha,Tiramos y tenemos la segunda florecita.
Seguiremos el mismo procedimiento,tomamos 4 mostacillas negras,luego 4 transparentes,pasamos nuestro hilo por la primera mostacilla de izquierda a derecha y Tiramos y tenemos la siguiente flor
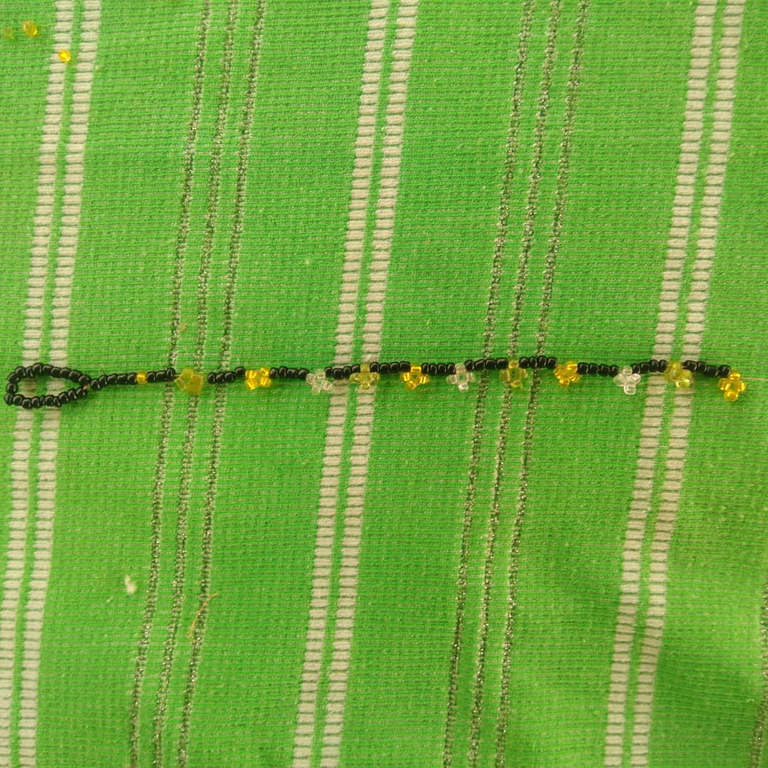
Este proceso lo vamos a repetir hasta tener 11 florecitas de diferentes colores,siempre siguiendo la misma frecuencia 1 verde,1 amarilla y 1 transparente.

Paso 5
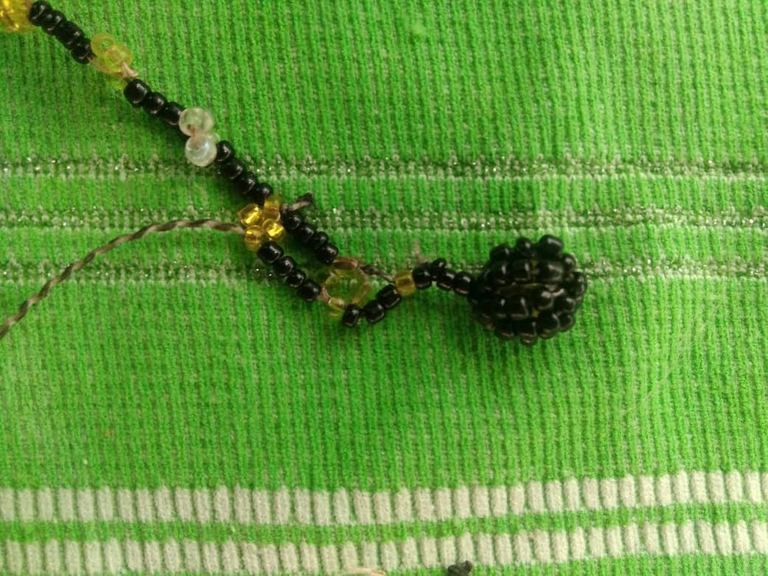
En este paso vamos a introducir no 4 sino 8 mostacillas negras,luego introduciremos 4 mostacillas amarillas y pasamos nuestro nylon por la primera de izquierda a derecha para tener la pequeña flor.

Después tomamos 8 mostacillas negras,esto es para la separación,luego 4 mostacillas transparente y haremos el mismo proceso de las anteriores,luego 8 negras y 4 verdes,vamos introduciendo de la misma manera las mostacillas hasta tener 14 florecitas,esto depende del gusto y el largo que les quieran dar a su collar.
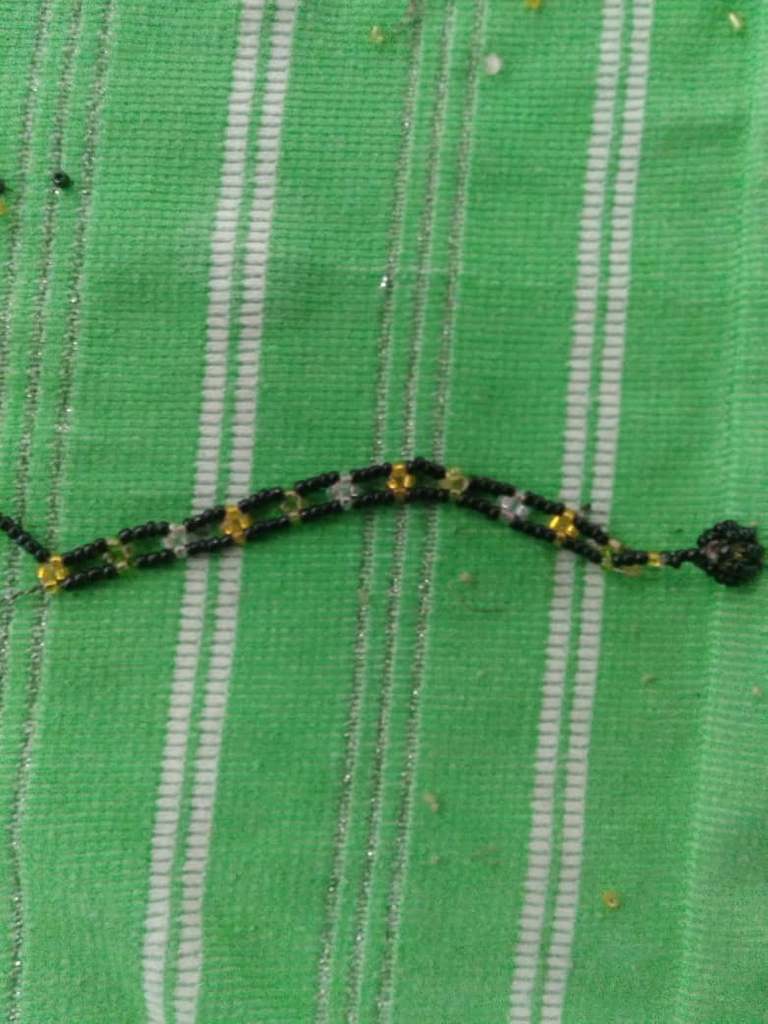
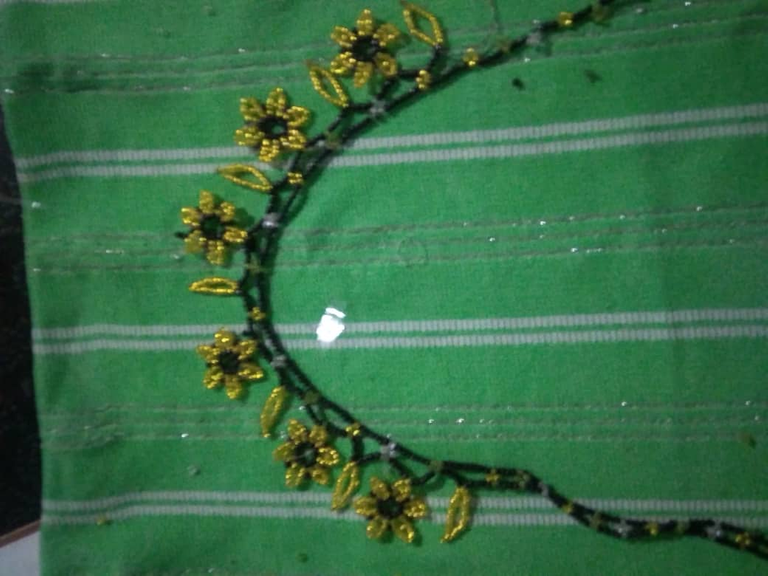
Lo que haremos es doblar el collar para verificar que nos quede igual,todas con la misma secuencia y colores de forecitas.
Colocaremos ahora 4 mostacillas de color negro y 4 mostacillas de color amarillo y hacemos nuestra forecita,seguimos la secuencia hasta quedar parejas todas las florecitas para tener el largo deseado,luego tomaremos 3 mostacillas negras,1 amarilla y 5 negras la cual quedará de esta manera.
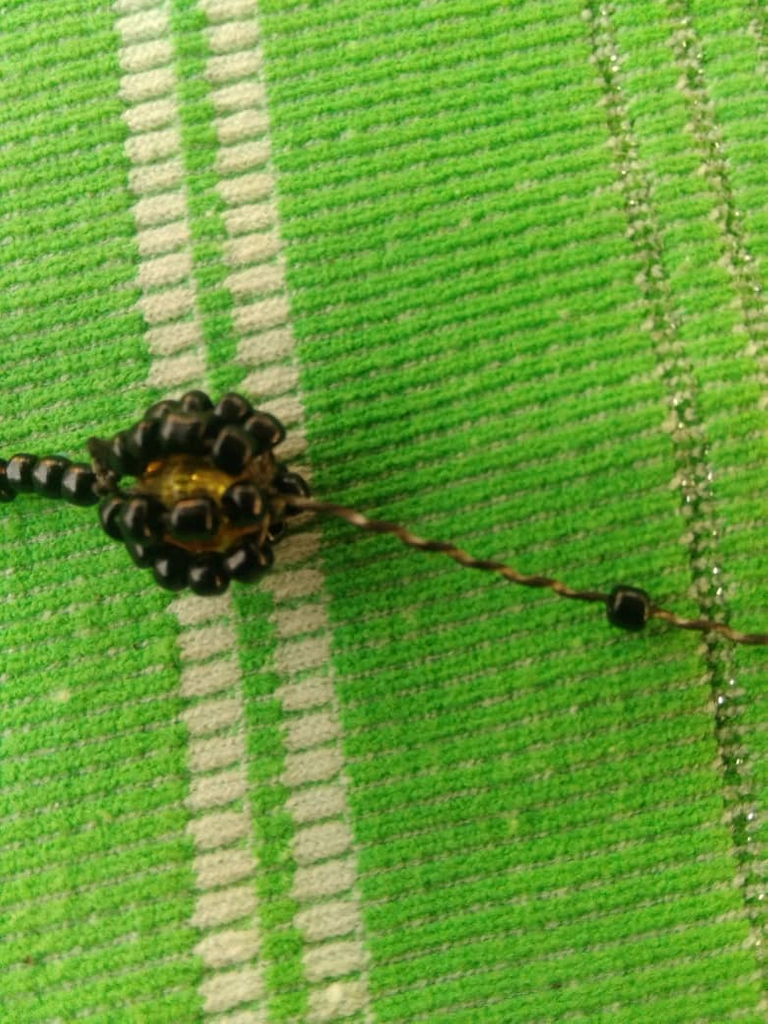
Paso 6
Para terminar con nuestro trancadero tomaremos una piedra grande la que tengamos a disposición y pasaremos nuestro hilo por la piedra y tomaremos 4 mostacillas negras introduciremos nuestra aguja por la piedra de abajo hacia arriba,este proceso lo vamos a repetir hasta que cubramos todas la piedra con mostacillas negras.
Por último introduciremos una mostacilla negra esta la vamos a poner de arriba hacia bajo,esta será la que tape la superficie del hilo
Paso 7
Lo siguiente que haremos sera devolver el hilo por las 4 mostacillas negras y por la amarilla,luego tomamos 4 mostacillas negras y pasamos por la superficie de la flor pequeña,y vamos cerrando nuestro collar.
Haremos este mismo procedimiento metiendo 4 mostacillas negras y pasandola por la superficie de cada flrecita hasta llegar a las 11 que hicimos al comienzo.
Paso 8
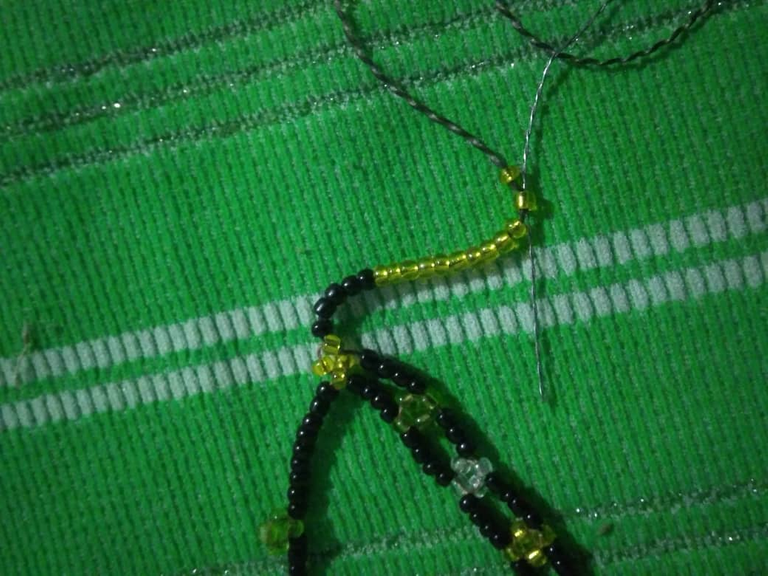
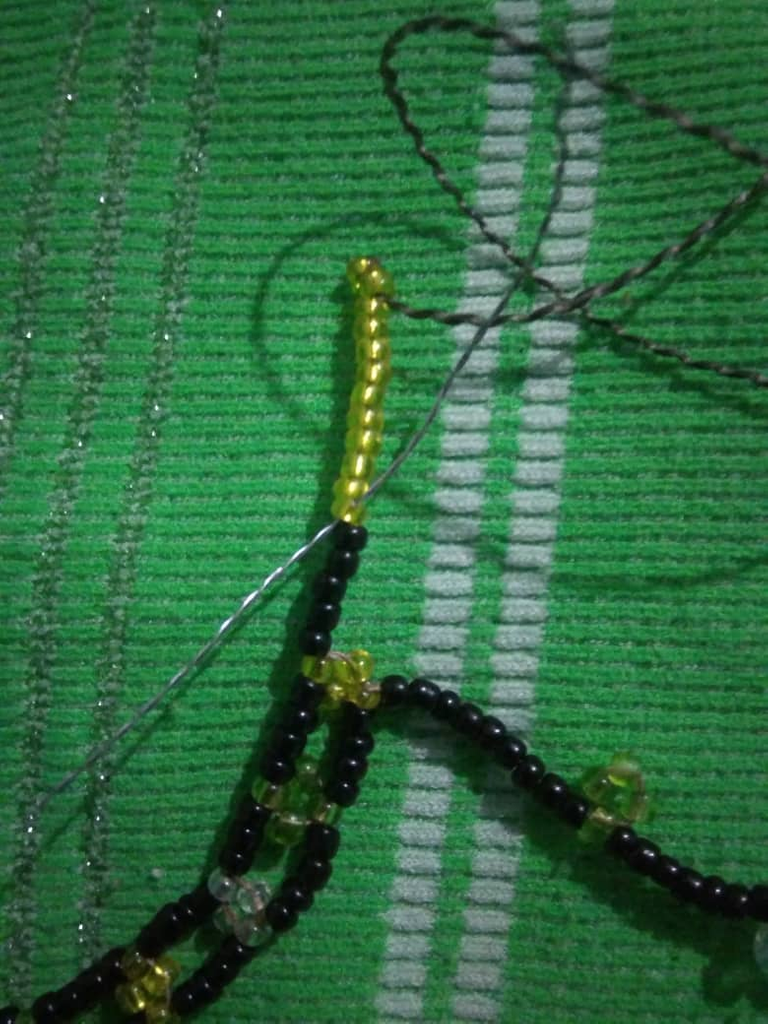
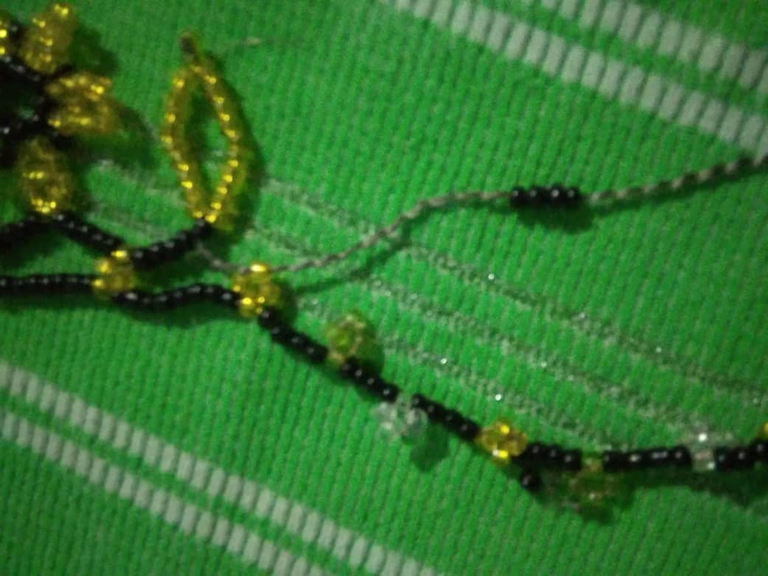
Luego de haber culminado con las flores tomaremos 5 mostacillas negras y luego 12 amarillas,lo que vamos hacer será pasar nuestra aguja por la penúltima mostacilla amarilla saltando la última y Tiramos de nuestro hilo,luego introduciremos 9 de las Amarillas y pasaremos nuestro hilo por la primera de izquierda a derecha y ya tendremos nuestra primera hoja,haciendo el mismo procedimiento tomaremos 5 mostacillas de color negro y las metemos por la superficie de la siguiente florecita
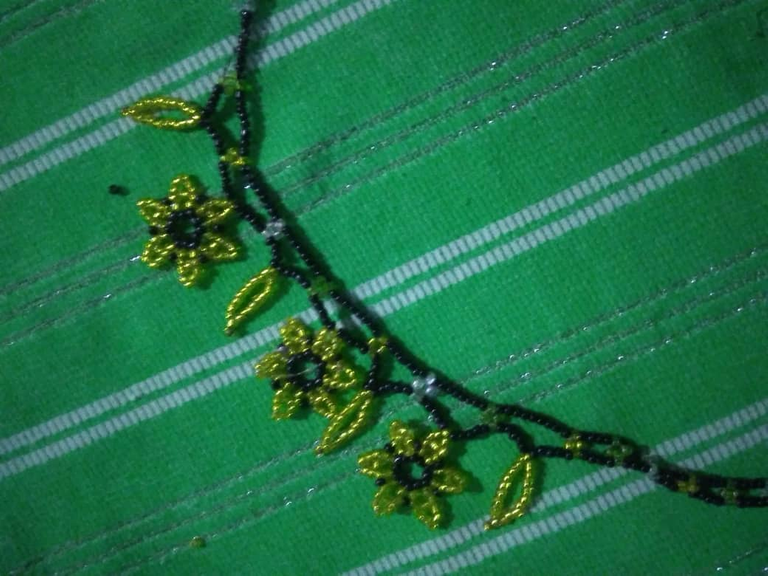
Llego la hora de utilizar nuestras flores,tomando nuevamente 5 mostacillas negras,pasaremos por una de las esquinas de la flor y luego tomaremos 5 mostacillas negras y la pasaremos por la florecita y así se irá viendo.
Lo siguiente que haremos es tomar 5 mostacillas negras y 12 amarillas,y pasaremos por la penúltima mostacilla amarilla de derecha a izquierda y luego introduciremos 9 amarillas y pasaremos por la primera que esta de izquierda a derecha y Tiramos del hilo,luego introduciremos 5 mostacillas negras y meteremos por la florecita.
Este proceso lo repetiremos hasta colocar las 6 flores restantes y haremos 7 hojas amarillas.
Ya culminado nuestro Paso a paso colocaremos 4 mostacillas negras y vamos a introducirlas por cada florecita hasta llegar a la parte que se inició.

Estos fueron los pasos a seguir para la elaboración de este hermoso collar de flores,hay que dedicarle un poco de tiempo y trabajarla con calma para que les de un buen resultado,espero que les haya gustado este hermoso collar que he realizado con mucho cariño para todos ustedes.
Gracias por su atención y espero sus comentarios y sugerencias
Las fotos son de mi autoria y fueron tomadas por mi teléfono Samsung A01.
Traductor utilizado Deelp traductor
Las imágenes son editadas mediante la aplicación editor de fotos polish y los separadores fueron editados mediante la aplicación editor de fotos canva.
Hello my dear friends of hive and jewerly have a cordial greeting and a blessed day,today I want to tell you about a beautiful flower necklace,that I have made with much love and dedication for all of you,my dear community of @jewerly.
I want to share with all of you the process of making this beautiful necklace,they are very easy steps to follow,next I will show you the materials used for the creation of this beautiful necklace and they are the following:
💫BLACK COLORED BEADS.
💫YELLOW COLORED BEADS.
💫GREEN BEADS
💫TRANSPARENT BEADS
💫THREAD OR NYLON
💫1 NEEDLE
The process for making this necklace consists of several steps which are as follows:
Step 1
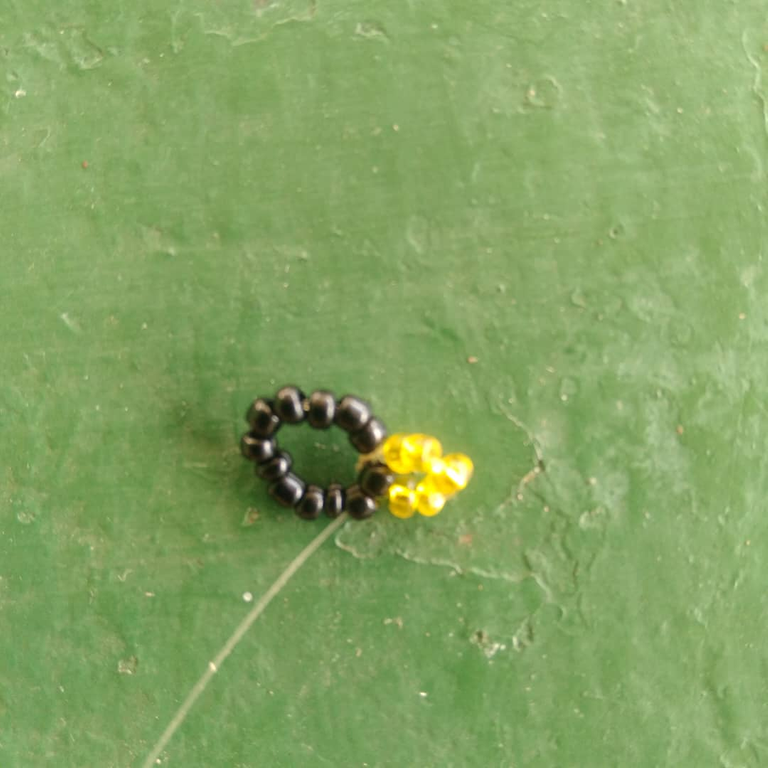
The first thing we will do will be 6 flowers, it all depends on how much you want to place, the following is to take the needle and thread, we will introduce 12 black beads and make a circle with them.
Then we will introduce 5 beads of yellow color, we will take our needle and we will jump one of black color, we will introduce it by the following black one and we will pull our nylon, this way our flower will be left.
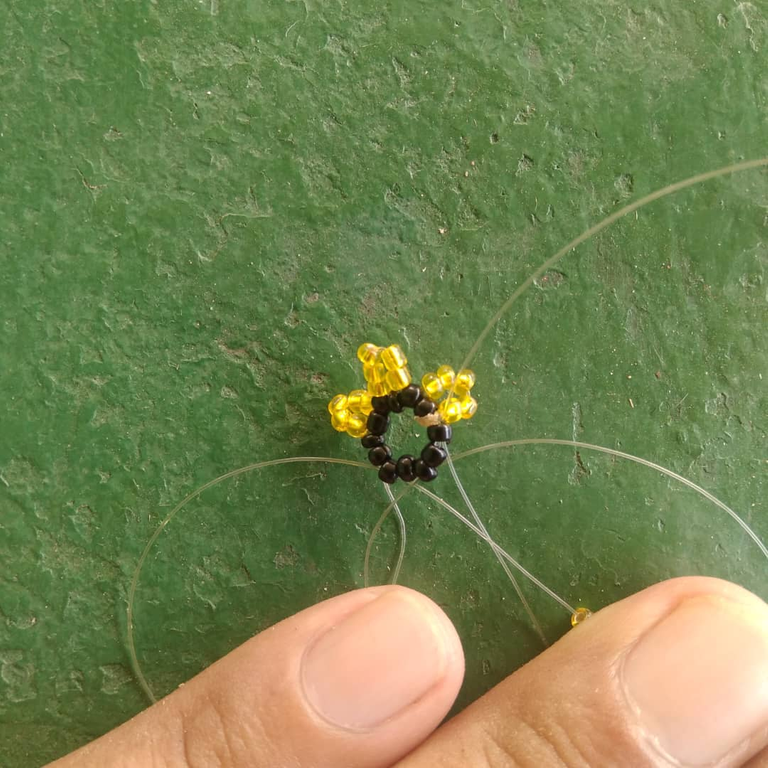
Then we will repeat the process, we will take 5 yellow beads and we will introduce them by 1 black one, always jumping 1 we put it in the other one, we pull the nylon and we have our flower, this process must be repeated 6 times until we have our complete flower.
Step 2
When we have the 6 complete petals, we will pass through 2 yellow beads our Nylon and then we will introduce 5 yellow beads, we will place them in the same way of the previous ones, jumping a yellow one we will introduce it and we pull our nylon.
The next thing to do is to introduce 1 black bead, we will introduce it by the second of the next petal, note that the needle fell and I did not get it, but improvise with a homemade and worked and had no problems, worked comfortably.
We follow the same sequence taking 5 yellow beads and we skip 1 bead and introduce it in the next one, then we will take 1 black bead and introduce it in the second one, from the bottom to the top, of the next petal,
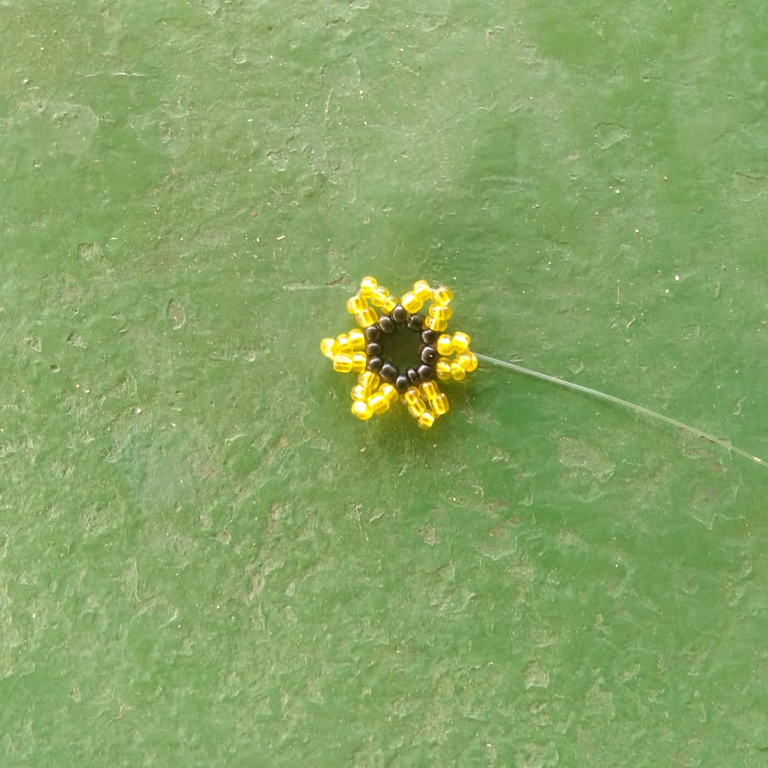
We continue until we have all 6 petals covered with the black beads, and in this way we have our flower.
We will make 6 beads in total, I made 1 more to have it for any unforeseen.jeje
Step 3
Once our flowers are ready, we place them to the side to wait for their turn to be used.
Now we will begin to weave our necklace
we will begin to make a string with beads, if you like and you have another type of string you can put them on.
first we will take 20 black beads, we will make a circle and we will secure it so that they do not come off.
Then we will introduce 5 black beads, we will place 1 yellow bead and 3 black beads.
Step 4
We will take 3 green beads and we will pass our nylon through the first one we introduce. We will pull it and we will make a small flower,
then we will take 4 black beads, these are for the separation of the small flowers.
Then we will introduce 4 yellow beads.
We will take our needle and we will pass it through the first one from left to right, we pull and we have the second little flower.
We will follow the same procedure, we take 4 black beads, then 4 transparent ones, we pass our thread through the first bead from left to right and we pull and we have the next flower.
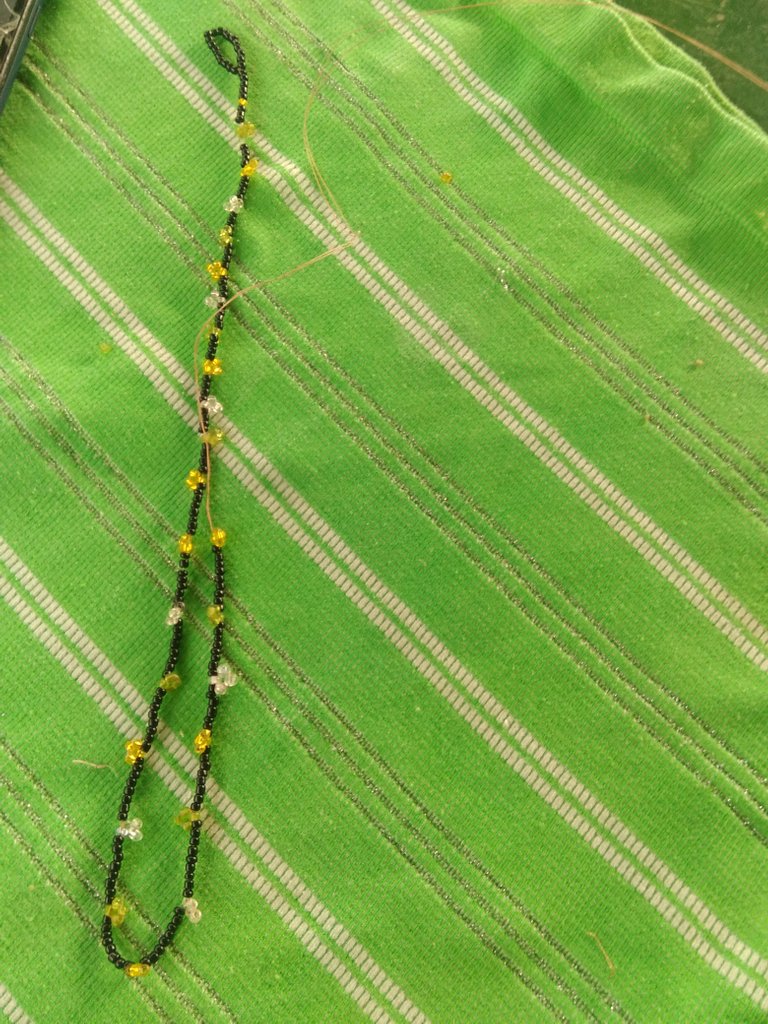
We are going to repeat this process until we have 11 little flowers of different colors, always following the same frequency, 1 green, 1 yellow and 1 transparent.
Step 5
In this step we are going to introduce not 4 but 8 black beads,then we will introduce 4 yellow beads and pass our nylon through the first one from left to right to have the little flower.
Then we take 8 black beads, this is for the separation, then 4 transparent beads and we will do the same process of the previous ones, then 8 black and 4 green, we will introduce in the same way the beads until we have 14 little flowers, this depends on the taste and the length that you want to give to your necklace.
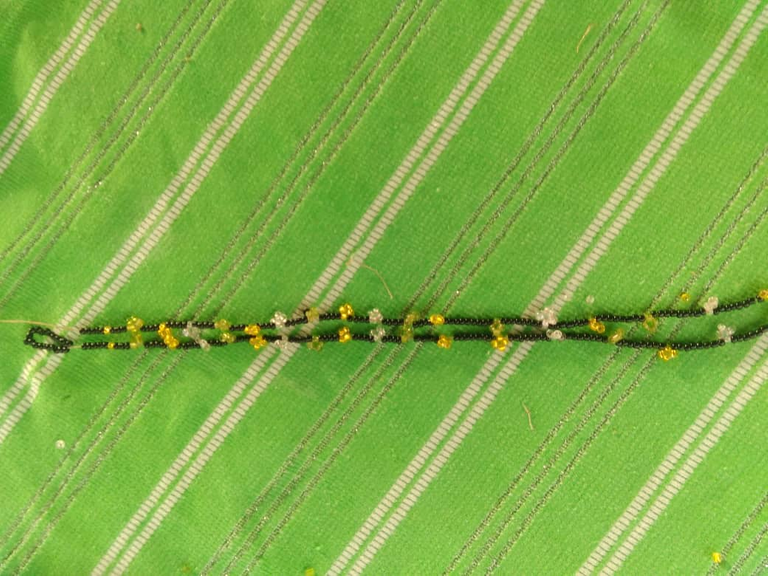
What we will do is to fold the necklace to verify that it is the same, all with the same sequence and colors of forecites.
Now we will place 4 black beads and 4 yellow beads and we will make our forecite, we follow the sequence until all the flowers are even to have the desired length, then we will take 3 black beads, 1 yellow bead and 5 black beads which will look like this.
Step 6
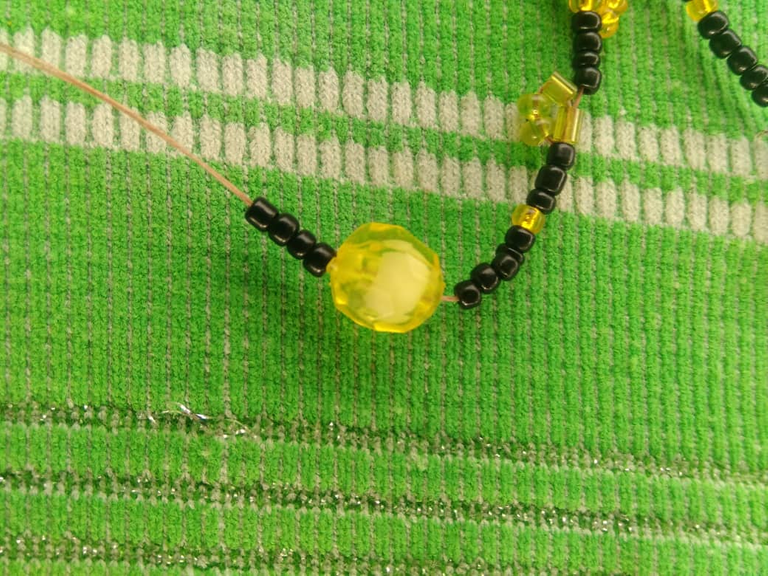
To finish with our locket we will take a large stone that we have available and we will pass our thread through the stone and we will take 4 black beads and we will introduce our needle through the stone from bottom to top, we will repeat this process until we cover all the stone with black beads.
Finally we will introduce a black bead this we are going to put it from top to bottom, this will be the one that covers the surface of the thread.
Step 7
The next thing we will do is to return the thread through the 4 black beads and the yellow one, then we take 4 black beads and pass them through the surface of the small flower, and we will close our necklace.
We will do the same procedure taking 4 black beads and passing them through the surface of each small flower until we get to the 11 we made at the beginning.
Step 8
After having finished with the flowers we will take 5 black beads and then 12 yellow ones,what we are going to do is to pass our needle through the penultimate yellow bead skipping the last one and we pull our thread,then we will introduce 9 of the yellow ones and we will pass our thread through the first one from left to right and we will have our first leaf,doing the same procedure we will take 5 black beads and we put them through the surface of the following little flower.
Now it is time to use our flowers, taking again 5 black beads, we will pass through one of the corners of the flower and then we will take 5 black beads and we will pass it through the flower and so it will be seen.
The next thing to do is to take 5 black beads and 12 yellow ones, and we will pass through the second to last yellow bead from right to left and then we will introduce 9 yellow ones and we will pass through the first one that is from left to right and we will pull the thread, then we will introduce 5 black beads and we will put them through the little flower.
We will repeat this process until we place the 6 remaining flowers and we will make 7 yellow leaves.
Once our step by step is completed, we will place 4 black beads and we will introduce them through each flower until we reach the part that started.
These were the steps to follow for the elaboration of this beautiful necklace of flowers, it is necessary to dedicate a little time and to work it calmly so that it gives them a good result, I hope that you have liked this beautiful necklace that I have made with much affection for all of you.
Thank you for your attention and I look forward to your comments and suggestions.
The photos are my own and were taken by my Samsung A01 phone.
Translator used Deelp translator
The images are edited using polish photo editor application and the separators were edited using canva photo editor application.
https://twitter.com/1484281013413023756/status/1632839056903008256
The rewards earned on this comment will go directly to the people( @dayadam ) sharing the post on Twitter as long as they are registered with @poshtoken. Sign up at https://hiveposh.com.
Que belleza de trabajo. Ame tu proceso de creación, y el resultado final. Me encantan los girasoles, esta en mis planes muy pronto sacar unos en la técnica que uso frecuentemente, esta gargantilla esta genial. Felicidades y muchos éxitos @afrofat1 ✨
Muchas gracias amiga,es un gusto motivarlo a que realice este tipo de gargantilla,igualmente para usted éxitos.
Es todo una obra de arte esta argolla ! me encantó el resultado. gracias por explicar detallamente toodo! Genial
Muchas gracias,con gusto lo seguiré haciendo,gracias a ti por todo 🥰
¡Felicidades! Esta publicación obtuvo upvote y fue compartido por @la-colmena, un proyecto de Curación Manual para la comunidad hispana de Hive que cuenta con el respaldo de @curie.
Si te gusta el trabajo que hacemos, te invitamos a darle tu voto a este comentario y a votar como testigo por La Colmena.
Si quieres saber más sobre nuestro proyecto, te invitamos a acompañarnos en nuestro servidor de Discord.
Your content has been voted as a part of Encouragement program. Keep up the good work!
Use Ecency daily to boost your growth on platform!
Support Ecency
Vote for new Proposal
Delegate HP and earn more
Thank you very much for your wishes and thank you for supporting my successes.
Congratulations @afrofat1! You have completed the following achievement on the Hive blockchain And have been rewarded with New badge(s)
Your next target is to reach 1750 upvotes.
You can view your badges on your board and compare yourself to others in the Ranking
If you no longer want to receive notifications, reply to this comment with the word
STOPCheck out our last posts:
Support the HiveBuzz project. Vote for our proposal!
Wow. Realizaste un magnifico trabajo, cada detalle es hermoso y bien elaborado. Felicidades.