🐧Stylish Men's Bracelet with Colors by ZINGU🐧Elegante Brazalete Masculino con Colores de ZINGU🐧
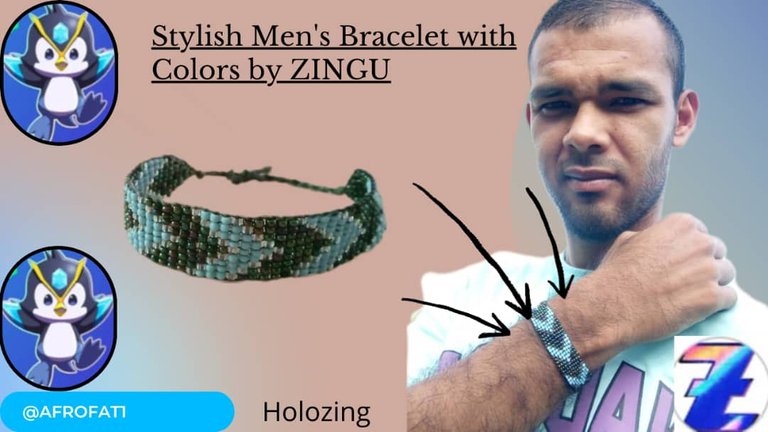
Greetings fellow Hive members and holozing community, I hope you are well and that this day has been of blessings for all. Today I have come to show you a nice work inspired by the colors of this beautiful penguin ZINGU, this beautiful bracelet I have made with much love and dedication to share in this beautiful community.
I want to show below the materials used for the elaboration of this beautiful costume jewelry accessory.
Materials
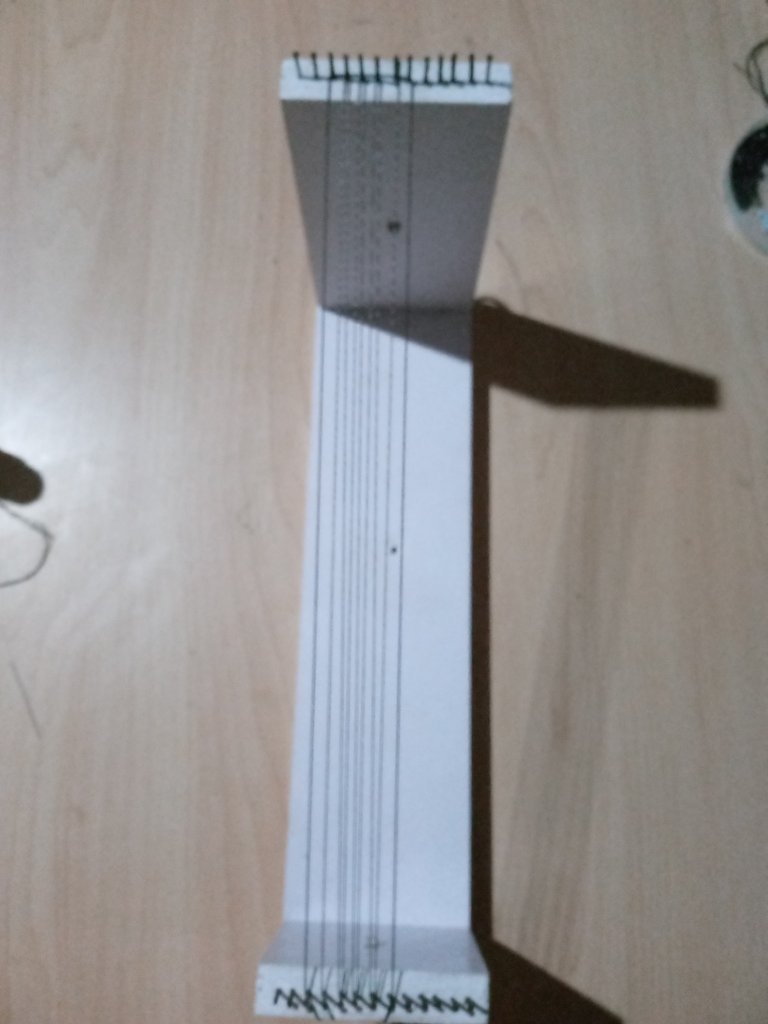
- Wooden loom
- Transparent beads
- Blue beads
- Black beads
- Shoemaker's thread Black color
- Scissors
- Lighter
- Needle # 12

**Now I will be presenting the Step by Step used for the elaboration of this beautiful bracelet.
Step 1
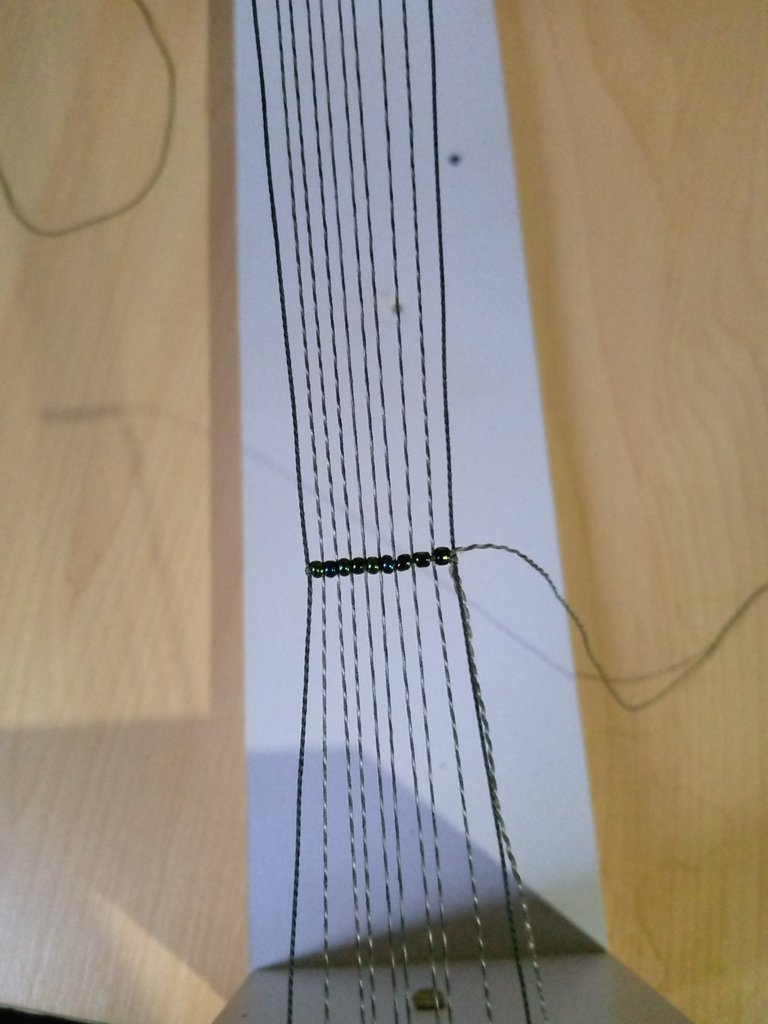
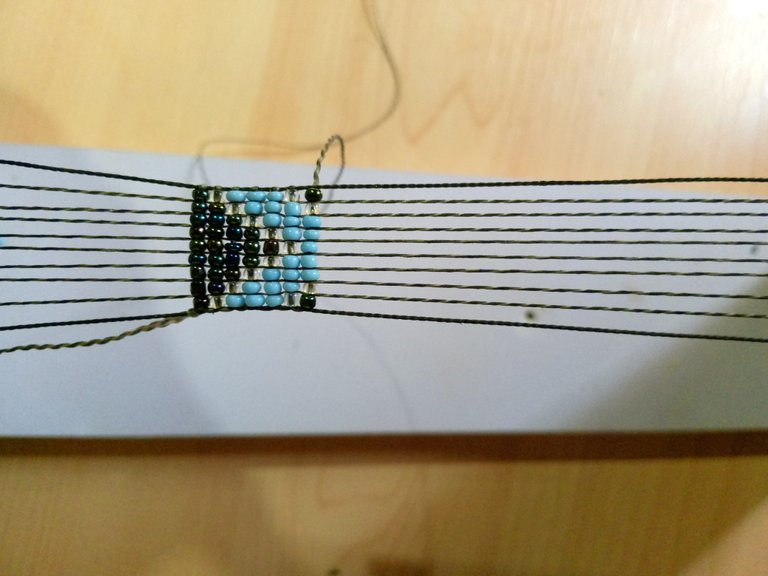
We will take our shoemaker thread and we are going to disassemble it to make it easier to work, this thread is very resistant and will not break, then we place it eight rows of the disassembled thread and we place two with the most resistant thread, in total would be 10 rows.
Step 2
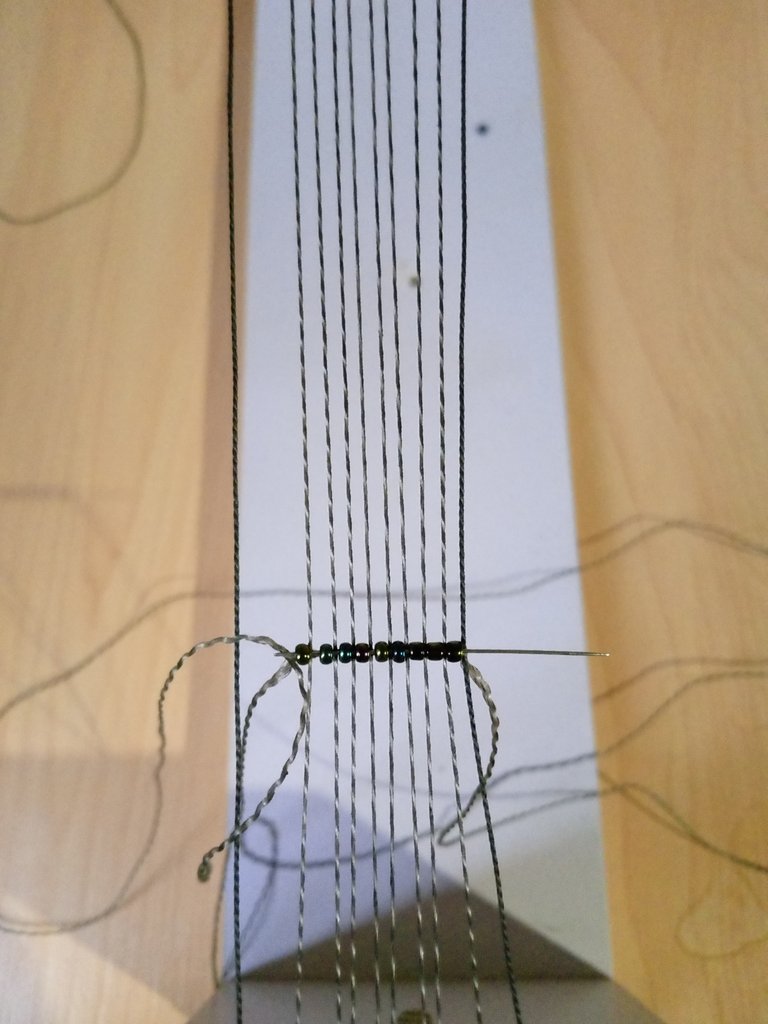
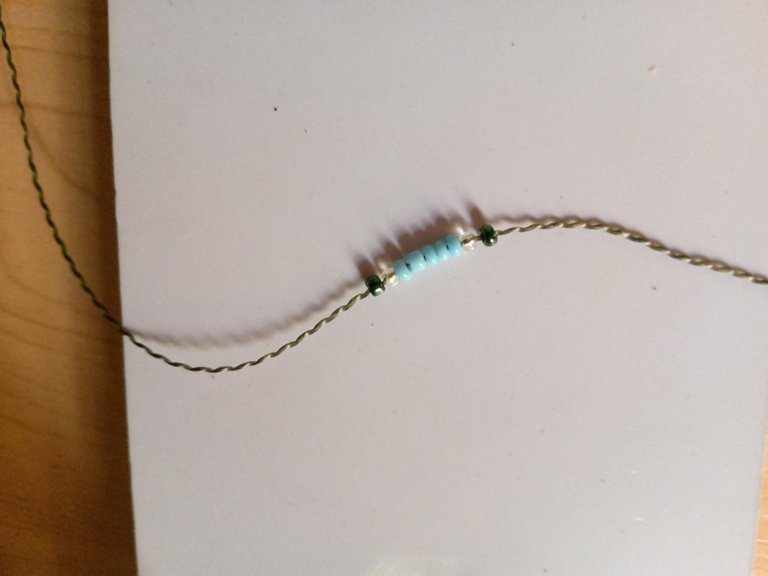
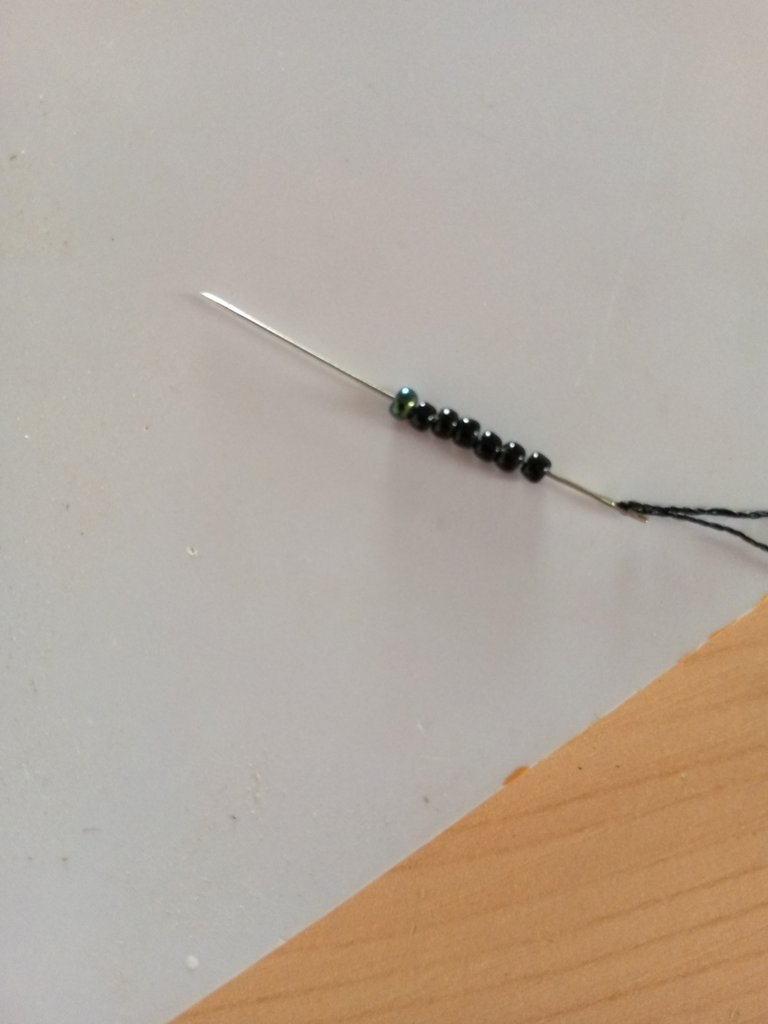
We are going to thread the needle and we will make a small simple knot at one end of the loom threads, and we are going to take 9 black beads.
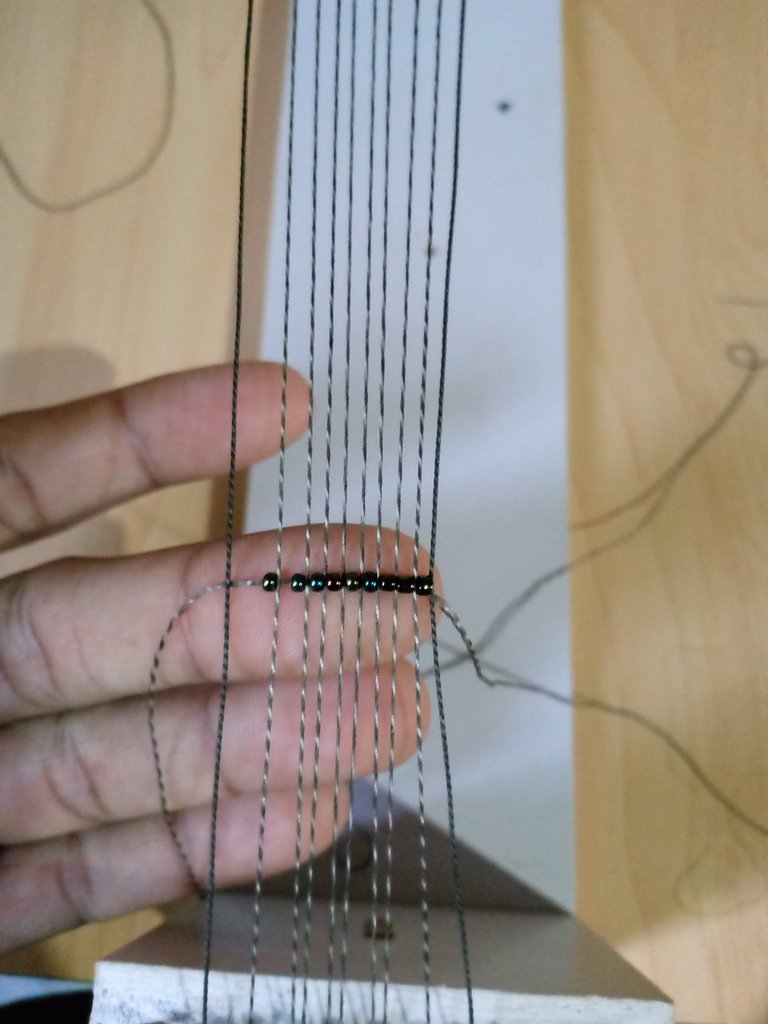
We are going to position each bead on a thread of the loom, then we are going to pass the needle with the thread through the top, and then pass the needle through the inside of each of the beads that protrude from the top.
Step 3
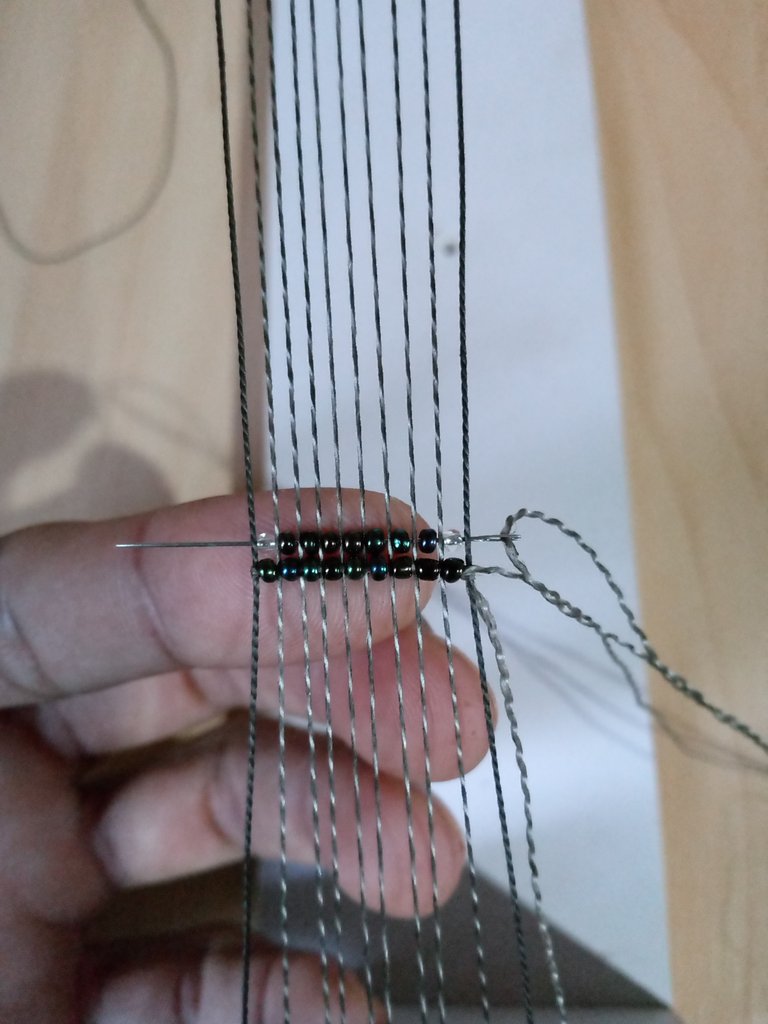
Now we are going to take a transparent bead, seven black beads and again a transparent bead.

In the same way as the previous one we are going to position it on our loom and pass the needle through the top, then we go back inside each of the protruding beads.

Step 4
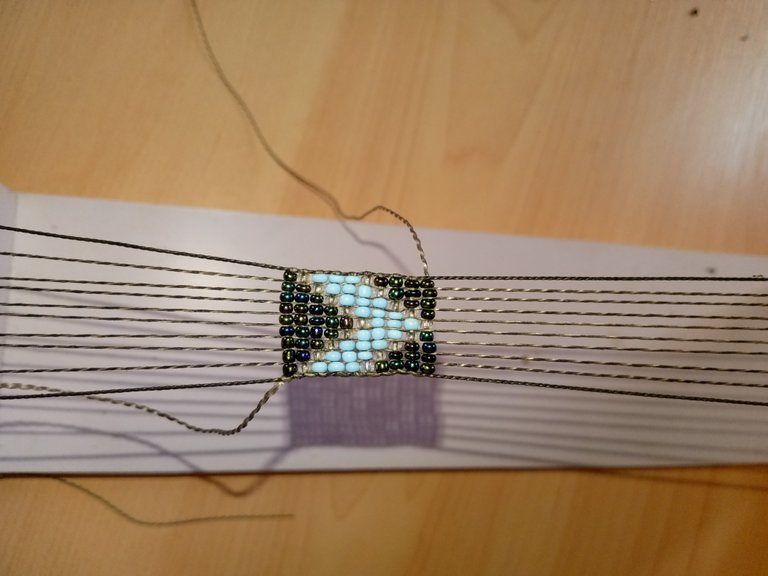
Next we will take one blue colored bead, one transparent bead, five black colored beads, one transparent bead and finally one blue colored bead.

In the same way we are going to position the beads on our loom and pass the needle through the top, then we will return inside each bead and pull the thread.

Step 5
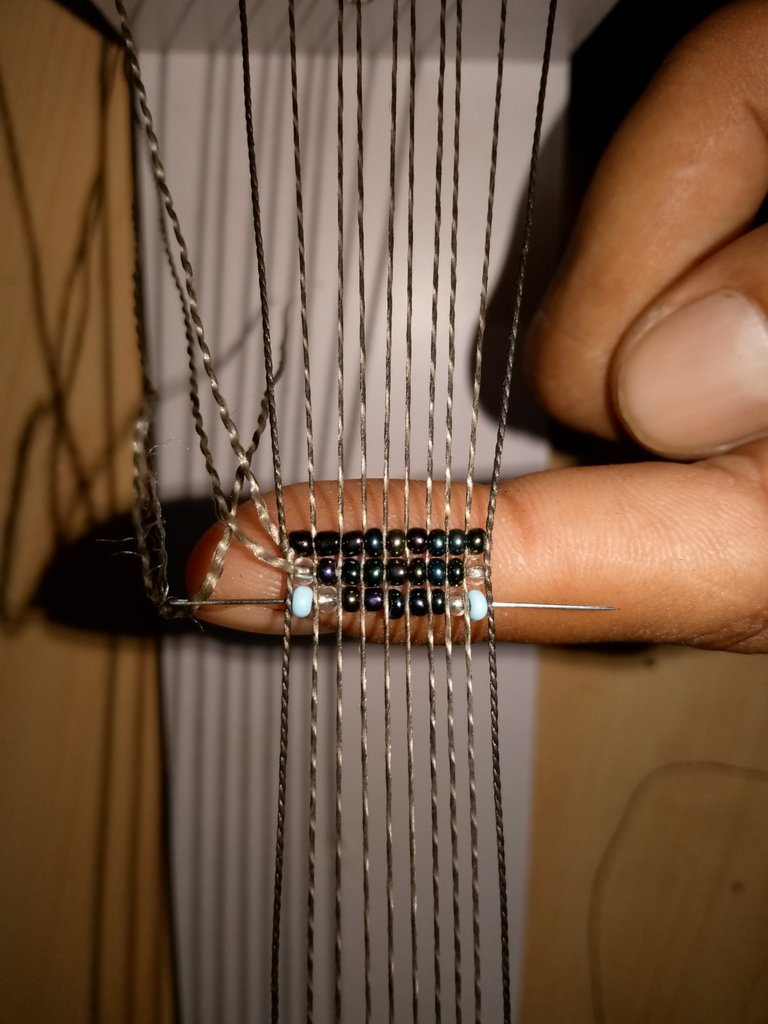
Now we are going to place on our needle two blue beads, one transparent bead, three black beads, one transparent bead and finally two blue beads.

We will continue applying the same process, we position the beads in our loom and we will pass the needle with the thread through the top, then we introduce the needle inside each of the beads that protrude at the top.


Step 6
We are going to take three blue beads, one transparent bead, one black bead, one transparent bead again and finally three blue beads

We are going to position them on the loom and repeat the same procedure of the previous steps, we position the bead on the loom, pass the needle through the top and introduce back through each of the protruding beads.

Step 7
We are going to take one clear bead, three blue beads, one clear bead, again three blue beads, and finally one clear bead.

We will continue to perform the same procedure, we position the beads on each thread of the loom, then we pass the needle through the top and we return inside each of the beads.


Step 8
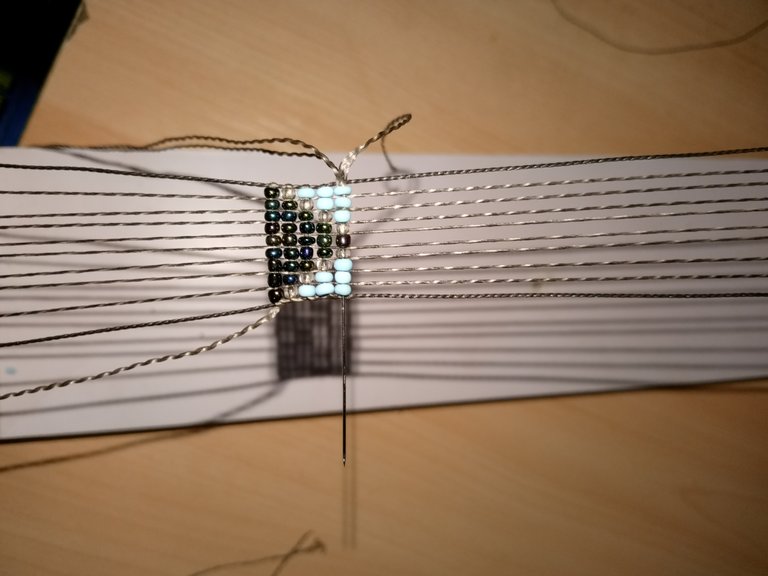
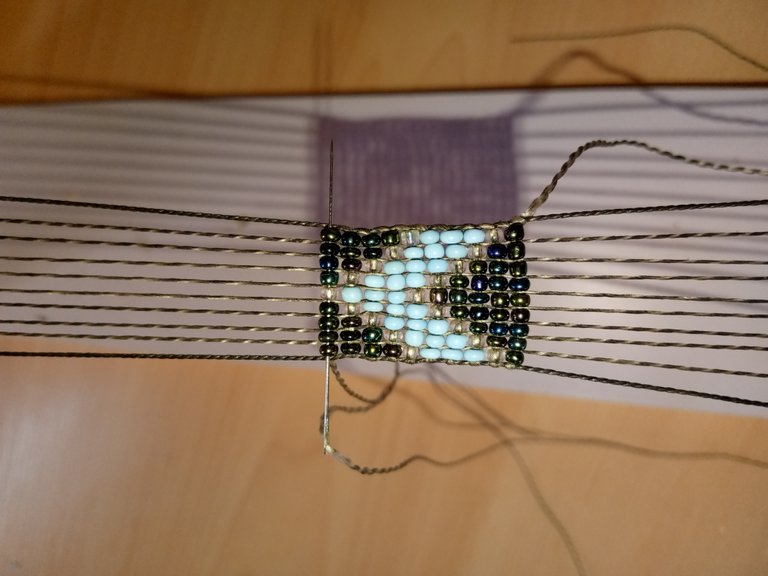
For this step we will take one black bead, one transparent bead, five blue beads, one transparent bead and finally one black bead.
We position the beads on the loom, pass the needle over the threads and introduce the needle inside each bead that protrudes.
Then we are going to take two black beads, one transparent bead, three blue beads, one transparent bead and two black beads. To repeat the same procedure

Step 9
Let's take three black beads, one transparent, one blue, one transparent and three black beads.

We position it on the loom and then pass the needle with the thread through the top and introduce it through each of the beads.

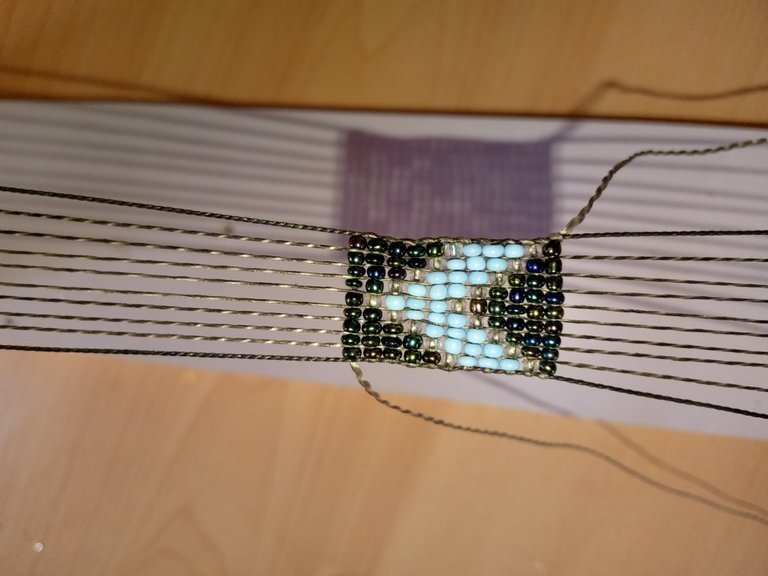
Step 10
We take four black beads, one transparent bead and again four black beads, we are going to position the bead on our loom, and pass the needle through the top to go back through each of the beads.
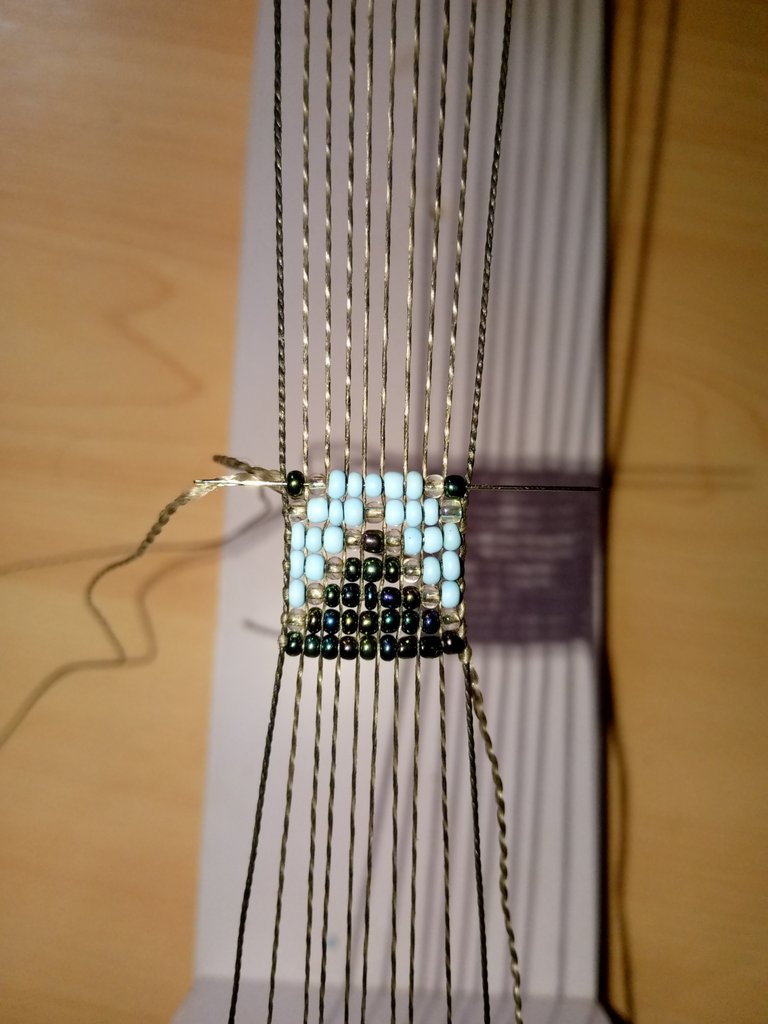
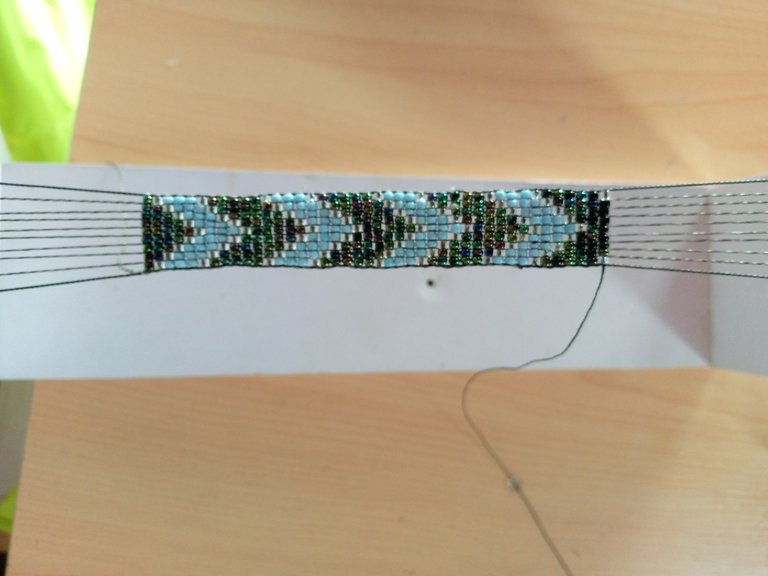
In this way we would have ready our first blue arrow, we would continue repeating each step until we have the length we need for our beautiful bracelet.
Step 11
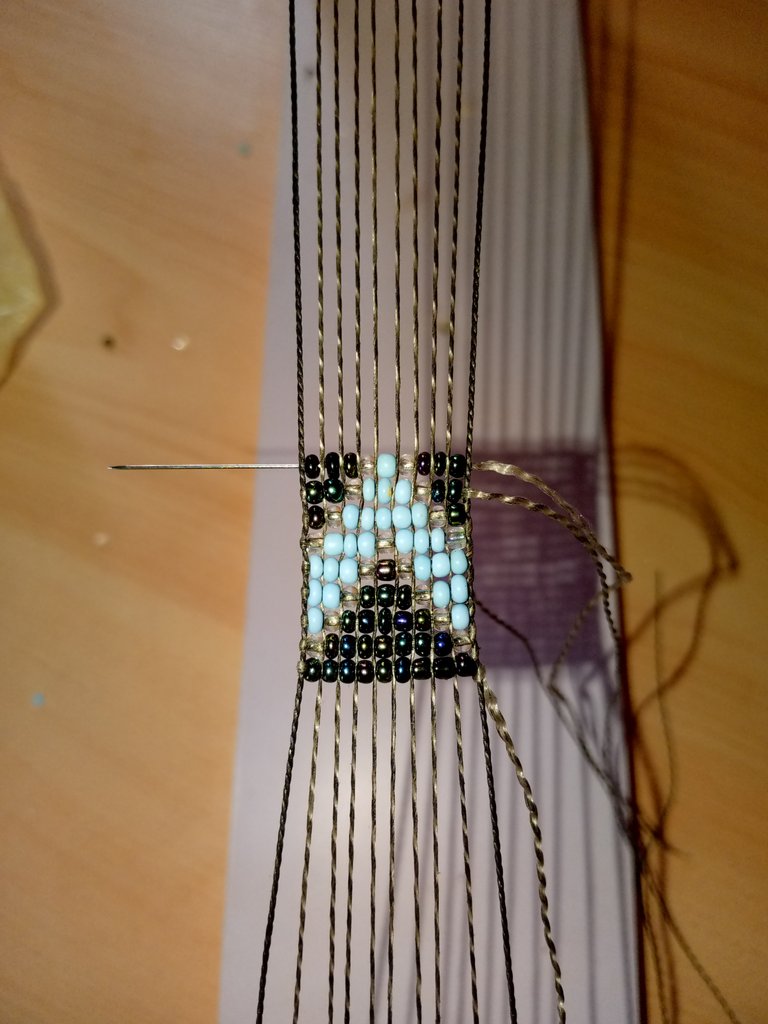
We are going to go reducing our bracelet taking seven beads of black color, in the same way we will position it to our loom, we will pass the thread through the top and then we go back through all the beads.
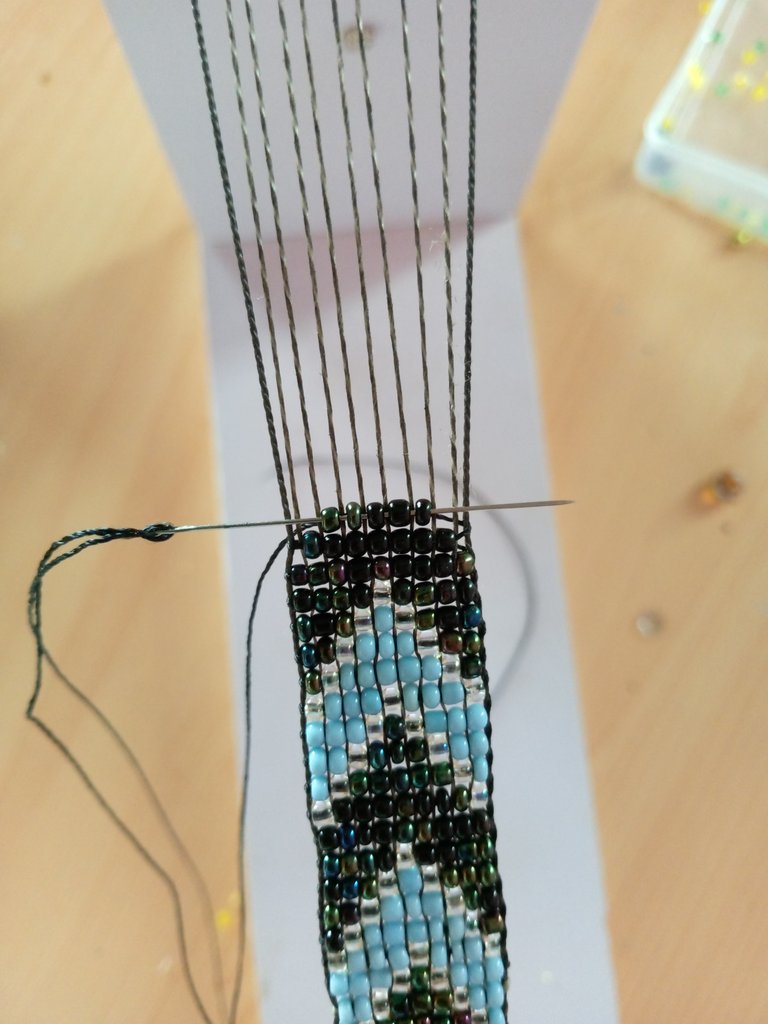

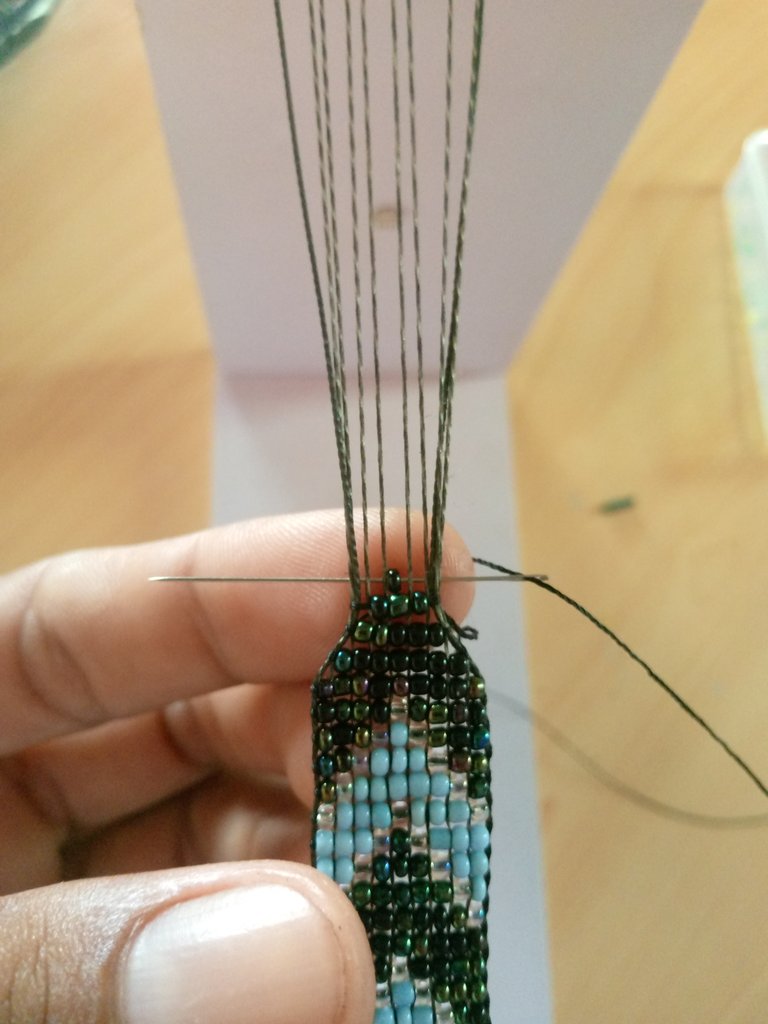
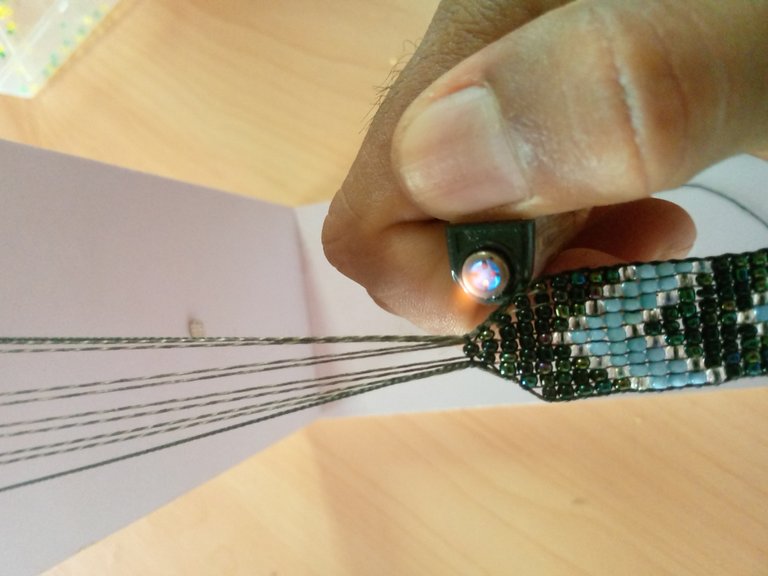
Then we are going to reduce, placing five beads, then three and finally one bead, then we will cut the excess thread and seal with the help of the lighter.
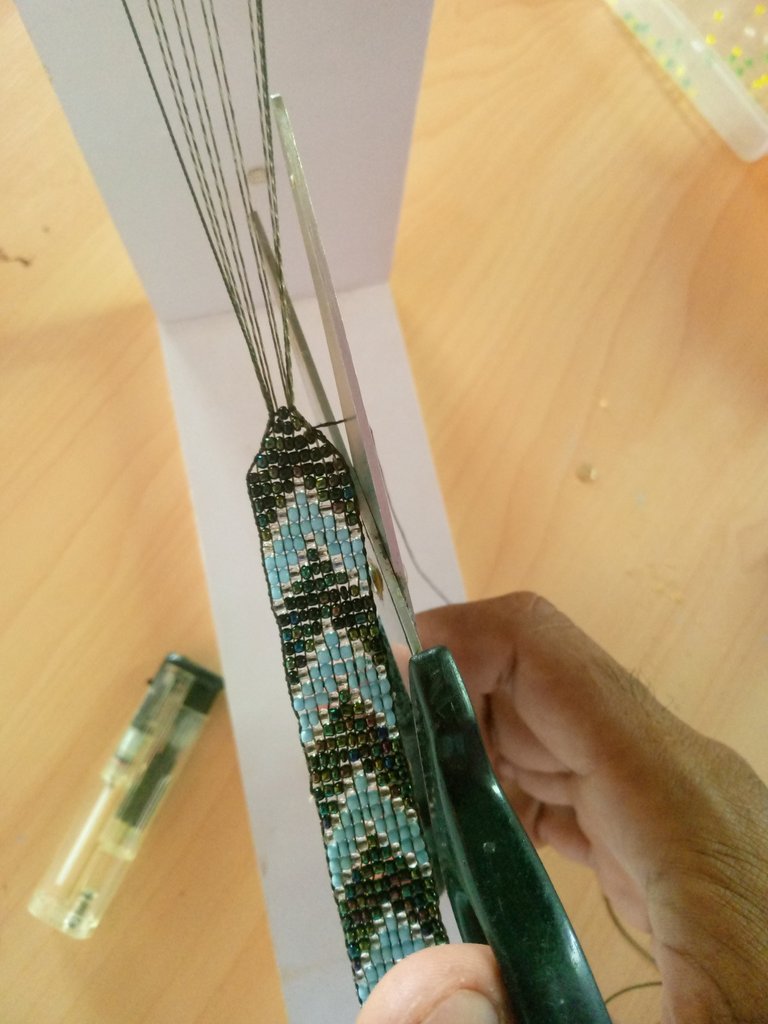
Step 12
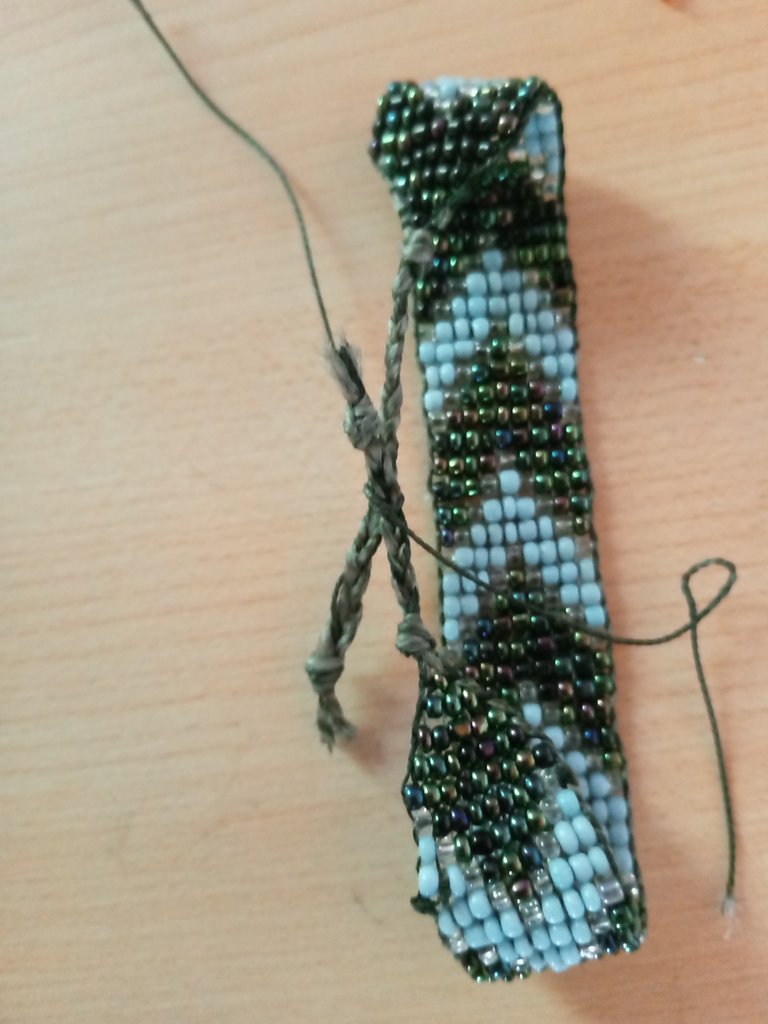
We are going to cut the threads from the loom and divide them into three parts, then we will make a simple weave, then we tie a knot to all the threads and bring where the mustard ends.
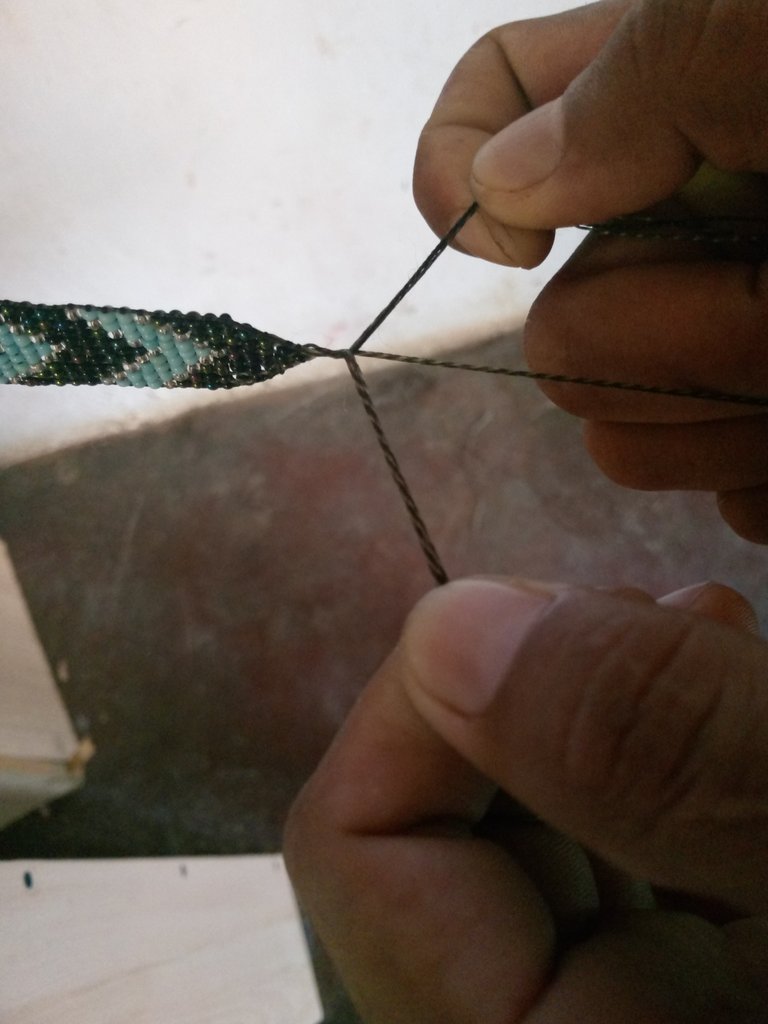
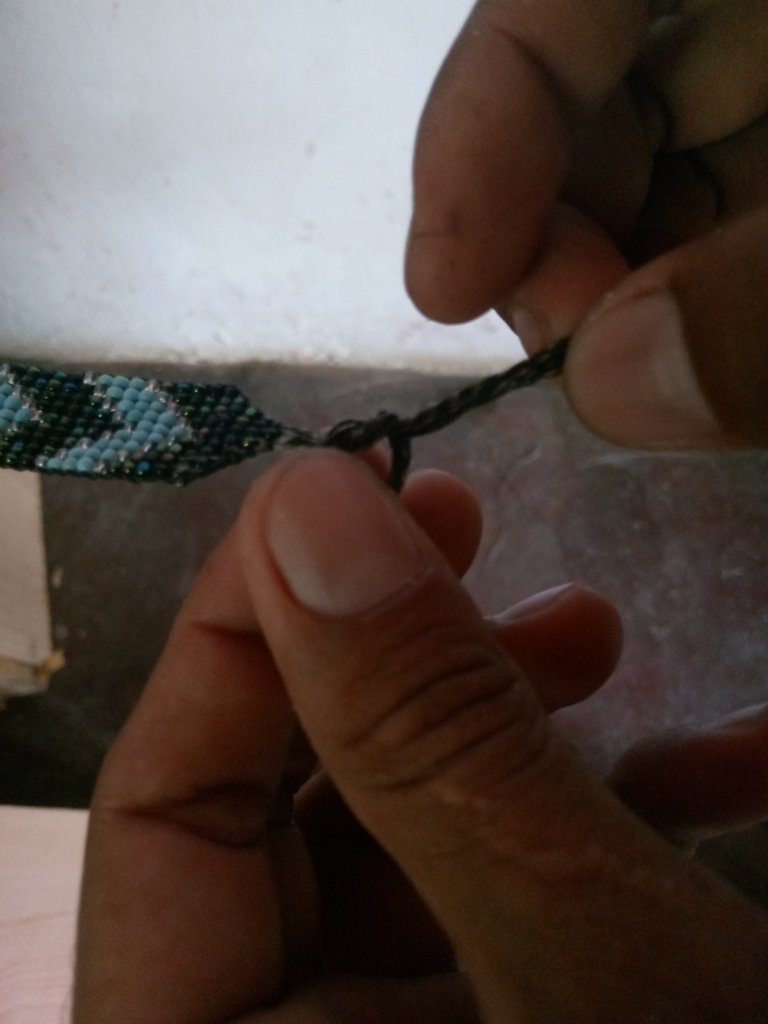
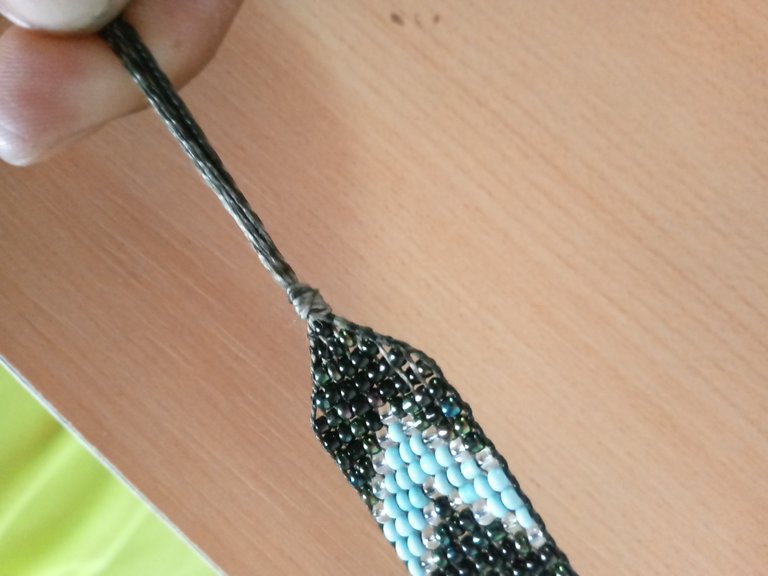
We will do the same with the end of all the threads, we will make a knot and we will tighten and cut the excess so that it is even.
We are going to do the same procedure for the other end of the bracelet.
Step 13
Finally we will join the two ends of the bracelet and with about 10cm of shoemaker's thread, we will make flat knots or slip knots.
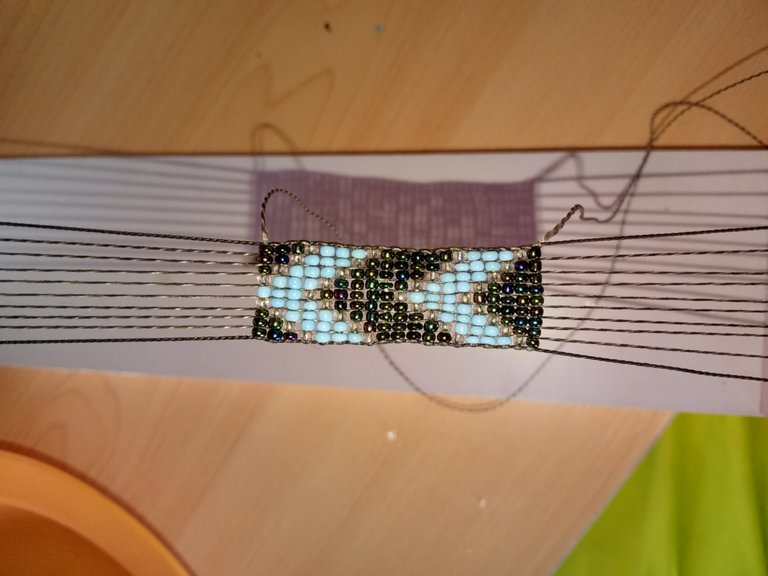
In this way we would have ready our beautiful bracelet inspired by the colors of this beautiful inspired by the colors of this beautiful character ZINGU, I hope you liked this beautiful inspiration, I wish with all my heart have a happy day and many blessings in your life.
Final Result

The photos were taken from my tecno spark Go 2023 phone.
Translator Used: Deepl
Images are edited from canva application.
Quiero mostrar a continuación los materiales utilizados para la elaboración de este hermoso accesorio de bisutería.
Materiales
- Telar de madera
- Mostacillas Transparentes
- Mostacillas de Color azul
- Mostacillas Negras
- Hilo zapatero Color Negro
- Tijeras
- Encendedor
- Aguja # 12
Ahora les estare presentando el Paso a Paso utilizado para la elaboración de este hermoso brazalete.
Paso 1
Tomaremos nuestro hilo zapatero y lo vamos a desarmar para que se haga mas facil trabajar, este hilo es muy resistente y no se rompera, luego lo colocamos ocho hiladas del hilo desarmado y colocamos dos con el hilo más resistente, en total serían 10 hiladas.
Paso 2
Vamos a enhebrar la aguja y haremos un pequeño nudo simple en un extremo de los hilos del telar, y vamos a tomar 9 mostacillas de color negro
Vamos a a posicionar cada mostacilla en un hilo del telar, luego pasaremos la aguja con el hilo por la parte de arriba, para luego pasar la aguja por dentro de cada una de las mostacillas que sobresalen en la parte de arriba.
Paso 3
Ahora vamos a tomar una mostacilla transparente, siete mostacillas de color negro y nuevamente una motosilla transparente
Del mismo modo que el anterior vamos a posicionarla en nuestro telar y pasaremos la aguja por la parte de arriba, luego nos devolvemos por dentro de cada una de las mostacillas que sobresalen.
Paso 4
Seguidamente tomaremos una mostacilla de color azul, una transparente, cinco de color negro, una transparente y por último una mostacilla de color azul.
De igual manera vamos a posicionar la mostacilla en nuestro telar y pasaremos la aguja por la parte de arriba, luego nos devolveremos por dentro de cada mostacilla y tiramos el hilo.
Paso 5
Ahora vamos a colocar en nuestra aguja dos mostacillas de color azul, una transparente, tres de color negro, nuevamente una transparente ni por último dos mostacillas azules.
Seguiremos aplicando el mismo proceso, posicionamos la mostacilla en nuestro telar y pasaremos la aguja con el hilo por la parte de arriba, luego introducimos la aguja por dentro de cada una de las mostacillas que sobresalen en la parte de arriba.
Paso 6
Vamos a tomar tres mostacillas azules, una transparente, una negra, nuevamente una transparente y por último tres azules
Vamos a posicionarlas en el telar y repetimos el mismo procedimiento de los pasos anteriores, posicionamos la mostacilla en el telar, pasamos la aguja por la parte de arriba e introducimos de regreso por cada una de las mostacillas que sobresalen.
Paso 7
Vamos a tomar una mostacilla transparente, tres de color azul, una transparente, nuevamente tres de color azul y por último una mostacilla transparente.
Seguiremos realizando el mismo procedimiento, posicionamos la mostacillas en cada hilo del telar, luego pasamos la aguja por la parte de arriba y nos devolvemos por dentro de cada una de las mostacillas.
Paso 8
Para este paso tomaremos una mostacilla negra, una transparente, cinco mostacillas de color azul, una transparente y por último una de color negro.
Posicionamos la mostacilla en el telar, pasamos la aguja por encima de los hilos e introducimos por dentro de cada mostacilla que sobresalen.
Luego vamos a tomar dos mostacillas de color negro, una transparente, tres de color azul, una transparente y dos mostacillas negras. Para repetir el mismo procedimiento
Paso 9
Vamos a tomar tres mostacillas de color negro, transparente, una de color azul, nuevamente una transparente y tres mostacillas negras
La posicionamos en el telar para luego pasar la aguja con el hilo por la parte de arriba e introducir por cada una de las mostacillas.
Paso 10
Tomamos cuatro mostacillas negras, una transparente y nuevamente cuatro mostacillas negras, vamos a posicionar la mostacilla de nuestro telar, y pasamos la aguja por la parte de arriba para devolvernos por cada una de las mostacillas.
De esta manera tendríamos lista nuestra primer flecha de color azul, nos quedaría seguir repitiendo cada paso hasta tener el largo que necesitamos de nuestro hermoso brazalete.
Paso 11
Vamos a ir reduciendo nuestro brazalete tomando siete mostacillas de color negro, de igual manera la posicionaremos a nuestro telar, pasaremos el hilo por la parte de arriba y luego nos devolvemos por toda la mostacillas.
Luego vamos a ir reduciendo, colocando cinco mostacillas, después tres y por último una mostacilla, luego cortaremos el excedente del hilo y sellaremos con la ayuda del encendedor.
Paso 12
Vamos a cortar los hilos del telar y los dividiremos en tres partes, luego haremos un tejido simple, después le hacemos un nudo a todos los hilos y llevaremos dónde termina la mostacilla.
Lo mismo haremos con el extremo de todos los hilos, haremos un nudo y apretamos y cortamos el excedente para que nos quede parejo.
El mismo procedimiento lo vamos a realizar del otro extremo del brazalete.
Paso 13
Por último uniremos los dos extremos de del brazalete y con unos 10cm de hilo zapatero, vamos a hacer nudos planos o nudos corredizo.
De esta manera tendríamos lista nuestro hermoso brazalete inspirado en los colores de este hermoso inspirado en los colores de este hermoso personaje ZINGU, espero les haya gustado esta hermosa inspiración, deseo de todo corazón tengan un feliz día y muchas bendiciones en sus vida.
Resultado Final
Las fotos las tome de mi teléfono tecno spark Go 2023.
Traductor Utilizado: Deepl
Las imágenes son editadas desde aplicación canva.
Te quedó genial amigo 💙
Muchas gracias amiga, bendiciones
Muy linda amigo .. éxitos ❤️❤️❤️💕💙
Muchas gracias 💓
Hermosa creación mi ❤️.
Amazimg Bracelet... one for me please 😜
One coming up, thank you very much
welcome 😊