DIY: Creating an accessory for an artistic make-up

Materiales:
- Cartulina
- Tijeras
- Silicon caliente
- Pinturas al frio
- Pinceles
- Lápiz
- Cartón
- Cintillo
Greetings to everyone, I hope you are having a week of rest and relaxation, today I want to share with you a work I did with my own hands today, the truth is I thought I was never going to finish it but I could do it in time because tomorrow I want to do a make up with this accessory, this time I wanted to decorate a headband using a kind of wings, these wings represent the angels, but in an opposite version because I will make a makeup of a dark Angel, since a few days ago I had this pending because I really want to do it but I have had very little free time, today I finally managed to cheer up and get time to do it.
To make these wings I bought white cardboard, because I thought it would be strong enough to stand, but it was a mistake, luckily I thought of a solution and I managed to get the wings straight haha.
Materials:
- Cardboard
- Scissors
- Hot silicon
- Cold paints
- Brushes
- Pencils
- Cereal cardboard
- Headband

Once I had my materials ready on the table, I took the white cardboard and with a pencil I began to draw the shape of the wings, making a small one, a medium one and a bigger one, I helped myself a little with the headband to measure to the eye how big I wanted the wings to be.
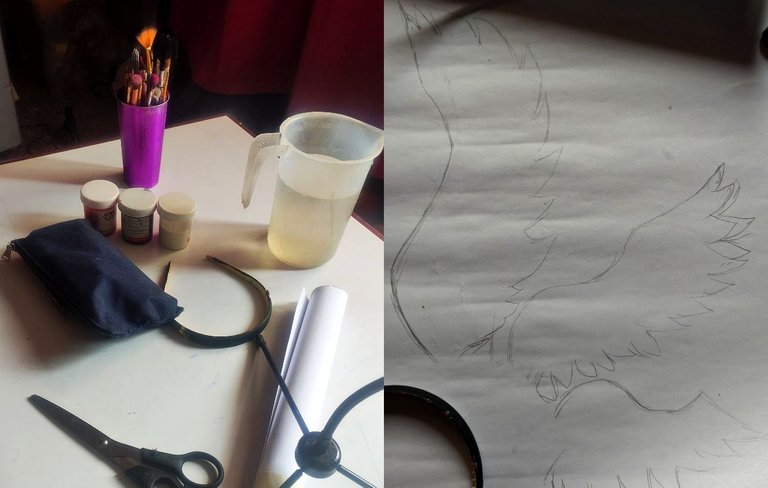
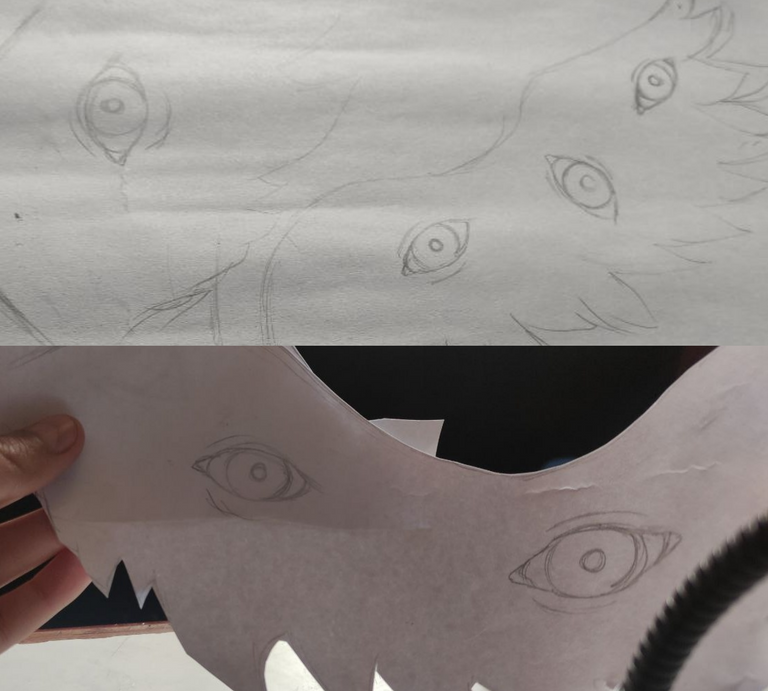
I began to draw the eyes, then I cut out the wings, after cutting them out I used them as a template to make the wings on the left side, I also cut them out and drew the eyes.
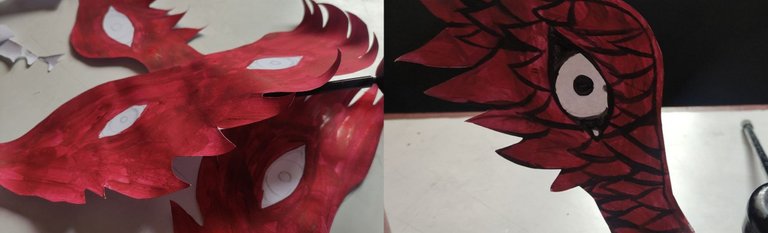
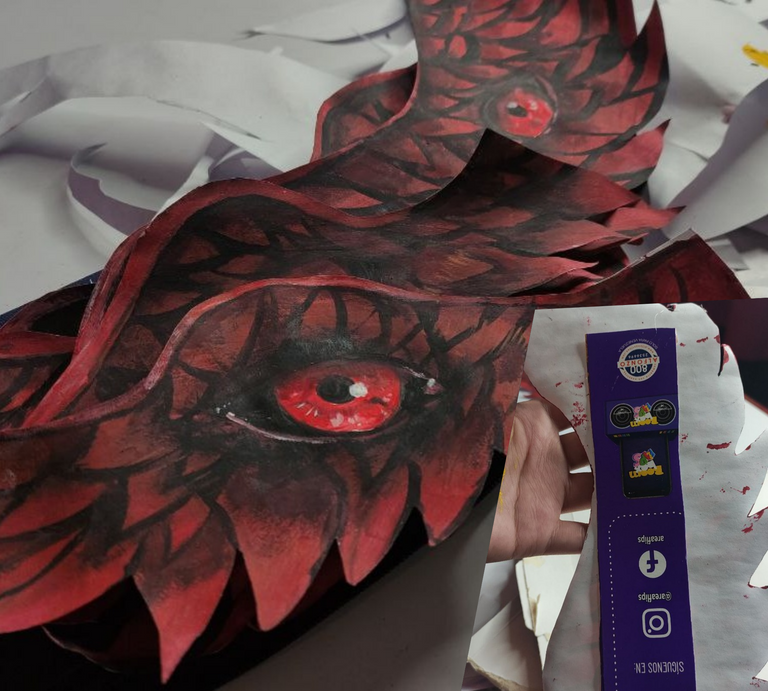
To paint I used cold paints, I have a red cold paint but the red was too ugly and flashy, so I took some red paint and mixed it with a drop of blue giving it a darker tone, it looked pretty nice, I started to paint each wing filling it with red and then letting it dry, with black paint I traced the lines of the "feathers" and also outlined the eyes, I filled with black the white part of the eyes and pupils, leaving the iris in white, at this point I didn't have much faith in how it was turning out because it looked pretty ugly lol, but I gave it a chance and trusted the process.
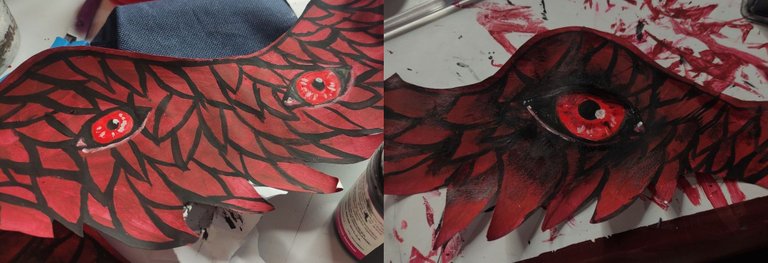
I filled the iris with red, this time I used the red directly from the paint as I wanted a more striking red, with white paint I added some highlights to the eye, then I used a dry brush to start shading it with black paint, I took some paint and left the excess on a sheet and then painted and gave it this shading around the eye and under each feather.
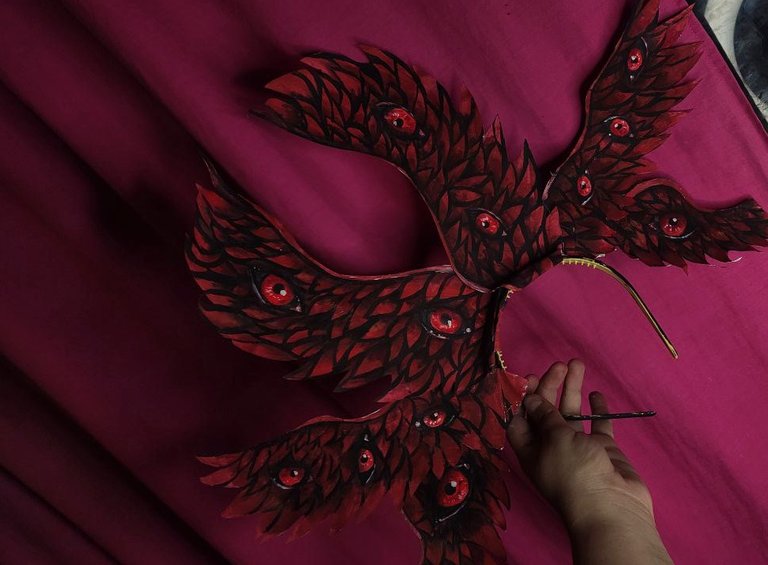
I did all this process in each wing, this took me a lot of time but I wanted it to be perfect, during all this time since I started forgot that i leave the silicone gun on, I really thought that this job would take me little time and I left it heating, when I remembered I realized that had already finished almost all the silicone bar, I had to move very fast and glue the wings with the little silicone I had because I have no more sticks left hahaha, this was the most stressful part because some wings were out of place but I could not do much, if I peeled it off I would lose silicone and it was very likely that they would be damaged, however it was not so bad, the problem was when I glued all the wings and I realized that obviously the white cardboard had been weakened by all the paint, then I decided to improvise and took a cereal box, cut it and began to paste strips behind the wings to help stabilize it and keep it straight, it worked very well!
Although the right side does not look the same as the left, I'm very happy to have made this accessory that I'm sure will look great with tomorrow's makeup, it's fun to create with our hands things that we can take advantage of one way or another, I always say that I'm not good to do things that are related to crafts so I feel quite proud when something looks good haha.
I hope you liked it!
Impresionante trabajo, ya quiero ver ese maquillaje acompañado de este accesorio.
Muchisimas gracias!! ya esta hecho ☺
https://twitter.com/1577117567721816068/status/1644572125976510467
The rewards earned on this comment will go directly to the people( @tere.alv ) sharing the post on Twitter as long as they are registered with @poshtoken. Sign up at https://hiveposh.com.
Hermosa creatividad.....has hecho un gran trabajo @alexa.art
Gracias!!
so your doing biblical angel i guess the prop looks so good i love the eye details
Yep!! thank you so much ❤
This is great. I forget how simple props can be some times. I always think they need to flawlessly constructed and incredibly detailed, but this reminds me that they can be made from almost anything, and at a very low cost, too!
Yes, sometimes I limit myself a lot thinking exactly the same thing, but there are really things that can be done very easily, even with recyclable materials 😁
The finished product looked like 3D art. I like the details of the eyes! That's very creative of you to create such accessories. For sure the accessories look great in you.
Wow! thank you so much i really appreciate it
Por un momento pense eran reales los ojos, luego vi el paso a paso y eran pintados :o estan tan bien pintados que parecen reales 😍
Que bueno! me alegra saber que al menos dan esa impresion, te lo agradezco!! 🥰