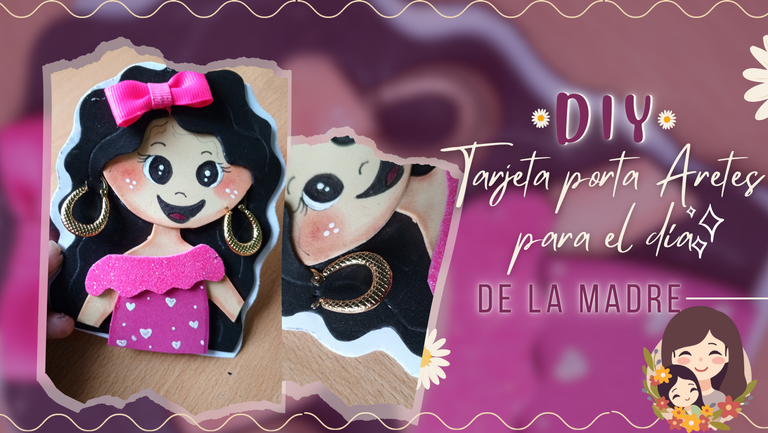
DIY: Mother's Day Earring Holder Card🌷🤱🏻
Sin más, aqui te muesto✨🌷
Hello Creative Friends✨! I hope everyone is feeling great and that you all had a Happy Labor Day! I wish you much success and a fantastic start of the month. Around here we are doing well. In May we celebrate a very nice holiday, although I make it a special day every time I can, it is also nice that there is this day, Mother's Day, and that is why I bring a nice idea of earring holder card, so you can give a simple gift but also leave a very nice message, as always this is just an idea that certainly can customize to your liking ...
Without further ado, here I show you✨🌷.

🌷 Materiales:
- Cartulina blanca
- Foami liso color piel, fucsia y negro
- Foami escarchado fucsia
- Pintura al frío blanca
- Marcador negro
- Silicón
- Hoja de color rosa
Materials: 🌷
- White cardboard
- Smooth skin, fuchsia and black colored Foami
- Fuchsia frosted Foami
- White cold paint
- Black marker
- Silicone
- Pink sheet
🌷Paso a Paso | Step by Step🌷
✨ En una hoja dibuje una muñequita, tomando algunas referencias de Pinterest, seguidamente utilicé esta misma como patrón y transferí todas las piezas al foami correspondiente a cada color. En la parte del cabello, con ayuda de un exacto realicé una abertura en el cabello y por allí inserté y pegue lo que seria el rostro.
✨ On a sheet of paper I drew a little doll, taking some references from Pinterest, then I used it as a pattern and transferred all the pieces to the foami corresponding to each color. In the part of the hair, with the help of an exacto I made an opening in the hair and there I inserted and glued what would be the face.

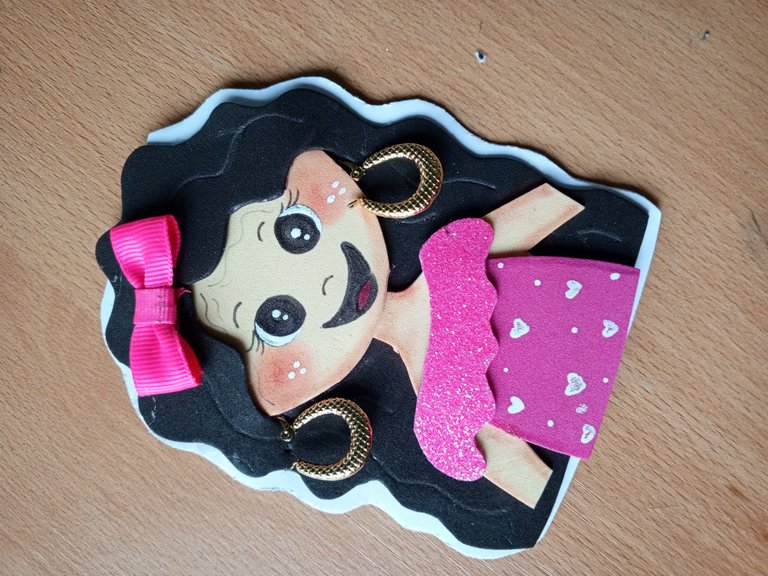
✨ Luego pegué el cuerpo y sobre este procedi a pegar la blusa de la muñeca, adicional utilicé un puntero y afincado un poco hice detalles en el cabello. Con un poco de contorno, le di un poco de color al cuerpo y rostro difuminando sus bordes.
✨ Then I glued the body and on this I proceeded to glue the doll's blouse, additional I used a pointer and I made some details in the hair. With some contouring, I gave some color to the body and face blurring its edges.

✨ Con pintura al frio negra y un pincel delineador le realice los ojitos, a los cuales le di luz con un poco de blanco. Con rubor realicé las mejillas e igual con pintura blanca le di un poco de luz, además aproveche y realice corazones y puntos muy diminutos como detalles de la blusa, y con un retazo de cinta le hice un mini lazo para adornar su cabello.
✨ Luego, pegué la muñequita sobre una cartulina blanca doblada a la mitad y recorte dejando la unión de esta en la parte superior sin recortar por completo para que de wsta forma abra y cierre.
✨ With black cold paint and an eyeliner brush I made the eyes, to which I gave light with a little white. With blusher I made the cheeks and with white paint I gave her a little light, I also made hearts and very tiny dots as details of the blouse, and with a piece of ribbon I made a mini bow to decorate her hair.
✨ Then, I glued the doll on a white cardboard folded in half and trimmed leaving the union of this at the top without cutting it completely so that this way it opens and closes.

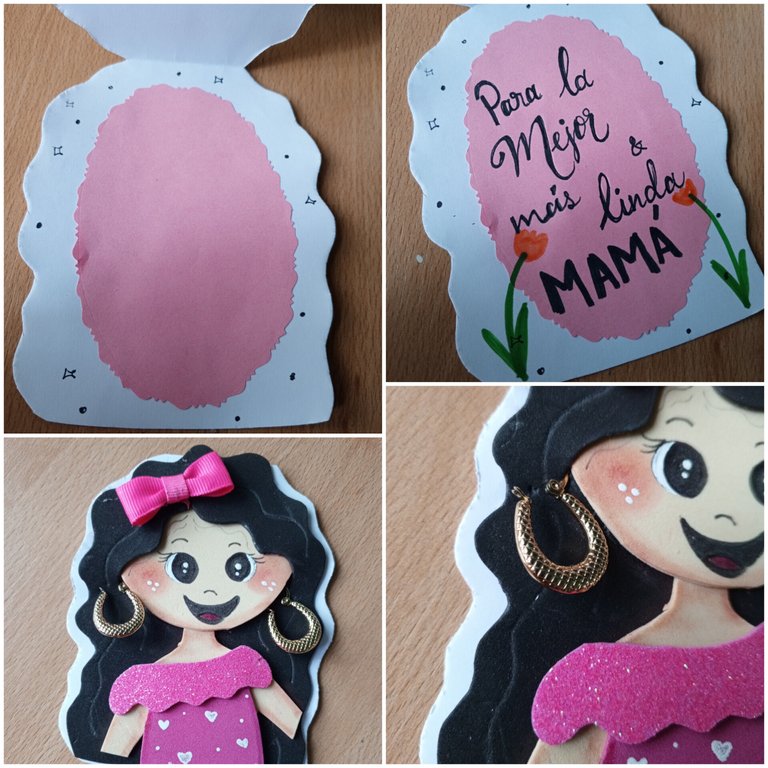
✨ En el interior de la tarjeta pegue un óvalo con hoja de color rosa, sobre el cual escribí un mensaje (aquí puedes escribir lo que desees), y decoré con algunos tulipanes en marcadores. Por último solo queda abrir unos pequeños agujeros a la altura de lo que sería las orejas para justo alli insertar los aretes.. ¡Culminando así este detalle!
✨ On the inside of the card I glued an oval with pink leaf, on which I wrote a message (here you can write whatever you want), and decorated with some tulips in markers. Finally all that's left is to open some small holes at the height of what would be the ears to insert the earrings right there... Thus completing this detail!
Resultado | Result🌷✨
Muchas veces pensamos que para sorprender a alguien especial necesitamos mucho dinero y no, realmente si queremos sorprender con un detalle especial y siempre que sea desde el amor, aqui tienes una bonita idea que realmente espero te sea útil, ademas que últimamente esta muy en tendencia dar obsequios con esta temática de muñequitas..
Sin mas me despido hasta una nueva manualidad 🌷🩷🩷
Many times we think that to surprise someone special we need a lot of money and no, really if we want to surprise with a special detail and always from love, here is a nice idea that I really hope you find useful, besides that lately is very in trend to give gifts with this theme of dolls.
Without further ado I say goodbye until a new craft 🌷🌷🩷🩷

📷Ediciones | Editing in Canva and Picstar
✨Traducciones | Translations in Deepl
Demasiado hermosa y muy bien explicada esta tarjeta para mamá, gracias por compartir el paso a paso
Gracias a ti por pasar y tomarte el tiempo de apreciar🩷✨
Eso quedó muy hermoso 😍
Gracias mi Eve🩷
Que creatividad mi Aliz!!! Te quedo demasiado bello 🥺😍😍 Mi mamá es fan de los accesorios así que sin duda le encantaría. Gracias por compartir 🩷
Ayyy, sería muy bonito ver su cara al sorprenderla así..
Gracias mi Vane linda 🩷🩷
Ay ño mio pero que cosita más preciosa vale. Me encantan los detalles y el amor que le imprimes a todo lo que haces. Esta hermosa ami
Tan linda mi Ro🌷
Gracias amiga, siempre con comentarios tan lindos! Te quiero..
Al principio no entendí bien cómo funcionaba lo de la tarjeta porta aretes, pero debo decir que me encantó la idea. Muy buen trabajo.
Me alegra te haya gustado.. saludos! 🩷✨
preciosa!, toda hecha de foami!
Gracias muñeca 🩷🌷
This card looks really super cute, 🥰😘 it's such an easy and creative idea 💡
Thank you beautiful ✨🌷
Esto está bellísimo ami ❤️ Que tarjeta tan bella y creativa, amé la idea, es un detalle hermoso 😉
Asusuu!!
Gracias mi Mary linda, me alegra mucho te haya gustado🩷🩷
😍Amiga, pero que idea tan creativa, me encanto esto, y me encantaría hacer una así para mi mamá, a ella le encantan los zarcillos y sería una gran sorpresa regalárselos en una tarjeta tan linda como esta. Gracias por compartir esta brillante idea.😘
Espero puedas sorprender a tu mami con una tarjeta muy especial.. gracias por pasar amiga🩷✨
Gracias por el apoyo🩷
Me encanta esta idea para regalar unos zarcillos Ami!!! Cómo siempre haciendo cosas hermosas y súper creativas 💗. Un hermoso detalle para las mamis ✨💕
Como tú, siempre creando preciosuras!
Gracias por pasar ami y como siempre por dejarme un comentario tan lindoooo, te ailoviuuuuu🌷🩷🩷🩷🩷
https://twitter.com/hivediy47901/status/1786247696866574365
Contáctenos para saber más del proyecto a nuestro servidor de Discord.
Si deseas delegar HP al proyecto: Delegue 5 HP - Delegue 10 HP - Delegue 20 HP - Delegue 30 HP - Delegue 50 HP - Delegue 100 HP.