Building The Garden Railway, Part 4, Connecting the Turnout
Hello, hivers!
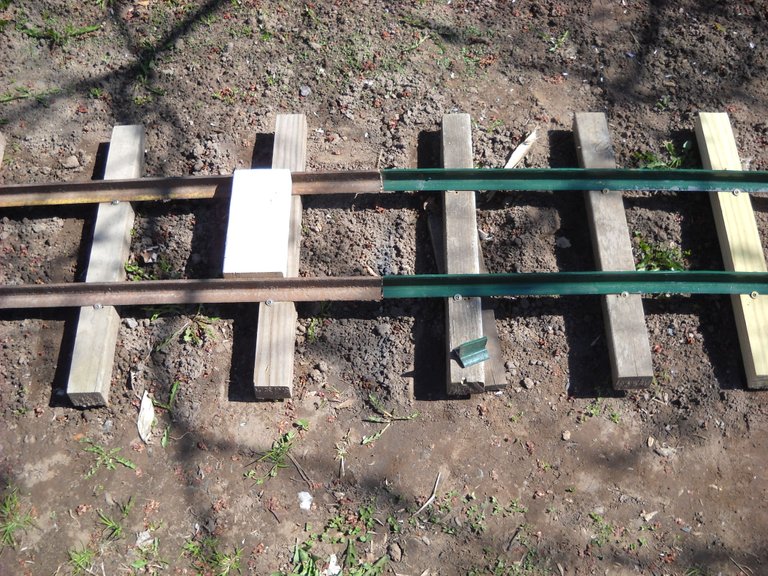
Continuing from the last post about the garden railroad, after the turnout was more or less finished, It was time to connect the rest of the track to it. In order to connect the turnout to the track going to the greenhouse, I had to make another section of curved track to fit between the turnout and the straight sections running to the greenhouse. You can see the reason for making a curve section from this picture.
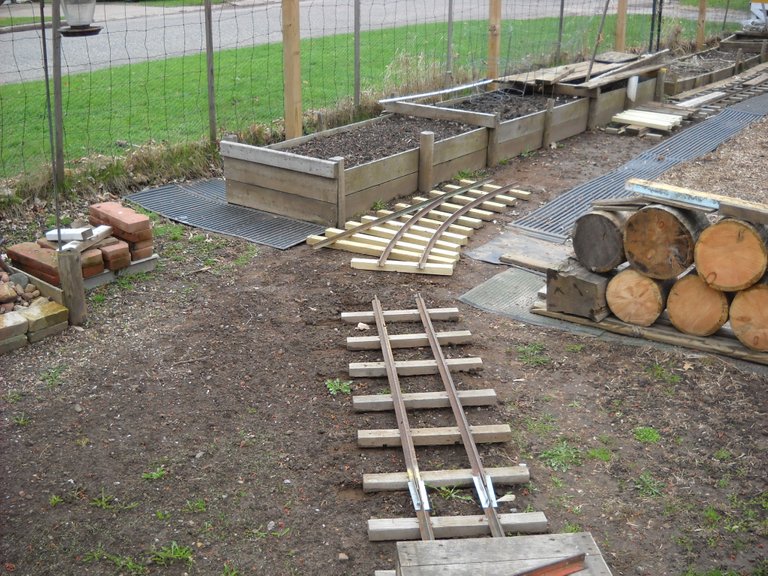
I had to figure out how much to curve the rails to connect the track to the turnout. That was mostly a matter of trial and error to get the first rail bent to the right curve. As you can see, I had not yet cut the "fin" off the fence post. You can also see that I had attached a straight section to the other end of the turnout.
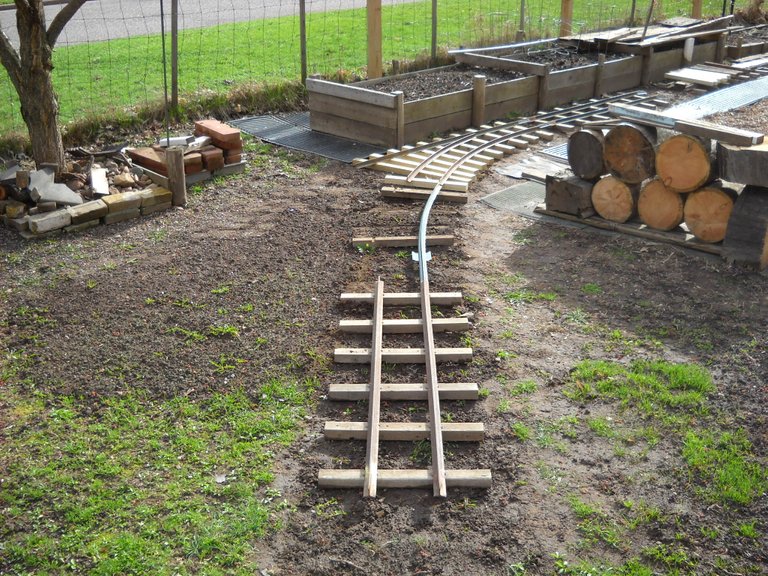
Once I had the first rail bent to fit the inside of the curve, I used it as a guide to bend the other rail to match the outside of the curve.

Once I was satisfied with the curve of the rails, I cut the "fin" off each rail, along with the lumps on the back side so the rail would sit flat on the ties.

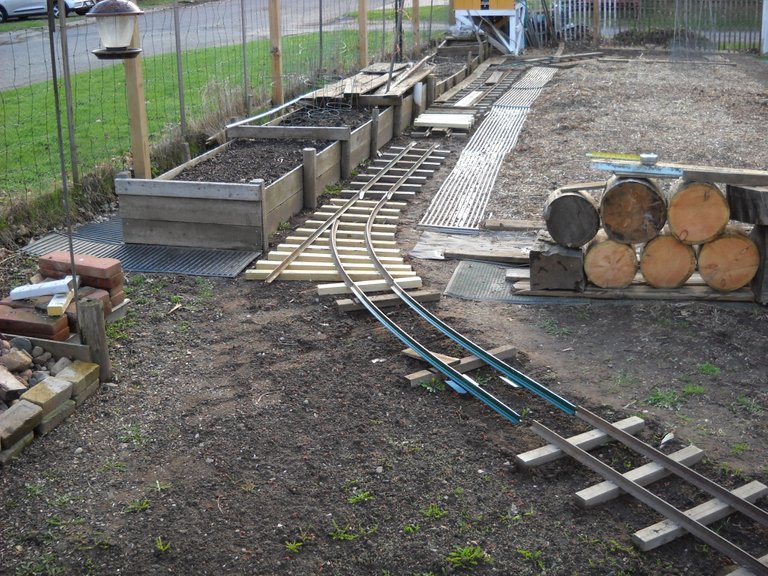
After screwing the rails down to the ties, I was able to fit the curve section to the next straight section. I had to cut a bit off the end of one of the rails to get it to fit properly. I used an angle grinder with a cut-off disk.
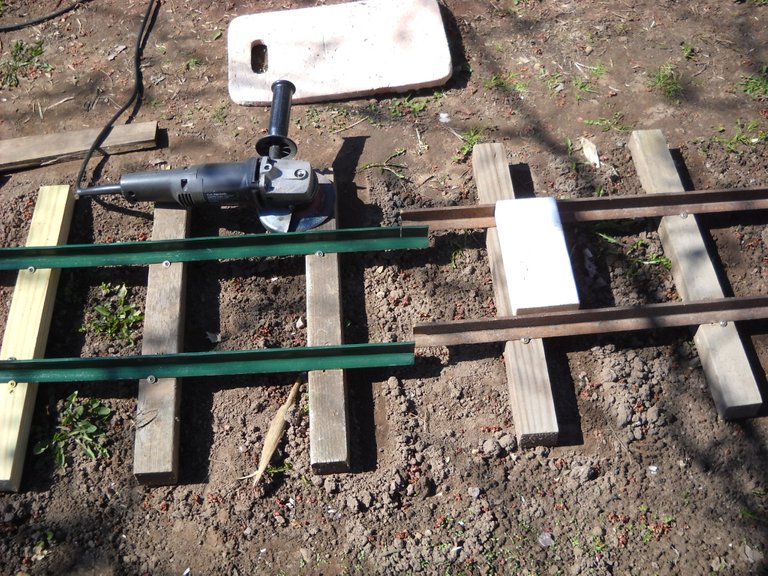
Once I got the curve to fit the straight section, I had to drill holes in the rails for the rail connectors. I had built a small drilling jig to try to get the holes all spaced the same so that I didn't have to custom fit all the rail connectors. This is the straight section.
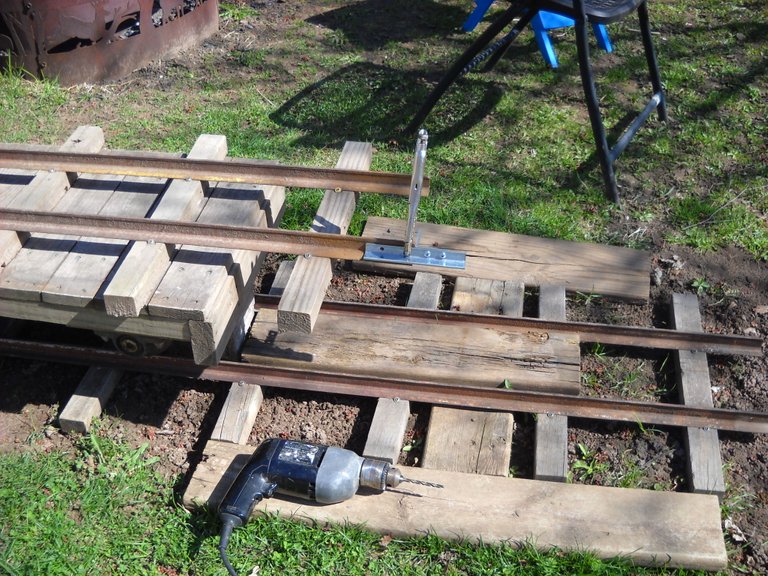
You can see the hole in the end of each rail. I had to do this on both ends of every rail in order to fasten them together.
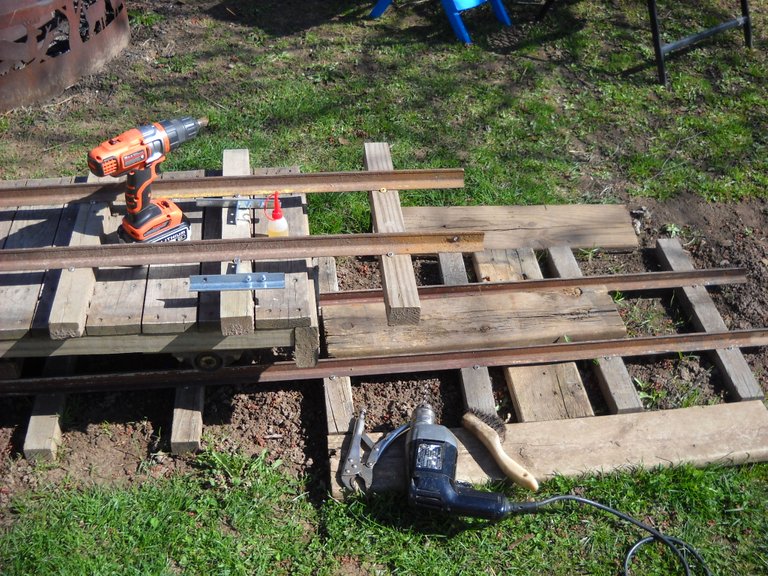
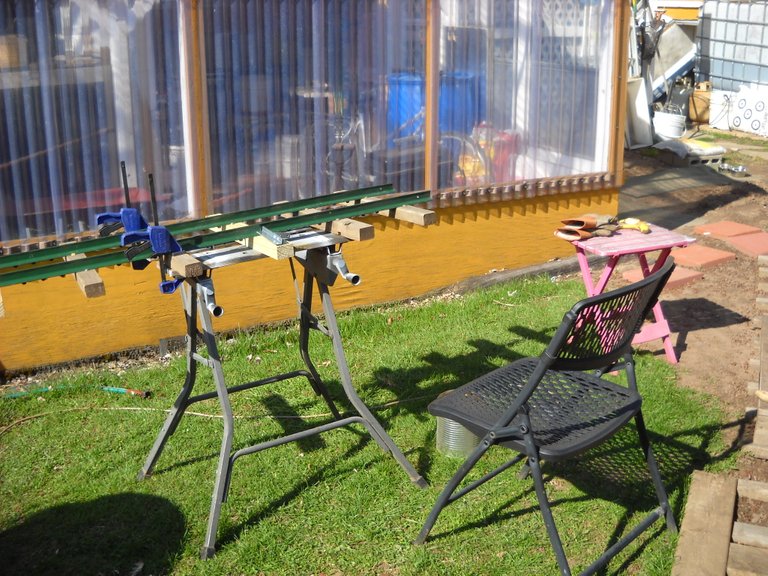
Next, I drilled the holes in the curved rails. I decided that it would be easier to drill the holes with the track on the work bench, less bending over.
With the track ends drilled, I was able to put the sections together. You can see the track connectors that I made from short pieces of plated angle iron.
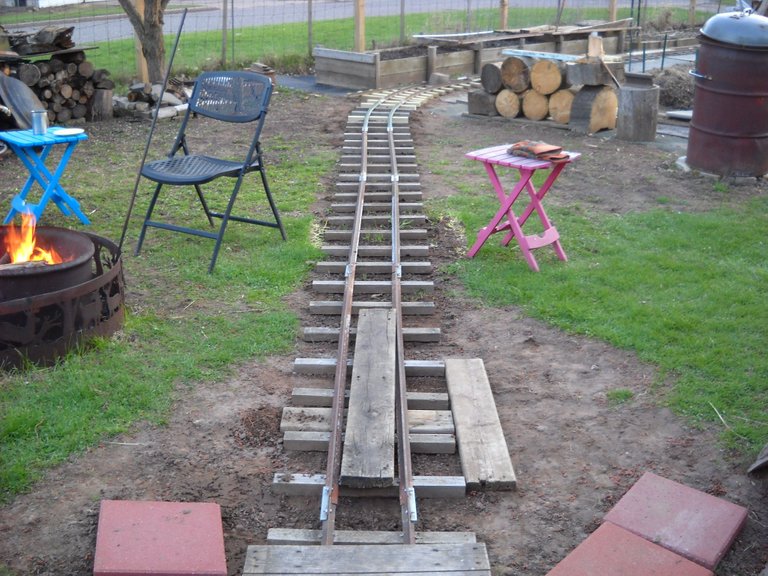
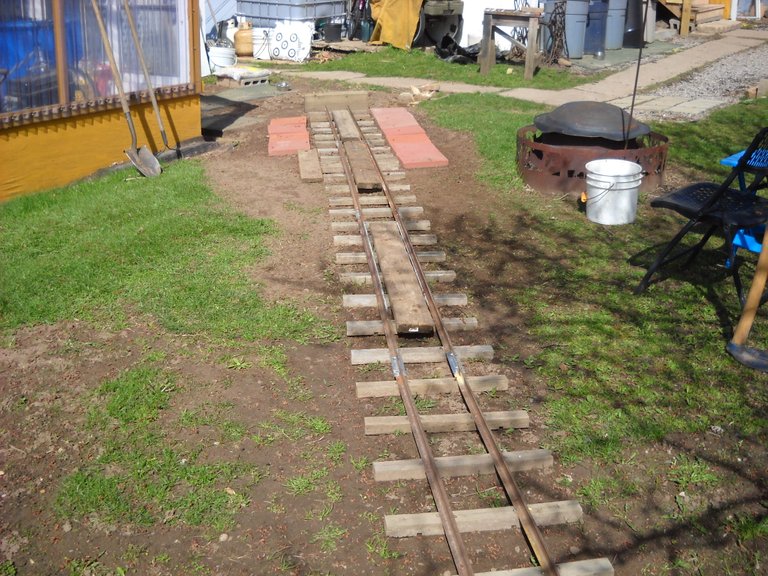
The view from the turnout toward the greenhouse. The boards between the rails make it easier to roll the wheelbarrow over the track.
That's all I have for this post. In my next railroad post, I'll start building the other way from the turnout.
Thanks for stopping by to check out this post! I hope you found it interesting!

Your content has been voted as a part of Encouragement program. Keep up the good work!
Use Ecency daily to boost your growth on platform!
Support Ecency
Vote for Proposal
Delegate HP and earn more
There is a God! Where have you been all my Hive life? I won't comment and ask questions until I've flipped back to see your gauge and the locos you'll be running. Thank you so much for this :-)
Thanks for checking out the posts!
I'm build it railroad to 7-1/2 inch gauge. I don't have a loco yet, just a 2 axle flatcar. I'm hoping to start getting the parts together to build a basic 2 axle electric drive locomotive this winter.
Amazing. Should make transport of things across garden easier.. was that intention?
Transporting stuff was definitely part of the goal, but there's also the fun side to it, riding the flatcar, just for the fun of it.
Geez, You do so much to get the whole thing set up properly. I find it fascinating!
This was really just the beginning... 😀
Congratulations @amberyooper! You have completed the following achievement on the Hive blockchain and have been rewarded with new badge(s) :
Your next target is to reach 52000 upvotes.
You can view your badges on your board and compare yourself to others in the Ranking
If you no longer want to receive notifications, reply to this comment with the word
STOPWhat a cool idea. I have no idea how many fence posts I've seen and not once did they resemble train tracks. Good one. Are you using a brake or bender or anything, is it pretty forgiving to work with?
The T posts are made of a fairly hard steel, so they don't bend as easy as you might think. Of course, they bend easier than you might want when they're being used as a fence post.
I don't have any kind of specific bending tool, I bend them between the frames of the V shaped tongue of my trailer. I put a slight bend in one spot and then move the rail a bit and repeat. It takes a bit of work and rework to get the bend you want, but it works.