Rebuilding My Travel Trailer, Part 7, More Work on the Front
Hello, hivers! Welcome to my page!
As I said at the end of my last post about the trailer, I had finished the upper frame work on the front of the trailer, and the next part of the project was to build a lower frame to support the skin on the lower part of the front.
I started that part of the project by trimming back the floor plywood on either side of the trailer hitch frame to make it easier to attach the framework to the floor framing. With the floor trimmed back, I could attach wood framing directly to the sections of 2X4 in the floor frame.

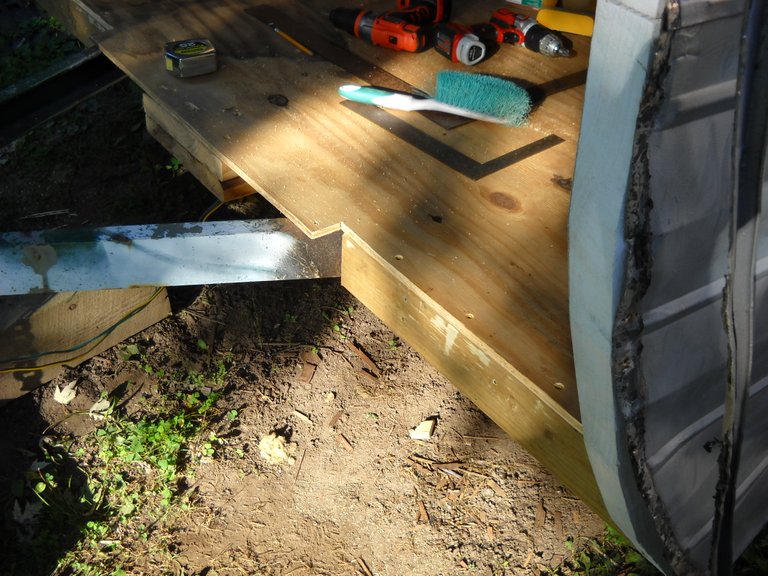
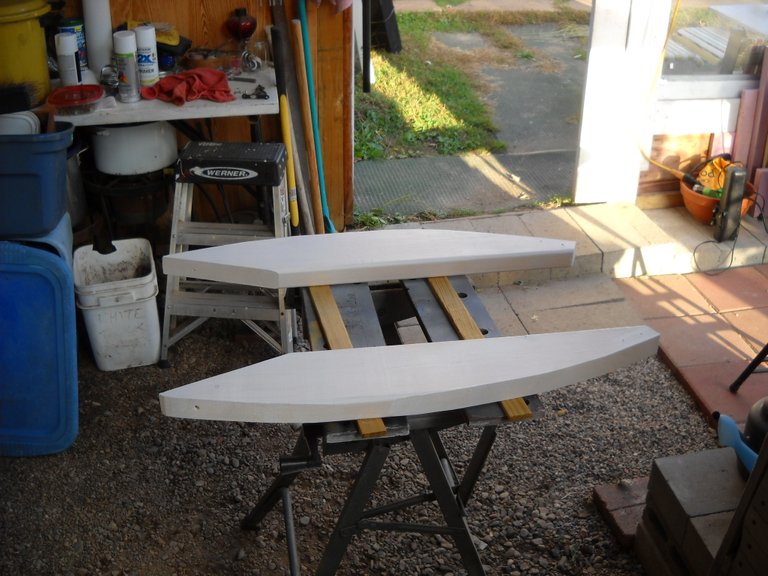
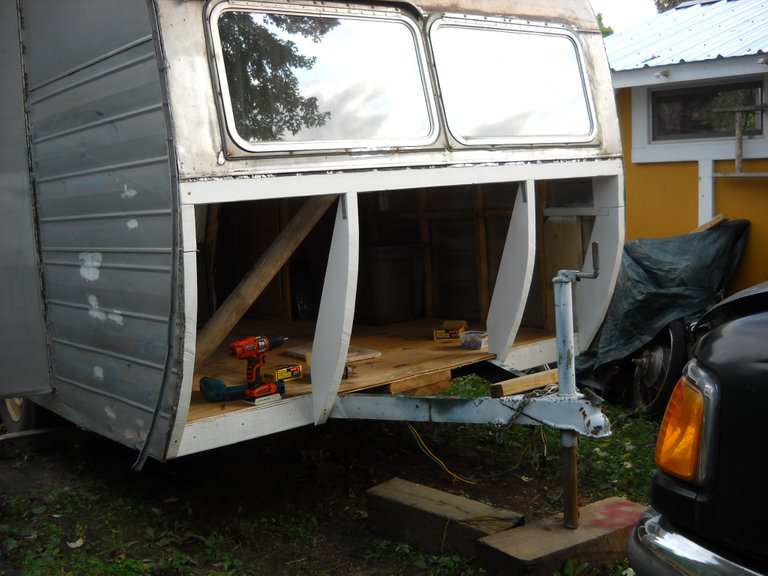
With that done, I took a couple of pieces of 2X8 and cut the frame braces for the vertical section in the middle of the trailer front.

I put a coat of paint on them to help protect them from possible leakage.
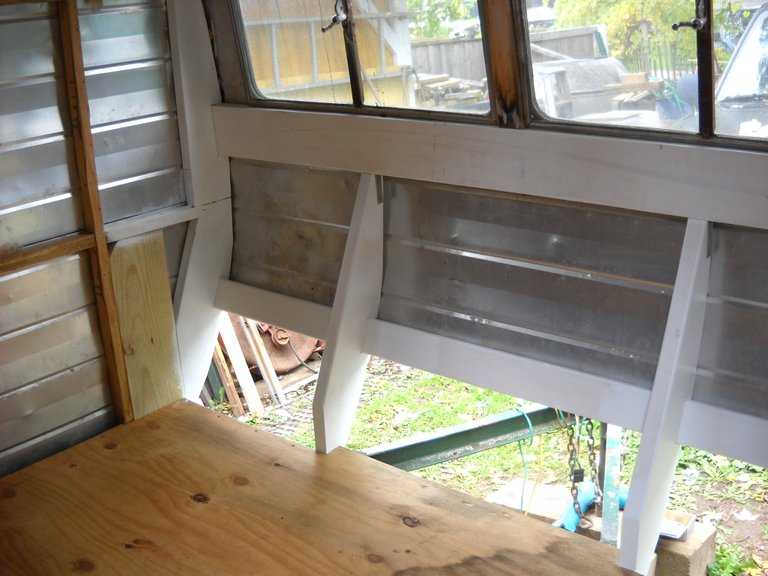
Then I fitted them to the front of the trailer.I screwed them directly to the 2X4s at the bottom and used galvanized steel brackets to hold them in place at the top.
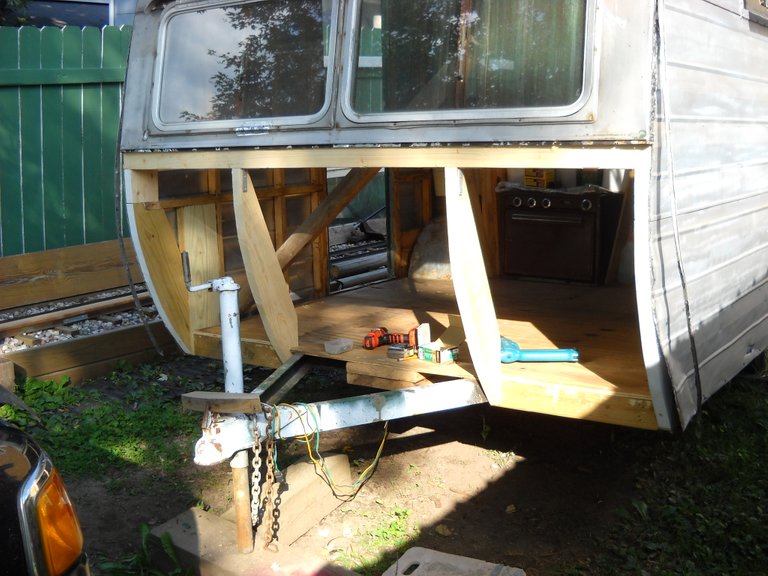
After painting the support pieces, I decided that I should go ahead and paint the rest of the wood in the lower area before doing anything else.
Once all of the painting was done, I decided to put the skin panel back in place below the windows so that I could mark where the bottom of the panel was. I wanted to put another cross brace in that area so I would have support for the seam, and as a place to fasten the bottom of the panel to.

Once I had the bottom edge marked on the vertical frame parts, I pulled the skin panel back off. I marked the vertical supports to cut a slot in them for a 2X4, centered on the panel edge marks. Once I had the notches cut, I cut a 2X4 to length to fit across the front of the trailer, and then test fitted it.
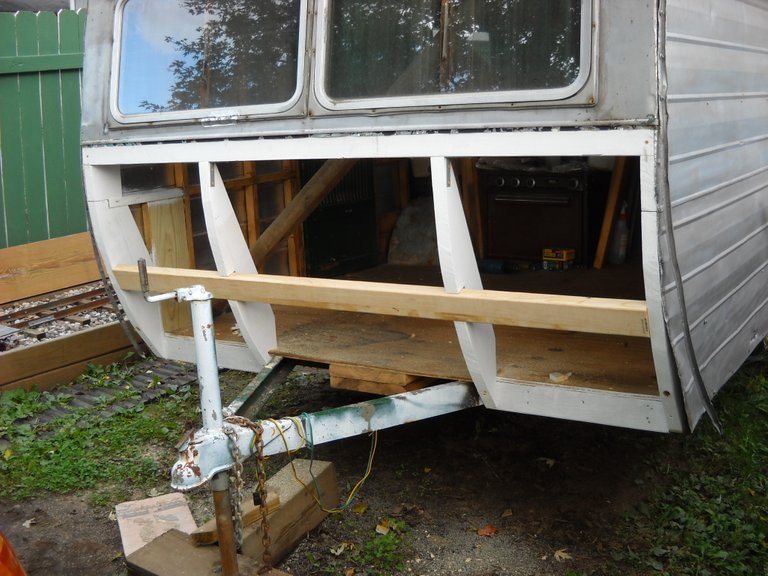
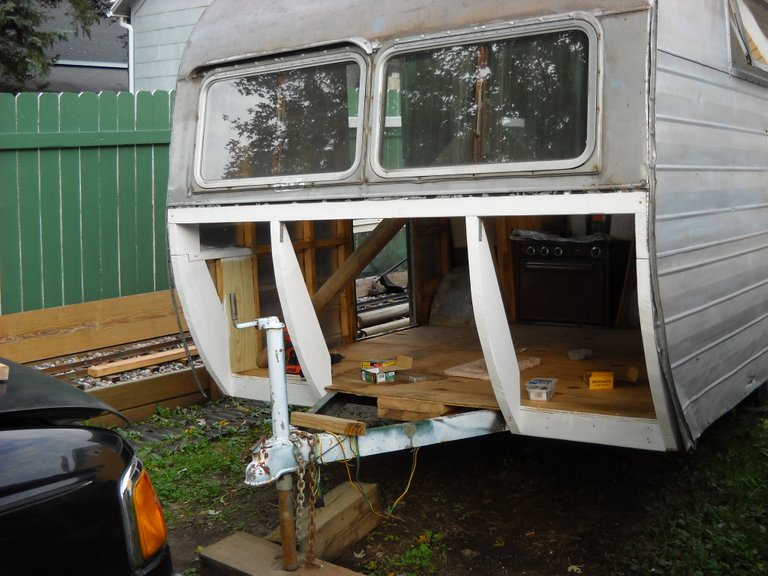
I pulled the 2X4 out of the notches and painted it before putting it back in. Once the paint dried, I put it back into the slots and screwed it in place.
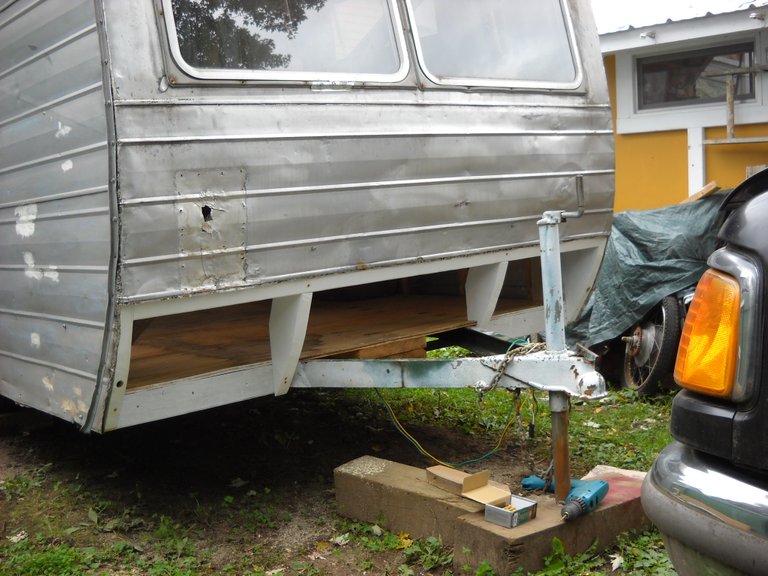
Once that work was done, the remaining work on the front was to fasten the skin panel below the windows in place. The next step would be to put a skin panel on the bottom of the front, and to patch a few holes in the skin. That will be the subject of my next post in this series.
That's all I have for this post, thanks for stopping by to check it out!

I love that you are bringing this thing back from the dead and building it old skool like a tank. It will still be trucking 40 years from now but could have been scrap metal. If you ever end up selling it, somebody is gonna get a deal plus it will be cool that all the rebuild was documented.
Yeah, it's been quite the adventure so far! I have a lot more work to do on it this coming summer, but most of that is inside work, insulating, interior paneling, and whatever built in stuff that I'm going to do...
I remember you said you were going to keep it bare bones to get it out on the road quickly but I hope you trick it out on the inside eventually. What do you think the total budget is going to be to get it roadworthy?
Well, to be honest, I have no idea. I haven't kept track of the cost of materials as I've worked on it...