The Greenhouse Patio, Part 2
Hello, hivers and do-it-your-self people!
In part 1 of this series, I wrote about how I started building my greenhouse patio, and why. The link to that post is here.
https://peakd.com/hive-189641/@amberyooper/the-greenhouse-patio-part-1
In this post, I'll be showing you more of the building process.
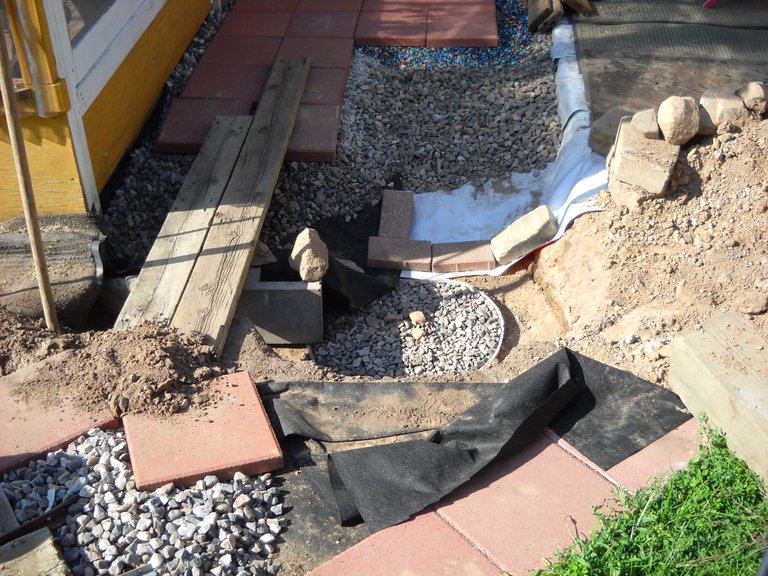
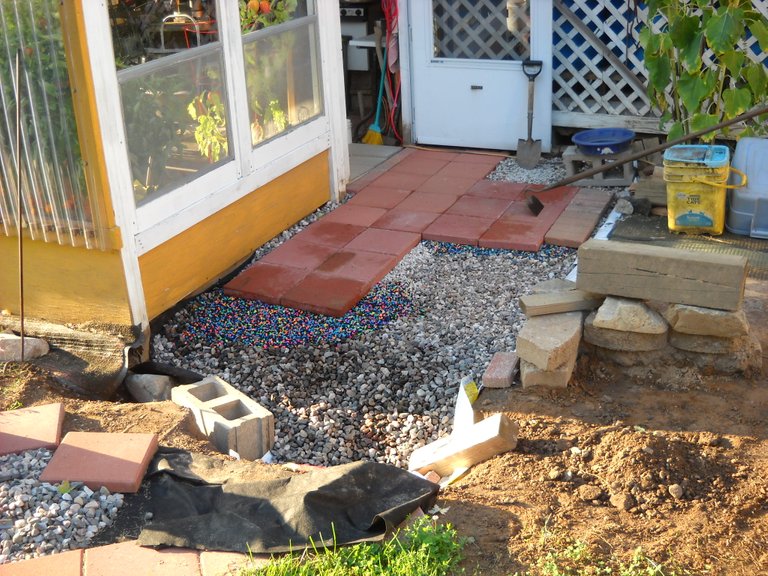
The last picture in the previous post showed the next phase of the project. I had decided to add a drainage sump into the gravel layer below the pavers as additional drainage space for rain water coming into the patio area. My plan was to use the plastic barrel as the drain sump and fill it with gravel once I got the hole dug deep enough and wide enough for the barrel to fit into the hole.
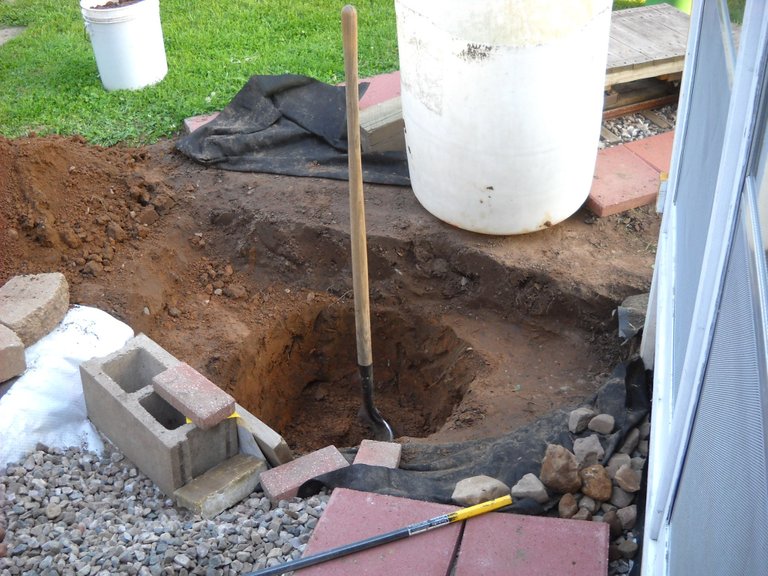
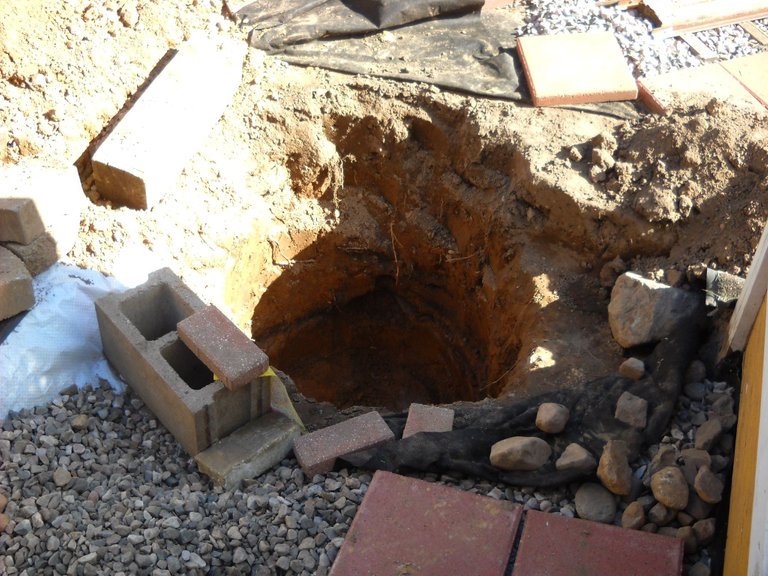
Of course, I ran into a big rock while digging the hole.

It took me a while to get that rock out of the hole, but I did manage to do it.
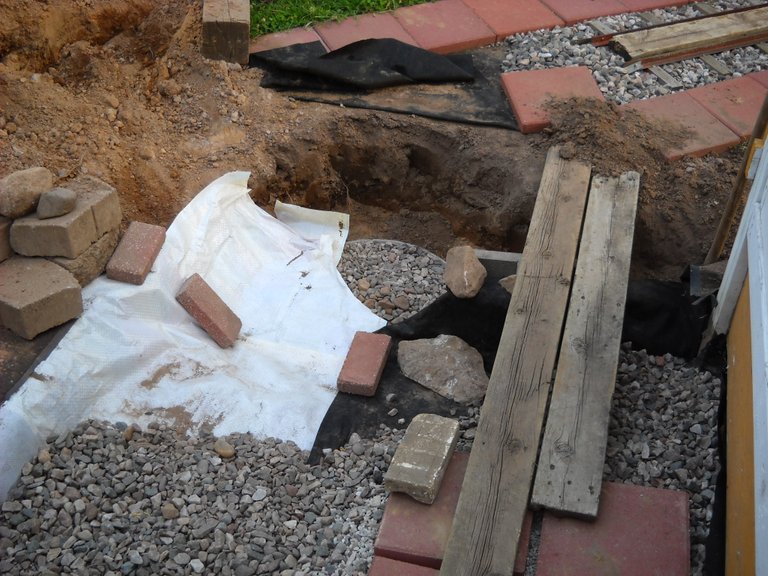
I was going to drill a bunch of holes in the bottom of the barrel for drainage, but I decided to cut the bottom out of the barrel instead.

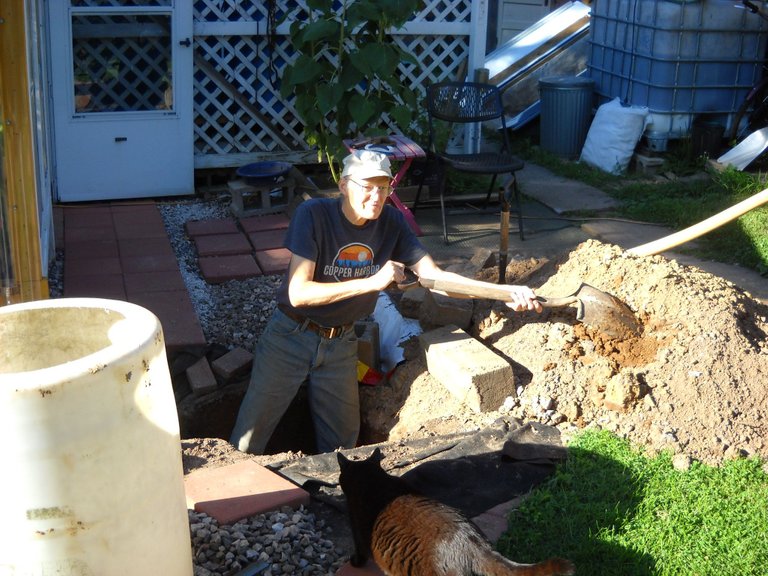
Here I am, digging out the hole with the project supervisor watching.
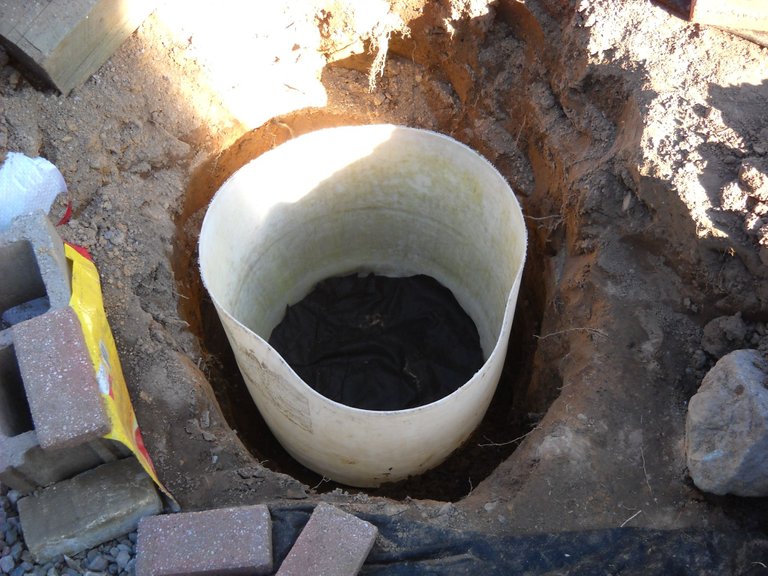
I was finally able to put the plastic barrel in the hole. There's a smaller hole in the dirt below the barrel that I filled with gravel.
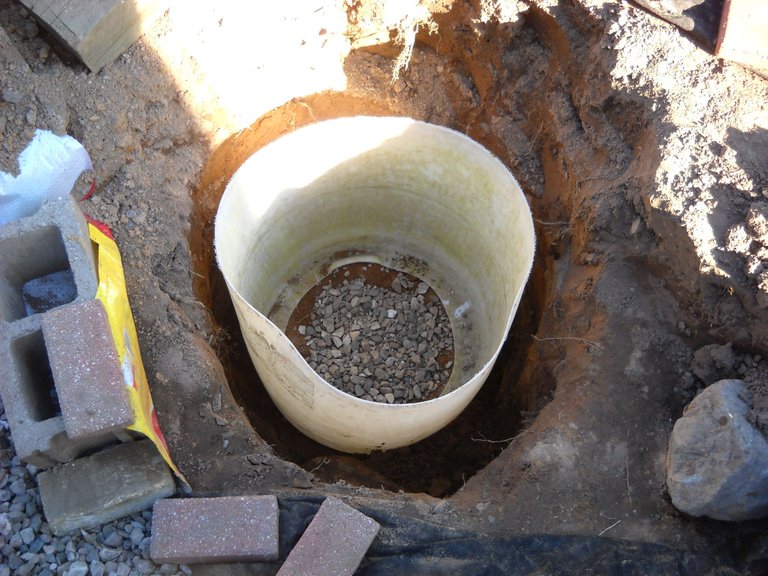
Then I put some landscaping cloth in the bottom of the barrel. This is to stop the gravel from sinking into the dirt under the barrel, and also to keep the dirt from coming up into the gravel.
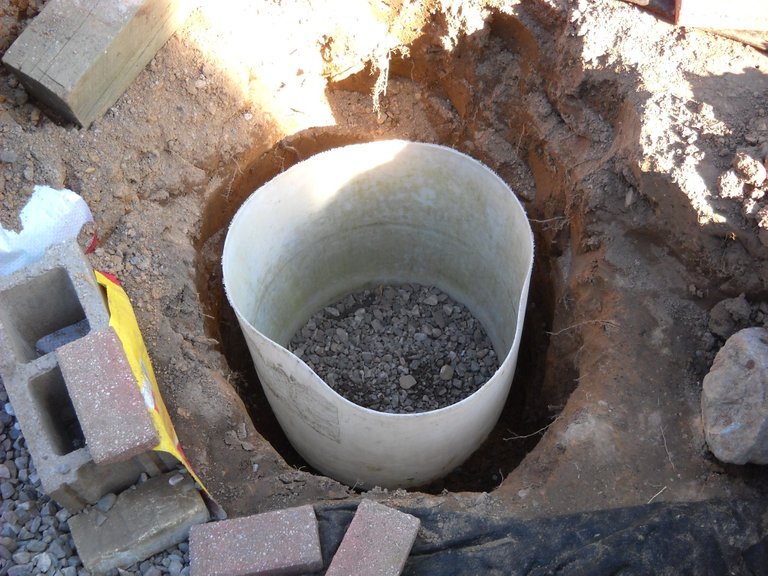
Once the bottom of the barrel was prepared, I started filling the barrel with gravel and small rocks that I found while digging.
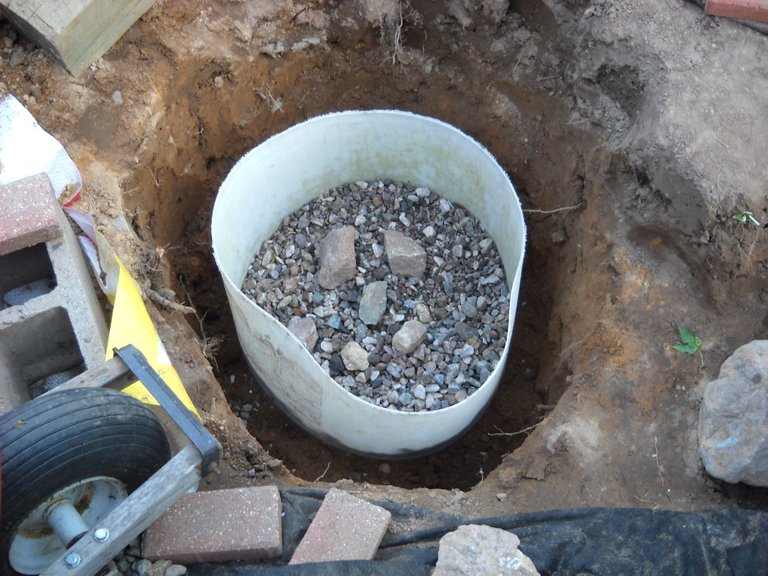
Once I had the barrel filled with gravel, I started covering the area around it with landscape cloth. That was to keep the dirt from going into the barrel from the top. The landscape cloth would also serve as a base for the gravel fill under the paver blocks that I was planning to put on top of the sump area.
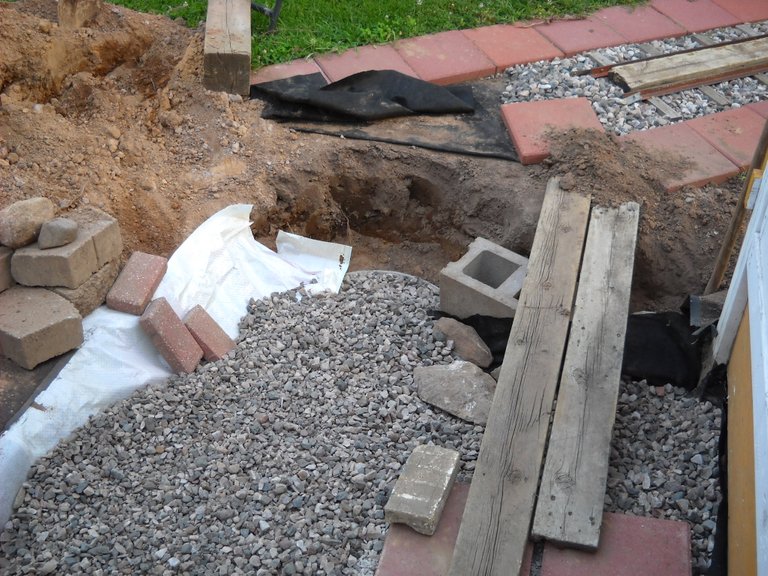
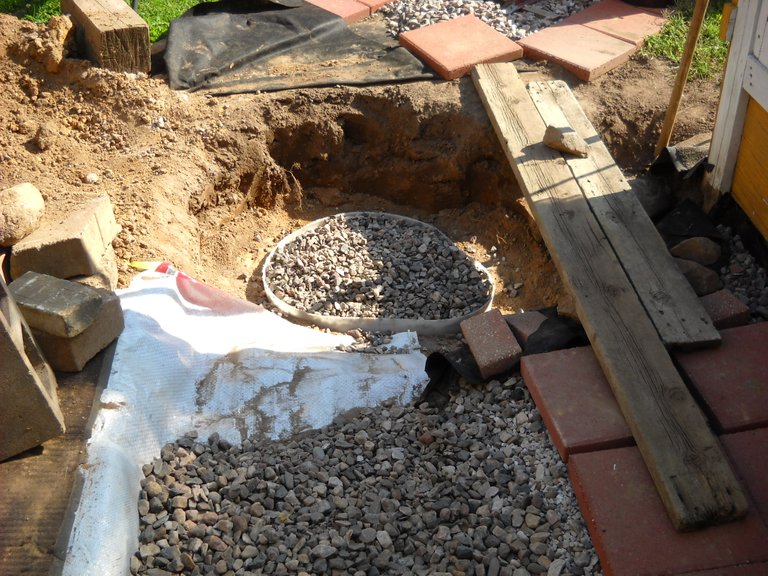
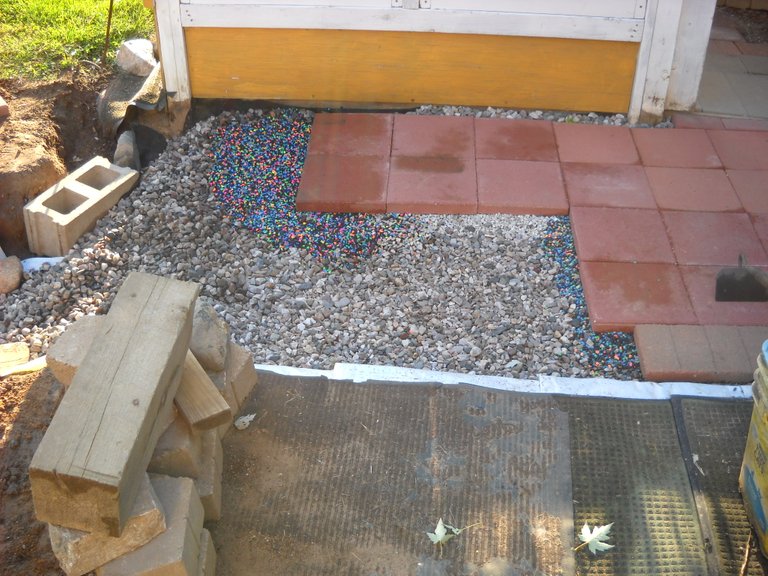
Once that work was done, I was able to start filling in the area with more gravel for the base of the paver blocks.
Since I already have 15 pictures in this post I think I'll continue in the next post. I don't want to make the post too long. I'll continue the build in part 3.
I hope you found this post interesting!

Weldone 🥰! I see you're working really hard to getting your green house set up. I can't wait to see it when everything is finally put in place. !PIZZA
PIZZA Holders sent $PIZZA tips in this post's comments:
@teknon(4/5) tipped @amberyooper (x1)
You can now send $PIZZA tips in Discord via tip.cc!
Congratulations @amberyooper! You have completed the following achievement on the Hive blockchain and have been rewarded with new badge(s):
Your next target is to reach 900 posts.
You can view your badges on your board and compare yourself to others in the Ranking
If you no longer want to receive notifications, reply to this comment with the word
STOPTo support your work, I also upvoted your post!
Check out the last post from @hivebuzz:
Support the HiveBuzz project. Vote for our proposal!
There's always gotta be at least one big rock to dig out! From a guy who used to do that kind of stuff professionally... Great Job!
I'm always inspired by what you're building, and I can't wait to see more of this. Now, apparently, I have to go look into the rest of your rail project!
Good health and good luck!
I did a series of posts about building the garden railroad... 😀
Yes, hunting them down and reading them all took up a good part of my day yesterday! Great series! I'd love to try something like this myself (I can get TONS of T-posts for free from work) but the slope on my property presents a few extra challenges. I do think I'll start planning my roads a little differently to be able to add something like this in the future.
Thank you!
You've done a great job. It's quite unique.
Thank you!
You're welcome