(Esp-Ing) tutorial. Customizando un body para niñas 💜//Customizing a bodysuit for girls💜

Bendiciones para todos!! hoy quiero compartir con ustedes nuevamente un tutorial de un proyecto creativo muy lindo y fácil que puedes realizar con muy pocos materiales solo debemos tener imaginación y mucha creatividad para lograr cosas hermosas.
Blessings to all!!! today I want to share with you again a tutorial of a very nice and easy creative project that you can do with very few materials we just need to have imagination and a lot of creativity to achieve beautiful things.
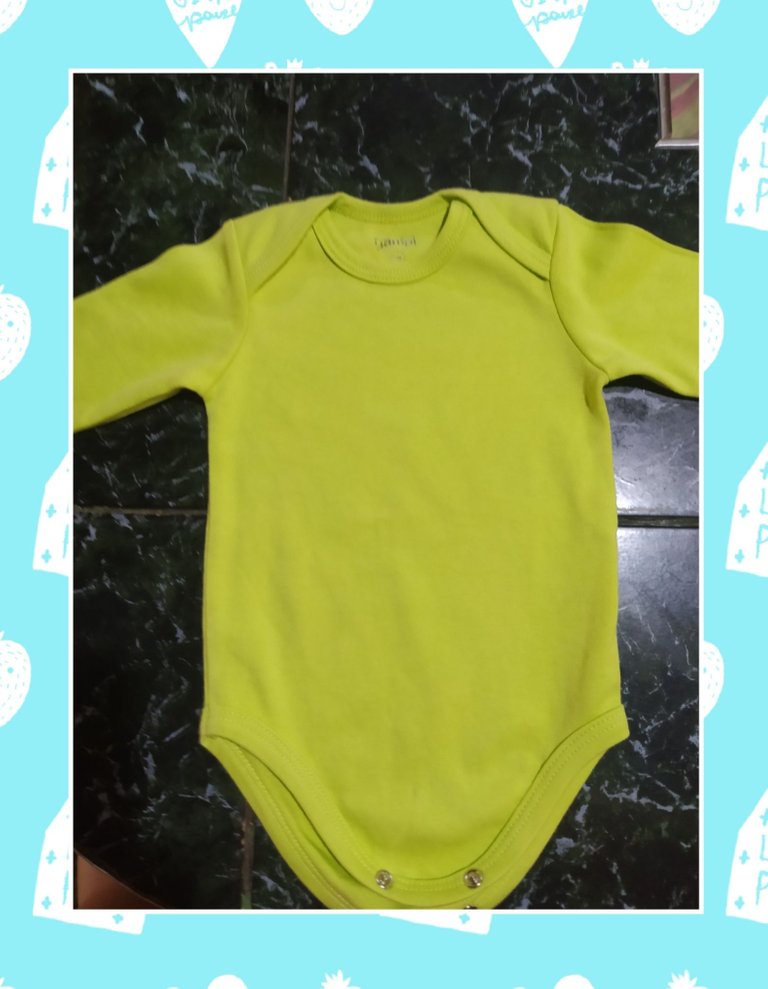
Así que te invito a que te animes a realizar estás actividades manuales donde además de crear estás haciendo terapia para tu cuerpo, en esta oportunidad quiero enseñarles mi paso a paso de cómo decore un body para niñas, siempre entre la ropa de los bebés tenemos alguna prenda de vestir que es simple y sentimos que si la decoramos o realizamos alguna aplicación está cambia por completo su imagen, y eso es justamente lo que haré en este proyecto, Traigo para ustedes un cambio de imagen de un body simple y sencillo convertido ahora en una prenda linda creativa y lo mejor súper coqueta para las damitas chiquitas de la casa que siempre merecen estár bellas!!💜
So I invite you to encourage you to perform these manual activities where in addition to creating you are doing therapy for your body, this time I want to show you my step by step on how to decorate a bodysuit for girls, always among the baby clothes we have some garment that is simple and we feel that if we decorate it or make some application is completely changing its image, and that's exactly what I will do in this project, I bring for you a makeover of a simple and simple onesie now become a cute garment creative and best super flirty for the little ladies of the house who always deserve to be beautiful! !💜
Comencemos a realizar nuestro proyecto a través de este paso a paso.
Let's start to realize our project through this step by step.

Materials
Body o camisa de bebe.
Retazo de tela y fieltro
Cinta de razo unicolor morada y cinta estampada.
Hilo y aguja de coser.
Baby bodysuit or shirt.
Piece of fabric and felt.
Purple unicolor ribbon and printed ribbon.
Thread and sewing needle.
Step by step.

Step # 1
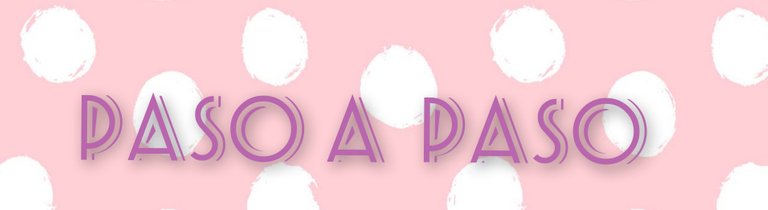
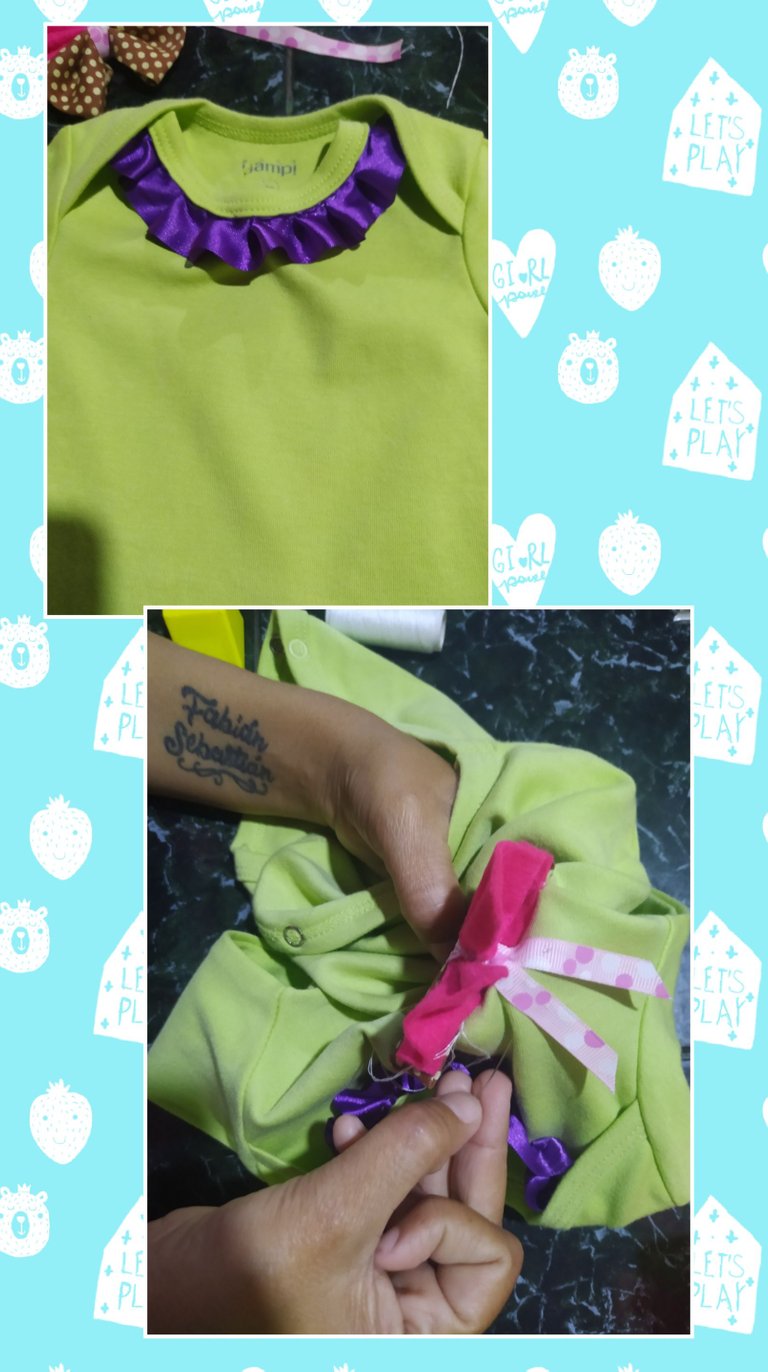
Iniciamos decorando el cuello del body con la cinta de razo en color morada,estoy utilizando medio metro de esta cinta de manera que pueda abarcar el contorno del cuello, vamos cociendo con nuestro aguja e hilo haciendo dobles en la costura de manera que nos quede un estilo faralao o arruchado, se puede observar en la foto ,es super sencilla y ya podemos notar como va cambiando nuestra prenda de vestir.
We start decorating the neck of the bodysuit with the purple ribbon, I am using half a meter of this ribbon so that it can cover the contour of the neck, we are cooking with our needle and thread making doubles in the seam so that we get a faralao style or wrinkled, you can see in the photo, it is super simple and we can already notice how our garment is changing.

Step # 2
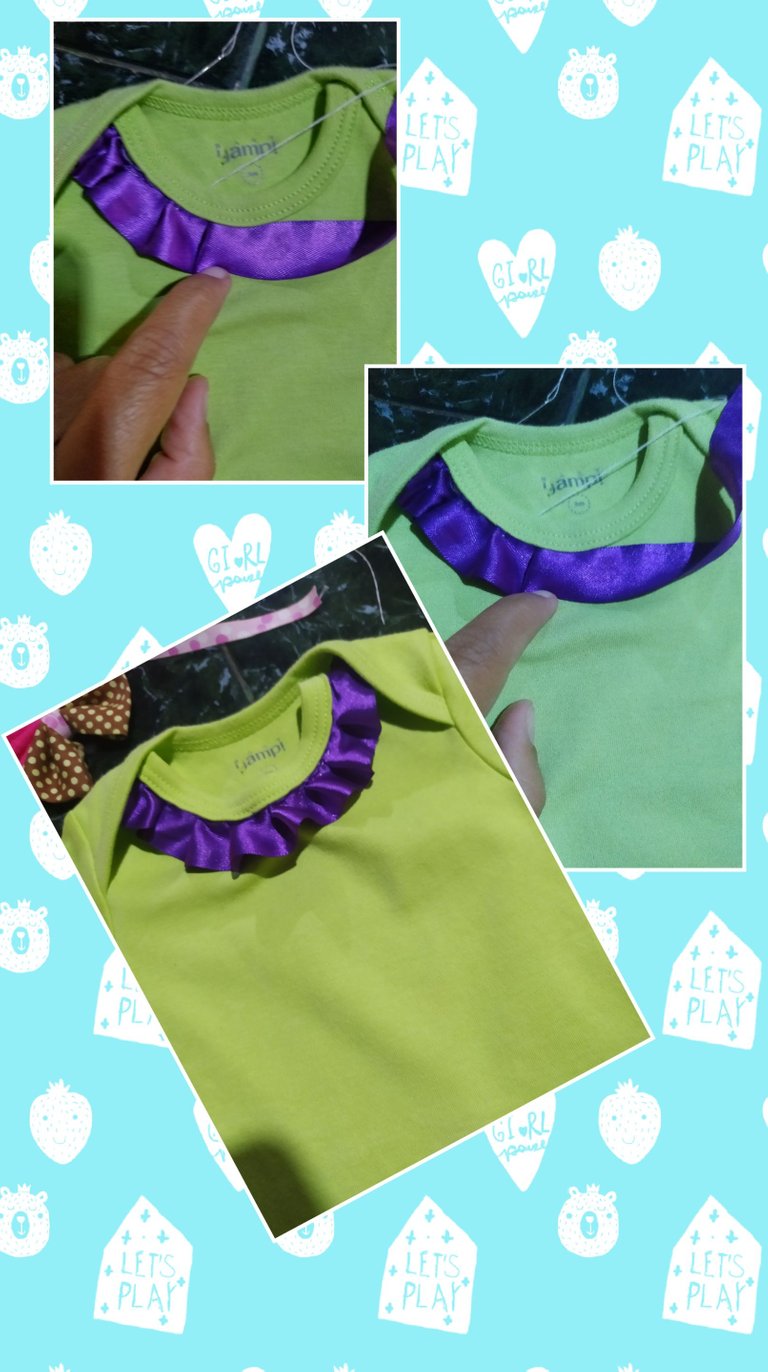
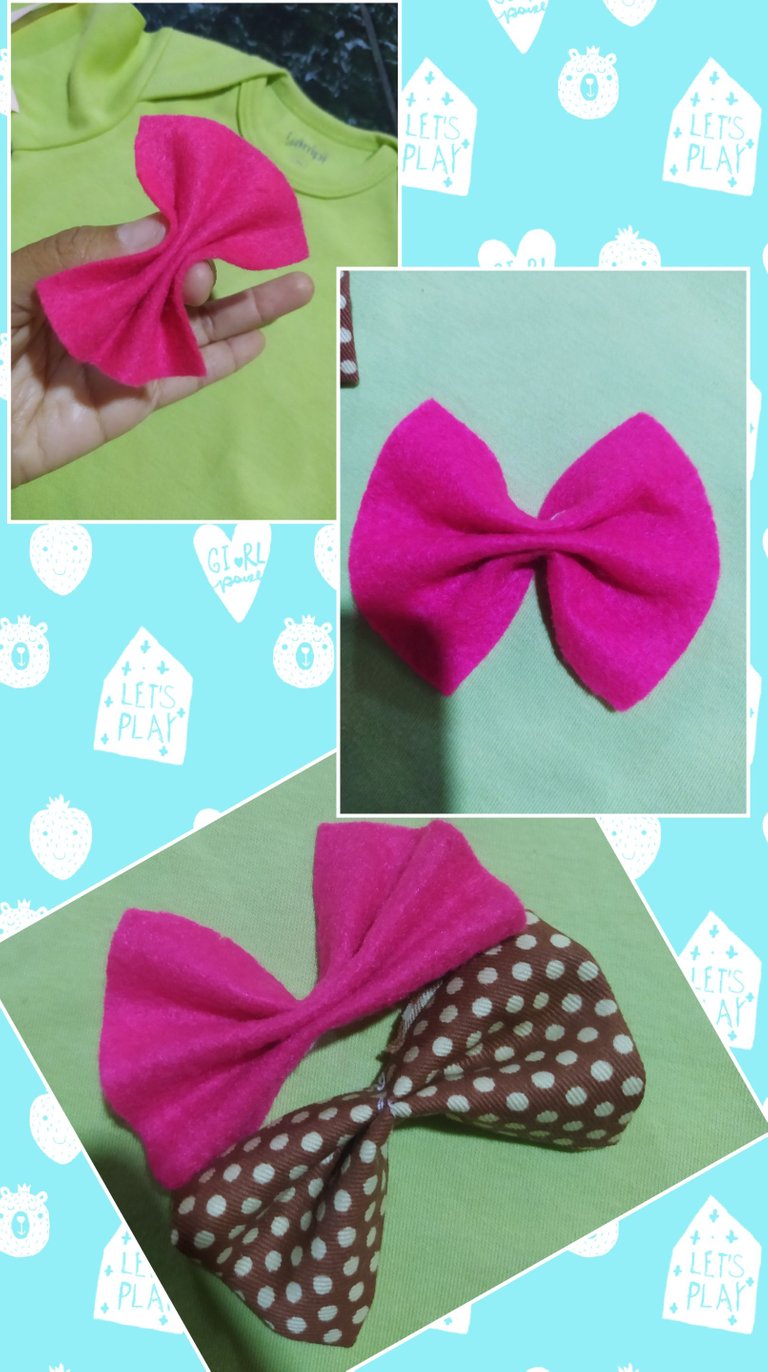
.Lista con mi prenda de vestir con el cuello decorado, seguimos trabajando y lo siguiente es realizar la mariposa que se forma con la Unión de dos lazos y para ello voy a utilizar el retazo de tela y el retazo de fieltro además de la cinta estampada el hilo y la aguja de cocer, y la realizamos de la siguiente manera.
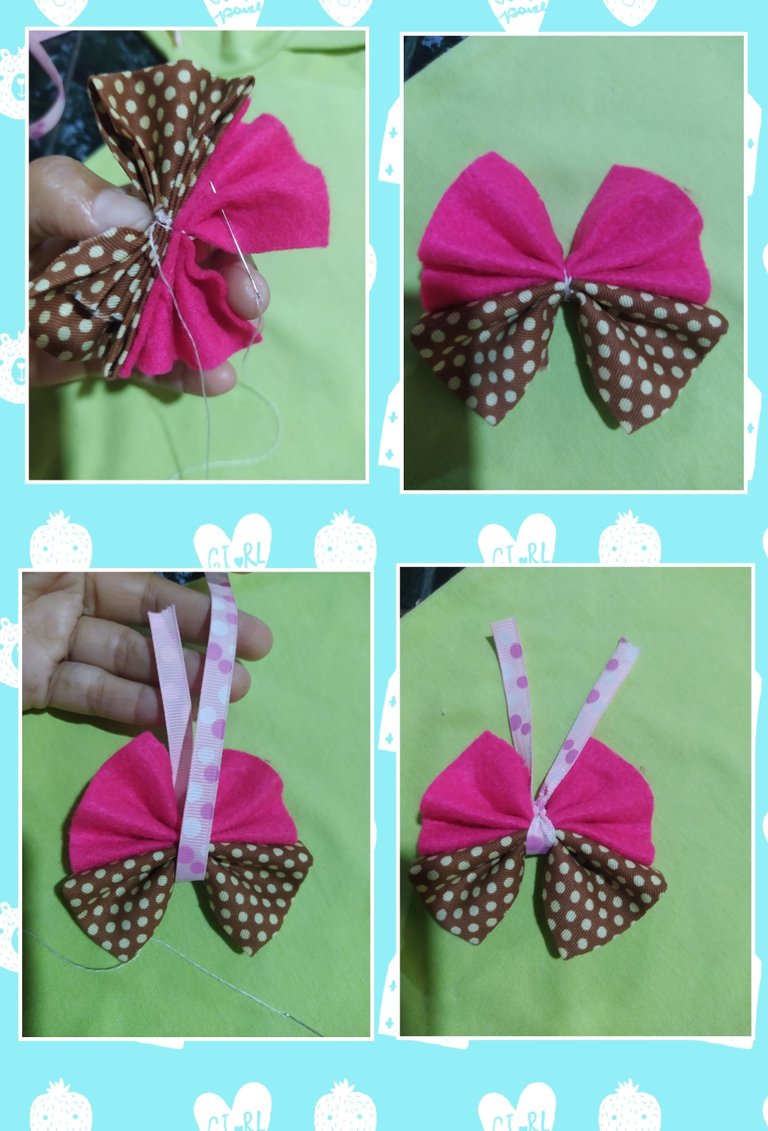
Tomamos nuestro retazo de tela y fieltro de aproximadamente de 12cm, le doblamos las esquinas la planchamos para que quede bien dobladas y bien elaborada doblamos ambas esquinas de un lado a otro formando un rectángulo de 10cm volteamos y ubicamos el centro y arruchamos formando así un bello lazo, repetimos lo mismo con el retazo de fieltro, listos mis dos lazos voy a unirlos en posiciones inversas dándole formas a un lado hacia arriba y al otro hacia abajo como se observa en la foto ya para finalizar hacemos un nudo con la cinta estampada y las puntas serían las antenas de la mariposa.
Ready with my garment with the decorated collar, we continue working and the next thing is to make the butterfly, which is formed with the union of two loops.
We take our piece of fabric and felt of approximately 12cm, we fold the corners, we iron it so that it is well folded and well elaborated, we fold both corners from one side to the other forming a rectangle of 10cm, we turn it over and we place the center and we fold it forming a beautiful bow, Repeat the same with the piece of felt, ready my two loops I will join them in reverse positions giving it forms to one side up and the other down as shown in the photo and to finish we knot the printed ribbon and the tips would be the antennae of the butterfly.
step 3
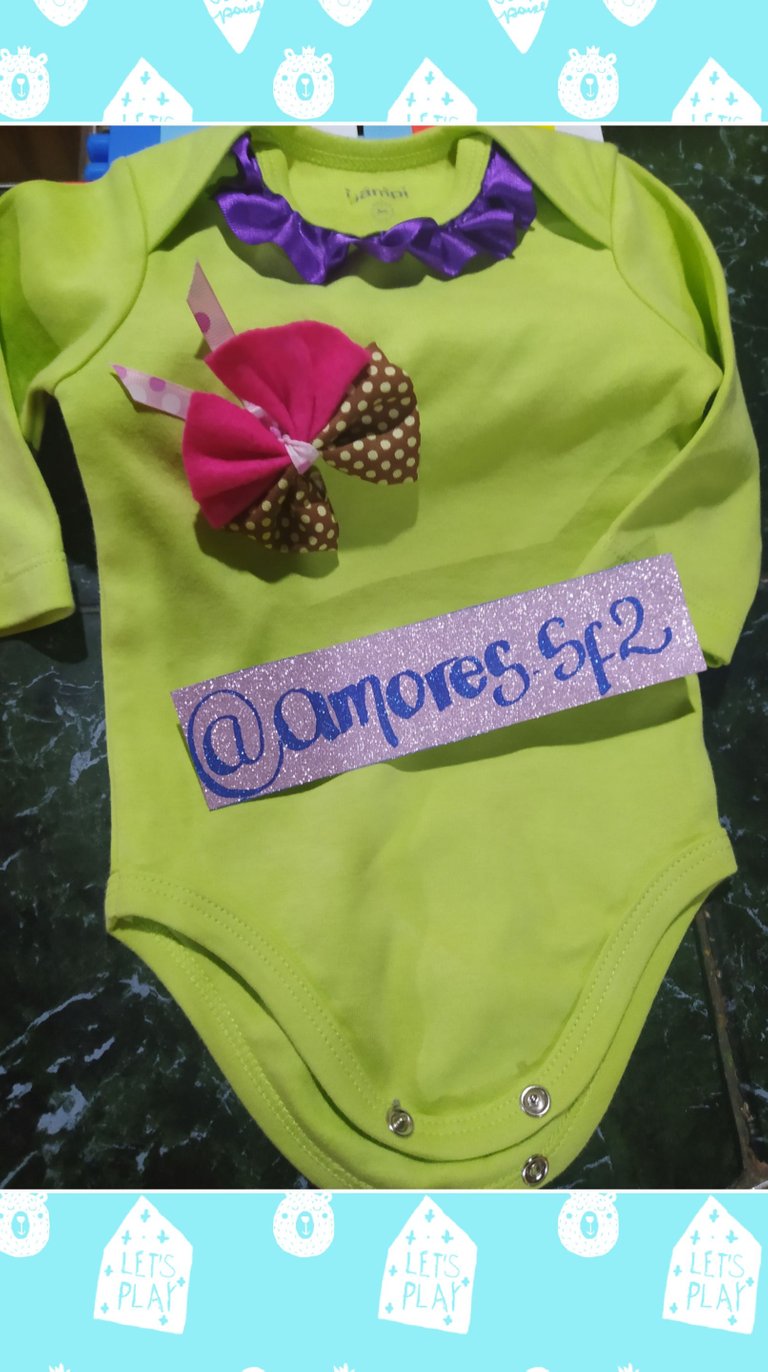
Ya decorado el cuello del body y lista la mariposa en tela procedemos a fijarla con la costura y nos queda está preciosura de prenda de vestir para bebitas.
Already decorated the neck of the bodysuit and ready the butterfly in fabric we proceed to fix it with the seam and we have this beautiful garment for babies.
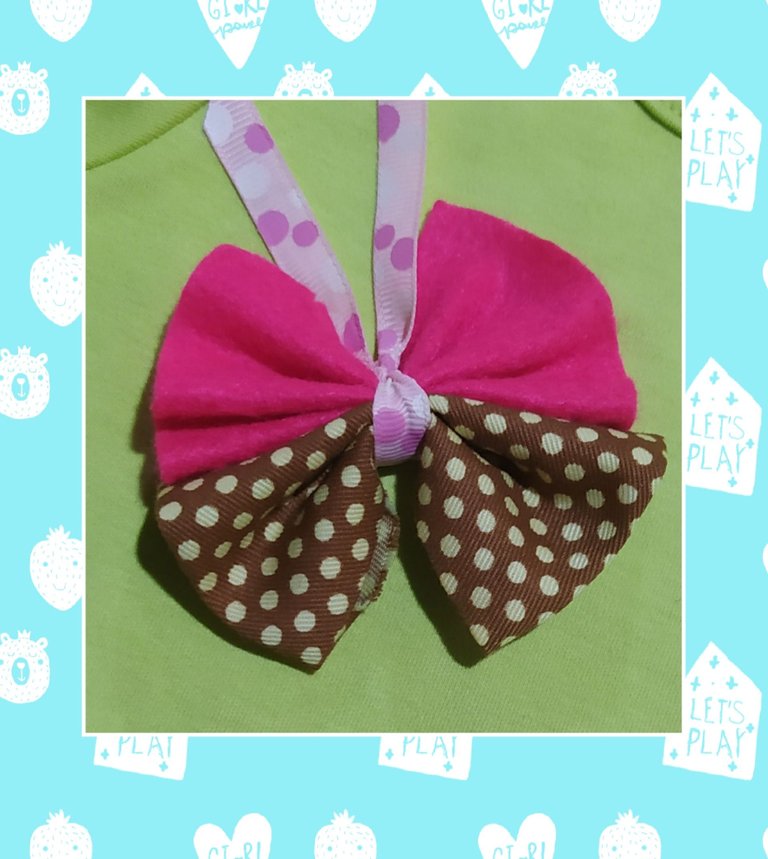
como lo vemos pasamos de una prenda de vestir un poco aburrida a una prenda más llamativa que a mucho les gusta.
as we see it, we went from a somewhat boring garment to a more eye-catching garment that a lot of people like.
All photos presented in my publication are my own taken with my cell phone and edited in Incollaje, my text is translated by Deepl.
A thousand thanks for reading my content, see you next time.
blessings 💜
Hola @amores.sf2
Me gustó mucho el detalle del rufle en el cuello del body, el color morado quedó muy bien con el verde. Es un lindo y sencillo proyecto.
El maquetado del post está muy bonito.
gracias por compartir, saludos.
Mil gracias a ti por tu apoyo siempre ❤️ me alegra que te guste. Y Sí un proyecto muy lindo y fácil de realizar
This is really beautiful and easy to do. You have used a blend of nice colors..
Hello @monica-ene
Yes it is a very nice and simple project to do, Thank you very much for your support ❤️
❤💃💐
Lovely thanks for sharing my dear @amores.sf2
Genial tu idea amiga, me parece muy interesante felicitaciones...
Mil gracias ❤️ por tu apoyo