(ESP/ING) Tutorial: Aprende conmigo a decorar esta carpeta motivo graduación 🎓// Learn with me how to decorate this graduation folder🎓
Blessed day for all my Hive Diy community, I hope you are all very well, today I want to share with you a simple and very special project.
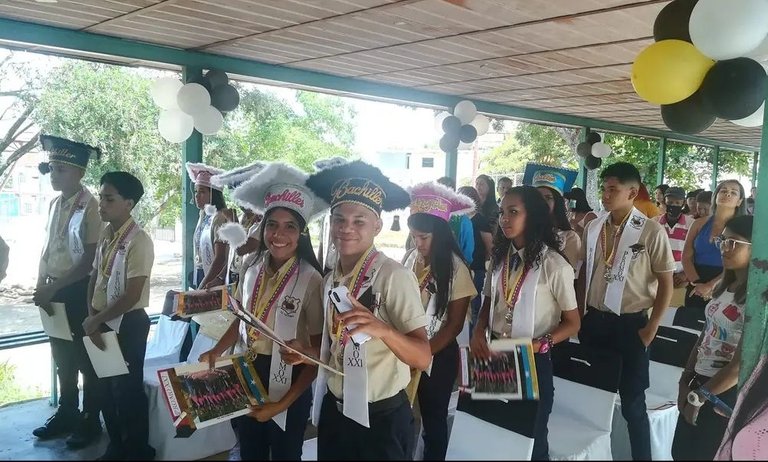
During the month of June and July in some countries the end of the school year is approaching and therefore the high school graduations, a unique and significant moment for our students, for that reason I want to share with you this creative option of folders that I made to give them as a gift on the day of their graduation ceremony
As every year we always organize surprises and motivating activities to say goodbye to our students in a special way, one of those details is the folder which you are going to learn how to make through this simple tutorial that I am sure you will love.
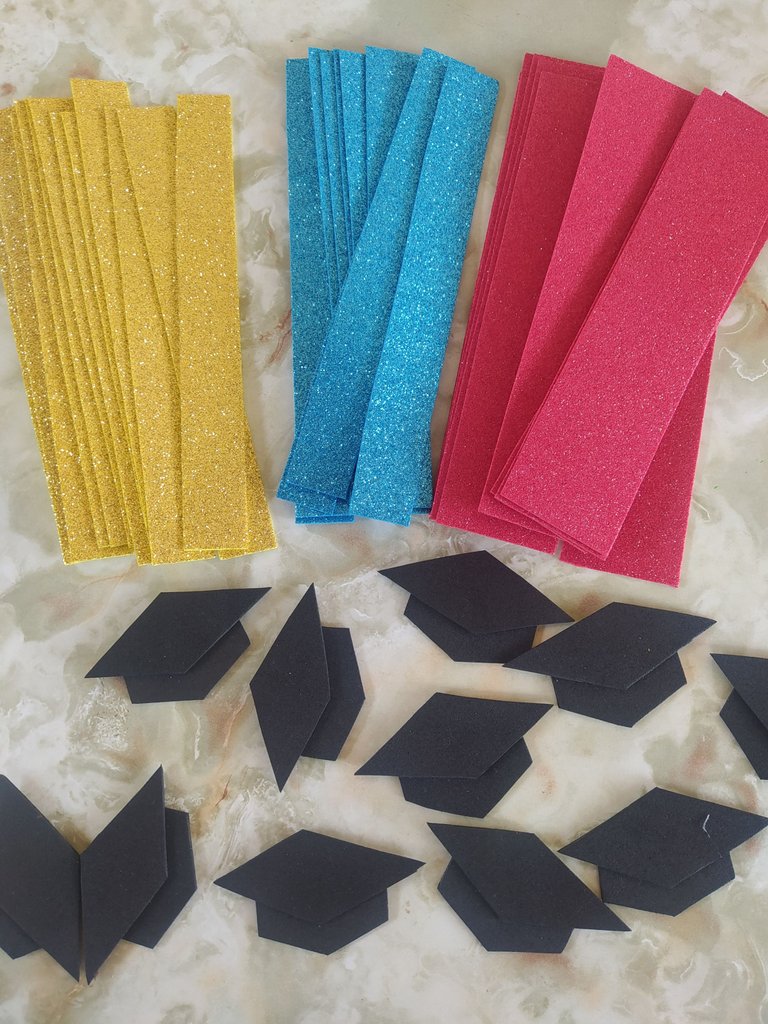
Materials to be used.
Carpeta Manila tamaño oficio
Fotografía impresa a color de los graduando
Silicon liquido.
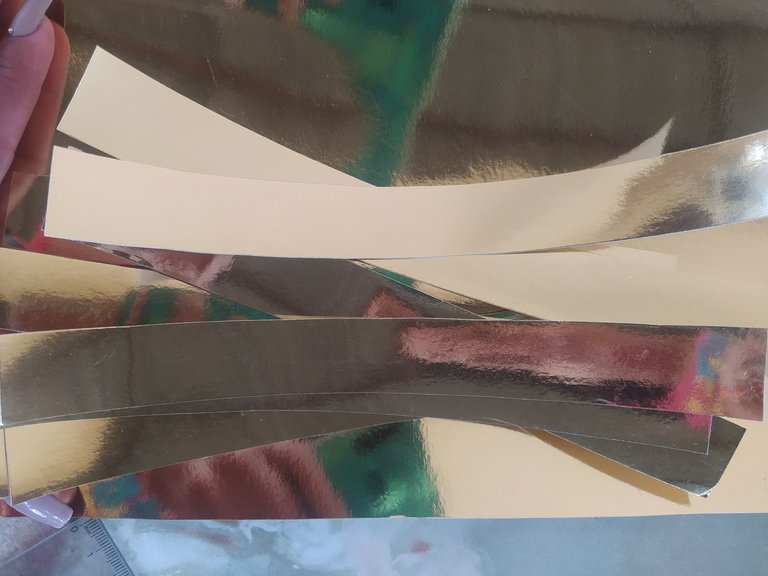
Cartulinas espejo color: dorado
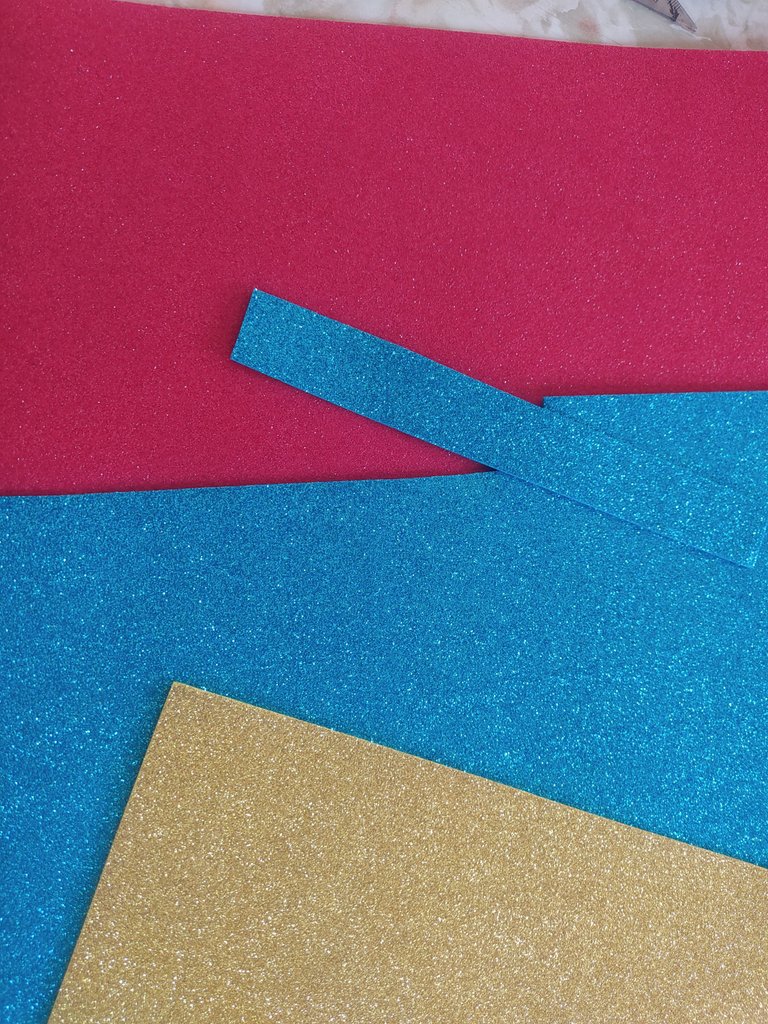
Foami escarchado color: rojo azul y negro y blanco.
Manila folder (legal size)
Printed color photograph of the graduates
Liquid silicon.
Mirrored cardboard color: gold
Frosted Foami color: red, blue, black and white.
How did I make it? I'll let you know!
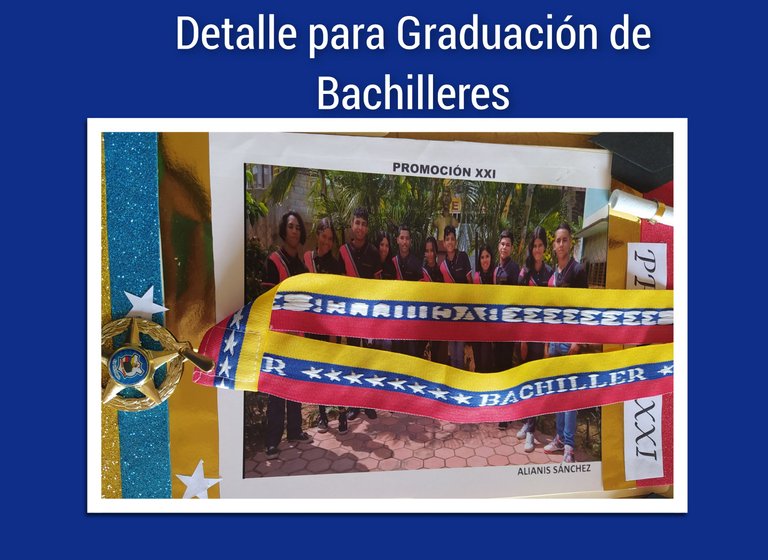
The first thing was to define the design, as always in these events we highlighted the colors of our flag and complemented with details allusive to the graduations as the cap and diploma, the first thing Hive was ...
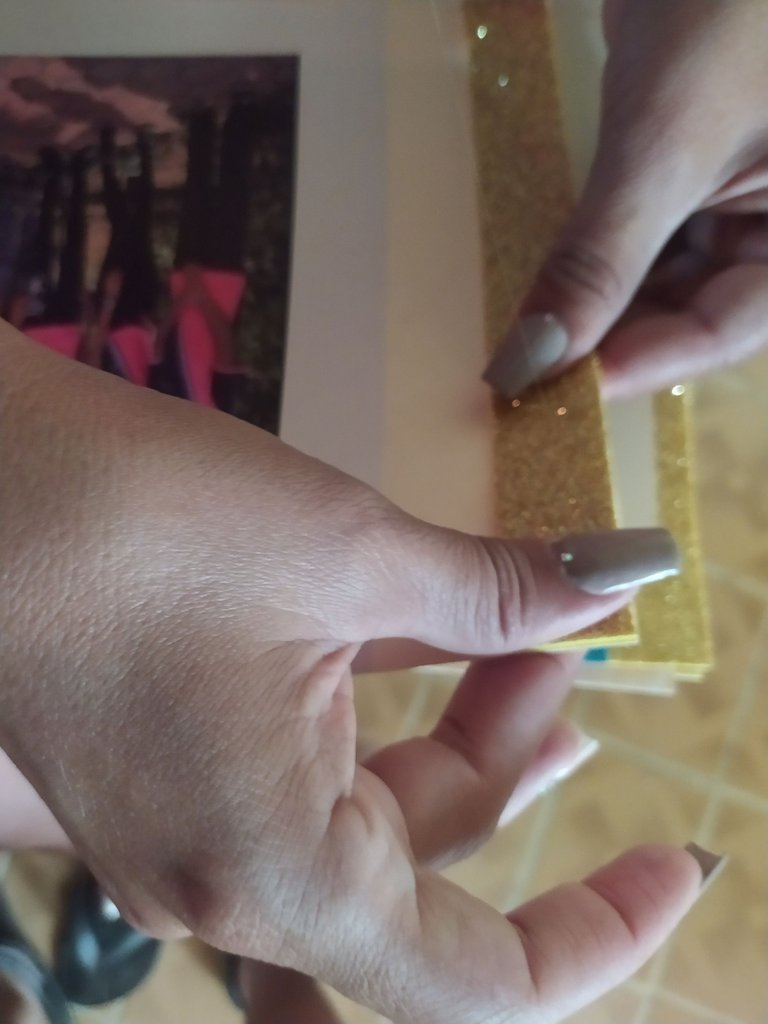
- mark and cut strips of 2 and 4 cm to simulate the stripes of the flag, in gold, blue and red as well as in the gold cardboard, we also cut a small black foami biretta that will serve as a decorative element for the folder.
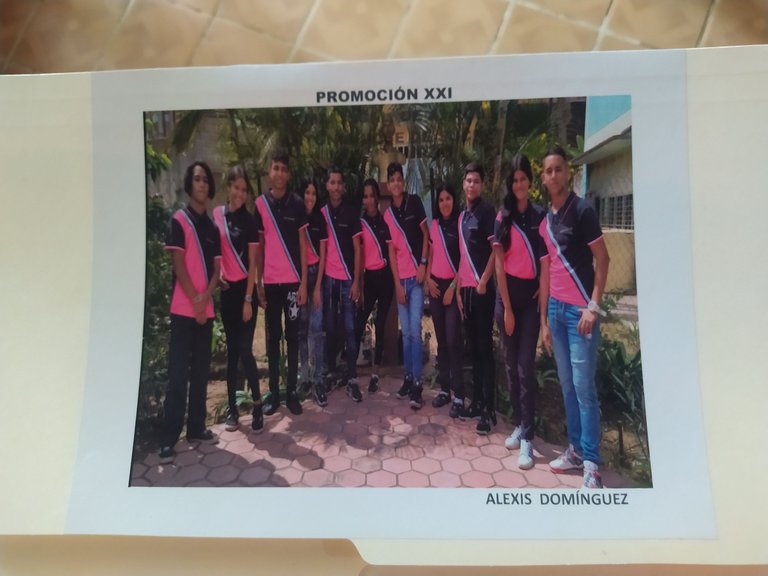
2- With the foami ribbons already cut, we proceed to glue the group's photograph printed on self-adhesive to the folder.
3-ready this step I proceed to glue the ribbons on the left side of the folder starting with the gold and blue foami ribbons and place the mirror cardboard that will be the border on both sides of the photo.
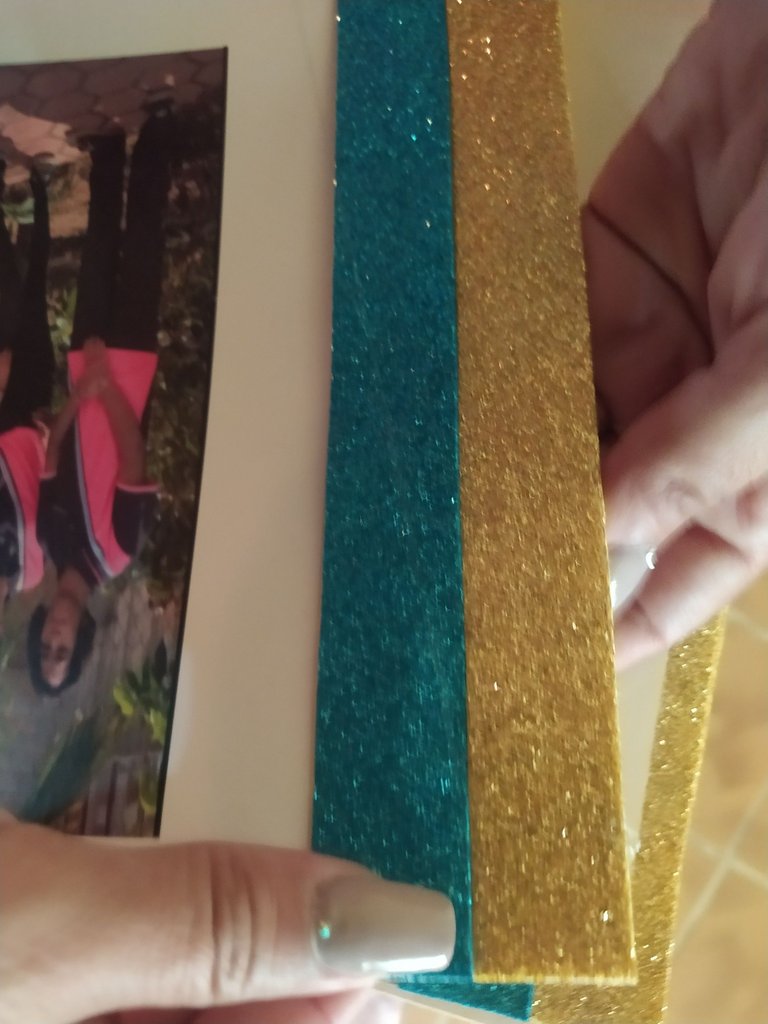
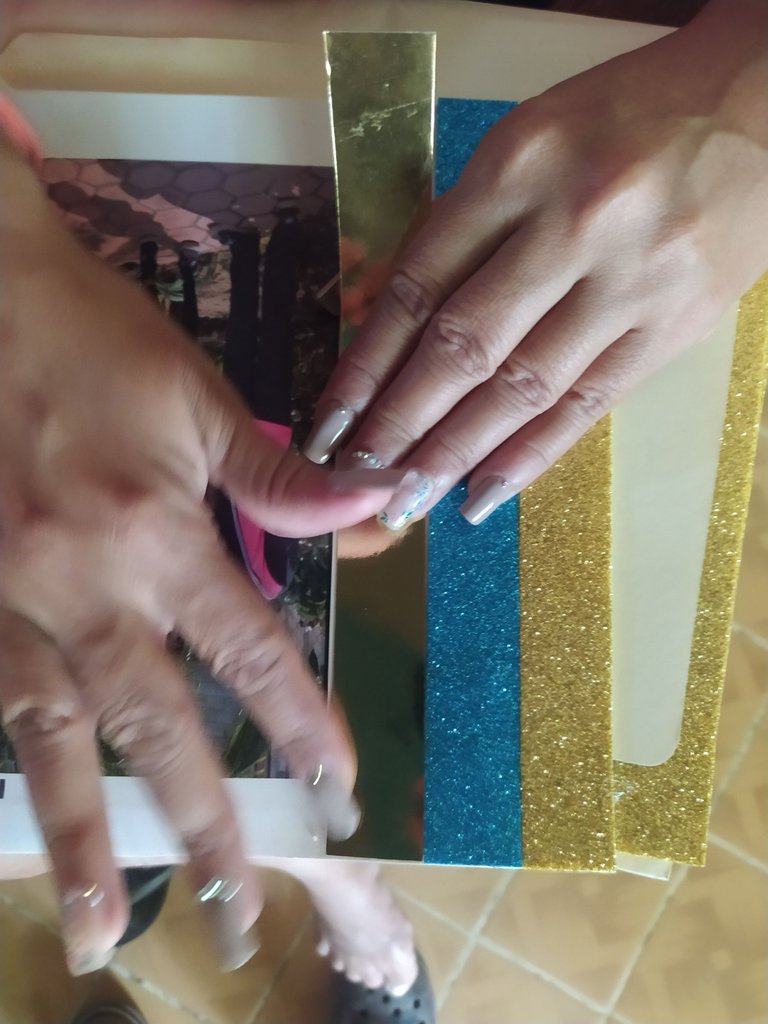
4- On the right side of the folder I continue gluing the gold mirror cardboard and finish with the thicker red foami ribbon.

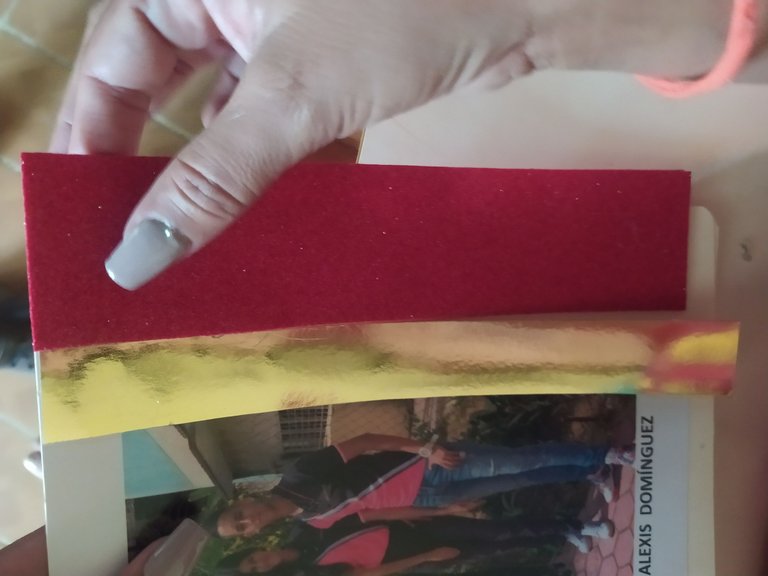
5- Now we only have to place the details, on the red ribbon we glue the biretta on the top corner and with a rectangle in frosted white foami we make the biretta to complete the motif of the decoration to finish we place a print with the title Promo XXI as well as some stars at the other end and they are ready to place them in our presidium.
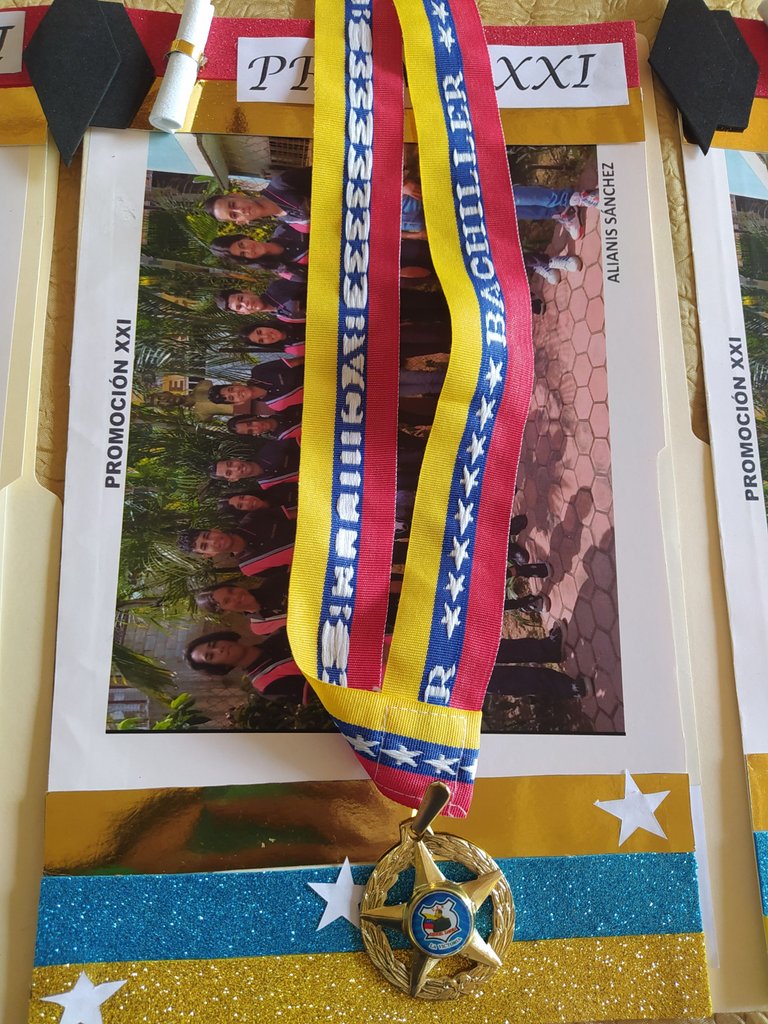
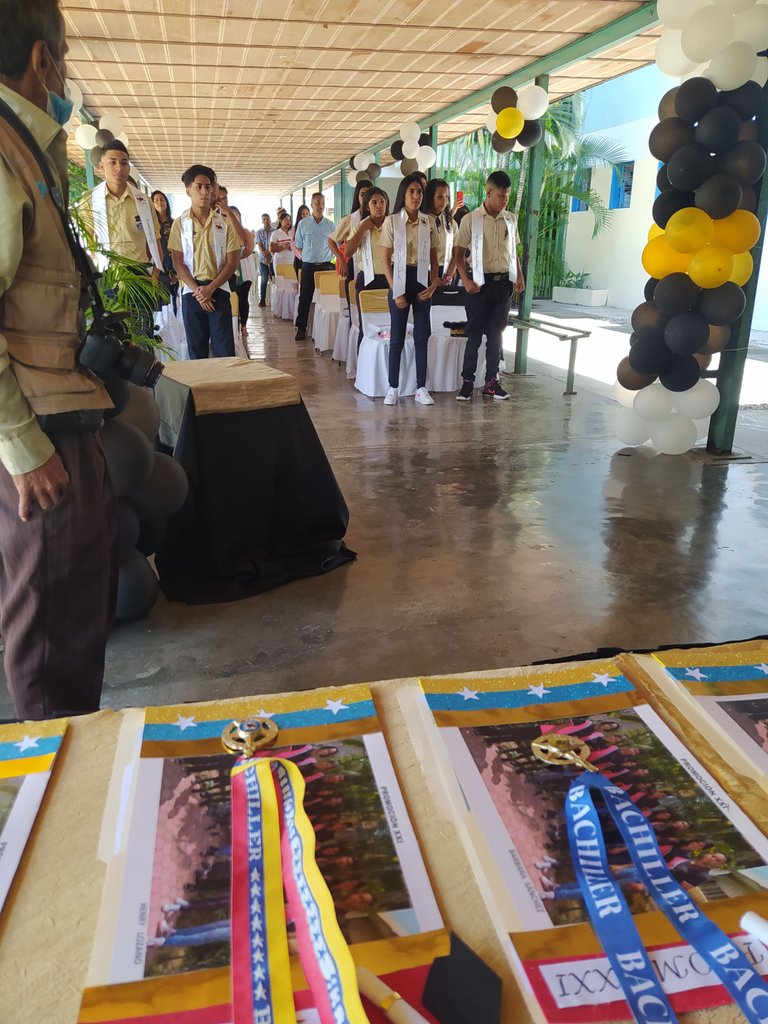
And so ended this project hoping you like it and that it can serve as an idea for a graduation detail.
Gracias por leer mi contenido bendiciones 💛💙❤️My photos are personal photos taken with my RedmiNote8 phone, my text is translated by deepl.
Thank you for reading my content blessings 💛💙❤️
Gracias !