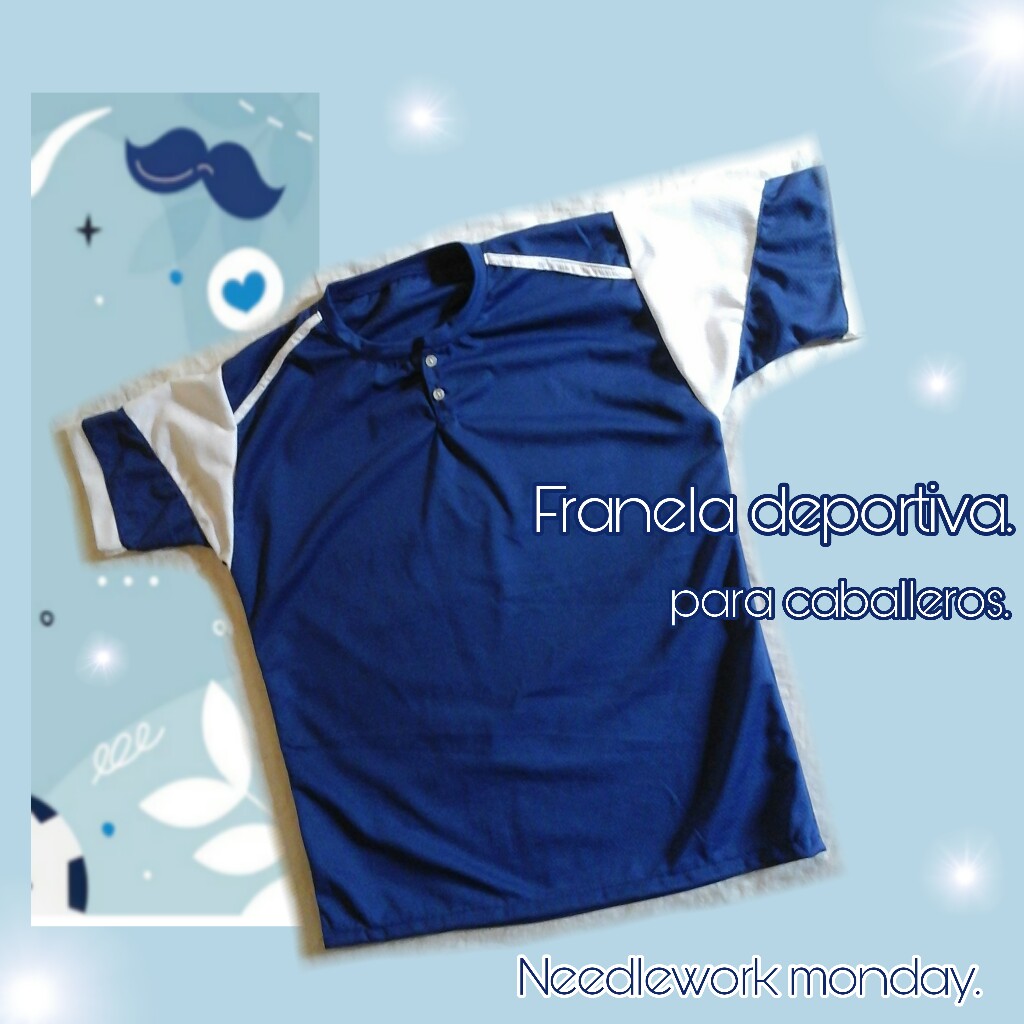
[Esp/Ing] Sports flannel for men 👕⚽⚾.
¡Bienvenidos a mi blog!⚽
¡Feliz y bendecida tarde para esta gente hermosa de needlework monday! les saludo con mucho cariño y les deseo mucho exito en este preciosa tarde.
Happy and blessed afternoon for these beautiful Monday sewing people! I greet you with much affection and I wish you much success on this beautiful afternoon.
Siempre que tengo la oportunidad de compartir un nuevo tutorial con todos ustedes, me llena de gran satisfacción. En este rico día les traigo un interesante tutorial para todas aquellas amigas que les encanta coser para sus esposos. Esta vez voy a hacer una franela deportiva de manga corta para que sea más fresca y cómoda a la hora de llevarla. La tela que utilicé es un tipo de Dry-fit, que es una de las telas más utilizadas para confeccionar este tipo de prendas. Les cuento que no me gusta mucho hacer ropa de hombre, pero igual puedo coser y así consentirlos a todos, jeje!😁, ellos también se merecen que les demos un lindo regalo♥. Así que invito a mis amigos lectores a que me acompañen hasta el final del posh, vamos 👉.
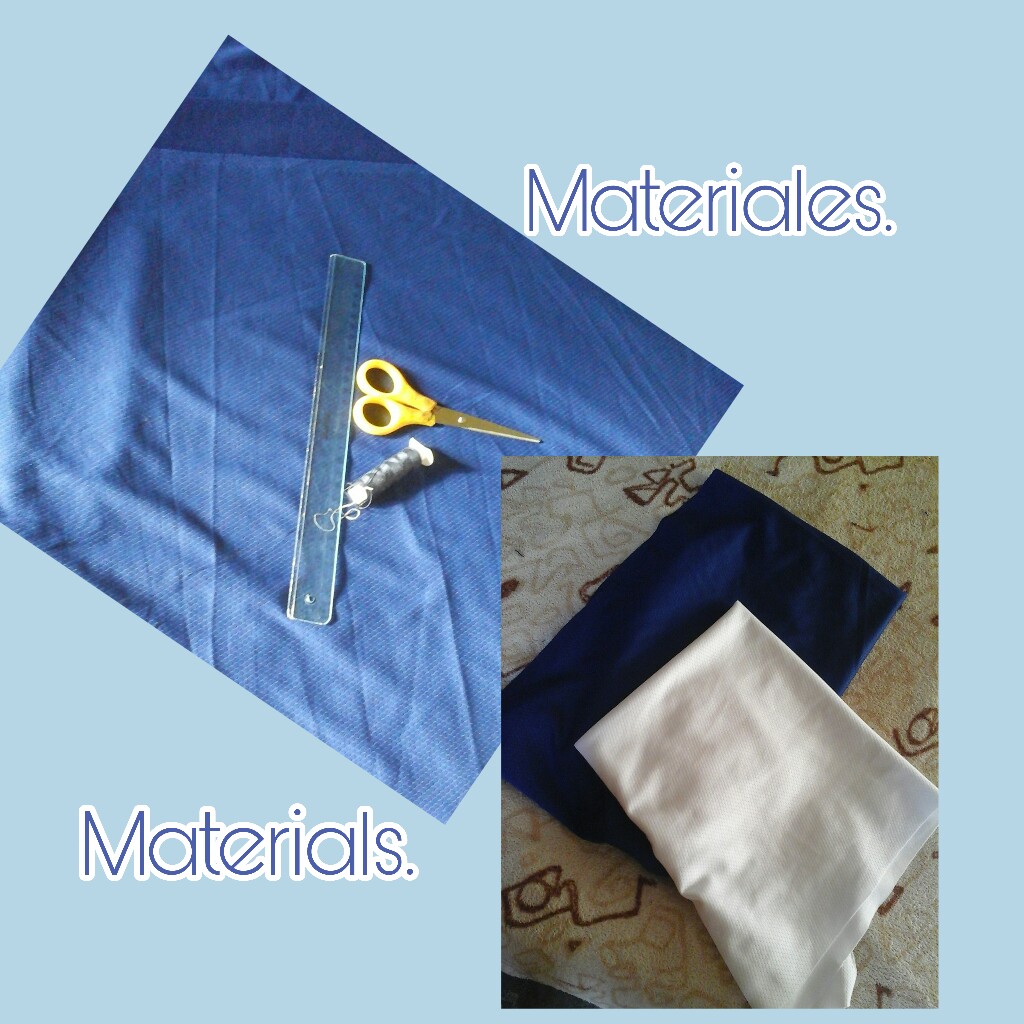
Materiales.
- 1 metro de tela Dry fit, color azul y blanco.
- Patrones.
- Regla o cinta métrica.
- Hilo y agua.
- Botones.
Materials.
- 1 meter of Dry fit fabric, blue and white.
- Patterns.
- Ruler or tape measure.
- Thread and water.
- Buttons.
¿Tienen sus matetiales listos? entonces comencemos a confeccionar esta franela.
Do you have your materials ready? So let's start making this flannel.
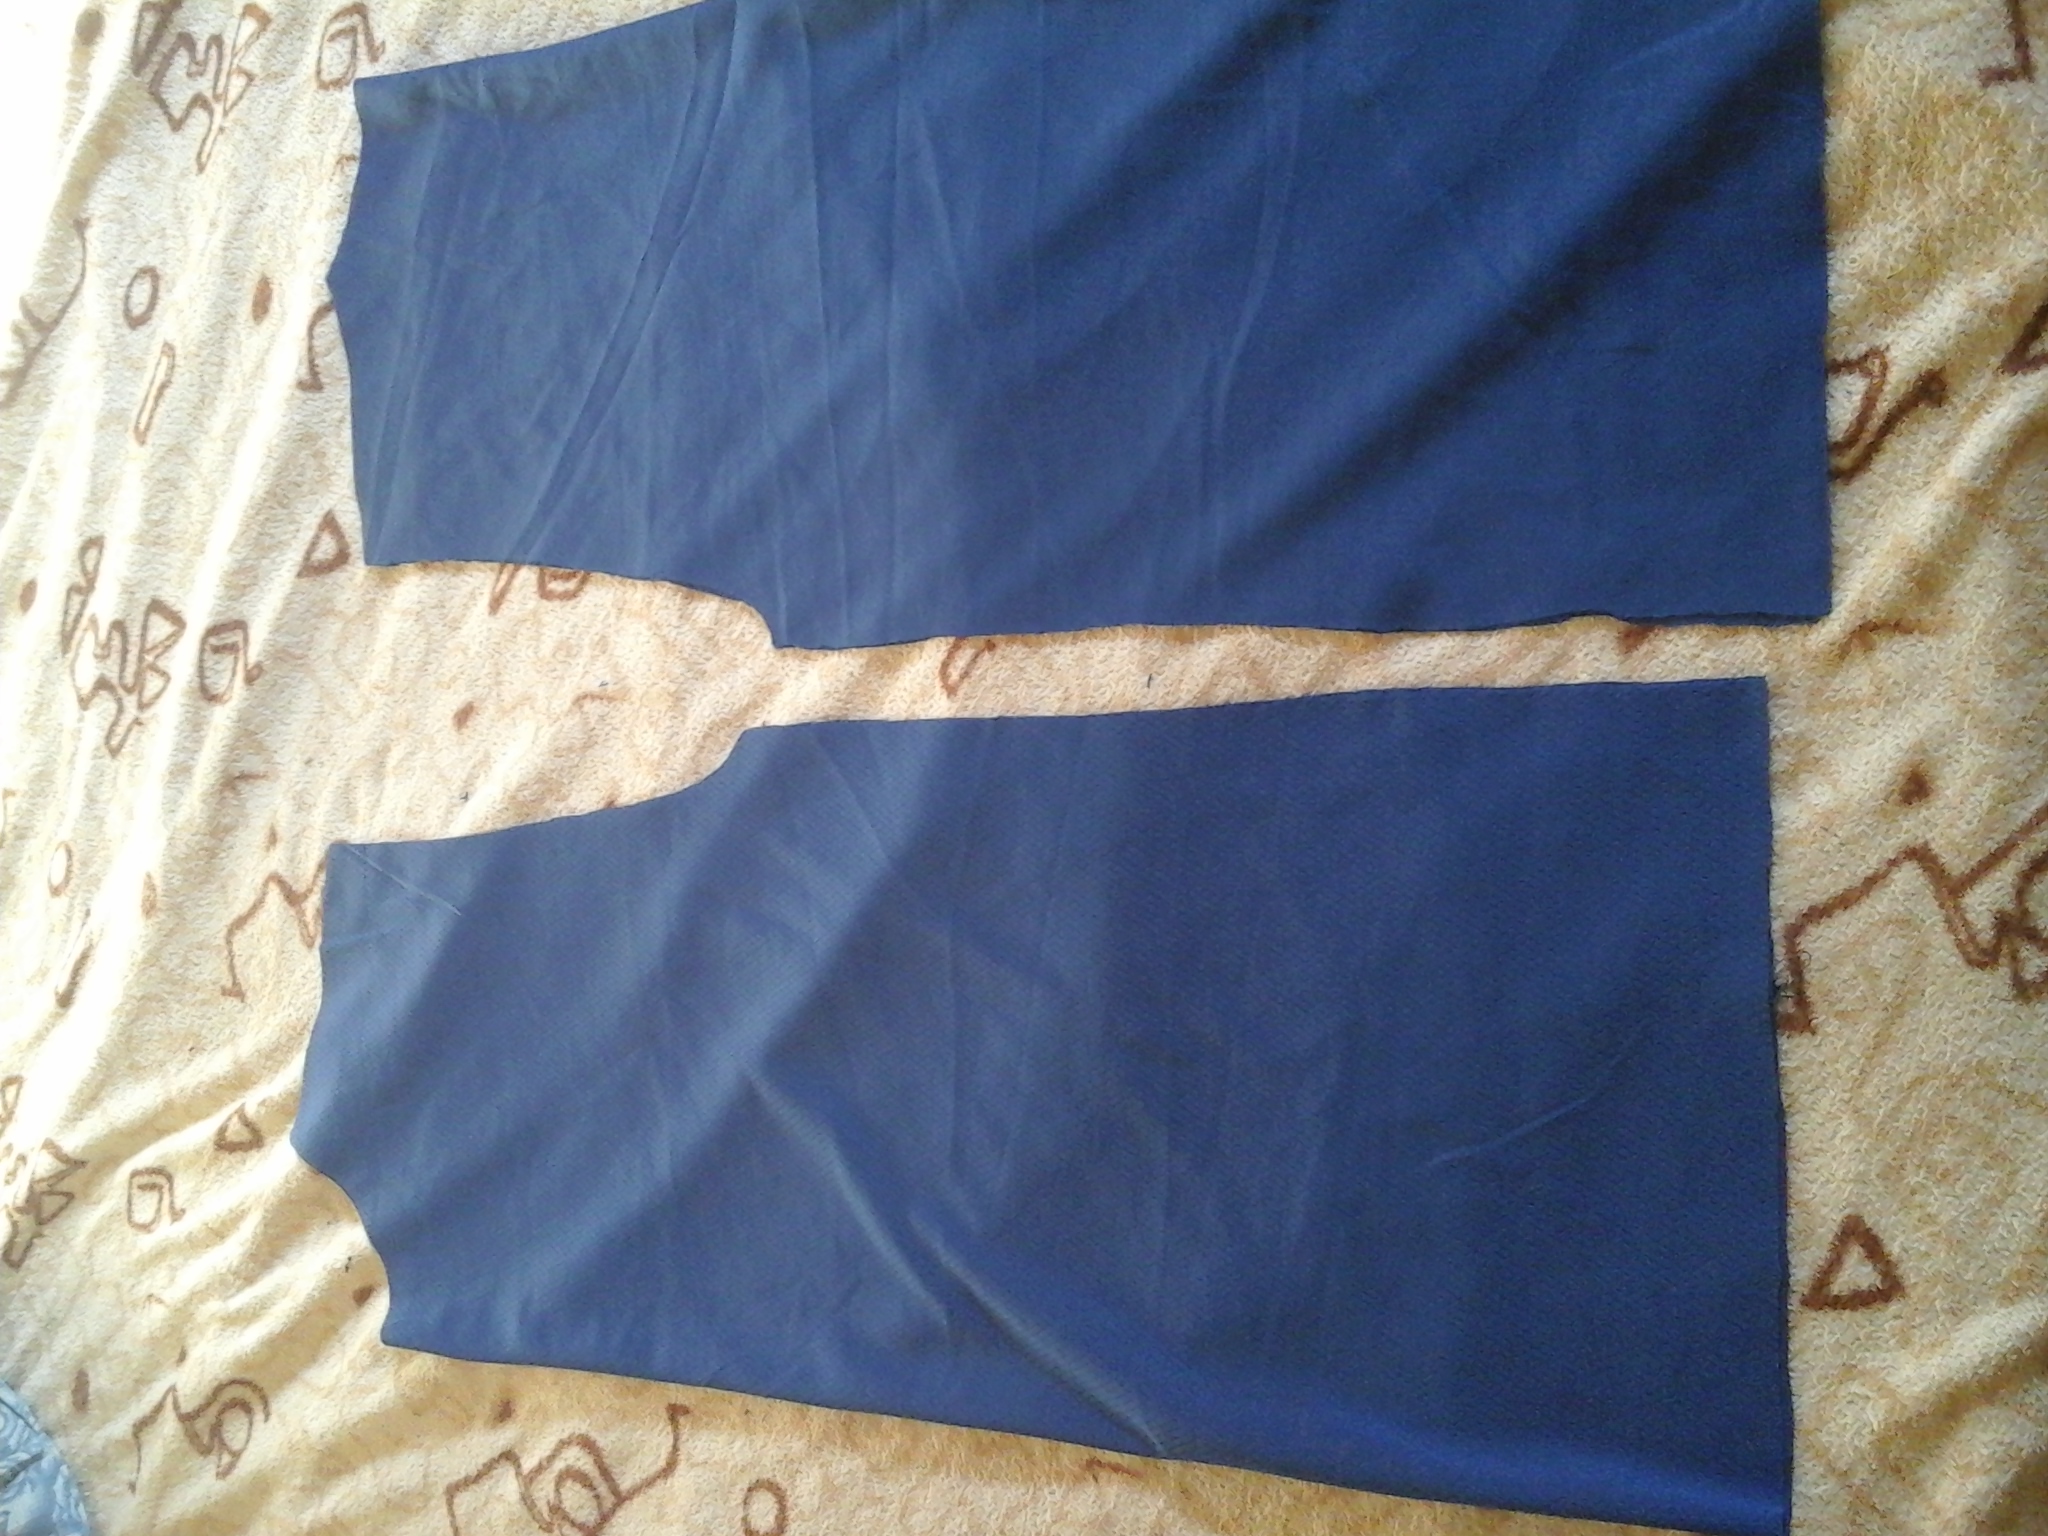
Primero debemos hacer los patrones con las medidas que queramos para las piezas de atrás y adelante de la franela. Esta que voy a hacer es una de talla XL, ideal para mi marido que al final es el que se lo va a quedar 😁. Colocamos los patrones sobre la tela y marcamos con ayuda de una tiza o lápiz; una vez que hemos terminado de marcar procedemos a cortar cada pieza, recuerda que el cuello de la pieza delantera debe quedar un poco más bajo que la espalda.
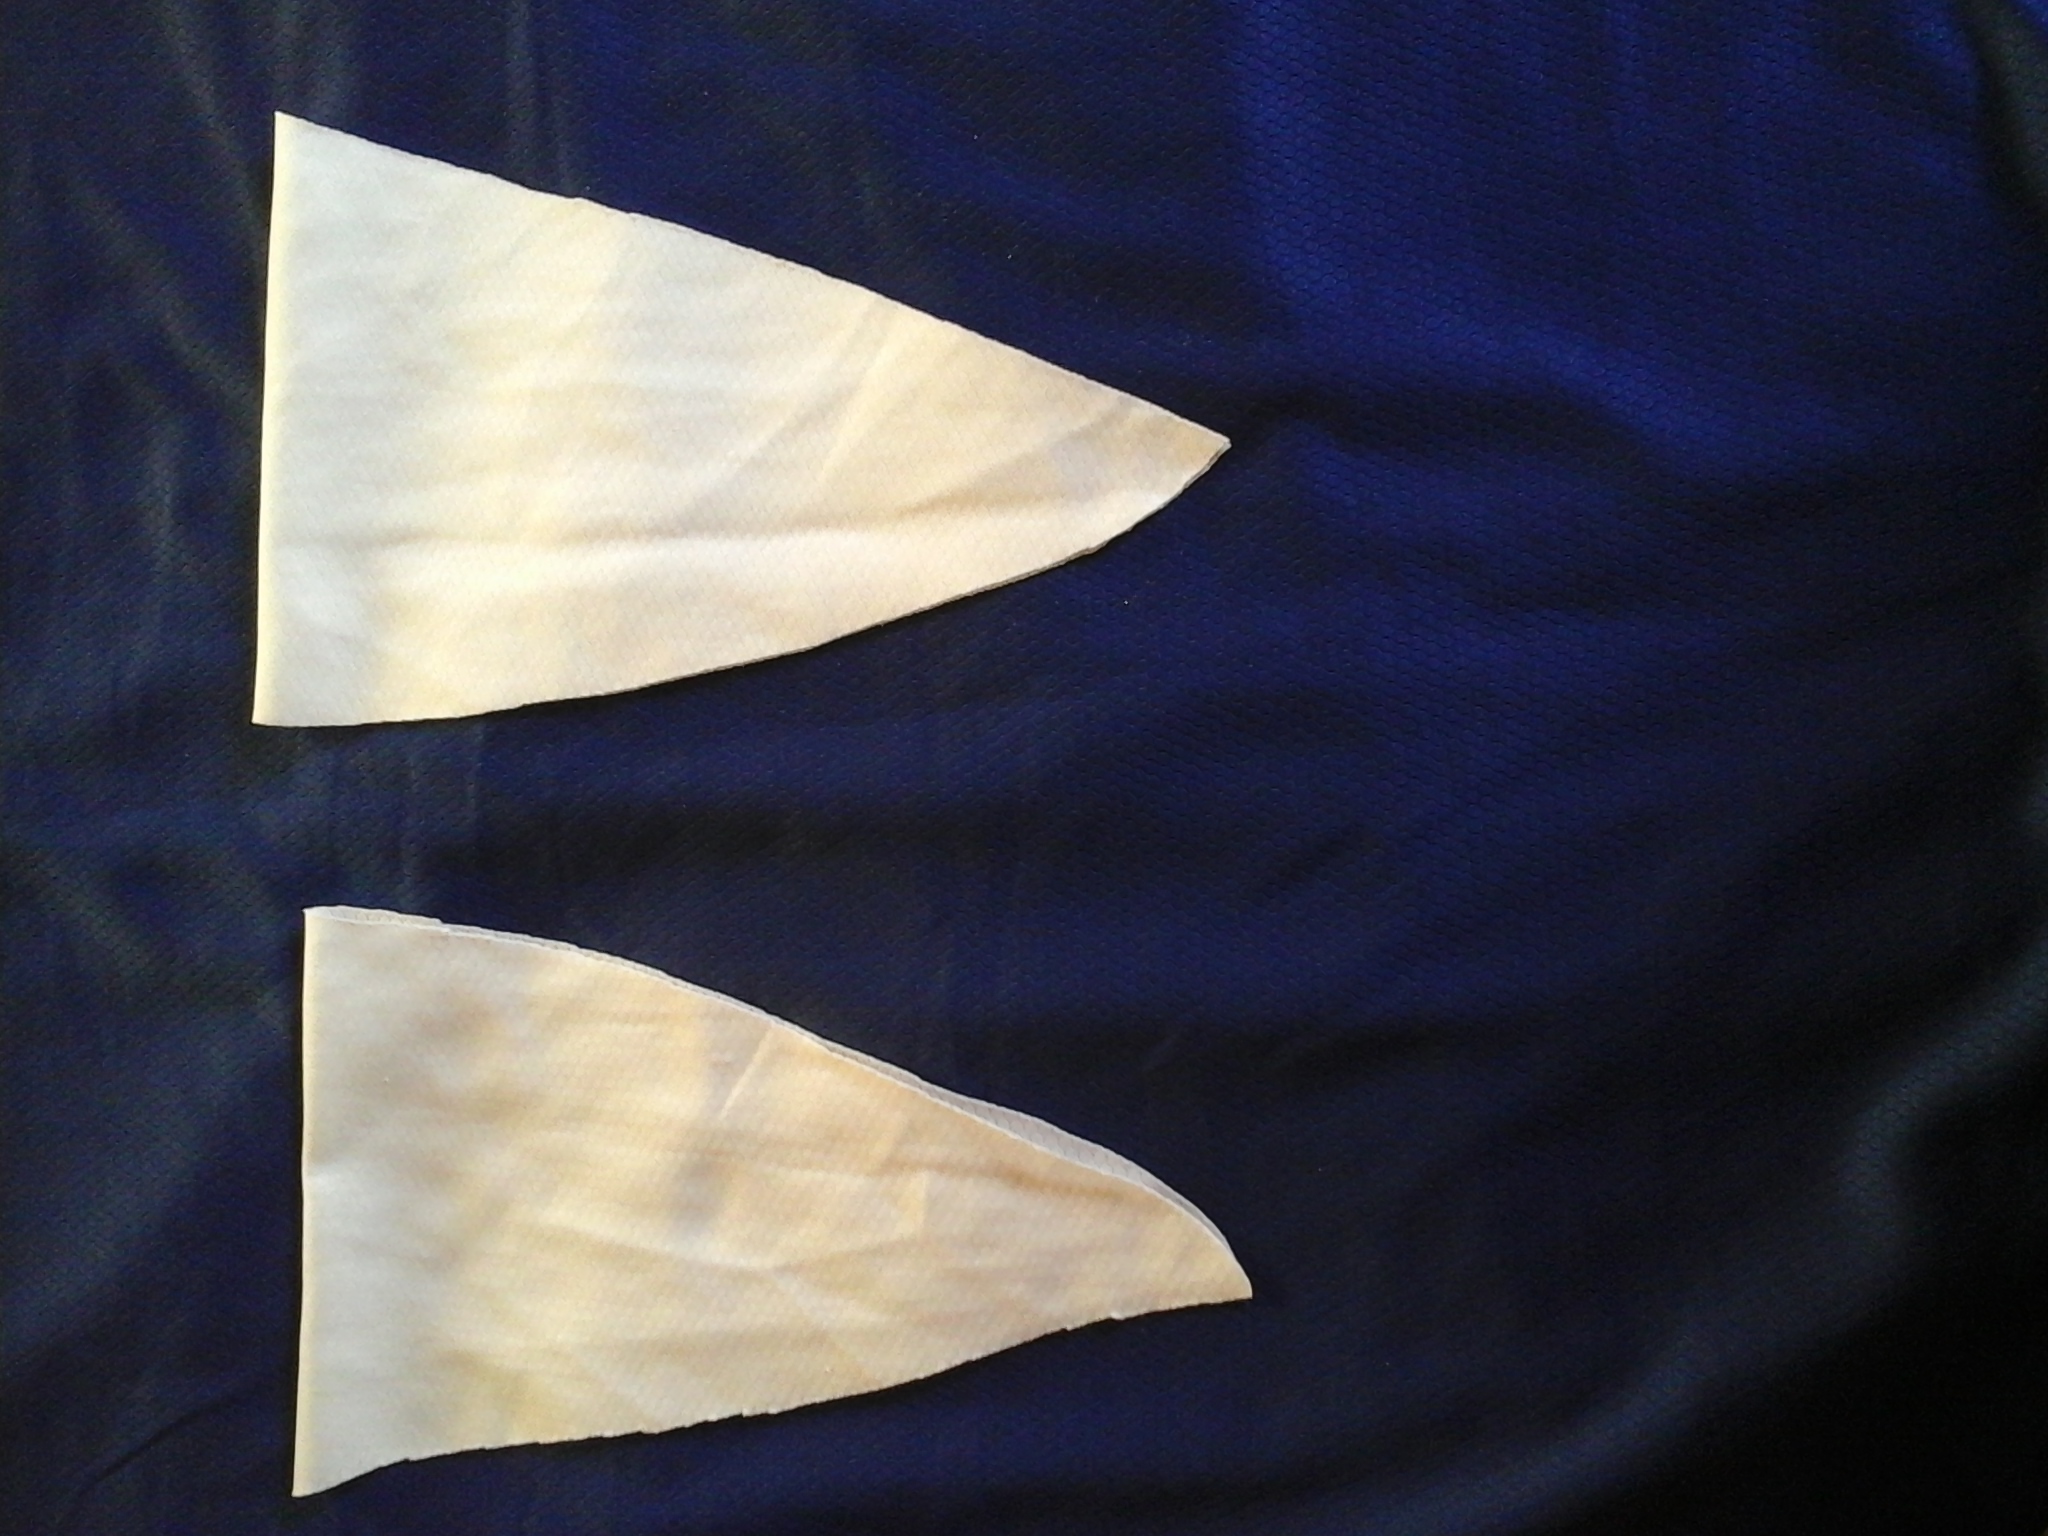
Para hacer las mangas las coloqué de esta manera como pueden observar en las imagenes, marqué sobre un trozo de papel para obtener esta forma el cual es un tipo de triángulo.
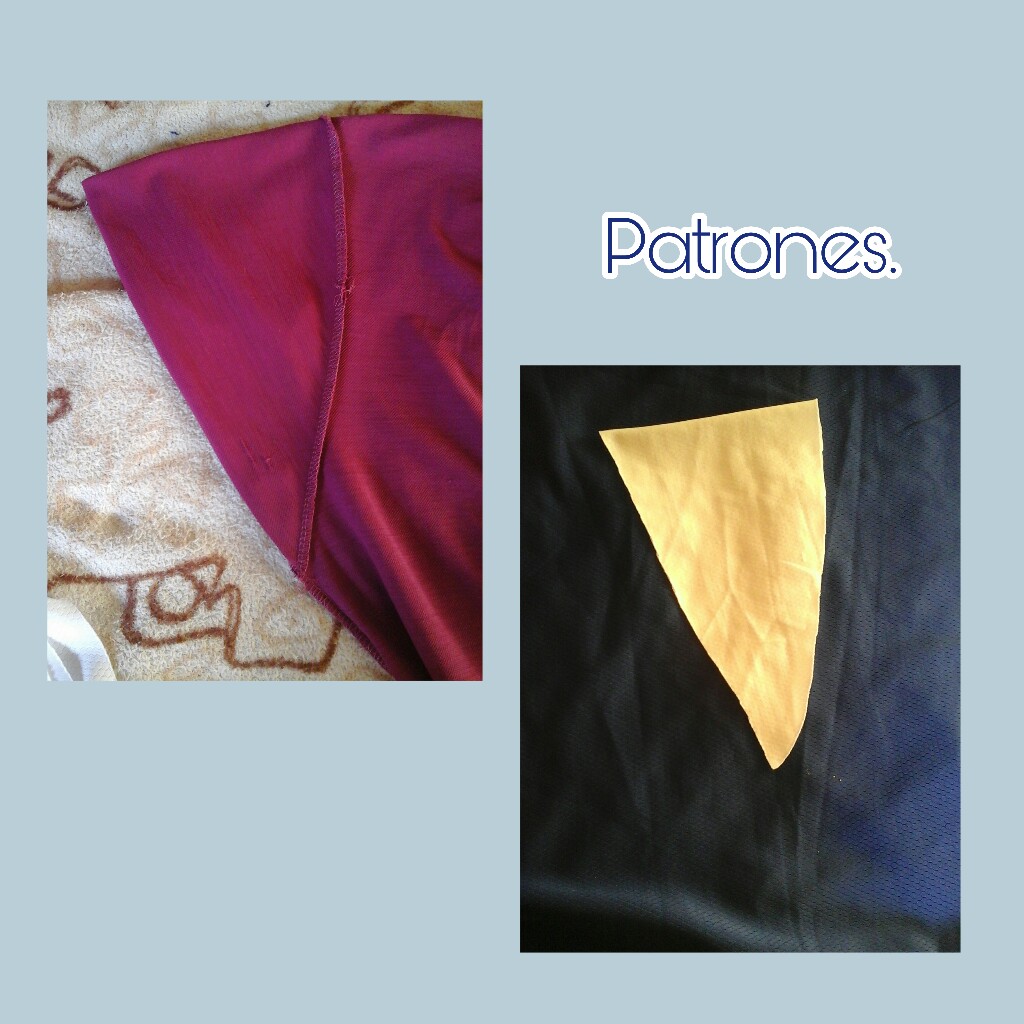
Colocamos el patrón sobre el doblez de la tela color blanco, marcamos y recortamos para obtener un par de estas. Como ya les dije antes estas piezas pueden ser de otro color el que mas les guste.
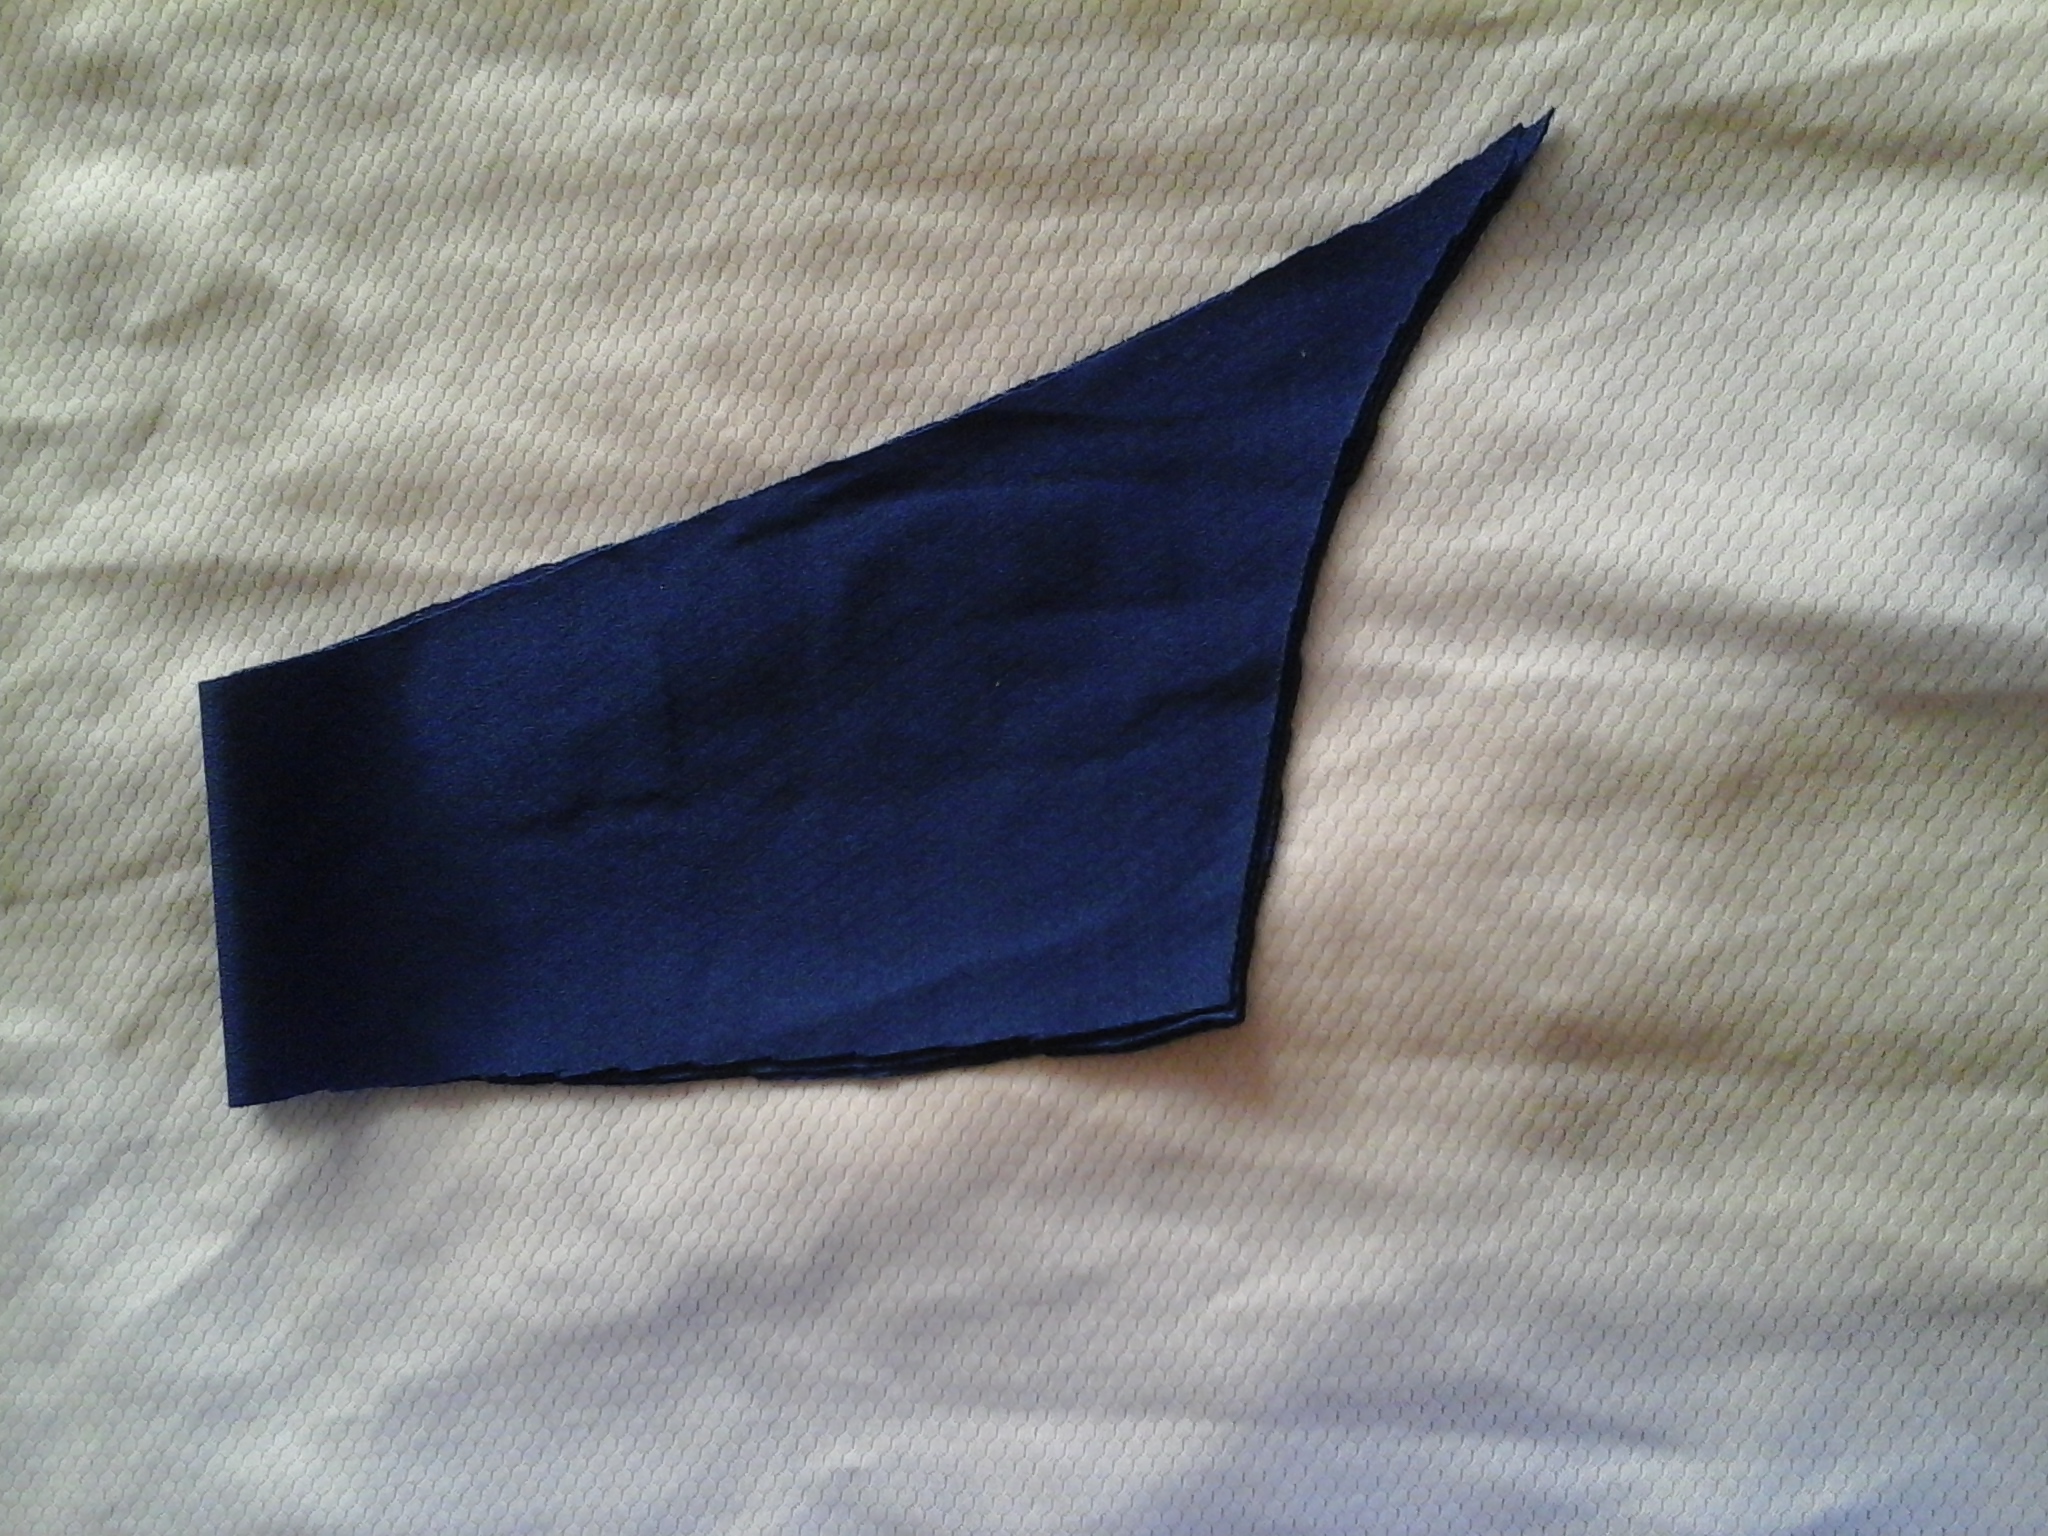
Para continuar haciendo las mangas esta es una de las piezas que la conforma, seguimos utilizando papel para hacer los patrones, igualmente marcamos esta pieza sobre el papel para obtener esta forma, marcamos y recortamos. Una vez tengamos nuestro patrón listo procedemos a colocarlo sobre el doblez de la tela color azul y recortamos un par.
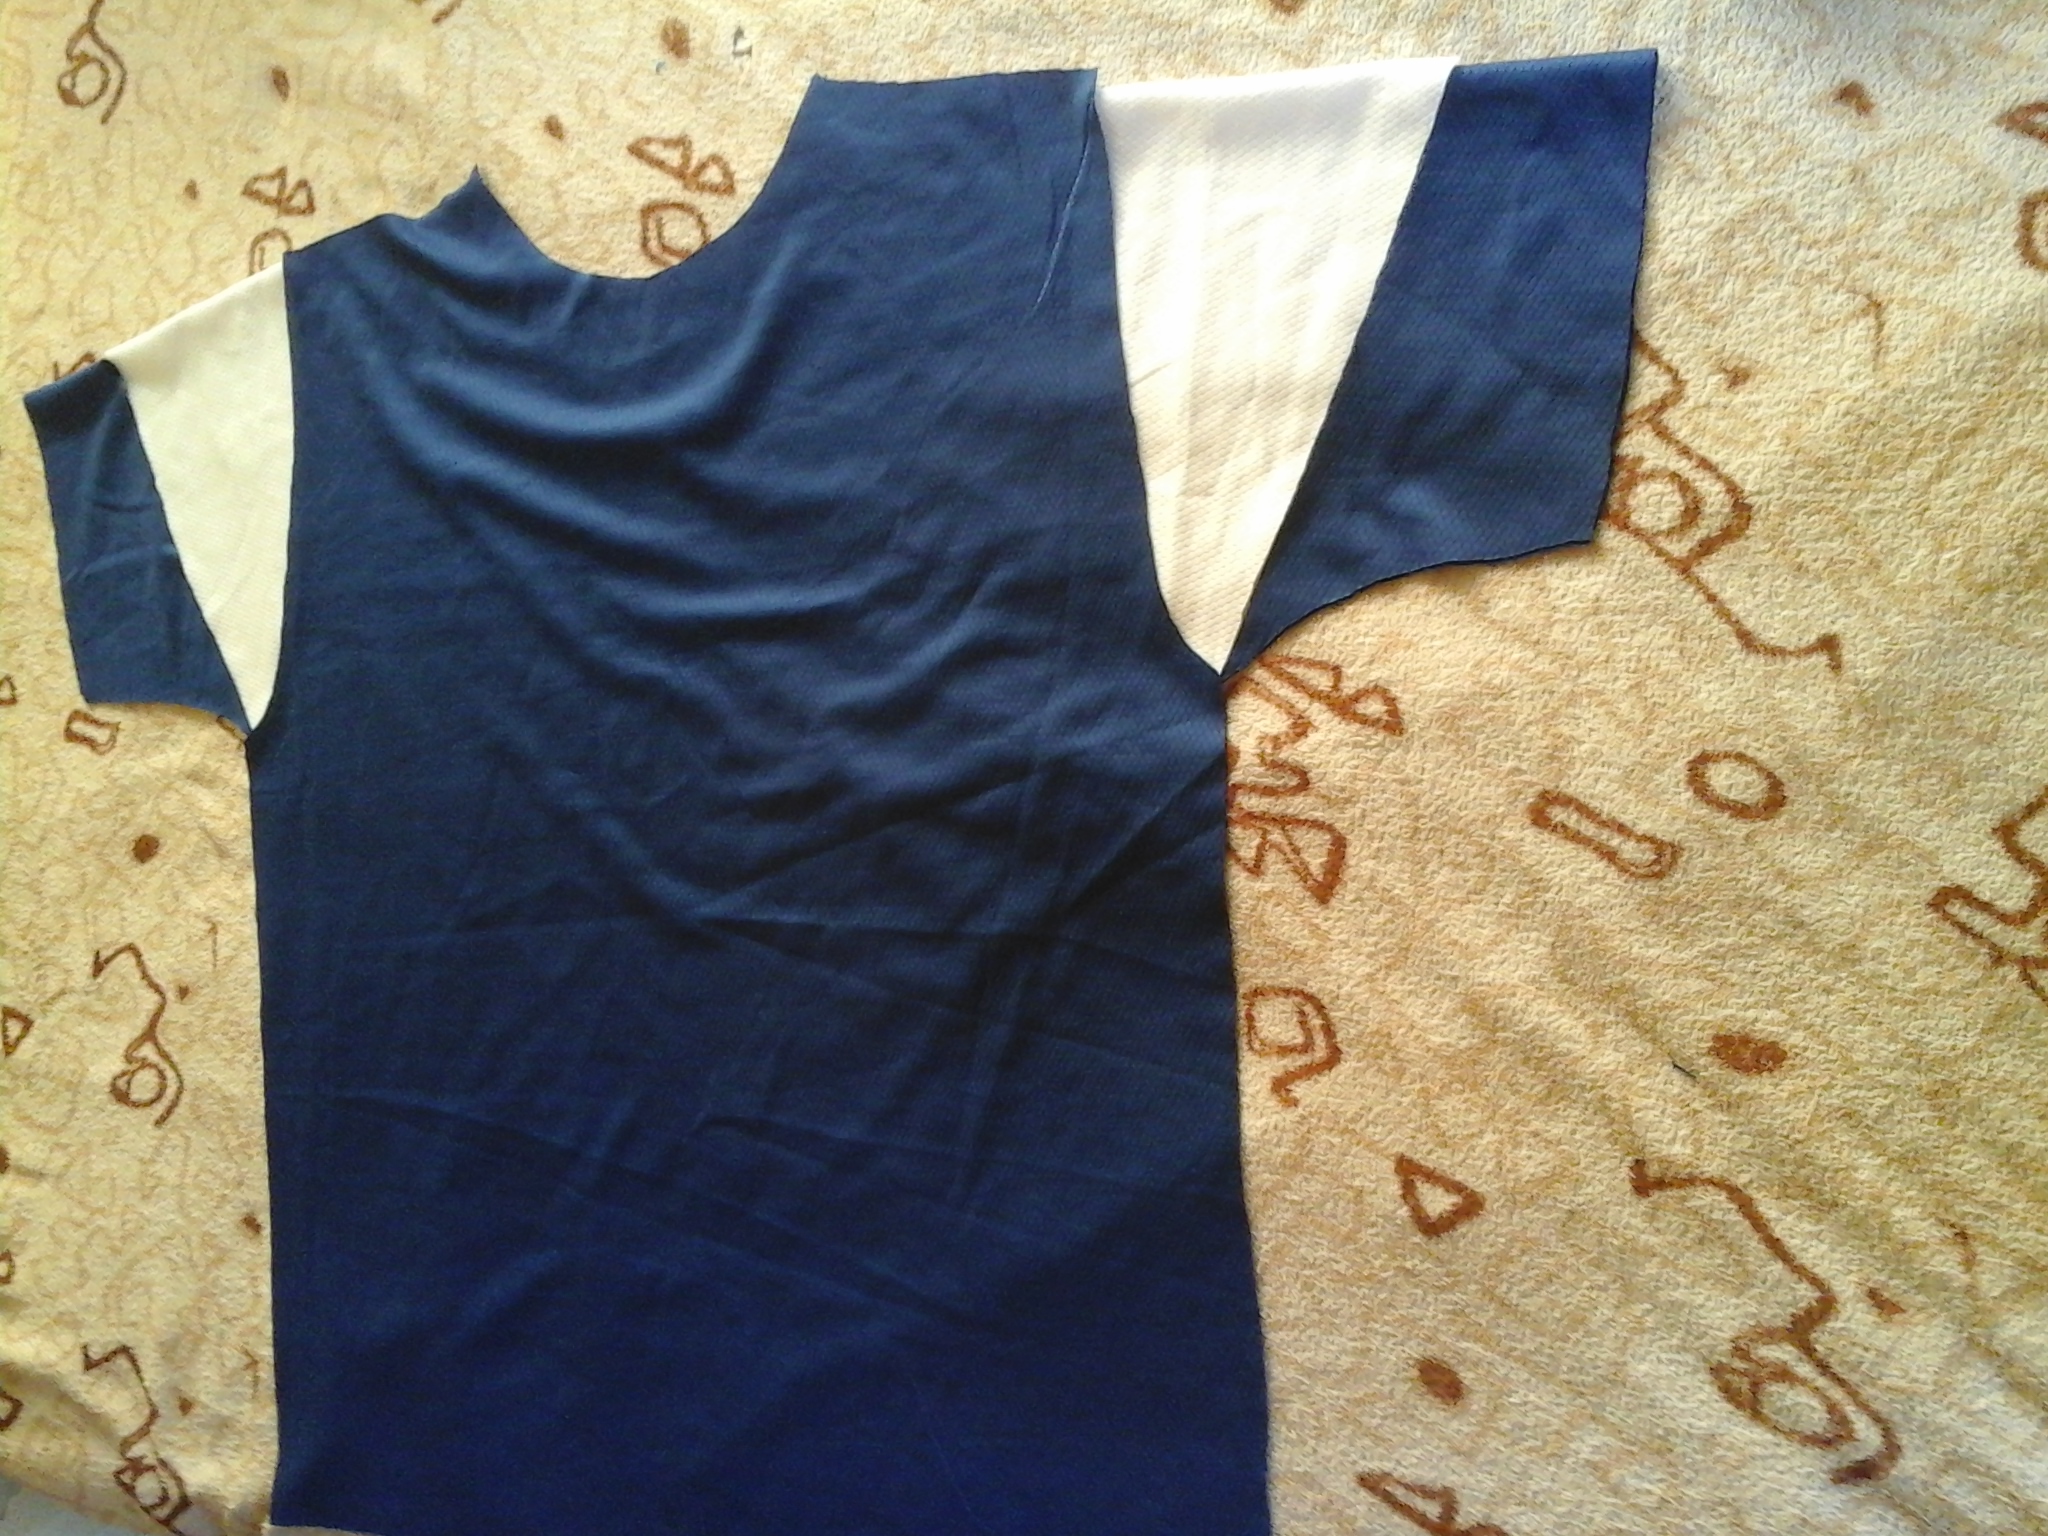
En esta imagen les muestro como deben quedar las piezas para formar la franela completa, solo hay que comenzar a coser.
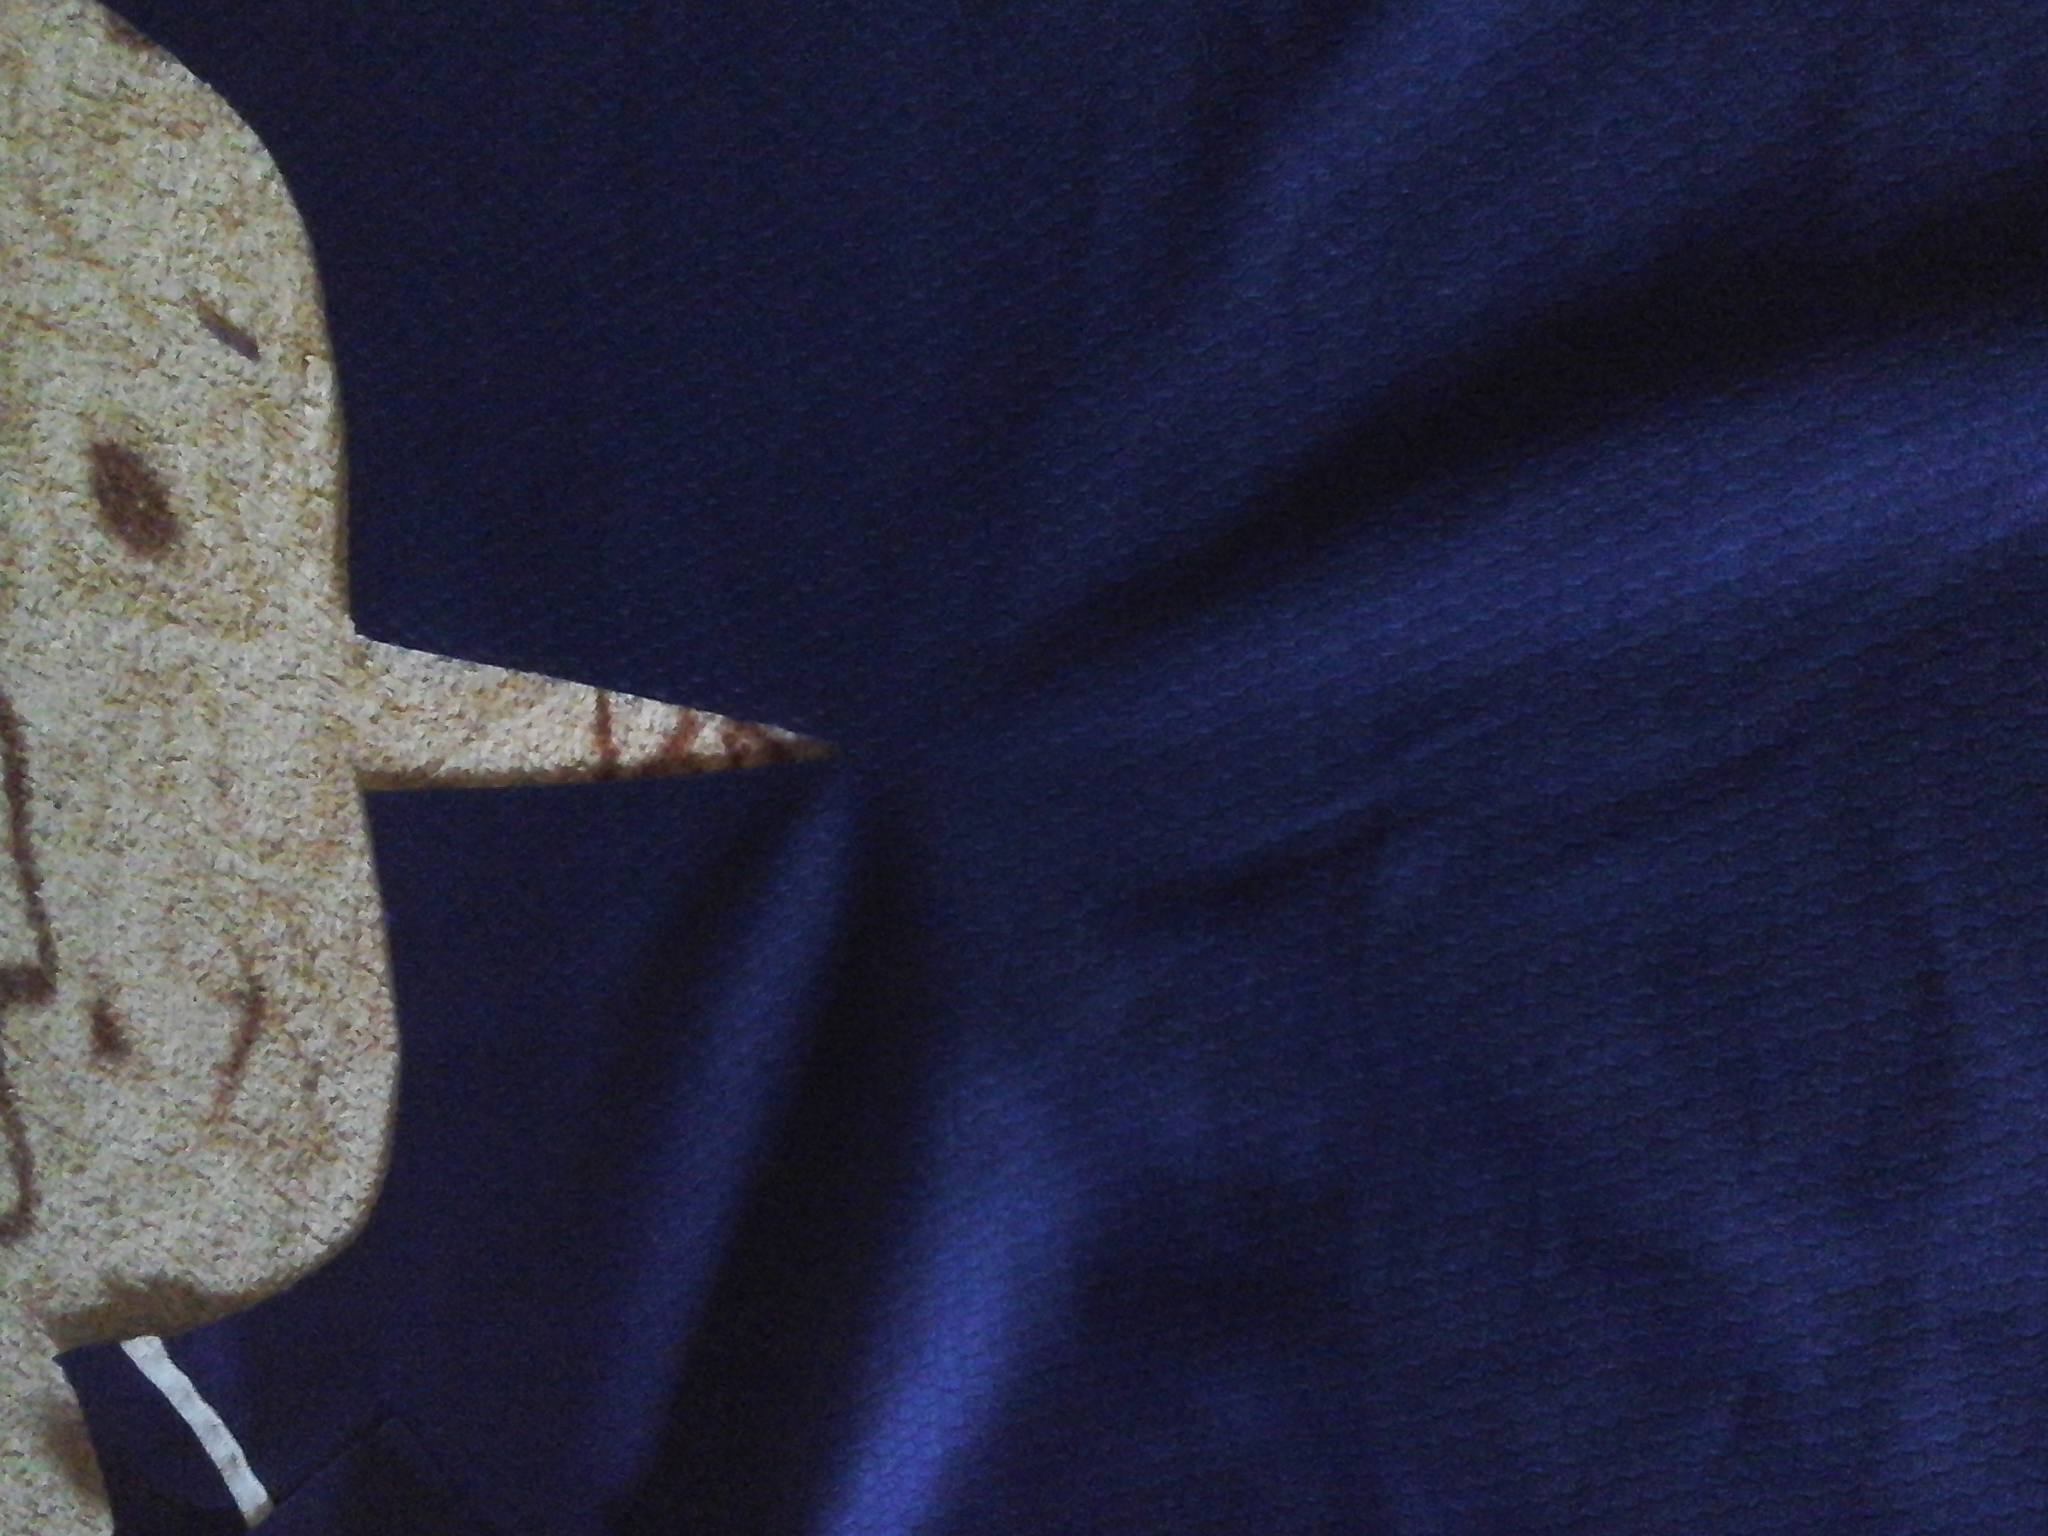
A la pieza delantera justo en el cuello vamos a cortar 4 o 5cm de forma vertical, esto es para hacer la abotonera. Quise hacer esta abertura ya que la tela no estira lo suficiente, además la hace ver muy bien y no tan simple.
Continuamos haciendo los patrones para luego comenzar a coser cada uno, estos que ven a continuación serán las piezas para hacer el cuello y la abotonera.
Quiero colocarles una finas tiras en la parte delantera de la franela justo cerca de los hombros a cada lado y de manera diagonal. Antes de unir las piezas y comenzar a coser hay que bastear estas tiras para luego hacer costura recta en la máquina. Estas tiras miden 1,5cm al doblez por 20cm de largo.
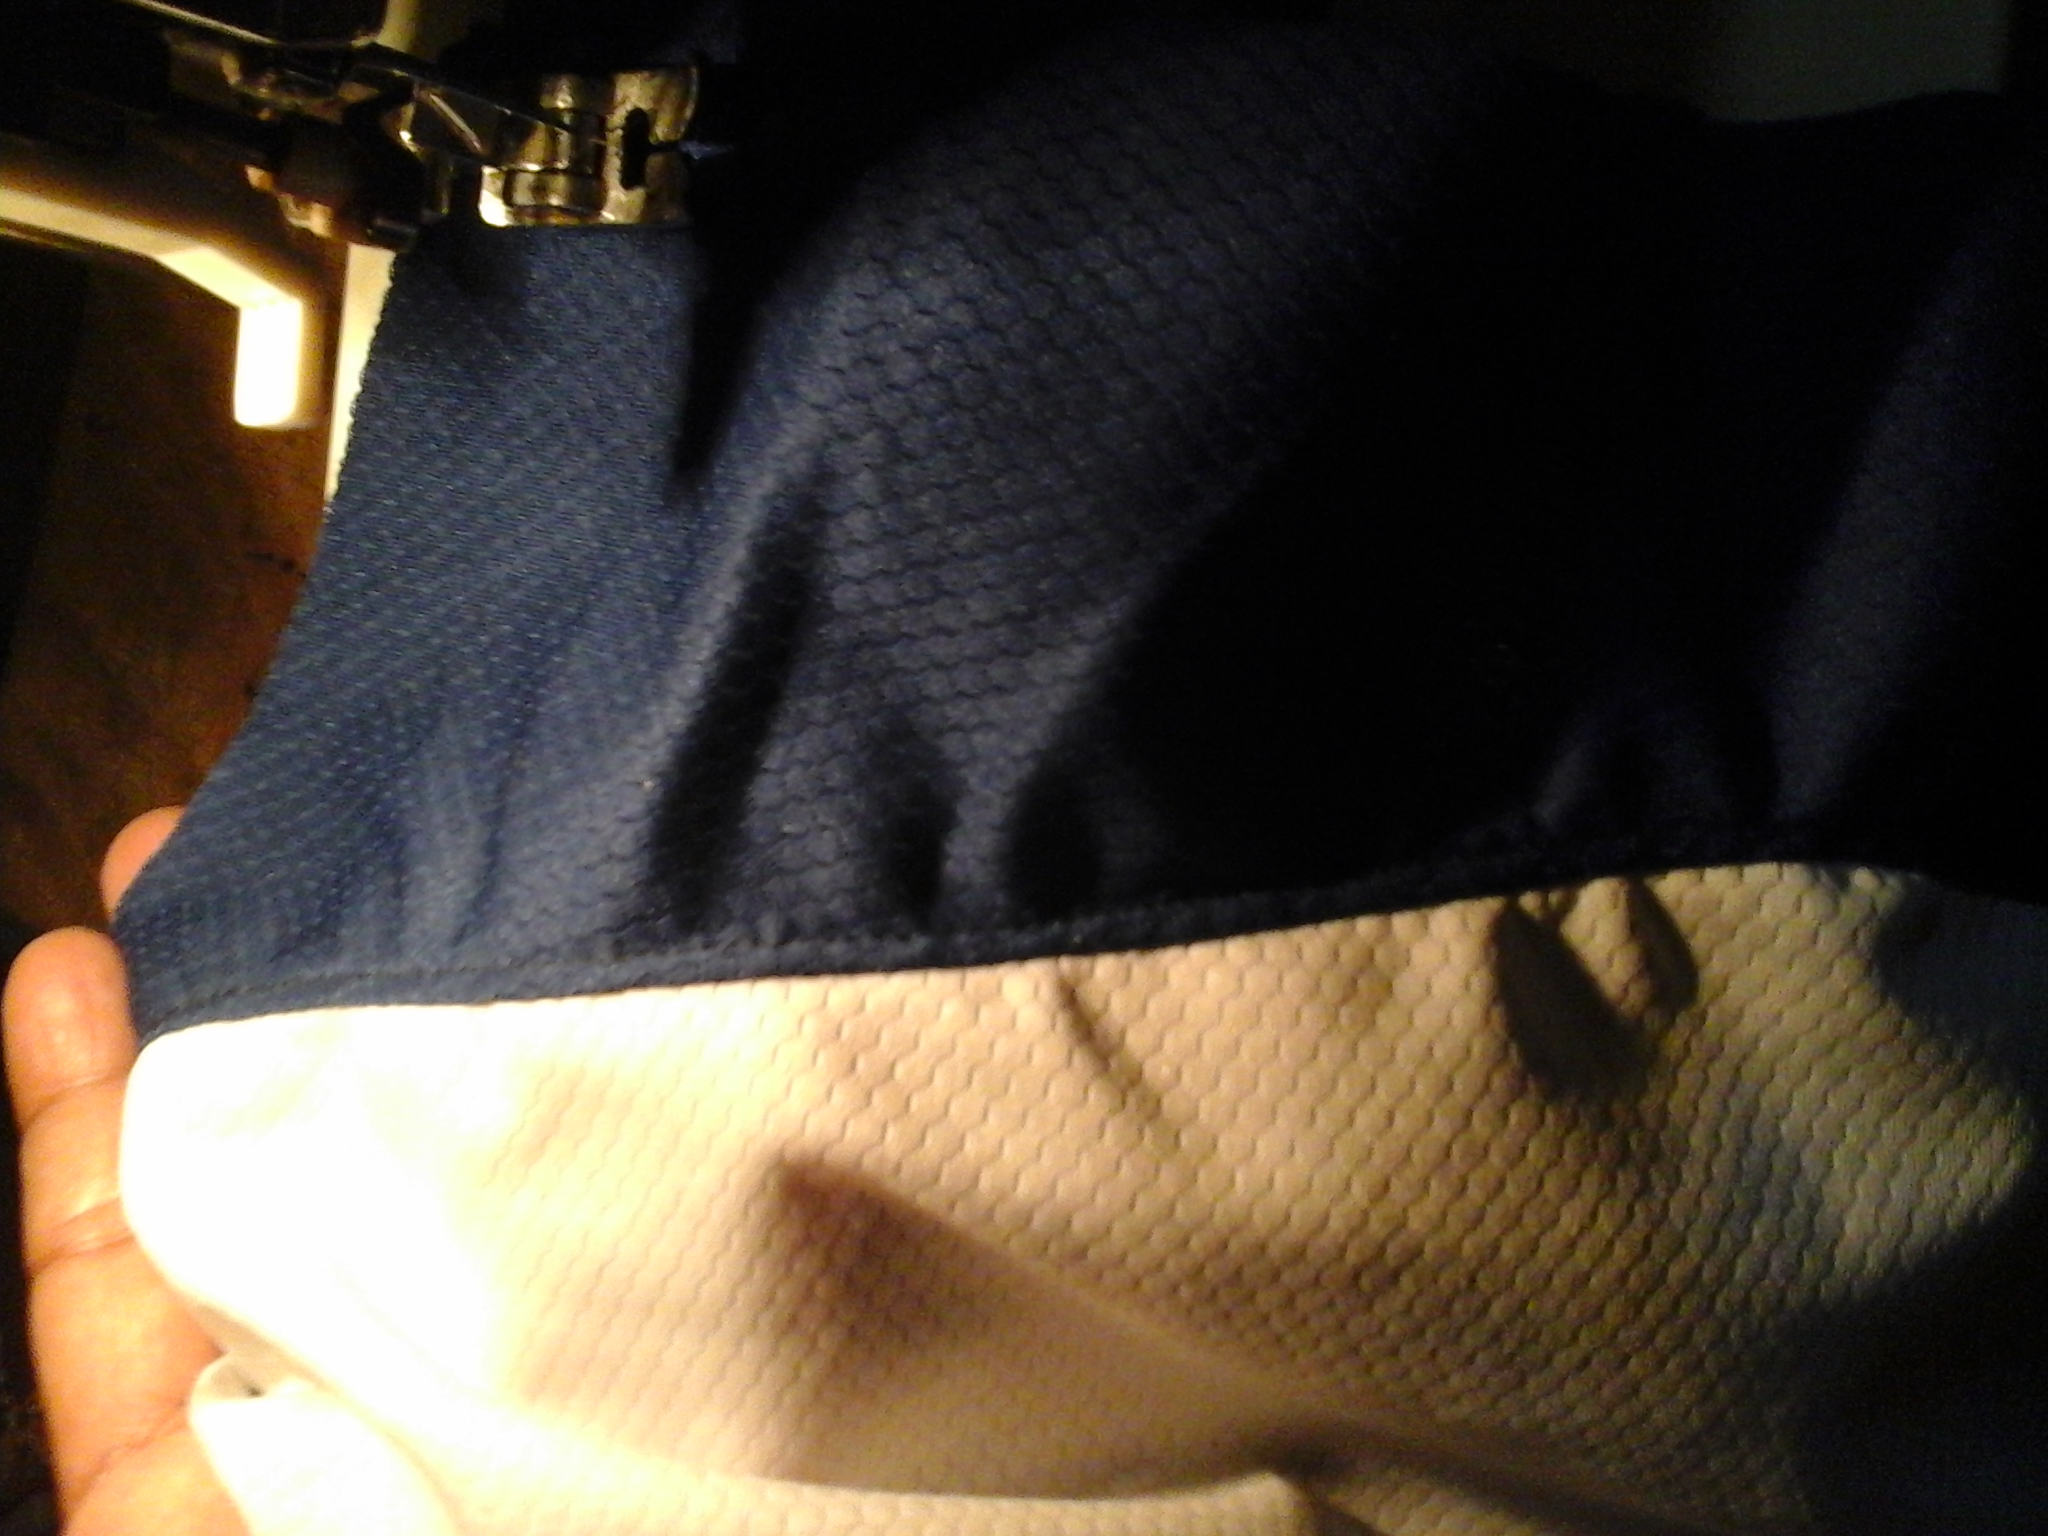
Ahora vamos hacer la abotonera, cosemos las piezas correspondientes, les cuento que se me hizo un poco complicado coser por cuestiones de iluminación ya que me toco hacerlo de noche por que aproveche que los niños estaban dormidos 😁. Una vez que hayamos terminado de coser, procedemos hacer los hojales.
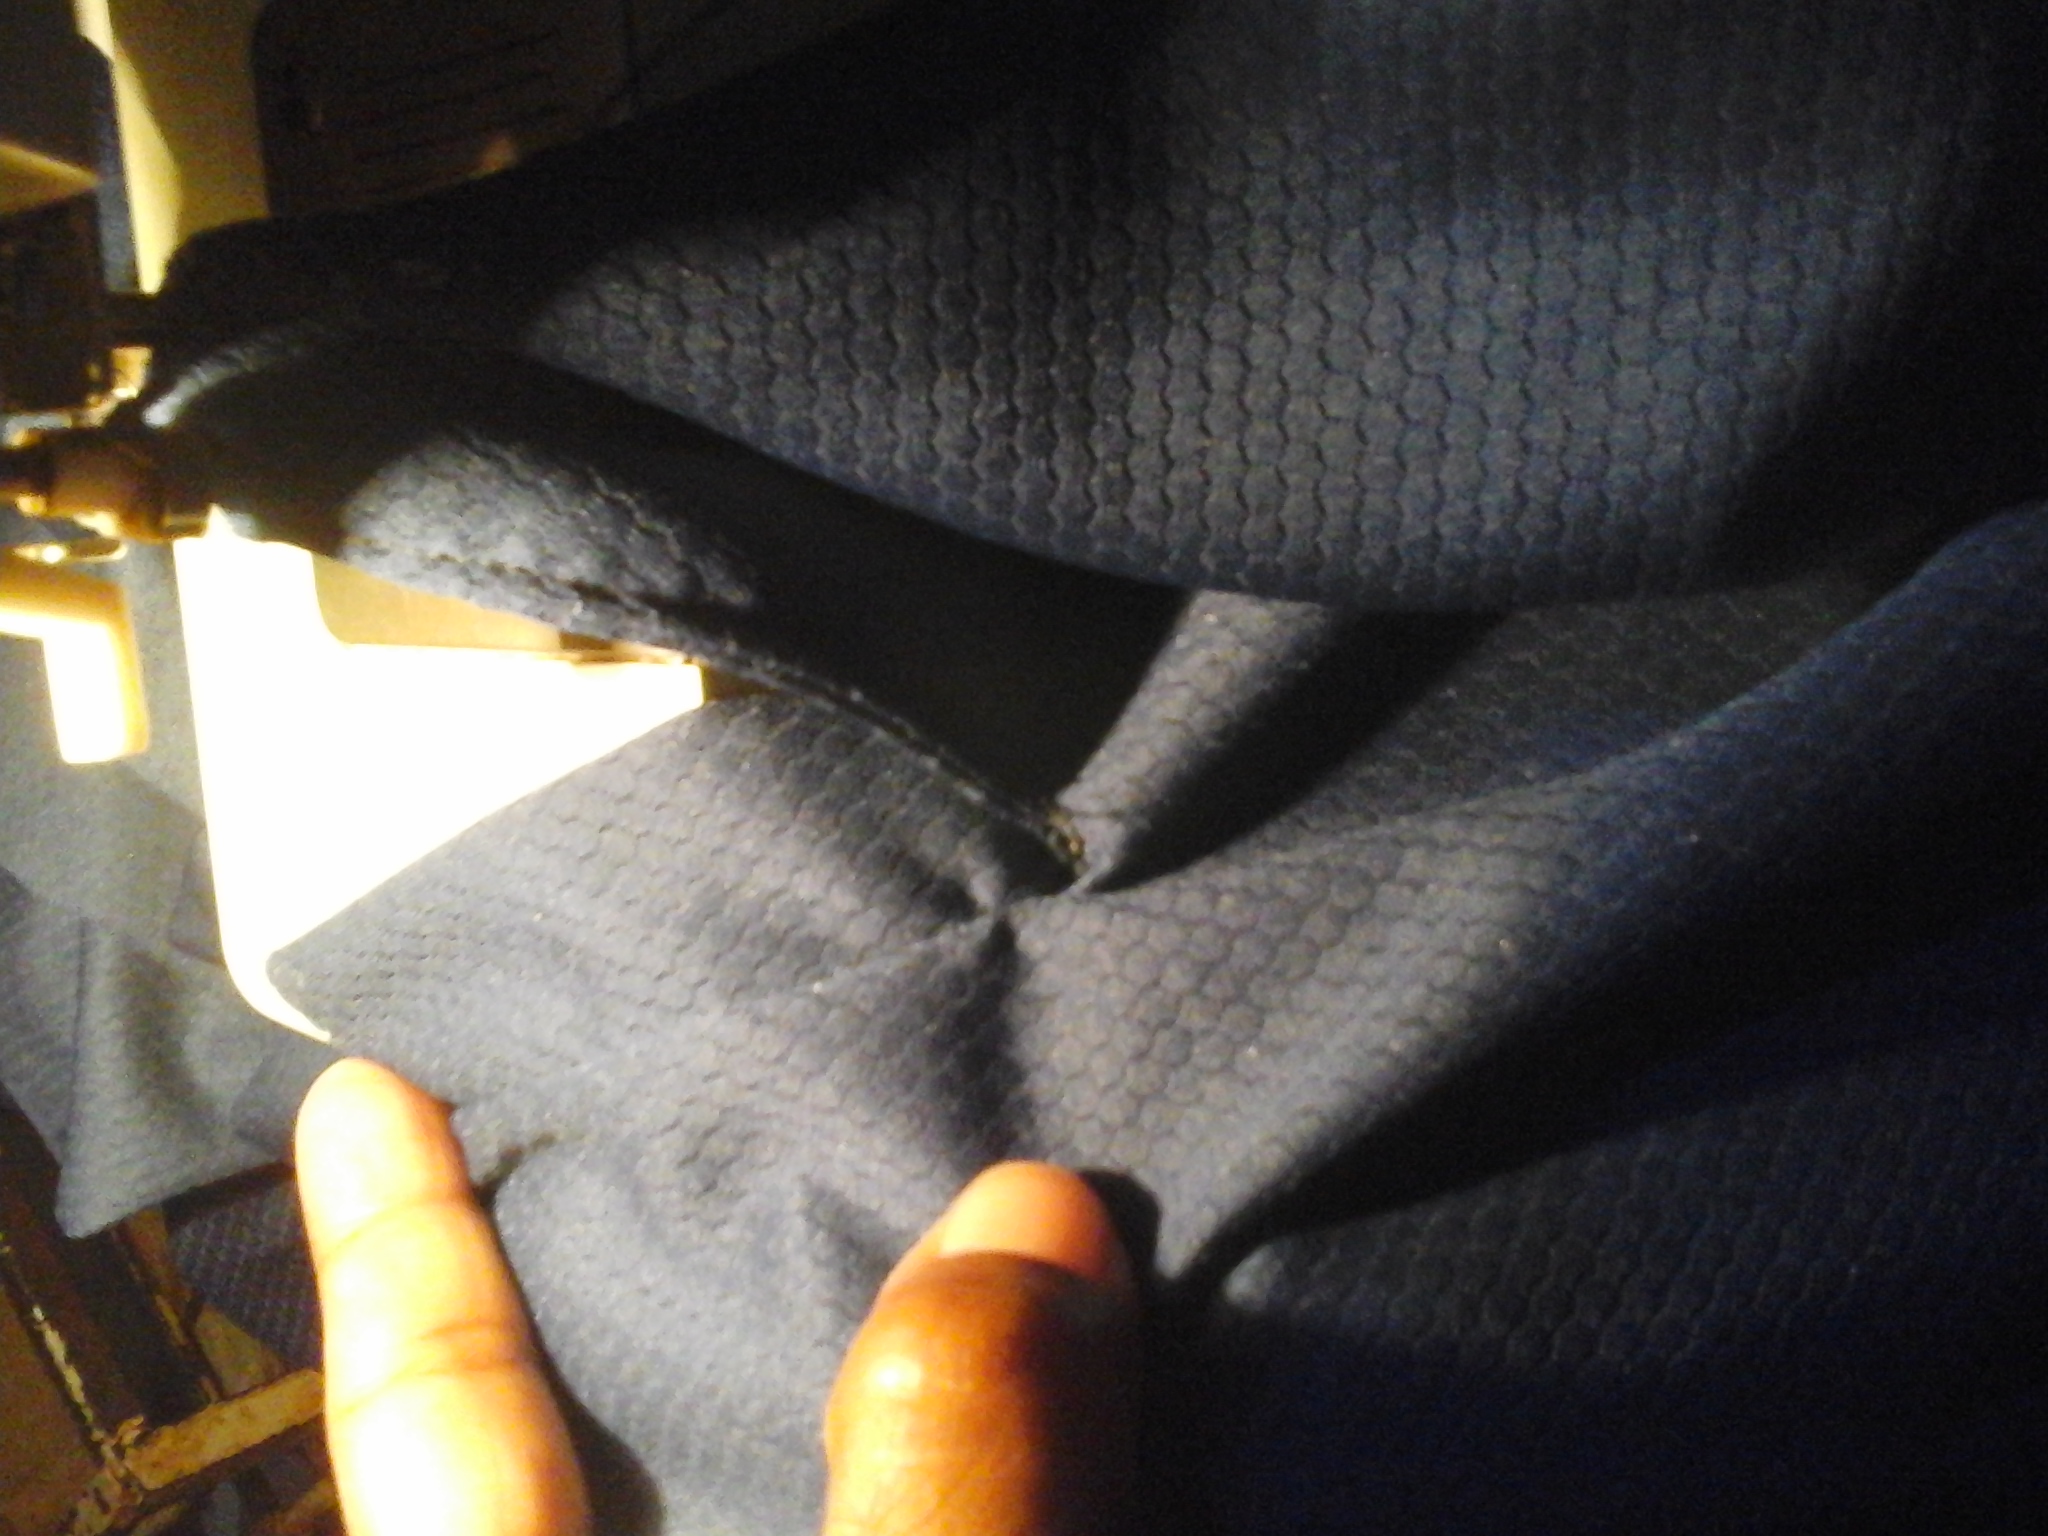
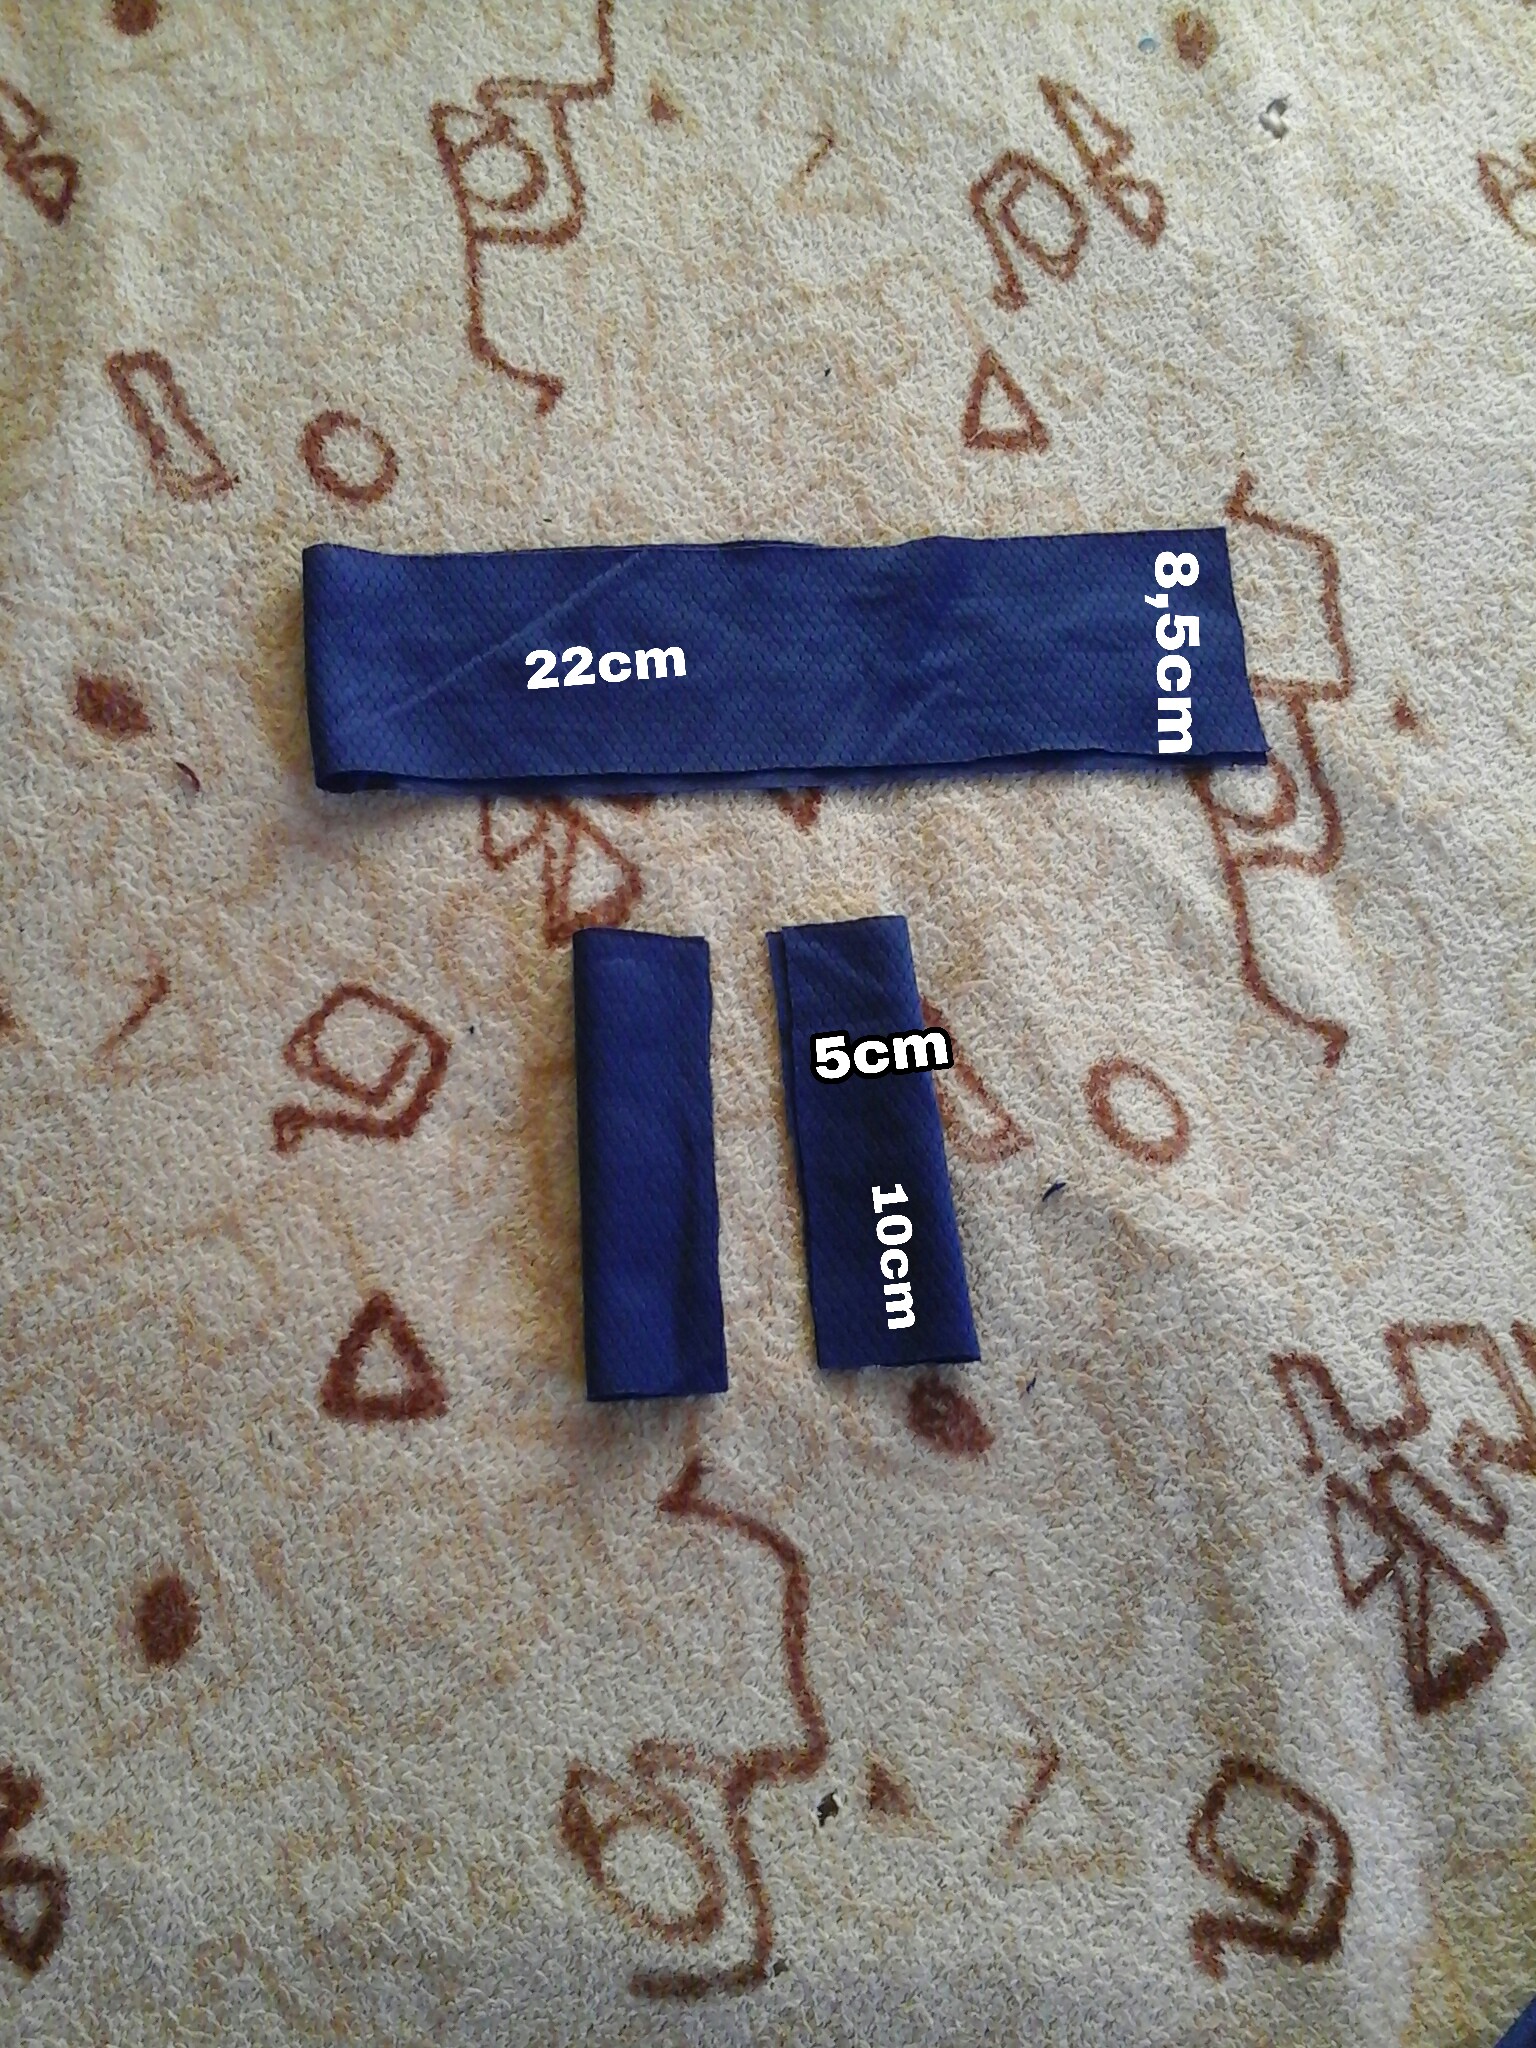
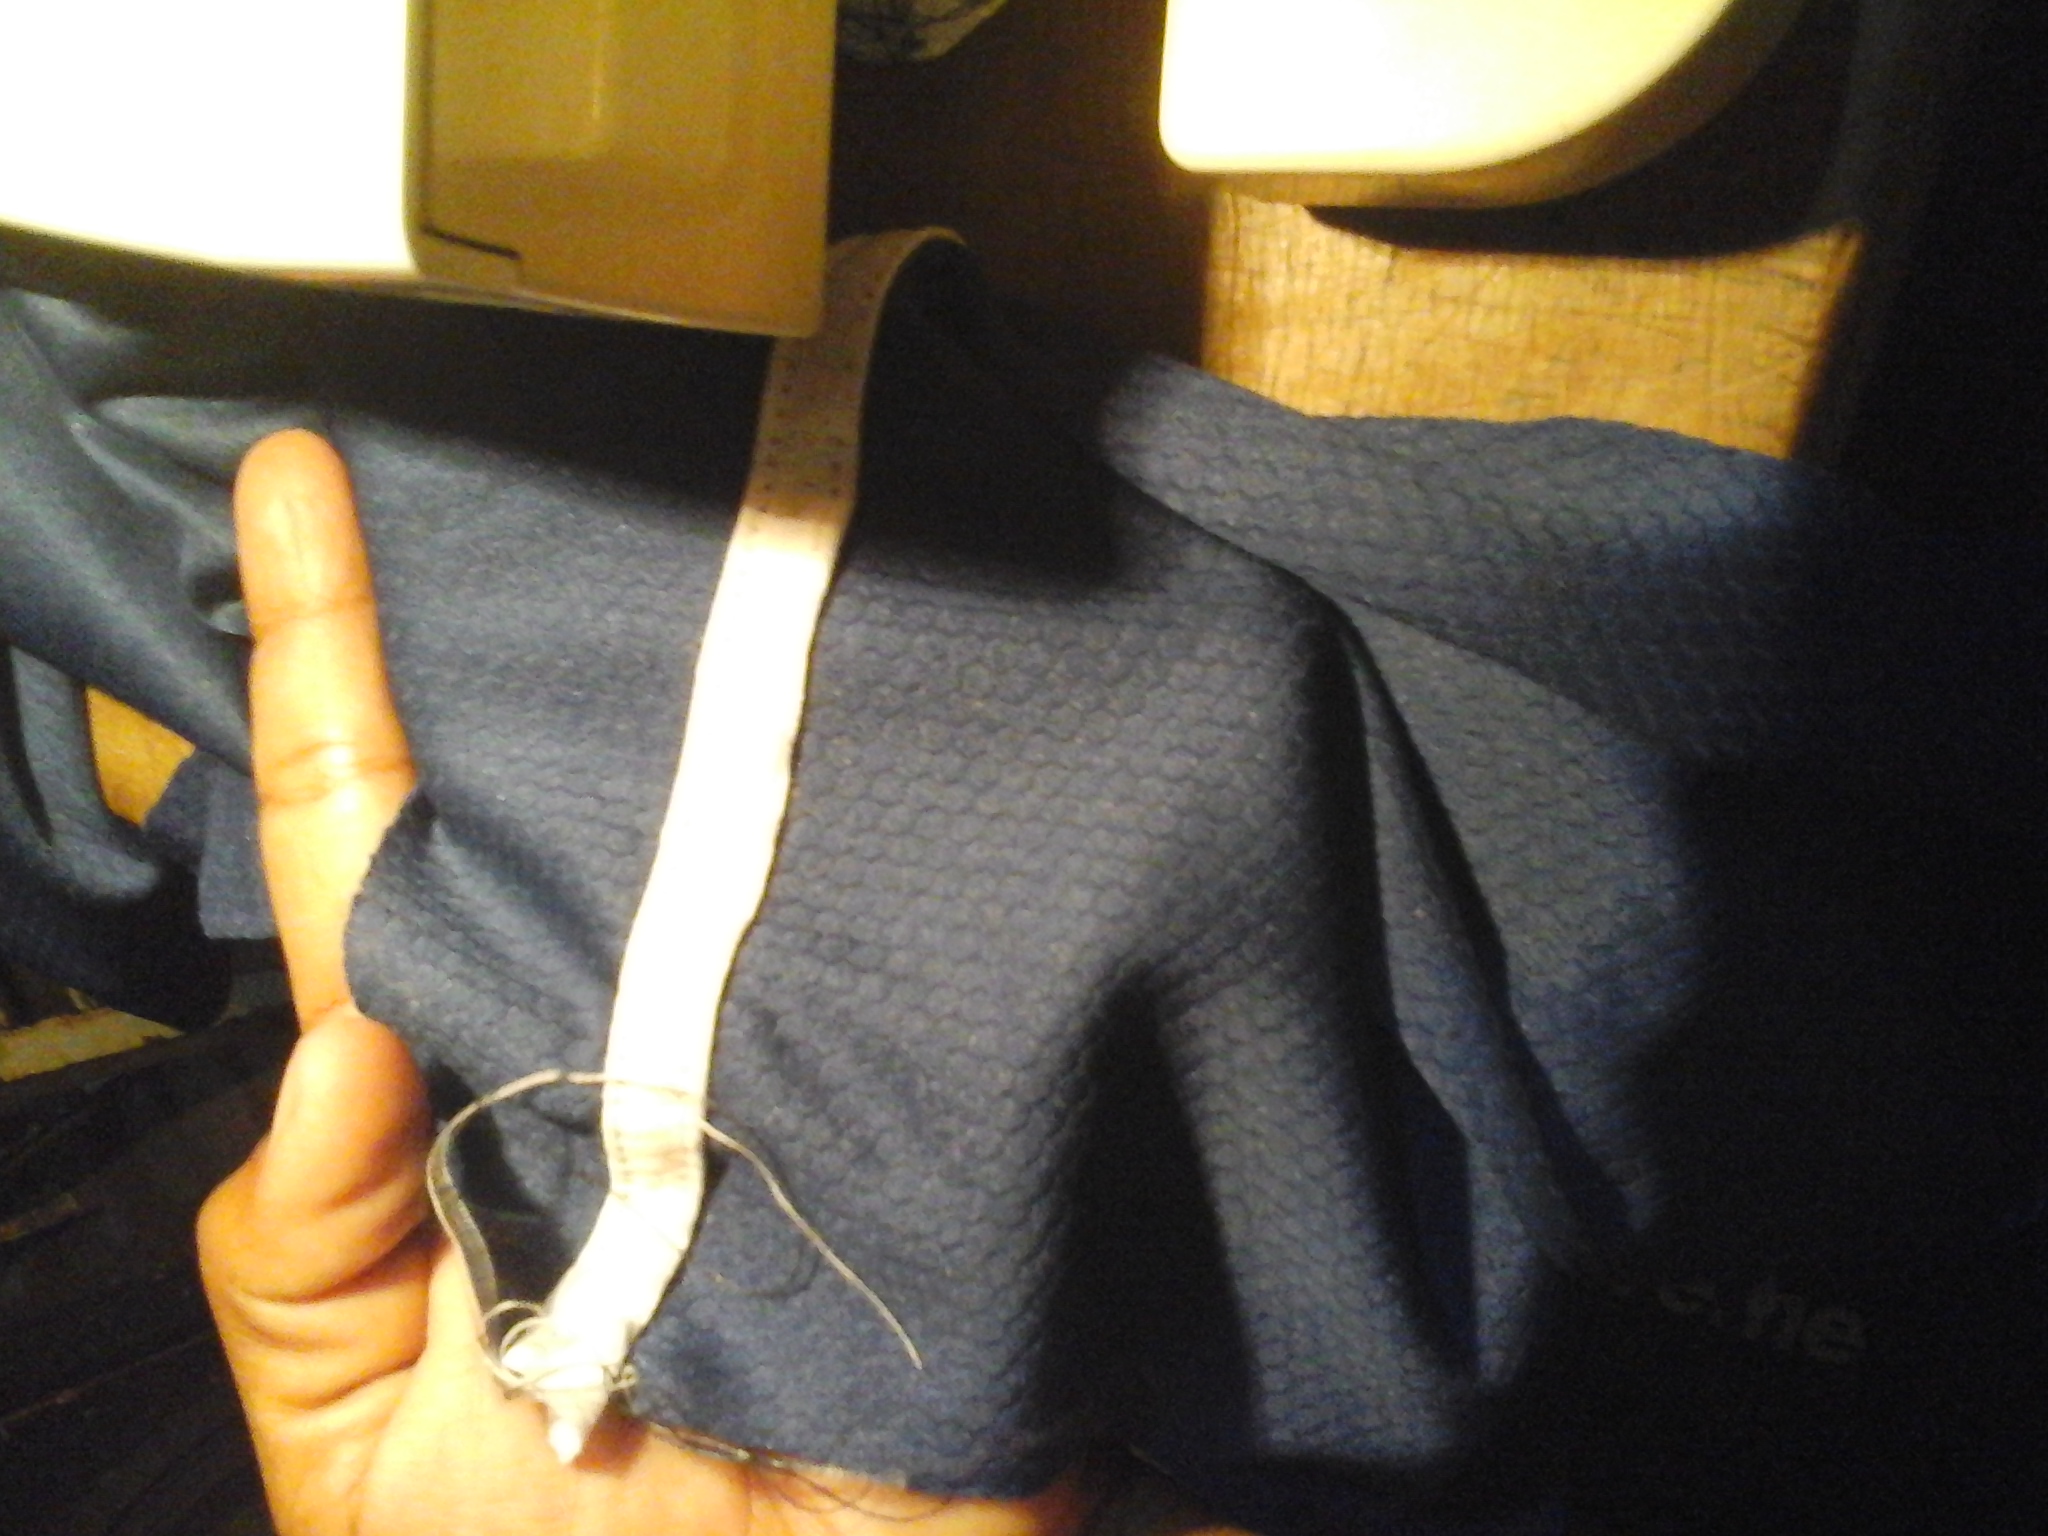
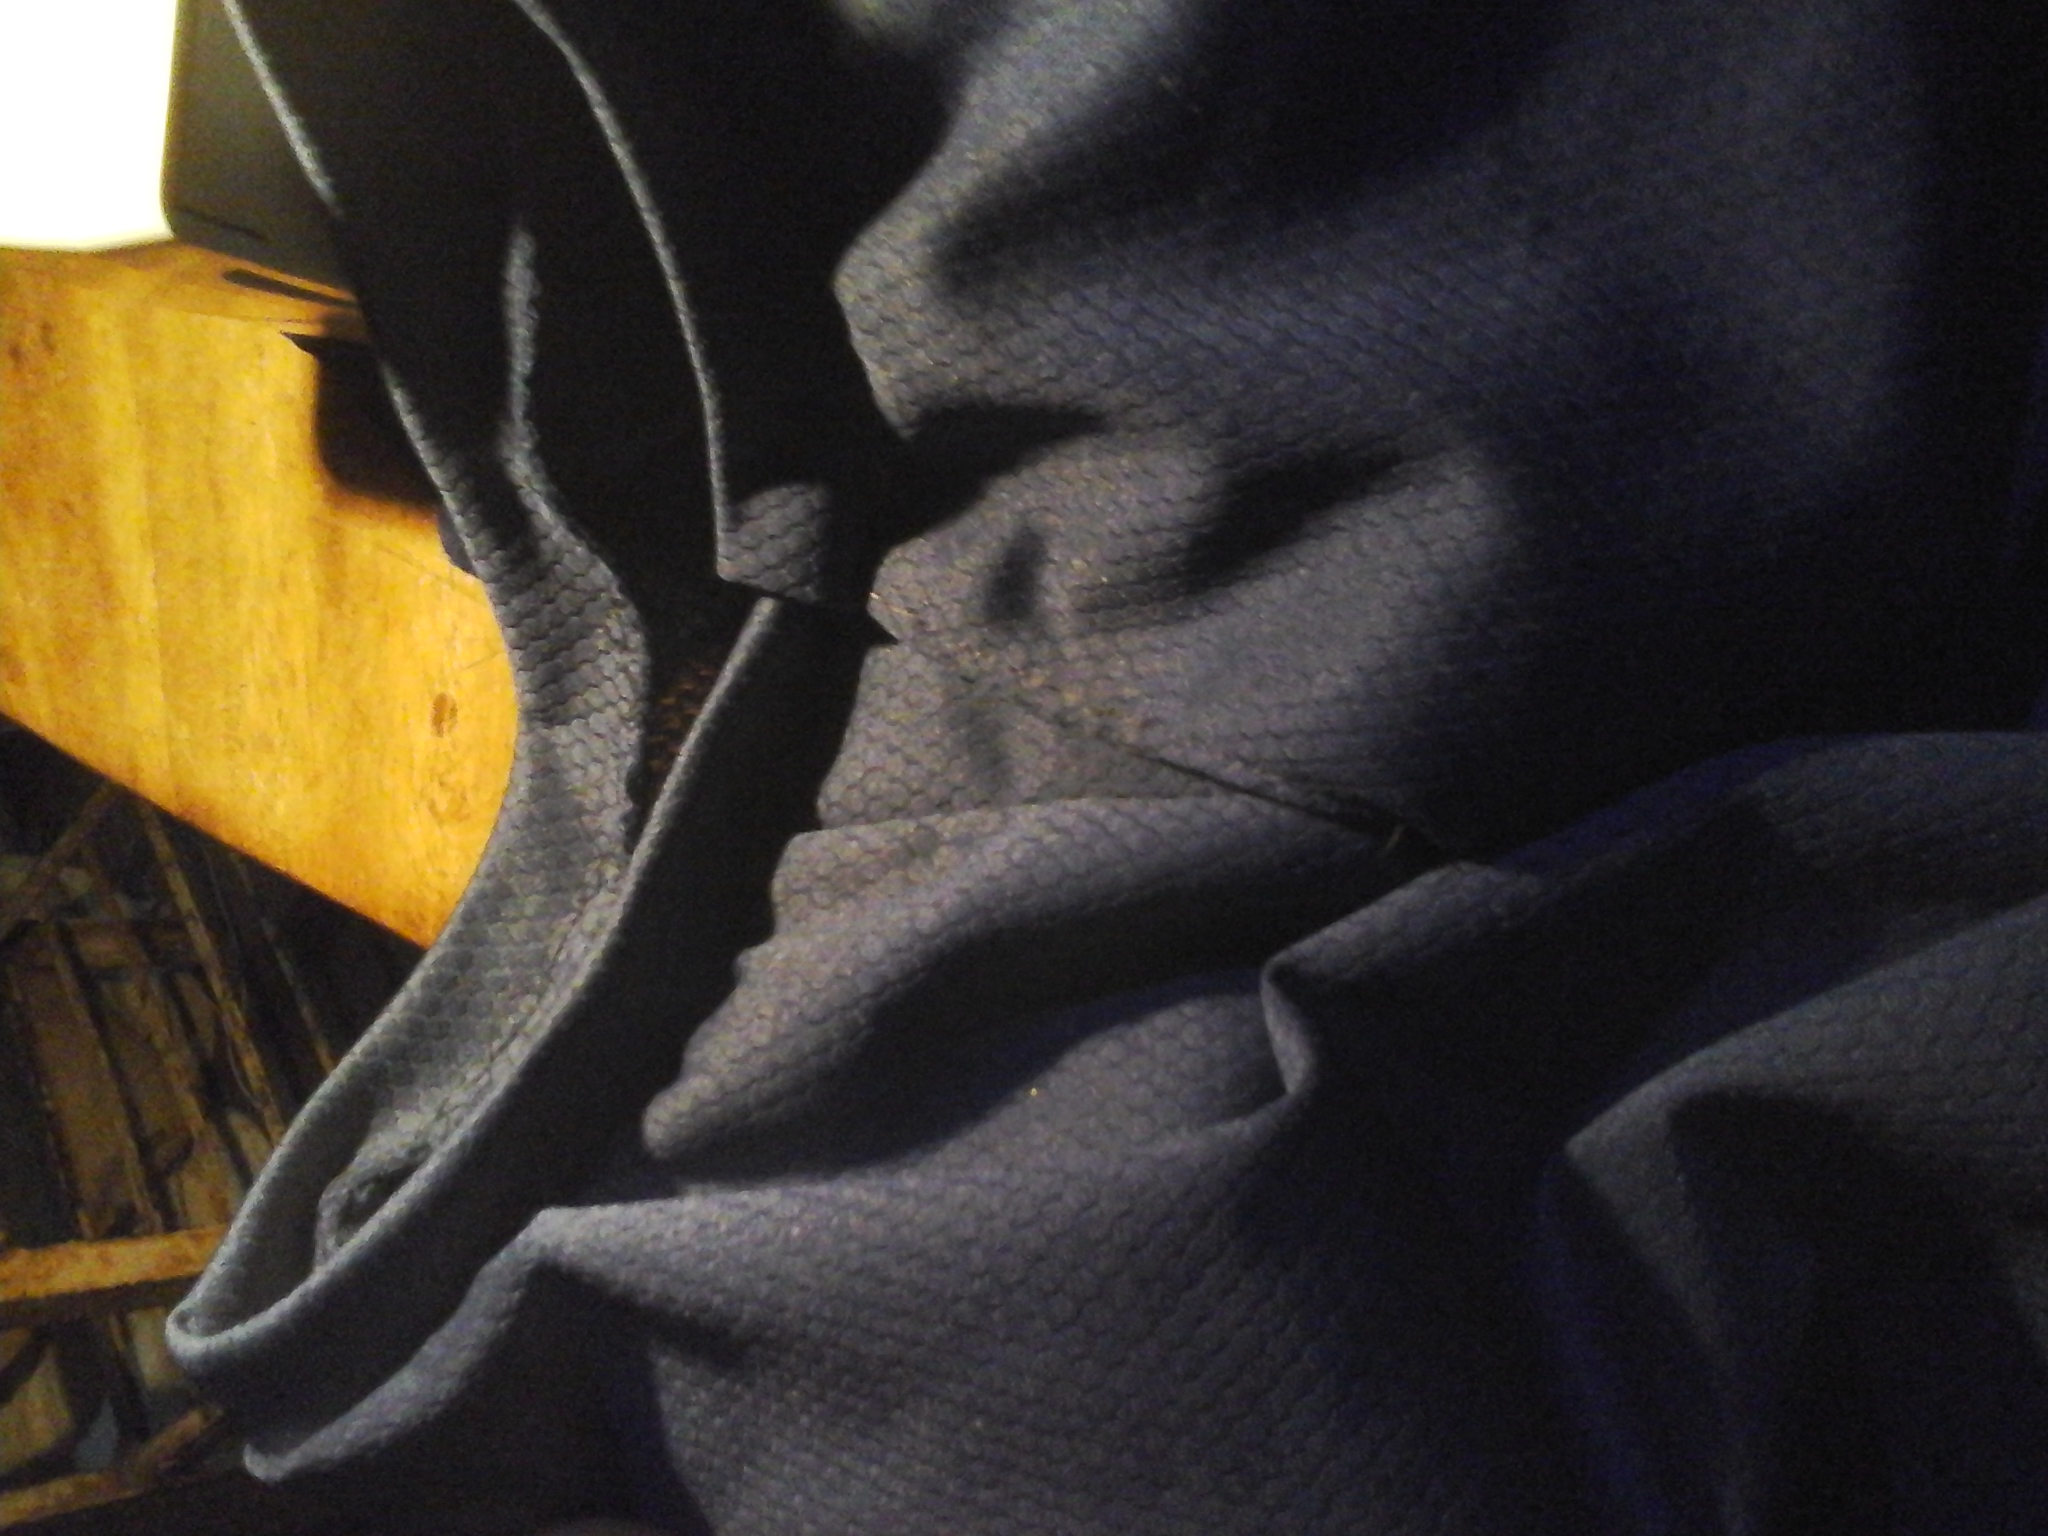
Seguimos cosiendo, unimos la parte de la espalda y delantera de la franela, cosemos por los hombros para así poder colocar la tira que va alrededor del cuello. Tomamos esta tira de 8,5cm por 22cm, la doblamos y estiramos un poco y cosemos alrededor del cuello.
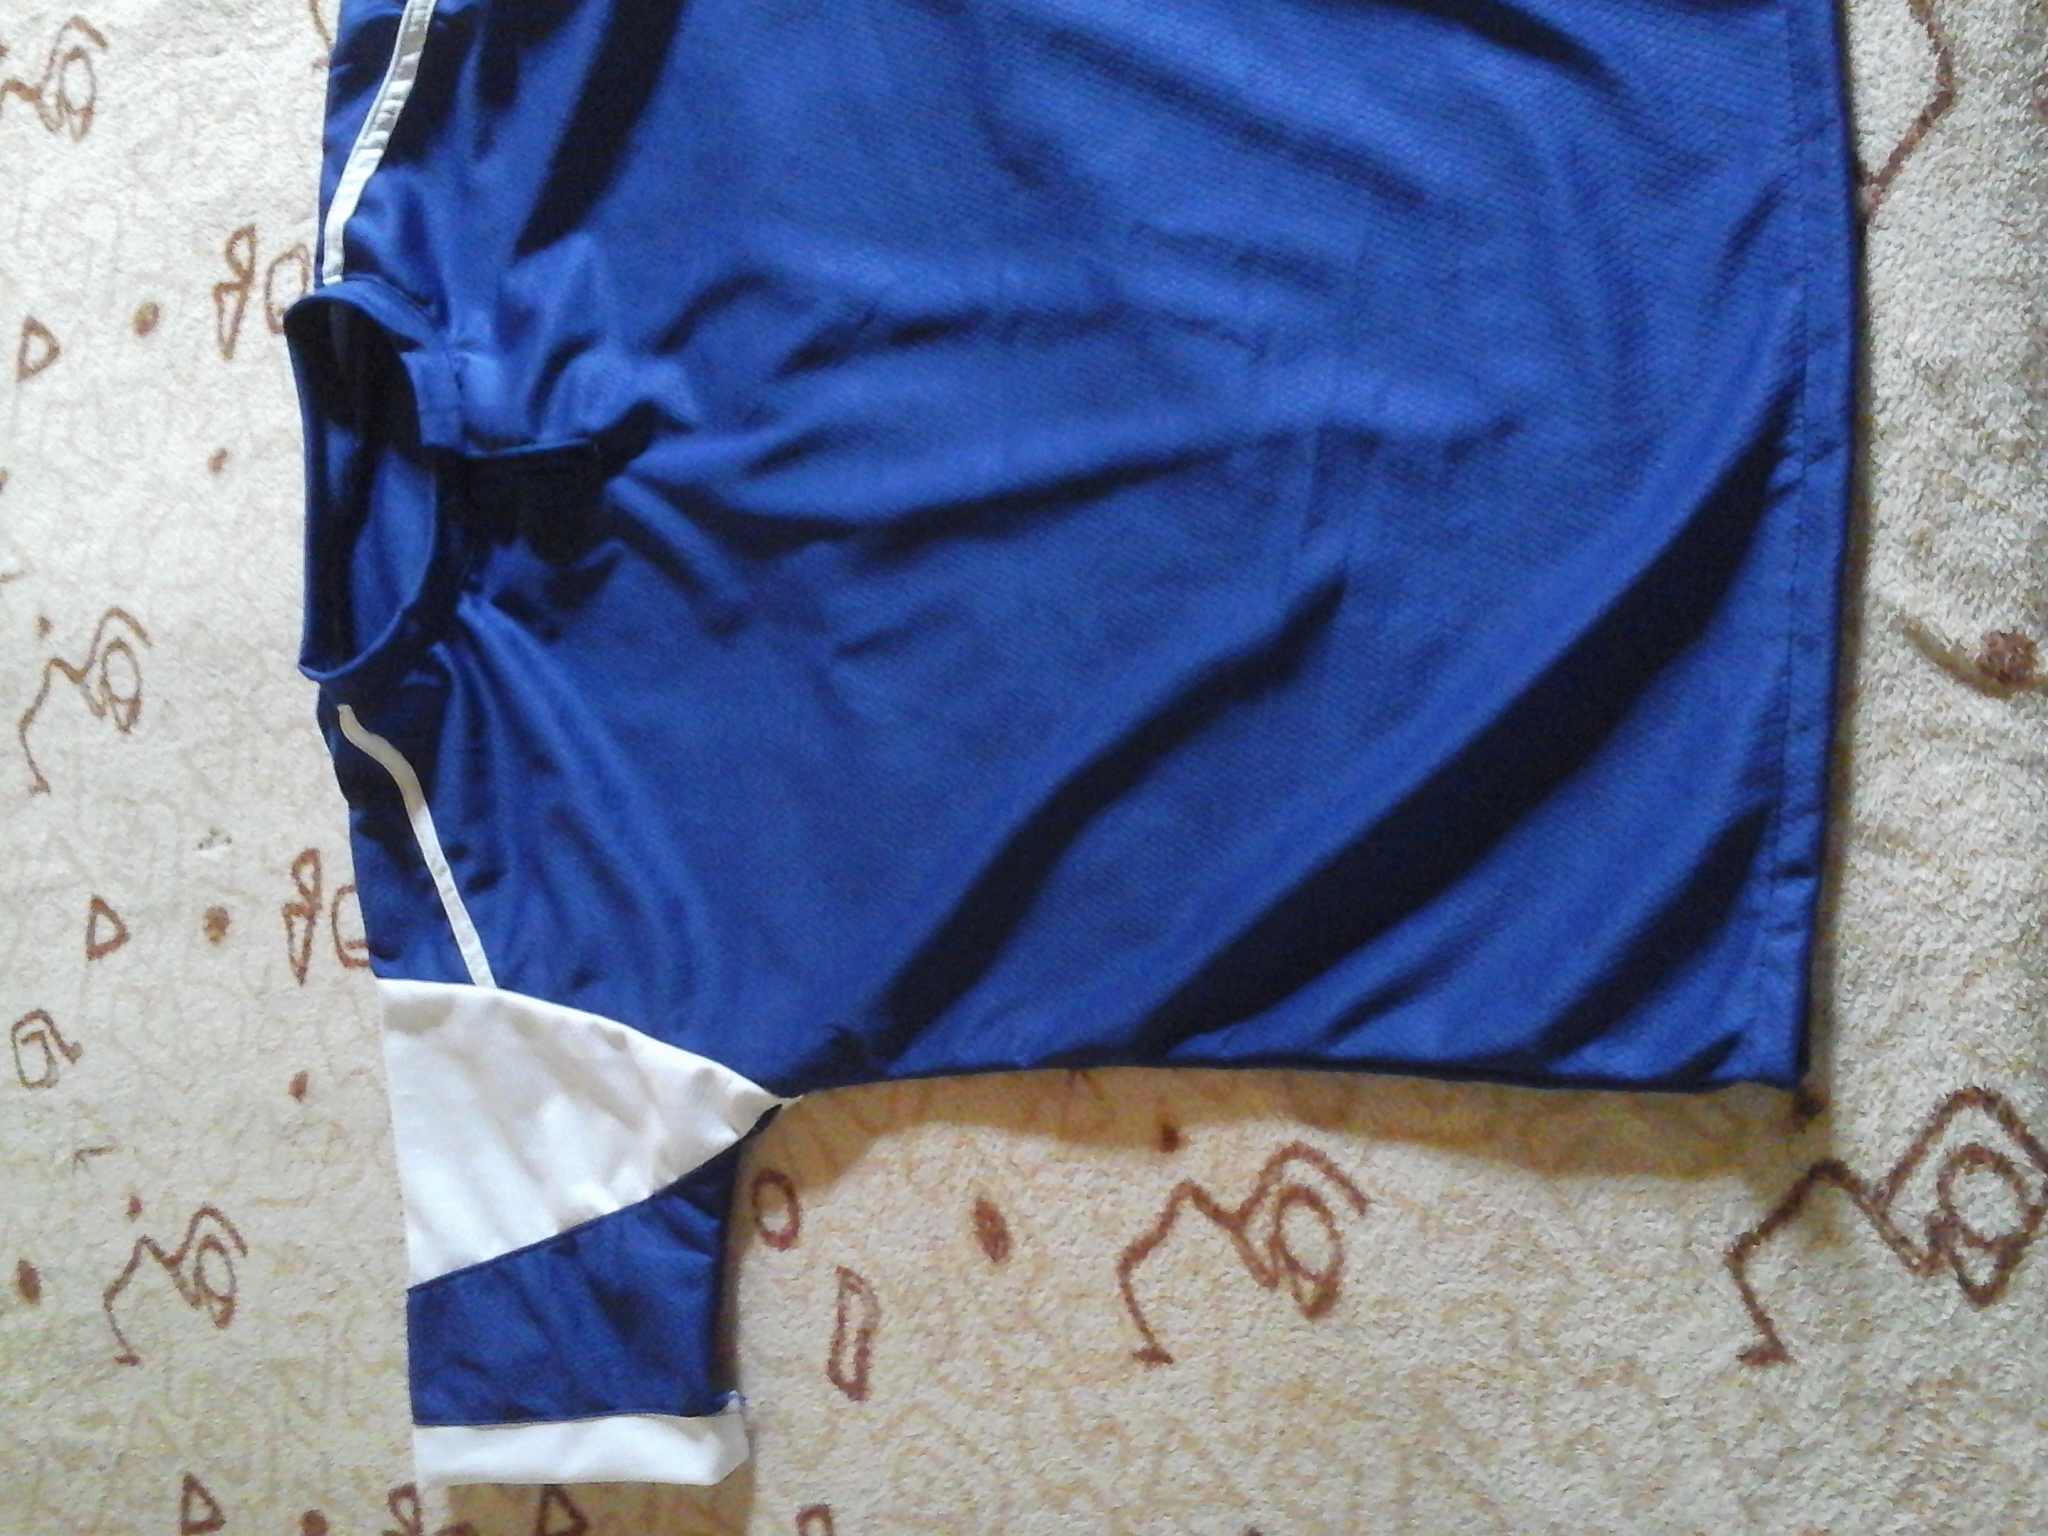
Seguimos, vamos a tomar las piezas de las mangas y como rompecabezas las vamos a unir con alfileres, pasamos por la maquina para hacer una costura recta con su respectivo zigzag en Los bordes. Una vez hemos unido las piezas de las mangas, hacemos una costura recta en el lado derecho de la tela, justo por encima de la costura anterior y terminamos cosiendo una tira blanca de 4cm en el borde de cada manga.
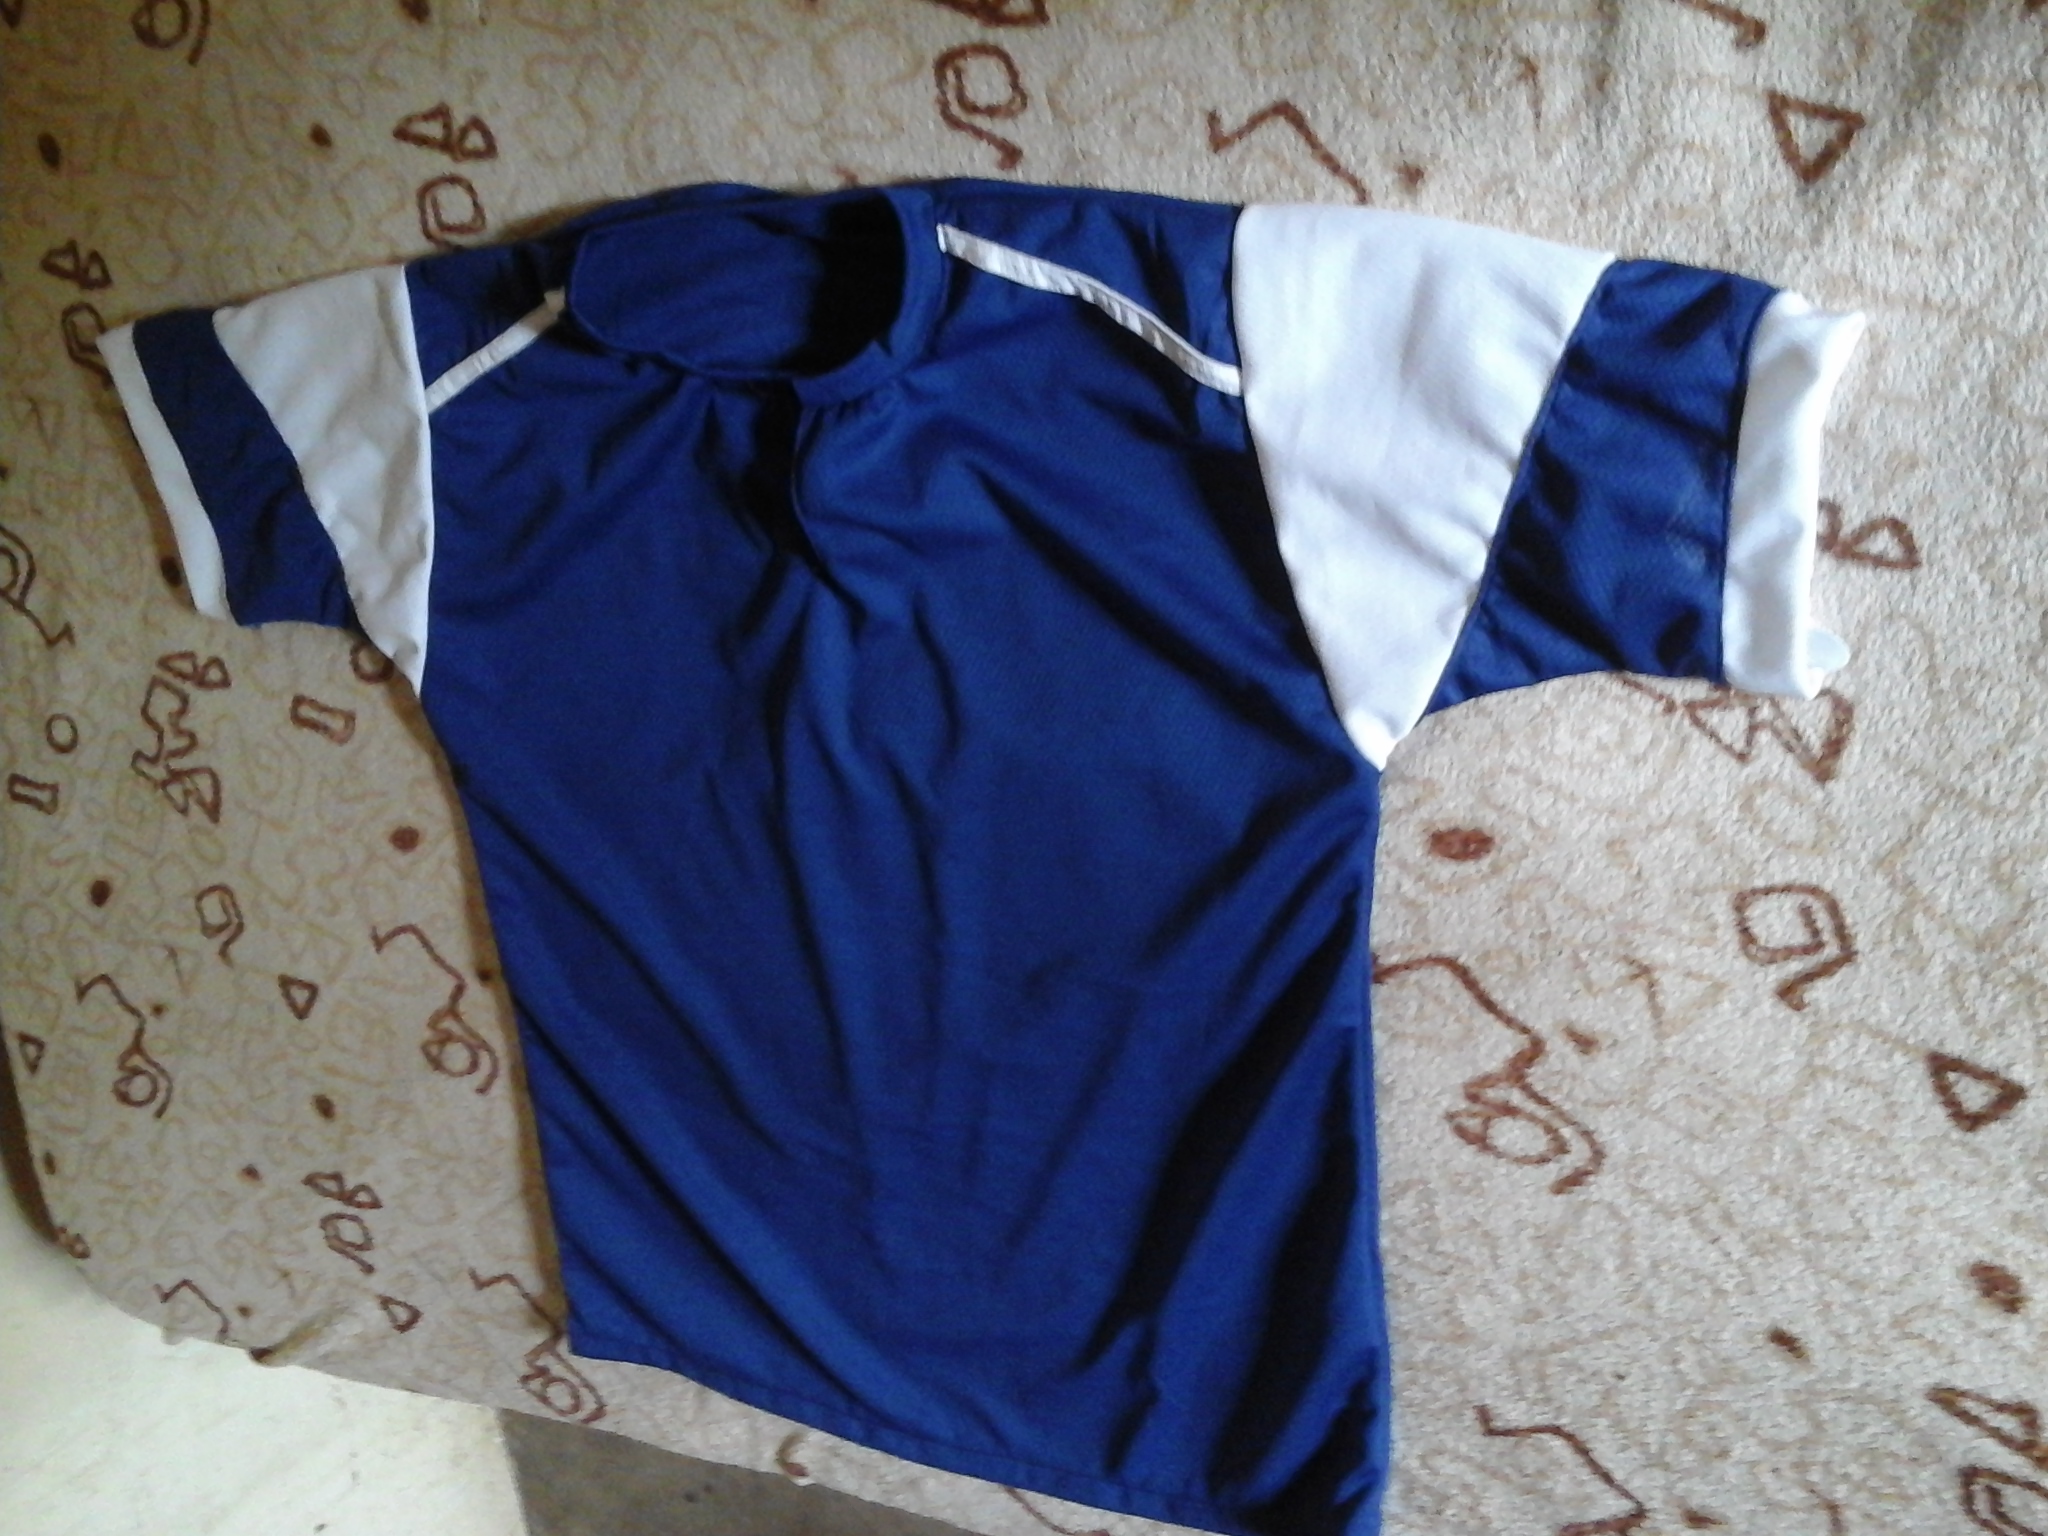
En este paso vamos a coser las mangas a nuestra franela, cosemos también por los lados de la franela y el dobladillo para dar por finalizada esta prenda.
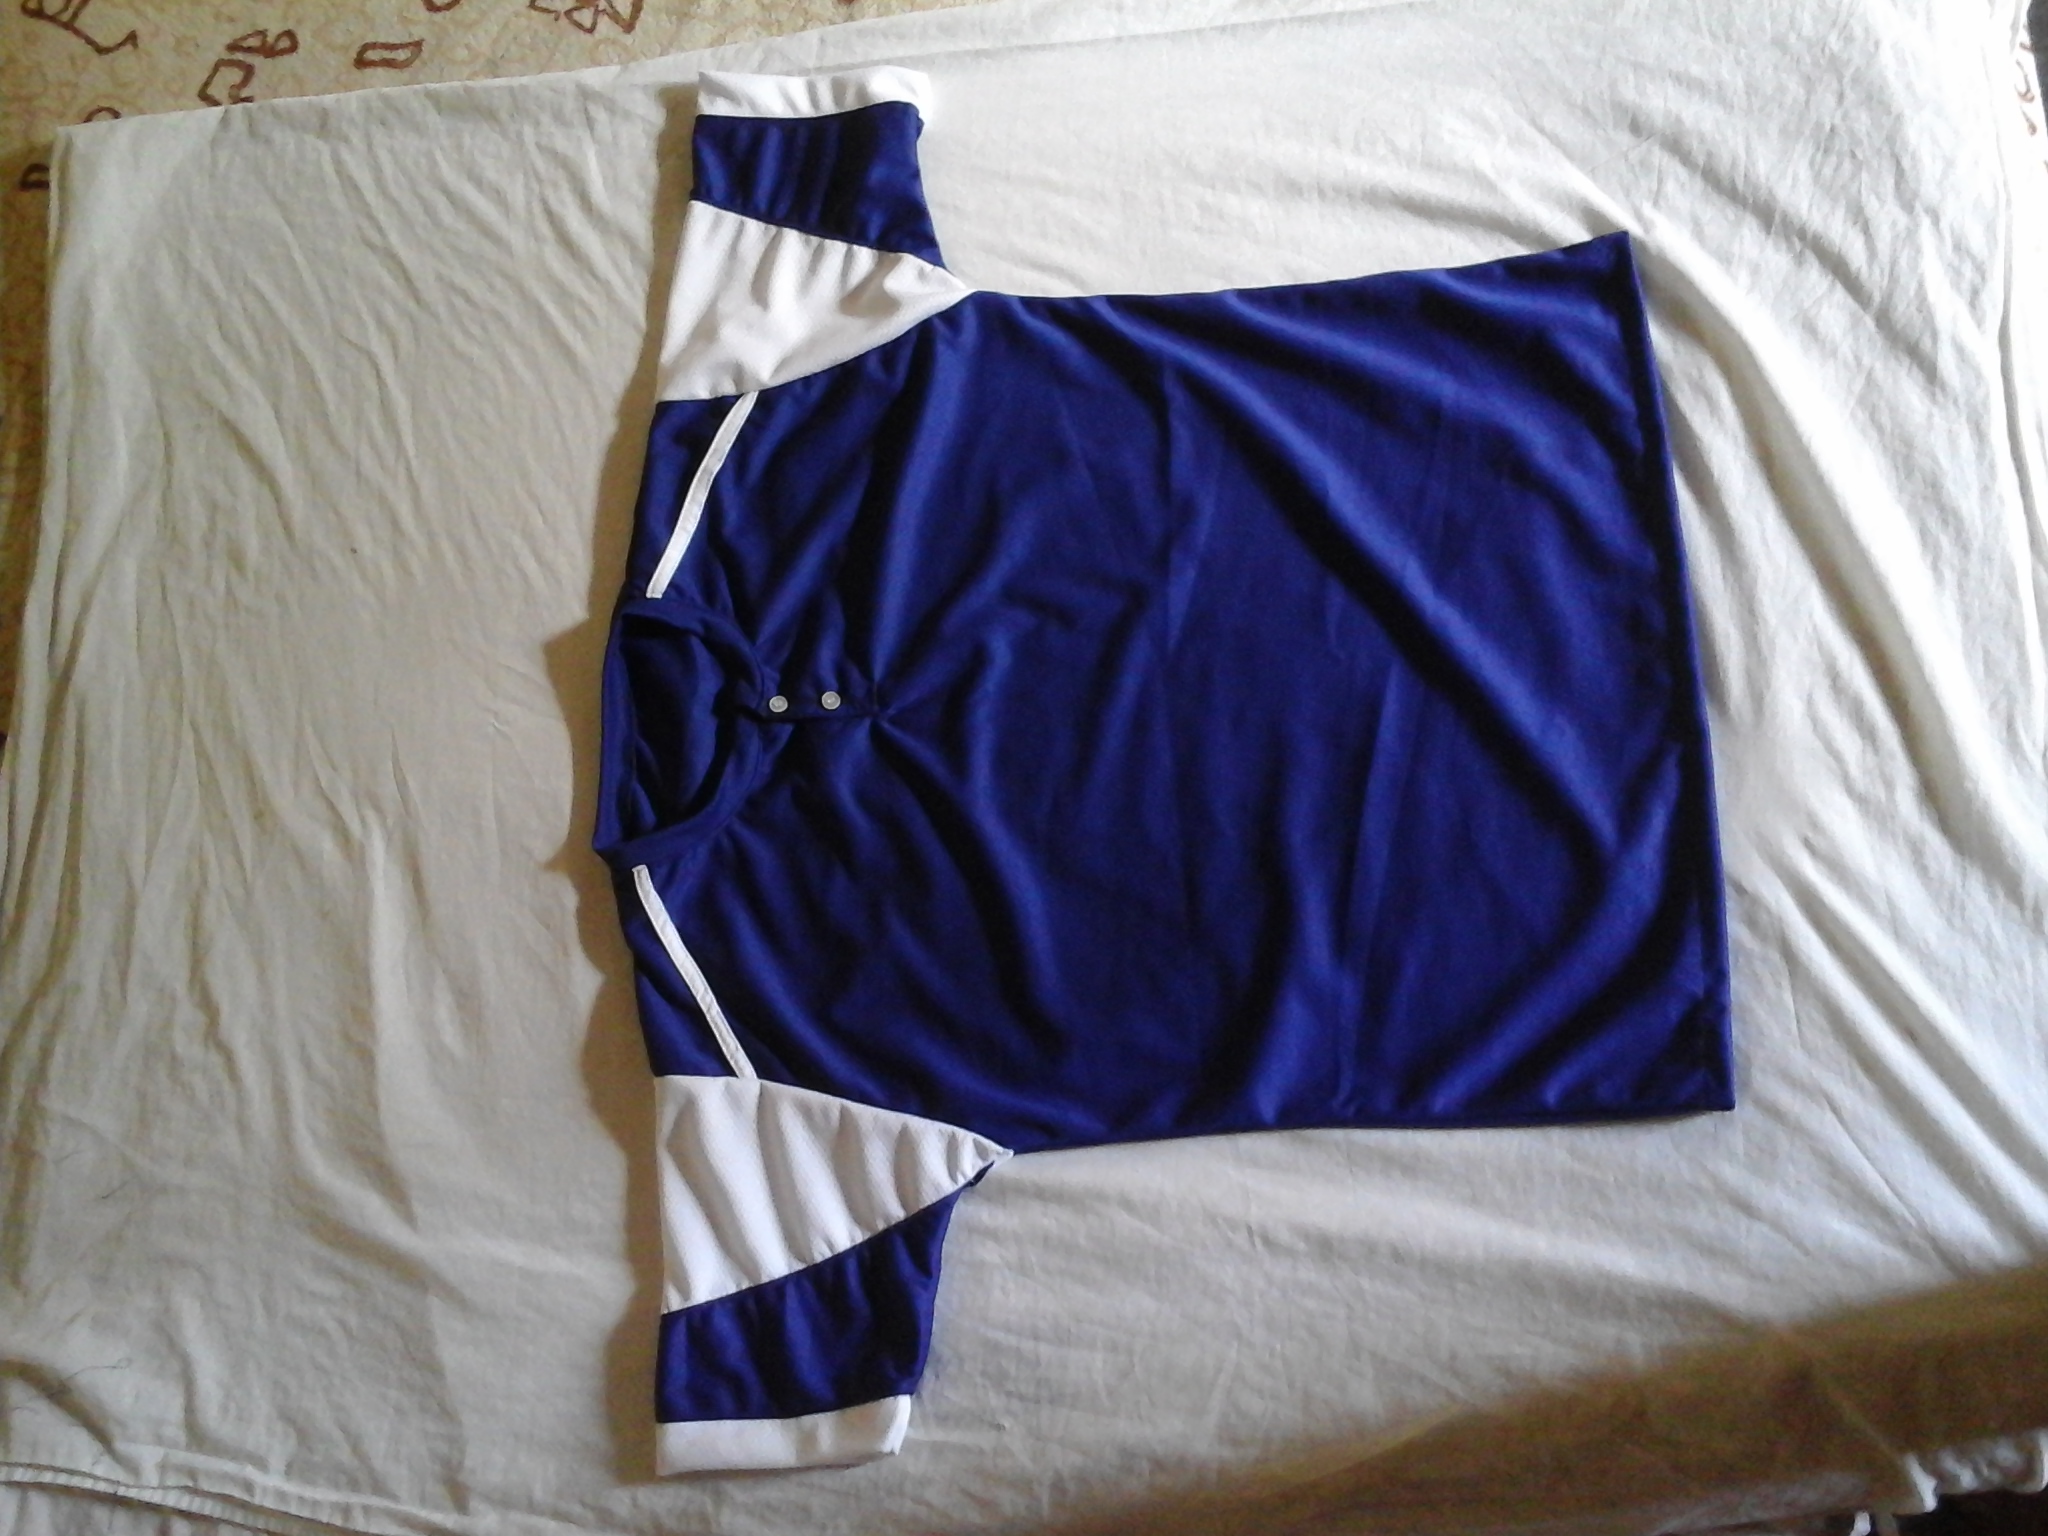
Este es el resultado final, asi es como ha quedo esta franela deportiva para regalar a esos guapos caballeros que les gusta estar cómodos en el hogar o salir a caminar al parque, puedes hacerlas con el color que más te guste. Espero que haya sido de su agrado y de motivación para hacer cómodas franelas para caballeros.
Gracias a todos por leer hasta el final y apoyar este contenido, espero poder compartir un nuevo proyecto con todos ustedes. Sin más, me despido de todos deseandoles una ¡Feliz y bendecida tarde! pasenla bien y cuidense mucho😙.
Todo el contenido es de mi autoria, las fotos fueron capturadas por mi tablet Samsung galaxy, editadas por aplicación picsart.
Los textos son traductor por traductor Google.com
All the content is my authorship, the photos were captured by my Samsung galaxy tablet, edited by picsart application.
The texts are translated by Google.com translator
Creo que has hecho un gran trabajo al confeccionar esta prenda deportiva para caballeros. Gracias por compartir el paso a paso con nosotros.
Muchas gracias, siempre es un placer.
The pattern of the shirt looks pretty cool! Everyone loves gifts. Your husband will be happy to get it.
Gracias por el apoyo.
Hola!!🌼 te ha quedado muy bonita! El color y la tela que elegiste se ven ideales para esta prenda!! me gusta mucho también los detalles de las mangas y el cuello! Saludos🌸🌸
Muchas gracias! que bueno que te haya gustado, saludos y bendiciones!