[ENG|ESP] Makeup for beginners: Makeup in pink colors for a date on Valentine's Day
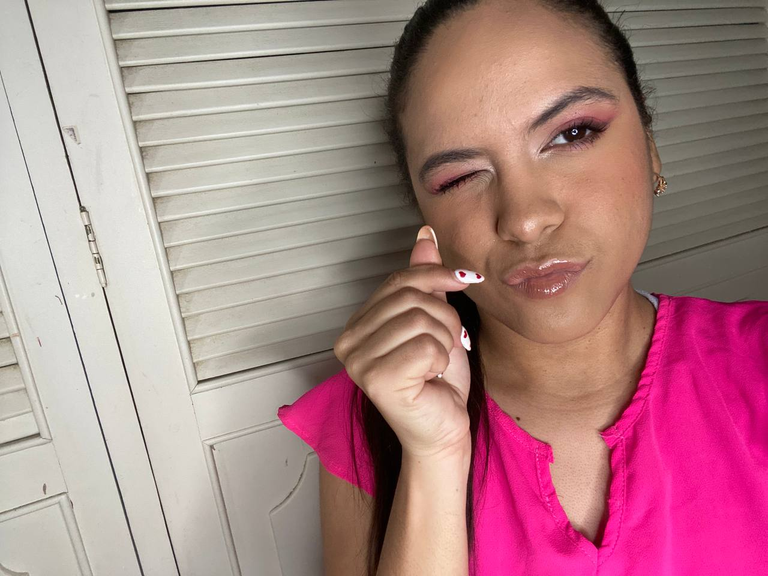
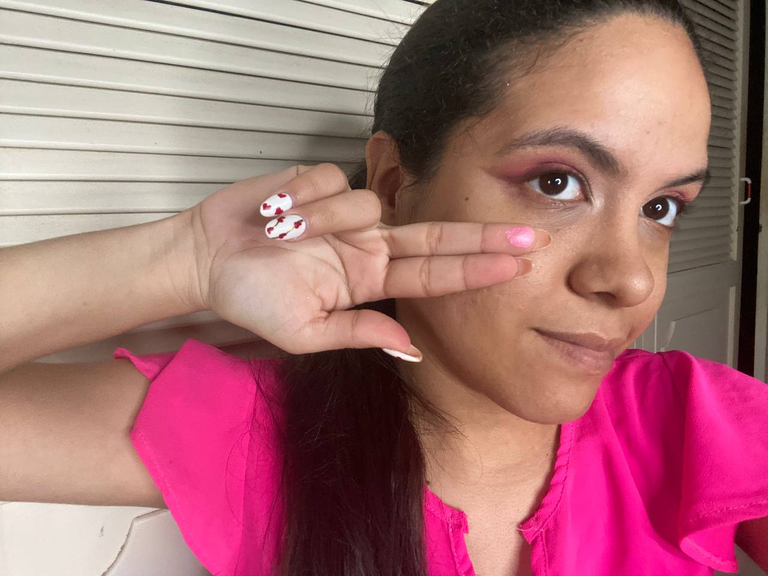
¡Hola hola nuevamente mis queridos amigos de Hive! Feliz día de San Valentin o como lo conocemos en mi país Venezuela, Día del Amor y la Amistad. Hoy nos ponemos lindas para disfrutar de una tarde llena de cariño con la compañía de nuestro enamorado o junto a nuestros amigos y familia ¿por qué no? por ello hoy les traigo un maquillaje sencillo para realzar nuestra belleza este día.
Hello hello again my dear friends of Hive! Happy Valentine's Day or as we know it in my country Venezuela, Day of Love and Friendship. Today we get pretty to enjoy an afternoon full of affection with the company of our lover or with our friends and family why not? so today I bring you a simple makeup to enhance our beauty this day.
Para este maquillaje necesitaremos
- Sombra blanca, rosada, marrón y un tono clarito para transición.
- Base
- Rubor
- Bronzer
- Iluminador
- Corrector clarito y otro del tono de tu piel
- Máscara para pestañas
- Labial color nude
- Gloss.
For this make-up we will need
- White, pink, brown and a light shade for transition.
- foundation
- Blusher
- Bronzer
- Illuminator
- Light concealer and a light concealer of your skin tone
- Mascara
- Nude lipstick
- Gloss.
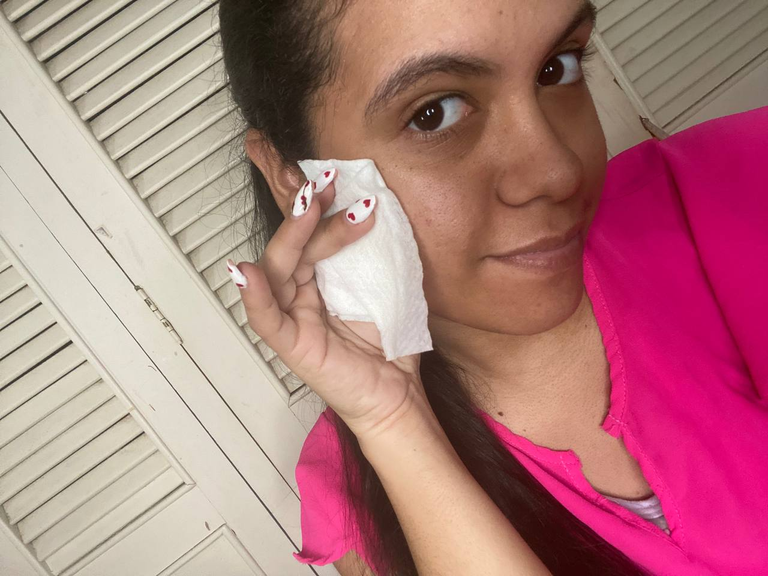
El primer paso será limpiar bien nuestro rostro para retirar cualquier rastro de suciedad o maquillaje pasado que hayamos podido tener.
The first step is to clean our face thoroughly to remove any traces of dirt or past makeup that we may have had.
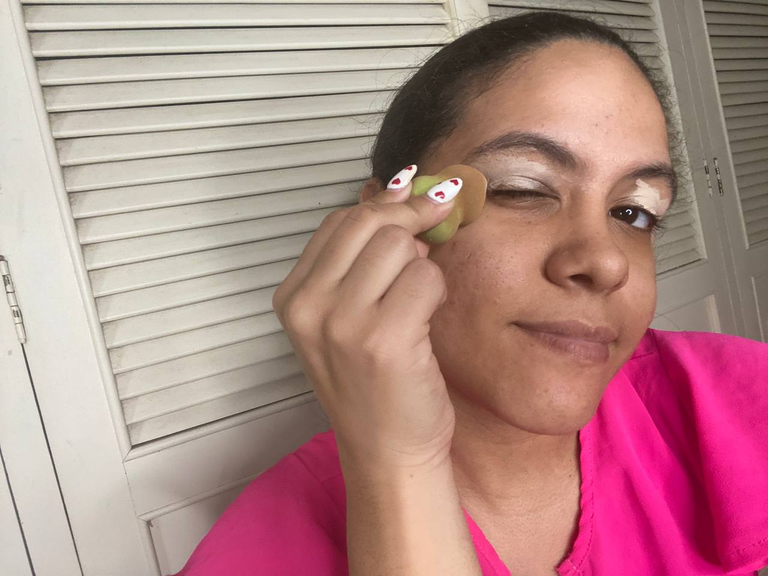
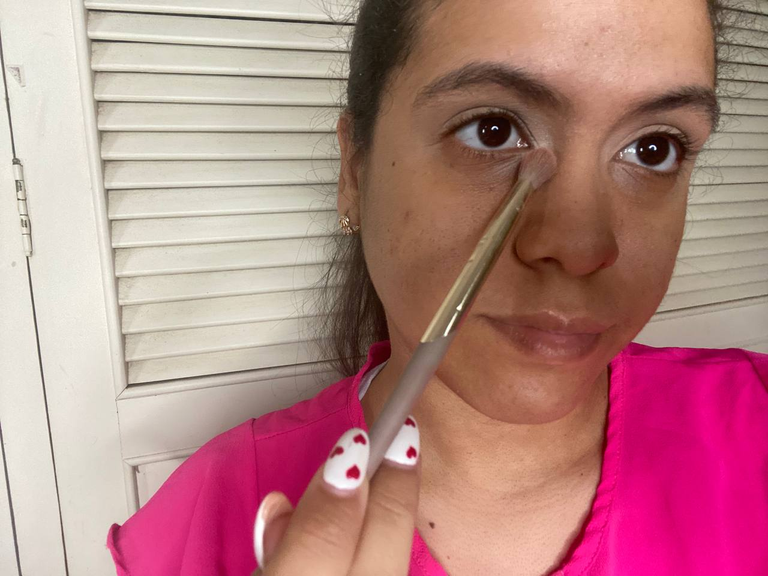
Luego aplicaremos por todo nuestro parpado el corrector en tono claro para potenciar el color de nuestras sombras y estas duren un poco más sin moverse a ningún lado.
Se que muchas pensaran ¿por qué no me preparé la piel antes? Eso lo haremos después porque luego que ya tengamos nuestro maquillaje de ojos listos limpiaremos nuestra piel para pulir las lineas por lo que si hidratamos primero todo eso se irá cuando pulamos las sombras. ¡Confíen en el proceso!
Then we will apply the concealer in a light shade all over our eyelid to enhance the color of our shadows and make them last a little longer without moving anywhere.
I know many of you will think why didn't I prepare my skin before? We will do that later because after we have our eye makeup ready we will clean our skin to polish the lines so if we moisturize first all that will go away when we polish the shadows. Trust the process!
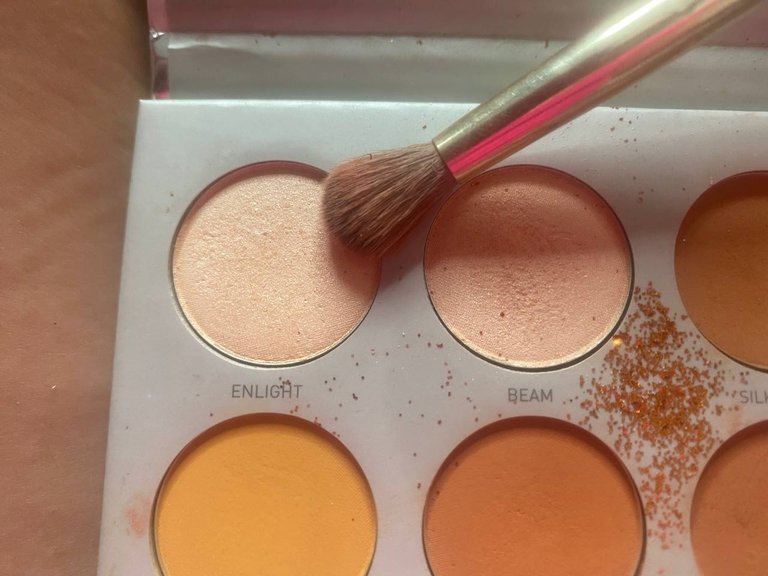
Con una sombra blanca o perlita (si es mate es mejor) aplicaremos un poco en la V interna del ojo, no tanto en el lagrimal porque allí colocaremos un poco de iluminador. Esto con el fin de darle más luz a nuestra mirada.
With a white shadow or pearlite (if it is matte it is better) we will apply a little on the inner V of the eye, not so much on the tear trough because there we will place a little illuminator. This is to give more light to our eyes.
Ahora con unas sombras marrón clarito perfecto para trasición aplicaremos por la cuenca de nuestro ojo y difuminaremos bien.
Now with some light brown shadows, perfect for transition, we will apply in the socket of our eye and blend well.
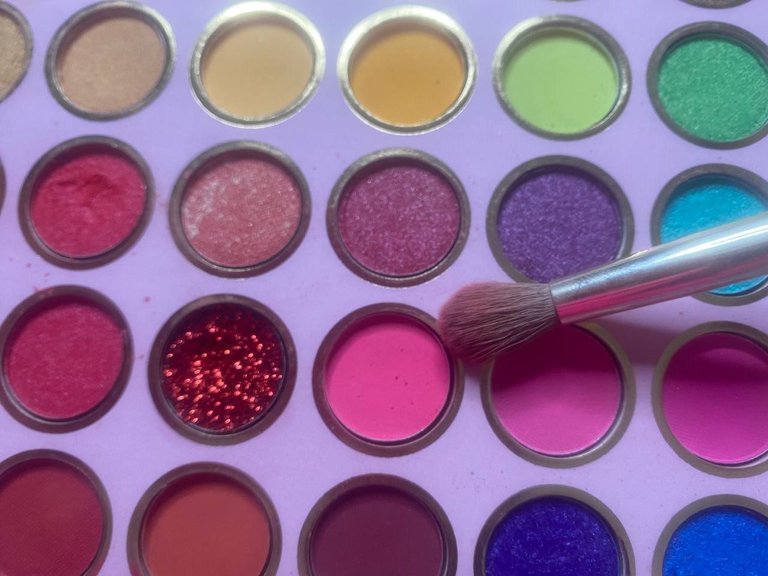
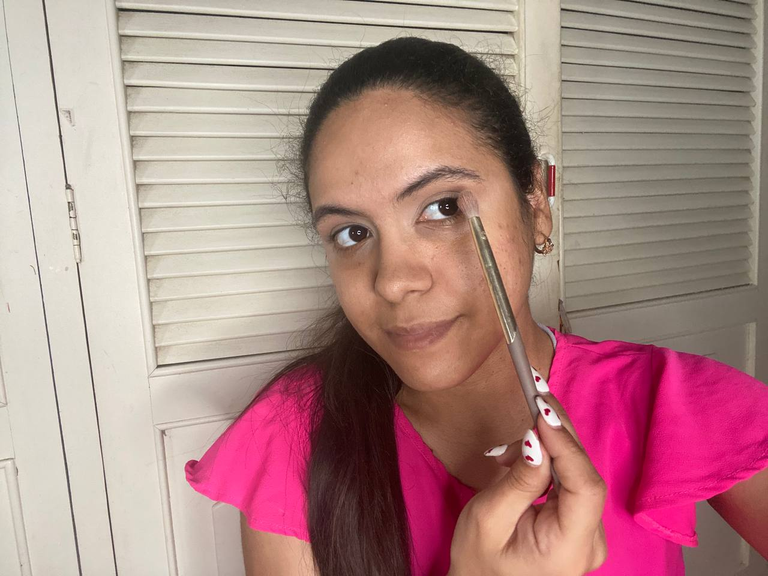
Ahora llegó lo que más esperabamos, aplicar nuestro color protagonista, el rosado que llena de amor nuestras vidas jajaja. Este lo aplicaremos por todo nuestro parpado sin tocar la parte donde colocamos el color perlita, más bien trataremos de difuminar un poco el borden donde se toquen con la intención que de que se complementen bien.
Now came what we were waiting for, apply our main color, the pink that fills our lives with love hahaha. We will apply it all over our eyelid without touching the part where we put the pearl color, rather we will try to blur a little the edge where they touch with the intention that they complement each other well.
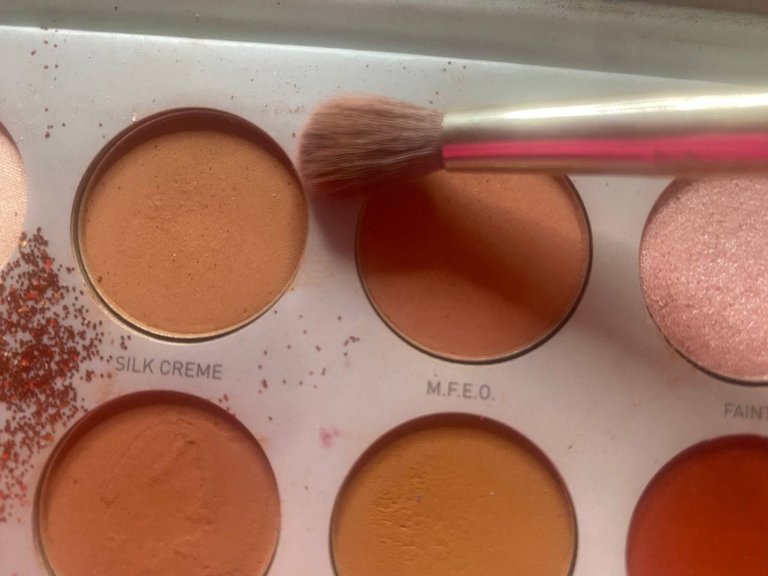
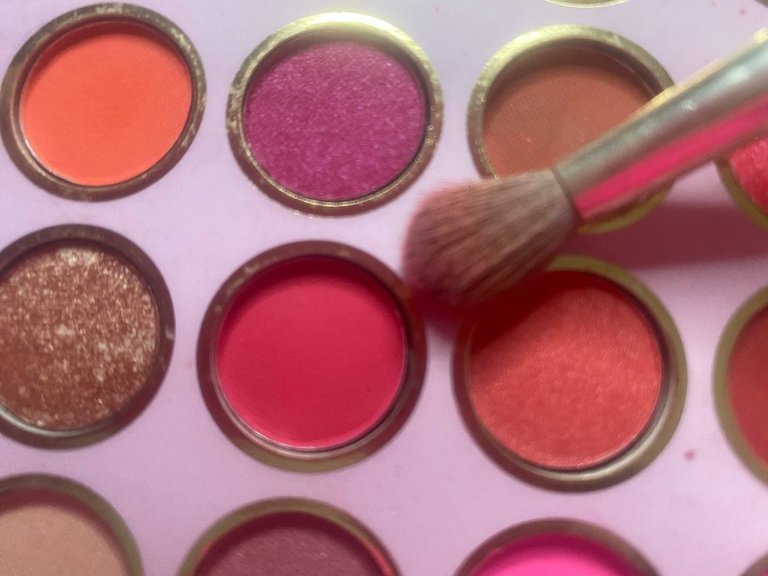
Después con la sombra marrón oscuro haremos un delineado que luego difuminaremos con un tono rosado oscurito como el que les mostré en la sombra de arriba.
Then with the dark brown shadow we will make an outline that we will blend with a dark pink tone like the one I showed you in the shadow above.
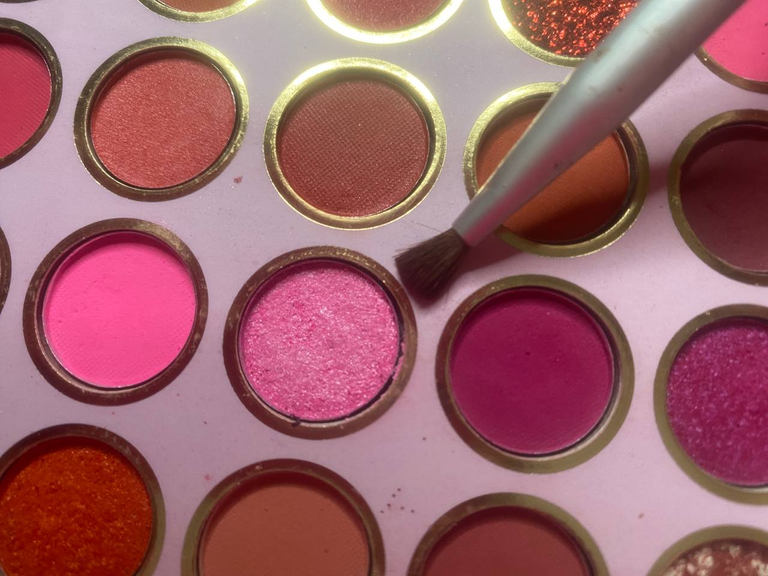
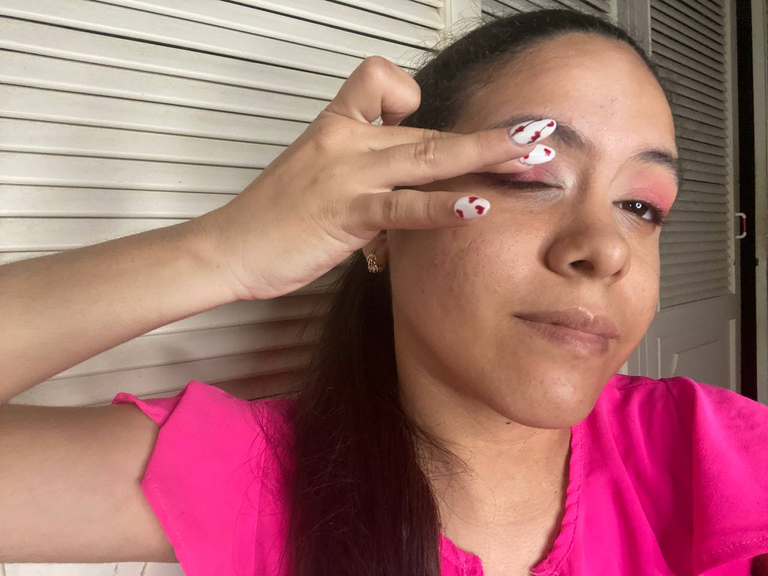
Y para darle un toque a nuestro maquillaje, tomaremos con el dedo una sombra rosada que tenga brillo y la colocaremos en el centro de nuestro parpado.
And to give a touch to our makeup, we will take with our finger a pink shadow that has shine and we will place it in the center of our eyelid.
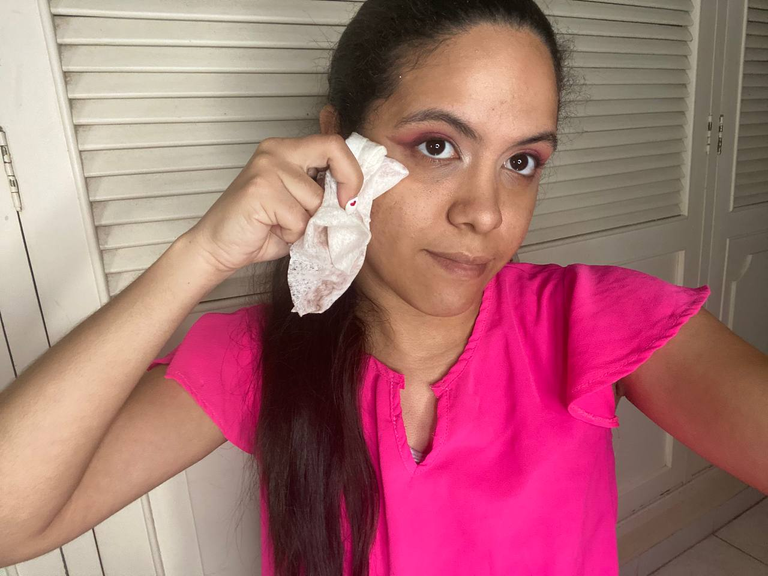
Ya casi estamos terminando se los prometo jajaja. Ahora que ya tenemos nuestro maquillaje de ojos listo procederemos a pulir los bordes para que nuestro delineado se vea mucho más limpio. Por eso les dije que no deberíamos hacer la piel antes porque al hacer esto estariamos quitando los productos que aplicamos. Con el maquillaje ya pulido ahora si podremos hidratar nuestra piel, dejamos que se absorba por unos segundos y aplicaremos la base.
We are almost done I promise you hahaha. Now that we have our eye makeup ready we will proceed to polish the edges so that our eyeliner looks much cleaner. That's why I told you that we shouldn't do the skin before because by doing this we would be removing the products we applied. With the makeup already polished now if we can moisturize our skin, let it absorb for a few seconds and apply the base.
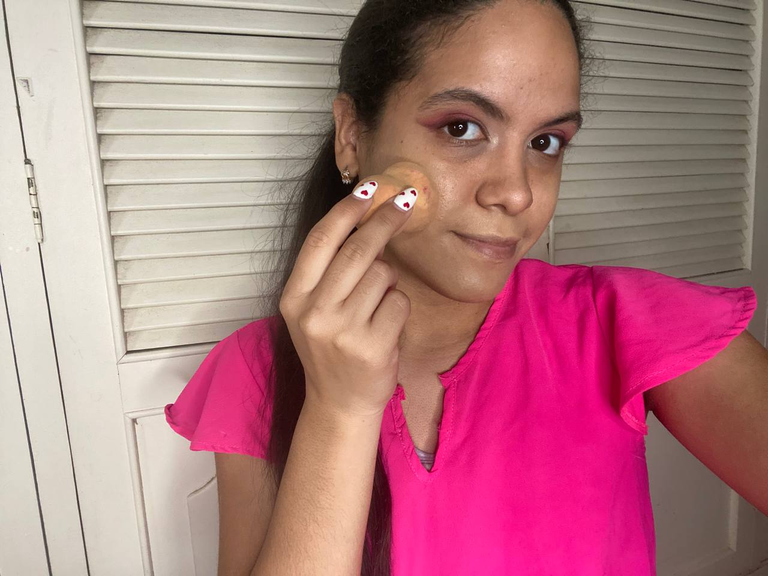
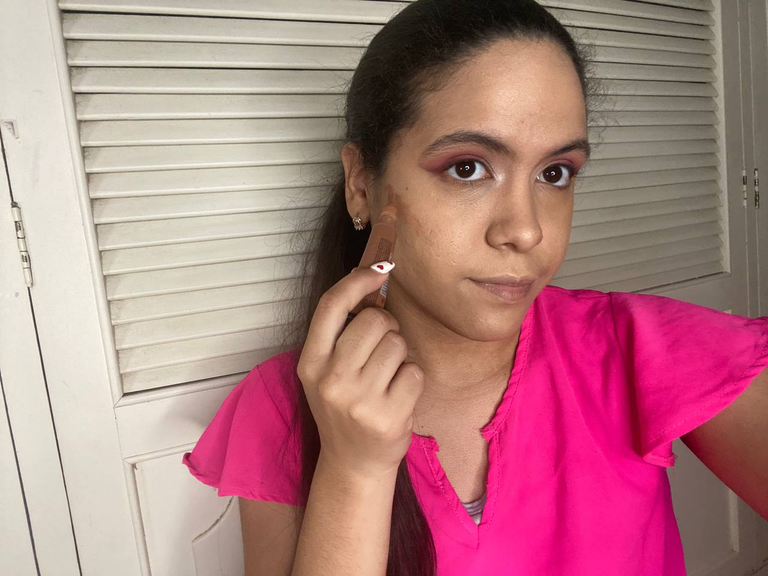
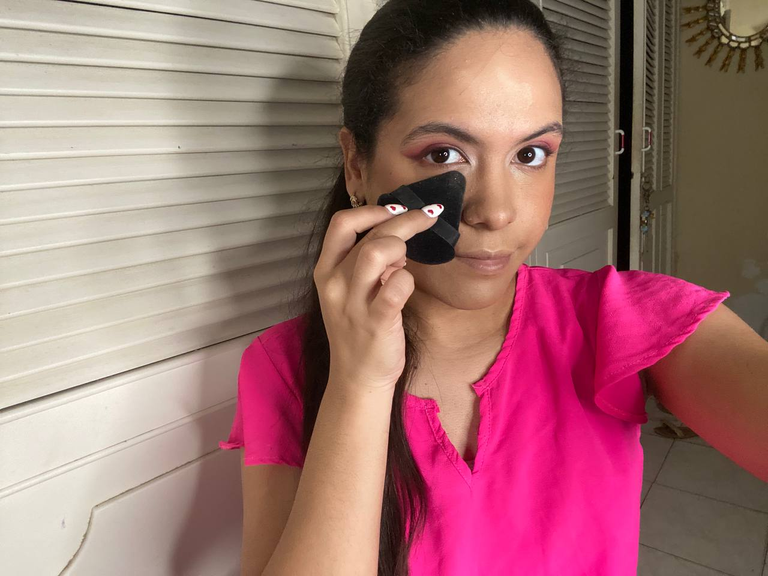
La base que utilicé es una muy popular que se consigue en mi país llamada Salomé, es de toque mate y les comento que al principio no me gustaba porque sentía la piel muy cargada y de igual manera el rostro se veía como muy pesado. Estuve un tiempo sin usarla pero le di una segunda oportunidad y les comentaré un tip que me esta funcionando muy bien con esta base y es que en vez de aplicarme en el rostro puntos con la base para luego difuminar, lo que hago es colocarme un poco en la mano y con la esponjita húmeda voy agarrando hasta lograr la cobertura que deseo y eso evita que aplique base de más y se vea pesada cuando se seque.
The foundation I used is a very popular one that is available in my country called Salomé, it has a matte touch and I tell you that at the beginning I didn't like it because my skin felt very heavy and my face looked very heavy. I didn't use it for a while but I gave it a second chance and I'll tell you a tip that is working very well with this foundation and that is that instead of applying points with the foundation on my face and then blending, what I do is to put a little on my hand and with a wet sponge I apply it until I get the coverage I want and that prevents me from applying too much foundation and it looks heavy when it dries.
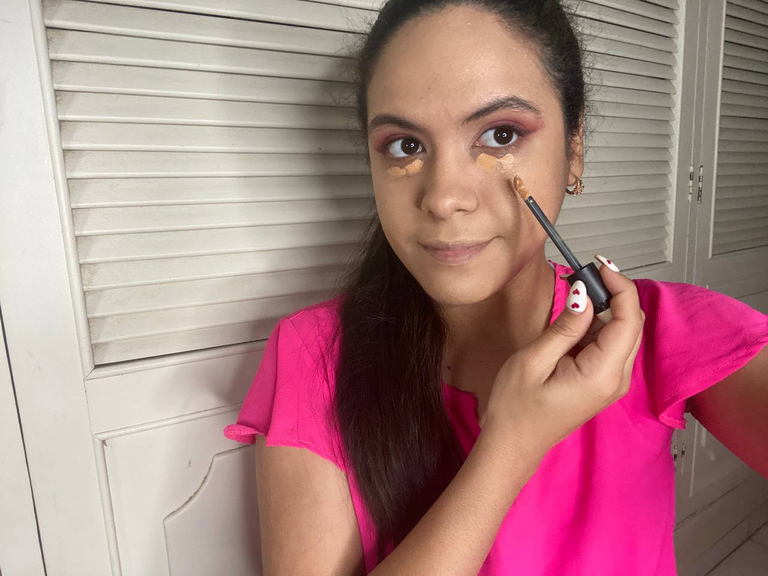
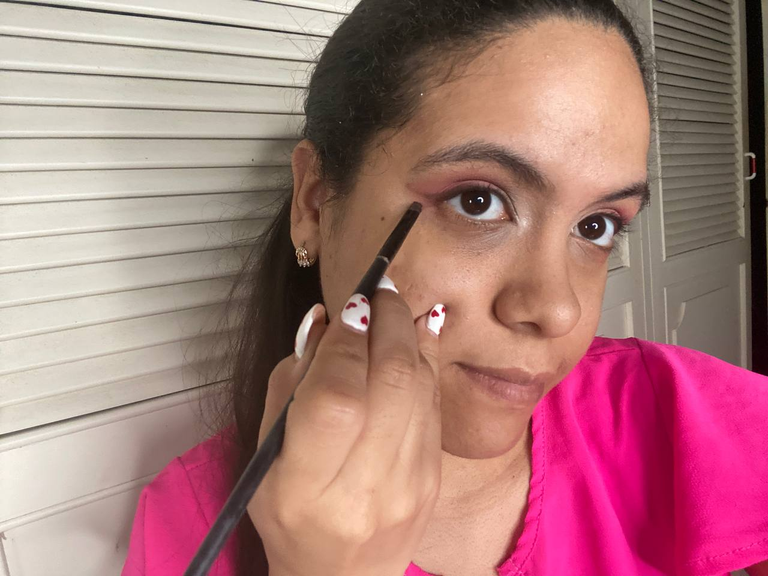
Para terminar nuestro maquillaje aplicaremos el corrector de nuestro color para ocultar nuestras ojeras de mapache jaja, marcaremos nuestras facciones con bronzer, aplicamos rubor y sellaremos todo con sus respectivos polvos. Esta es otra técnica que me funciono con esta base mate y es que trato de no saturarla con polvos; donde apliqué el rubor en polvo y el bronzer no aplico polvos sueltos y así no recargamos tanto la base.
To finish our makeup we will apply the concealer of our color to hide our dark circles of raccoon haha, we will mark our features with bronzer, apply blush and seal everything with their respective powders. This is another technique that worked for me with this matte foundation and I try not to saturate it with powder; where I applied the powder blush and bronzer I don't apply loose powder so we don't overload the foundation so much.
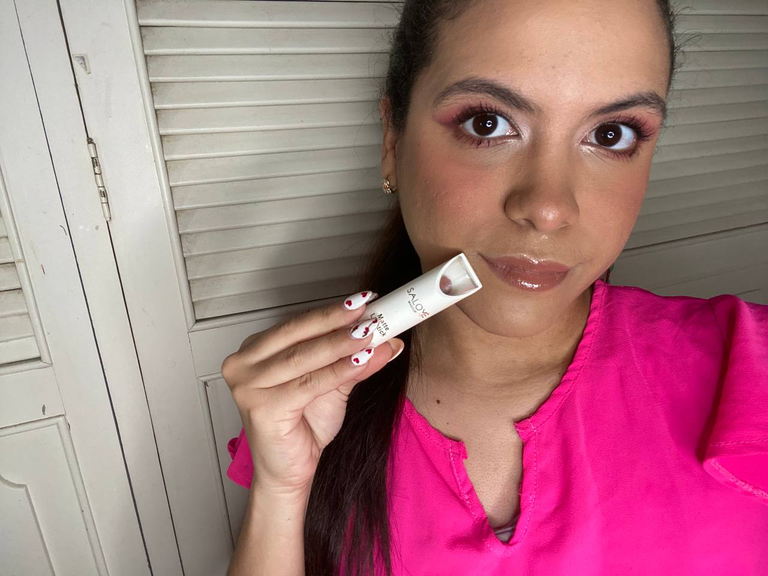

Y para darle el toque final, colocaremos iluminador en el lagrimal de nuestro ojo, mucha máscara para pestañas y un lindo labial color nude con un poco de brillo.
And to give it the final touch, we will place illuminator in the tear of our eye, a lot of mascara and a nice nude lipstick with a little gloss.
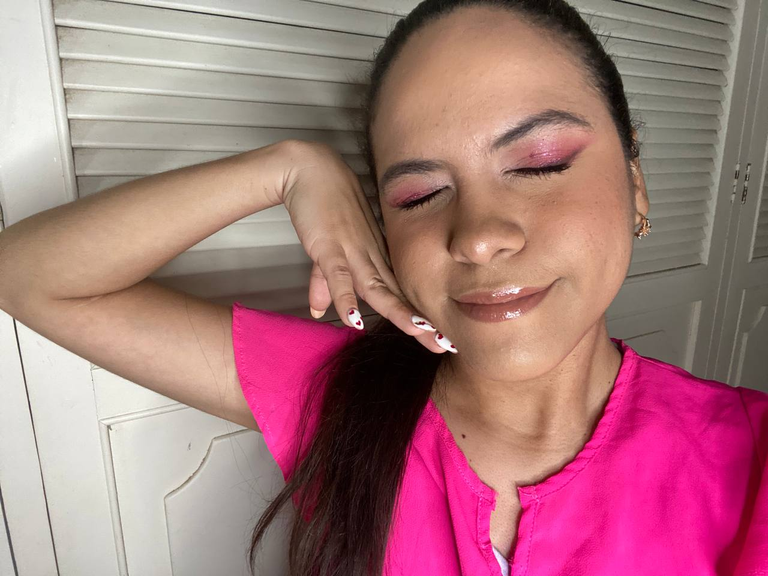
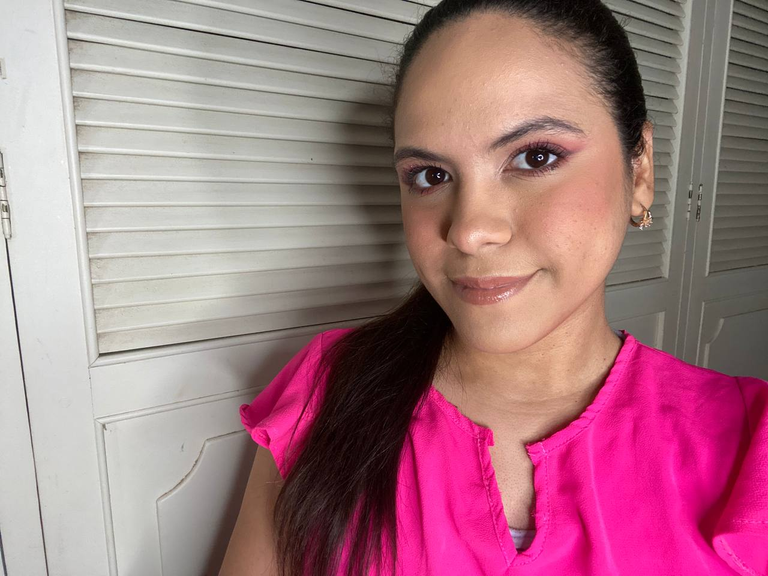

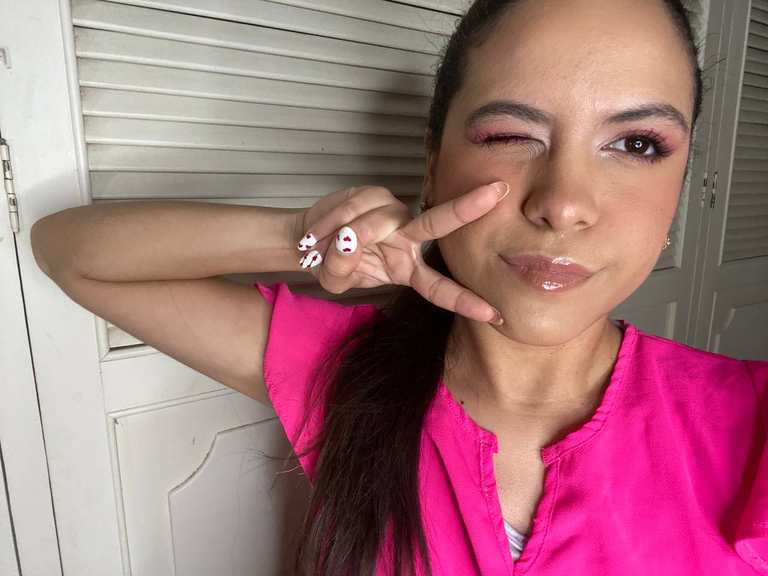
Y de esta manera estamos listas para enamorar en este día de San Valentin.
And this way we are ready to fall in love this Valentine's Day.
Estoy eternamente agradecida de que hayan llegado hasta el final de este post. Espero les haya gustado la publicación. Nos vemos en el siguiente post, un fuerte abrazo ❤️
I am eternally grateful that you have made it to the end of this post. I hope you liked the publication. See you in the next post, a big hug.❤️
- Las fotografías son de mi autoría, tomadas con mi iPhone 11.
- Las imágenes fueron editadas con Canva
- Parte de las fotografías fueron editadas con Lightroom
- La traducción a ingles fue gracias a Deelp
- The photographs are of my authorship, taken with my iPhone 11.
- The images were edited with Canva.
- Part of the photographs were edited with Lightroom.
- The english translation was thanks to Deelp
Gracias por los tips. Quedó estupendo ☺️💘
Muchísimas gracias, me alegra que te haya gustado ❤️