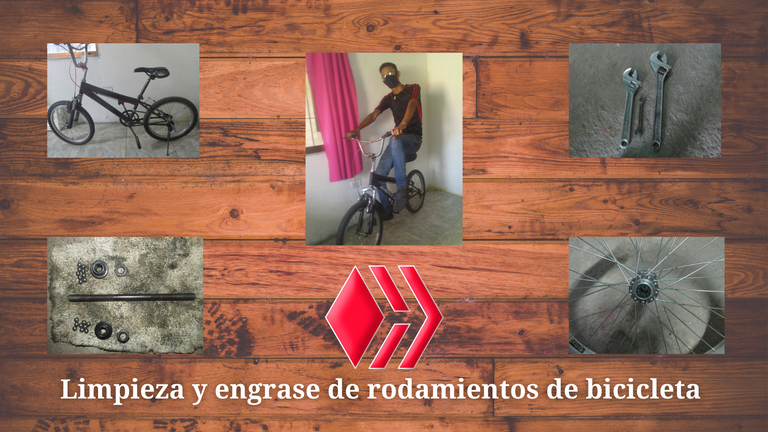
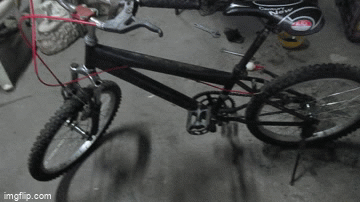
[ESP/ENG] Limpieza y engrase de rodamientos de bicicleta / Cleaning and greasing bicycle bearings by @andresrk
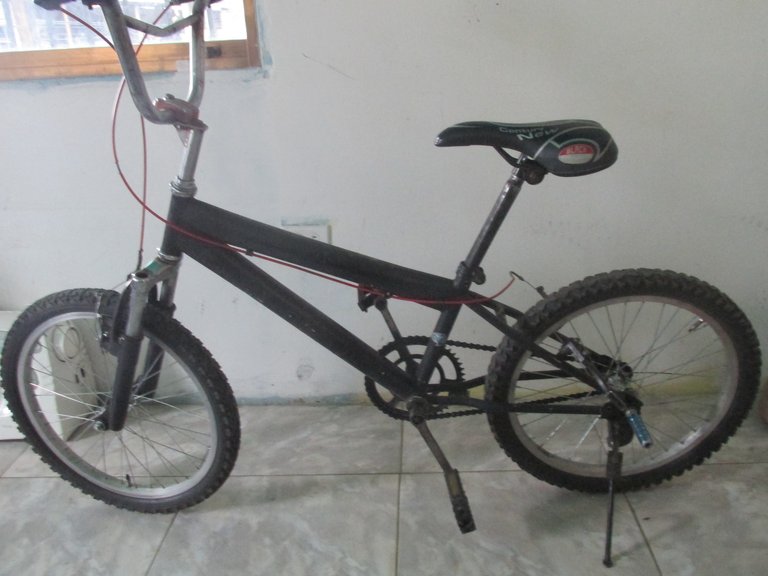
¡Saludos amigos de Hive! el día de hoy les traigo un post diferente a lo habitual y se trata de una pequeña limpieza que le hago a mis bicicleta en la zona de las ruedas y un engrase a los rodamientos que son necesarios para su buen funcionamiento, les mostraré paso a paso el proceso y les iré explicando en cada foto el proceso, si tienen dudas pueden dejarlas en los comentarios y las responderé en lo que pueda, espero les guste...
Greetings friends of Hive! Today I bring you a different post than usual and it is about a small cleaning that I do to my bikes in the area of the wheels and greasing the bearings that are necessary for their proper functioning, I will show you step by step the process and I will explain the process in each photo, if you have questions you can leave them in the comments and I will answer them as much as I can, I hope you like it ...

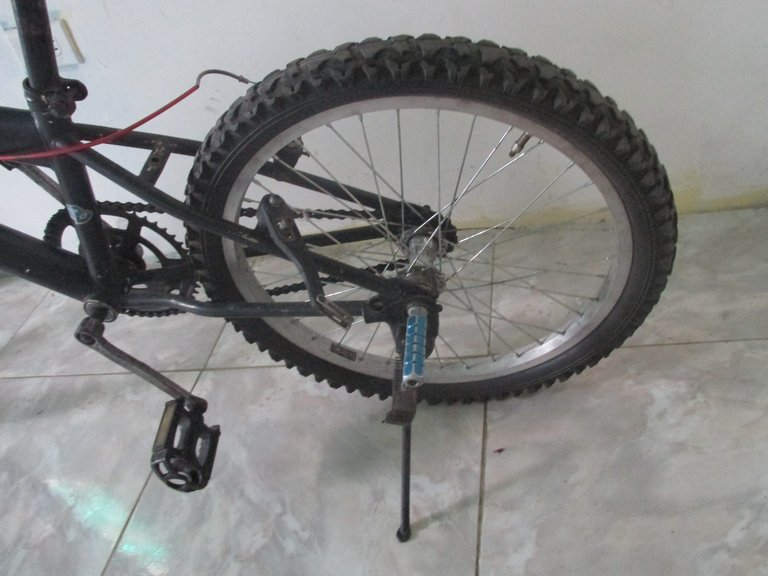
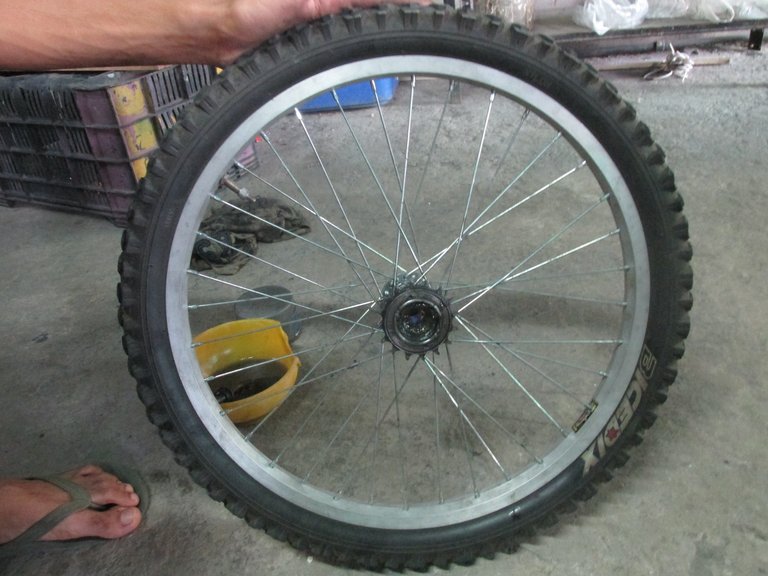
Como primer paso quitamos el freno trasero (el cual tiene forma como de "gancho") para dejar libre la rueda al sacarla.
As a first step we remove the rear brake (which is shaped like a "hook") to free the wheel when removing it.
Ya que está la rueda libre aflojamos las tuercas del lado izquierdo y derecho con una llave ajustable o con una llave 15mm.
Once the free wheel is in place, we loosen the nuts on the left and right side with an adjustable wrench or a 15mm wrench.
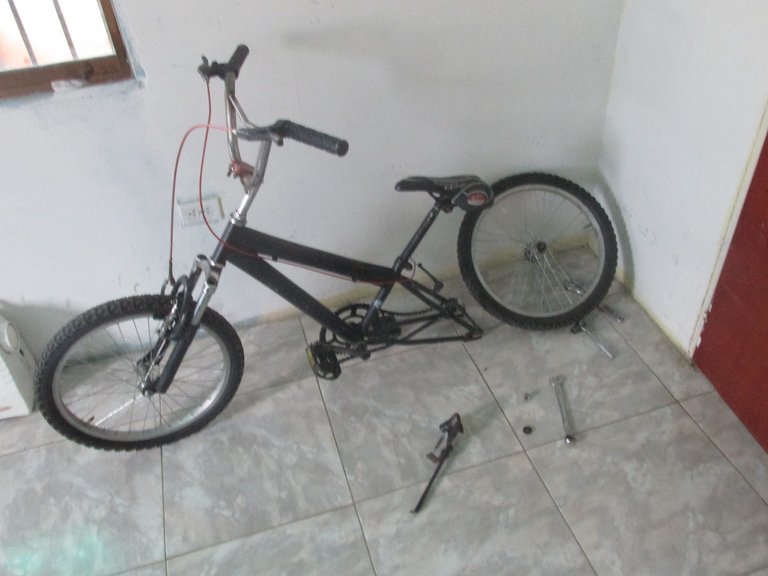
Como ven se quita la cadena y la rueda sale libremente hacia atrás.
As you can see, the chain is removed and the wheel comes out freely backwards.
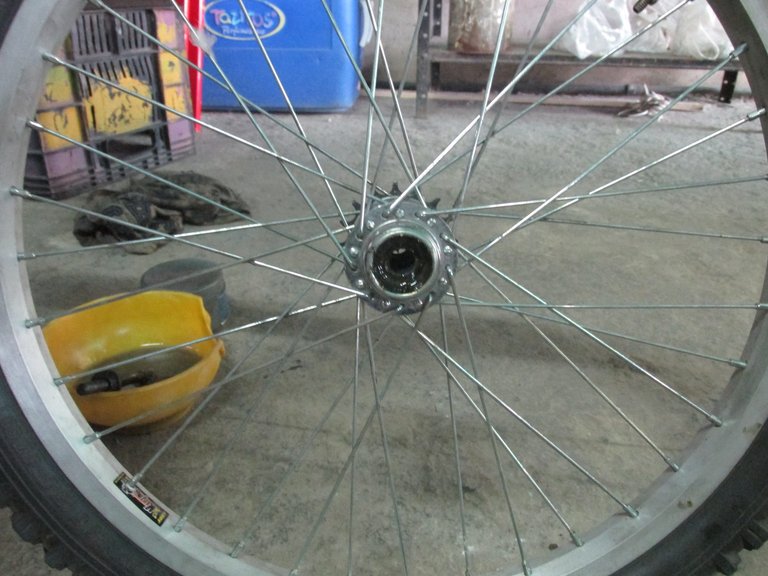
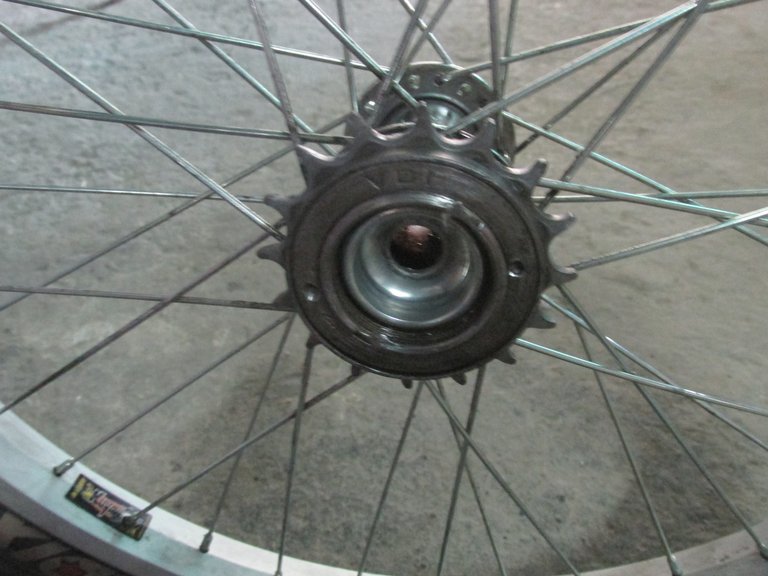
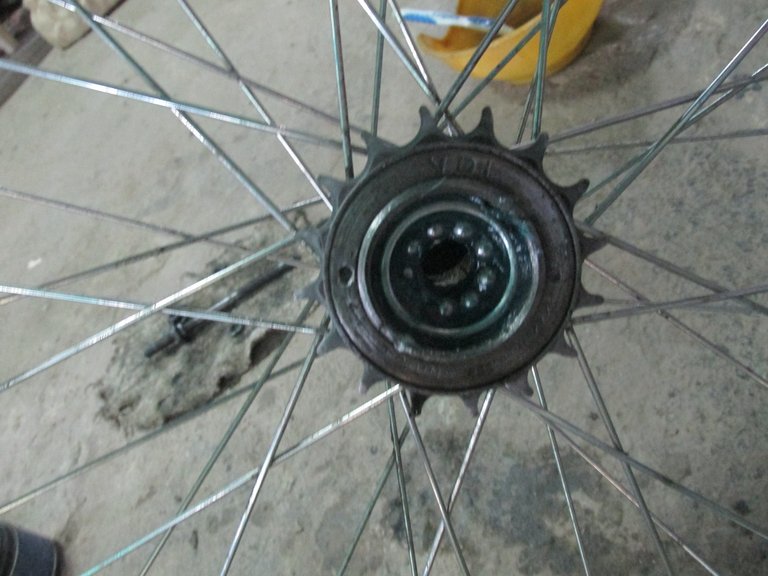
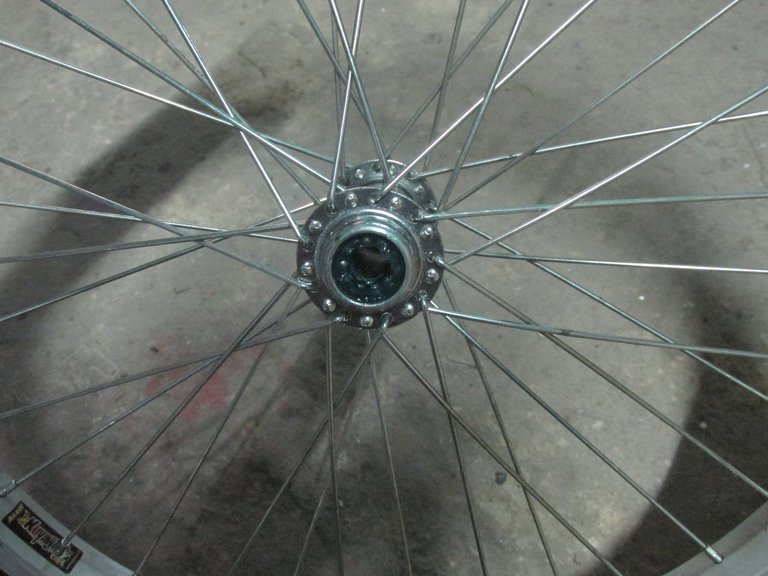
Luego de eso con 2 llaves aflojamos las tuercas de los dos lados para sacar el eje, después de eso sacamos las tuercas cónicas que están en contacto con los rodamientos. Y como podrán observar en la foto se ve toda la grasa y la suciedad, se puede limpiar con cualquier disolvente o gasolina, lo que se tenga a la mano.
After that with 2 wrenches we loosen the nuts on both sides to remove the shaft, after that we remove the conical nuts that are in contact with the bearings. And as you can see in the photo you can see all the grease and dirt, it can be cleaned with any solvent or gasoline, whatever you have on hand.
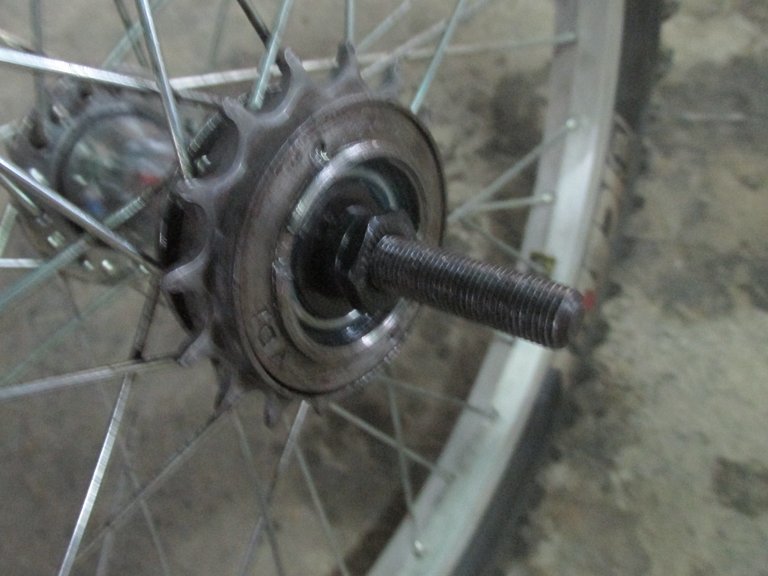
Del otro lado también hacemos el mismo proceso.
On the other side we also do the same process.
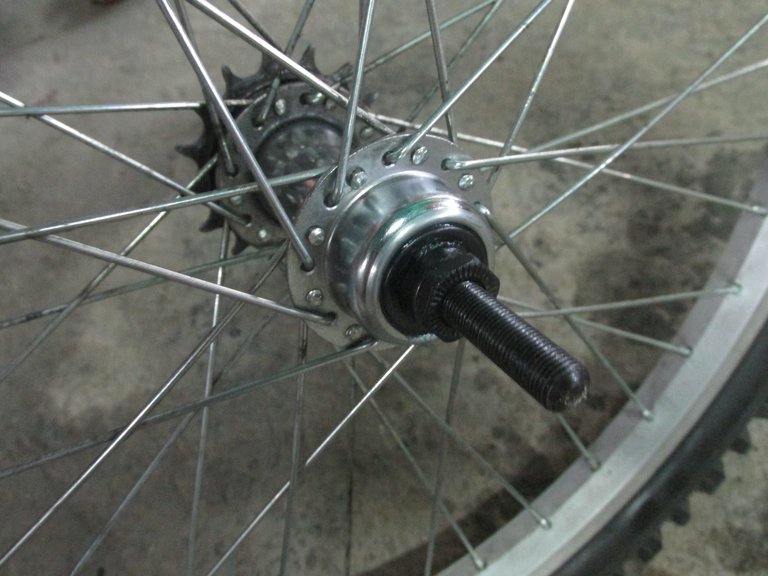
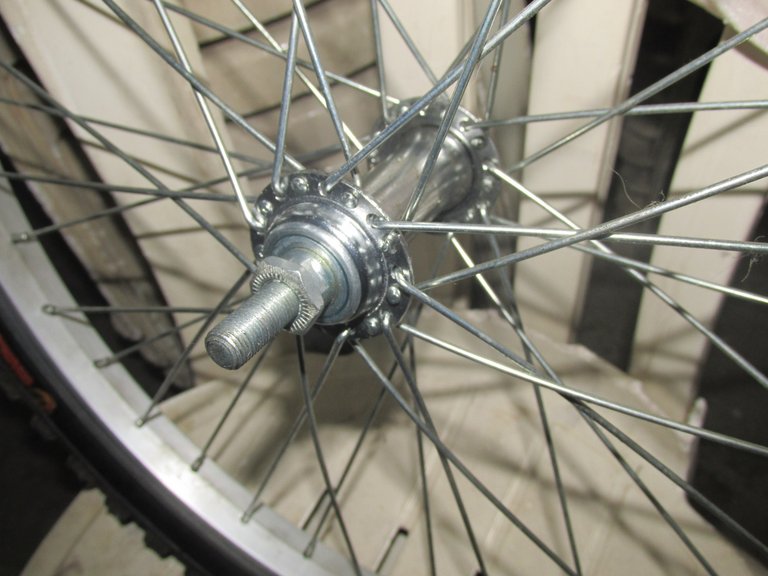
Y como podrán observar la pieza quedó limpia como de este lado como del otro, debe quedar cromado y brilloso.
And as you can see the piece was clean as on this side as on the other, it should be chrome and shiny.
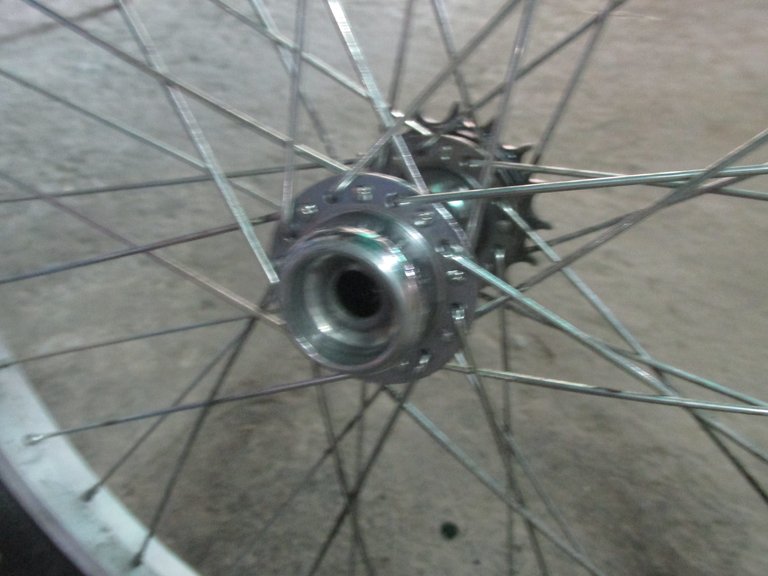
Y este lado queda igual que el anterior.
And this side remains the same as the previous one.
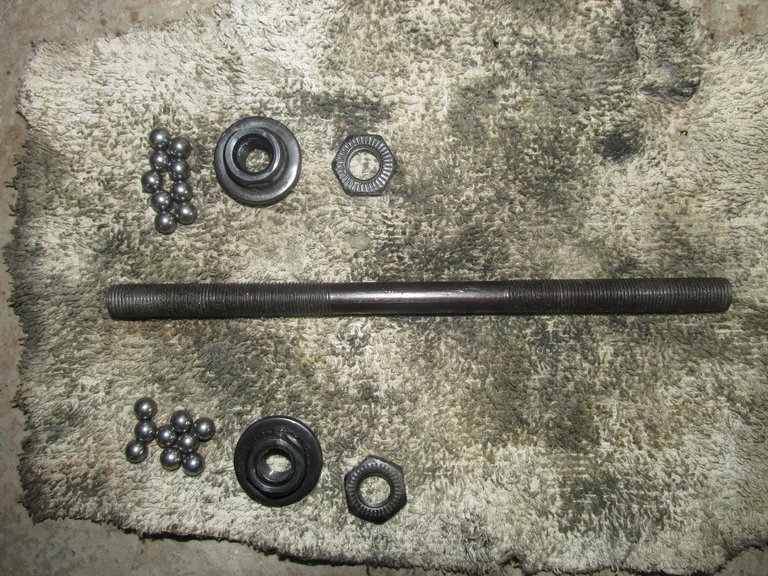
Limpiamos los rodamientos, las tuercas cónicas, la tuerca de seguridad y el eje.
We clean the bearings, the conical nuts, the lock nut and the shaft.
Luego engrasamos con grasa azul para rodamientos.
Then we grease with blue bearing grease.
Luego montamos el eje con sus tuercas cónicas las que están en contacto con los rodamientos y las tuercas de seguridad.
Then we assemble the shaft with its conical nuts which are in contact with the bearings and the lock nuts.
En el otro lado repetimos el mismo proceso haciendo el ajuste adecuado y ya estaría listo la rueda trasera.
On the other side we repeat the same process making the proper adjustment and the rear wheel would be ready.
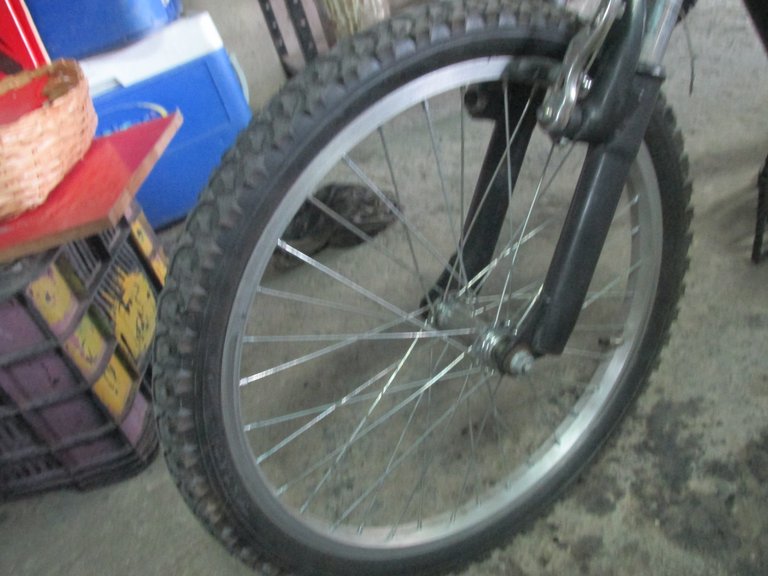
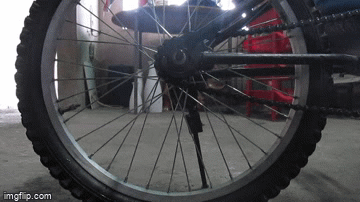
Luego de haber hecho el trabajo en la rueda trasera hacemos el mismo procedimiento en la rueda delantera aflojando con misma llave 15mm o ajustable, también hay que desenganchar el freno para que la rueda salga libremente.
After having done the work on the rear wheel, we do the same procedure on the front wheel, loosening with the same 15mm or adjustable wrench, we must also unhook the brake so that the wheel comes out freely.
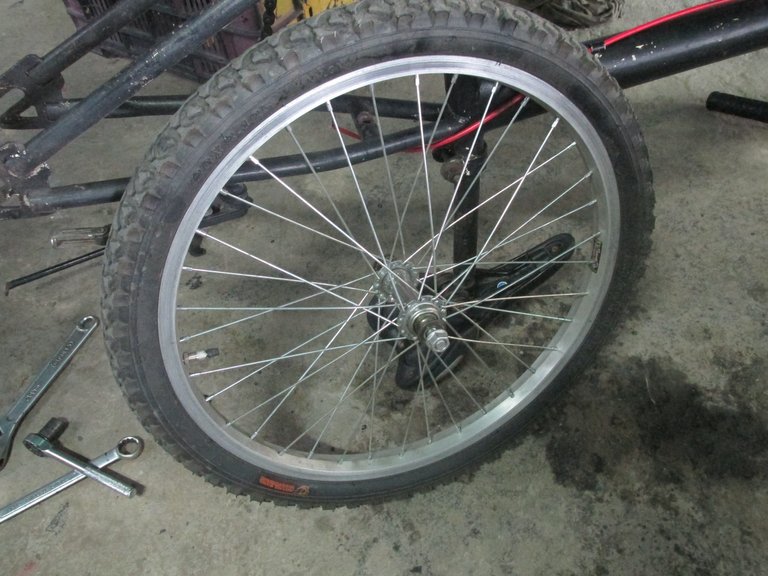
Luego de sacar la rueda aflojamos la tuerca del eje de los dos lados (usar dos llaves ajustables para sacar dicho eje) y de igual forma se puede apreciar la suciedad y la grasa con los rodamientos.
After removing the wheel, loosen the axle nut on both sides (use two adjustable wrenches to remove said axle) and in the same way you can see the dirt and grease with the bearings.
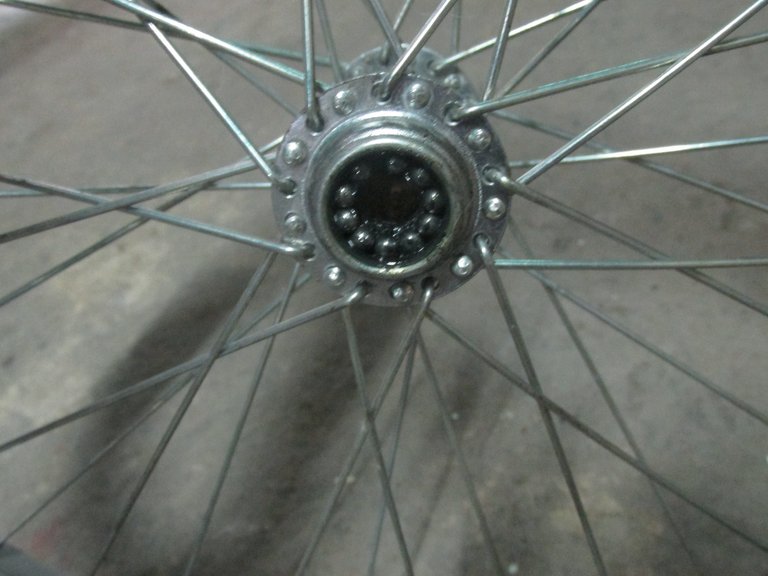
Con un cepillo y el disolvente limpiamos el interior de la "manzana" dejando todo limpio sin ningún rastro de suciedad. Tanto de un lado como de otro debe quedar brillante, limpio sin ningún rayón para que los rodamientos puedan deslizar libremente.
With a brush and the solvent we clean the inside of the "apple" leaving everything clean without any trace of dirt. Both on one side and the other should be shiny, clean without any scratches so that the bearings can slide freely.
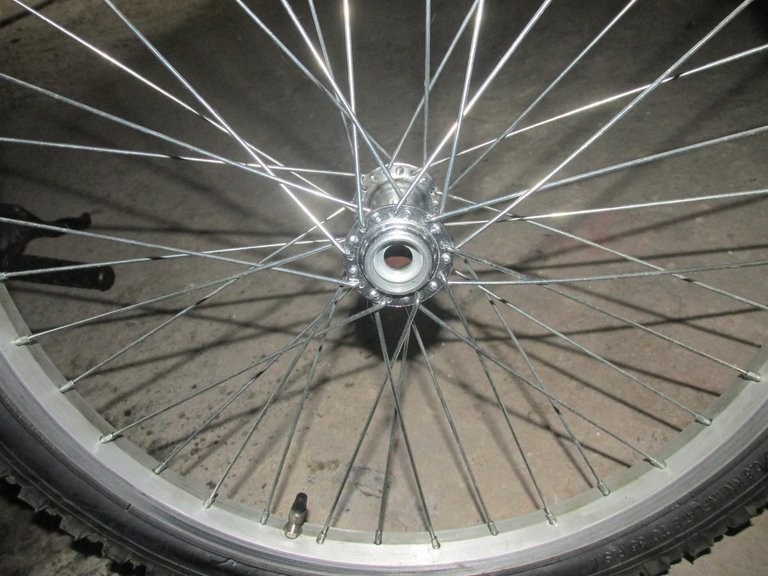
Después engrasamos con la misma grasa que usamos en la otra rueda anterior y colocar los rodamientos de los dos lados.
Then we grease with the same grease that we used in the other previous wheel and place the bearings on both sides.
Colocar el eje y colocar el ajuste adecuado, ni muy ajustado ni muy flojo.
Fit the shaft and fit the proper fit, not too tight or too loose.
Después montamos la rueda de adelante sin ajustar demasiado tampoco con la llave 15mm.
Then we mounted the front wheel without adjusting too much either with the 15mm wrench.
Luego hacemos el mismo proceso con la rueda trasera y hacemos un ajuste adecuado a la cadena sin ajustar demasiado.
Then we do the same process with the rear wheel and we make a proper adjustment to the chain without adjusting too much.
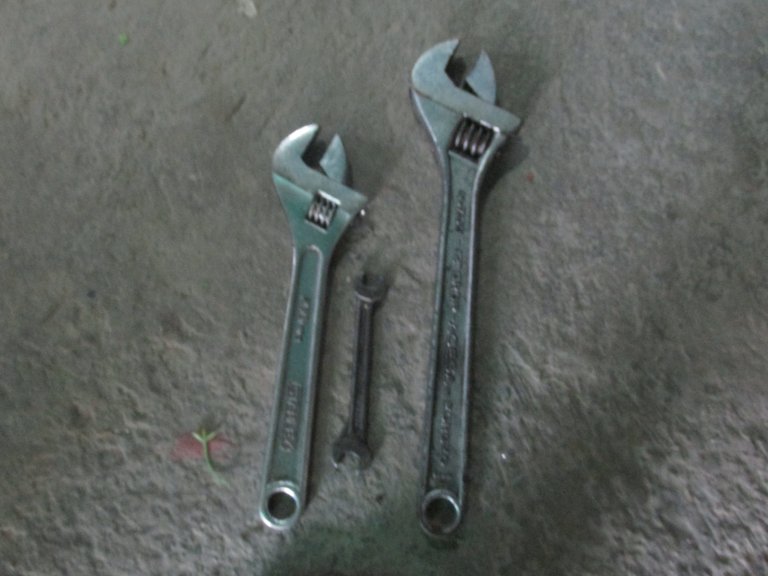
Herramientas usadas:
- Llave ajustable (Pequeña)
- Llave ajustable grande
- Llave 10 mm
Tools used:
Adjustable wrench (Small)
Large adjustable wrench
10 mm spanner
¡Gracias por ver el post!
¡Espero les haya gustado!
Las fotos son de mi autoría y fueron tomadas con la cámara canon PowerShot SX170 IS
Thanks for watching the post!
I hope you liked it!
The photos are my own and were taken with the Canon PowerShot SX170 IS camera
ME PUEDES CONSEGUIR EN ESTAS REDES SOCIALES


¡Espero les haya gustado!
Las fotos son de mi autoría y fueron tomadas con la cámara canon PowerShot SX170 IS
Thanks for watching the post!
I hope you liked it!
The photos are my own and were taken with the Canon PowerShot SX170 IS camera
ME PUEDES CONSEGUIR EN ESTAS REDES SOCIALES
Congratulations @andresrk! You have completed the following achievement on the Hive blockchain and have been rewarded with new badge(s) :
Your next target is to reach 600 replies.
You can view your badges on your board and compare yourself to others in the Ranking
If you no longer want to receive notifications, reply to this comment with the word
STOPCheck out the last post from @hivebuzz:
Hola , que buen tutorial para el mantenimiento de las bicicletas, es algo muy útil, saludos
Para engrasar no sirve el aceite 3 en 1 qué se utiliza para las máquinas de coser?
Es que se me acabó la grasa y quería igual hacerle mantenimiento a mi bicicleta montañera.
Por lo que no todo tu bicicleta parece para hacer trucos cierto?
no creo que sirva. El aceite se usa mas en la cadena y el piñon. Para los rodamientos tiene que ser grasa.
Excelente tutorial brother!
bien hecho, muy práctico en cada paso. Me imagino que la bici luego quedo rodando suavemente. Te felicito.