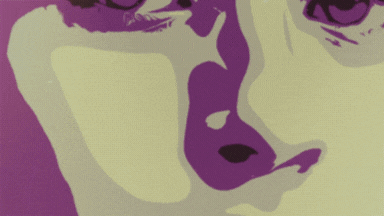
| | Digital Vector Portrait | |
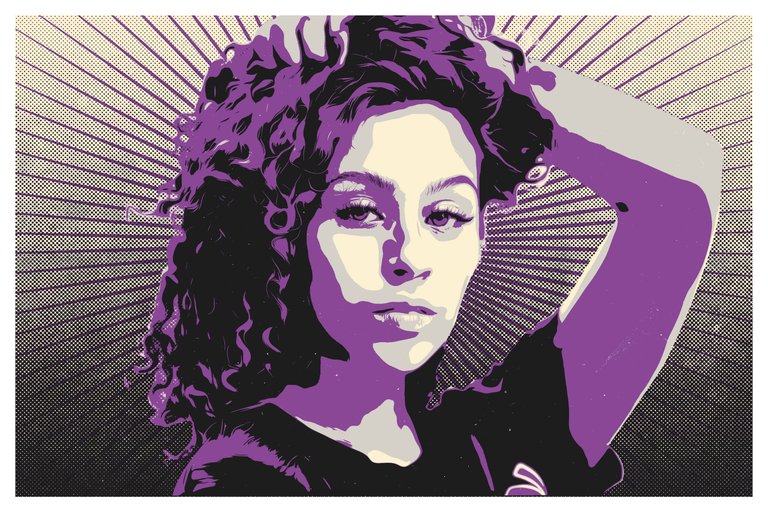
Hello, Dear members of the Sketchbook Community! how are you all? I have full faith that you guys will be fine and doing something good in your life. My name is Shivam and today I bring you the Digital Vector Portrait in Photoshop, I hope You guys will like it very much.
Tutorial link is below.......👇👇👇👇👇👇
Creating a vector portrait in Photoshop using the oil paint filter, gradient map, and black and white filter involves a combination of techniques. Please note that while Photoshop supports vector shapes and paths, the oil paint filter is primarily designed for raster-based images. However, you can still achieve a stylized effect resembling a vector portrait. Here's a step-by-step guide:
Step 1: Preparing the Image
Open your desired image in Photoshop.
Duplicate the image layer by right-clicking on the layer in the Layers panel and selecting "Duplicate Layer." This ensures that you have a backup of the original image.

Step 2: Applying the Oil Paint Filter
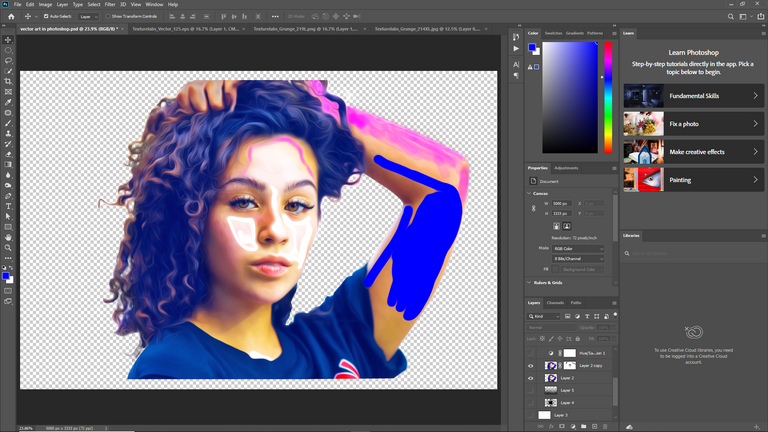
Select the duplicated layer.
Go to the "Filter" menu at the top of the screen, then navigate to "Stylize" and choose "Oil Paint."
In the Oil Paint filter dialog box, adjust the settings to achieve the desired effect. You can experiment with the sliders for Stylization, Cleanliness, Scale, Bristle Detail, Angular Direction, and Shine. Adjusting these settings will help create a painterly effect in your image. Once satisfied, click "OK" to apply the filter.
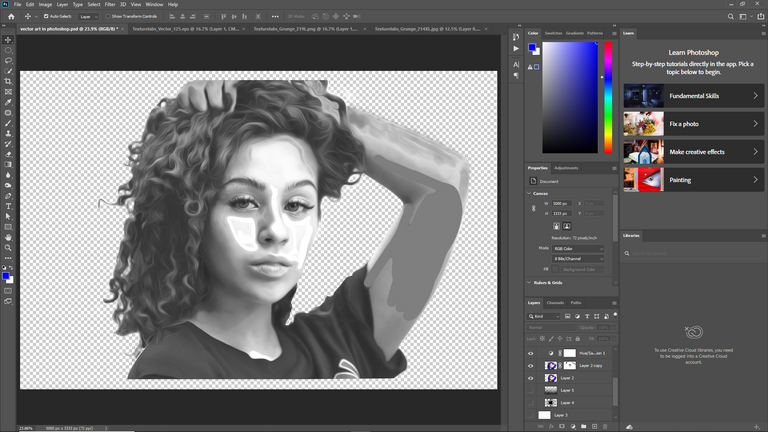
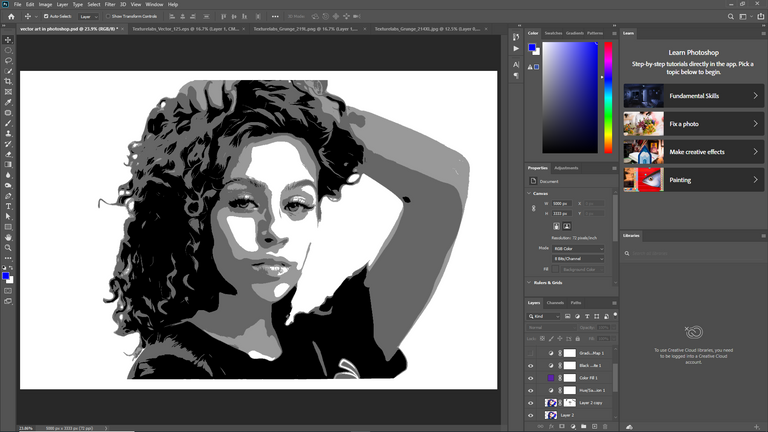
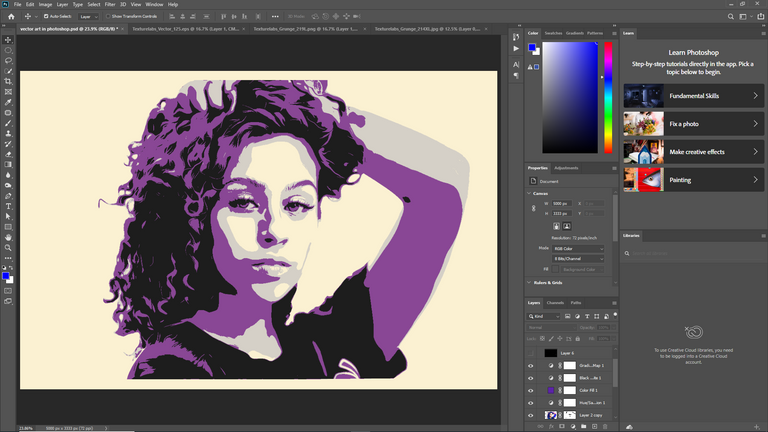
Step 3: Converting to Grayscale
With the oil paint filter applied layer selected, go to the "Image" menu at the top of the screen and select "Mode," then choose "Grayscale." Confirm any prompts that appear.
Next, convert the image back to RGB mode by going to "Image" > "Mode" > "RGB Color."
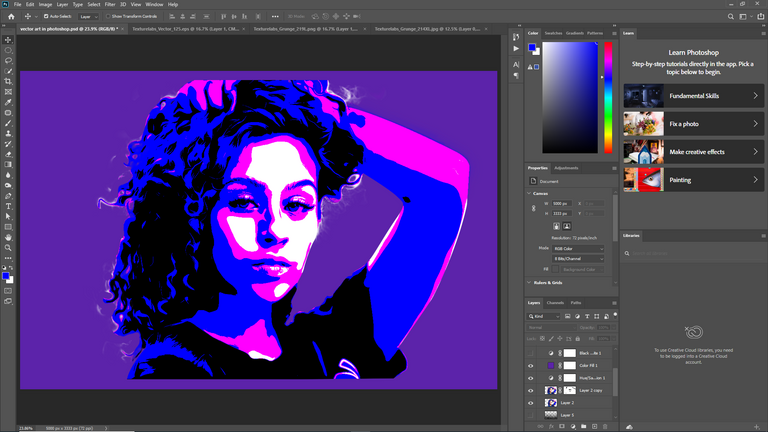
Step 4: Applying the Gradient Map
Create a new adjustment layer by clicking on the "Create new fill or adjustment layer" icon at the bottom of the Layers panel and choose "Gradient Map."
In the Gradient Map adjustment properties panel, click on the gradient preview to open the Gradient Editor.
Customize the gradient by clicking on the color stops and adjusting their colors and positions. This will map the grayscale values of the image to the chosen colors.
Once you're satisfied with the gradient, click "OK" to apply it.
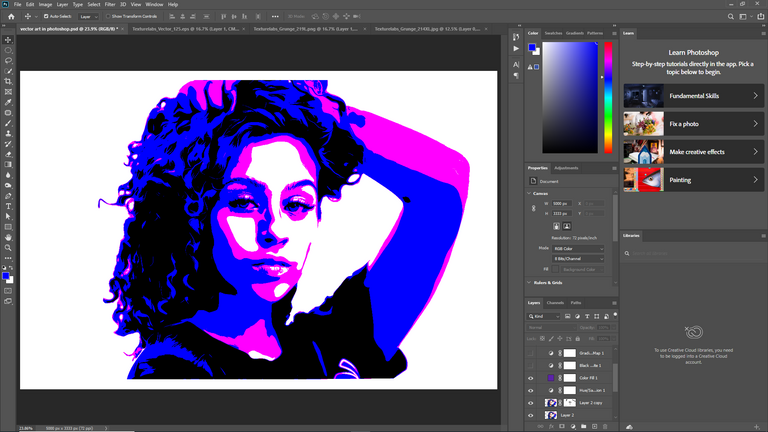
Step 5: Adding the Black and White Filter
Create another adjustment layer by clicking on the "Create new fill or adjustment layer" icon and choose "Black & White."
In the Black & White adjustment properties panel, you can adjust the sliders to control the brightness of individual color channels in your image. Experiment until you achieve the desired black and white conversion.
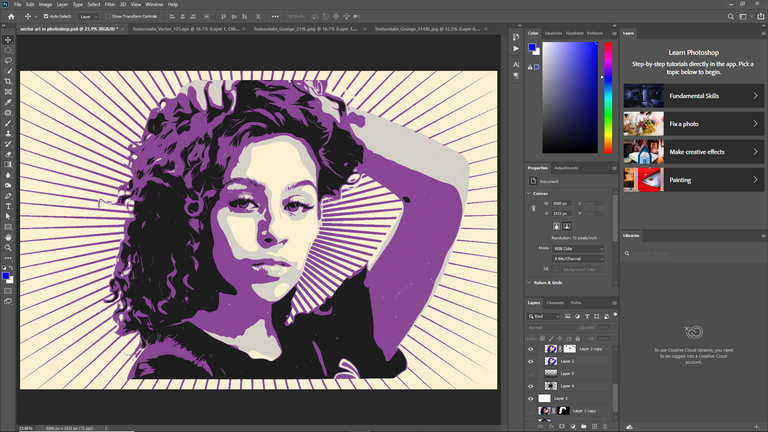
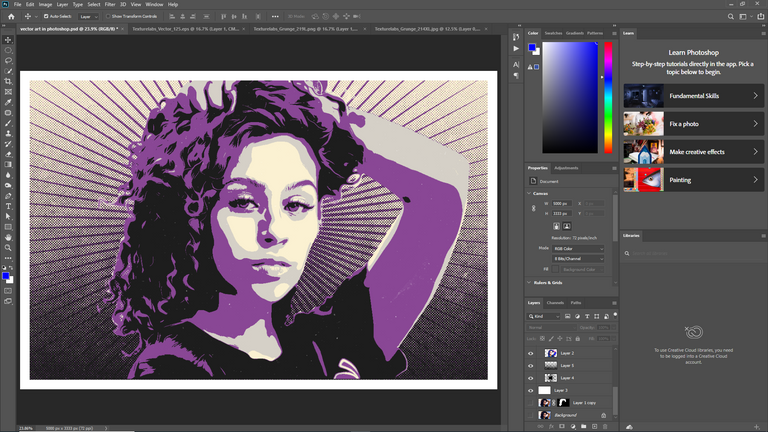
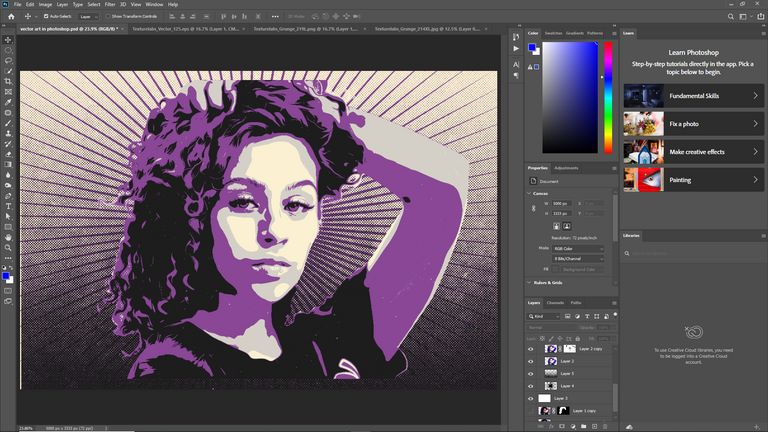
Step 6: Final Touches
You can make additional adjustments, such as levels, curves, or color balance, to fine-tune the image to your liking.
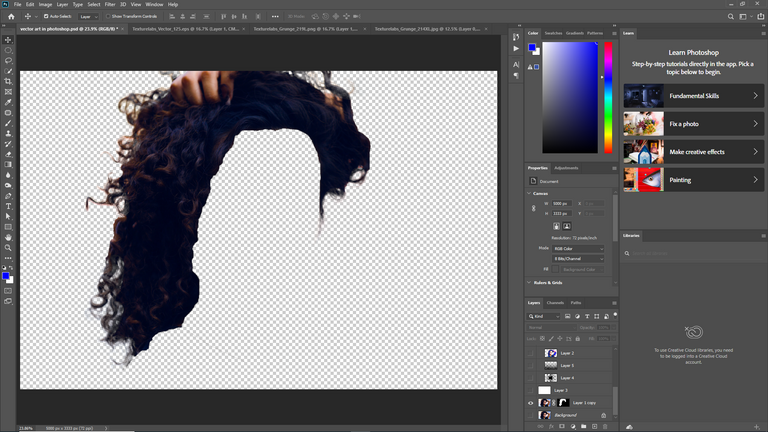
If needed, use the Pen tool or Shape tools to create vector shapes on new layers, allowing you to add or refine certain details manually.
Remember to save your work as a Photoshop document (PSD) to retain the layer structure for further editing. Once you're satisfied with the final result, you can export or save your vector portrait in a suitable file format, such as JPEG or PNG.
And don't forget to check my social links down below
Discord:-https://discord.gg/BtjYDeCu
Instagram:-https://www.instagram.com/kunwar_shivam_maurya/
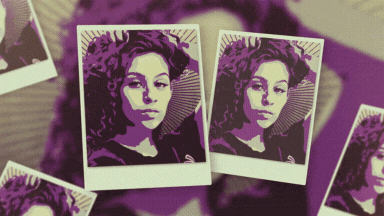
If you guys have liked my Digital artwork, please comment.....👇
Congratulations @animator000! You have completed the following achievement on the Hive blockchain And have been rewarded with New badge(s)
Your next target is to reach 4750 upvotes.
You can view your badges on your board and compare yourself to others in the Ranking
If you no longer want to receive notifications, reply to this comment with the word
STOPCheck out our last posts:
Support the HiveBuzz project. Vote for our proposal!
!discovery 25
Thankyou @jilt
This post was shared and voted inside the discord by the curators team of discovery-it
Join our Community and follow our Curation Trail
Discovery-it is also a Witness, vote for us here
Delegate to us for passive income. Check our 80% fee-back Program
Thankyou🙏@discovery-it