🩰💕Tutú hecho de tela de Organza 🩰💕//💕🩰Tutu made of Organza fabric🩰💕
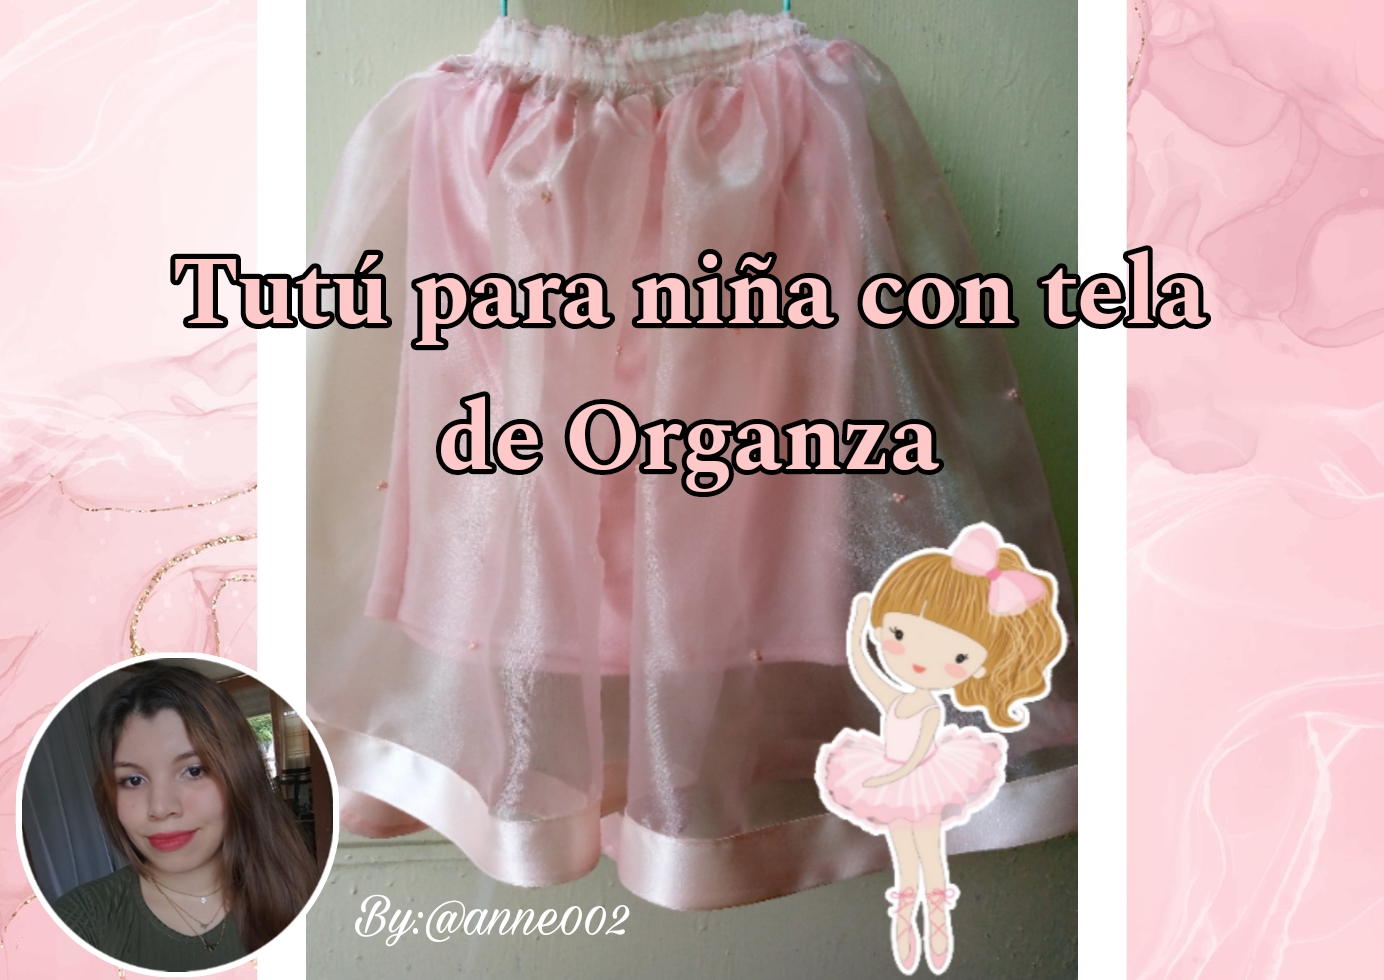
Hola mis queridos amantes de la costura espero estén pasando el dia genial ,hoy traigo para ustedes un lindo y sencillo tutú para las nenas de la casa ,este que confeccioné es para una niña de 8 años está realizado con tela de organza ,la organza es una tela muy delicada y frágil ,les recomiendo coserla con cuidado para no perder nuestro trabajo.
Este tutú bien las nenas de la casa lo pueden usar para sus bailes disfraces y cualquier situación que amerite llevarlo,no usé mucha tela ya que ella tiende a verse muy armada y para que para que no se viera asi yo en mi caso usé 2 metros y un poco menos ,para el forro reciclé una camisa y se coloqué, ustedes pueden hacerlo como ustedes gusten amigas lo importante es que quedé bonito y delicado nuestro trabajo ,asi que vamos a realizarlo.
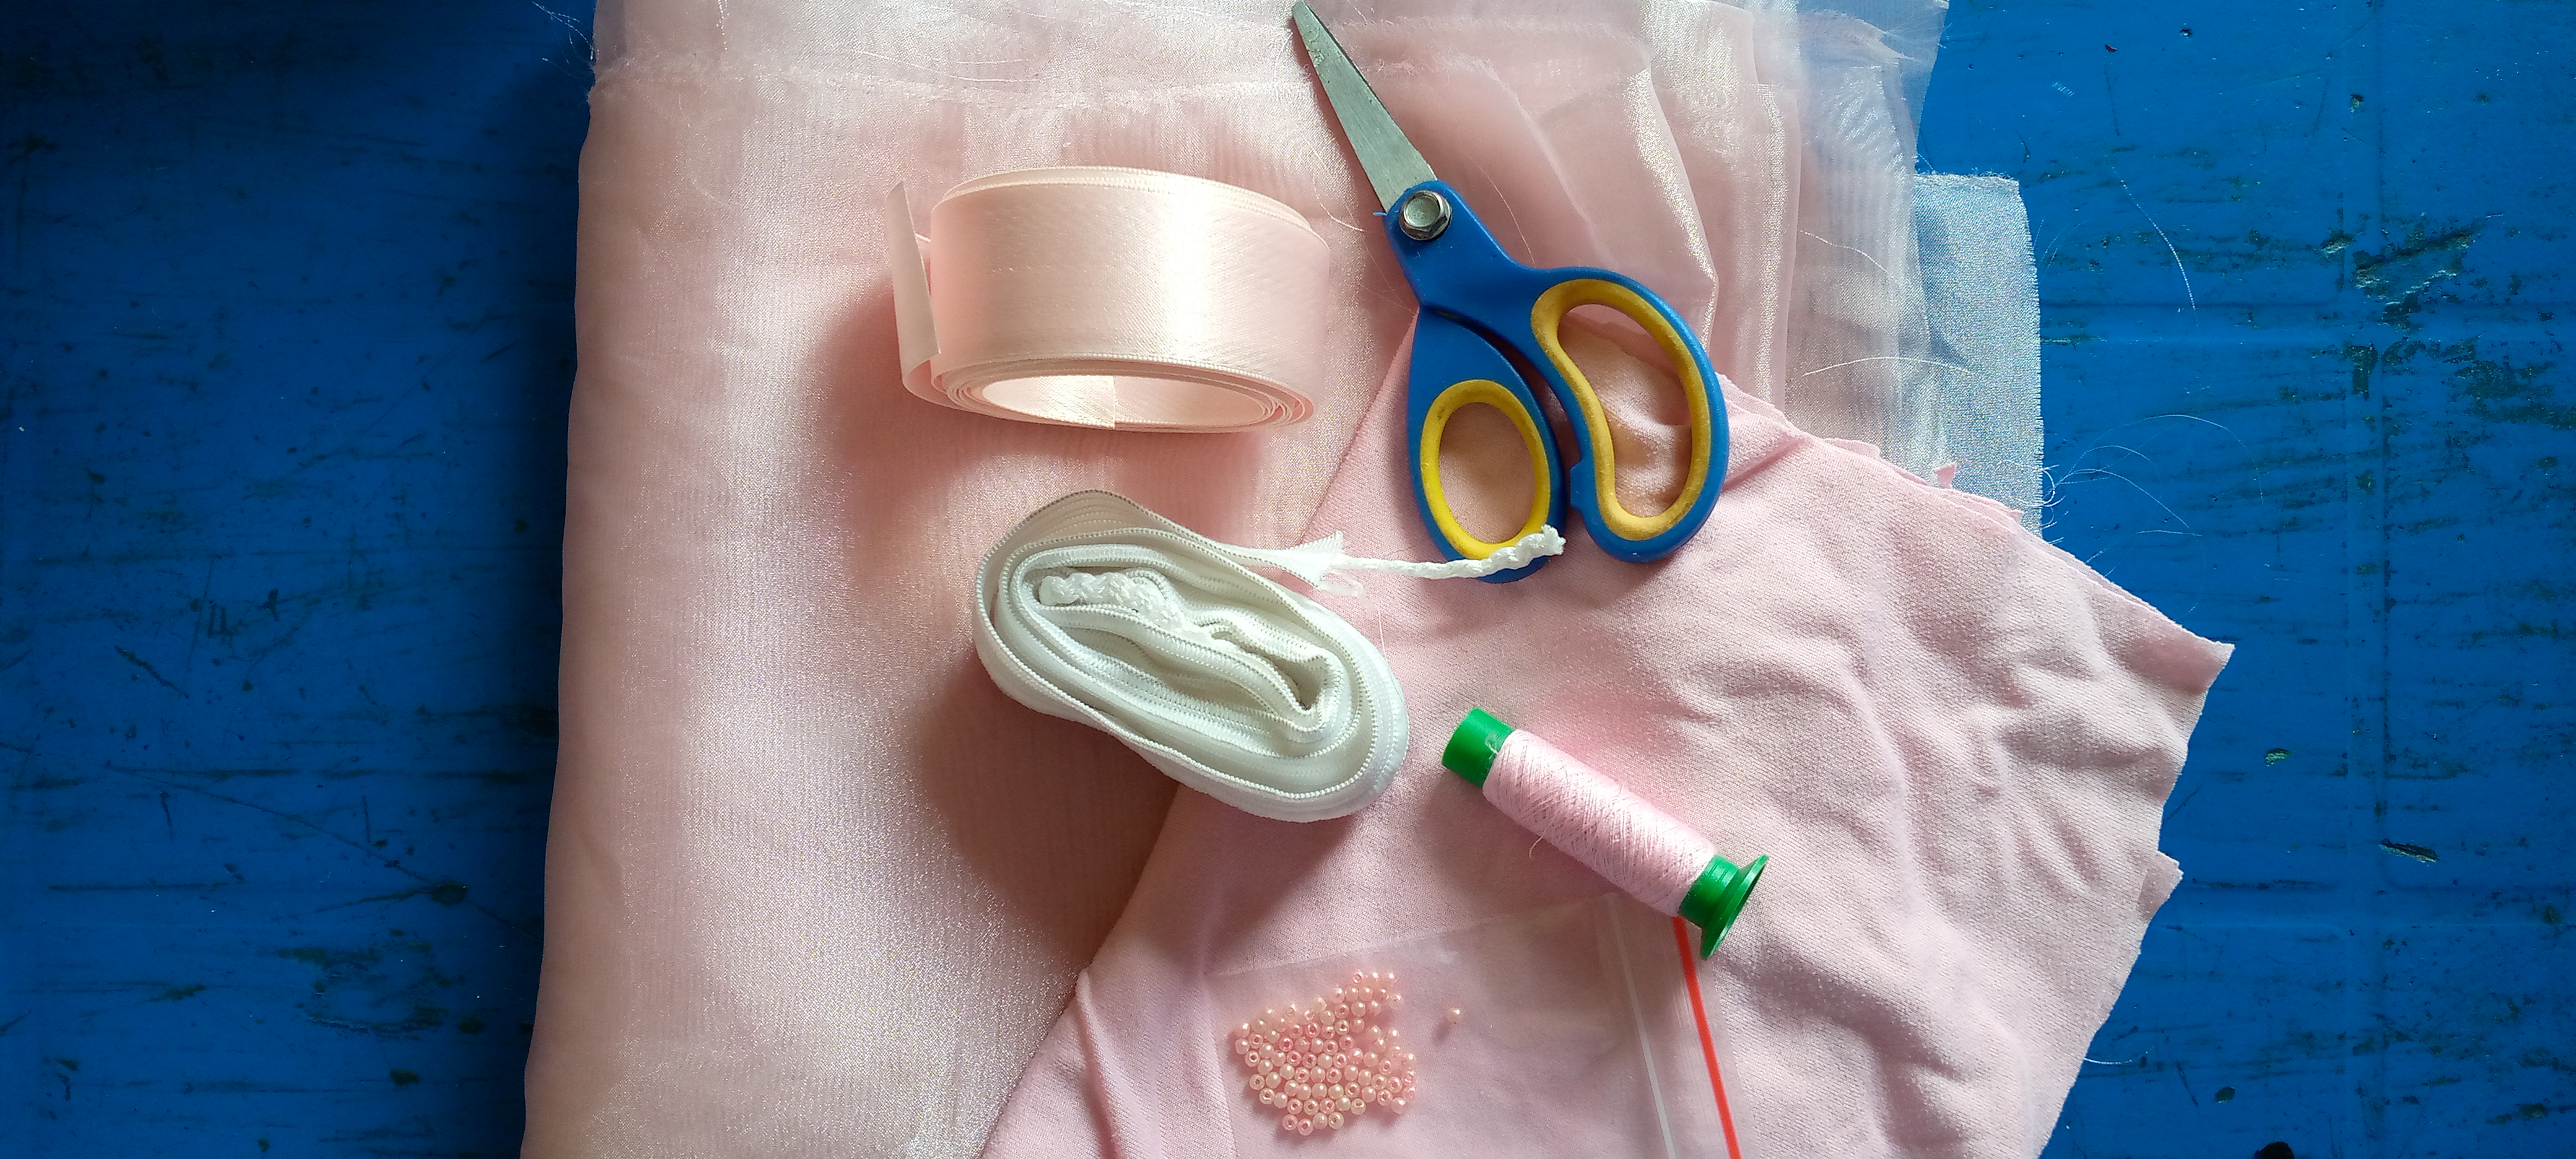
Materiales:
- Tela de Organza
- Hilo
- Tijeras
- Máquina de coser
- Perlas decorativas rosadas
- Elástico
- Cinta de raso rosada
(Pasos a seguir.)
Paso 01
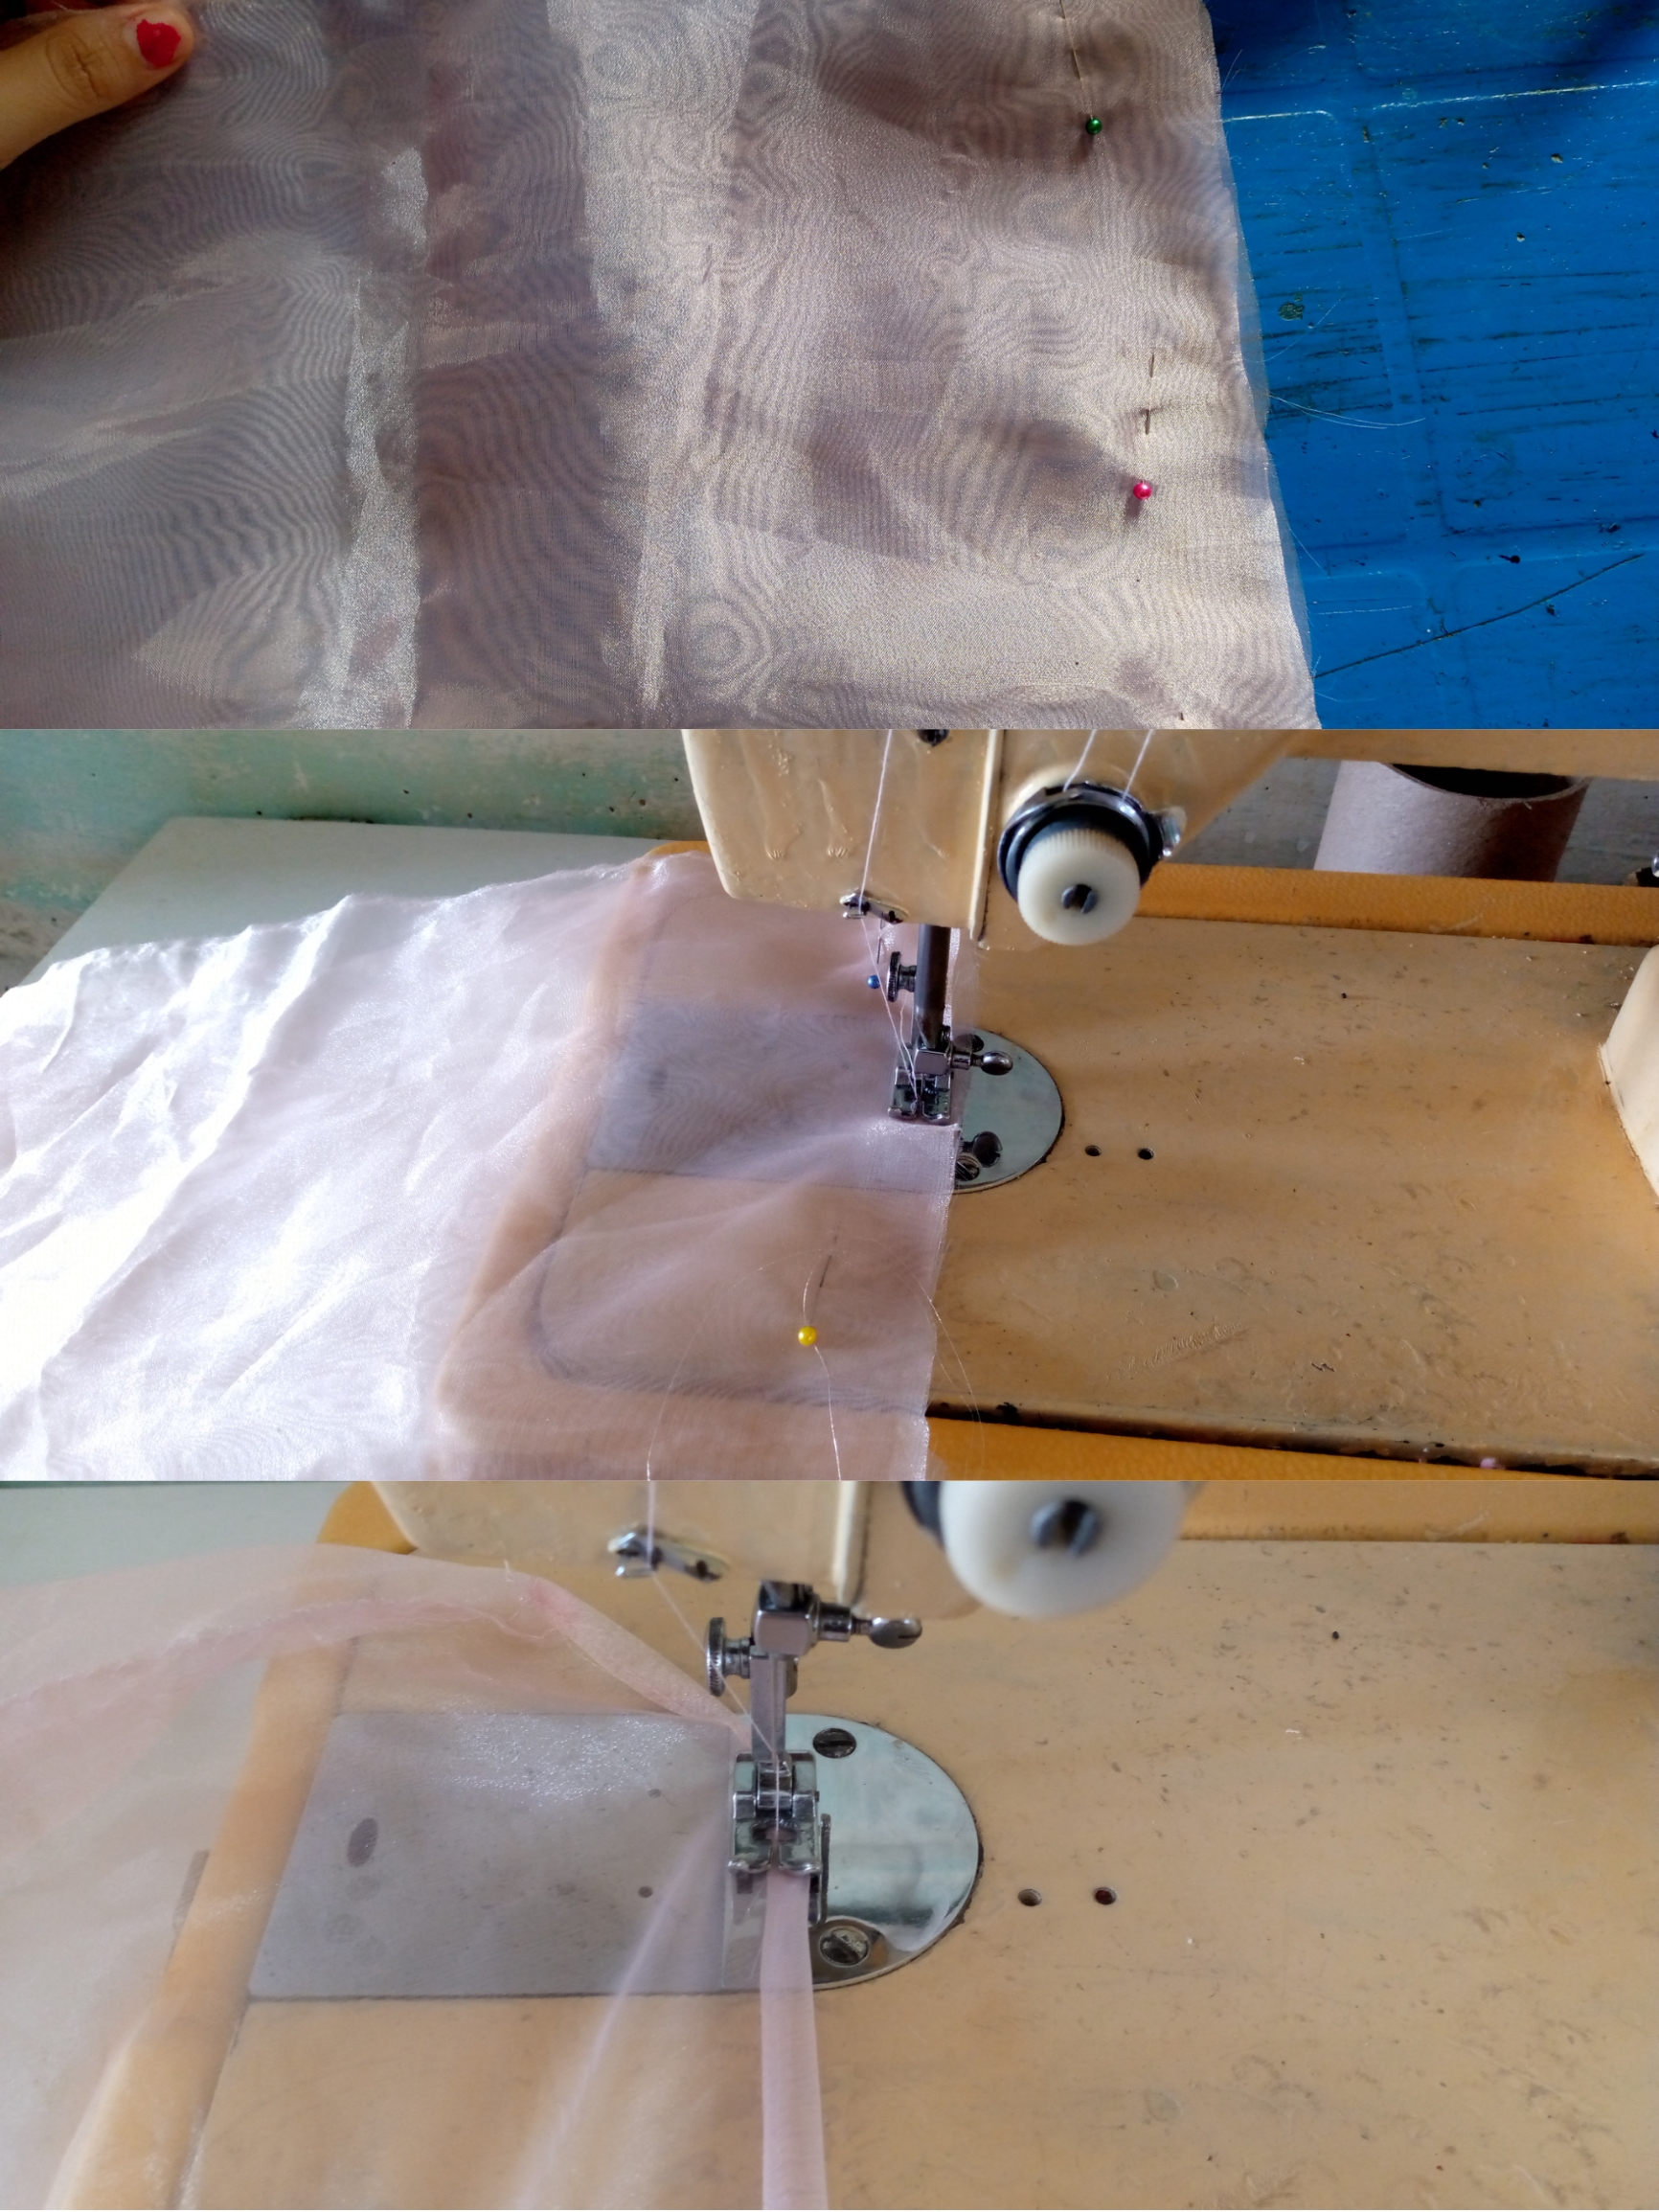
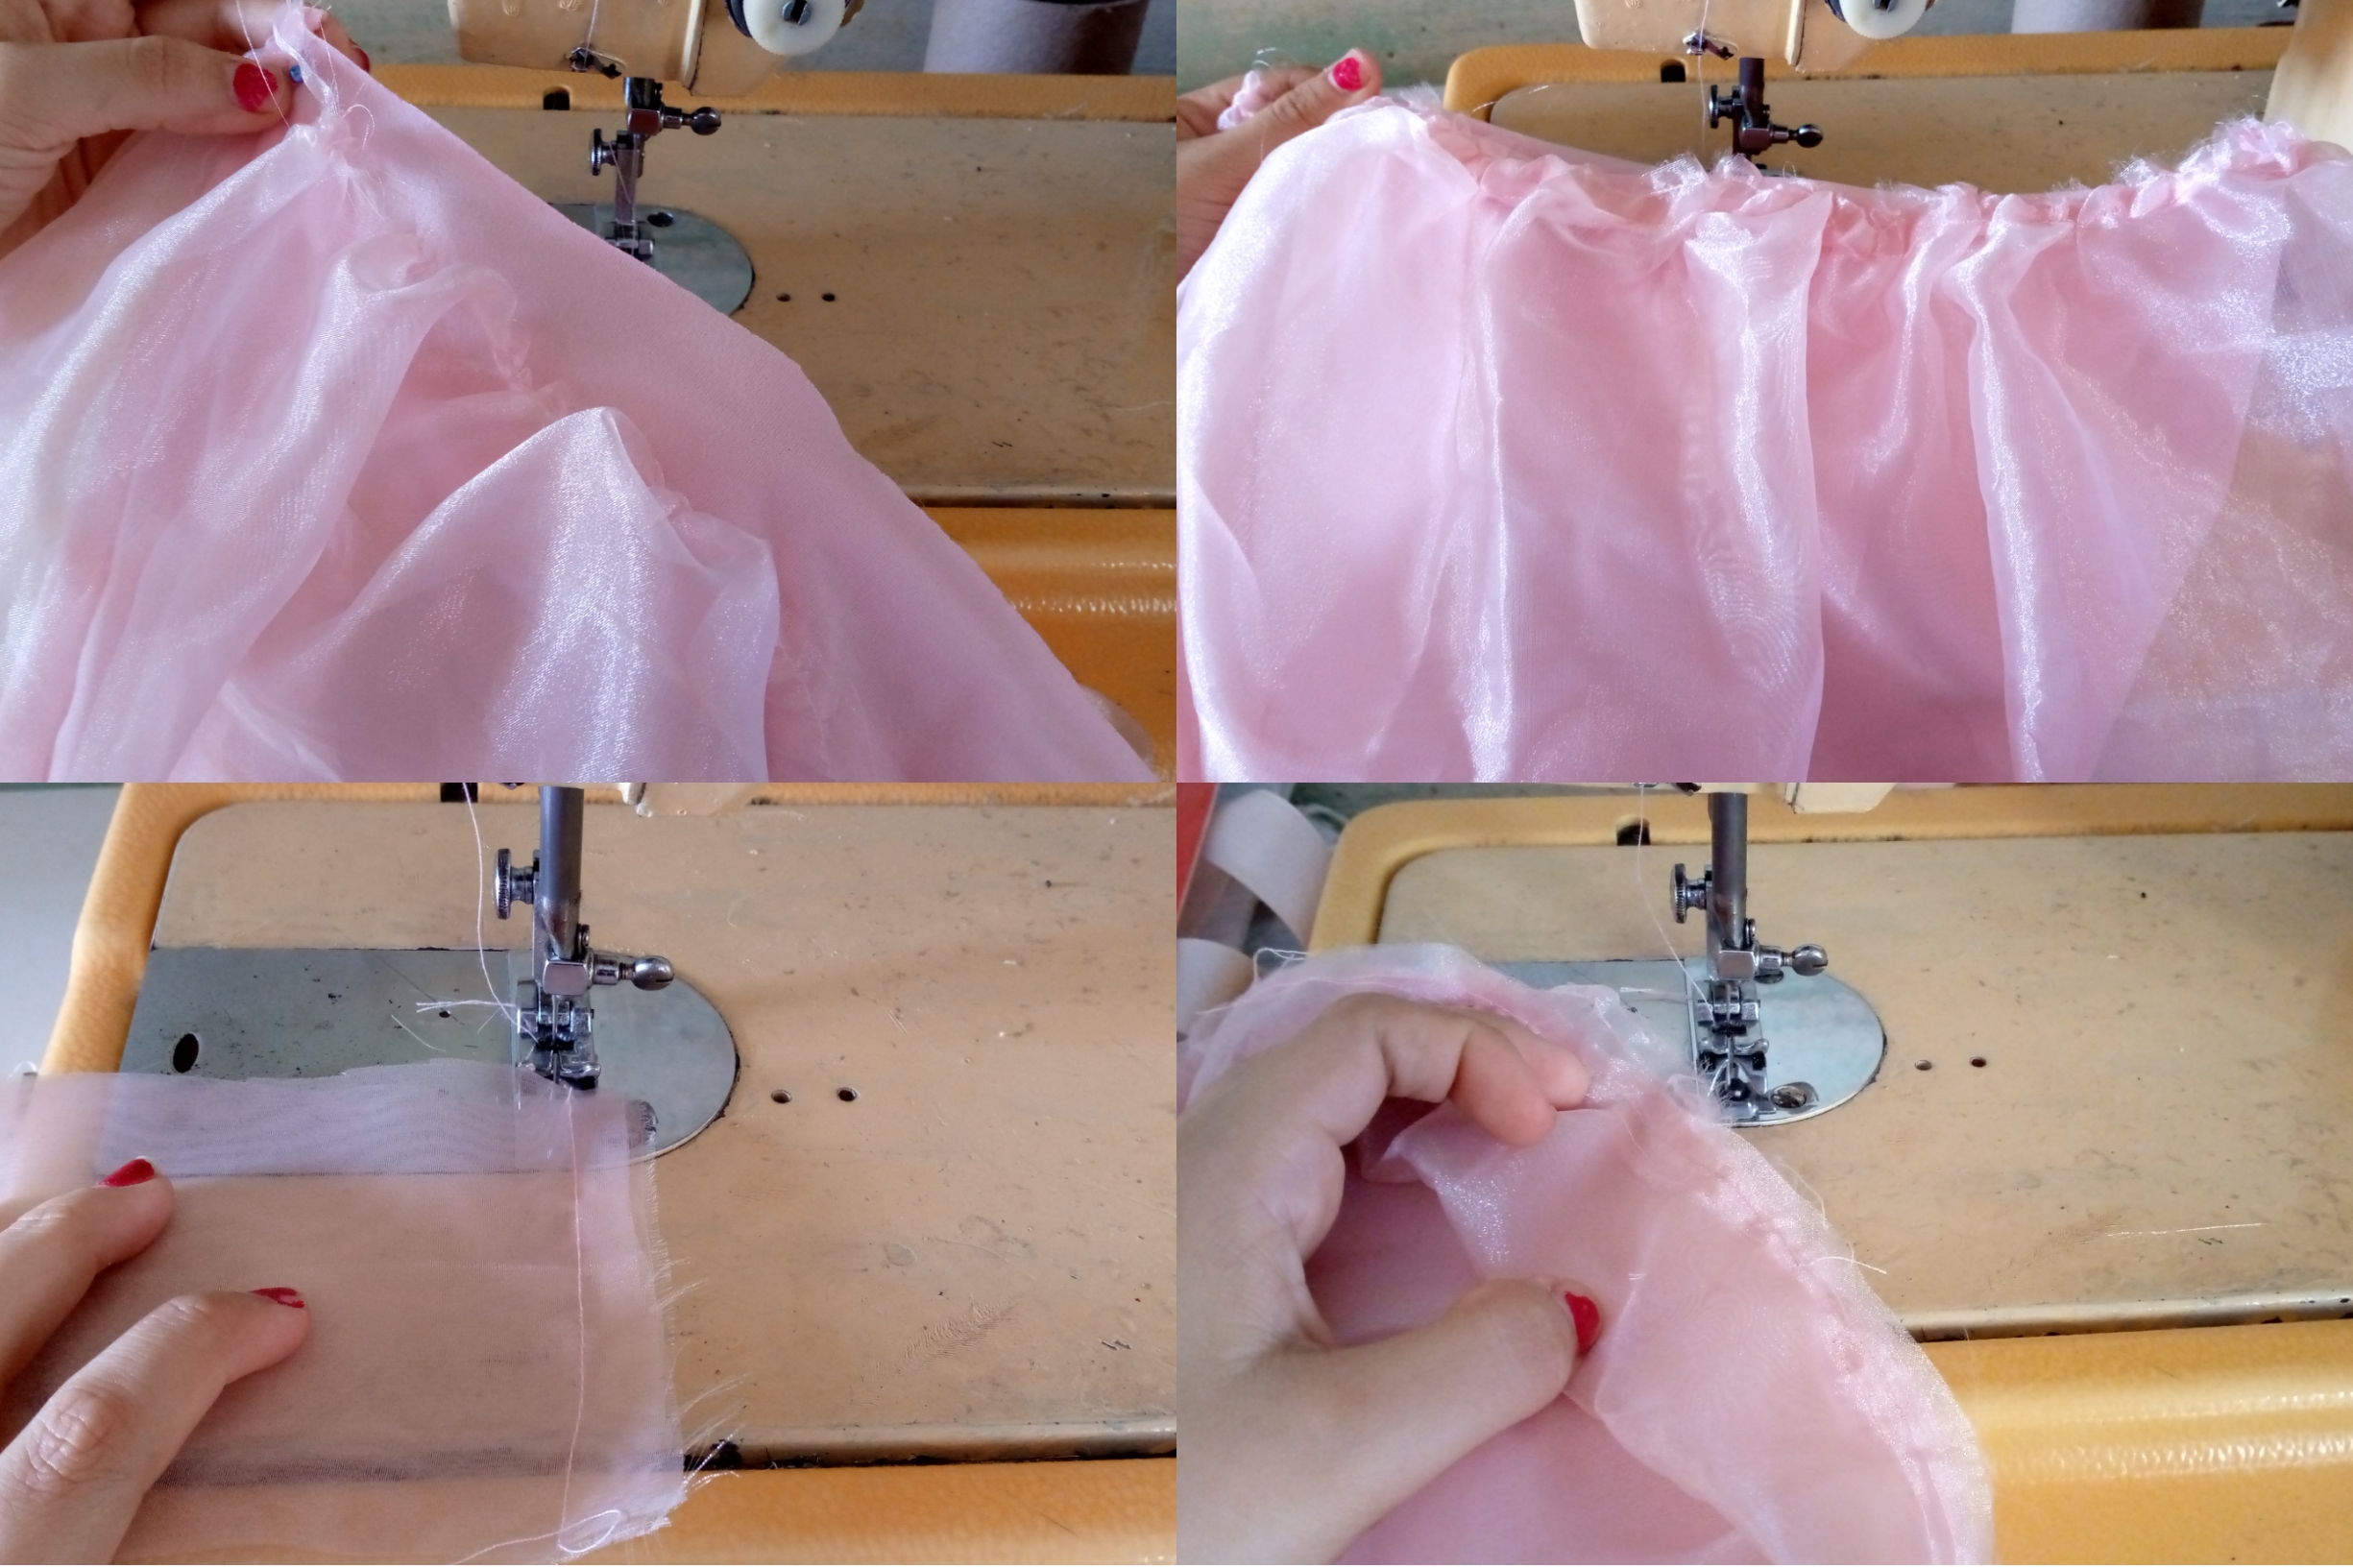
Para empezar vamos a cortar 200 cm de ancho de tela de Organza (2 metros) x 48 cm de largo ,y con nuestra maquina vamos a coser
o empatar el cuadro luego agarramos un pequeño ruedo en la parte de abajo .
Paso 02
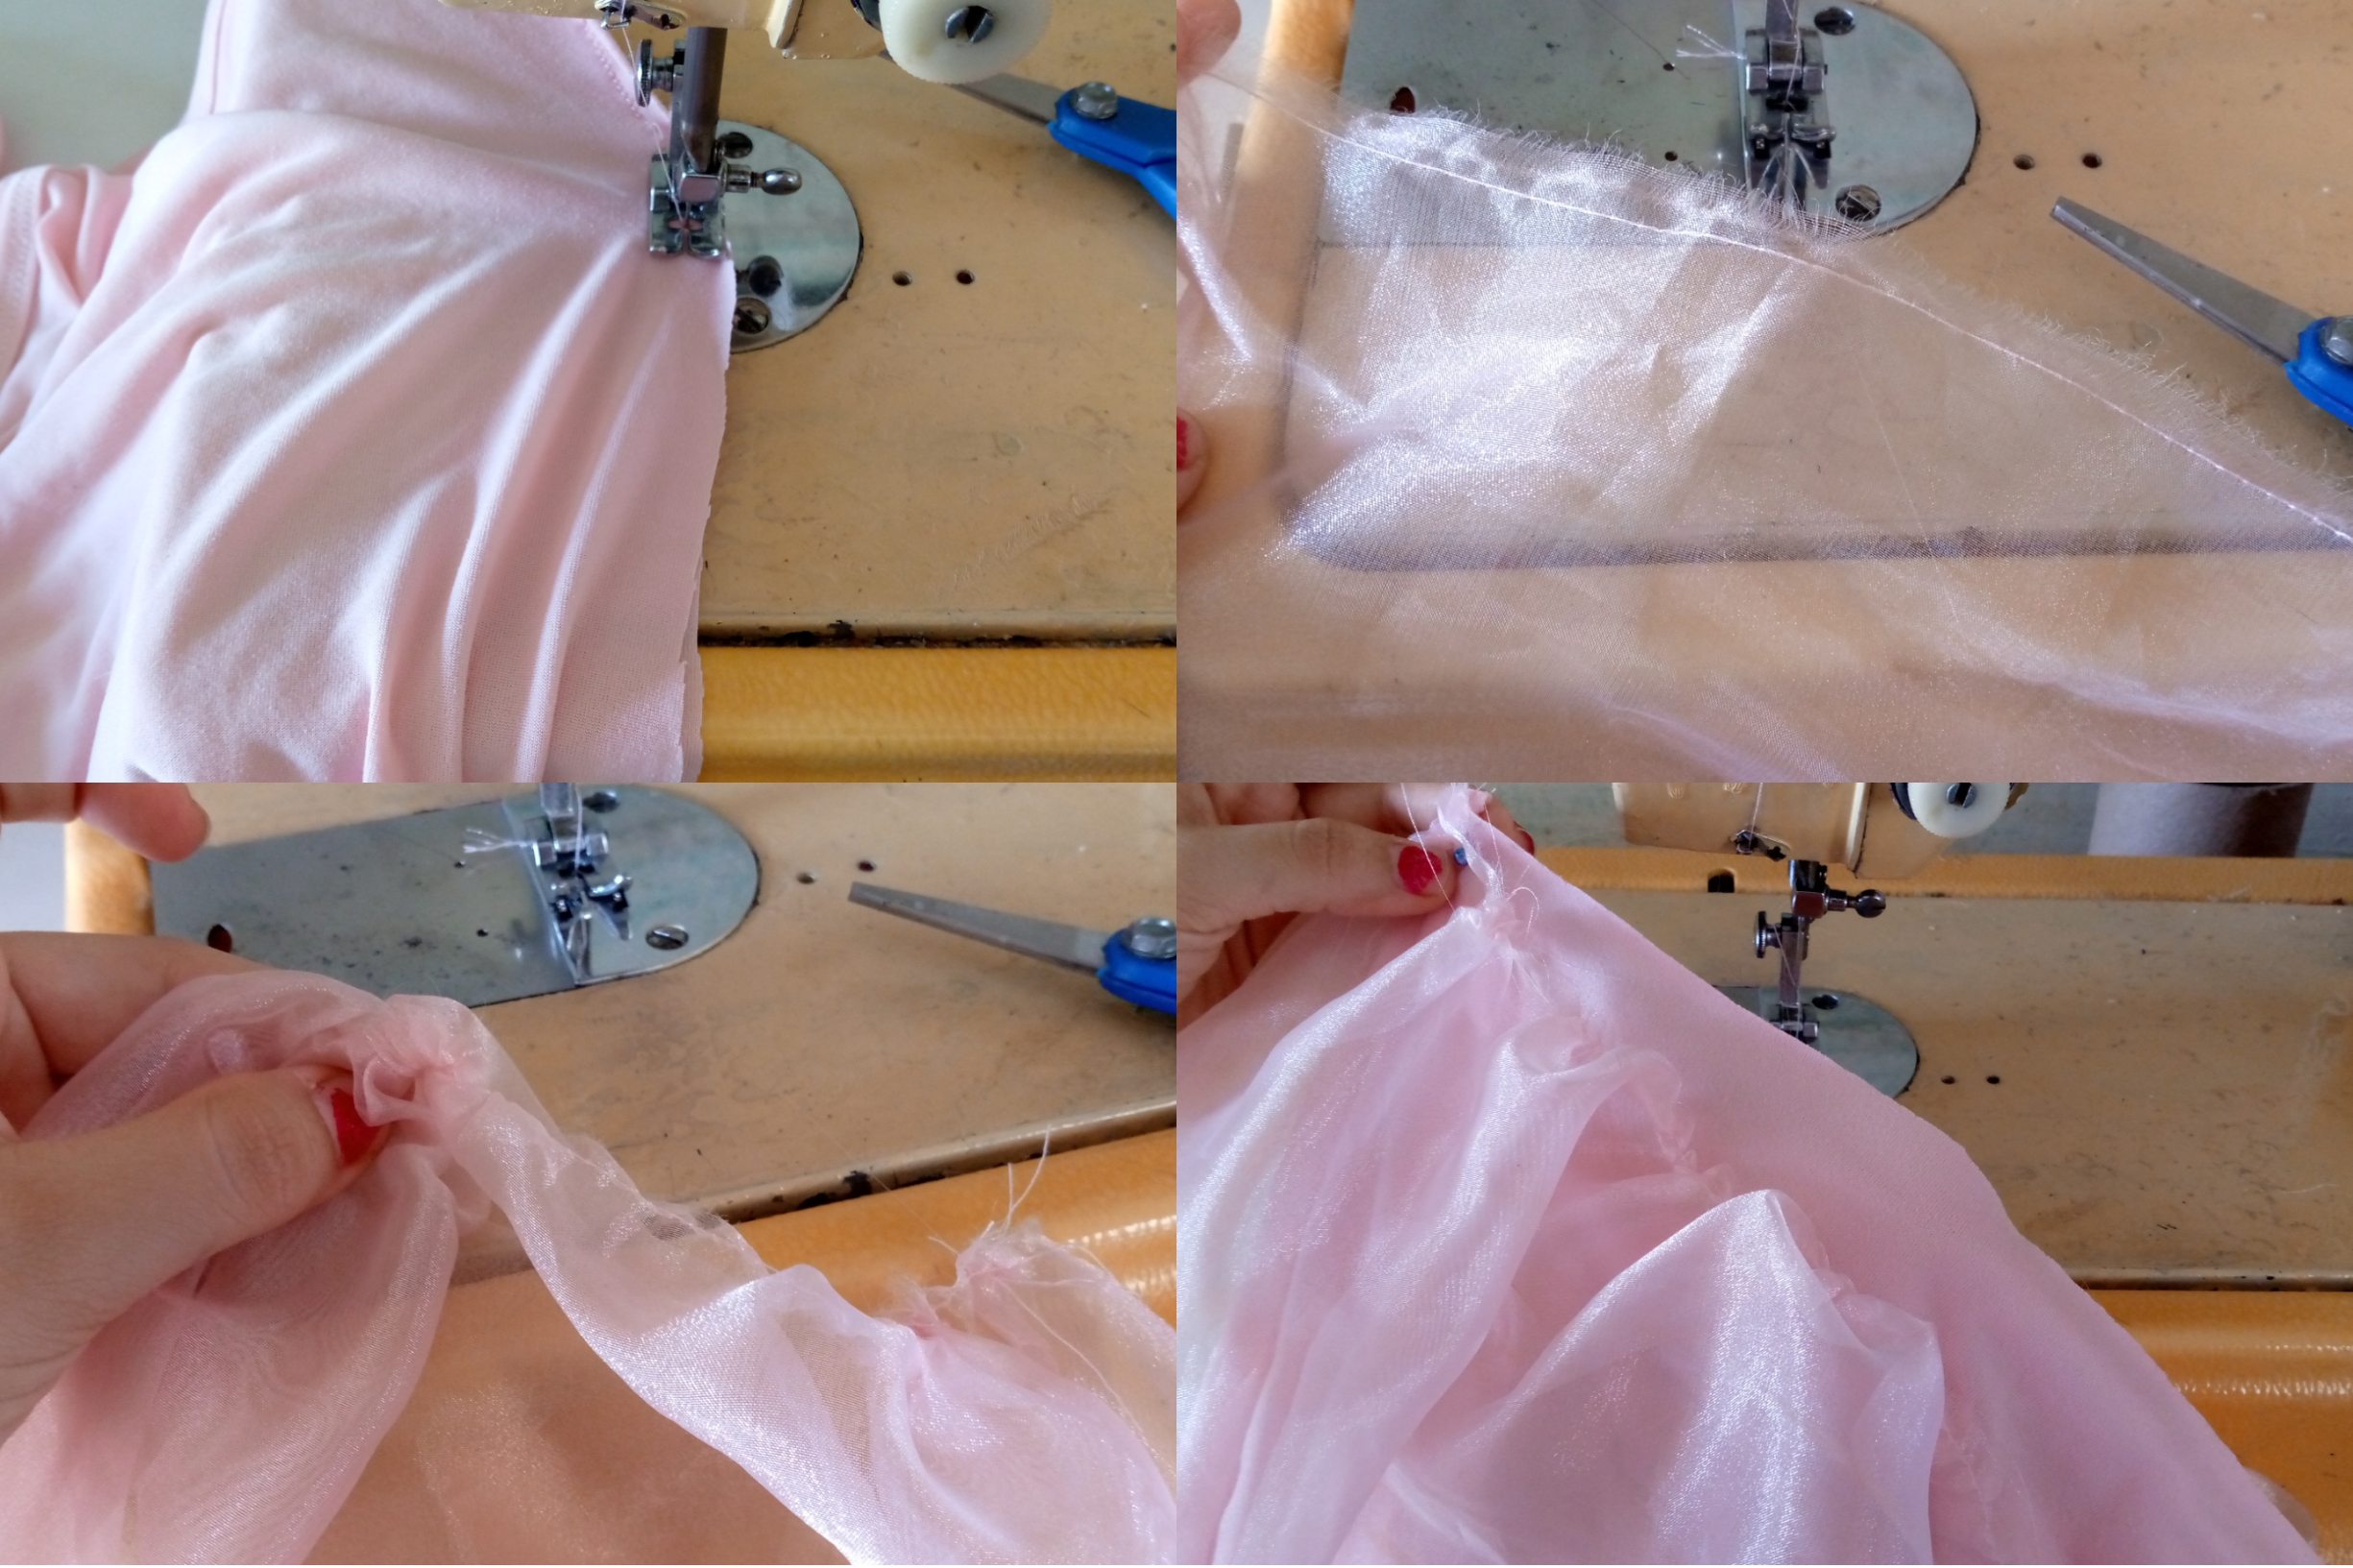
Después de tener la pieza armada procedemos a coser nuestro forro para este usé como dije anteriormente una camisa que ya no me servía este tiene las siguientes medidas 50 cm de ancho x 36 cm largo ,una vez lo realicemos vamos a hacer una costura recta y floja por toda nuestra falda esto nos servirá para fruncir la tela ,despues lo cosemos con la máquina uniendo esa pieza con nuestro forro.
Paso 03
Una vez unido nuestras piezas con la máquina vamos a cortar un rectangulo que será la pieza de nuestra cintura de la falta este tiene las siguientes medidas 70 cm de ancho x 12.5 cm largo,empatamos la pieza y la cosemos al tutú con el forro por alli es por donde insertaremos el elástico dejando una pequeña abertura.
Paso 04
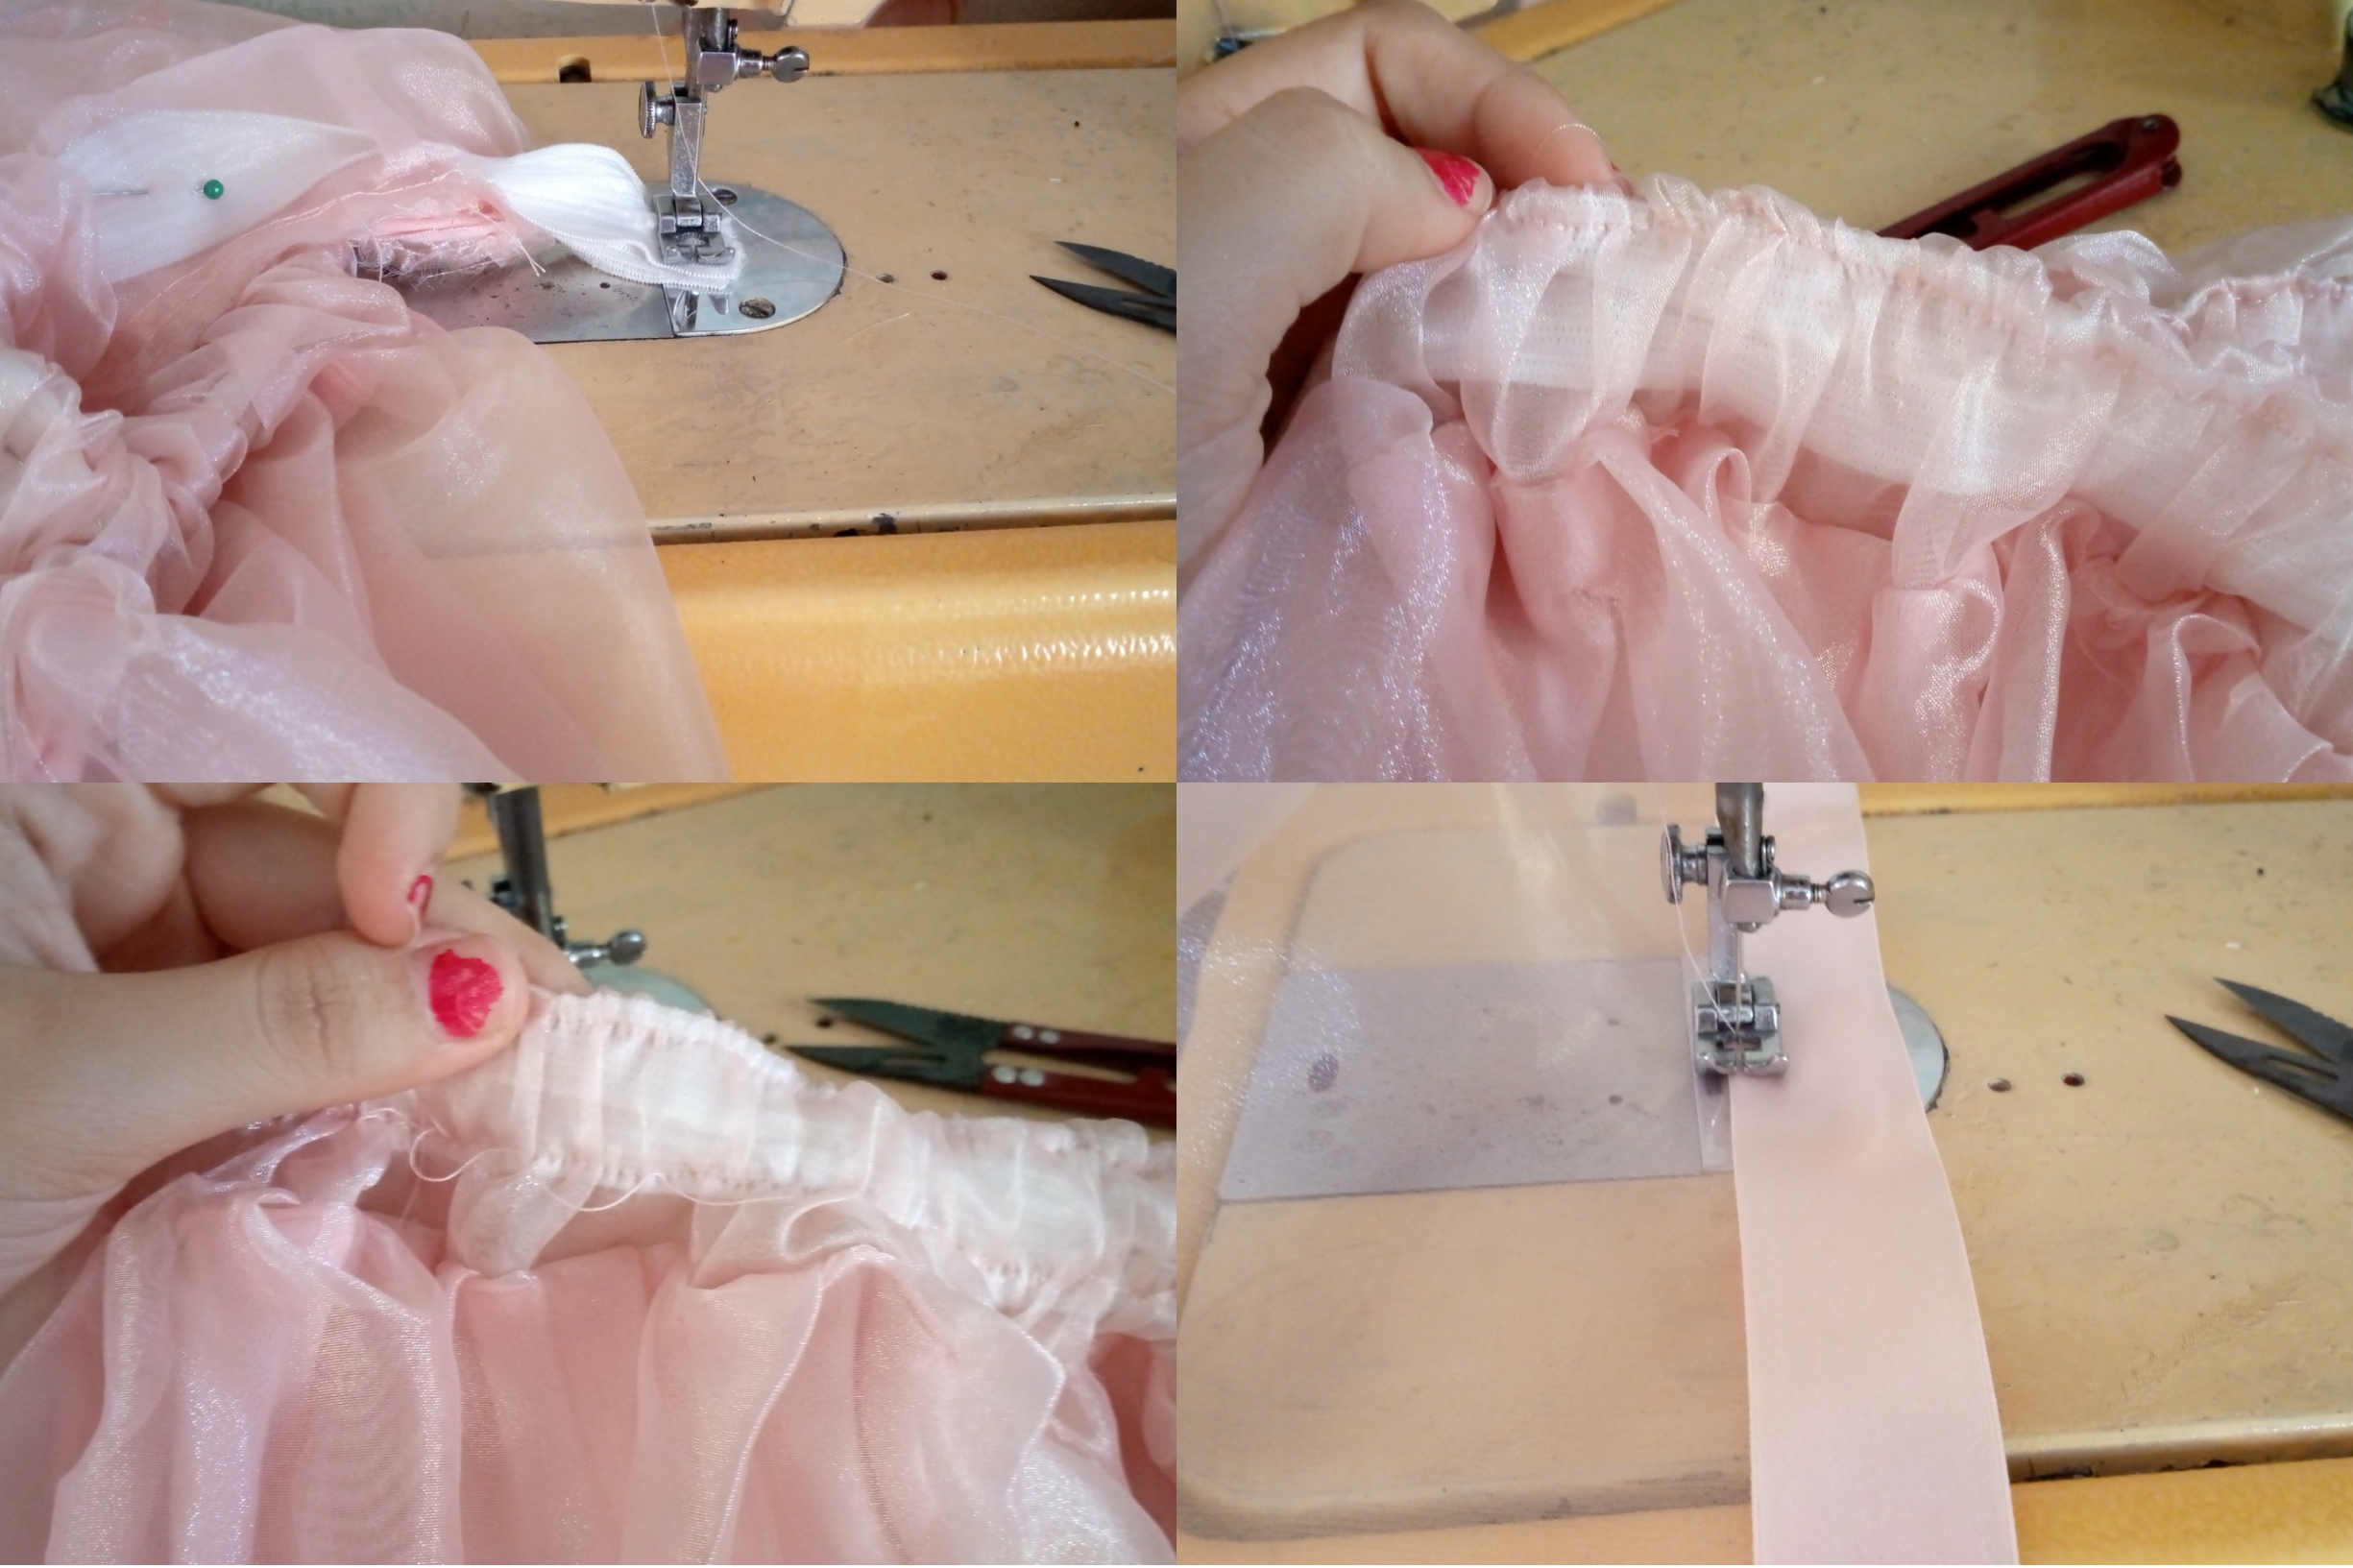
Como último y sencillo paso procedemos a insertar por nuestra cintura nuestro elástico aquí depende los cm que ustedes le pongan o tenga la cintura la niña yo le coloqué 40 cm ,una vez insertada la sellé con una costura para que no se soltara y la repisé por encima con doble costura para que el elástico no se doblara ,y listo!.
Resultado!
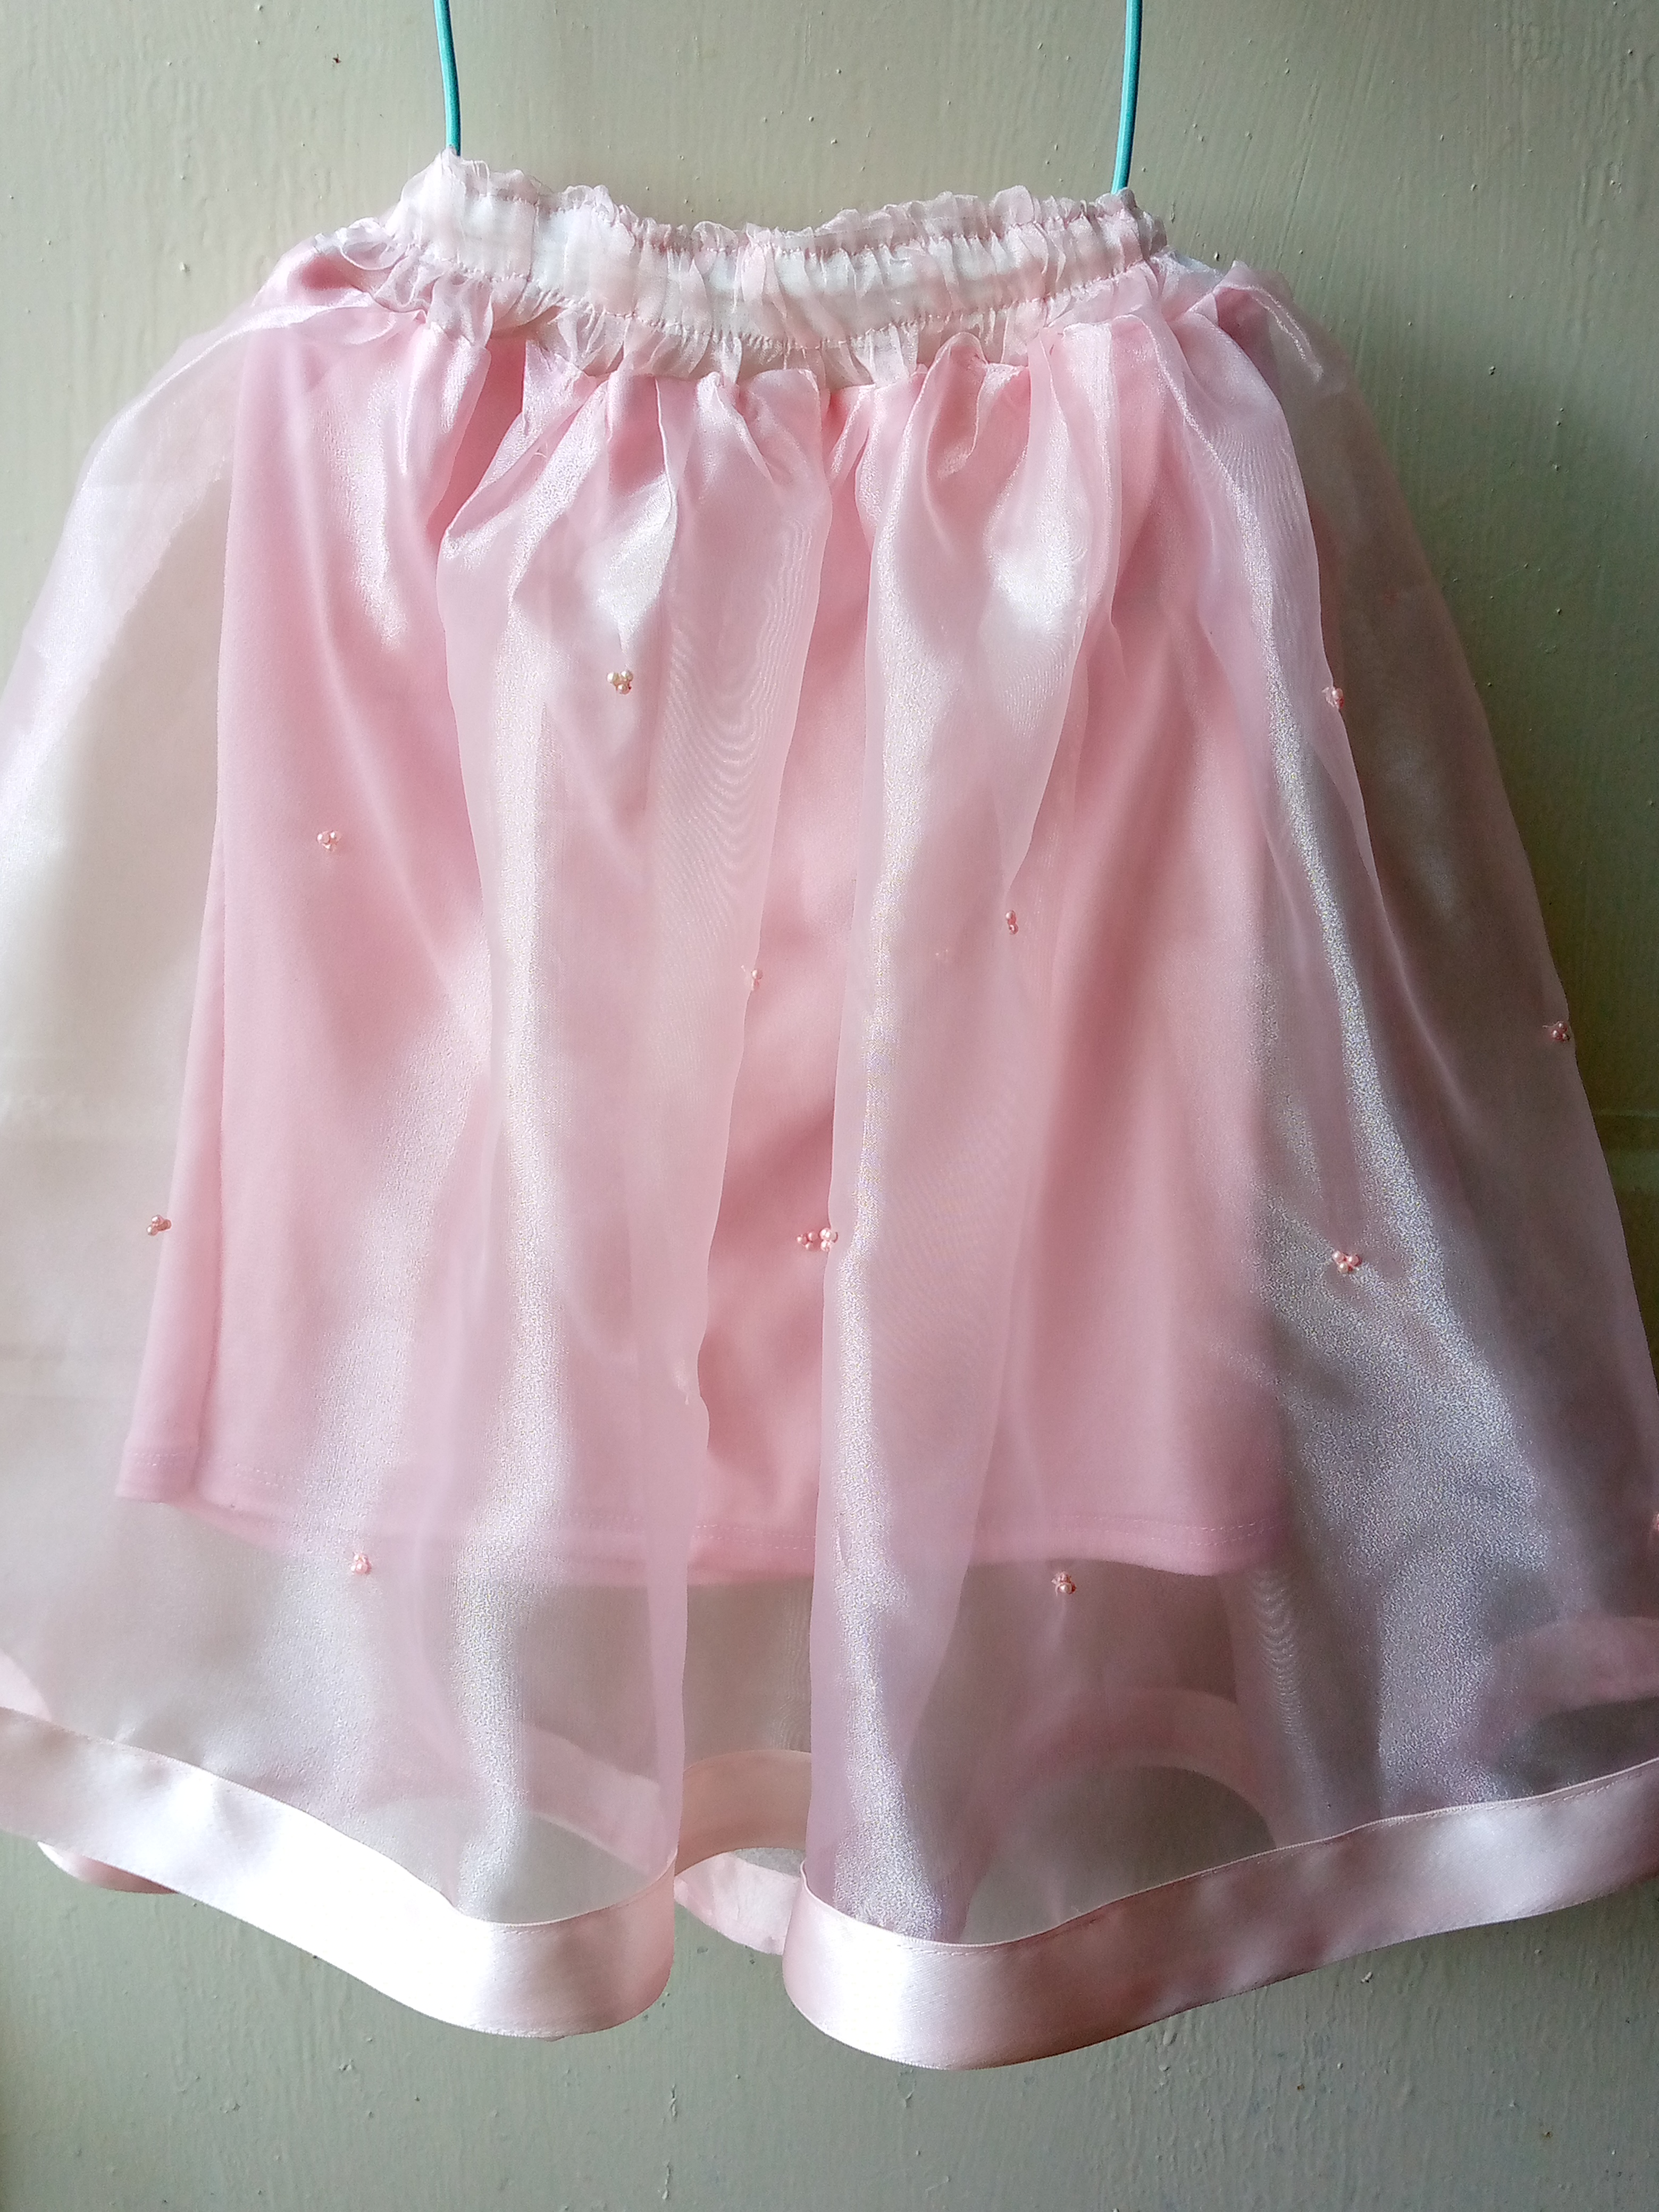
Cuando ya la terminé la planché y le coloqué unas perlitas rositas ustedes pueden colocarlas como más gusten yo decidí ponerselas intercaladas para que no se viera sobrecargada asi quedó sencilla y bonita,espero les haya gustado amigas ,a mi me encantó como quedó, gracias por leer mi blog y les deseo una maravillosa semana nos vemos en otro trabajo tutorial adiós mis amores de está linda comunidad. ❤️❤️


Hello my dear sewing lovers, I hope you are having a great day. Today I bring you a cute and simple tutu for the girls of the house. This one I made is for an 8-year-old girl. It is made with organza fabric. Organza is A very delicate and fragile fabric, I recommend sewing it carefully so as not to lose our work.
This tutu can be used by the girls of the house for their fancy dress dances and any situation that requires wearing it. I didn't use a lot of fabric since she tends to look very armed and so that she wouldn't look like that, in my case I used 2 meters. and a little less, for the lining I recycled a shirt and put it on, you can do it however you like, friends, the important thing is that our work turned out nice and delicate, so let's do it.

Materials:
- Organza or silk fabric
- Thread
- Scissors
- Sewing machine
- Pink decorative pearls
- Elastic
- Pink satin ribbon
(Steps to follow.)
Step 01
To begin, we are going to cut 200 cm wide of Organza fabric (2 meters) x 48 cm long, and with our machine we are going to sew or tie the square then we grab a small hem at the bottom.

Step 02
After having the piece assembled, we proceed to sew our lining for this. As I said before, I used a shirt that no longer fit me. This one has the following measurements: 50 cm wide x 36 cm long. Once we do it, we are going to make a straight and loose seam. Throughout our skirt this will help us gather the fabric, then we sew it with the machine joining that piece with our lining.

Step 03
Once our pieces are joined with the machine, we are going to cut a rectangle that will be the piece of our missing waist. This has the following measurements: 70 cm wide x 12.5 cm long. We tie the piece and sew it to the tutu with the lining there. This is where we will insert the elastic, leaving a small opening.

Step 04
As a last and simple step, we proceed to insert our elastic through our waist. Here it depends on the cm that you put on it or the girl's waist size. I placed 40 cm on it. Once inserted, I sealed it with a seam so that it would not come loose and I repackaged it. on top with double stitching so that the elastic does not bend, and that's it!.

¡Result!
When I finished it, I ironed it and added some pink pearls. You can place them however you like. I decided to put them interspersed so that it wouldn't look overloaded. So it turned out simple and pretty. I hope you liked it, friends. I'm delighted with how it turned out. Thank you for reading my blog and I wish you a wonderful week, see you in another tutorial work, goodbye my loves from this beautiful community. ❤️❤️

0
0
0.000
Wow, such a cute skirt
I like how you added the pink pearls to it
This is pretty
Gracias si está muy lindo 😊💖💖
Hermoso y delicado, gracias por compartir.
Es demasiado lindo y delicado, parece un algodón de azúcar. Gracias por compartir.💖
Ains gracias hermosa 🥰
Congratulations @anne002! You have completed the following achievement on the Hive blockchain And have been rewarded with New badge(s)
Your next payout target is 100 HP.
The unit is Hive Power equivalent because post and comment rewards can be split into HP and HBD
You can view your badges on your board and compare yourself to others in the Ranking
If you no longer want to receive notifications, reply to this comment with the word
STOPCheck out our last posts:
¡Felicitaciones!
1. Invierte en el PROYECTO ENTROPÍA y recibe ganancias semanalmente. Entra aquí para más información.
3. Suscríbete a nuestra COMUNIDAD, apoya al trail de @Entropia y así podrás ganar recompensas de curación de forma automática. Entra aquí para más información sobre nuestro trail.
4. Creación de cuentas nuevas de Hive aquí.
5. Visita nuestro canal de Youtube.
Atentamente
El equipo de curación del PROYECTO ENTROPÍA