BATTLE MAGE SECRETS Explosive Weaponry: Flesh Golem Tanks Its Way To Victory
Thumbnail for the weekly challenge provided by @splinterlands
Ahoy my fellow Splinterlands players and welcome to another one of my weekly Battle Mage Secrets posts.
The featured ruleset for this week's challenge is Explosive Weaponry. With this ruleset active all Monsters gain the Blast ability and will be able to damage Monsters adjacent to the ones they attack.
You can recognise this ruleset with the following icon.
This ruleset allows all your Monsters to damage 2 or 3 Monsters at once because adjacent Monsters will be damaged as well. It can be smart to divide your ways of attacking. Having Monsters with Opportunity, Sneak and Scattershot has the potential to really damage your enemies a lot thanks to the Blast ability.
One great ability to prevent this Blast damage from hitting your adjacent Monsters is the Reflection Shield ability. It can be great to have a Taunt Monster at the back with a Monster Reflection Shield next to it to prevent your backline from being hit. Of course still have to be mindful about Scattershot as that won't be forced to attack the Taunt.
The battle I will be sharing for this week's post is from a tournament this past week. It was from the Gauntlet Wild Bronze Invitational Tournament against the player st-mage.
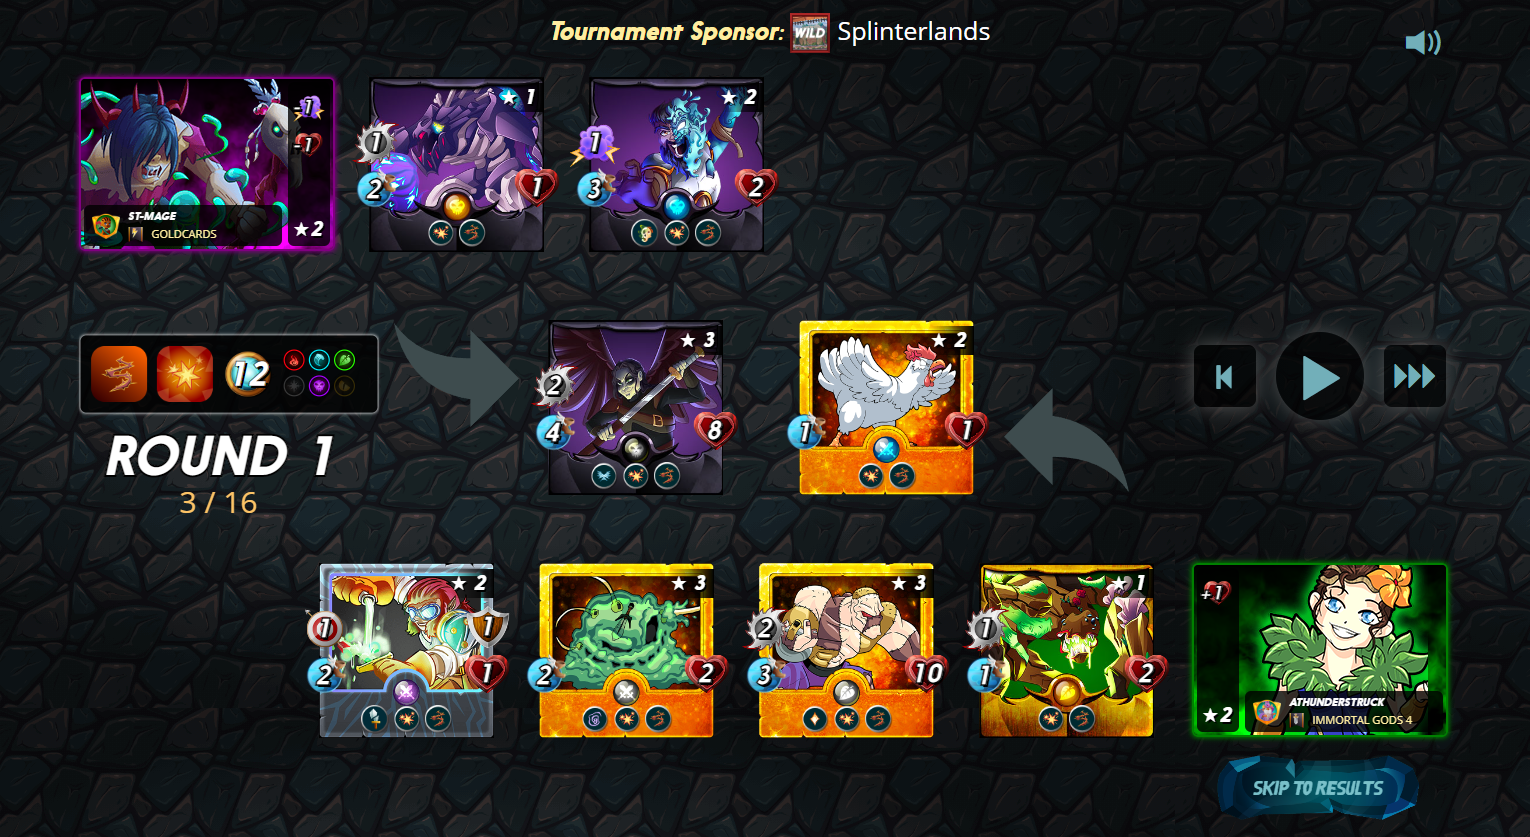
Here is a picture of our initial lineup.
Battle Rules
This was a low mana battle with a Mana Cap of just 12. The Fire, Water, Earth and Death Elements were available. It had 2 rulesets:
- Briar Patch: All Monsters have the Thorns ability.
- Explosive Weaponry: All Monsters have the Blast ability.
Here is a link to the battle if you want to check it out: https://splinterlands.com?p=battle&id=sm_UBW1UzKo60bQ0N0LZdVI&ref=athunderstruck
Battle Lineup
Well in a battle like this I would most likely go for Mylor Crowling to provide Thorns to my team and run with a similar team as I did now. Because with the low mana you can't run a lot of Magic attack Monsters and even less Ranged attackers. The Briar Patch ruleset already provides the Thorns though so instead I decided I will use Lyanna Natura as my Summoner to provide +1 Health to all my Monsters for longer survivability.
Apart from the Summoner I still run basically the same team as I would've picked with Mylor Crowling.
I place the Furious Chicken up front because I want to make sure that with the Blast ability my Halfling Alchemist isn't going to be attacked fast. As second I placed Fungus Fiend that could get hit by the first Blast damage. Its survival will depend on the damage my opponent does.
My main tank and part of the key to victory is up next. The Flesh Golem! High health and it has Heal so he can stay alive for much longer. Not the greatest pick with the Thorns of course as he'll always damage himself but with such low Mana he is definitely a more solid pick despite the Thorns as he has high Health and Heals himself.
Then I have the Creeping Ooze with the Slow ability to reduce my opponents Speed making it more likely for my Flesh Golem and Halfling Alchemist to attack.
This brings me to the last Monster in my lineup, the Halfling Alchemist. I'm bringing it in case my opponent also has a high health tank then my Halfling Alchemist can halve its damage. Which should help my Flesh Golem with staying alive.
Battle Analysis
My opponent did also bring a high health Melee Monster as their tank. They didn't fill up their frontline with a Furious Chicken and Fiend though to tank the first hits. They placed their Corpse Fiend behind the tank to protect their Life Sapper. With their Summoner they take away the Health that my Summoner provided. The minus Magic damage from their Summoner doesn't affect me.
The battle starts with their Pelacor Deceiver hitting my Furious Chicken and killing it. It deals 1 damage to my Fungus Fiend with the Blast. The Fungus Fiend stays alive because it had 2 Health and took only 1 damage from Blast. This is thanks to the +1 Health from Lyanna countering the -1 Health from my opponents Thaddius. Pelacor Deceiver damage itself on the Thorns.
Life Sapper kills my Fungus Fiend and deals 1 Blasted damage to my Flesh Golem. Who doesn't get to attack because my Creeping Ooze made the Life Sapper 1 Speed slower than my Flesh Golem.
Then my Halfling Alchemist hits the Pelacor Deceiver, causing its Melee attack to get halved from 2 to 1. With the blast it kills the Corpse Fiend. My Creeping Ooze's slow might have helped here to make it more likely for my Halfling Alchemist to hit.
In round 2 the Pelacor Deceiver hits me and takes Thorns damage. Then my Flesh Golem heals back to full health before hitting the Pelacor Deceiver for 2 more damage and taking 2 damage from Thorns. Life Sapper hits my Flesh Golem now and kills the Creeping Ooze. My Halfling Alchemist has the chance to kill Pelacor Deceiver but it ends up missing!
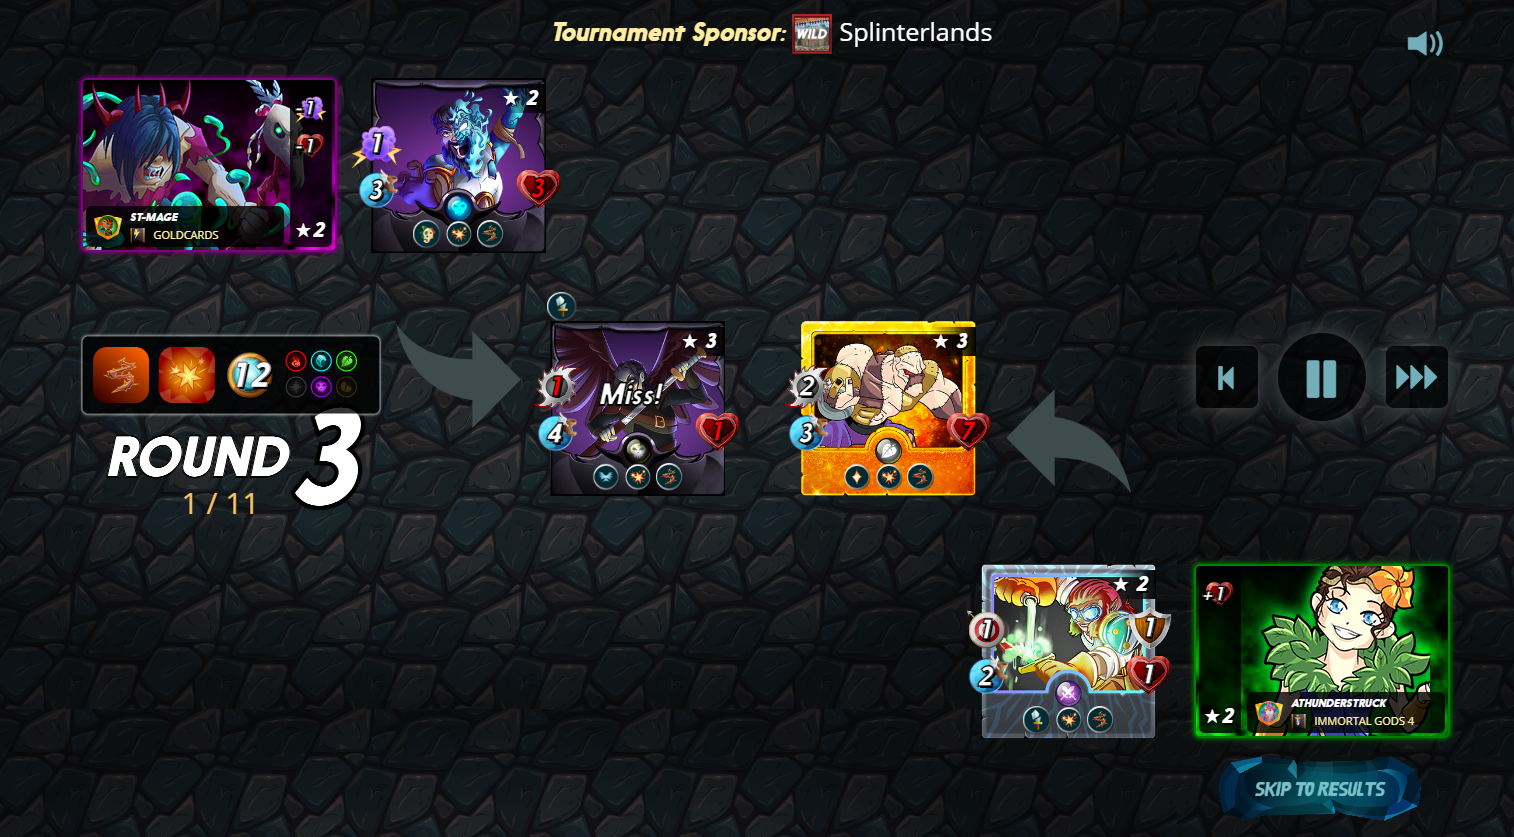
So yeah earlier the Creeping Ooze may have definitely helped it to hit that Pelacor Deceiver by slowing its Speed by 1.
Well not bad though now round 3 starts and Pelacor Deceiver attacks my Flesh Golem and with that attack it kills itself on the Thorns. The Blast breaks my Halfling Alchemist's Armor. Which doesn't matter though cause the opponents Life Sapper would kill it anyway with the blasted Magic damage.
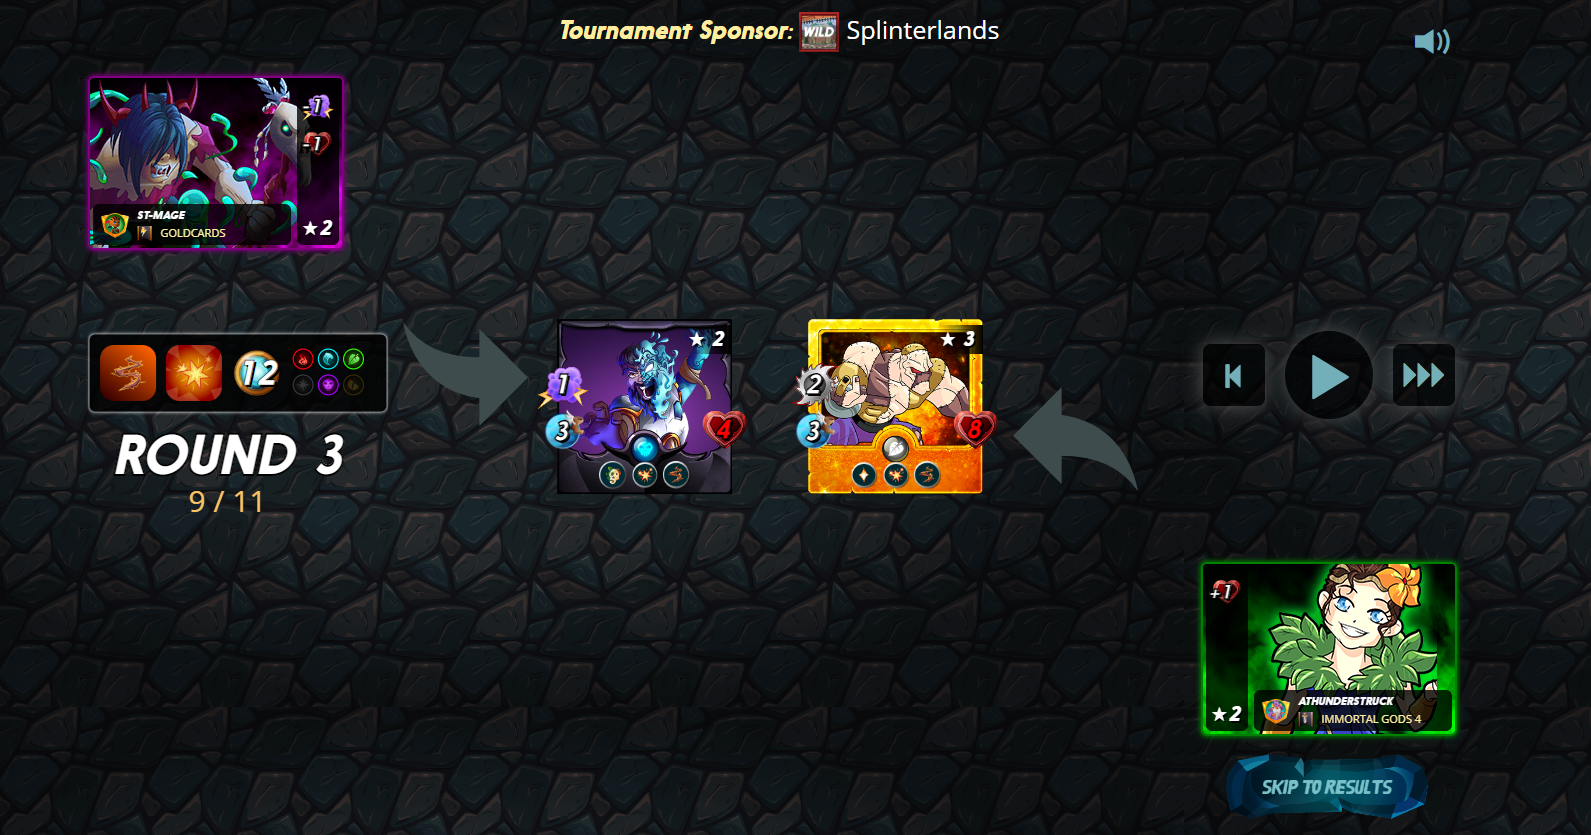
At this point it's just the Life Sapper against my Flesh Golem. Life Sapper won't be taking any damage from Thorns so it has that advantage, and it gains +1 Health every turn from the Life Leech. However my Flesh Golem deals 2 damage per turn so it'll slowly take out the Life Sapper.
My Flesh Golem does take that 2 Thorns damage per turn. But he heals for 3 Health per turn. So the combination of 1 Damage from Life Sapper and 2 damage from Thorns is covered by healing for 3 Health.
Which means at this point the victory is secured! It'll just take a few more rounds because I essentially only do 1 damage per turn.
Was My Strategy Successful?
Yes it was a great strategy! I would've normally played Mylor Crowling in a battle like this but since there was already Thorns it was great to play Lyanna Natura instead. It could have made a small difference.
The difference it could've made is. Without Lyanna my Monsters' Health would've been -1 because of Thaddius Brood. Which would mean my Fungus Fiend and Creeping Ooze would go down to 1 Health and thus both would die to a single Blast. This means my Creeping Ooze would've died before Halfling Alchemist could do its 1st attack and as we saw this battle once the Creeping Ooze was dead the Halfling Alchemist missed against Pelacor Deceiver! If that had happened then the Pelacor Deceiver would've still died at the same time if my Flesh Golem always hit it. But the difference is my Flesh Golem would've taken more damage as the Pelacor would've remained at 2 Melee attack. With the high health and Heal on the Flesh Golem I would've still won though so it would've just been a small difference.
Conclusion
It was a great lineup that I would normally play with Mylor Crowling to provide the Thorns but fun to use Lyanna Natura here. My opponent countered my Summoner well because they took away the 1 Health that mine provided. The Flesh Golem's Heal was too strong for my opponent to stand a chance at winning against me in this battle.
I ended up 17th place in that Tournament with 15 Wins, 5 Losses and 1 Draw. 1 win away from a top 16 unfortunately but still a pretty good finish.
That's it for my Battle Mage Secrets challenge this week. Thank you for reading!
If you haven't signed up for Splinterlands yet and want to check it out, you can do so with my referral link at: https://splinterlands.com?ref=athunderstruck
Do you know you can win a Chaos Legion pack and many other things just by following some simple steps ?? Check out our Latest Daily Showcase and Participate our latest Giveaway. Thanks
Thanks for sharing! - @alokkumar121
