Step toward Boom journey through one's hair(En/
Hello hair lovers, greetings to you all on this beautiful day, it is amazing I found this community, and I hope I am welcomed in.
I want to share with you how to make hair using boom(an attachment), I wasn't able to capture how I made the weaving as my phone has been off due to the absence of a power supply for some days which prompted me to charge out. But right here, I will show you other captures of my work on the hair.
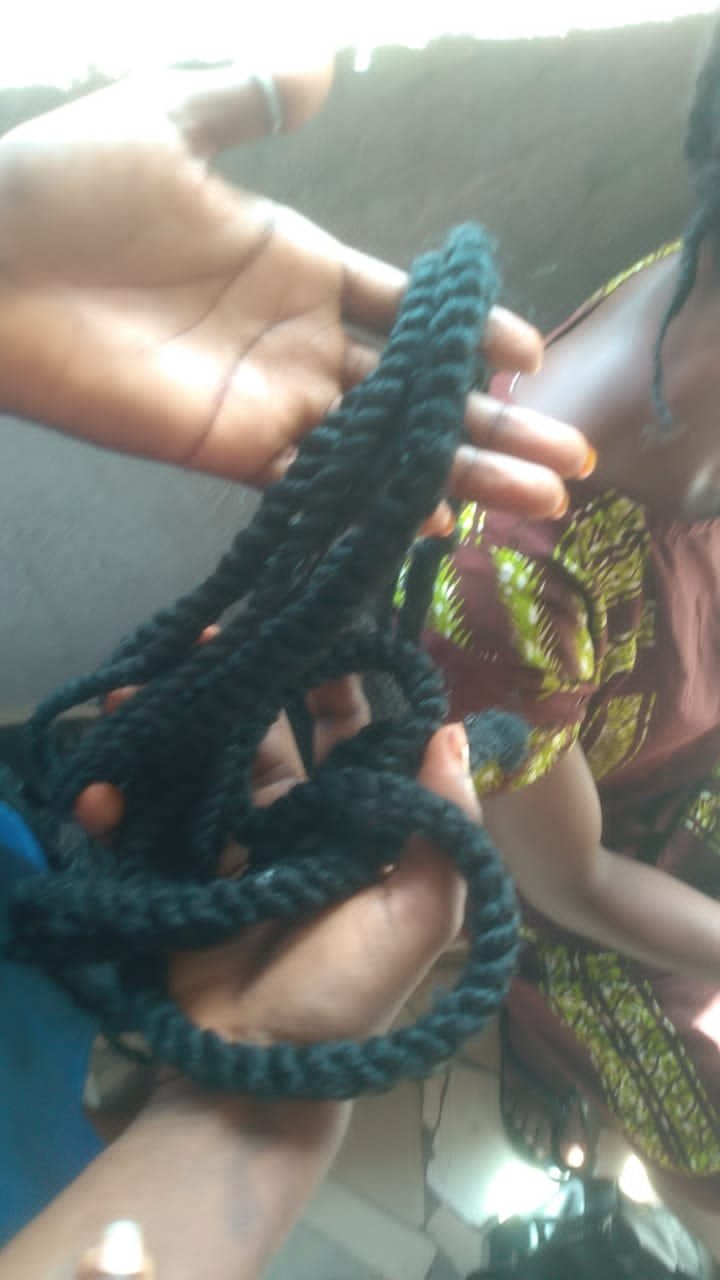
Though, I wasn't able to take a picture of the boom pack because the woman's children had gone to play with it but below are some of the booms on my hands.
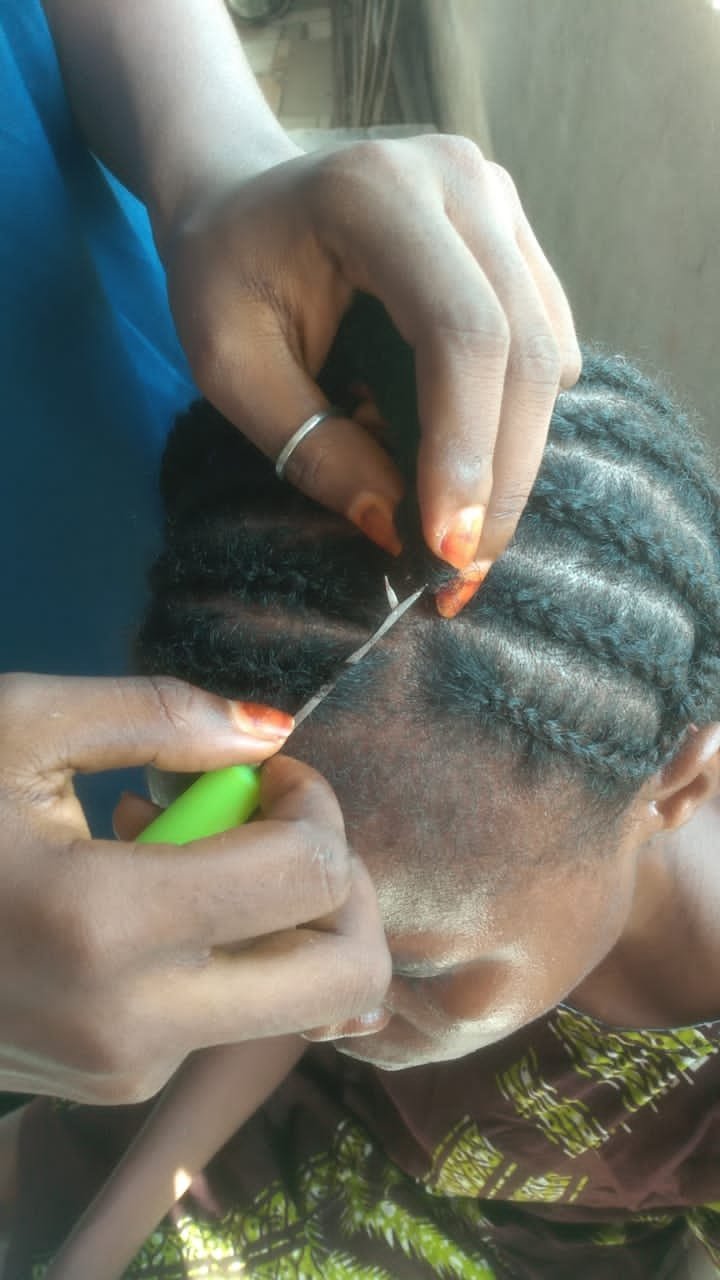
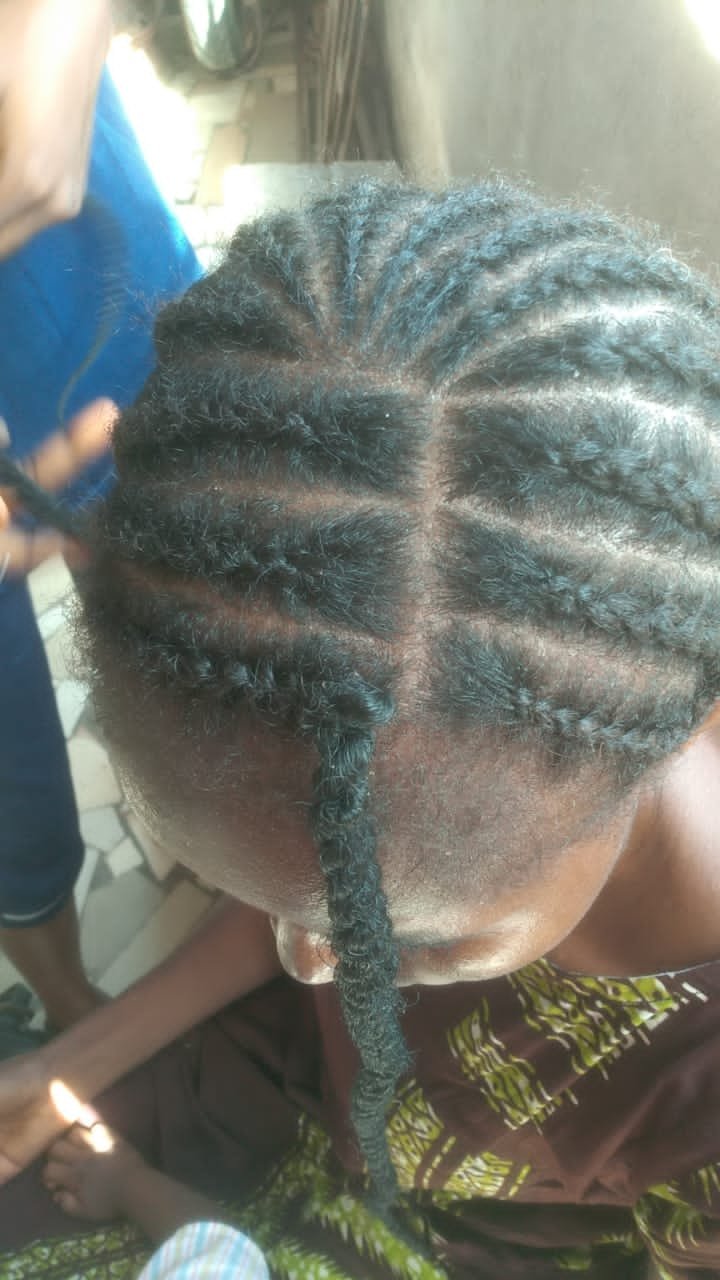
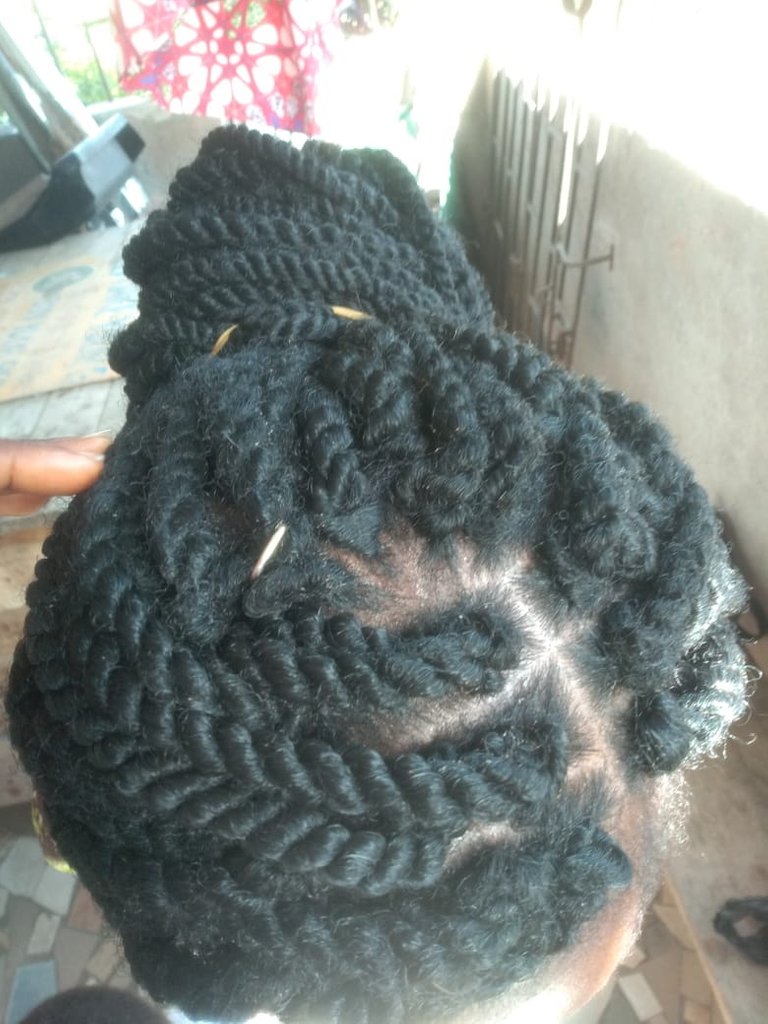
My phone was brought in when I was at the tip of the hair, almost through with the weaving which can be seen below.

And this too.
Making a boom is easy and it doesn't take much of one's time as long as you have finished the weaving, also many partings can be used when fixing the boom and I made use of the half-cutting slanted part which the woman suggested.
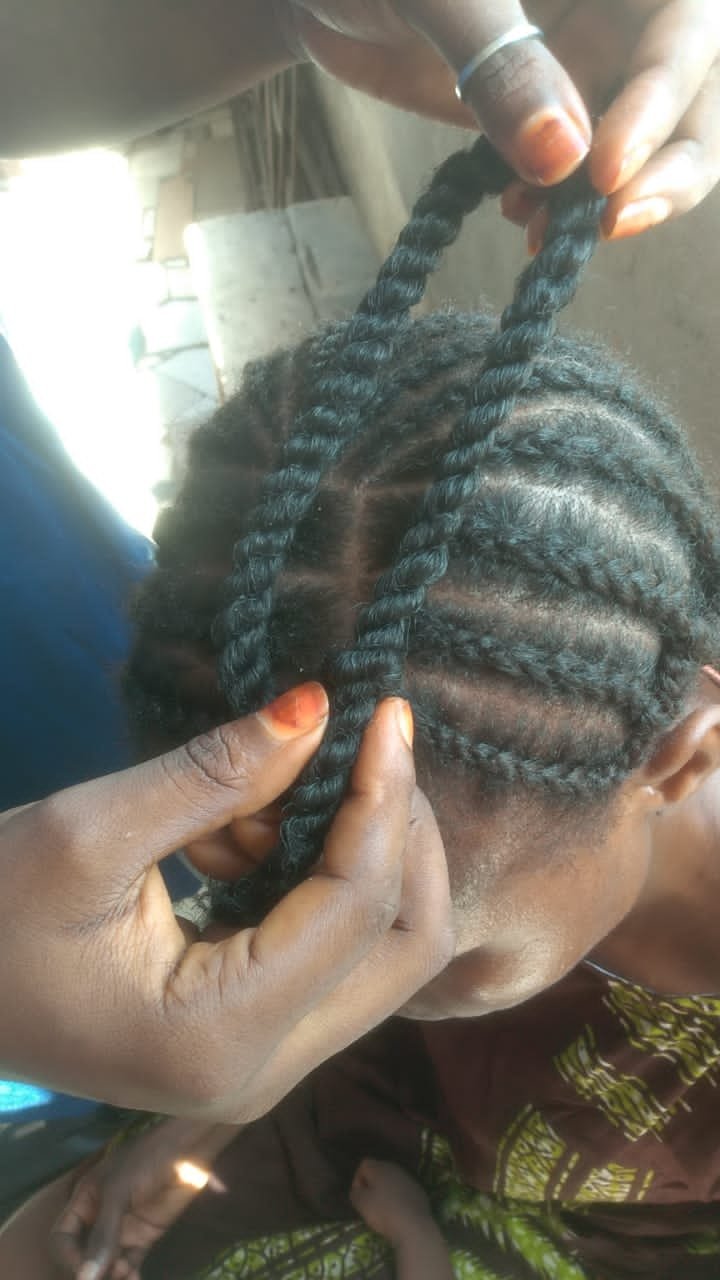
I started the hair by making use of my crochet pin which is to be put inside each weaving to draw in the boom which can be seen here.
Each roll has to be fixed before moving to another until the hair ends and to achieve this, the crochet pin has to go inside each weaving, and then the tip of the boom is placed on the crotchet pin then you'd clip it and draw out the pin alongside the boom also. And here is a picture of the first attempt.
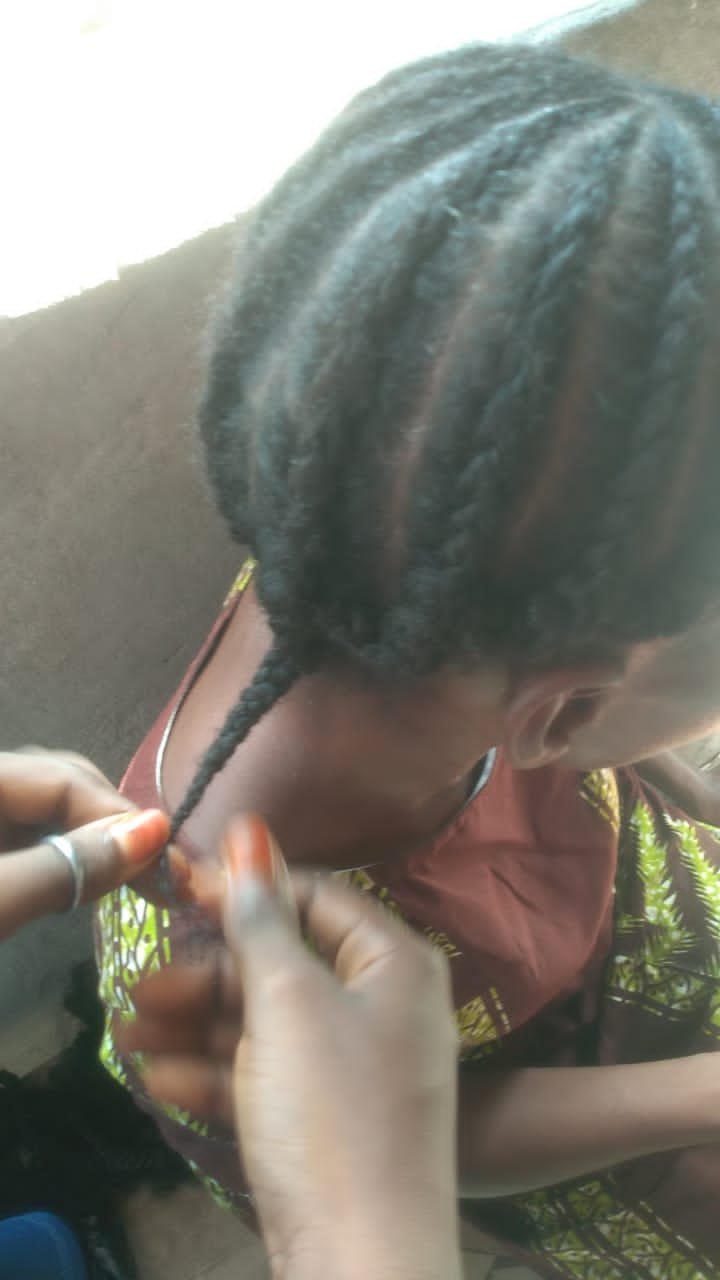
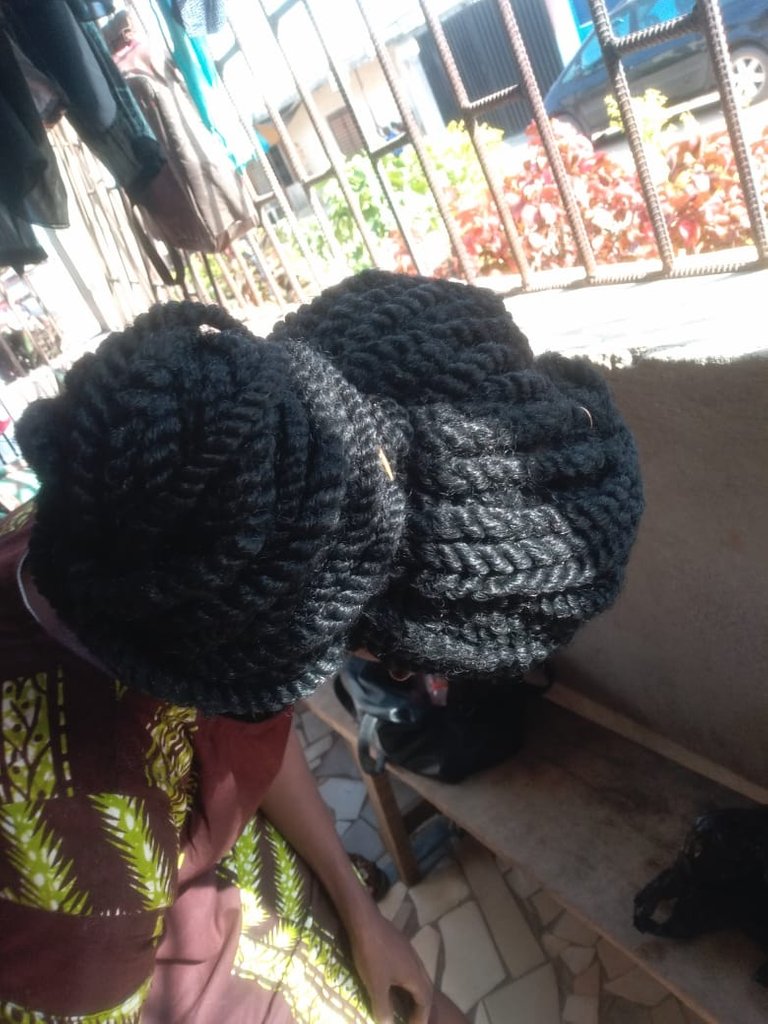
After that, I continued my work on each roll non-stop, mostly because I don't like to be disturbed when working hehe. And before we all knew what was happening, I finished up the hair and took another capture before packing here.
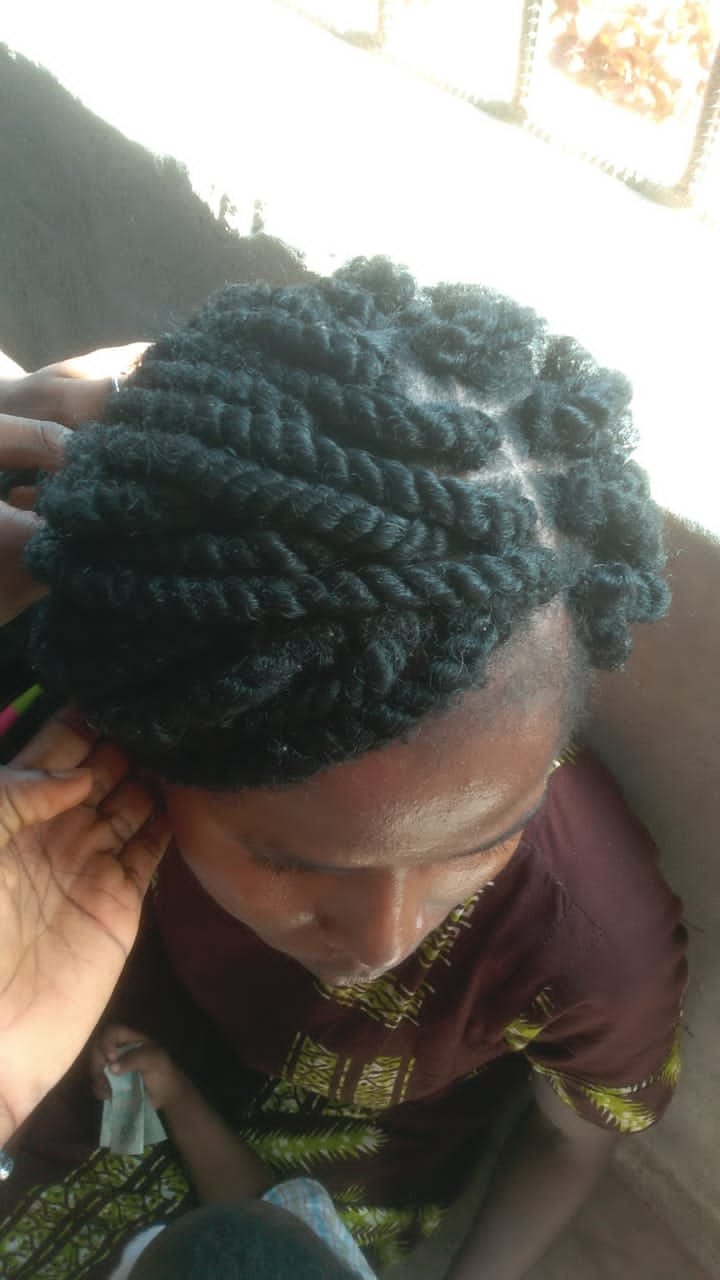
And here is a picture of the finished part which has been mildly packed.
And this too.
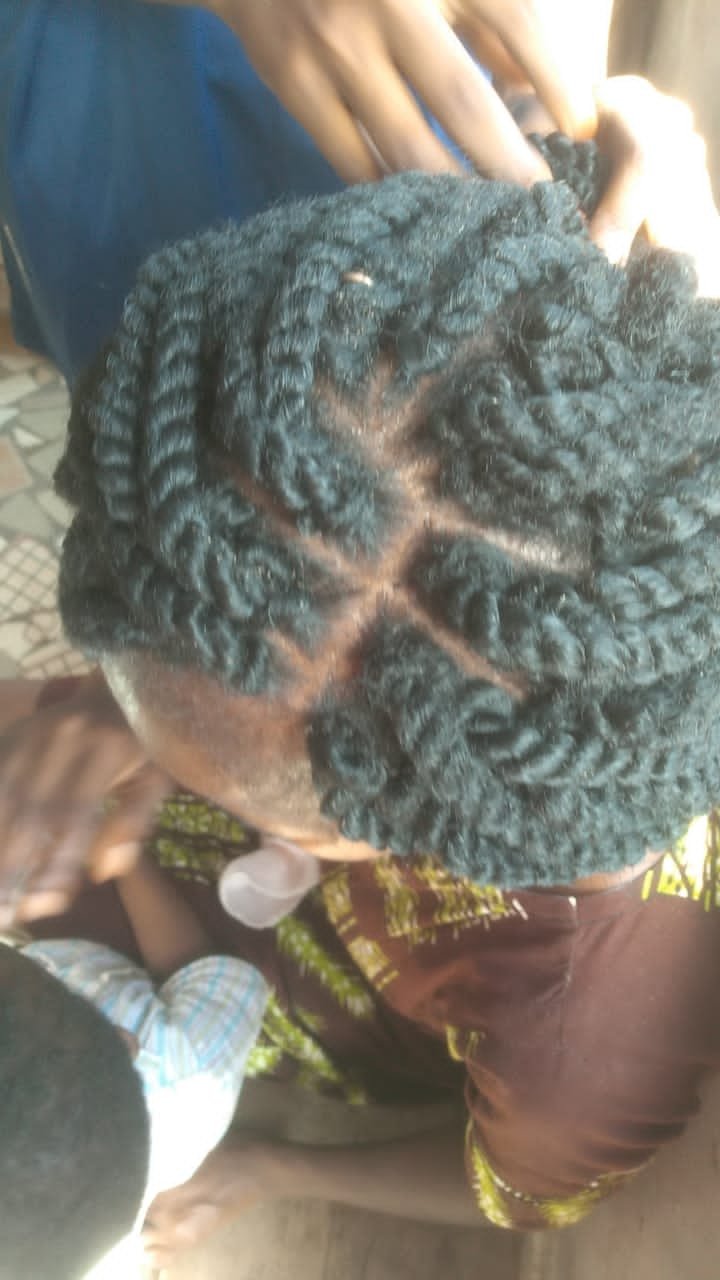
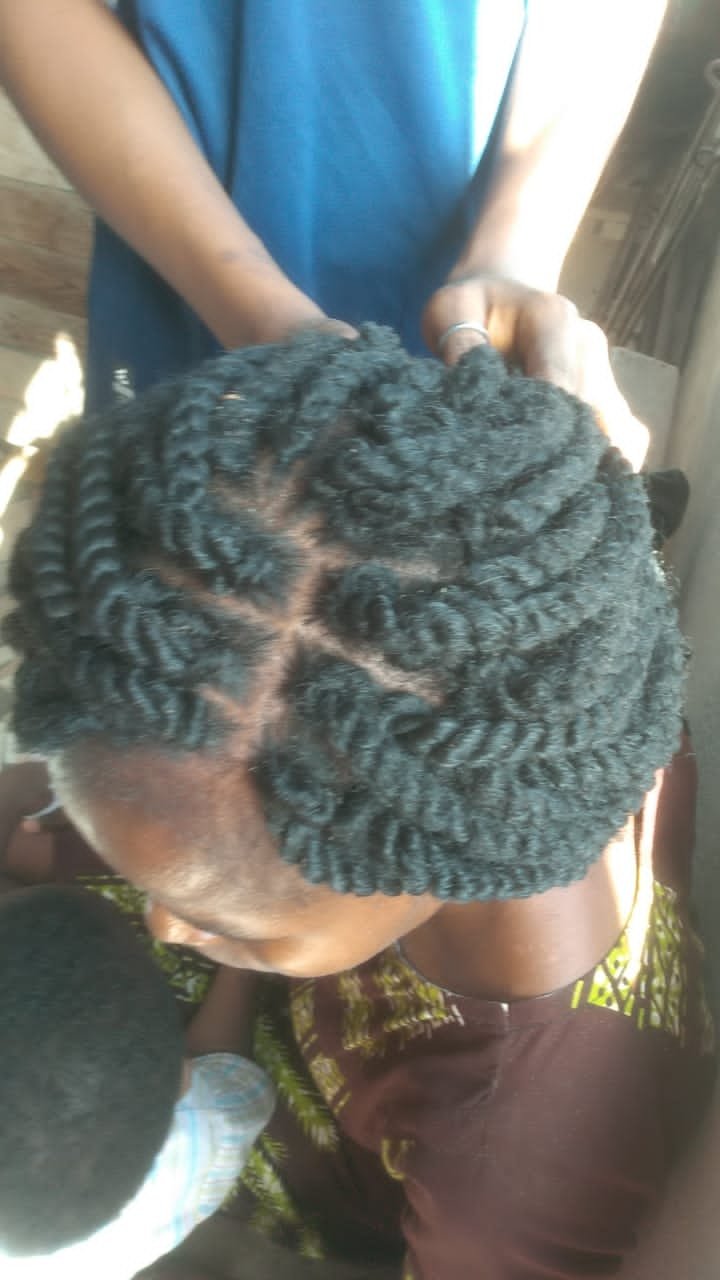
After that, I decided to pack it all up using the band given to me by her, and below is the finished look of it
And another showcasing the back of the hair which was rolled together.
And here is where I stopped taking any more shots, her baby daughter had a runny nose so she had to take him to the pharmacy so they will prescribe her daughter some drugs to be used which made me stop working more on it as the store closed when it is noon.
I hope you were able to learn a thing or two while scrolling through. Hopefully, I will get to drop a step-by-step process to another hair-making journey, and maybe this time not with Boom. Hehe or maybe with it, who knows.😁😁
Still yours truly,
Balikis.
Thanks for tuning in and reading.
Seasons greetings to you and your loved ones and have an amazing day!
All images used are mine
Peace be unto those who crave and more to those who chase it away.
•(ESP)
Hola amantes del cabello, saludos a todos en este hermoso día, es increíble que haya encontrado esta comunidad, y espero que me den la bienvenida.
Quiero compartir con ustedes como hacer el cabello usando boom(un aditamento), no pude capturar como hice el tejido ya que mi teléfono ha estado apagado debido a la ausencia de una fuente de poder por algunos días lo que me llevó a cargarlo. Pero aquí mismo, os mostraré otras capturas de mi trabajo en el pelo.
Aunque, no pude tomar una foto del paquete de plumas porque los hijos de la mujer habían ido a jugar con él pero abajo están algunas de las plumas en mis manos.
IMG-20221214-WA0011.jpg]()
Mi teléfono fue traído cuando estaba en la punta del cabello, casi a través con el tejido que se puede ver a continuación.
Y esto también.
Hacer una botavara es fácil y no lleva mucho tiempo, siempre y cuando se haya terminado de tejer, también se pueden utilizar muchas piezas a la hora de fijar la botavara y yo hice uso de la pieza inclinada a medio cortar que me sugirió la mujer.
IMG-20221214-WA0019.jpg]()
Comencé el pelo haciendo uso de mi alfiler de ganchillo que se debe poner dentro de cada tejido para dibujar en el auge que se puede ver aquí.
Cada rollo tiene que ser fijado antes de pasar a otro hasta que el pelo termine y para lograr esto, el alfiler de ganchillo tiene que ir dentro de cada tejido, y luego la punta de la pluma se coloca en el alfiler de ganchillo luego se engancharía y sacaría el alfiler junto a la pluma también. Y aquí está una foto del primer intento.
Después de eso, continué mi trabajo en cada rollo sin parar, más que nada porque no me gusta que me molesten cuando trabajo jeje. Y antes de que todos supiéramos lo que estaba pasando, terminé el pelo y tomé otra captura antes de empaquetar aquí.
Y aquí una foto de la parte terminada y ligeramente empaquetada.
Y esto también.
IMG-20221214-WA0012.jpg]()
Después de eso, decidí empaquetarlo todo usando la banda que me dio, y a continuación se muestra el aspecto final de la misma
Y otra mostrando la parte trasera del pelo que estaba enrollado.
IMG-20221214-WA0014.jpg]()
Y aquí es donde dejé de tomar más fotos, su hija bebé tenía una nariz que moquea por lo que tuvo que llevarlo a la farmacia para que le recetará a su hija algunos medicamentos que se utilizarán lo que me hizo dejar de trabajar más en él como la tienda cerrada cuando es mediodía.
Espero que hayas podido aprender una cosa o dos mientras se desplaza a través. Con suerte, voy a llegar a caer un proceso paso a paso a otro viaje de hacer el pelo, y tal vez esta vez no con Boom. Hehe o tal vez con él, quién sabe.😁😁
Sigo siendo un servidor,
Balikis.
Gracias por sintonizar y leer.
Felicidades a ti y a tus seres queridos y ¡que tengáis un día estupendo!
**Todas las imágenes utilizadas son mías
Que la paz sea con los que la anhelan y más con los que la ahuyentan.
Post is originally written in English and translated using Deepl
https://twitter.com/1557754510763872256/status/1603079766957064196
The rewards earned on this comment will go directly to the people sharing the post on Twitter as long as they are registered with @poshtoken. Sign up at https://hiveposh.com.
Hello dear you are welcome, what a beautiful job you do, it is impressive how you knit it very nice.
Thank you for sharing with us. Greetings.
Thanks for stopping by also and greetings☺☺.
Weldone @balikis95, the hair looks really nice. And yes I learned a lot too.
Thanks for stopping by Amie, and for your kind words☺☺.
Nice work you do. That looks like good hair art to me. I congratulate you.
Oh, thanks very much for your words, I truly appreciate them and yours too are beautiful ☺☺.
Nice one sis..
Didn't know you braid hair too.
Your doing well🤗
Thanks, Sis for your nice words☺☺...
You welcome
☺☺☺