DIY: Beautiful decorative santa made of fabric (Eng- Esp)
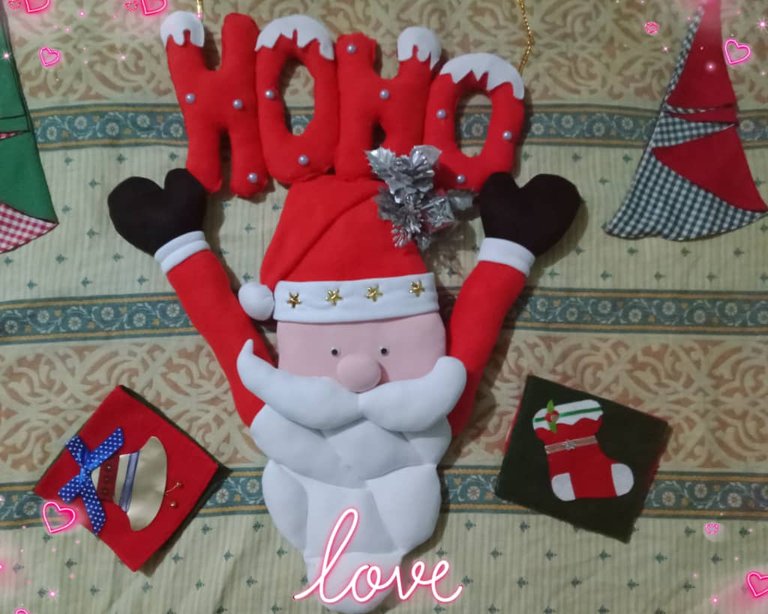
Hello creative community, I wish you a happy new year and that health, love and prosperity abound in every home; I am happy to share the elaboration of a beautiful decorative santa, ideal to hang on the door, window or our favorite place in the house; I am delighted with this project, it is the second time I make Christmas dolls and it is a nice process of patience and dedication, the pieces are filled with wadding or common stuffing and from there the assembly of the doll begins; with the first doll I made (Nutcracker), it took me more time than I had thought, but the result was worth it.
Making the santa was easier with the tips I learned making the first doll, this time I worked fractioned; I sewed all the pieces, stuffed and the next day I made the assembly, so it is more comfortable to work and the time is used to the maximum.
Hola comunidad creativa, les deseo un feliz año y que la salud amor y prosperidad abunden en cada hogar; me siento feliz de compartir la elaboración de un hermoso santa decorativo, ideal para colgar en la puerta, ventana o nuestro lugar favorito de la casa; estoy encantada con este proyecto, es la segunda vez que hago muñecos navideños y es un lindo proceso de paciencia y dedicación, las piezas se rellenan con guata o relleno común y a partir de allí se inicia el armado del muñeco; con el primer muñeco que hice (Cascanueces), me tomó más tiempo del que había pensado, pero el resultado valió la pena.
Hacer el santa fue más sencillo con los tips que aprendí haciendo el primer muñeco, en esta ocasión trabajé fraccionado; cosí todas las piezas, rellené y al día siguiente realicé el armado, así es más cómodo trabajar y se aprovecha el tiempo al máximo.

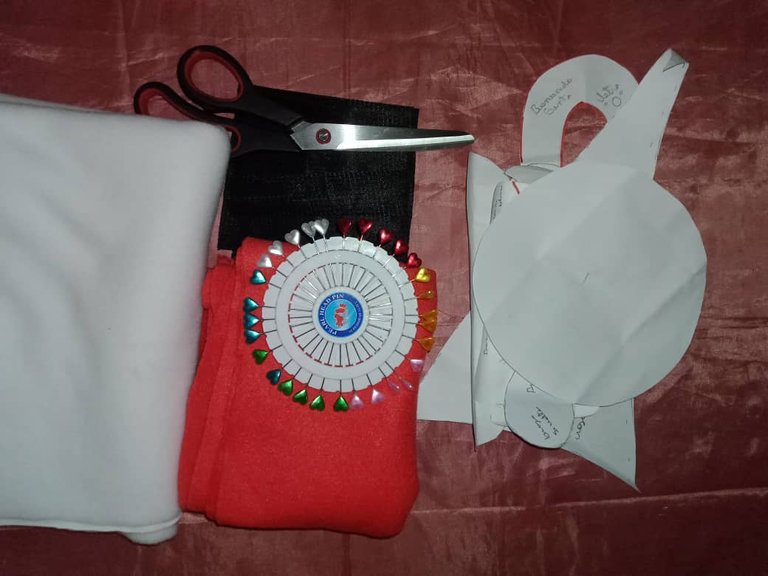
Materials
Polar fleece (red, fur and white)
Polo wafit fabric (black)
Molds
Scissors
Chalk
Pins
Sewing machine
Eyes
Silicone stick
Stars
Stuffing
Materiales
Tela manta polar (roja, piel y blanca)
Tela polo wafit (negra)
Moldes
Tijera
Tiza
Alfileres
Máquina de coser
Ojos
Silicón en barra
Estrellas
Relleno
Procedure*
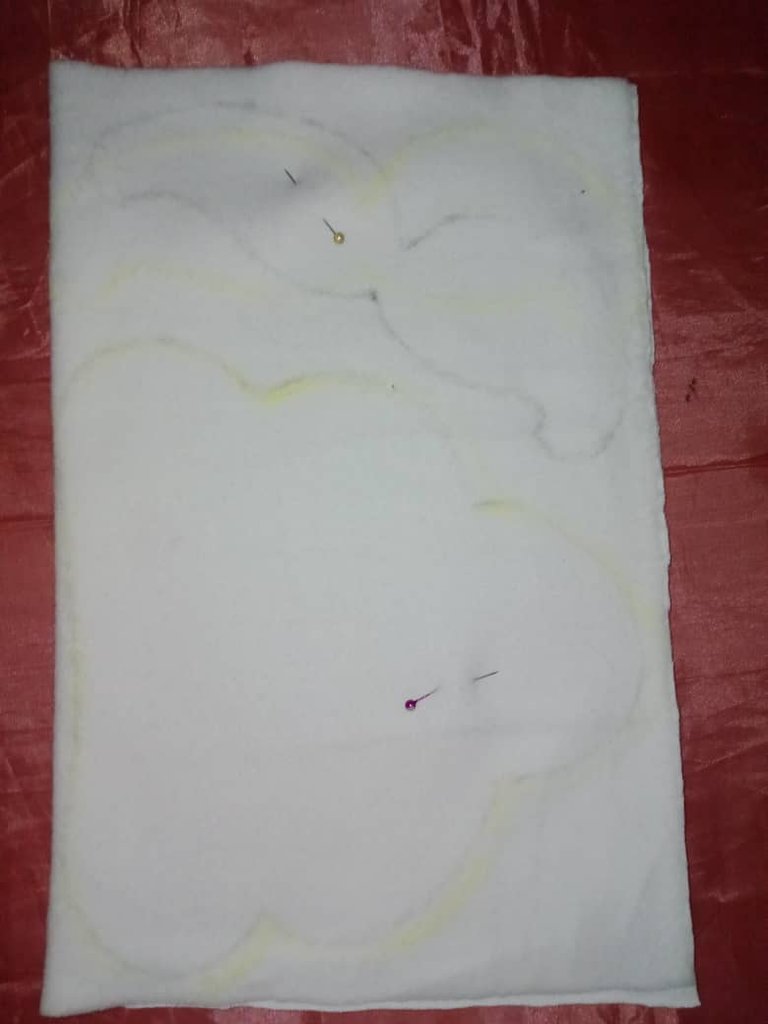
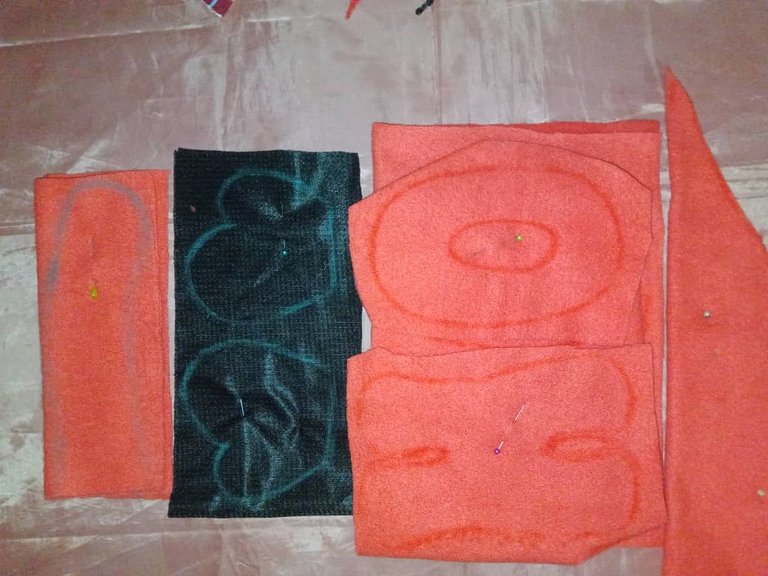
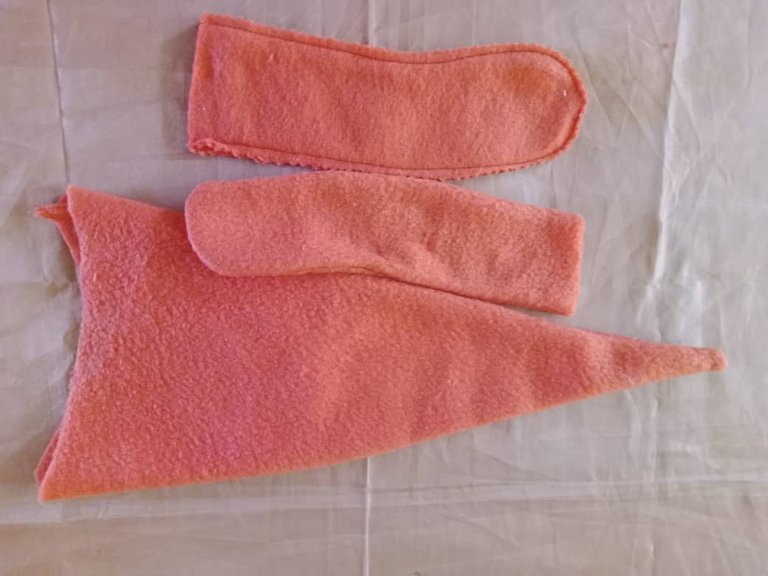
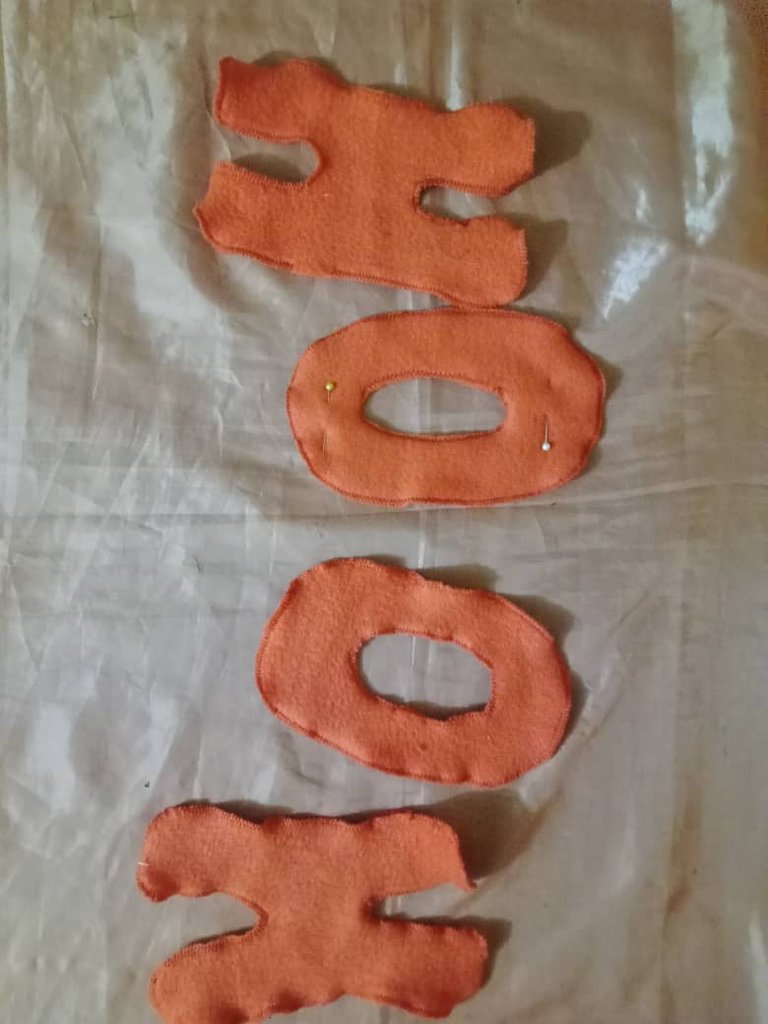
The first step is to mark and cut the pieces of the santa; face, nose, beard, hat, whiskers, arms, gloves and the letters that go on top.
Procedmiento
El primer paso es marcar y cortar las piezas del santa; cara, nariz, barba, gorro, bigotes, brazos, guantes y las letras que van en la parte superior.
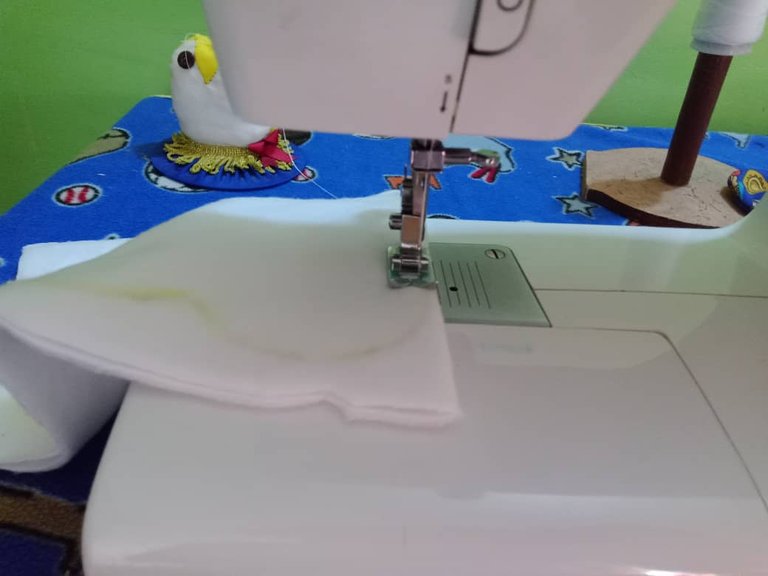
Next step, I sewed with straight stitch right sides facing, leaving the underside unstitched, the letters are sewn right sides together with zig zag stitch leaving an opening to fill. fill, then I flipped each piece over.
El siguiente paso, cosí con puntada recta enfrentando los derechos, dejando la parte de abajo sin coser, las letras se cosen por el derecho con puntada de zig zag dejando una abertura para rellenar. rellenar, luego volteé cada pieza.
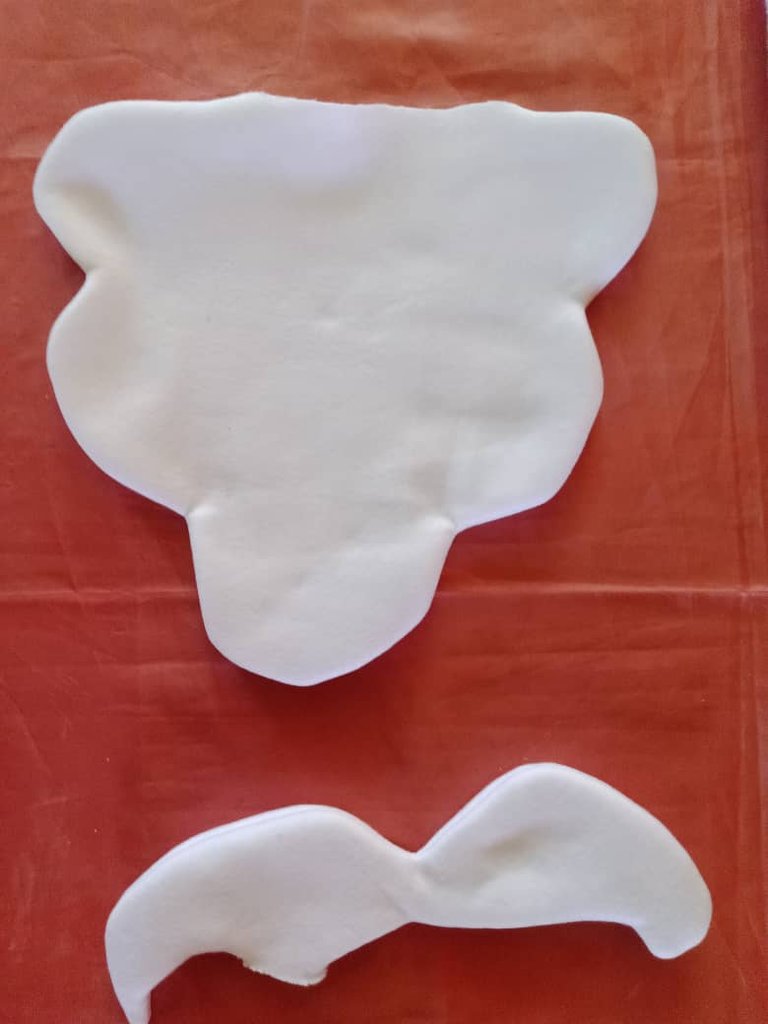
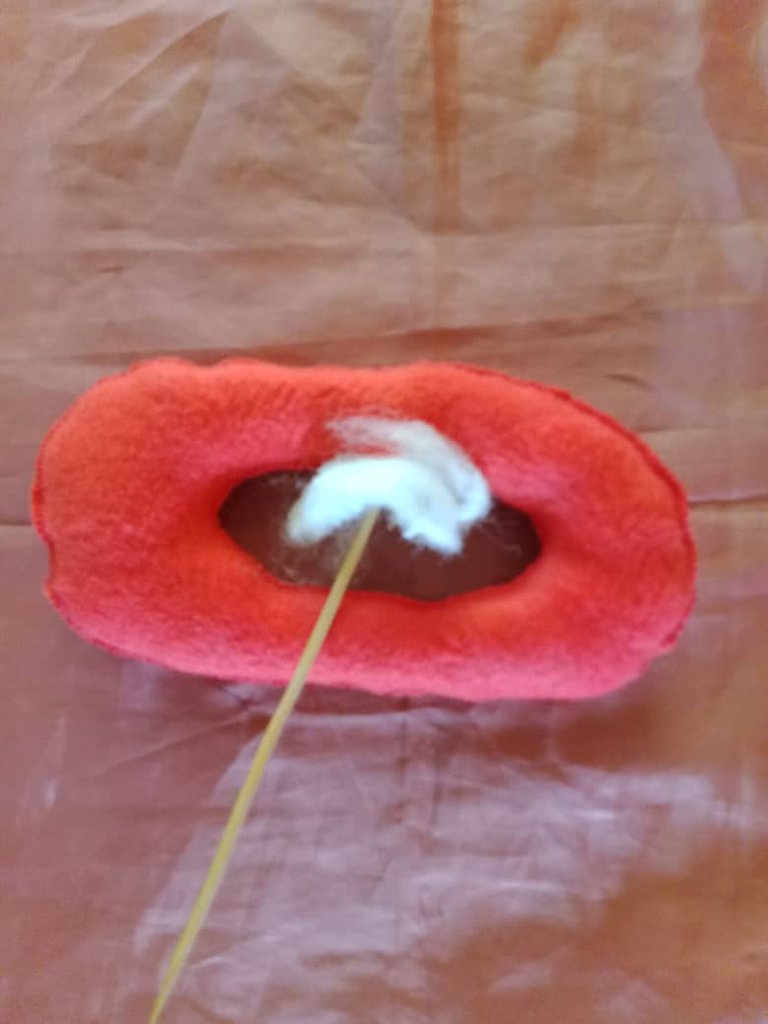
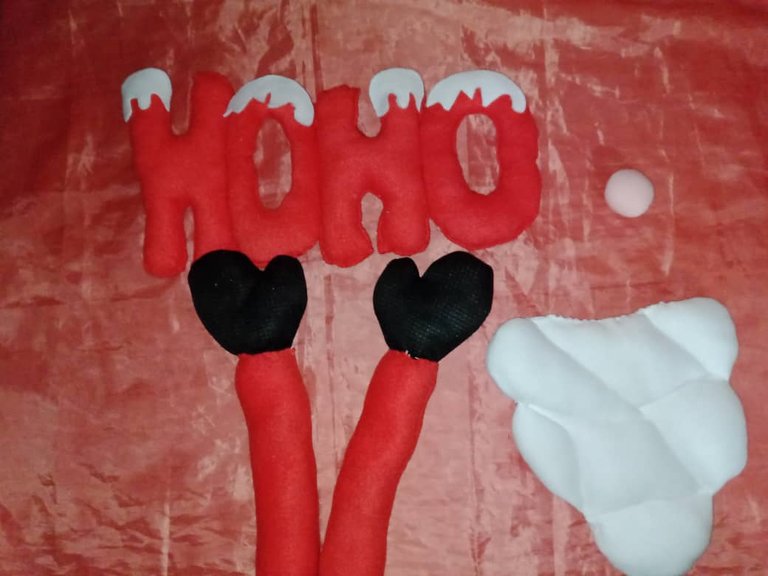
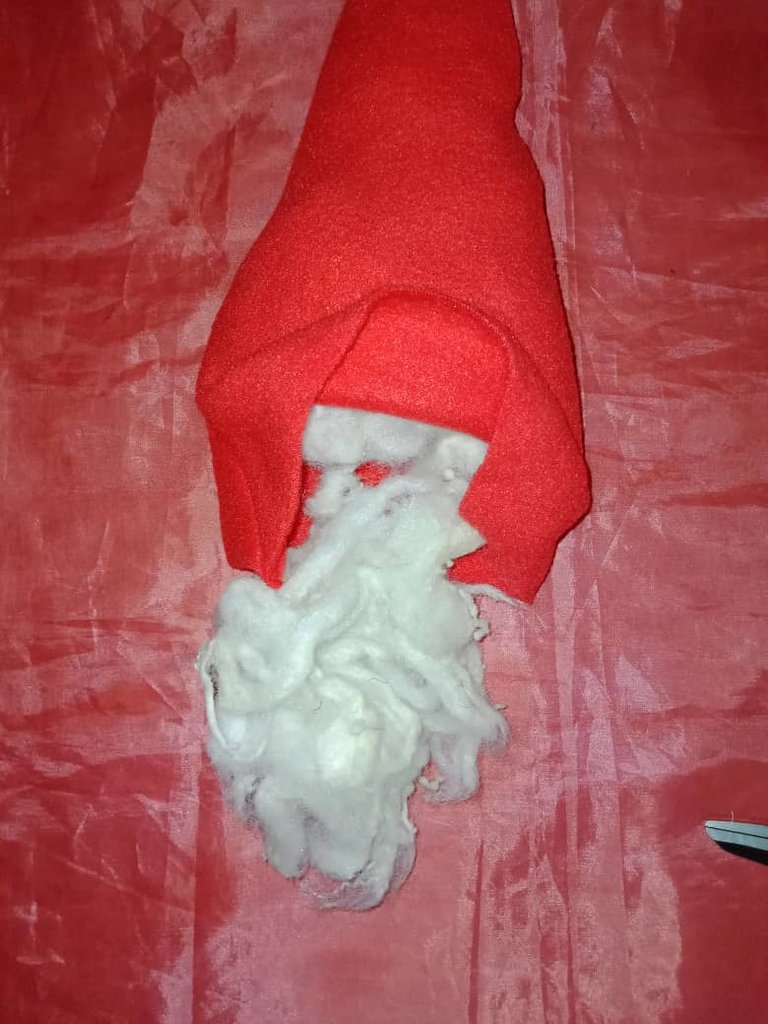
I stuffed the pieces and letters and with a height stick I distributed the wadding, when cutting the pieces you must consider the elongation of the fabric so that the filling is distributed very well, when I marked the letters I did not realize this detail and some were more "stuffed", with hand stitch I closed the openings; on Santa's beard I sewed several lines that simulate the abundance of the beard, I glued the gloves to the arms, joined the letters forming the syllables Ho, Ho and sewed the snow on top of the letters.
Rellené las piezas y letras y con un palillo de altura distribuí la guata, al momento de cortar las piezas se debe considerar la elongación de la tela para que el relleno se distribuya muy bien, cuando marqué la letras no me di cuenta de este detalle y unas quedaron más "rellenitas", con puntada a mano cerré las aberturas; en la barba de santa cosí varias líneas que simulan lo abundante de la barba, pegué los guantes a los brazos, uní las letras formando las silabas Ho, Ho y cosí la nieve en la parte superior de las letras.

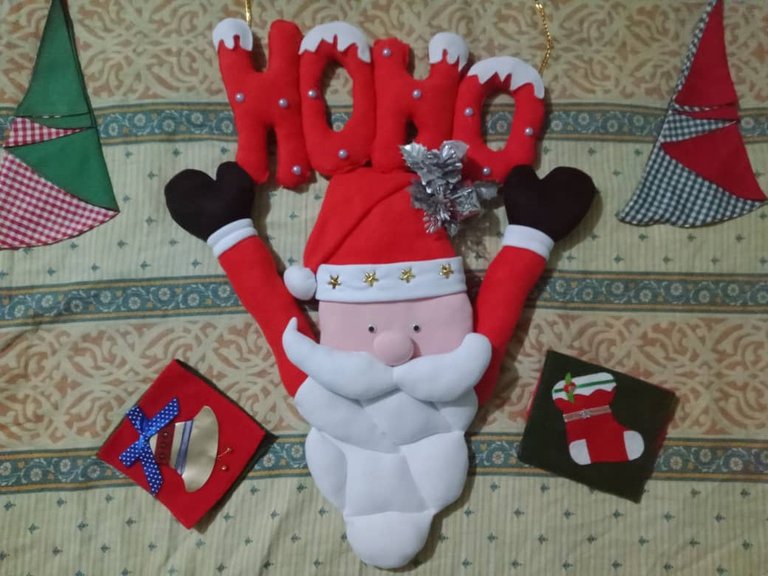
To assemble the santa I sewed with hidden stitch the beard and mustache to the face, first I attached the beard to the lower part of the face, then I sewed the mustache and from the back I sewed the arms, I also added a white ribbon for a better finish to cover the union of arms and gloves; I added some stuffing to the hat, a ball at the tip and sewed to the head leaving a suitable space for the nose and eyes.
Para armar el santa cosí con puntada escondida la barba y el bigote a la cara, primero uní la barba a la parte inferior de la cara, luego cosí el bigote y desde la parte de atrás cosí los brazos, además agregué un cinta blanca para un mejor acabado cubrir la unión de brazos y guantes; agregué un poco de relleno al gorro, una bola en la punta y cosí a la cabeza dejando un espacio adecuado para la nariz y los ojos.

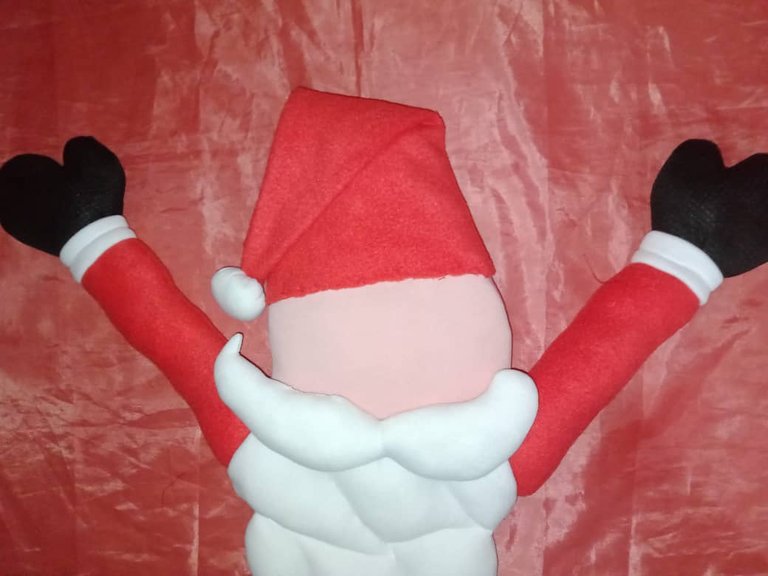
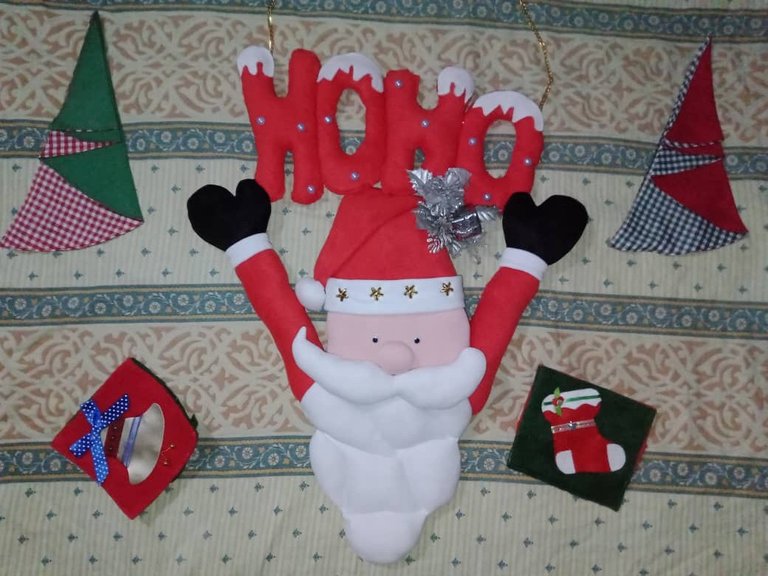
I decorated the hat with white ribbon and gold stars, I also sewed the letters on the santa's fingers and added some silicone for more firmness and support, then I glued the nose eyes and decorative pearls on the letters, this way the santa is finished.
Adorné el gorro con cinta blanca y estrellas doradas, también cosí las letras en los dedos de santa y agregué un poco de silicón para mayor firmeza y soporte, luego pegué la nariz ojos y perlas decorativas en las letras, de esta forma está terminado el santa.

The result of this project I really liked, also the elaboration was simple, I am excited to have made another doll, I already have two in my collection, I hope in the near future to add the remaining characters of Christmas and new projects that arise; To hang the santa I glued a golden chain of approximately sixty centimeters in the back.
El resultado de este proyecto me gustó mucho, además la elaboración fue sencilla, estoy emocionada por haber realizado otro muñeco, ya llevo dos en mi colección, espero en un futuro cercano ir agregando los personajes restantes de la Navidad y nuevos proyectos que vayan surgiendo; Para colgar el santa pegué una cadena dorada de aproximadamente sesenta centímetros en la parte de atrás.

Blessings!

¡Bendiciones!

Translated with https://www.deepl.com/translator
          All images are my own, captured by a Síragon LC-3000 camera.

   Todas las imágenes son de mi autoría, capturadas por una cámara Síragon LC-3000.
I love dolls and handmade ones like these are really special. You did a nice job here dearie.
If only you were closer I could steal this from you hahaha
Hi @monica-ene, I'm glad you liked it, handmade dolls are beautiful and can be decorated with whatever we like best; we are so far away ha, ha.
Greetings and blessings!
Muy cuchis, esta tan lindo que provoca decorar la casa nuevamente de tonos navideños jeje
El resultado final es muy lindo y prolijo, me encanta 😍
Hola estimado @elbuhito, me alegra que te haya gustado, te cuento que estoy muy feliz con el resultado, cada muñeco es una nueva experiencia cargada de aprendizaje, espero pronto seguir compartiendo los nuevos integrantes de mi colección je, je.
Feliz y próspero año!
¡Felicidades! Esta publicación obtuvo upvote y fue compartido por @la-colmena, un proyecto de Curación Manual para la comunidad hispana de Hive que cuenta con el respaldo de @curie.
Si te gusta el trabajo que hacemos, te invitamos a darle tu voto a este comentario y a votar como testigo por La Colmena.
Si quieres saber más sobre nuestro proyecto, te invitamos a acompañarnos en nuestro servidor de Discord.
Saludos equipo @la-colmena, muchas gracias por el apoyo.
Feliz inicio de semana!
Que cuchitura ese Santa, una creación preciosa. Gracias por regalarnos este proceso creativo. Éxitos amiga @belkyscabrera ✨
!DIY
Hola bella, muchas gracias por el apoyo y tu lindo mensaje, estoy muy feliz con el resultado, el santa se ve genial je, je.
Saludos y bendiciones!
You can query your personal balance by
!DIYSTATSThank you very much.
Congratulations @belkyscabrera! You have completed the following achievement on the Hive blockchain And have been rewarded with New badge(s)
Your next target is to reach 120000 upvotes.
You can view your badges on your board and compare yourself to others in the Ranking
If you no longer want to receive notifications, reply to this comment with the word
STOPCheck out our last posts:
Hi @hivebuzz, thank you for the great updates.
Have a nice day!
Go for it @belkyscabrera! You've got what it takes to reach your new target on Hive.
Hermosa manualidad navideña. Felicidades.
Saludos @mariela-b, agradecida por tu visita, me gustó como quedó el santa, es una ternurita.
Feliz y bendecido domingo!
Un trabajo estupendo amiga. Me encantó.
!discovery 40
!LUV
belkyscabrera, chacald.dcymt sent you LUV. 🙂 (1/1) tools | trade | connect | daily
Made with LUV by crrdlx.
Gracias!
Hola amiga, me alegra que te haya gustado, es uno de mis favoritos, se ve cuchi y está perfecto para decorar las puertas, ahora toca guardarlo hasta noviembre ja, ja.
Que tengas un lindo día!
Está hermoso 😍🎅❤️ me encantó!
Saludos @laranitacrochet, me alegra que te haya gustado, agradecida por tu visita y apoyo.
Feliz inicio de semana!