DIY: Ranglan sleeve flannel in Rib fabric ** DIY: Franela manga ranglan en tela Rib (Eng - Esp)
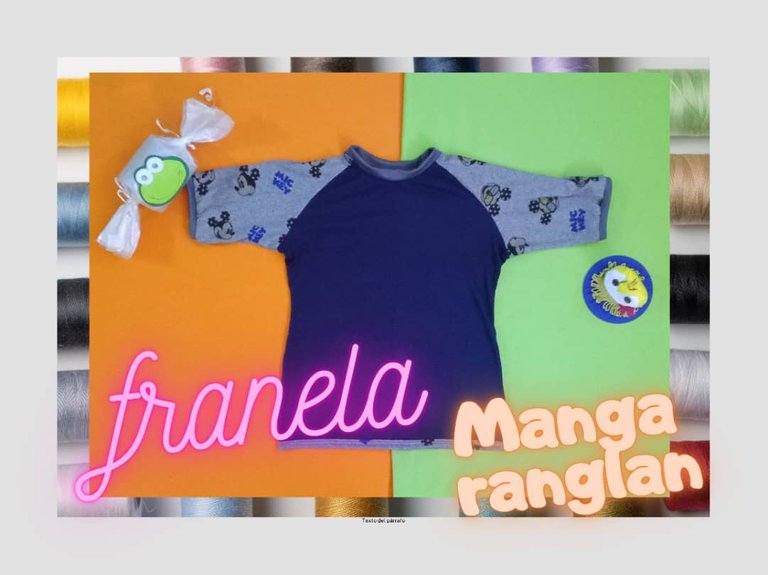
Greetings creative community, happy weekend together with your loved ones, I am happy to share with you a #tutorial to make flannels with raglan sleeve, it is the second time I sew this type of sleeves, the first time I had a little difficulty because I sewed the sleeves with the basic model process, then I had to unpick and make again the process according to the steps required for this type of sleeve.
The raglan sleeve, I like it very much because it is part of the neck and add style and elegance to the garment, it is usually made in two colors to highlight the neck, the process of elaboration is simple and in few steps, the secret is to join the sleeves to the front and back with the open flannel, in this case the sleeves will be the one that join the flannel and not the shoulders as is done in the traditional model.
Saludos comunidad creativa, feliz fin de semana en unión de sus seres queridos, me siento feliz de compartir con ustedes un #tutorial para hacer franelas con manga ranglan, es la segunda vez que coso este tipo de mangas, la primera vez tuve un poco de dificultades porque cosí las mangas con el proceso del modelo básico, luego tuve que descoser y hacer nuevamente el proceso de acuerdo a los pasos que requiere este tipo de manga.
La manga ranglan, me gusta mucho porque forma parte del cuello y agregan estilo y elegancia a la prenda, por lo general se hace en dos colores para que resalte el cuello, el proceso de elaboración es sencillo y en pocos pasos, el secreto está en unir las mangas al delantero y trasero con la franela abierta, en este caso las mangas serán la que unan la franela y no los hombros como se hace en el modelo tradicional.

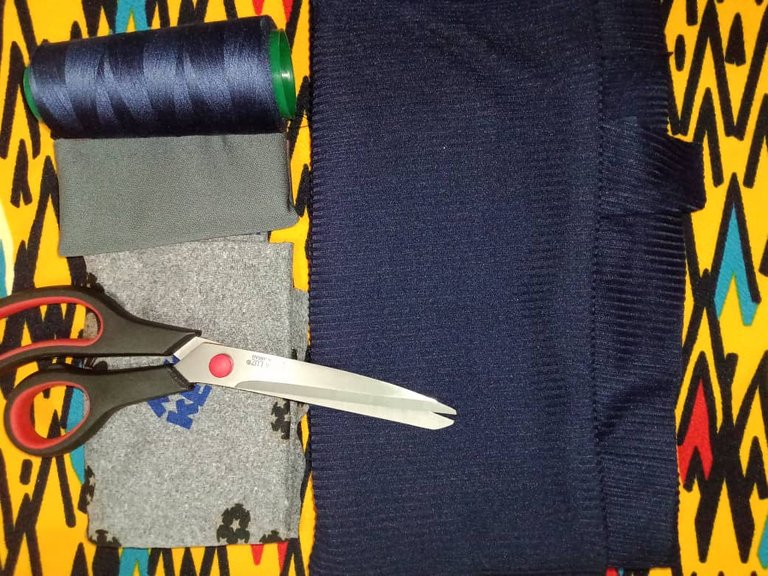
MATERIALS
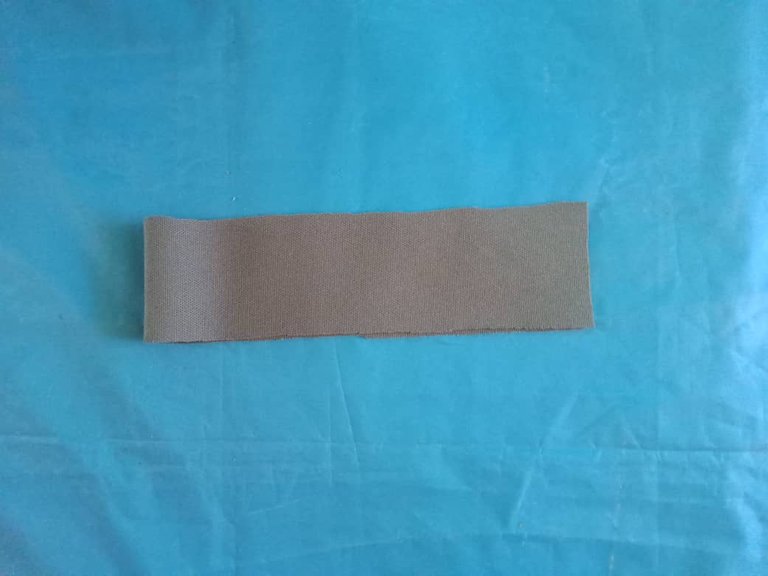
Rib Fabric
Micro peach melagne fabric
Pique fabric (for collar and cuffs)
Thread
Scissors
Molds.
MATERIALES
Tela Rib
Tela micro durazno melagne
Tela pique (para el cuello y puños)
Hilo
Tijera
Moldes.
PROCEDURE
The first step is to mark and cut the back, front and sleeves pieces, also three strips for the collar and cuffs.
PROCEDIMIENTO
El primer paso es marcar y cortar las piezas trasero, delantero y mangas, también tres tiras para el cuello y puños.

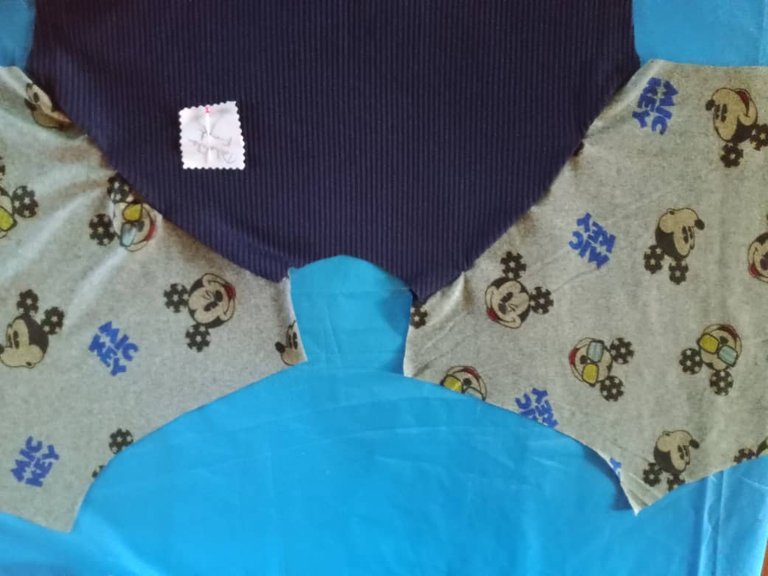
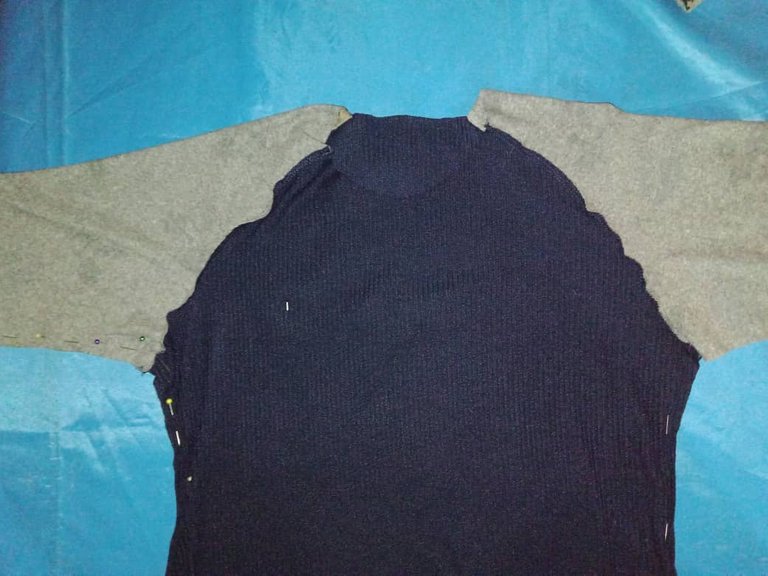
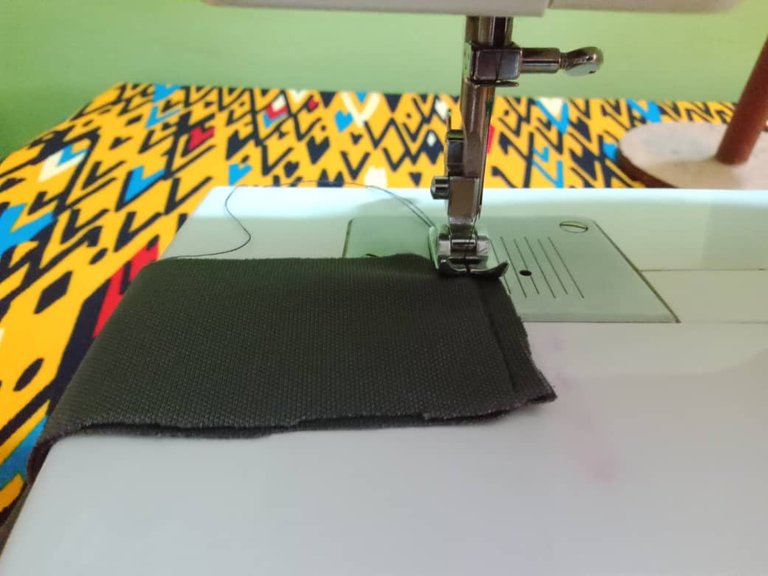
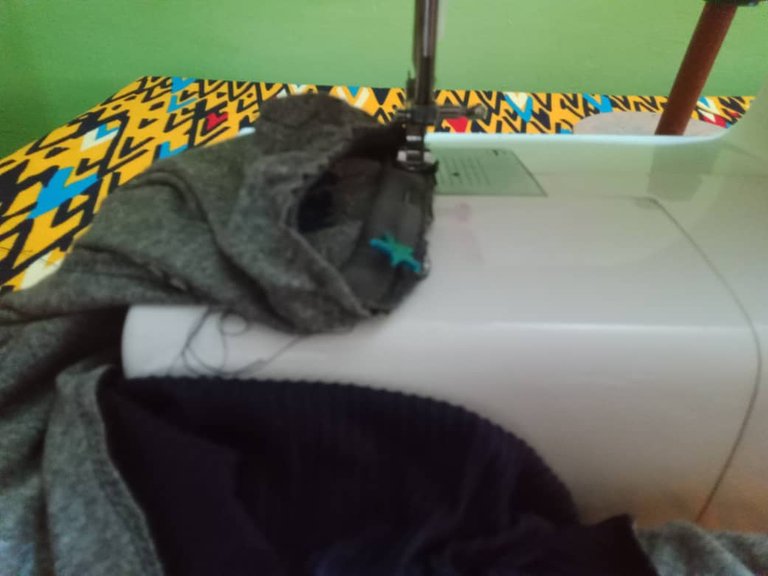
Once the pieces are cut, we proceed to glue the sleeves; with pins we fix the front of the sleeve with the front of the flannel, facing right to right, in the same way it is done with the back of the sleeve and the flannel, taking care that the ends coincide; since these will give shape to the neck and armhole.
Cortadas las piezas se procede a pegar la mangas; con alfileres fijamos el delantero de la manga con el delantero de la franela, enfrentando derecho con derecho, de igual forma se hace con la parte trasera de la manga y la franela, cuidando que los extremos coincidan; ya que estos darán forma al cuello y sisa.
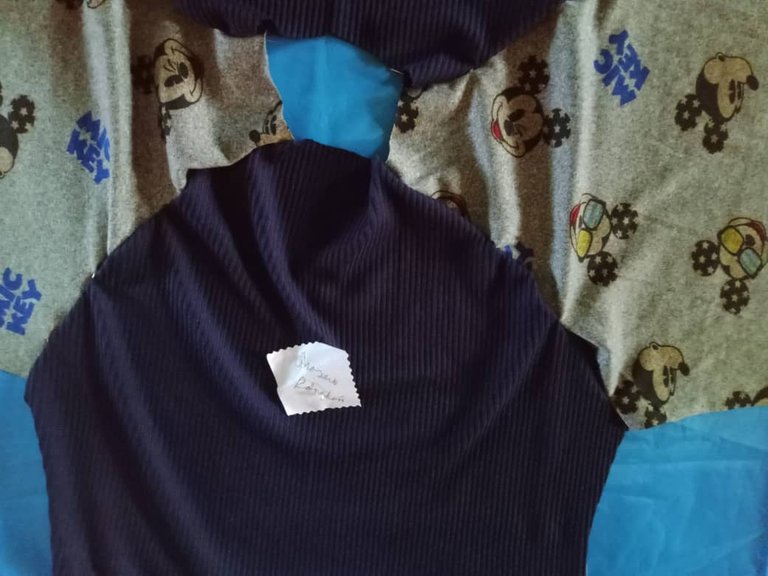
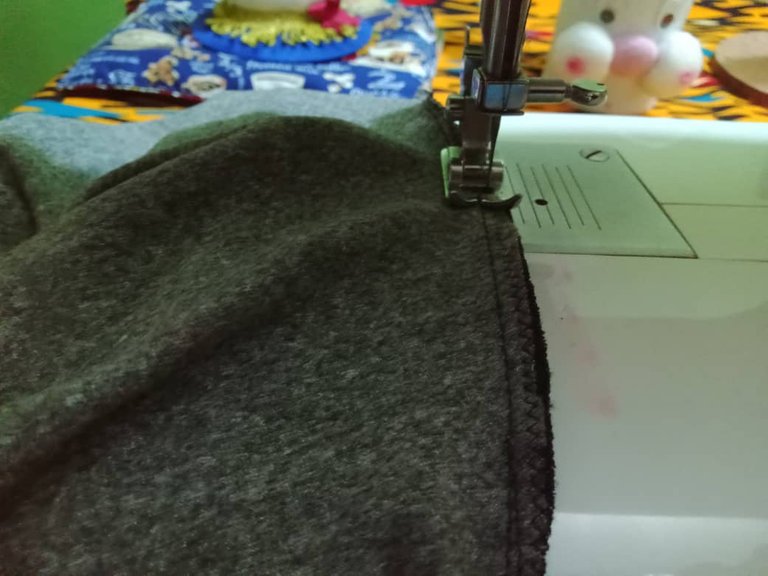
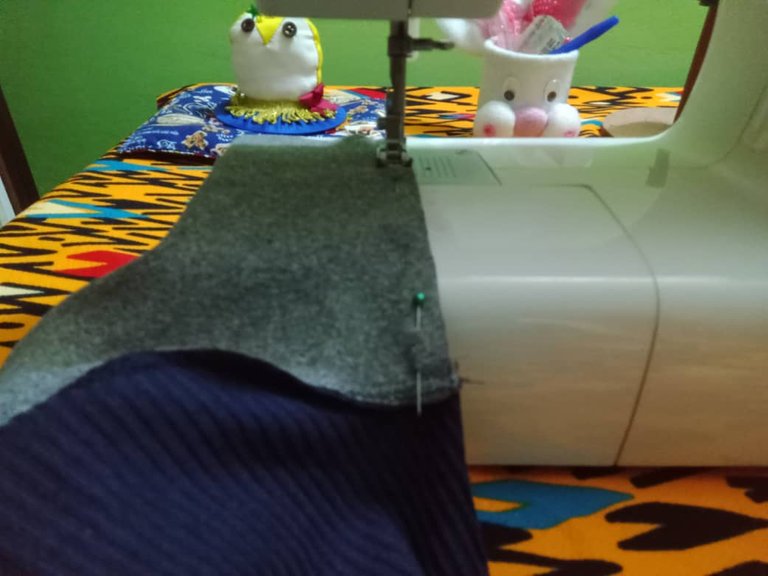
The sleeves are sewn with a straight stitch and to secure the seam, zig zag along the edges; then to close the sides and sleeves, we fix them with pins and sew a straight stitch, as in the previous step, also zig zag stitch along the edges.
Con puntada recta se cosen las mangas y para asegurar la costura se pasa zig zag por los bordes; luego para cerrar los laterales y mangas, fijamos con alfileres y pasamos costura recta, al igual que el paso anterior también puntada de zig zag en los bordes.
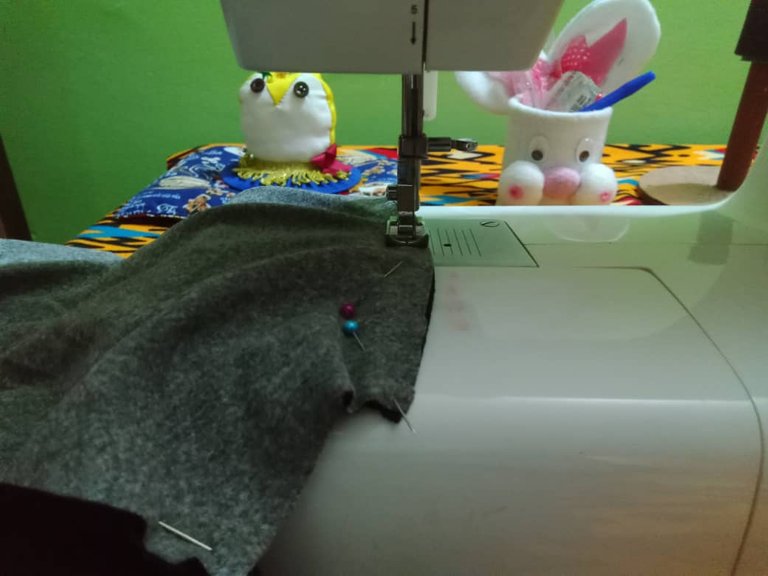
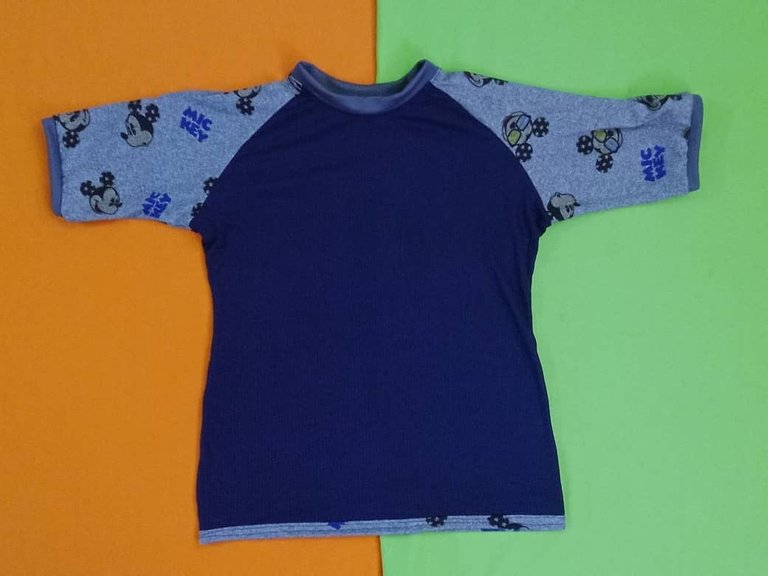
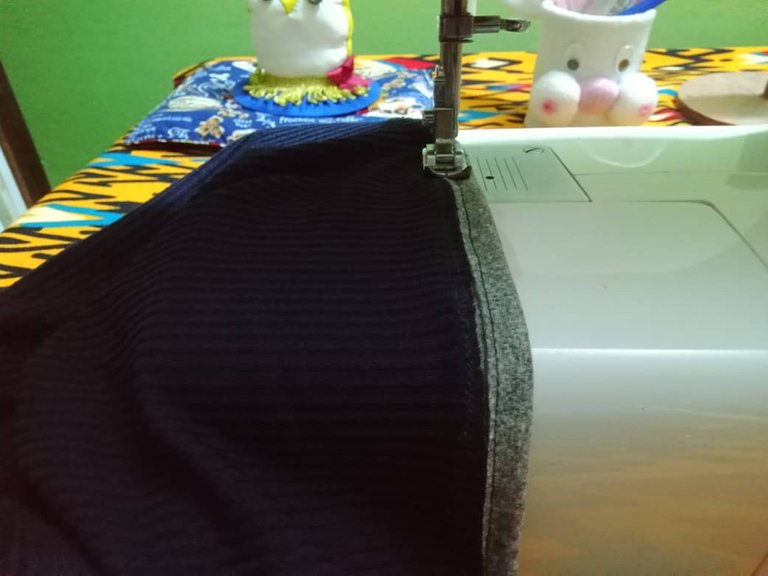
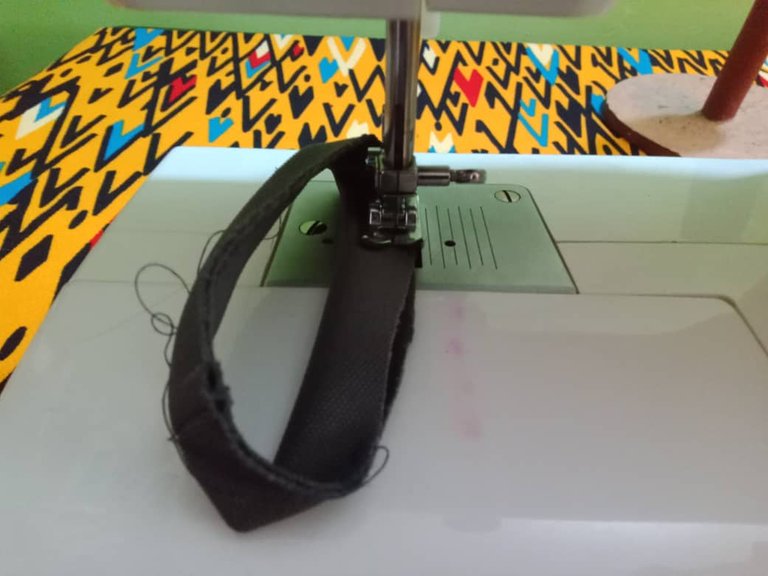
We sew a hem of 1 cm to make the hem, then we just need to glue the collar and cuffs and the raglan sleeve flannel will be ready.
Cosemos un dobladillo de 1 cm para hacer el ruedo, solo queda pegar el cuello y los puños y estará lista la franela manga ranglan.
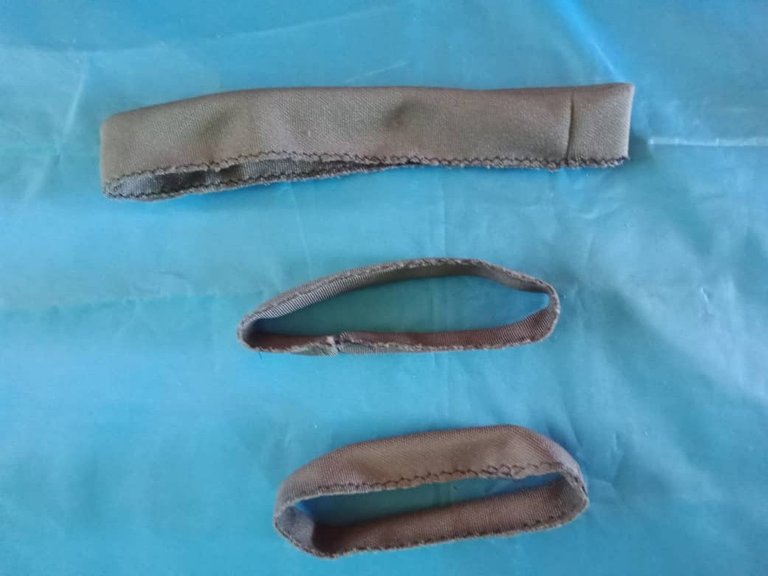
To make the cuffs and collar I fold the strips, sew the ends, then turn right side out, zig zag along the edges and fix to the collar and cuff of the sleeves, with a straight stitch and stretching 1 cm I glue the collar (only the neck bias is stretched), in the same way the cuffs are sewn, then the collar is smoothed for a better finish; the cuffs and collar are made with fabrics that have good elongation to stretch and avoid wrinkles.
Para hacer los puños y el cuello doblo las tiras, coso los extremos, luego volteo por el derecho, paso zig zag por los bordes y fijo al cuello y puño de las mangas, con puntada recta y estirando 1 cm pego el cuello (solo se estira el sesgo del cuello), de igual forma se cosen los puños, luego se repisa el cuello para un mejor acabado; los puños y el cuello se hacen con telas que tengan buena elongación para poder estirar y evitar así que quede arrugado.
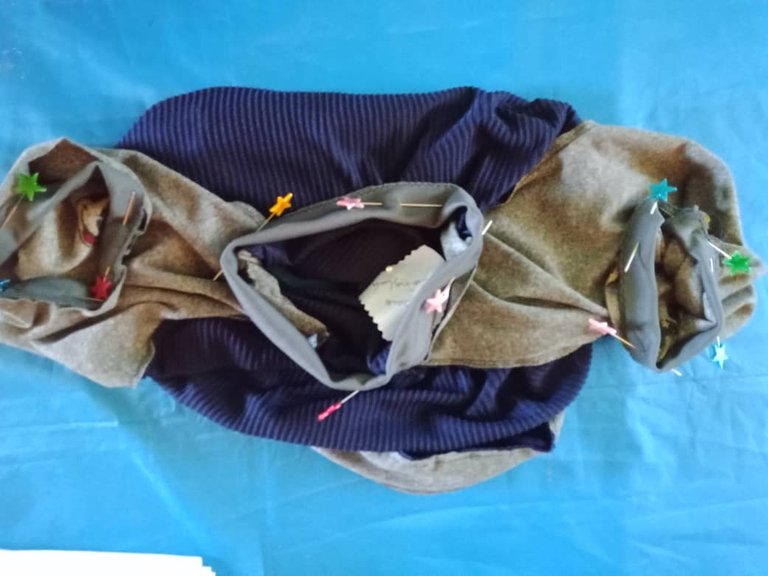
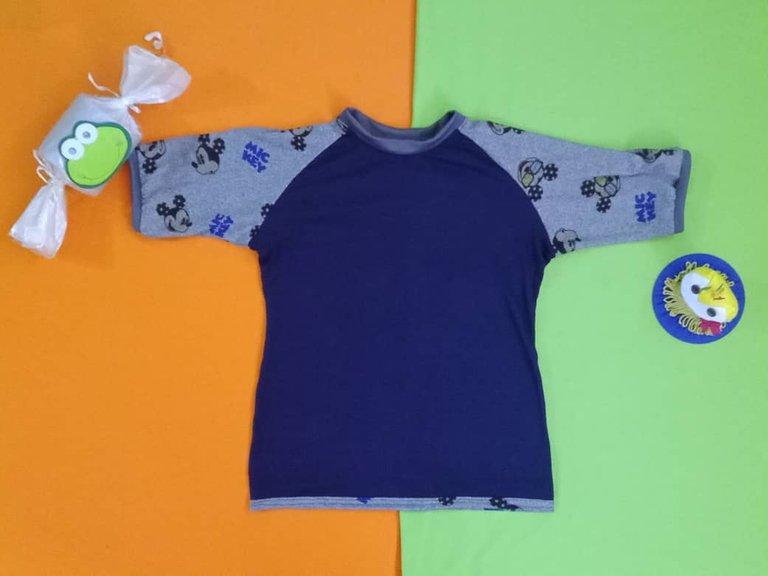
In a few simple steps, we have the raglan sleeve flannel ready, when combining the fabrics it is important to consider that they have the same elongation to avoid deforming the garment; if one of the two is more elastic; finishing this project took me little time and I am very happy with the result.
En pocos pasos y muy sencillos, tenemos lista la franela manga ranglan, al combinar las telas es importante considerar que tengan la misma elongación para evitar deformar la prenda; si una de las dos es más elástica; terminar este proyecto me tomó poco tiempo y estoy muy feliz con el resultado.

Blessings!

¡Bendiciones!

Translated with https://www.deepl.com/translator
          All images are my own, captured by a Síragon LC-3000 camera.

   Todas las imágenes son de mi autoría, capturadas por una cámara Síragon LC-3000.
Esto es un tutorial muy completo 😃👍🏼... gracias por compartir
!DIY
!discovery 40
Saludos amiga, muchas gracias por tu apoyo.
Feliz noche!
This post was shared and voted inside the discord by the curators team of discovery-it
Join our Community and follow our Curation Trail
Discovery-it is also a Witness, vote for us here
Delegate to us for passive income. Check our 80% fee-back Program
Hi @discovery-it, thanks so much for the support.
Regards!