How I cut and sew a pencil skirt with the butt sitting conveniently using Ankara fabric
Hello everyone
A beautiful day to you all and I hope you are doing great, it is my pleasure to bring to you one of my recent design of a straight long skirt I made with the butt sitting conveniently and comfortably using Ankara fabric.
In sewing a straight or pencil skirt, most of us prefer it to be fitted to the body and bring out out body shape especially those with big butt, but I discovered that when trying to make that happen, we found it difficult to bend down or even sit comfortably anytime we put on such outfit.
I made a particular outfit of skirt and blouse for myself sometimes ago with a pencil skirt, I always love my outfit to be fitted on my body so I did all I could to make it fitted to my body shape but unfortunately, I couldn't walk properly,I couldn't take a bike nor even sit comfortably when I got to were I was going, it was really not convenient for me at all all through my stay at the occasion I went for, that was what actually prompted me to make research on how to make a straight or pencil skirt with the butt sitting conveniently in the outfit.
I watched several videos on line and I was able to get this particular video, I so much fell in love with it, so decided to give it a trial.
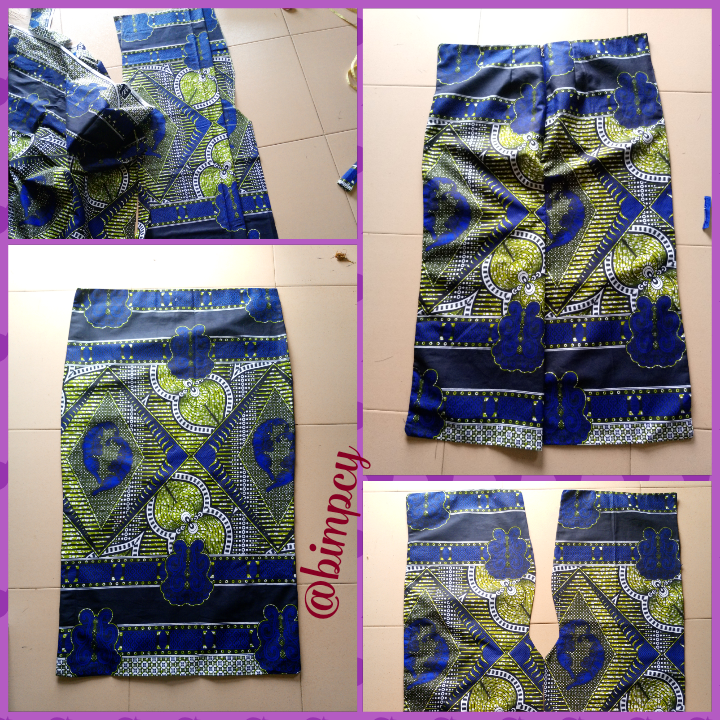
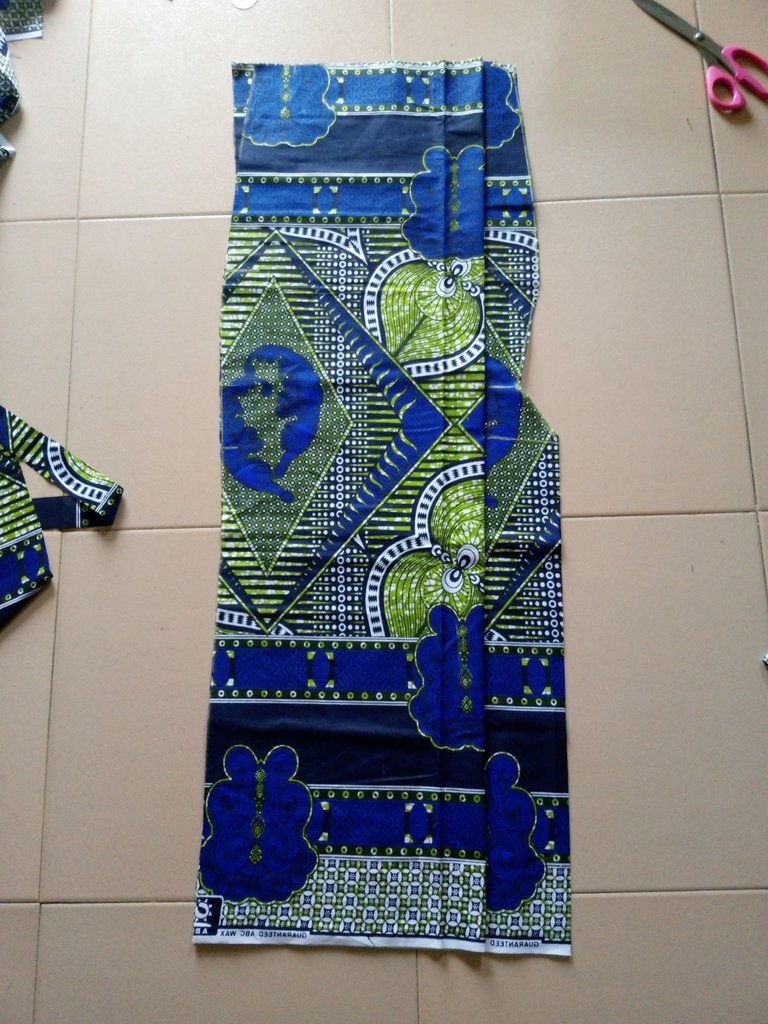
Cutting and sewing process
To cut out the front part of the skirt, my fabric was folded in two using the hip measurement minus 2 divide by 4 plus seam allowance. 42-2=40. 40÷4=10 plus 2" seam allowance, no dart included.
On the waistline, I marked out the waist measurement divide by 4+2" seam allowance, on the hip line, the above calculation was marked out and on the full length of the skirt, the same measurement on the waistline was marked out.
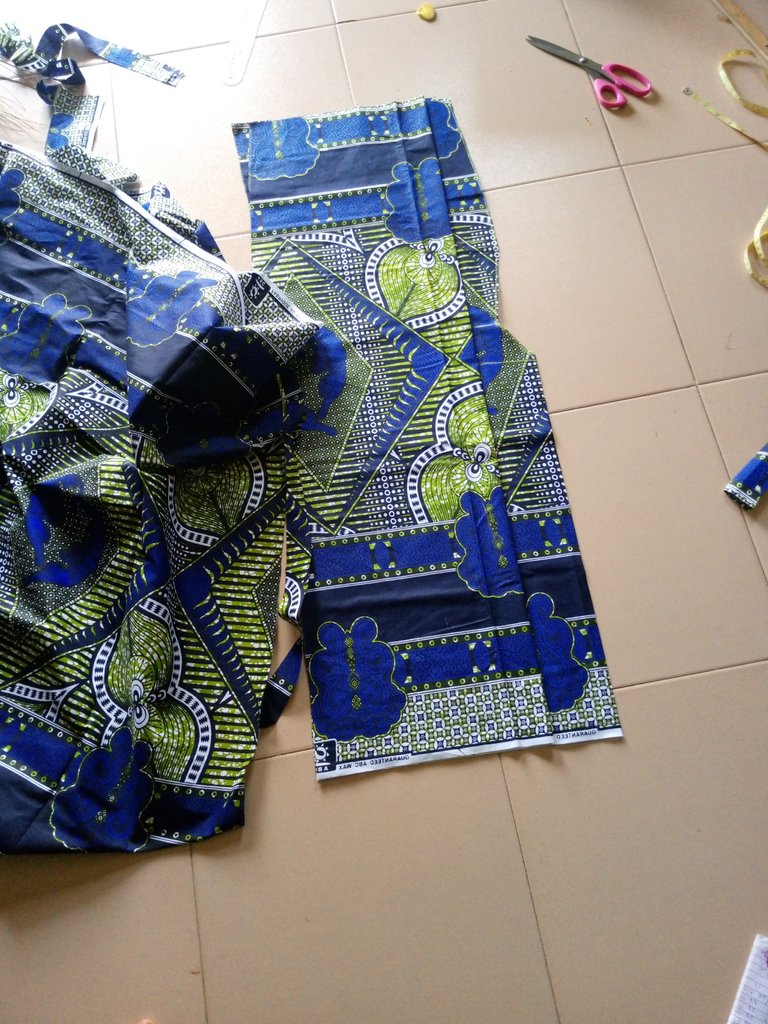
To cut the back part, I folded another fabric with 4"extra, then the front part was placed on it the cut out the back.
On the waistline, I added 1.5" to the center back for zipper allowance, on the hip line, I added 2.5" (1.5" for zipper allowance and 1" from the 2" I deducted from the front hip line) I marked 6" down from the hip line and curved it in to 1.5" zipper allowance, the remaining allowance was used to make inverted pleat to the back slit.
The other side of the skirt was traced out with 1" dart at the waistline.
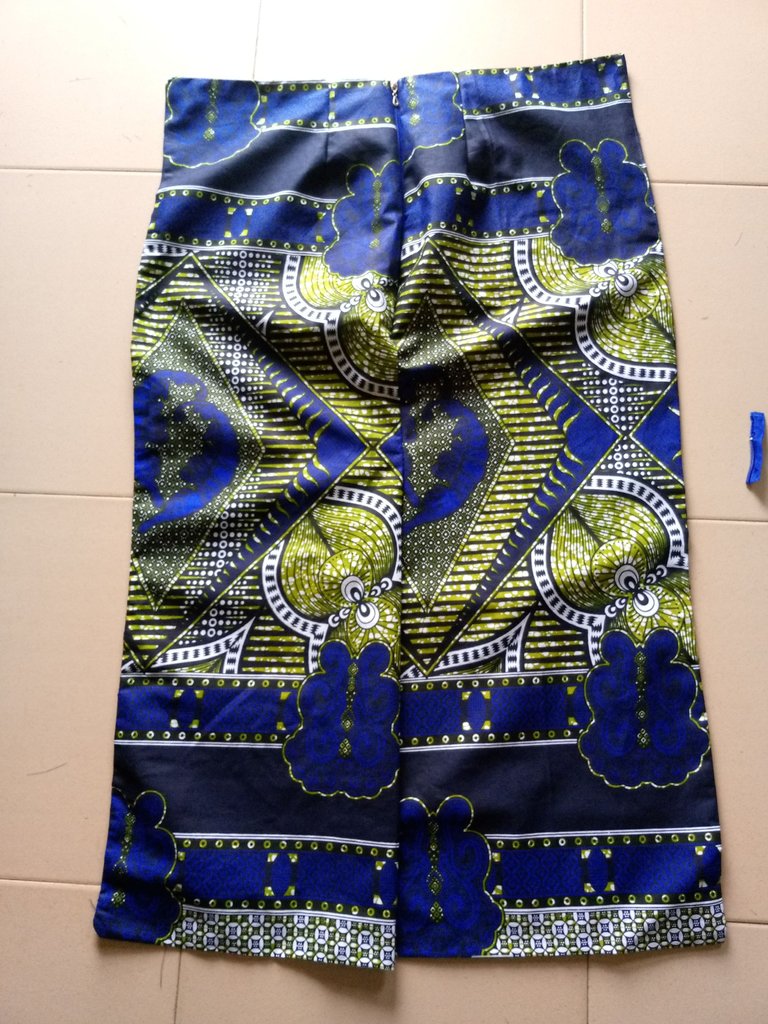
The front and back were neatly turned inside out with lining to give it a neat finishing

The front and back were sewn together with the side seam allowance to get the actual measurement. Finally, I added zipper to the zipper allowance and I have my skirt ready.
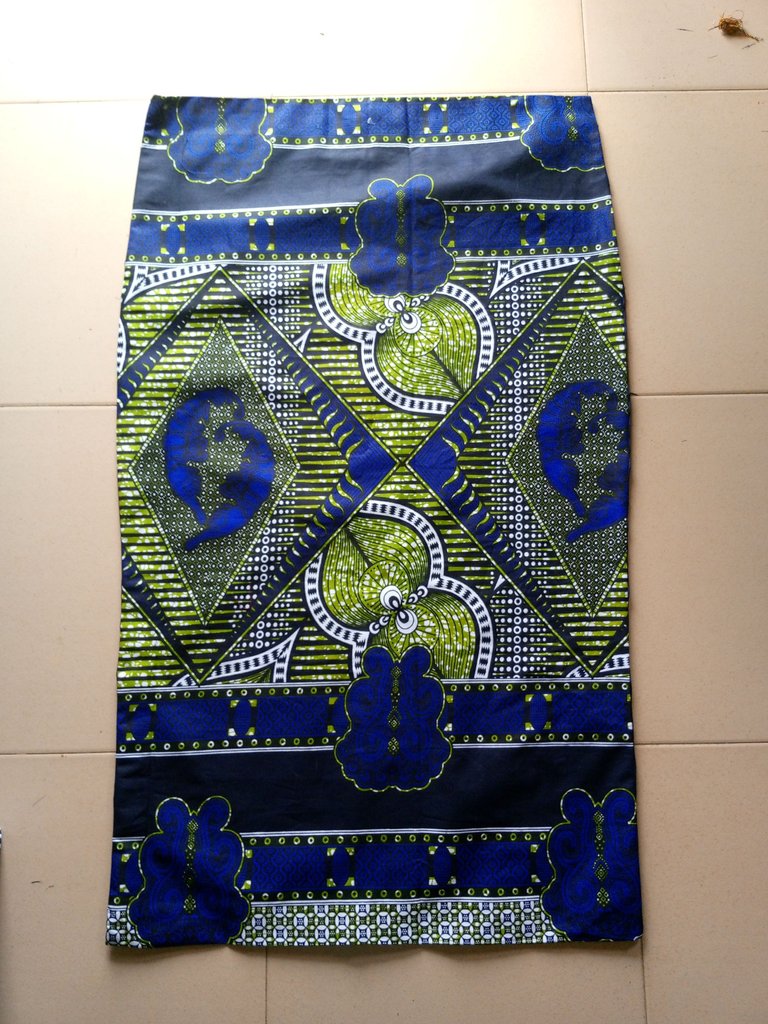
Front view
Back view
Looking at the fullness at the back, you will see that the butt will sit well and conveniently when put on. I hope you like the outcome.
Welcome my dear friend, the skirt look beautiful