DIY, un envoltorio original de Doritos💟 // DIY, an original Doritos wrapper💟
¡Hey, Hivers!💜
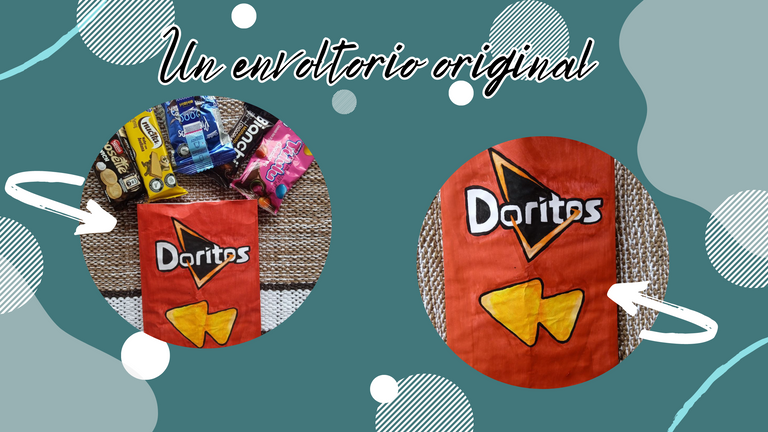
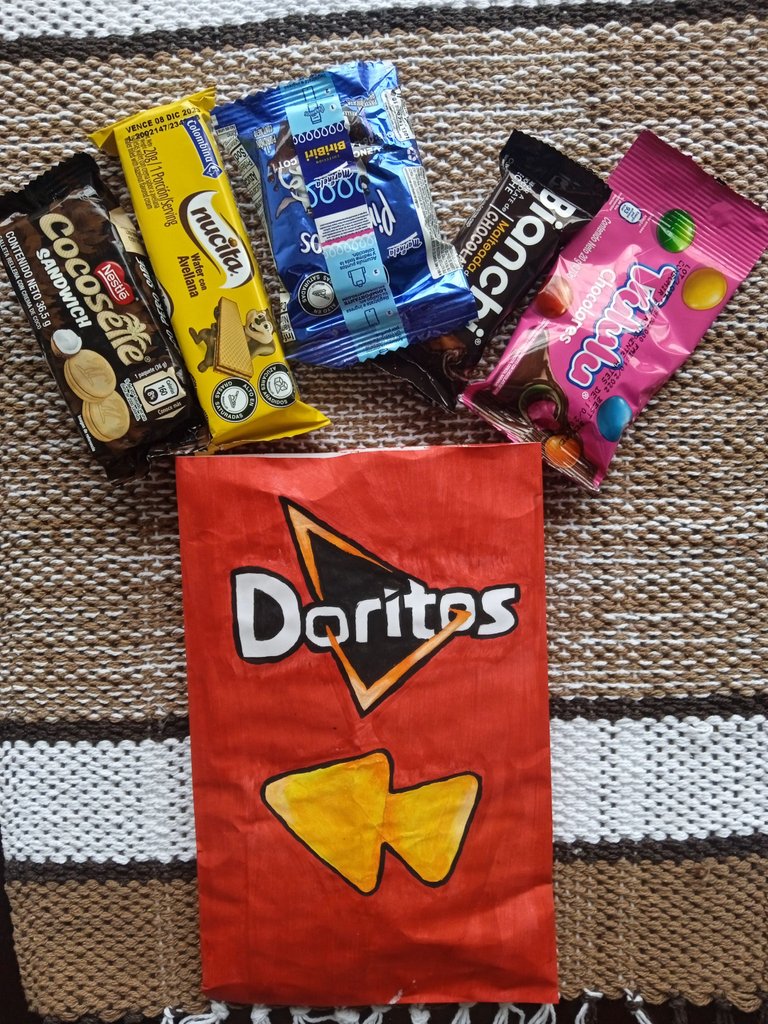
Hace un tiempo fue el cumpleaños de mi mejor amiga, tenía varias ideas para un posible regalo, sin embargo, me decidí por esta. Ella es amante de los Doritos, unas frituras de mi país, así que pensé en elaborar un envoltorio de Doritos como bolsa para el regalo de cumpleaños, y colocar algunos dulces en su interior.
Me encantó el resultado, así que quiero compartirles esta idea para que tengan opciones sobre qué le puedan dar a su persona especial ✨ así que, sin más que decir, ¡Empecemos!
A while ago was my best friend's birthday, I had several ideas for a possible gift, however, I decided on this one. She is a lover of Doritos, some fried food from my country, so I thought I would make a Doritos wrapper as a bag for the birthday gift, and place some candy inside.
I loved the result, so I want to share this idea with you so you have options on what to give to your special someone ✨ so, without more to say, let's get started!
Materiales
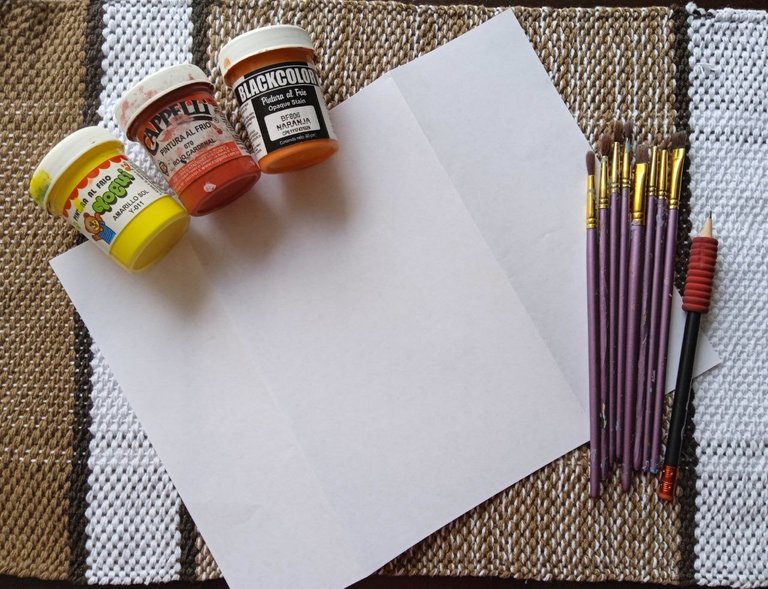
Una hoja blanca
Pintura amarilla, roja, naranja, blanco y negro
Pinceles
Y lo más importante, ¡Amor!
Materials
- A white sheet of paper
- Yellow, red, orange, white and black paint.
- Brushes
- And most importantly, Love!
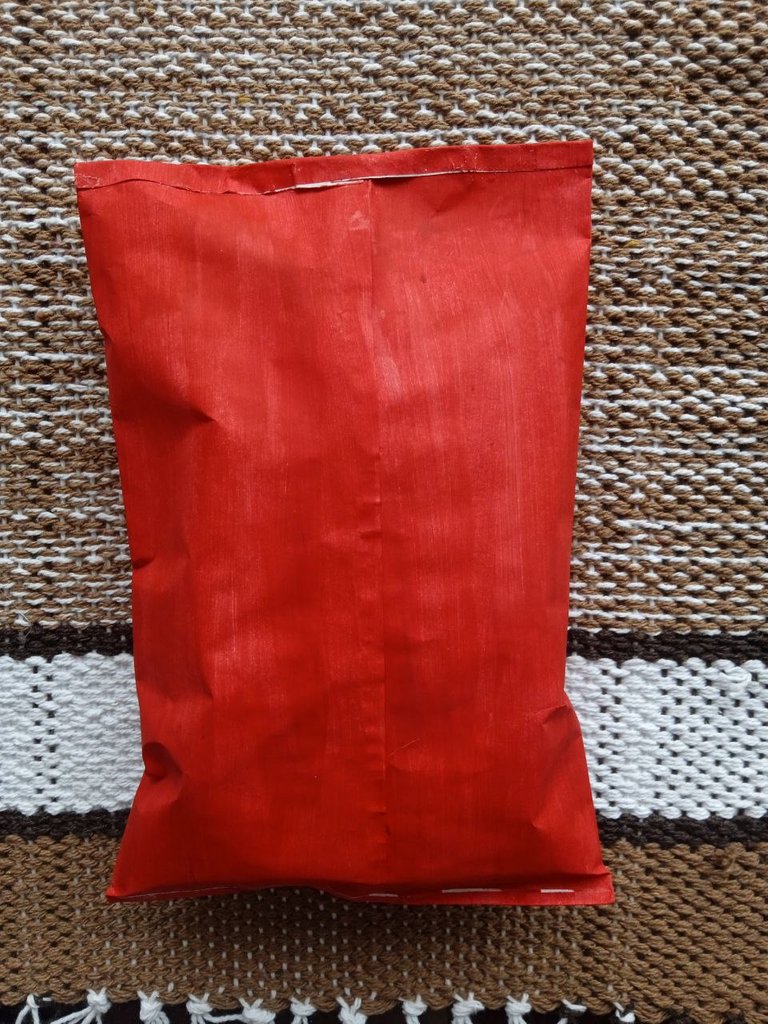
Paso 1
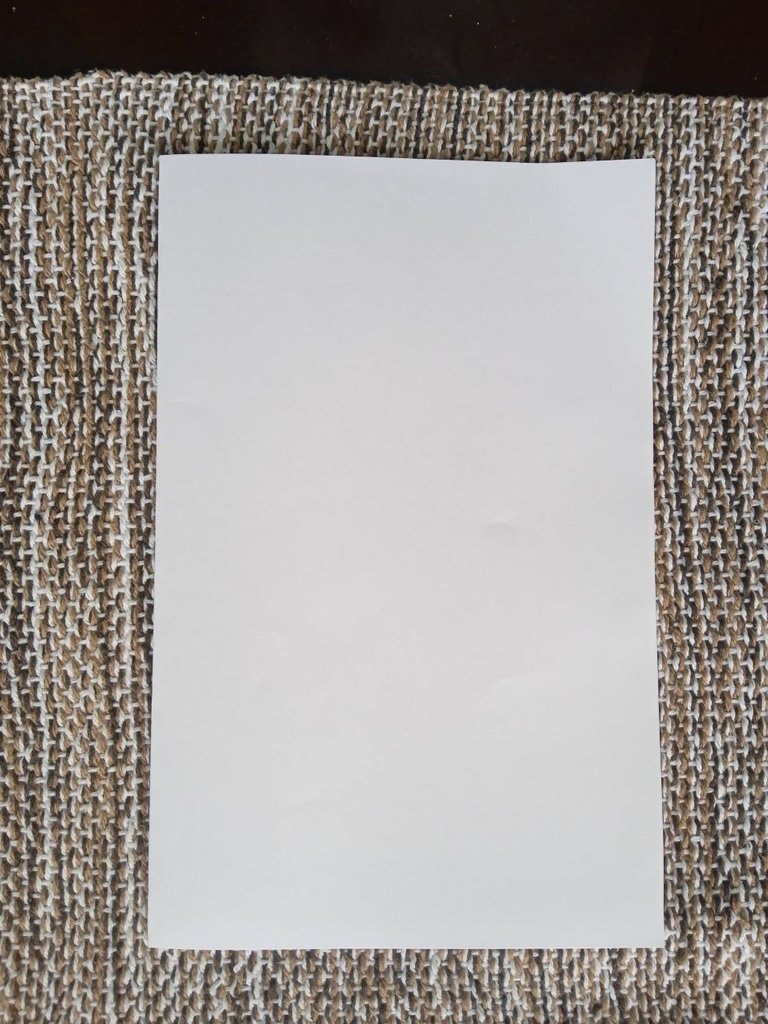
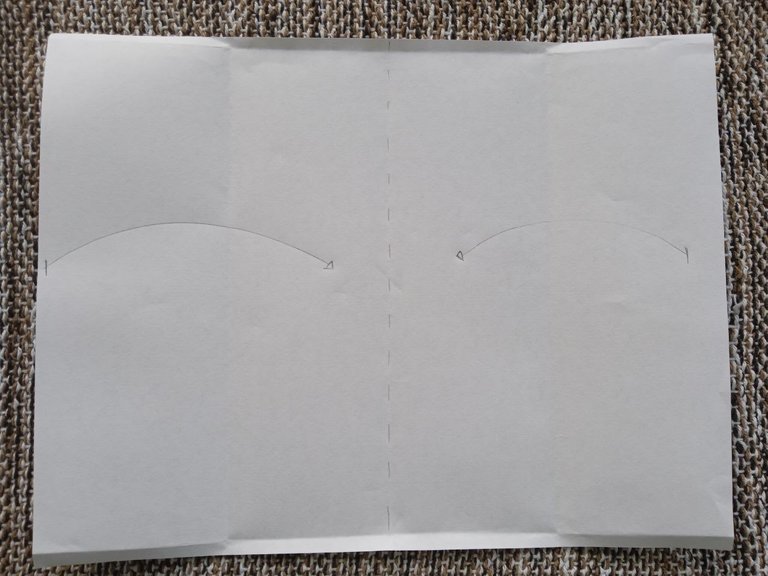
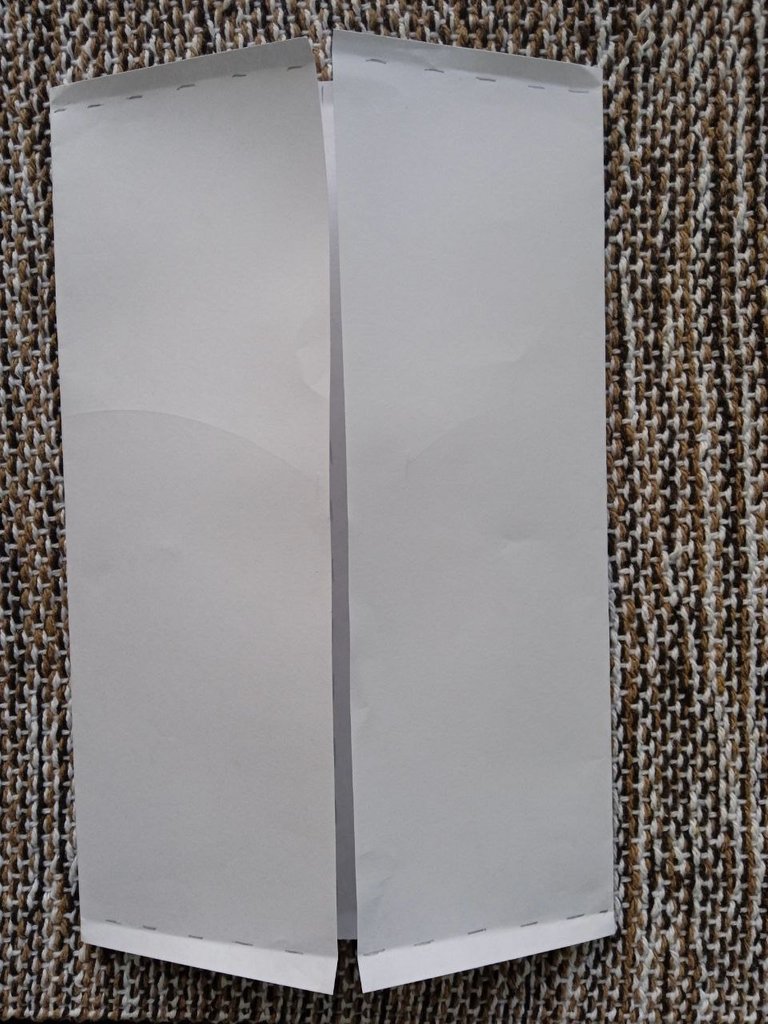
El primer paso comienza doblando la hoja hasta formar una bolsa de papel, de la siguiente manera: doblas la hoja por la mitad, luego la abres y las dos partes se llevan al centro, y listo.
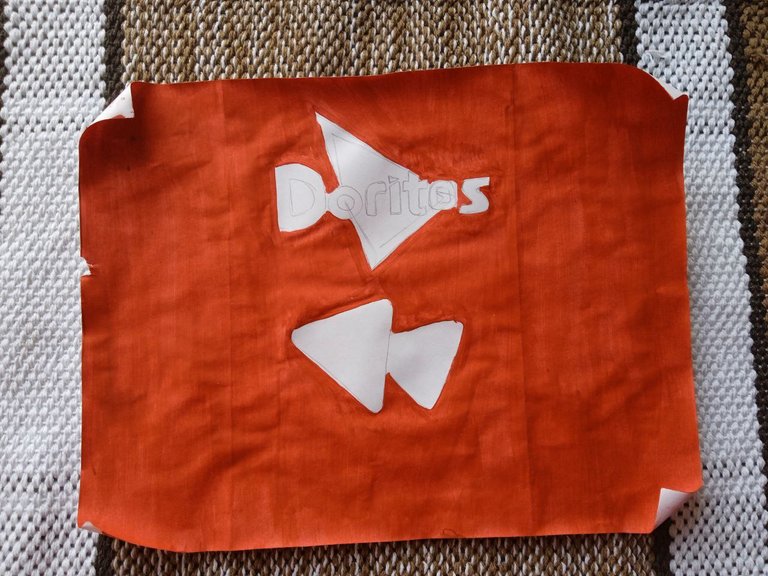
Después empecé a dibujar el boceto del logo de la marca, debo decir que fue un poco difícil recrear un logo, pero con un poco de paciencia y tiempo pude lograr el cometido.
Step 1
The first step starts by folding the sheet until it forms a paper bag, as follows: you fold the sheet in half, then you open it and the two parts are brought to the center, and that's it.
Then I started to draw the sketch of the logo of the brand, I must say that it was a little difficult to recreate a logo, but with a little patience and time I was able to achieve the task.
 |  |  |
|---|
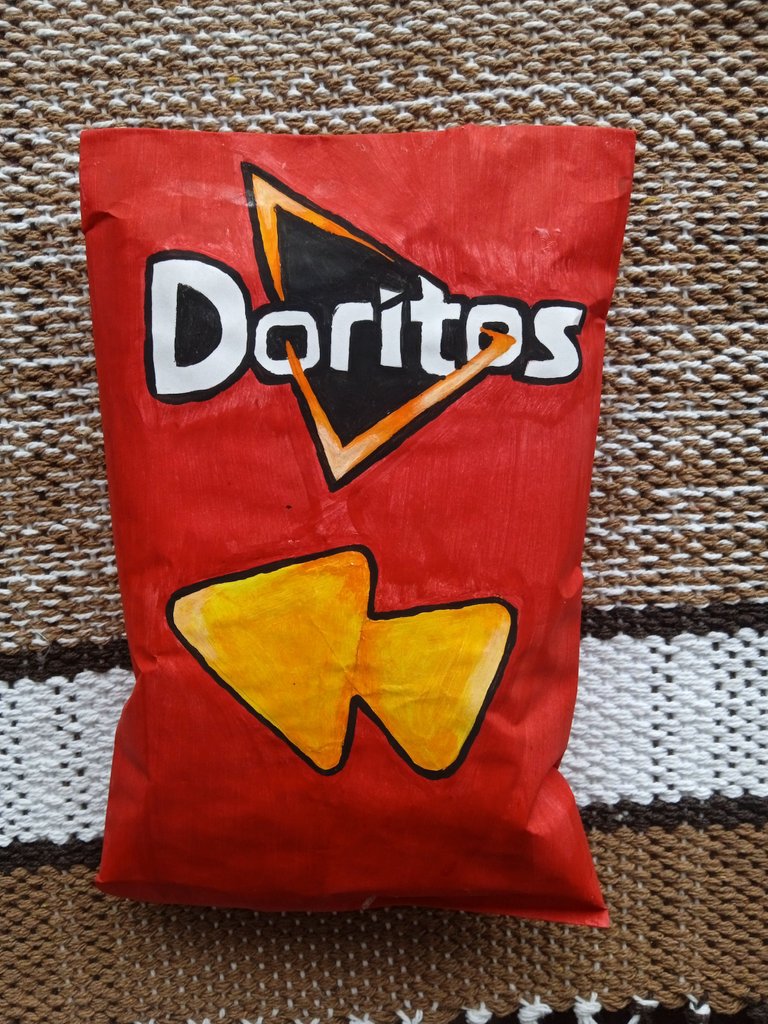
Después pinté toda la hoja de color rojo, dado a qué este color es el que más abunda de todos.
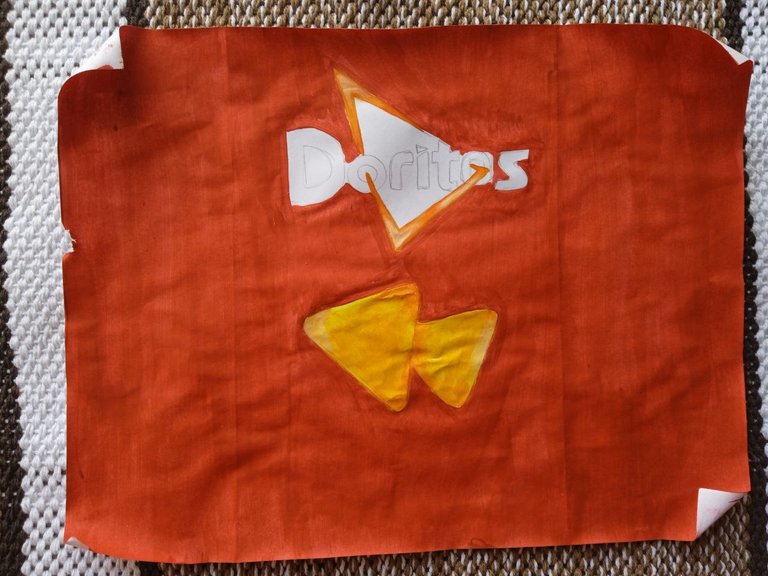
Para los pequeños Doritos en la bolsa, le aplique una capa de amarillo, después en las partes que poseen más sombra difumine un poco de naranja, mientras que para las partes de luz, difumine un poco de blanco.
Consejo: algo que he notado con la práctica fue lo siguiente: si se quiere obtener un degradado perfecto, se deben mezclar las pinturas mientras que están frescas, aplicando el color fuerte en cantidades mínimas, mientras que el color claro se administra en grandes cantidades.
Para el triángulo que se encuentra en las letras del logo fue el mismo proceso que el de los pequeños Doritos, solo que esta vez apliqué una capa de naranja, y en las puntas del mismo triángulo una degradación de los colores rojo y naranja, por otro lado, en las partes claras coloqué amarillo y un poco de blanco.
Step 2 Then I painted the whole leaf in red, since this color is the most abundant of all.
For the little Doritos in the bag, I applied a layer of yellow, then in the parts that have more shadow I blurred a little orange, while for the light parts, I blurred a little white.Tip: something I have noticed with practice was the following: if you want to get a perfect gradient, you should mix the paints while they are fresh, applying the strong color in minimal quantities, while the light color is administered in large quantities.
For the triangle found in the letters of the logo was the same process as the small Doritos, only this time I applied a layer of orange, and at the tips of the same triangle a degradation of the colors red and orange, on the other hand, in the light parts I placed yellow and a little white.
 |  |
|---|
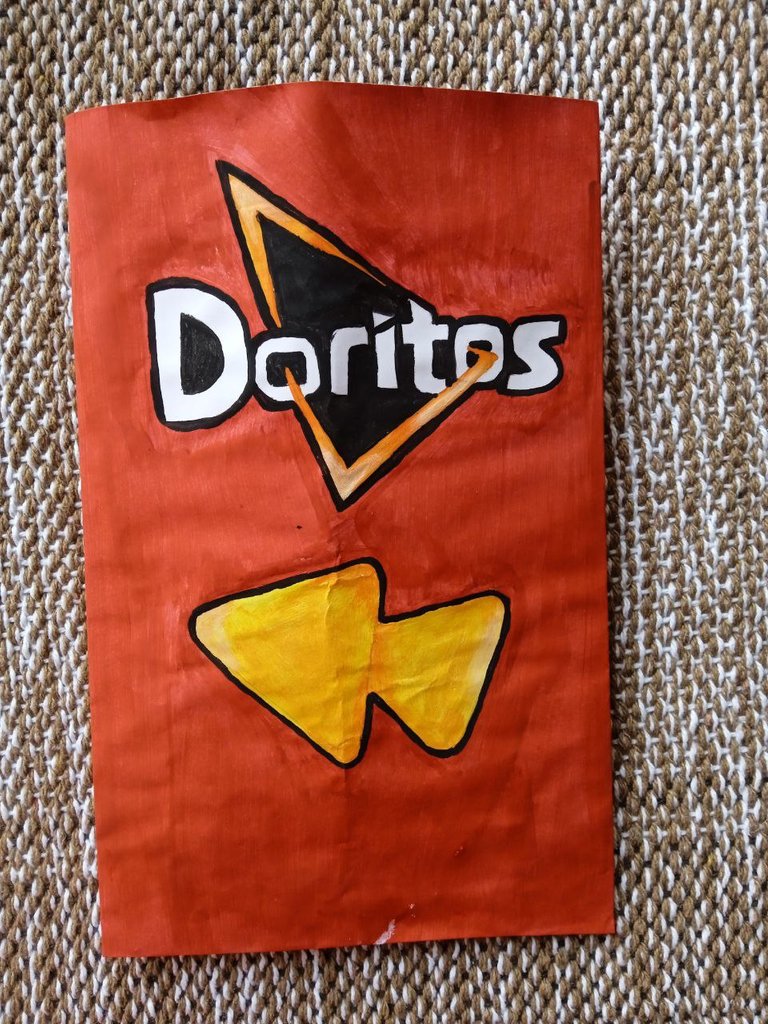
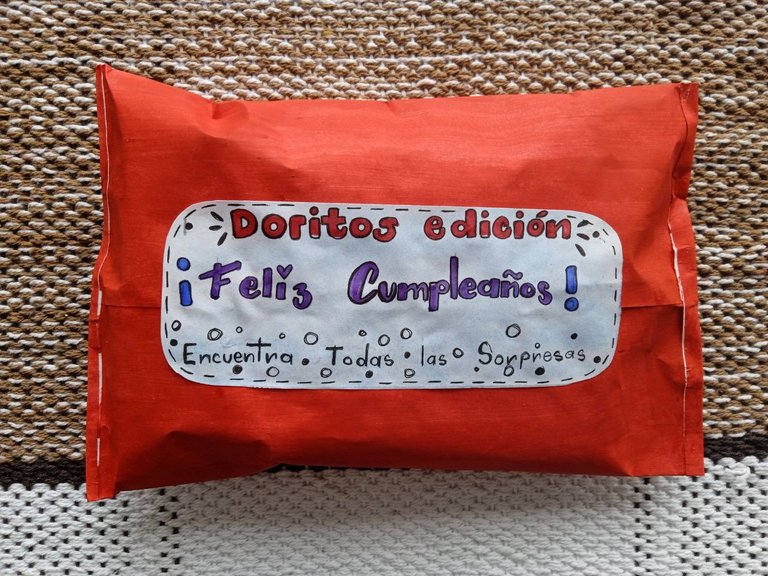
Este fue el paso que me llevó más tiempo, debido a qué debemos delinear todo de color negro, este proceso le da el toque final a la pintura, permite que se vea bien hecho, y también, fue el paso en donde probé nuevamente mi pulso para hacer una línea recta🤭
Cuando sentí que los detalles ya estaban bien hechos, finalmente le terminé de dar forma a la pequeña bolsa, y además, le coloque una etiqueta en la parte de atrás, y para terminar, la llené de dulces✨ ¡Y este fue el resultado final!
Step 3 This was the step that took me more time, because of what we must outline everything in black color, this process gives the final touch to the painting, allows it to look well done, and also, it was the step where I tried again my pulse to make a straight line🤭.
When I felt that the details were well done, I finally finished shaping the little bag, and also, I put a label on the back, and to finish, I filled it with candy✨ And this was the final result!
 |  |  |
|---|
Mi amiga quedó sorprendida con su regalo de cumpleaños, le encantó tanto que no quería romperla para abrirla. Sinceramente, yo también me divertí muchísimo haciendo este regalo, es lindo hacer algo por una de las personas que más quieres, y verlos felices💖
Result My friend was amazed with her birthday gift, she loved it so much that she didn't want to break it to open it. Honestly, I also had a lot of fun making this gift, it's nice to do something for one of the people you love the most, and to see them happy💖
 |  |
|---|
¡Nos volveremos a ver pronto!
See you again soon!
-Bix♡
Mi Instagram para dibujos | My Instagram for drawings
bixland
Todas las imagenes son de mi propiedad
Texto traducido por DeepL
Thank you for using the #diy tag, the go-to-tag to earn and grow your BUIDL power.
You will be upvoted as long as you post plagiarism-free content/images and continue growing your BUIDL Power.
Whenever you are posting anything related to a DIY creation, you can use #diy tag, which will give your posts extra eyeballs and you will be entitled to earn BUIDL tokens as well.
Check out this post for more information about BUIDL tokens.
Likewise, whenever you are posting anything related to hivelist related tags use the #contests, #forsale, #services, #gigs, #events or #fundraising tags and your posts will be featured in https://hivelist.org, which will give your posts extra eyeballs and you will be entitled to earn LIST tokens as well.
That's an interesting idea, it would have never crossed my mind to be honest, so congratulations on the creativity. Also, I hope to see you more active in the near future, on Hive :)
Thank you very much! 💖
I will continue to bring new creative ideas in the future here on Hive .
Congratulations @bixland! You have completed the following achievement on the Hive blockchain And have been rewarded with New badge(s)
Your next target is to reach 600 upvotes.
You can view your badges on your board and compare yourself to others in the Ranking
If you no longer want to receive notifications, reply to this comment with the word
STOPCheck out our last posts:
hola, excelente idea, muy original. Saludos.
¡Hola!, Muchas gracias por leer✨