Foxy eyes with graphic eyeliner in shades of red and black 🥀 | Makeup tutorial. [ESP-ENG]
Hola Hivers! Bienvenidos. || Hello Hivers! Welcome.
Hola chicos! feliz día 💗, espero que se encuentren bien. El día de hoy les comparto este lindo maquillaje, se trata de un foxy eyes con delineado gráfico en dos tonos que combinan muy bien juntos negro y rojo. Por aquí les compartiré los pasos, espero les guste.
Hi guys, happy day 💗, I hope you are feeling well. Today I share with you this nice makeup, it is a foxy eyes with graphic eyeliner in two tones that combine very well together black and red. Here I will share the steps, I hope you like it.

Preparación de los ojos
Paso 1️⃣
Con un jabón de glicerina y un cepillo para cejas haré mis cejas orgánicas, humedezco un poco el jabón y paso el cepillito llenándolo de producto, Despeino un poco mis cejas y luego peino muy bien hacía arriba y voy aplastando con el dedo para que queden bien pegaditas, relleno con sombra de cejas los espacios y corrijo con corrector preparando mi parpado en seguida.
Paso 2️⃣
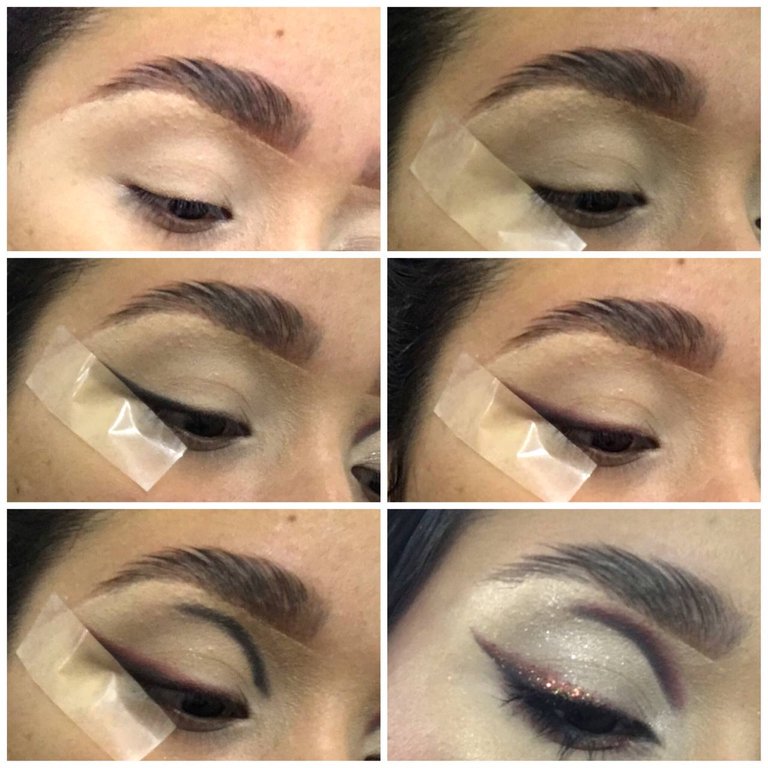
Para iniciar mi maquillaje me ayudaré con cinta adhesiva, La adhiero en la esquina exterior del ojo, en diagonal hacía el final de la ceja.
Paso 3️⃣
Con una brochita plana aplicaré el primer tono que será el negro cerca de las pestañas y la cinta como si fuese a delinear mi ojo.
Paso 4️⃣
Con un tono vino empezaré a difuminar con mucho cuidado el negro llevándolo un poco hacía arriba pero siguiendo siempre la misma dirección del tono negro, luego tomaré un tono rojo y difuminaré el segundo tono (vino).
Paso 5️⃣
Para realizar el delineado gráfico en la parte de arriba tomaré sombra en tono negro y con ayuda de una brochita pequeña le hago la forma de cut crease pero hasta la mitad de párpado y difuminaré con los mismos tonos que use en la parte del delineado, para que quedé más marcado corrijo con corrector.
Paso 6️⃣
Aplico un poco de glitter prensado en tono rojo y vino sobre mi delineado para hacerlo más llamativo. Enmarque el lagrimal de mis ojos con una ''V'' pequeñita que es lo caracteriza a estos maquillajes foxy.
Preparation of the eyes
Step 1️⃣
With a glycerin soap and an eyebrow brush I will make my organic eyebrows, I dampen the soap a little and pass the brush filling it with product, I tousle my eyebrows a little and then comb very well upwards and I go flattening with my finger so they are well glued, I fill with eyebrow shadow the spaces and correct with concealer preparing my eyelid right away.Step 2️⃣
To start my makeup I will help myself with masking tape, I adhere it on the outer corner of the eye, diagonally towards the end of the eyebrow.Step 3️⃣
With a flat brush I will apply the first shade which will be black near the lashes and the tape as if I were going to outline my eye.Step 4️⃣
With a wine shade I will start blurring very carefully the black bringing it a little bit upwards but always following the same direction of the black shade, then I will take a red shade and blur the second shade (wine).Step 5️⃣
To make the graphic eyeliner on the top I will take shadow in black tone and with the help of a small brush I make the cut crease shape but until the middle of eyelid and blur with the same tones that I used in the eyeliner part, to make it more marked I correct with concealer.Step 6️⃣
I apply some pressed glitter in red and wine tone over my eyeliner to make it more striking. I framed the tear trough of my eyes with a tiny ''V'' which is what characterizes these foxy makeups.
Preparación del rostro
Paso 1️⃣
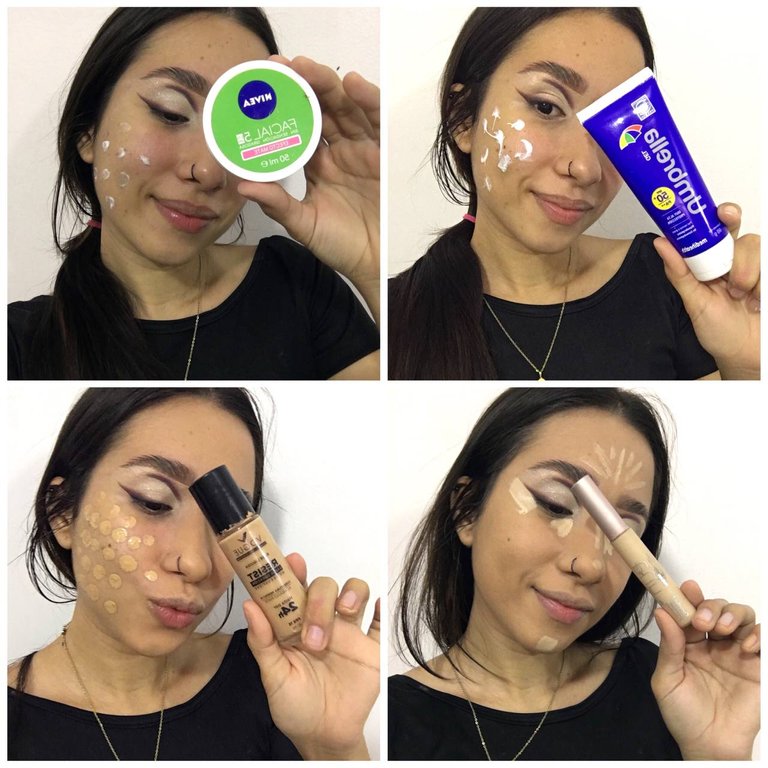
Hidrato mi piel con crema nivea efecto matificante, aplico mi protector solar y sello con primer. Continuaré aplicando mi base vogue en el tono natural con una brocha plana y unificaré con una beauty blender húmeda.
Paso 2️⃣
Aplico corrector natura tono #1 en la zona de las ojeras, mentón, frente y nariz para empezar a perfilarla, Difumino muy bien con una brochita y luego unifico con una beauty blender.
Preparation of the face
Step 1️⃣
I moisturize my skin with nivea mattifying effect cream, apply my sunscreen and seal with primer. I continue to apply my vogue foundation in the natural shade with a flat brush and blend with a damp beauty blender.Step 2️⃣.
I apply natura concealer shade #1 on the under eye circles, chin, forehead and nose area to start outlining it, I blend very well with a flat brush and then blend with a beauty blender.
Paso 3️⃣
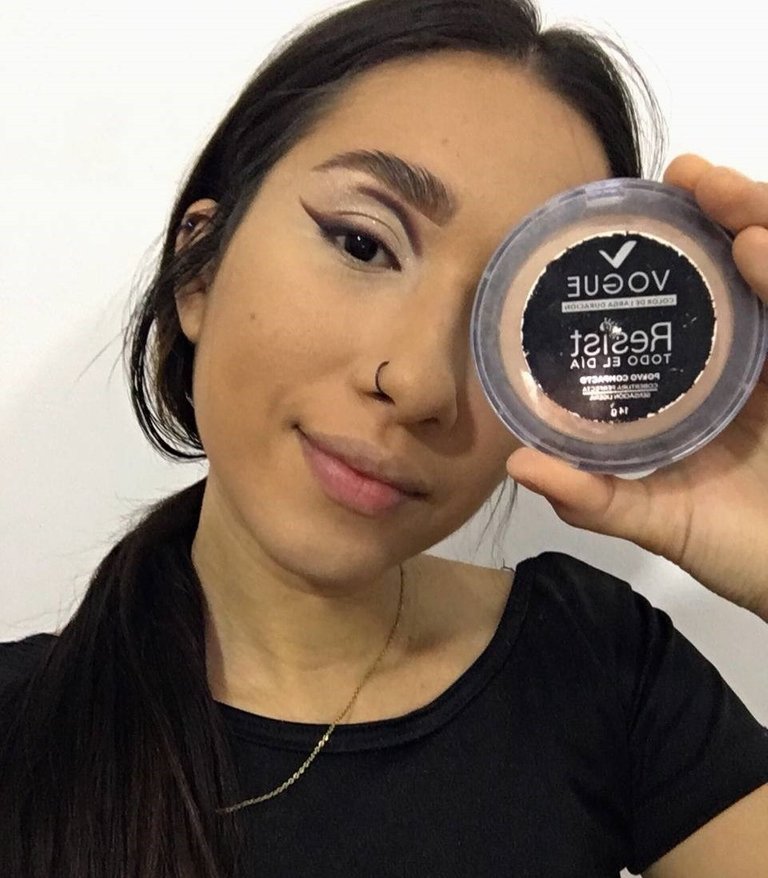
Sello mi corrector con el polvo compacto vogue resist tono camuflaje (Lo hago con polvo compacto ya que mi polvo suelto es un poco amarillento), termino de sellar el resto de mi rostro con el polvo suelto de Mon Rêve en el tono #23.
Paso 4️⃣
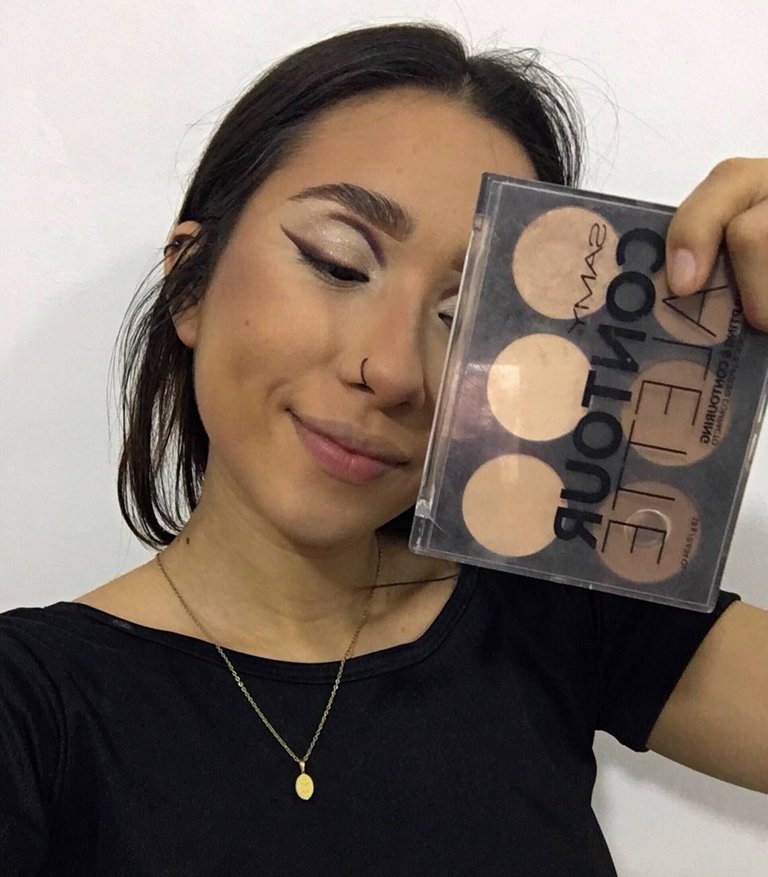
Aplico mi contorno + blush en un solo paso con una brocha angular, estaré usando mi paleta de contornos en polvo de la marca samy + mi blush de Catrice en el tono burgundy.
Step 3️⃣
I seal my concealer with the vogue resist compact powder shade camouflage (I do this with pressed powder since my loose powder is a bit yellowish), I finish sealing the rest of my face with Mon Rêve loose powder in shade #23.Step 4️⃣.
I apply my contour + blush in one step with an angled brush, I will be using my samy brand powder contour palette + my Catrice blush in shade burgundy.
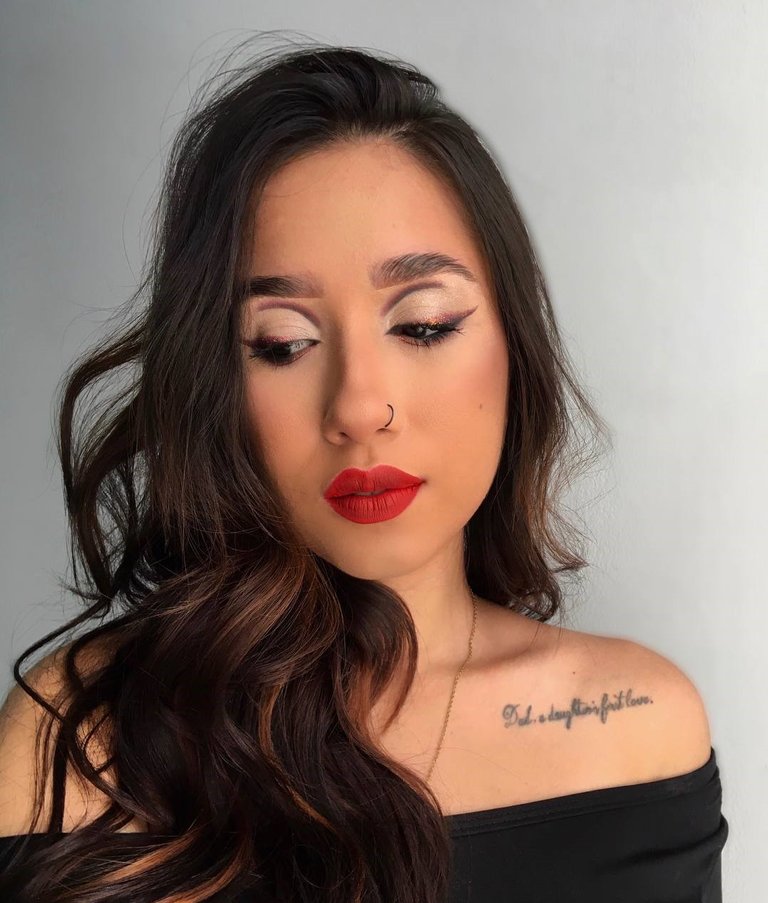
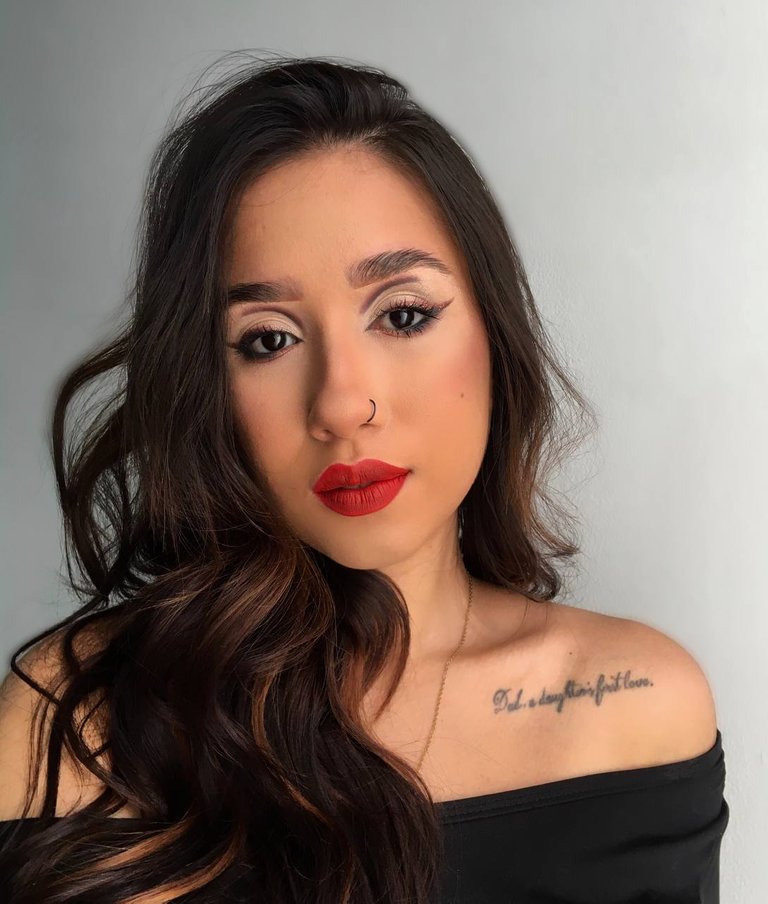
Para finalizar el maquillaje aplique sombra negra cerca de las pestañas inferiores hasta la mitad del ojo y difuminé con el tono rojo, delineé con lápiz negro a prueba de agua, aplique iluminador, y por supuesto no podía faltar como labial uno líquido mate en tono rojo.
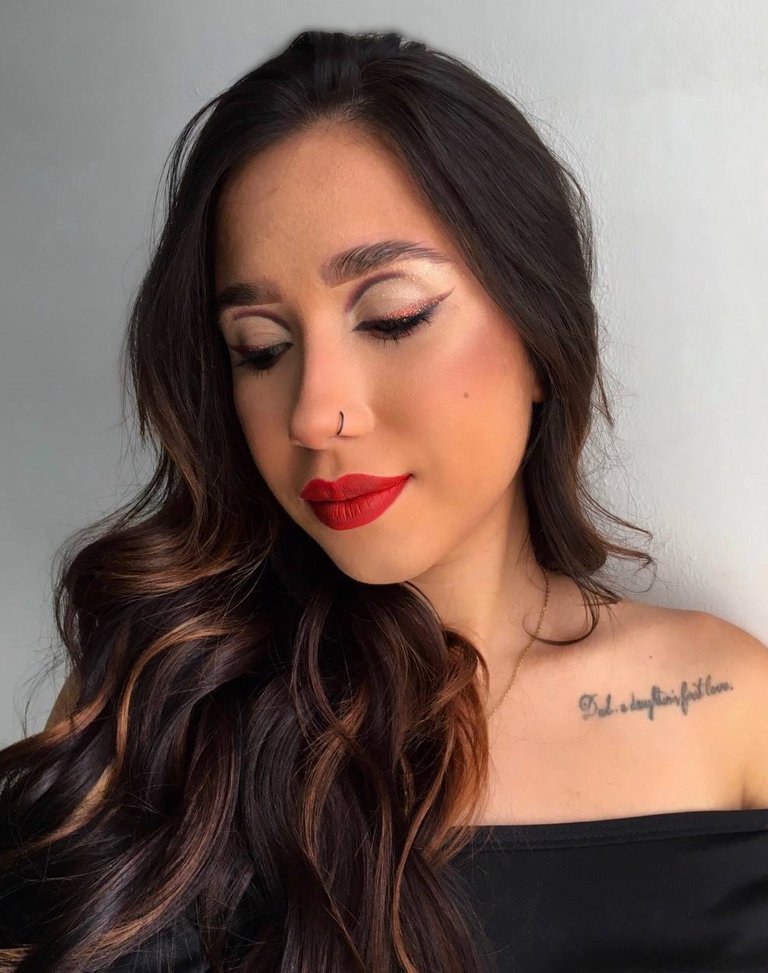
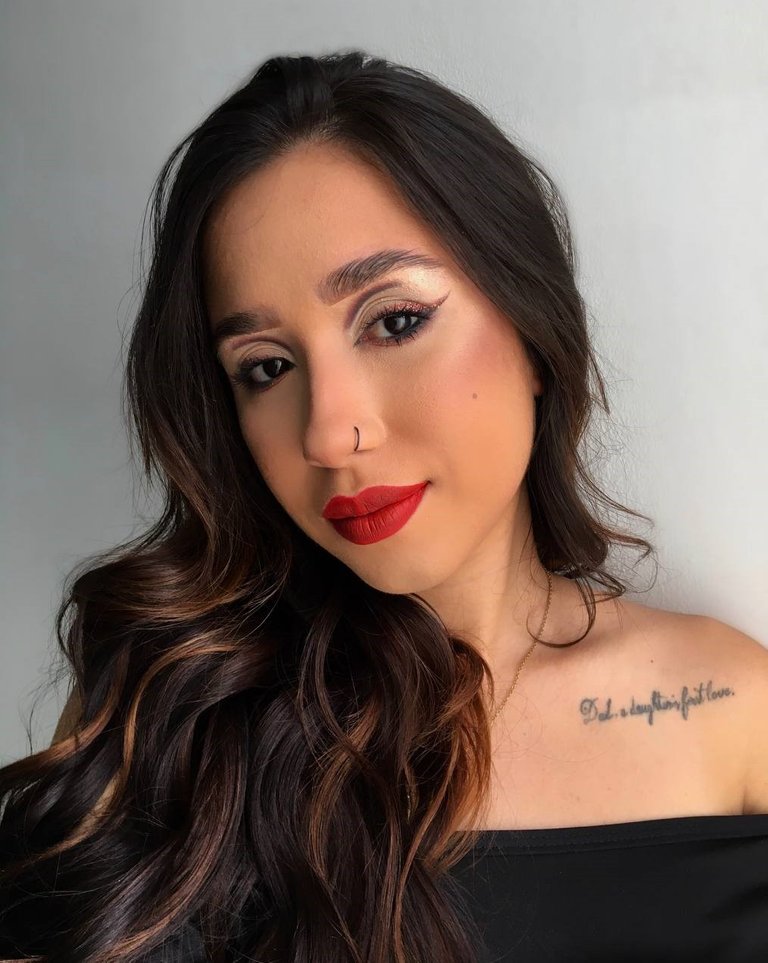
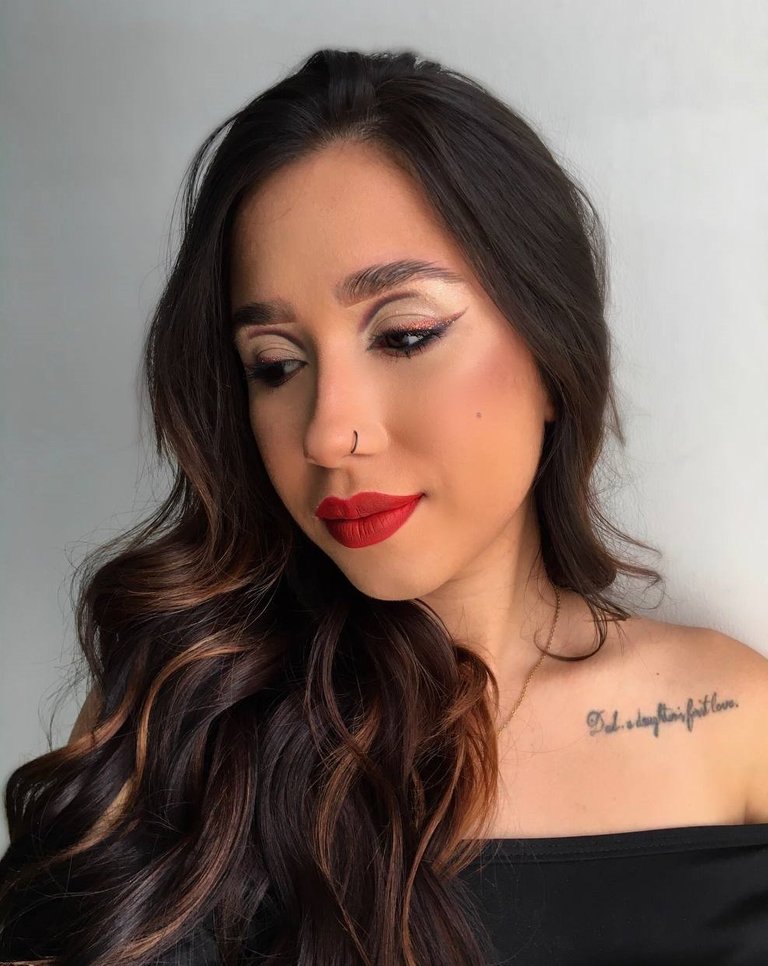
Este fue el resultado, a mi en lo personal me gustó muchísimo, un maquillaje bastante sencillo pero lindo, los labios y el glitter prensado le dieron el toque. Espero les haya gustado el resultado y se animen a hacerlo, yo disfruté mucho el proceso.
Me gustaría que me contaras en un comentario ¿Prefieres los labios con full color o en tono nude? Gracias por haber llegado hasta aquí, un abrazo 💙
To finish the makeup I applied black shadow near the lower lashes to the middle of the eye and blended with the red tone, I lined with black waterproof pencil, applied highlighter, and of course I could not miss a mate liquid lipstick in red tone.
This was the result, I personally liked it a lot, a very simple but nice makeup, the lips and the pressed glitter gave it the touch. I hope you liked the result and I encourage you to do it, I really enjoyed the process.
I would like to hear from you in a comment, do you prefer full color lips or nude lips? Thank you for having come this far, hugs 💙
Separador de texto | Text separator: Separadores de texto para blog
Texto traducido en | Text translated in: Deepl
Imagenes tomadas por mi | Images taken by me
Has sido votado por
PROYECTO ENLACE
'Conectando Ideas y Comunidades'
PROYECTO ENLACE es un proyecto de curación de habla hispana enfocado en recompensar contenido de calidad y apoyar autores en su proceso de crecimiento en HIVE.
Creemos y apostamos por el futuro de esta gran plataforma, y estamos muy emocionados de poder hacerla crecer junto a esta comunidad. Así que te invitamos a usar nuestra etiqueta ENLACE y estar atento a todas las actividades que tenemos preparadas y que estaremos publicando en breve.
¿QUIERES AUTOMATIZAR TUS GANANCIAS DE CURACIÓN? SE PARTE DEL PROYECTO ENLACE APOYANDO A NUESTRO TRAIL EN HIVE.VOTE INGRESA AQUÍ PARA CONOCER LOS DETALLES.
¿QUIERES INVERTIR ENLACE? DESCUBRE COMO HACERLO Y GENERAR INGRESOS DE FORMA SEMANAL MEDIANTE TU DELEGACIÓN DE HP AQUÍ TE EXPLICAMOS COMO.
Te invitamos a participar en nuestro servidor de Discord: https://discord.gg/3S9y7BbWfS
Atentamente
EQUIPO ENLACE 2022
Congratulations @bluevibes! You have completed the following achievement on the Hive blockchain and have been rewarded with new badge(s):
Your next target is to reach 70 posts.
You can view your badges on your board and compare yourself to others in the Ranking
If you no longer want to receive notifications, reply to this comment with the word
STOPTo support your work, I also upvoted your post!
Check out the last post from @hivebuzz:
Support the HiveBuzz project. Vote for our proposal!
https://twitter.com/Blue__vibes/status/1567517173530202115
The rewards earned on this comment will go directly to the people sharing the post on Twitter as long as they are registered with @poshtoken. Sign up at https://hiveposh.com.
Esta hermoso ❤️
Gracias Vero 💗
Se ve genial , me gusta la forma de eyeline en todas sus variantes 😊
Gracias, me alegra mucho que te haya gustado 💗
Que hermoso maquillaje ❤️
Gracias Gaby 💗
Vi ese tirro en los ojos y me dió grima jejeje, te quedó muy bonito el maquillaje, tienes talento 👏🏾.