Some light DIY over the weekend
This past weekend I did a little project in our house. It's something that @mrsbozz has wanted taken care of for a long time, but for some reason I just never had the motivation to do it. Looking back now, if I had realized how easy it was, I would have done it a long time ago.
That's a free lesson for all you husbands out there. Do with it what you will.
Let me go back to the beginning.
After years of staring at the old nasty broken blinds that came with the house when we bought it in the kitchen and bathroom, my wife decided that something needed to be done about it. She started doing some research and asked me to get the measurements of the window.
We made our way to the local home improvement store only to find that our windows were a custom size and we would have to order the new blinds online versus picking them up that day.
A little defeated, we headed back home and continued with our day. Later that night, I jumped on the Lowe's webpage and I found what I was looking for. I placed my order with a total of $120 for the two blinds and expected them to ship the items within a couple of weeks.
The next day I get an email from Lowe's that my custom blinds are going to take longer to get than they expected. Instead of the week or two they had originally indicated, it was now going to take six months. They wanted to know if I would like to cancel the order or accept the new delivery date.
I quickly cancelled the order and jumped over to the Home Depot page. There I found similar blinds for half the price of the ones at Lowe's and they showed up on my doorstep within a week!
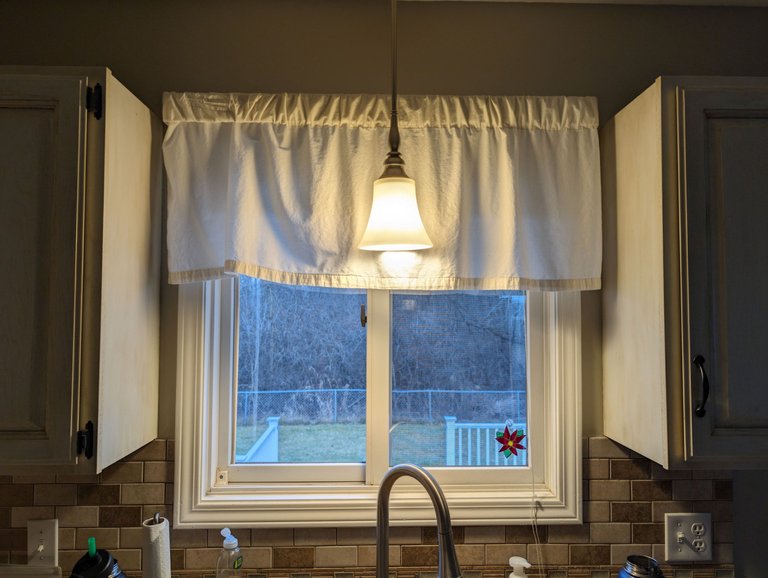
I did the bathroom blinds first and I forgot to take any photos while I was doing that, so you are going to have to settle for just the kitchen. The first step was to take down the valance that was covering the top of the blinds.
The next step was removing the old blind. That was as simple as pulling a couple plastic pieces off the ends and then pulling it forward out of the bracket that it was resting in. There was a piece in the center that held the blinds for support. You had to lift up and over to get it past that.
With the blind out of the way, I took down the old brackets which was a little difficult because I had to lean over the sink to do it. I ended up having to get a step stool so I could get the right angle.

The next step was installing the new brackets for the new blinds. We increased the size of the blinds from 1 inch slats to 2 inch slats, so the brackets extended past the window frame a bit. I was worried about that at first, but once I realized the new blinds and the valance would cover all of it, I didn't feel so bad.
I used the supplied screws (which were quite long) to install the brackets, so I have a lot of faith that they are not going anywhere.
With the brackets firmly in place, the final step was relatively easy. All you had to do was tilt in the new blinds until they locked into place. With them fully secured, I then pulled them down to their full length as you can see in the photo above.
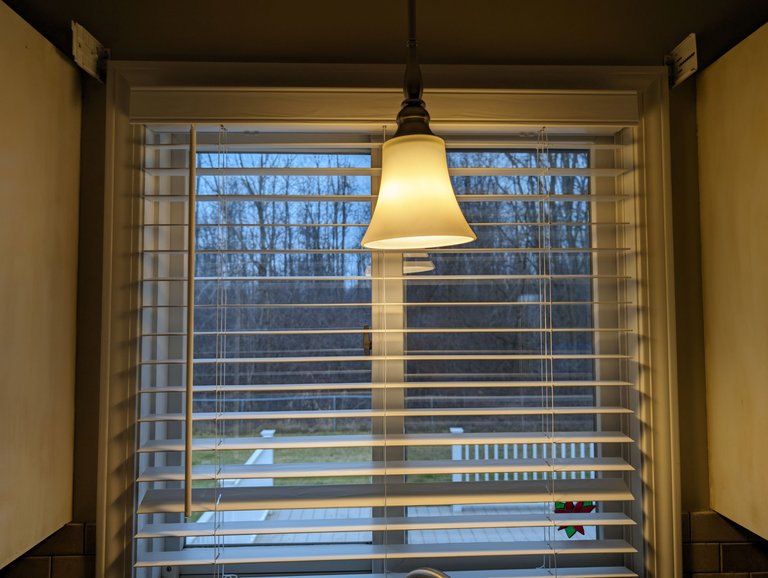
Unlike our old blinds, there are no strings you have to pull to raise and lower these blinds. They have a tension component in the top part that simply allows you to move them up and down by hand and they stay in place.
There is a rod that you use to tilt them up and down, but that attaches with a powerful magnet and can easily be removed if you want to.
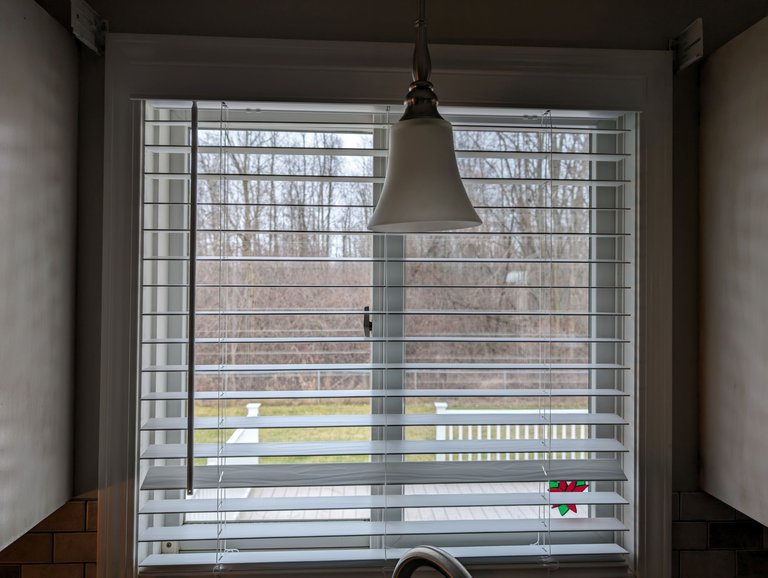
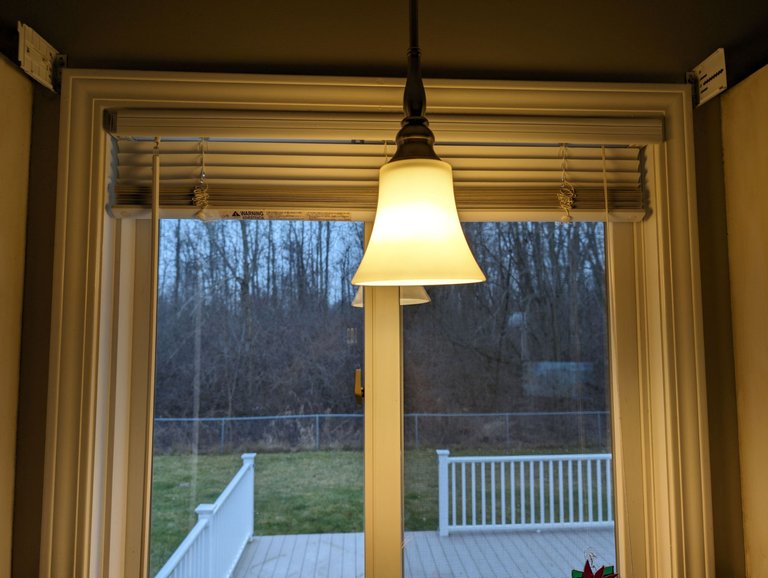
Here's a little better shot with the light off so you don't get that piss yellow tone to the whole photo.
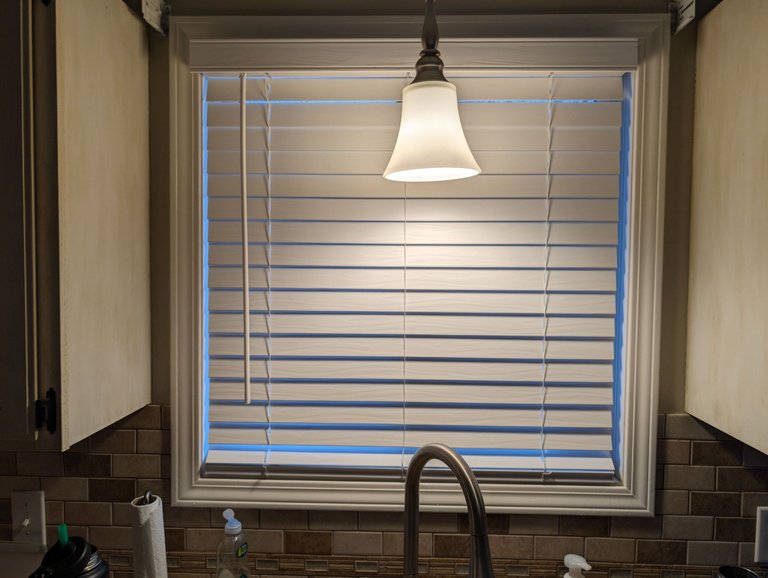
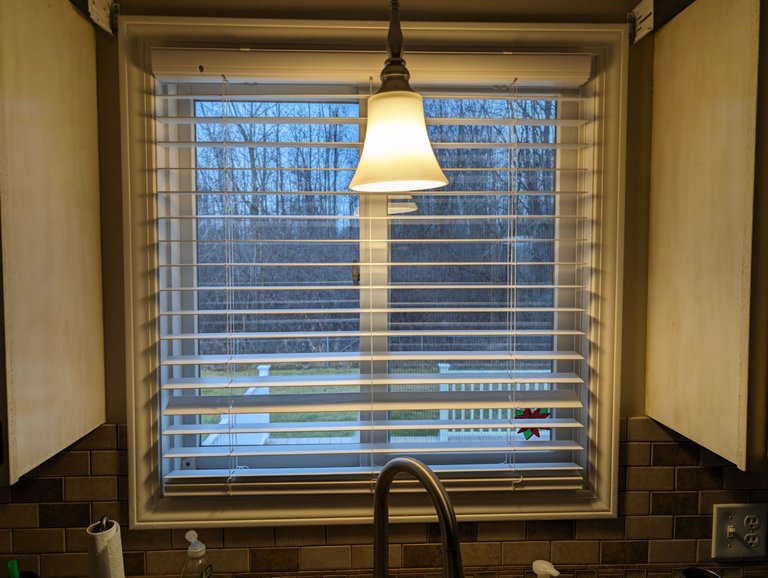
Here is another shot with the slats tilted down. If I had this to do over again, the one thing I would do is I would probably get a shorter length. The window itself actually measured 33 inches by 33 inches. I went with a 33 inch wide by 34 inch long blind because that's all they seemed to have available. Looking back, the 34 inches is a little too long, so it leaves a little bit of a gap at the bottom when you close the slats.
You can just make it out in the photo above. Pretty minor in the grand scheme of things. Our old blinds were missing huge portions of the slats that had broken off, so this is still an improvement!
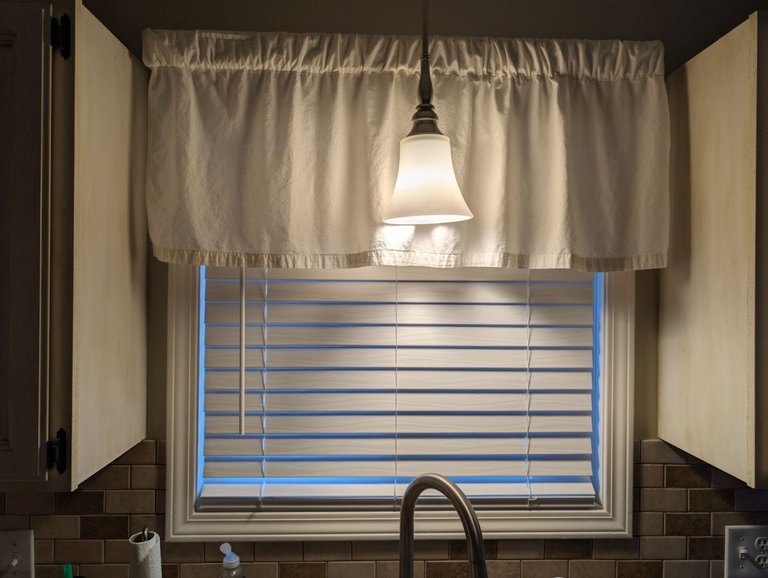
At that point, the only thing left to do was to put the valance back on and pack up my tools. It actually only took a screwdriver and my battery drill to get these installed. Quite easy for a Saturday morning. I had both rooms done in the span of about half an hour and an extremely happy wife for the remainder of the day!
Not too bad!
Sports Talk Social - @bozz.sports

Great job Bozz! 👍 It does look better without the yellow tone. Lucky Lowes had such a long delivery time to spur you into action. I have a few jobs lined up right now myself, got to hang a few cupboards and some wallpapering.. getting started is the hardest part! 😀
It really is. I still have to finish what my wife started in the downstairs bathroom and I just keep putting it off. I hate drywall work, so that is part of it too.
Good work! It looks a lot nicer!
Thank you!
Glad to see you are doing your job very well.
I have my moments!
That's good.
That looks very neat and well-arranged! Kudos buddy, I have a DIY project I will be embarking on sometime next week, will definitely share and give you some heads up!
Looking forward to seeing it. Definitely be sure to tag me!
I actually love this kind of light. You actually did a great job for your house
That’s a nice one!
Thanks, I appreciate it!
Hehe! Now I wish my husband was here reading this😂
You actually did a great job and it looks perfectly fine.
Thank you, I appreciate it!
Nice job, well done, but it looks the light is a little bit off balance, not straight. 🤫
It's on a pole that swings so it probably was a bit off!
These look great. I had the smart lock for my former home's front door for almost a year before I installed it because I thought it would take forever. It was done in less than 10 minutes.
Don't you love it when that happens?
Congratulations @bozz! You have completed the following achievement on the Hive blockchain And have been rewarded with New badge(s)
Your next target is to reach 330000 upvotes.
You can view your badges on your board and compare yourself to others in the Ranking
If you no longer want to receive notifications, reply to this comment with the word
STOPThis is a great work here
Many thanks!
You have done a great job, I congratulate you. A very stylish and beautiful image has emerged.
Thank you, I appreciate it!
I really like how your window turned out in the end. For sure, your wife is a lot happy with what you did!
Thank you!
Now I wish my boyfriend had a Hive account so he could see this and take note, lol 🤣
Haha, I totally understand!
Piss yellow tone to the whole photo 😂 Guess the next project will be to change that light bulb to another more cooler tone. hehehehehe
Looks good! You can see Jovi nice outside that window if needed.
I have to get out and buy 8 more sets for the 1st floor dining and living room. after 15+ years the others dry rotted away and are falling off the windows. I can not believe how expensive they got over the years!
Yeah, that is what was happening to our other ones. @mrsbozz was trying to clean them the other day while she was off work and they just fell apart in her hand. I think that was the real catalyst for us finally replacing them!
Yeah.. At that point I think it's time.
Hello bozz!
It's nice to let you know that your article will take 4th place.
Your post is among 15 Best articles voted 7 days ago by the @hive-lu | King Lucoin Curator by nuthman
You receive 🎖 4.4 unique LUBEST tokens as a reward. You can support Lu world and your curator, then he and you will receive 10x more of the winning token. There is a buyout offer waiting for him on the stock exchange. All you need to do is reblog Daily Report 175 with your winnings.
Buy Lu on the Hive-Engine exchange | World of Lu created by szejq
STOPor to resume write a wordSTART