¡Mamá el sombrero! Carnival hat [Esp- Eng]
Saludos amigos. Les cuento hoy, que ayer mi hijo me ´puso en apuros porque le pidieron en el liceo un sombrero de carnaval y debía entregarlo hoy. Lo había olvidado por completo y no dejaré que quede como irresponsable. Cometí el error de no ponerlo a trabajar conmigo pero no le gustan las manualidades y sus compromisos con el entrenamiento de baloncesto le hicieron más corto el tiempo.
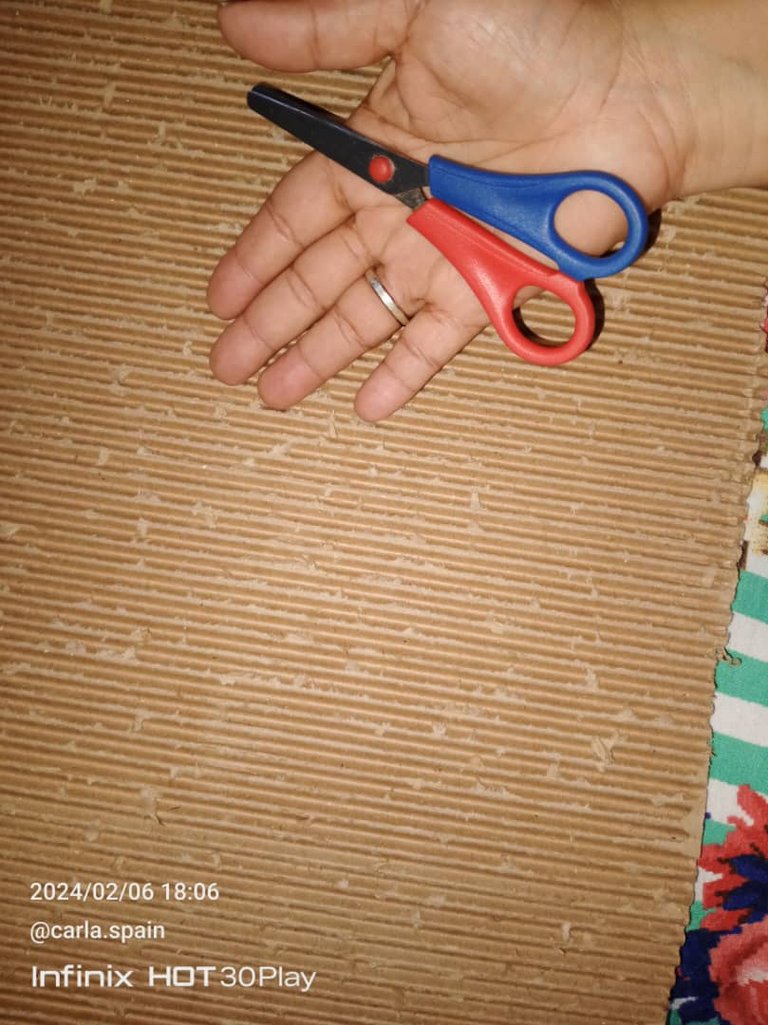
Tome lo que tenía a la mano, cartón, pintura al frío verde y amarila, tijeras, pega, papel crepé azul y foami blanco. Pues bien me puse manos a la obra.
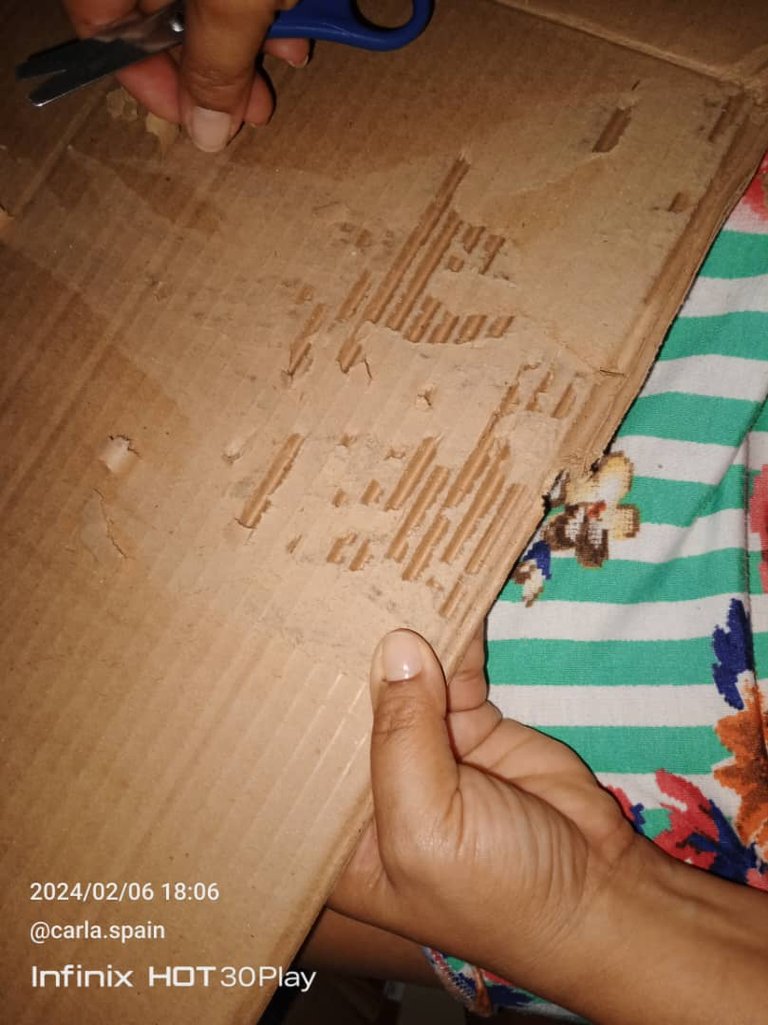
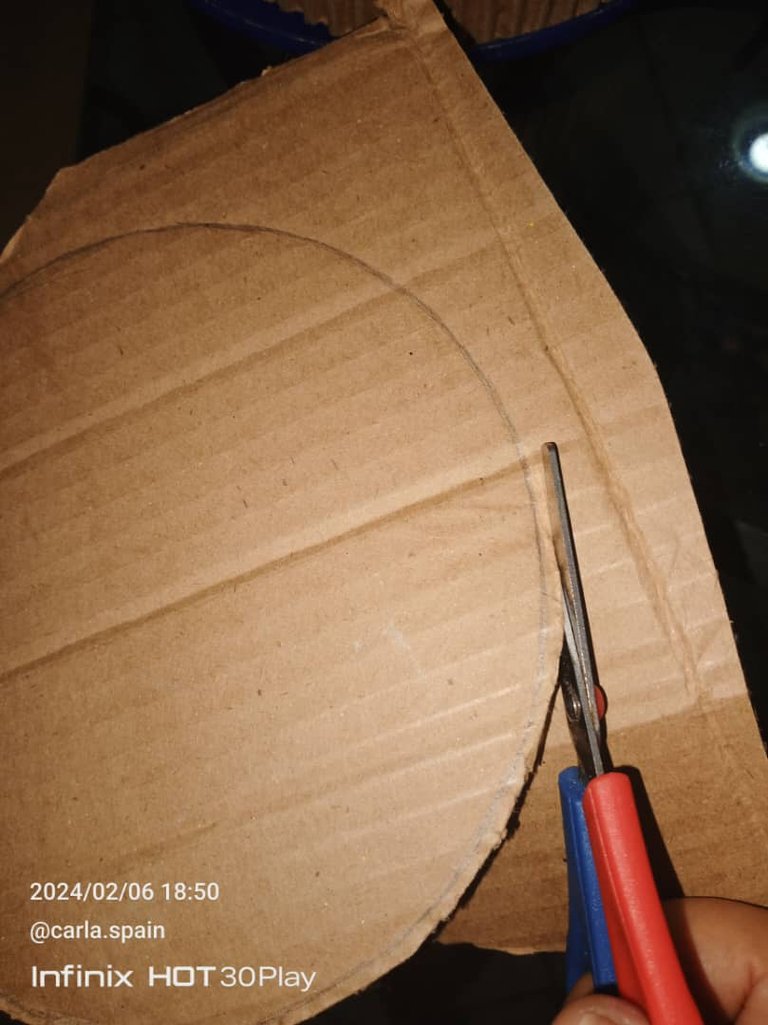
Lo primero fue quitar un lado del cartón, es decir retirar una de las capas, para que éste pueda doblarse y tomar la forma cilíndrica de un sombrero. Al hacer esto y retirar bien esa capa, queda acanalado y ese lado debe ser el que quede expuesto, si se hace al contrario no dobla con facilidad.
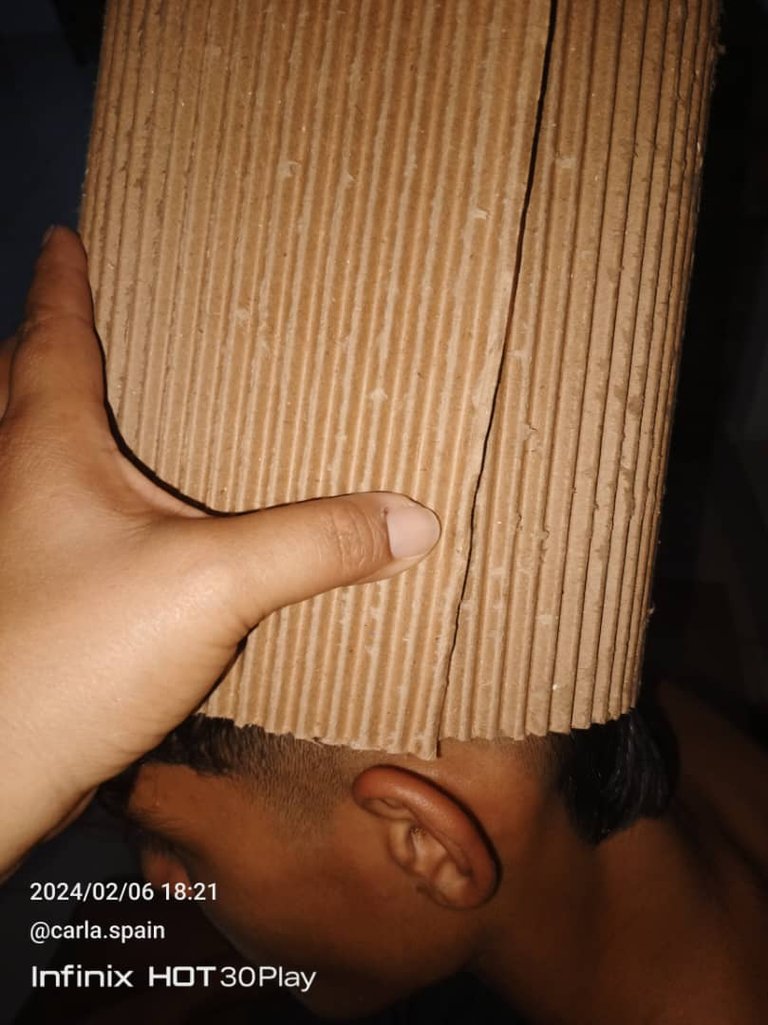
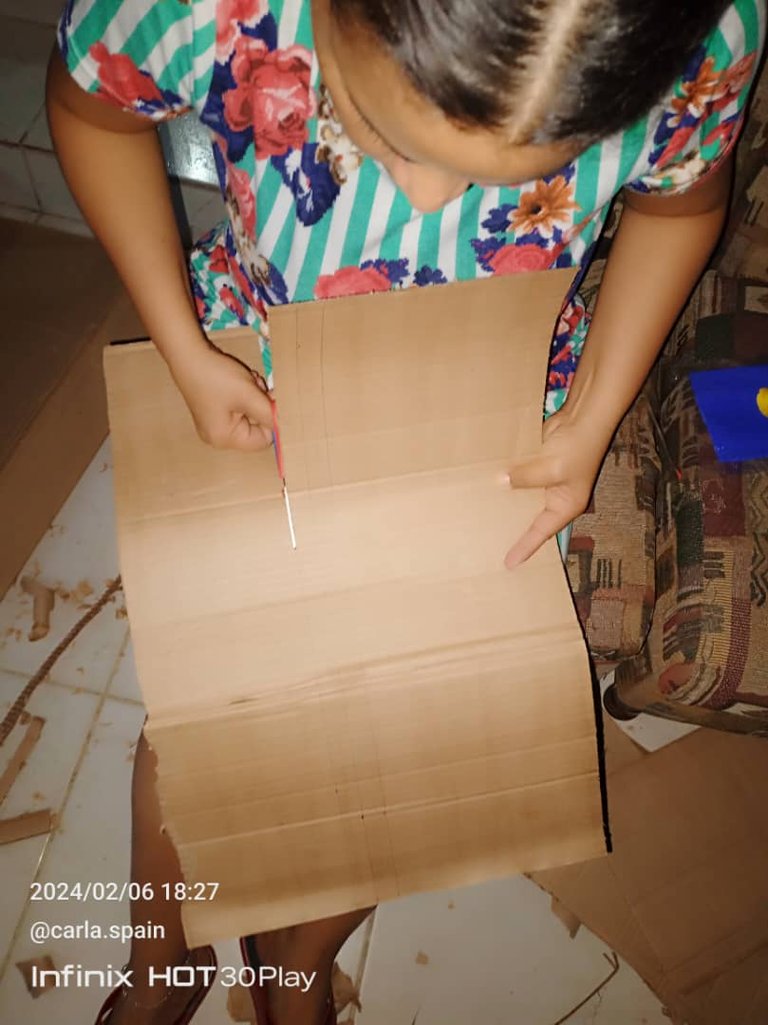
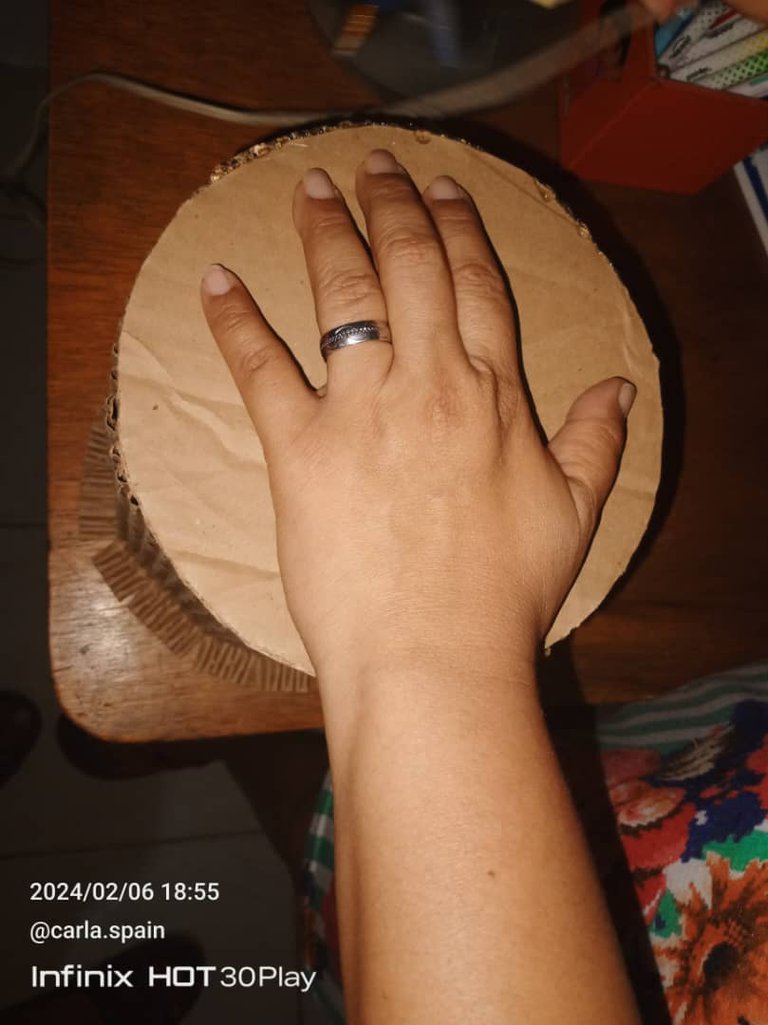
El segundo paso fue medir en la cabeza de mi hijo el tamaño ideal del cilindro. Quedó de 20 centímetros de alto. Luego recorte el excedente.
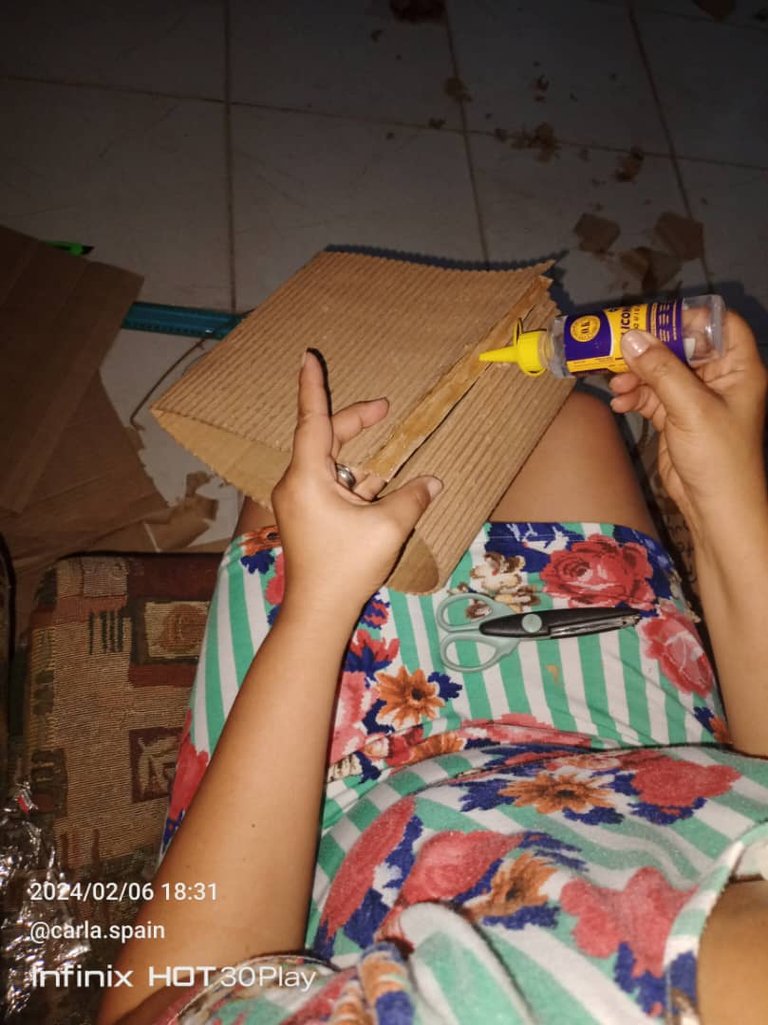
Seguidamente hice una separación entre las 2 capas del cartón para insertar el otro lado y pegar el cilindro.
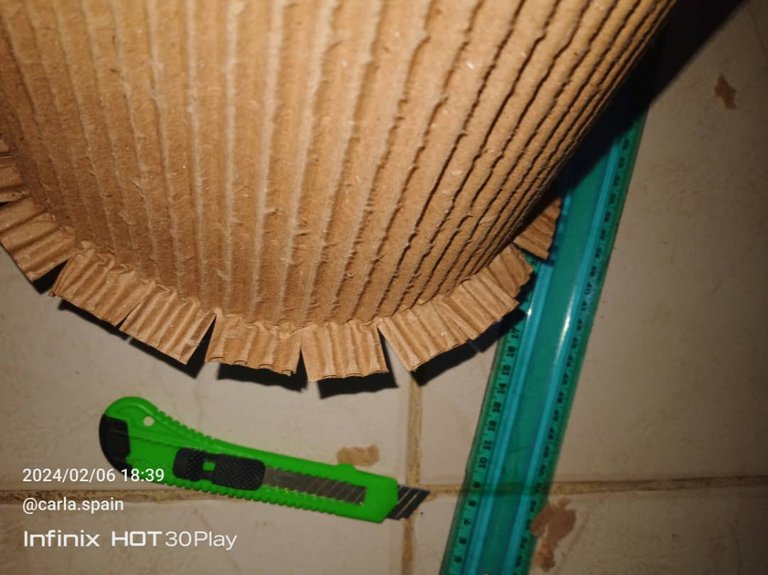
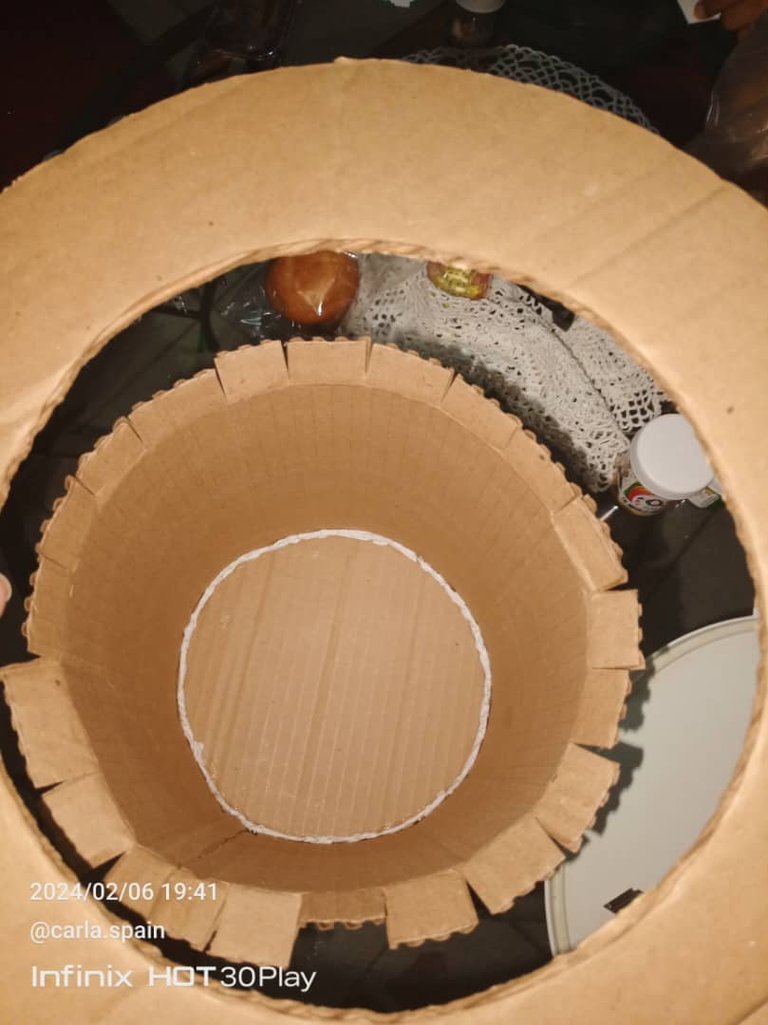
Una vez pegados ambos lados y darle forma al cilindro, hice una pestaña hacia afuera para facilitar el pegado del borde del sombrero.
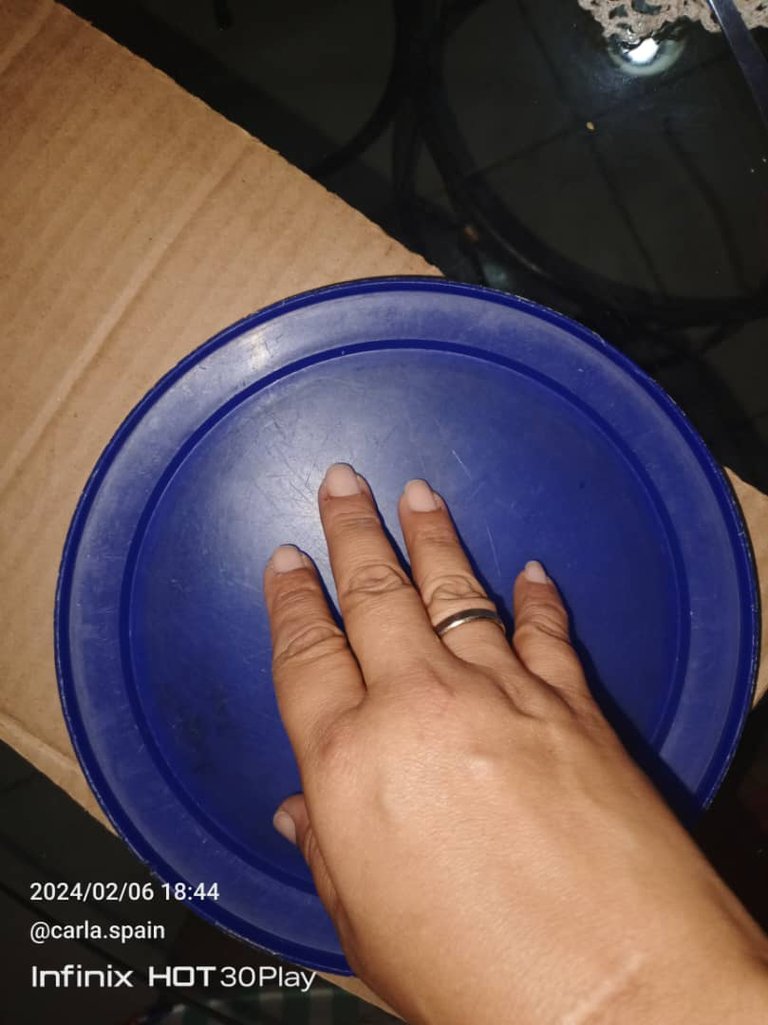
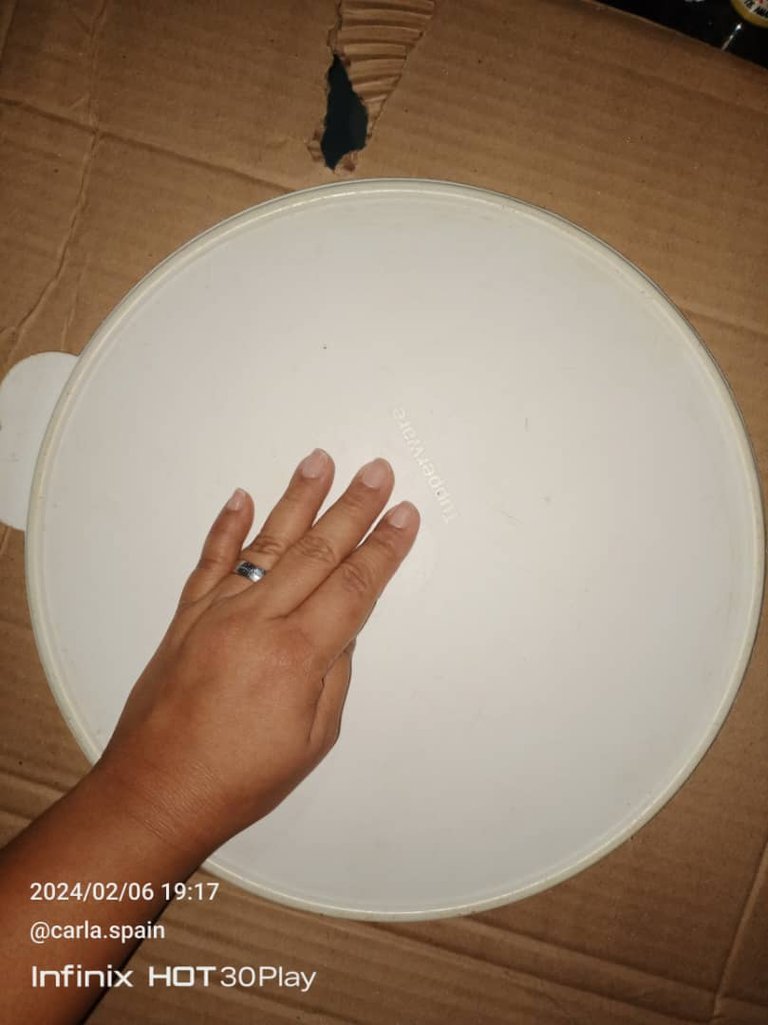
Seguidamente busque en mi cocina una tapa acorde al tamaño del sombrero para colocarla en la parte superior, la cual pegué con silicón caliente porque seca más rápido en ese material.
Lo mismo hice para la parte inferior del sombrero, medí una tapa más grande, que sobresaliera del cilindro.
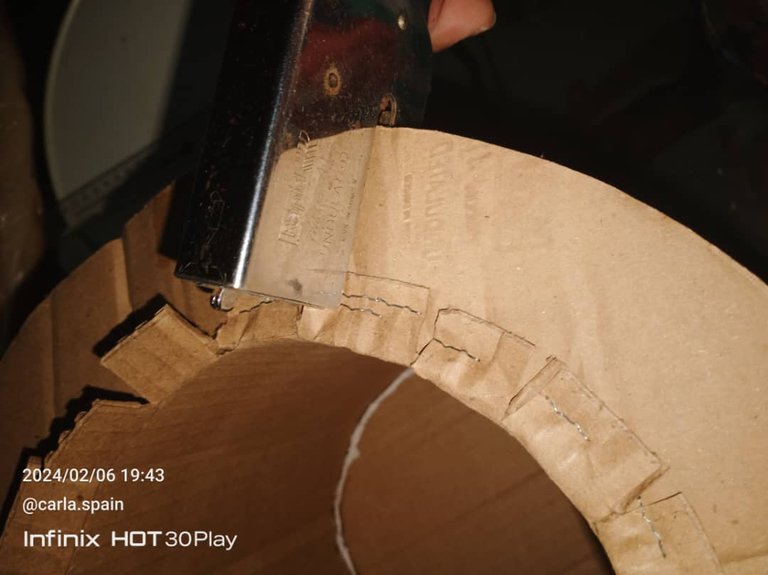
Después inserté el cilindro por la parte inferior del cilindro y use una grapadora, para darle fuerza y firmeza a esa parte que es por donde generalmente se toma el sombrero para quitar y poner.

Una vez completa la forma del sombrero me dedique a la decoración, no tenía mucho material disponible para escoger pero la idea era lograr el estilo carnavalesco.

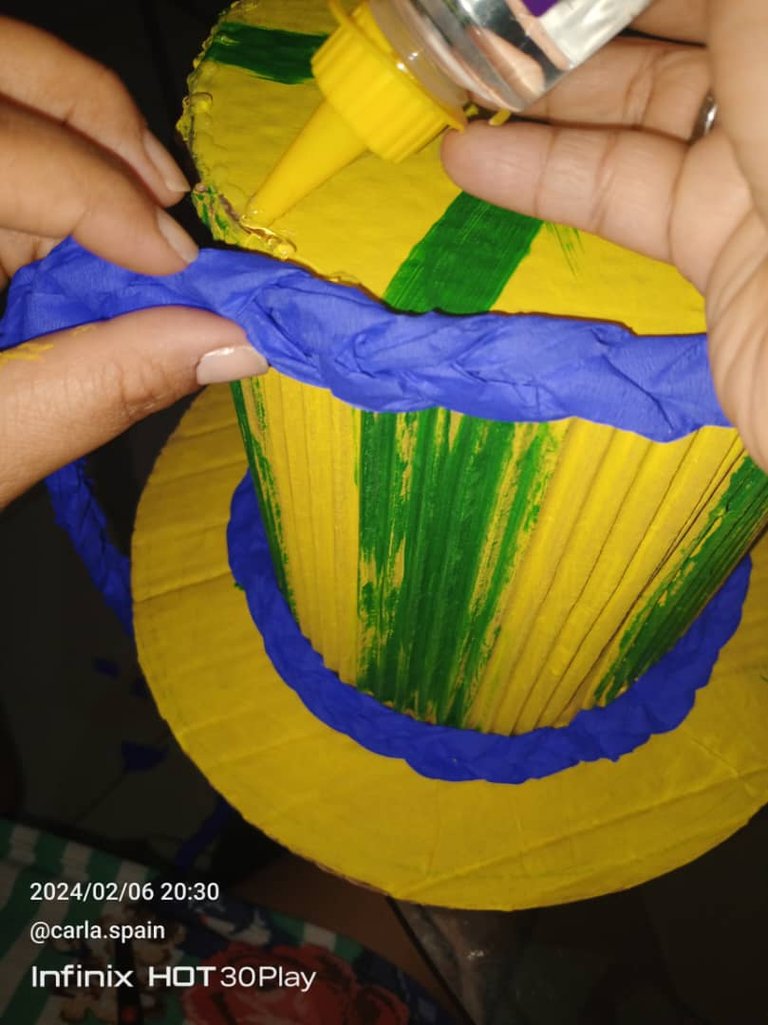
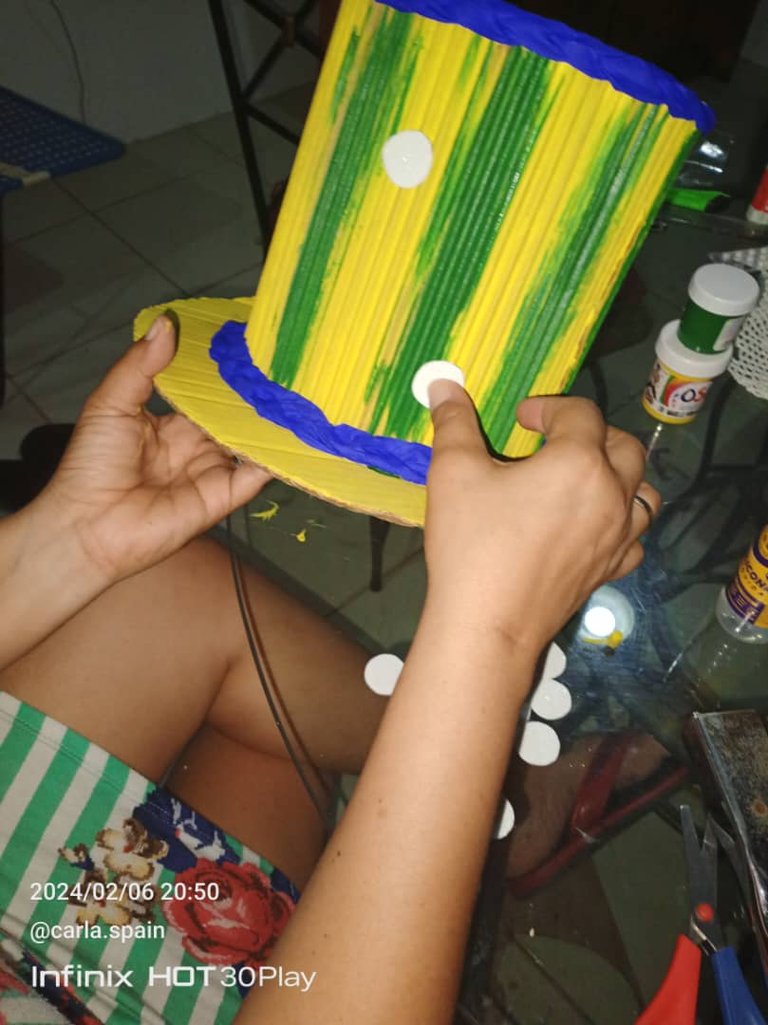
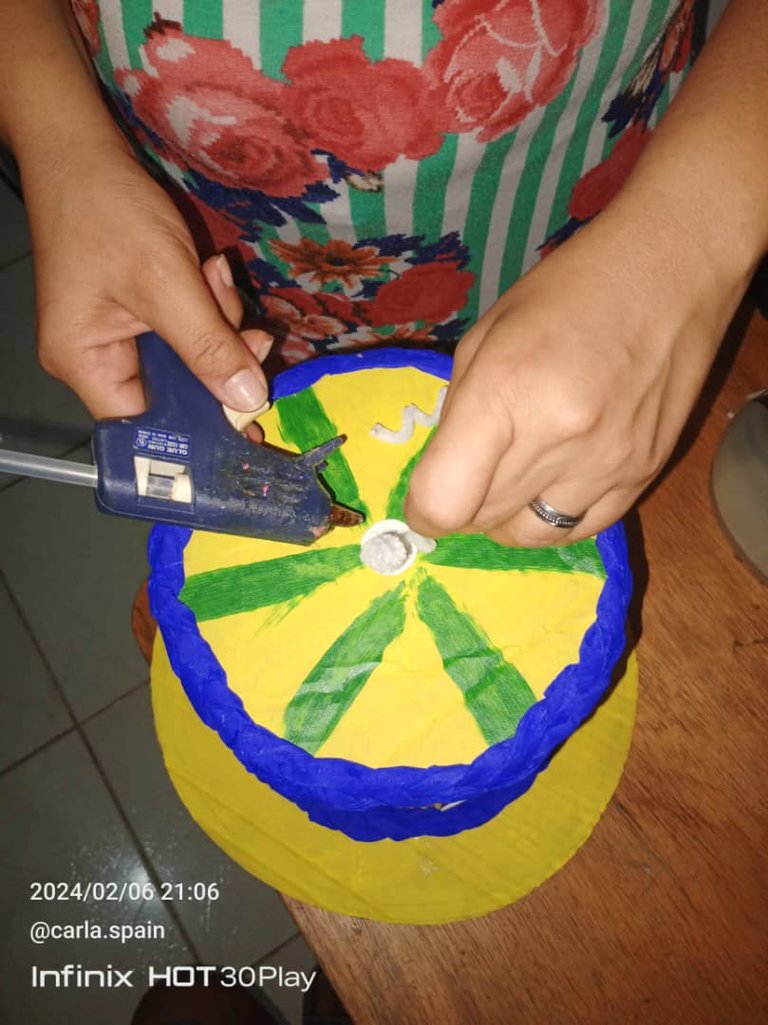
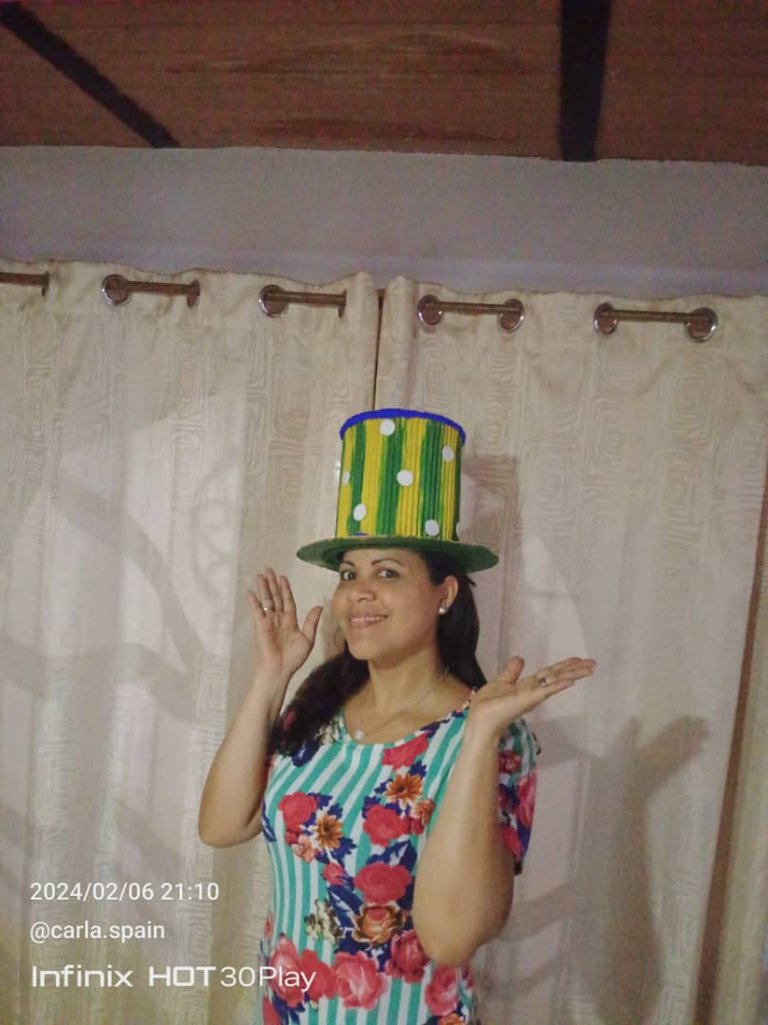
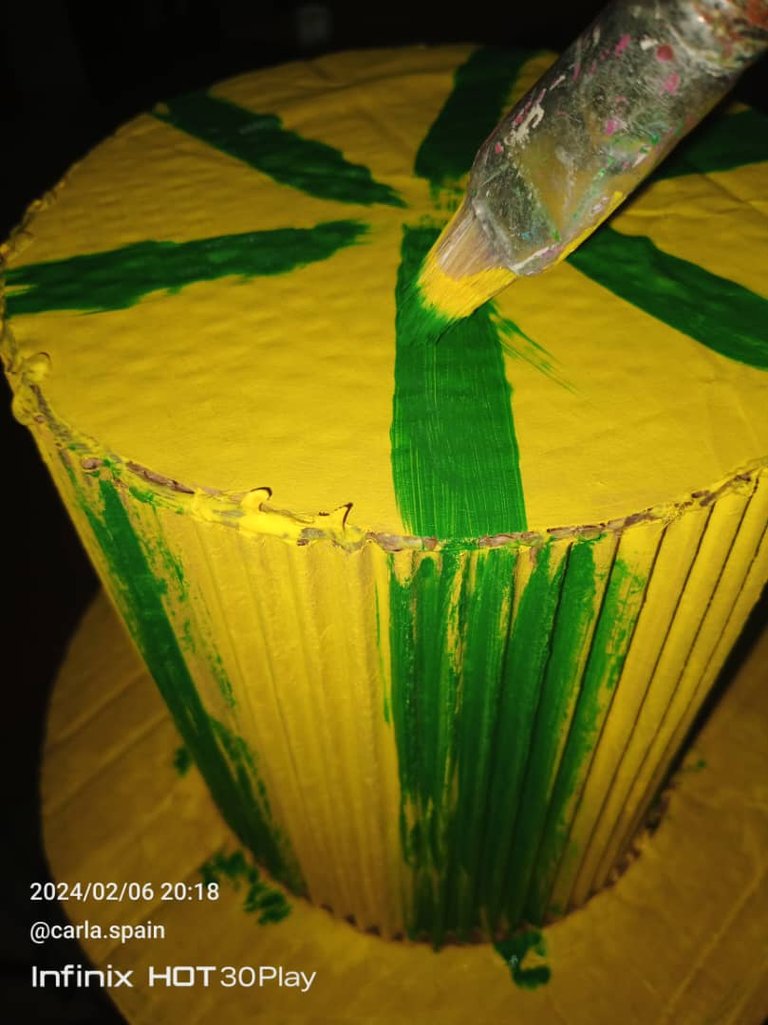
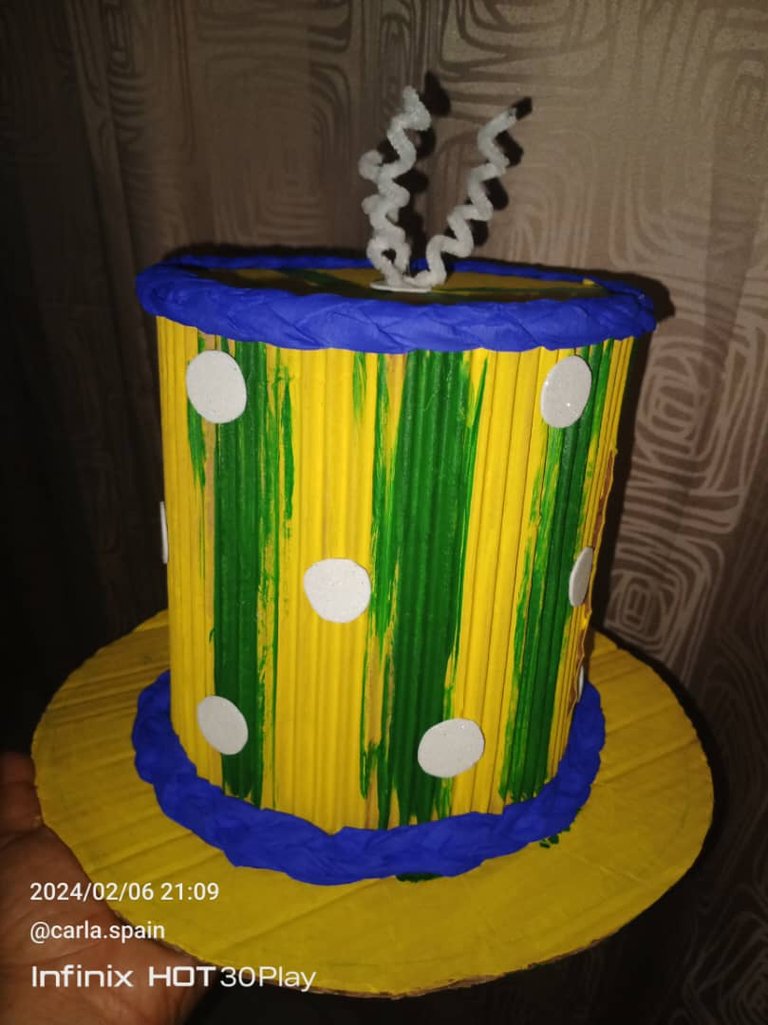
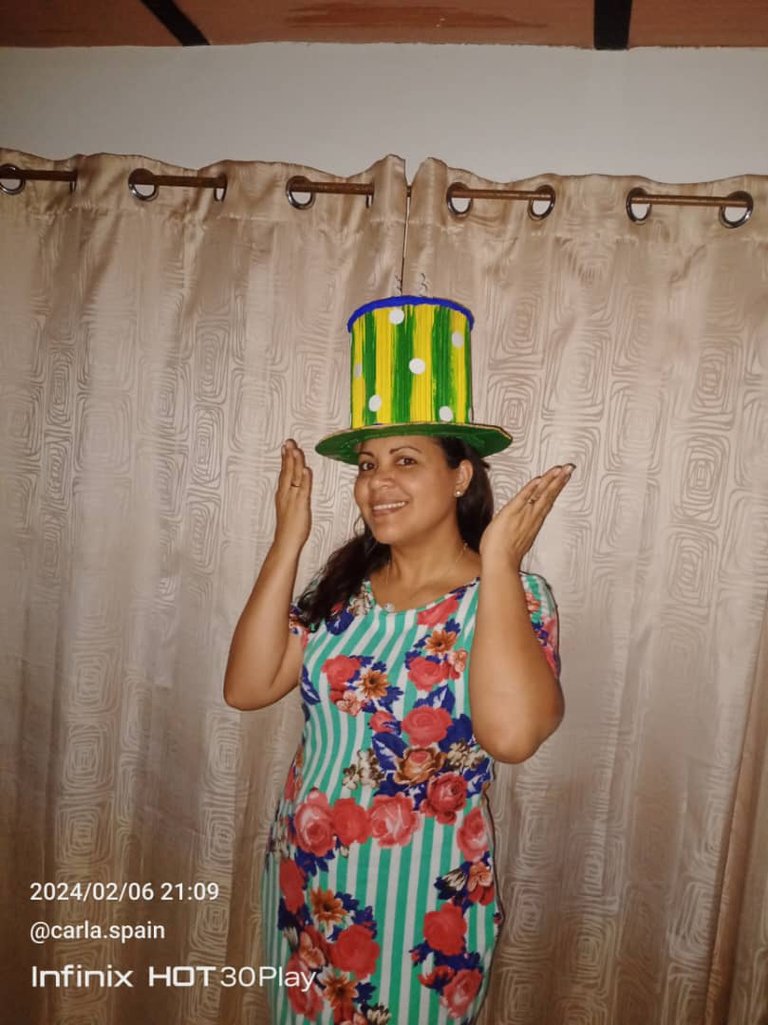
Lo pinte de amarillo, luego pinte unos trazos gruesos de color verde. Hice una trenza con el papel crepé y la coloque en los bordes. Con el foami hice varios círculos y los coloque de manera desordenada en todo el cilindro y finalmente pegue unos limpiapipas torneados en el tope.
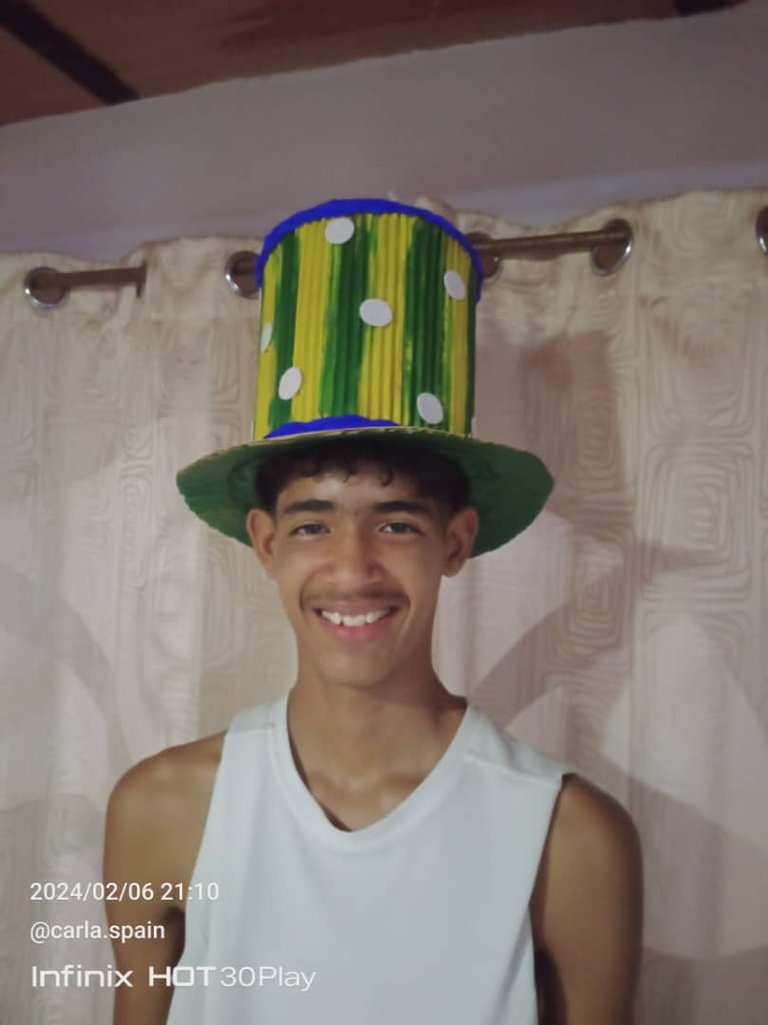
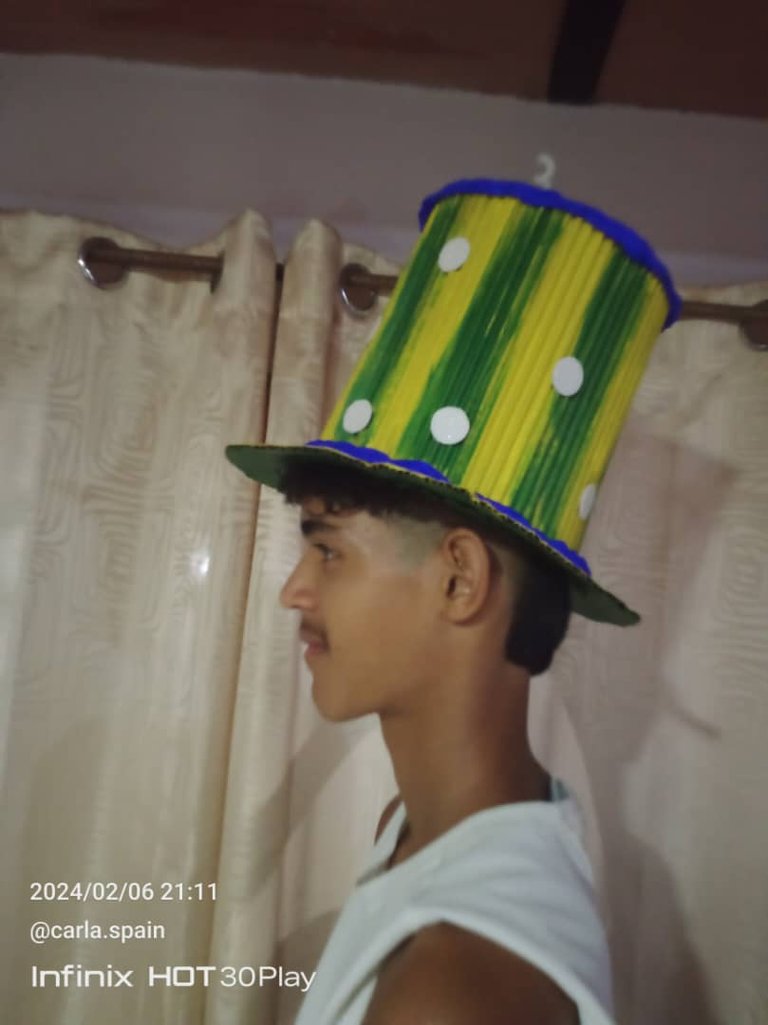
Así quedo este sencillo sombrero con el que mi hijo podrá cumplir con su tarea escolar y yo podré lucirlo luego en alguna actividad durante el carnaval de mi pueblo.
Espero que les sirva esta idea para alguna ocasión en la que necesiten un sombrero hecho con material de provecho.

Greetings my friends. Today I tell you that yesterday, my son put me in trouble because they asked him at school for a carnival hat and he had to deliver it today. I had completely forgotten about it and I won't let him look like as irresponsible. I made the mistake of not putting him to work with me but he doesn't like crafts and his commitments to basketball training made his time shorter.
I took what I had on hand, cardboard, green and yellow cold paint, scissors, glue, blue crepe paper and white foam. Well then I got to work.
The first thing was to remove one side of the cardboard, that is, remove one of the layers, so that it can be folded and take the cylindrical shape of a hat. When you do this and remove that layer well, it becomes grooved and that side should be the one that is exposed, if you do it the other way around it will not bend easily.
The second step was to measure the ideal size of the cylinder on my son's head. It was 20 centimeters high. Then trim the excess.
I then made a separation between the 2 layers of cardboard to insert the other side and glue the cylinder.
Once both sides were glued and the cylinder was shaped, I made a tab outward to make it easier to glue the edge of the hat.
Next, I looked in my kitchen for a lid according to the size of the hat to place on top, which I glued with hot silicone because it dries faster on that material.
I did the same for the bottom of the hat; I measured a larger cap, protruding from the cylinder.
Then I inserted the cylinder through the bottom part of the cylinder and used a stapler to give strength and firmness to that part, which is where the hat is usually taken to remove and put on.
Once the shape of the hat was complete I dedicated myself to the decoration, I didn't have much material available to choose from but the idea was to achieve the carnival style.
I painted it yellow, and then painted some thick strokes of green. I made a braid with the crepe paper and placed it on the edges. With the foam I made several circles and placed them haphazardly throughout the cylinder and finally glued some turned pipe cleaners to the top.
This is how I left this simple hat with which my son will be able to complete his schoolwork and I will be able to show it off later in some activity during the carnival in my town.
I hope this idea helps you for some occasion when you need a hat made with useful material.

0
0
0.000
Hermoso sombrero con materiales de provecho, fácil y economico, Fabian esta grandote ya paso a su tia, ya lo quiero ver, y hasta con bigotes jeje ya mi niño es un hombre. Dios lo bendiga
The carnival hat looks pretty cool. The most important thing is, you got things done. Your son will be happy to see this. Nice work!