🏵️ Fall Makeup+New Technique 🏵️ [ENG/ESP]
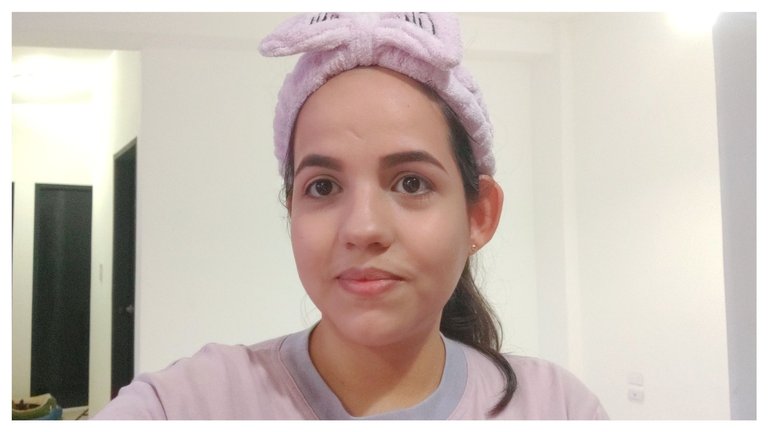
Hello everyone! Today I bring you a new makeup that I decided to do with very soft warm tones and that I applied with a technique that I had never tried before: using plastic tape as a guide to apply the eyeshadow. So this first time was quite fun and wow, the results surprised me a lot, so let's start!
¡Hola a todos! El día de hoy les traigo un nuevo maquillaje que he decidido realizar con tonos cálidos muy suaves y que he aplicado con una técnica que nunca antes había probado: utilizar cinta plástica como guía para aplicar la sombra de ojos. Por lo que esta primera vez fue bastante divertido y vaya que los resultados me sorprendieron bastsnte, dicho esto ¡Comencemos!
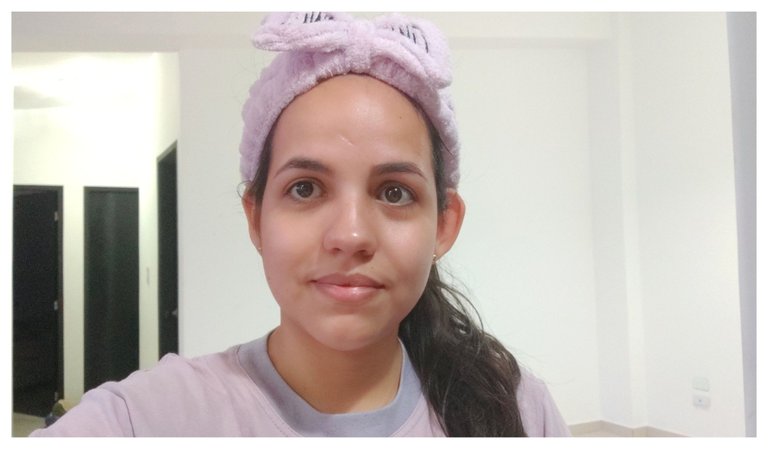
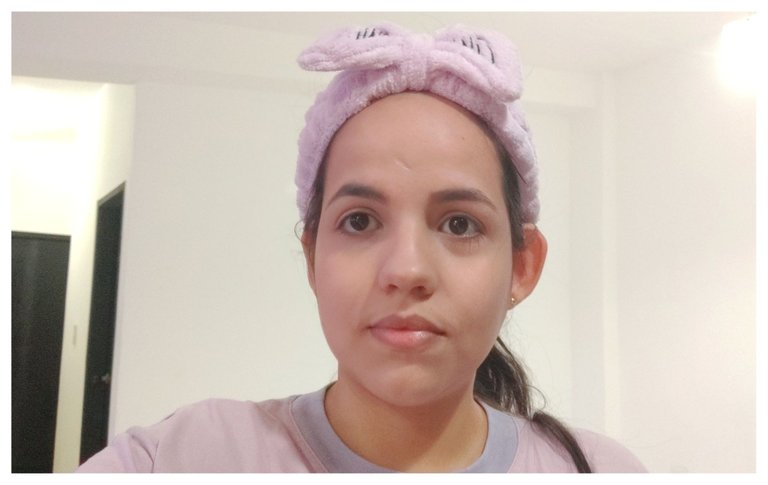
The first thing I have done is clean my face with a face wash, apply toner and then dry, apply primer. All to prepare as always my face for everything to come.
Lo primero que he hecho es limpiar mi rostro con un jabón para el rostro, aplico tónico y luego seco, aplique el primer. Todo para preparar como siempre mi rostro para todo lo que viene.
The next thing I did was to apply foundation. I have a mousse that is great and leaves the skin with a better finish than applying a liquid foundation. That's according to my opinion and personal experience. The one I used is from Maybelline. I sealed with powder.
Lo siguiente que hice fue colocar la base. Yo tengo un mousse que es buenísimo y deja la piel con mejor acabado que aplicando una base líquida. Eso, según mi opinión y experiencia personal. El que utilice es de Maybelline. Sellé con polvo.
Then I placed concealer under my eyes, cleaned the eyebrow area and applied a dark brown shade of eyebrow makeup from the outside in. I applied makeup fixer (I have a spray, it's what has worked for me to keep the makeup for a long time).
Luego coloque corrector debajo de mis ojos, limpie el área de las cejas y las fui maquillando en un tono de marrón oscuro, lo hice de afuera hacia adentro. Apliqué fijador de maquillaje (tengo en spray, es lo que me ha funcionado para mantener por mucho tiempo el maquillaje).
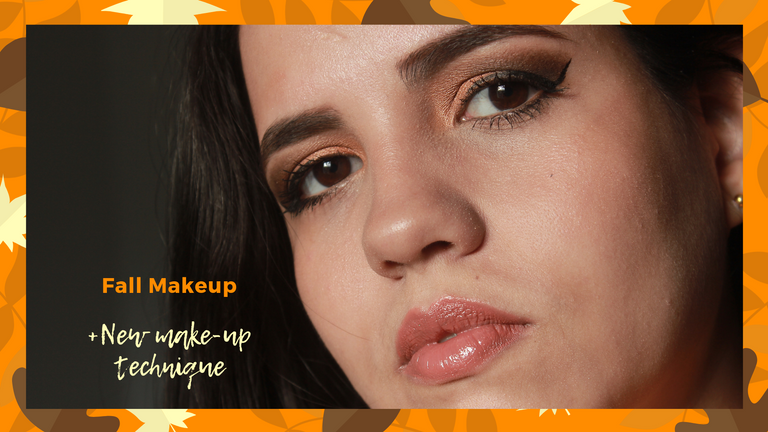
Now, when it was time for the shadows, it was time to apply the plastic tape. I placed two strips of plastic tape for each eye and specifically, at an angle as ideal as possible according to the shape of our eyes. Although I must say, I should have closed the angle a little more because it was too open and I feel that it made more eyes fall.
Ahora, llegado el momento de las sombras, tocó colocar la cinta plástica. Coloque dos tiras de cinta plástica para cada ojo y específicamente, en un ángulo lo más ideal posible según la forma de nuestros ojos. Aunque debo decir, que debí cerrar un poco más el ángulo porque quedó muy abierto y siento que hizo que cayera más mirada.
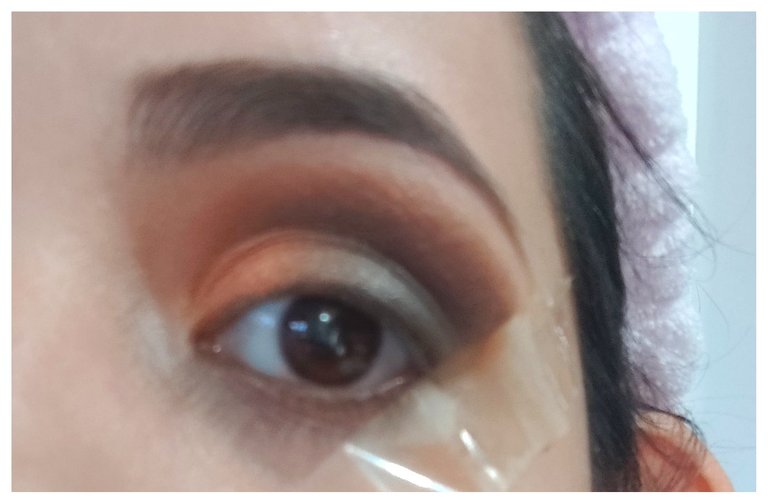
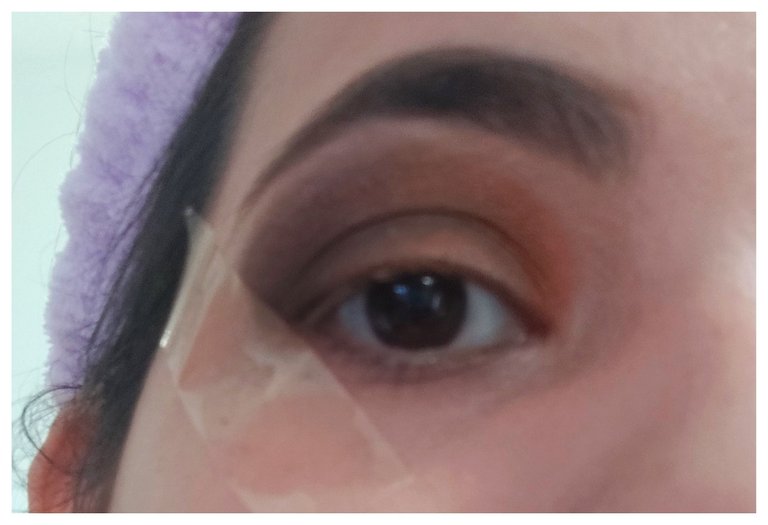
Once this was done, we applied our shadow as usual. I wanted to use warm tones ranging from dark to medium brown, deep orange and light orange. I achieved this effect by blending the shades as I went along. I helped myself with several brushes to apply and blend correctly, almost smoky.
Hecho esto, aplicamos nuestra sombra como de costumbre. Quise utilizar, tonos cálidos que van desde marrón oscuro a medio, naranja intenso y naranja claro. Ese efecto lo fui logrando conforme iba difuminando los tonos. Me ayude con varios pinceles para aplicar y difuminar correctamente, casi ahumado.
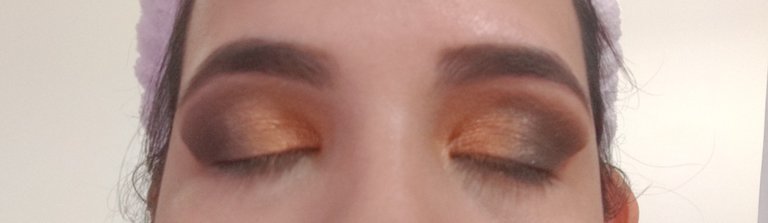
I removed the strips of plastic tape and to my surprise, the shadows didn't go underneath them and it was totally intact. So this technique was a success, as it avoids messing up all the makeup and has a cleaner and neater finish.
Retire las tiras de cinta plástica y para mi sorpresa, las sombras no traspasaron por debajo de ellas y estaba totalmente intacto. Por lo cual fue un éxito está técnica, ya que evita que se ensucie todo el maquillaje y tenga un acabado más prolijo y limpio.
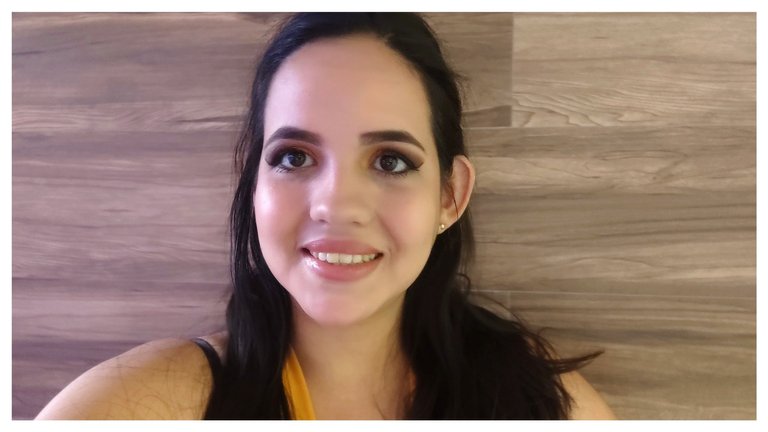
Termine de aplicar la máscara de pestañas, delineador siguiendo la guía de la cinta, bronzer en las mejillas, nariz, barbilla y frente. Todo en tonos muy cálidos y suaves. Finalmente este es el resultado.
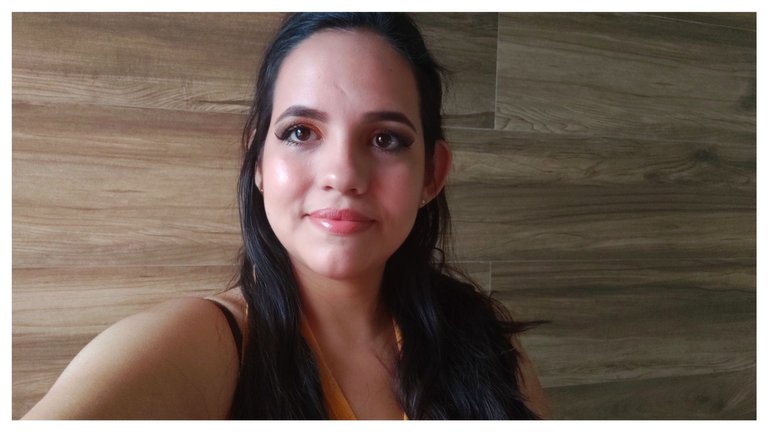
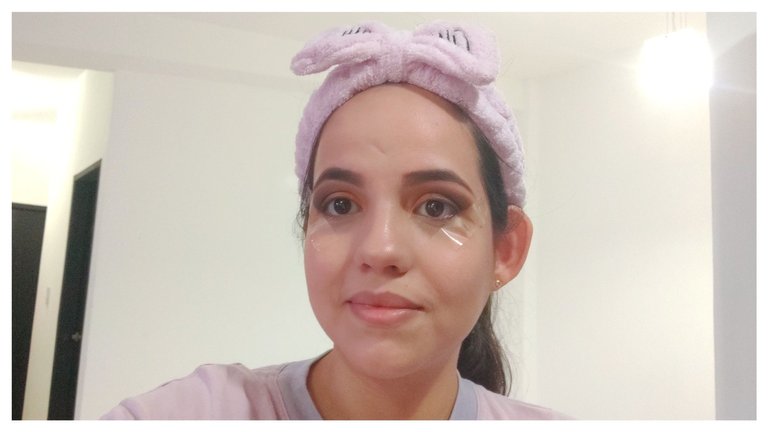
I finished applying mascara, eyeliner following the tape guide, bronzer on the cheeks, nose, chin and forehead. All in very warm and soft tones. Finally this is the result.
As you can see, the makeup looks great. I don't need to spend so much time cleaning and reapplying concealer to correct the shadows that usually stain the face. Something that is quite annoying in my experience, especially if we are just starting to apply makeup. So, for me, the plastic tape is really functional in makeup as a method to keep our work neat. Of course, if you want to do it, take into consideration the direction of the angle and the shape of the eye so that it looks much better and according to our face, since in my case, I didn't have such a big mirror at hand and I didn't notice that I placed them very horizontally. Without more to say, thank you very much for stopping by, it pleases me to bring you this little article. See you next time, a big hug and let me know in the comments if you have already tried this trick and how it went.
Cómo podrán notar, el maquillaje luce muy bien. No necesite invertir tanto tiempo limpiando y reaplicando corrector para corregir las sombras que suelen manchar el rostro. Algo que es bastante molesto según mi experiencia, sobre todo si estamos empezando a maquillar. Por lo cual, para mí, la cinta plástica resulta realmente funcional en el maquillaje como un método para mantener prolijo nuestro trabajo. Eso sí, si lo quieren hacer tomen en consideración la dirección del ángulo y la forma del ojo para que esté luzca mucho mejor y acordé a nuestro rostro, ya que en mi caso, no tenía un espejo tan grande a la mano y no noté que los coloque de forma muy horizontal. Sin más que decir, muchísimas gracias por pasar por aquí, me agrada traerles este pequeño artículo. Nos vemos en la próxima, un fuerte abrazo y déjenme en los comentarios si ya han intentado este truco y que tal les ha ido.
0
0
0.000
https://twitter.com/Carmina_Salazar/status/1540548790934978560
The rewards earned on this comment will go directly to the people( @carminasalazarte ) sharing the post on Twitter as long as they are registered with @poshtoken. Sign up at https://hiveposh.com.
Congratulations, your post has been upvoted by @dsc-r2cornell, which is the curating account for @R2cornell's Discord Community.
Enhorabuena, su "post" ha sido "up-voted" por @dsc-r2cornell, que es la "cuenta curating" de la Comunidad de la Discordia de @R2cornell.
¡Felicitaciones!
Estás participando para optar a la mención especial que se efectuará el domingo 26 de junio del 2022 a las 8:00 pm (hora de Venezuela), gracias a la cual el autor del artículo seleccionado recibirá la cantidad de 1 HIVE transferida a su cuenta.
¡También has recibido 1 ENTROKEN! El token del PROYECTO ENTROPÍA impulsado por la plataforma Steem-Engine.
1. Invierte en el PROYECTO ENTROPÍA y recibe ganancias semanalmente. Entra aquí para más información.
2. Contáctanos en Discord: https://discord.gg/hkCjFeb
3. Suscríbete a nuestra COMUNIDAD y apoya al trail de @Entropia y así podrás ganar recompensas de curación de forma automática. Entra aquí para más información sobre nuestro trail.
4. Visita nuestro canal de Youtube.
Atentamente
El equipo de curación del PROYECTO ENTROPÍA
Wow. Your technique is really warm and easy to do. Using the tape to help in the eye shadow application is very smart. Keep glowing dear.
Thank you for sharing this amazing post on HIVE!
Your content got selected by our fellow curator @stevenson7 & you just received a little thank you via an upvote from our non-profit curation initiative!
You will be featured in one of our recurring curation compilations and on our pinterest boards! Both are aiming to offer you a stage to widen your audience within and outside of the DIY scene of hive.
Join the official DIYHub community on HIVE and show us more of your amazing work and feel free to connect with us and other DIYers via our discord server: https://discord.gg/mY5uCfQ !
If you want to support our goal to motivate other DIY/art/music/homesteading/... creators just delegate to us and earn 100% of your curation rewards!
Stay creative & hive on!