How to Make a Jelly Roll Cake
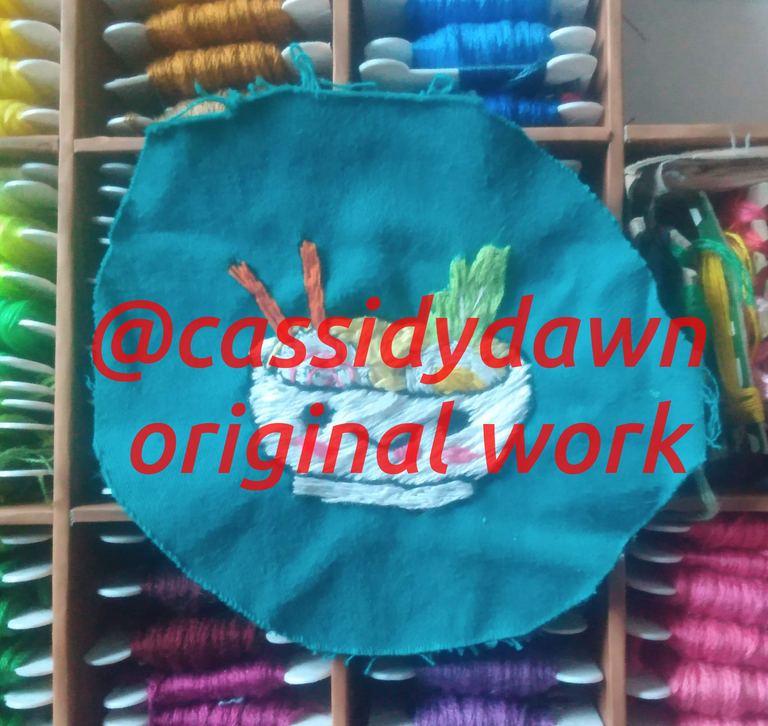
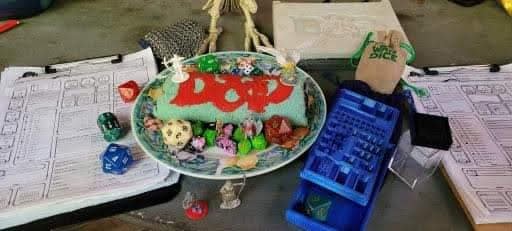
Hey guys! Today I want to tell you about something new I recently learned, that I am really excited about. I learned how to make a Roll Cake. (These things have way too many names, including Jelly Cake, Roll Jelly Cake, Swiss Roll, Jelly Roll, and Rolled Jelly Cake.) I made one of these to take to my Dungeons & Dragons group, and everyone loved it so much that the entire cake was gone within a few minutes of cutting it.
I found the best tutorial and recipe for it on youtube, and I want to give a shout out to that creator for making such a great video.
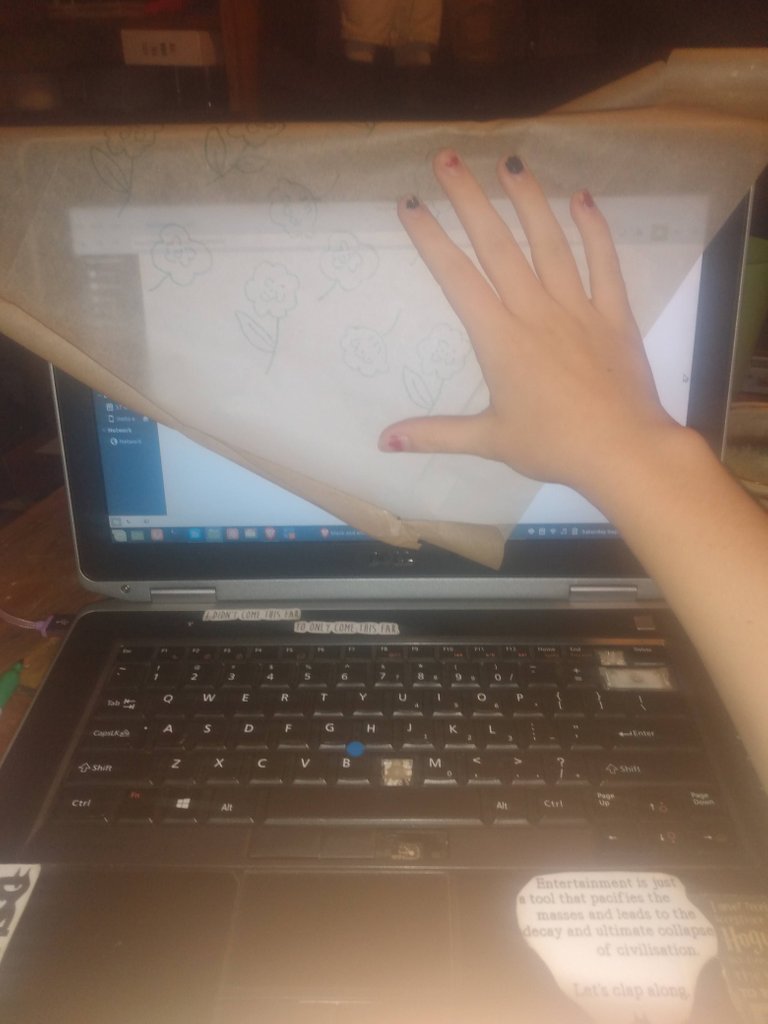
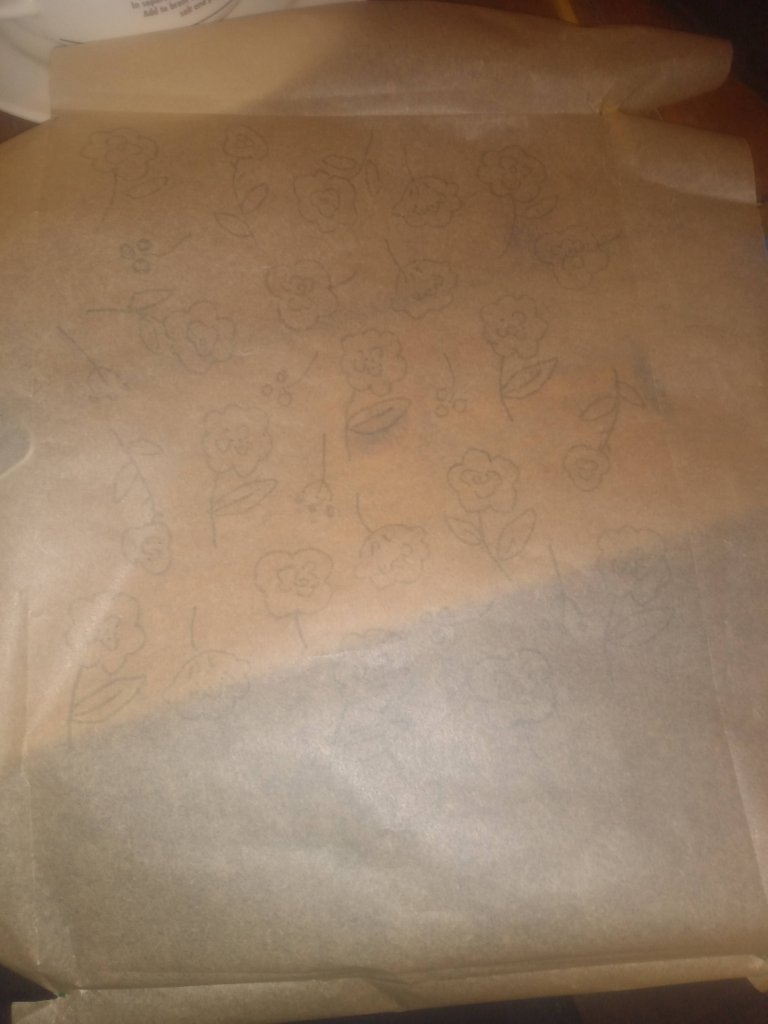
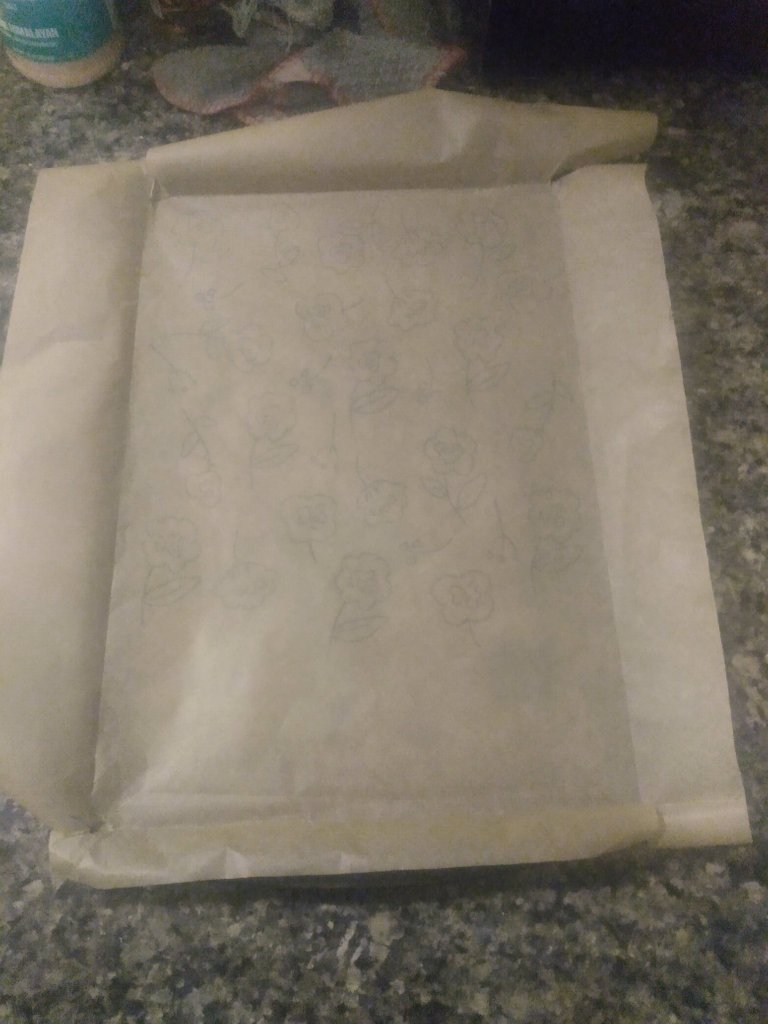
So, the first step is to pick out what design you would like to put on your cake. I suggest something simple, at least to start with, that has very few colors. Then you are going to draw or trace it onto a piece of parchment paper that is the same size as the pan you are using.
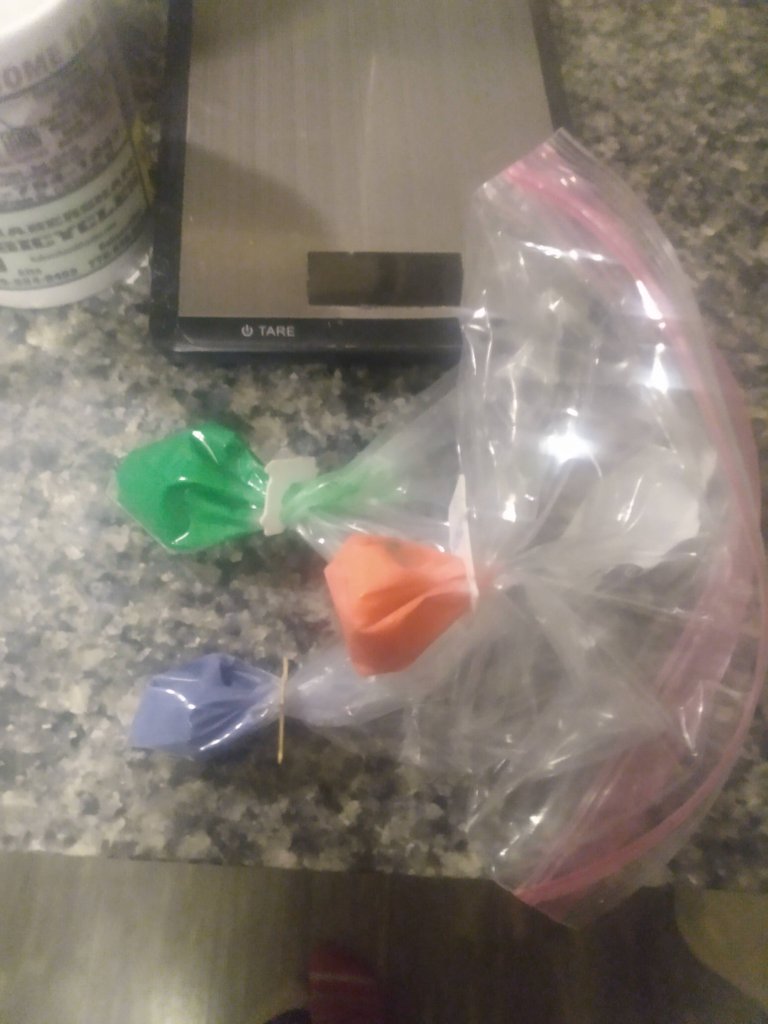
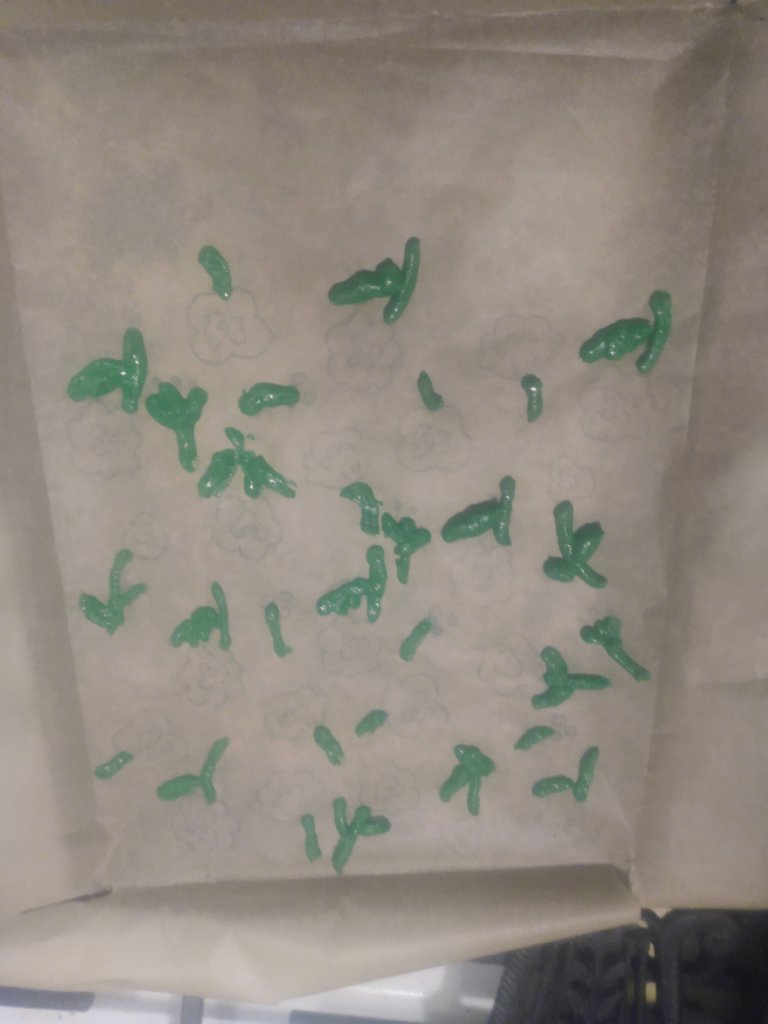
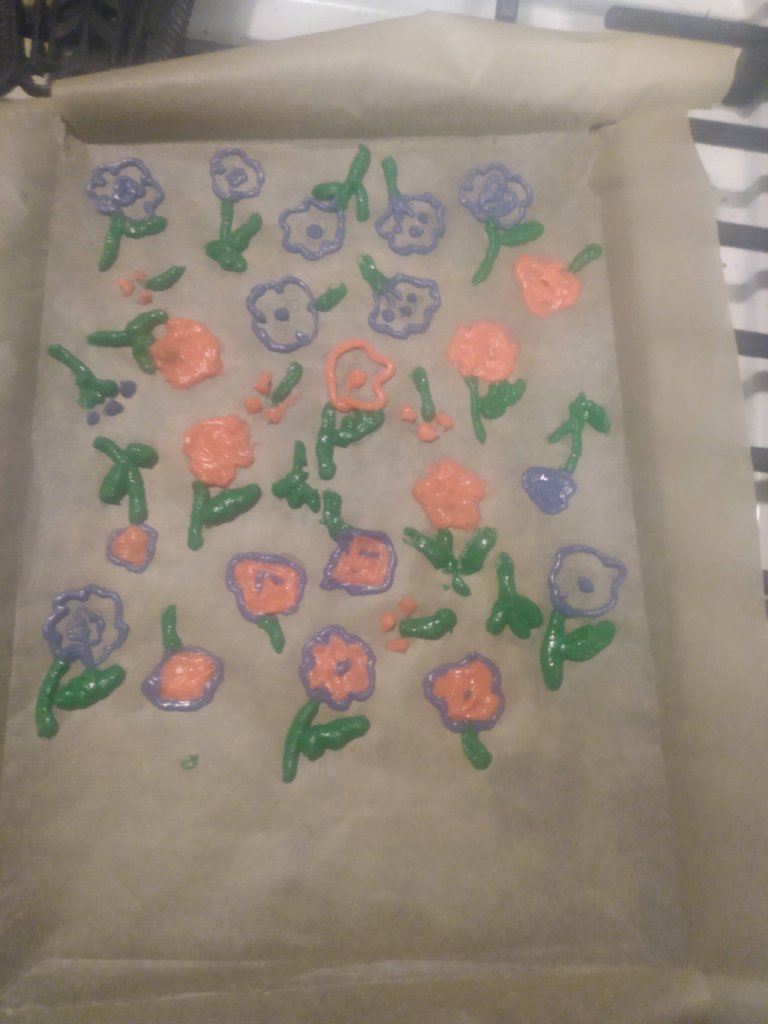
Next step is to make the small batch of batter for drawing designs, and split it into a different bowl for every color you will be using. Add food coloring to each bowl and mix until you have your desired colors, put each color of batter into their own small piping bag (you can use pint-sized freezer bags for this), cut a very small piece off of the end of your bags, and use them to carefully draw your awesome design.

Then you start the oven to preheat, and put together your cake roll batter. Mix together dry ingredients, mix oil and sugar together, then add egg yolks, add dry ingredients, add coloring, beat egg whites, and gently fold egg whites into batter. After that, pour the batter on top of the design you drew earlier, smooth it out, and bake it at a fairly low temperature until it passes a toothpick test.
When you pull your cake out of the oven, let it cool until you can touch it without being burned, but do not let it get cold. While it is still warm, use a sharp knife to score it lightly to prevent cracking while you roll it. Next, while keeping it on the parchment paper to prevent it from sticking to itself, gently roll it into a tight log, starting on the end further from the design you made, so the the design ends up on top of your roll. Let your cake cool in this position while you make a filling for it. You can use a jelly, any kind of frosting, or whipped cream to fill your cake roll.
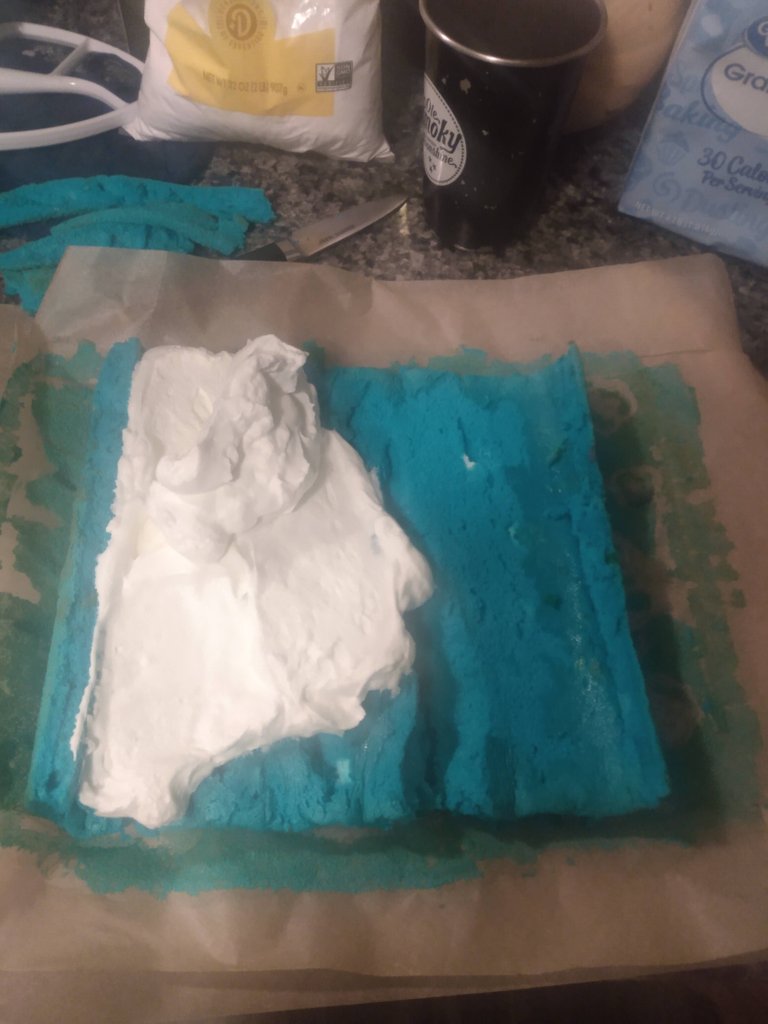
After you cake has cooled, unroll it very gently, and spread your filling on the side that is not covered by parchment paper. Now, carefully roll your cake from the same edge you started at the first time, using the parchment paper to help you roll it without cracking, and removing the parchment paper while you roll.
After you finish that step, tightly cover your cake in plastic wrap and let it sit in the fridge overnight. Before serving it, I suggest cutting off the outer half inch on each side to make the edges look nicer.

If you are interested in seeing more of my creations, I post pictures of them semi-regularly on my Instagram, which is @sid_the_raccoon. All of the photos I use (unless otherwise specified) belong to me. Also, please leave a comment, I really appreciate them. I wish peace, love, and world domination to all of you, and I hope you have a great next 24 hours.