Making a Historically Accurate 1860s Chemise
Hey guys! Today I am going to tell you guys about making a chemise. For those of you that do not know, a chemise is an undergarment that is worn under a corset for comfort as well as hygiene purposes. It looks similar to a fancy nightgown (especially with the lace I added). So, a while ago I started a project of creating an entire outfit that is historically accurate to the 1860s. This means using 100% cotton fabric for most of it, and hand sewing nearly everything with cotton thread. So, the current piece I am working on for this project is a chemise.
The first step is always get the pattern, so I started drafting for the yoke piece. I draped a pattern for this off of my mannequin. I made the pattern in two identical pieces, a left and right piece, with a seam in the center back and two buttons in the front. I cut out four of these pieces.
For the sleeve pattern, I drafted it entirely on paper, using the measurements of my arm. I doubled the width to gather up for puffiness, and I added a couple inches to the length for puffiness as well.

I cut two rectangles for the end of the sleeves.
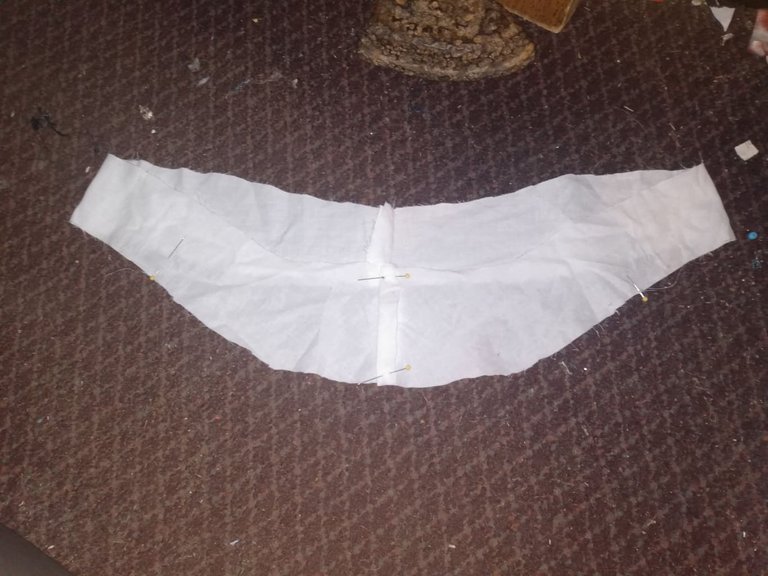
For the main piece, I used a rectangle sewn into a tube, and then cut the top portion to match up with the yoke piece.
I first cut two inches down the front middle of the main piece, and hemmed it so that it wouldn't fray. Next I stitched the back seam of both sets of yoke pieces. Then I gathered and sewed the front and back of the main piece to one of the yoke pieces, lining up the open part of the yoke with the slit in the main piece.
Then I sewed each sleeve piece in the underarm seam. Next I sewed the bottom part of each sleeve to the armpit part of the main piece. I opened the seams flat. Then I gathered the top of each sleeve and sewed them to the yoke. I sewed the rectangles for the sleeve edges into loops. After that I gathered the ends of each sleeve and sewed them to the sleeve edges I prepared. Then I folded over each sleeve edge twice, to cover the seam with ¼ inch folded under, and whip-stitched it to stay.
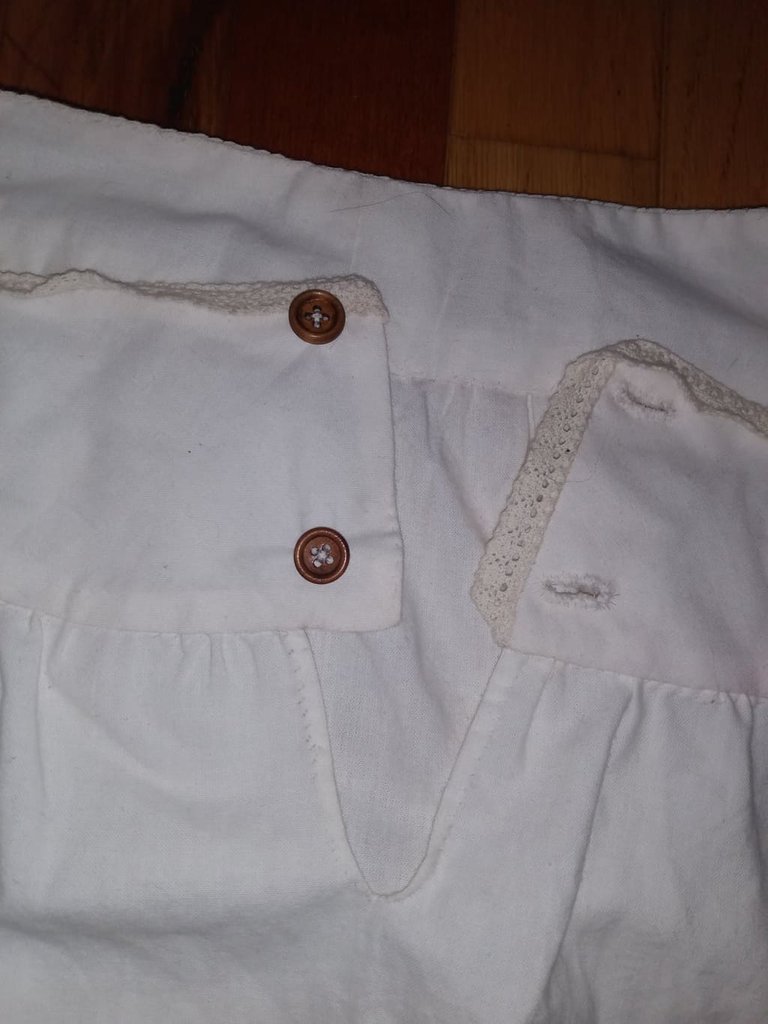
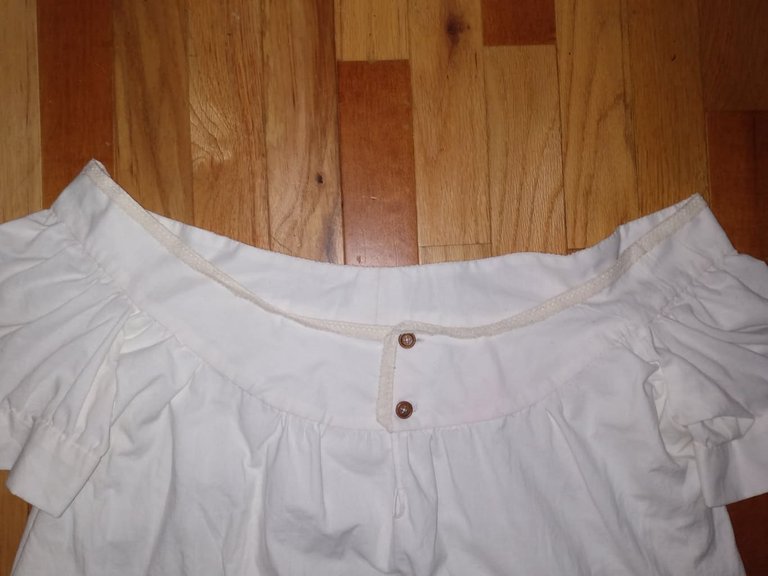
I pinned the second yoke piece right sides together with the first one, and stitched the inner seam and the edges of the split in the front. I clipped the curves and corners and flipped the yoke pieces right-side out. I folded under ¼ inch of seam allowance and whip-stitched the yoke closed.
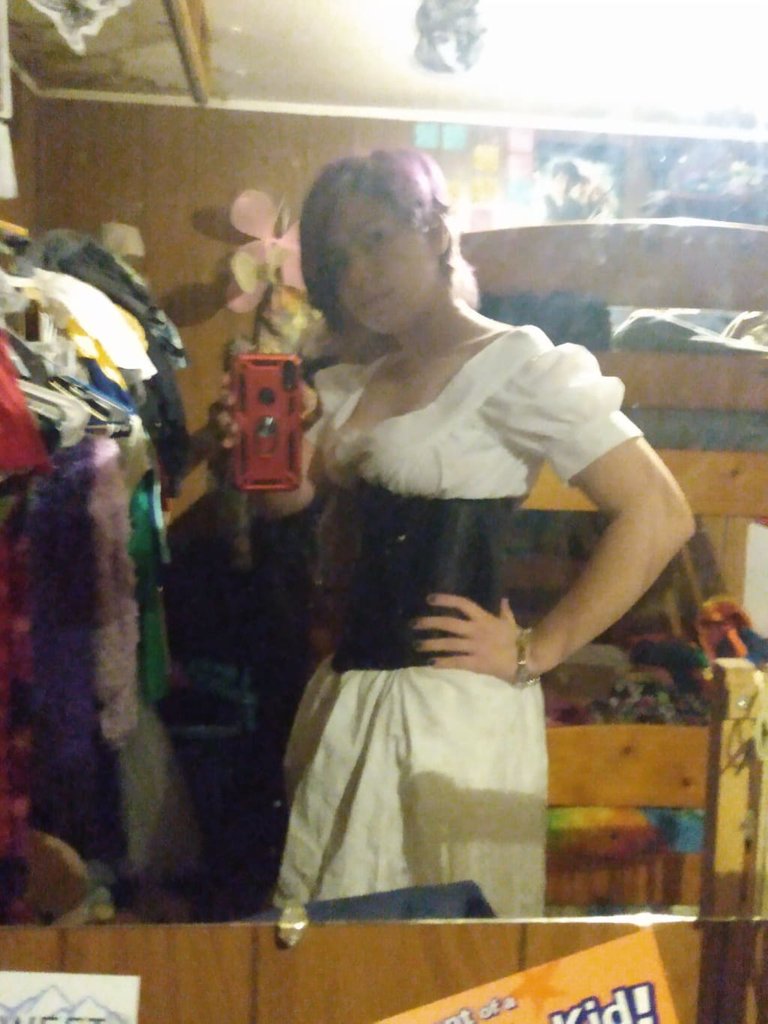
I added two buttons and button holes I the front of the yoke. After that I hemmed the bottom of the main piece. After I finished all of this, I had to try it on with a corset, and ended up accidentally looking like a pirate.
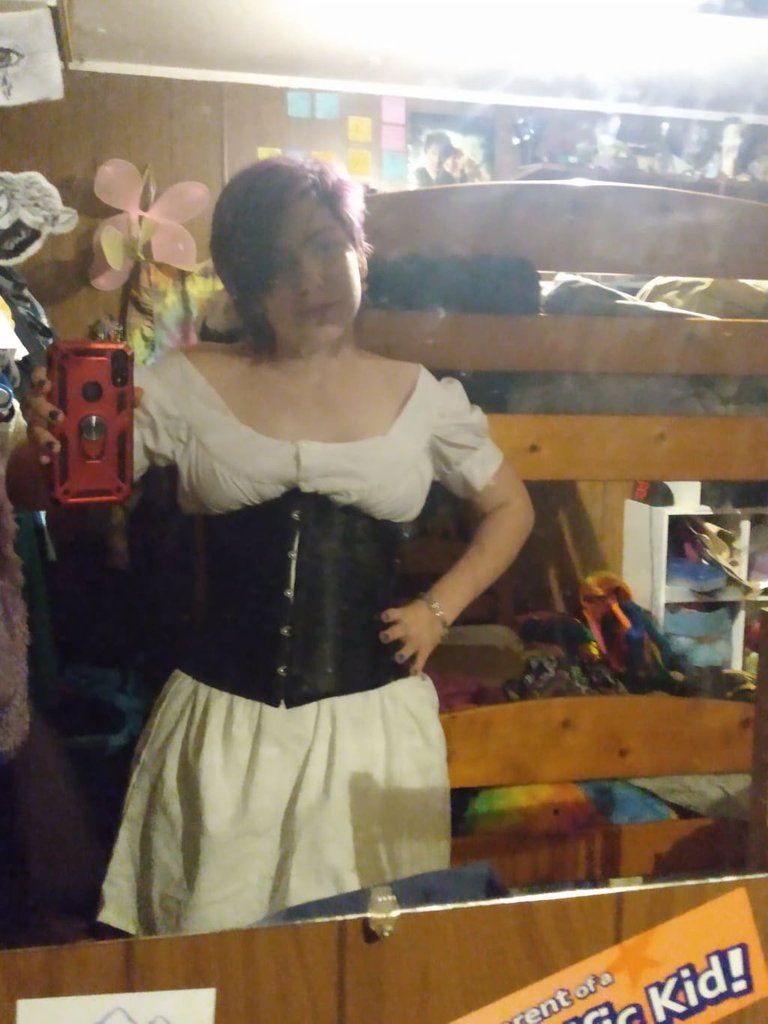
Once I was done with dressing up, I added some bobbin lace to the yoke. After that I was done.
So, I am going to start using the tag #historicalfashion for things that fit this description. I think it will be fun to create a new niche in the hive community, and to see how many of you are also interested in this subject. I am going to have a contest to promote this new tag soon, so stay tuned for that.
I hope you all enjoyed reading my journey of making a chemise!! Also, please leave a comment so that I know you read it and I’m not only getting auto-votes. Peace, and I hope you are all doing well.
Congratulations @cassidydawn! You have completed the following achievement on the Hive blockchain and have been rewarded with new badge(s):
Your next target is to reach 900 upvotes.
You can view your badges on your board and compare yourself to others in the Ranking
If you no longer want to receive notifications, reply to this comment with the word
STOPTo support your work, I also upvoted your post!
Check out the last post from @hivebuzz:
Support the HiveBuzz project. Vote for our proposal!