Making a Vest
Hey guys! I am back with a tutorial for a vest I made. I was recently going through some boxes of fabric and found some scraps of this fabric that screamed at me to make a vest. I used two different colors of satin-y material for the lining. It didn’t turn out quite how I expected but it’s ok.
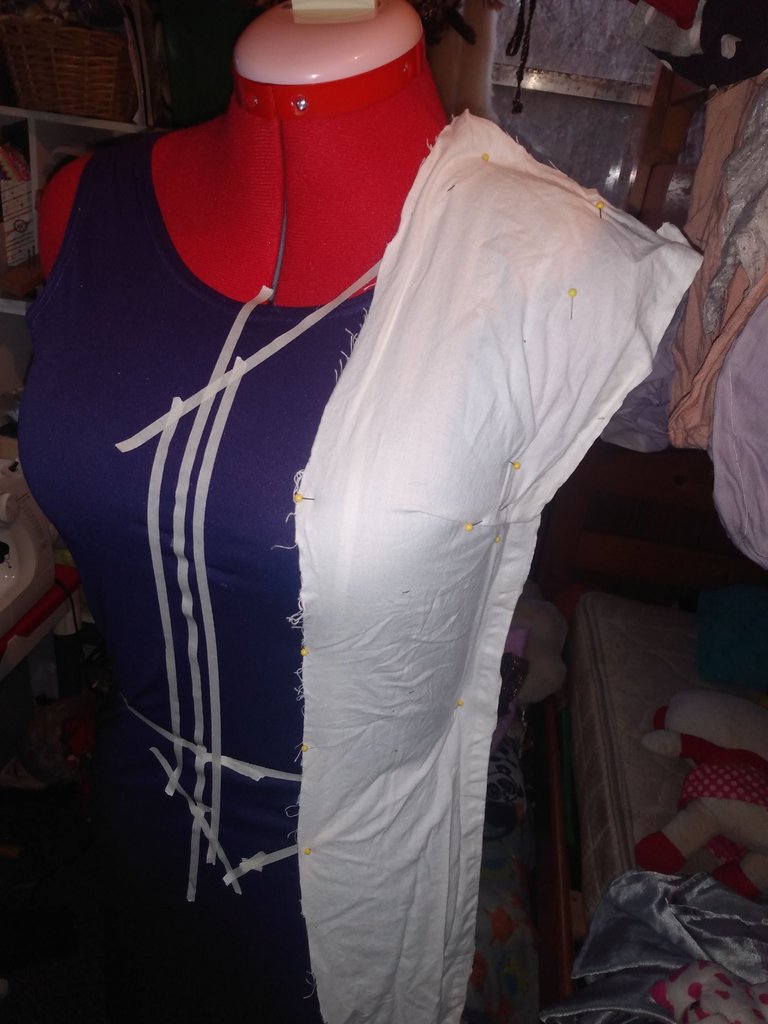
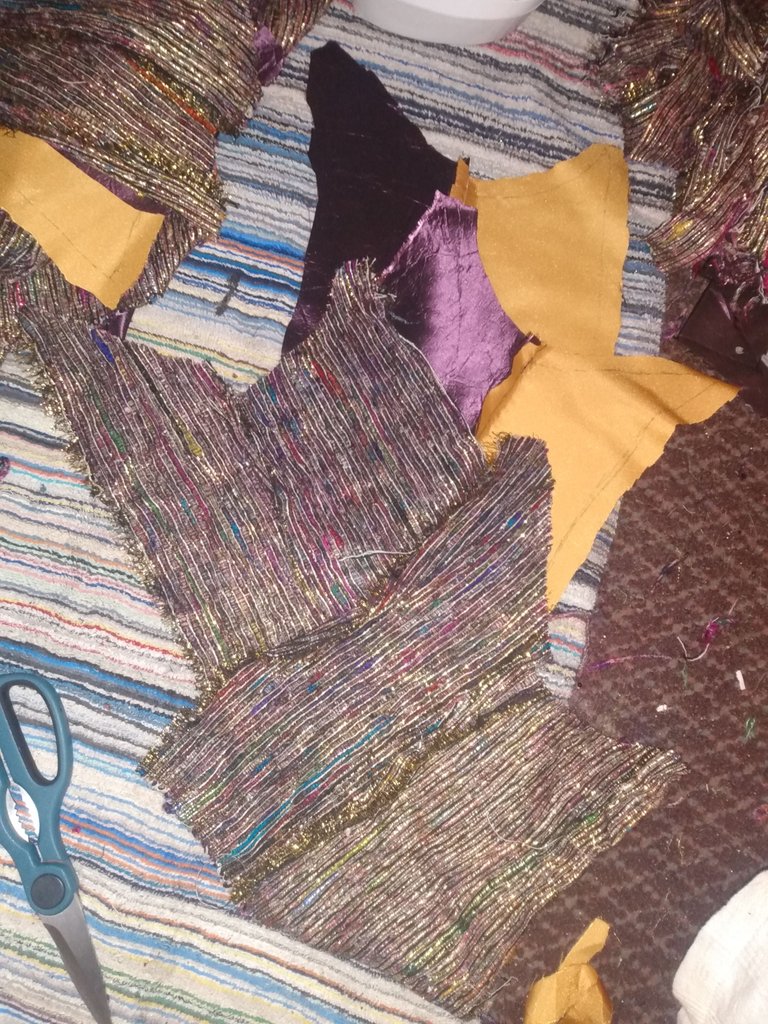
So the first thing I did was draw out the pattern on my dress form with some ¼ inch tape. Next I draped fabric to get the pattern pieces.
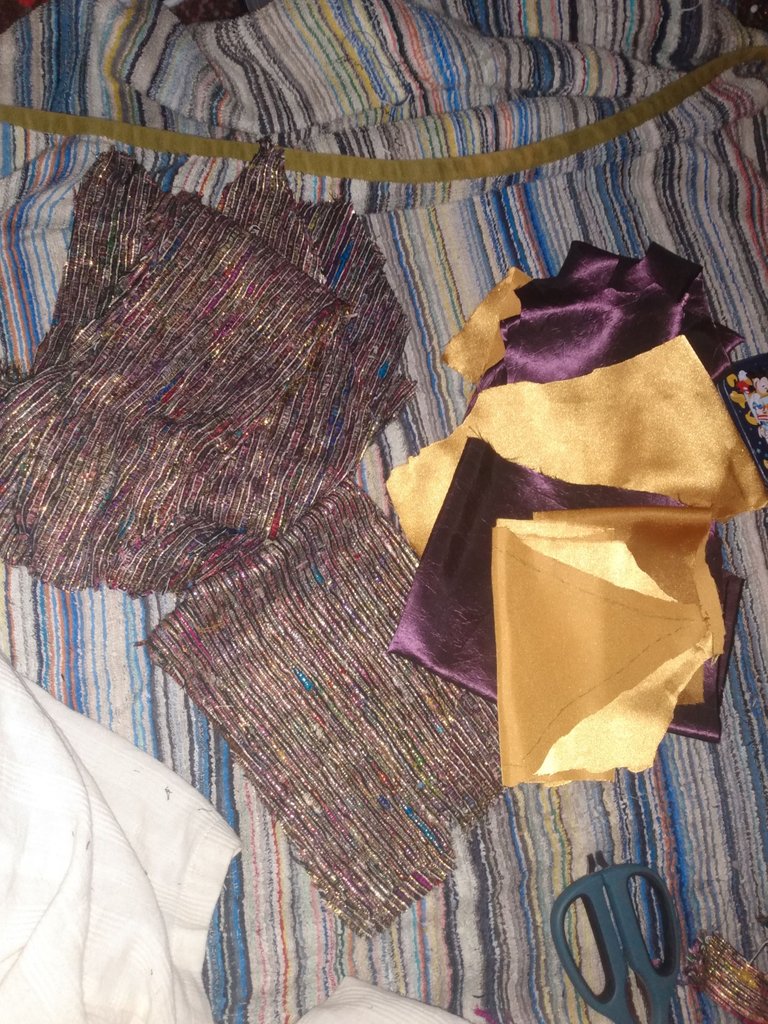
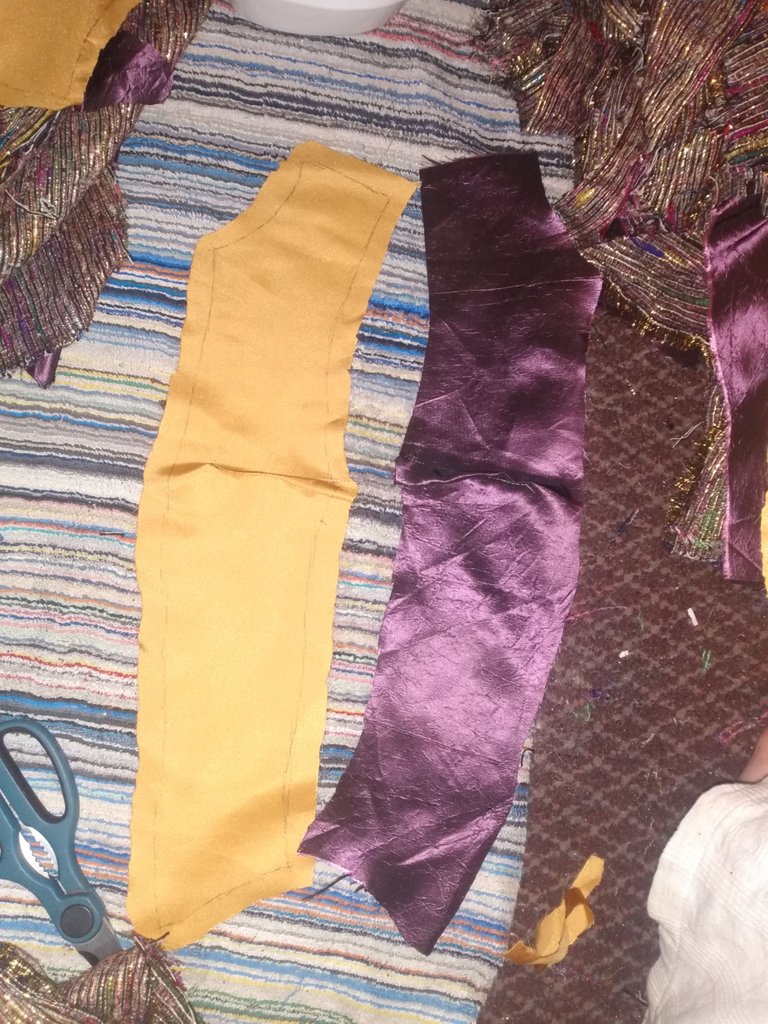
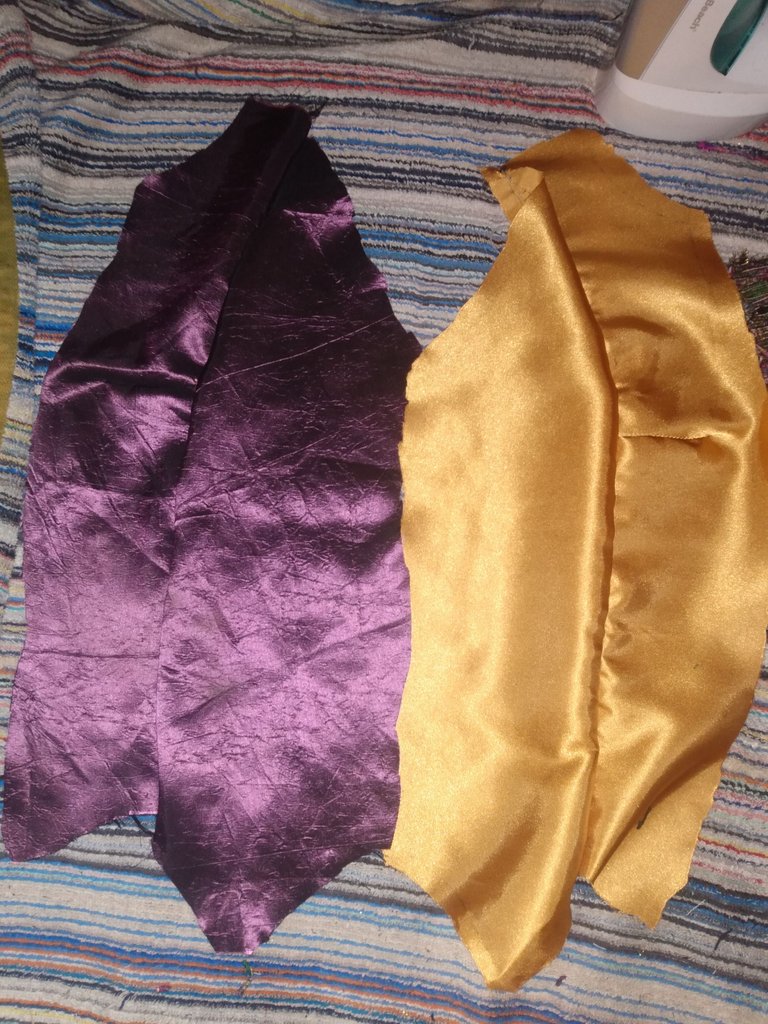
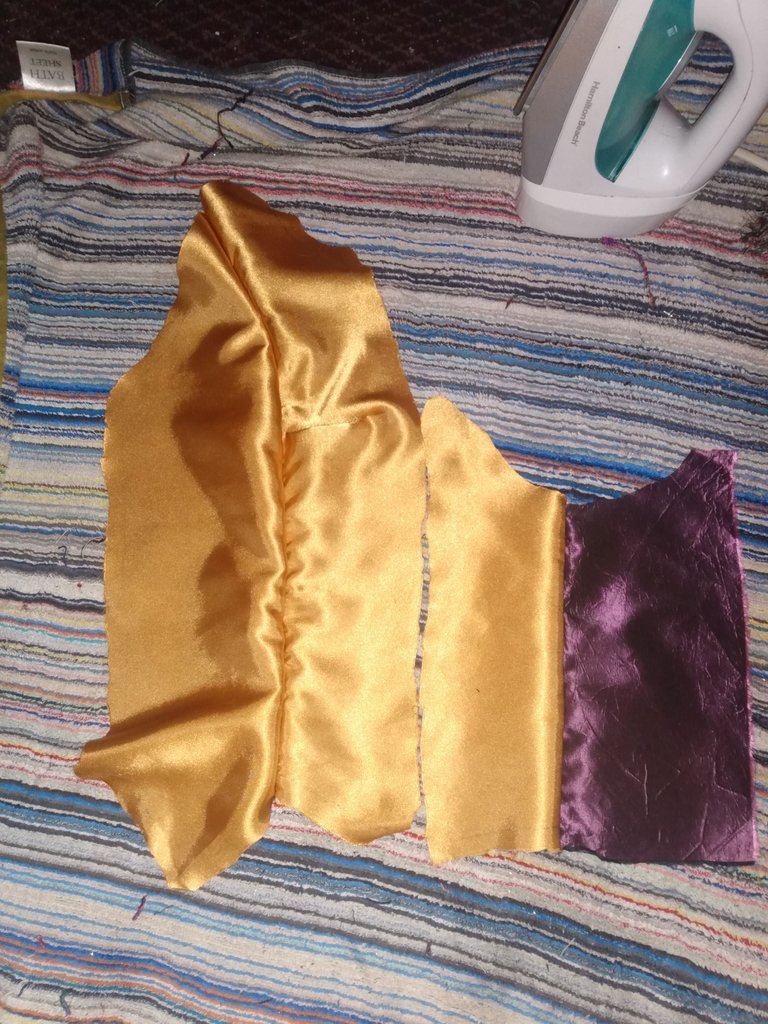
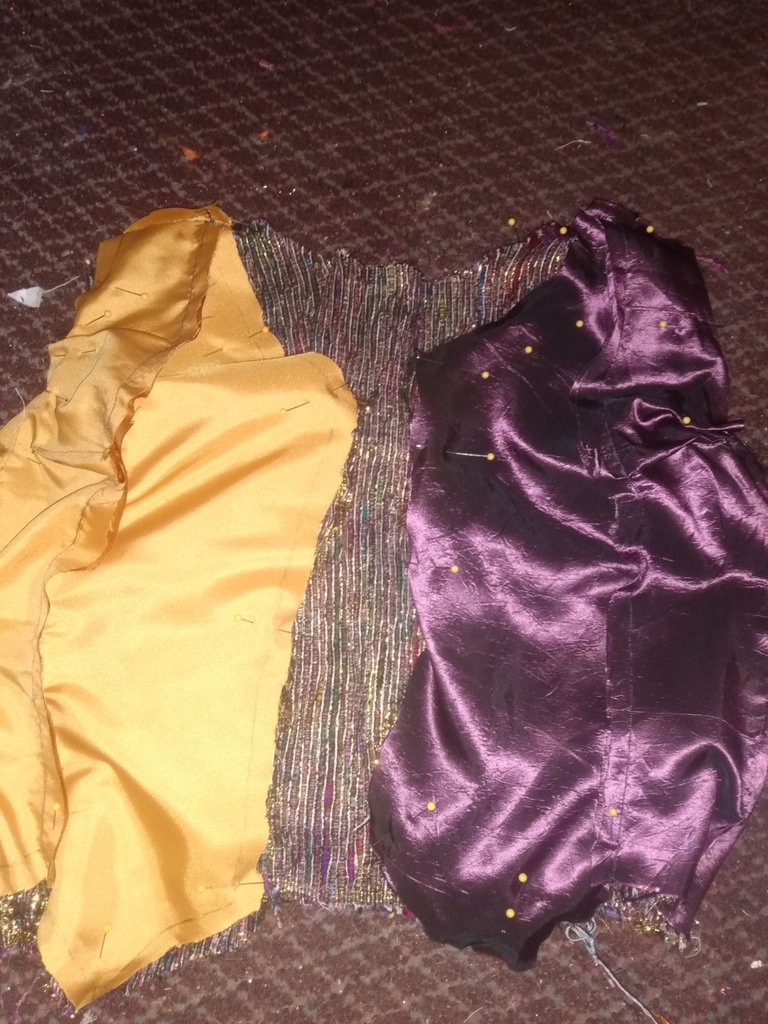
I ironed my main and lining fabrics and cute out all of my cut out all of my pattern pieces from the main fabric and the lining.
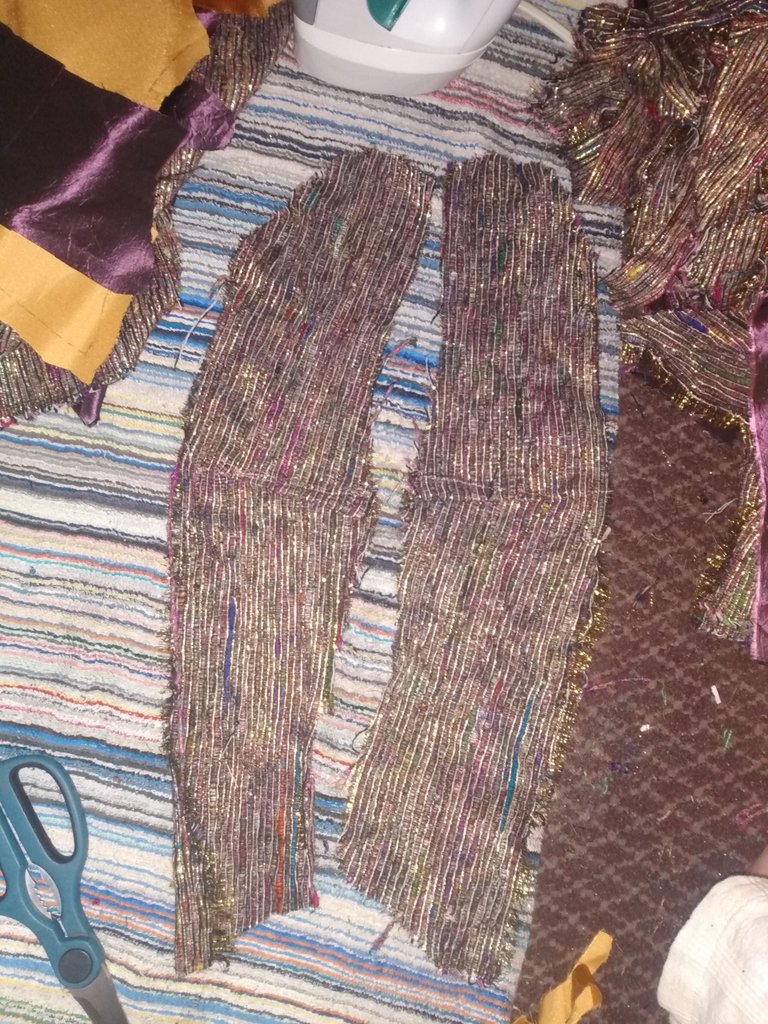
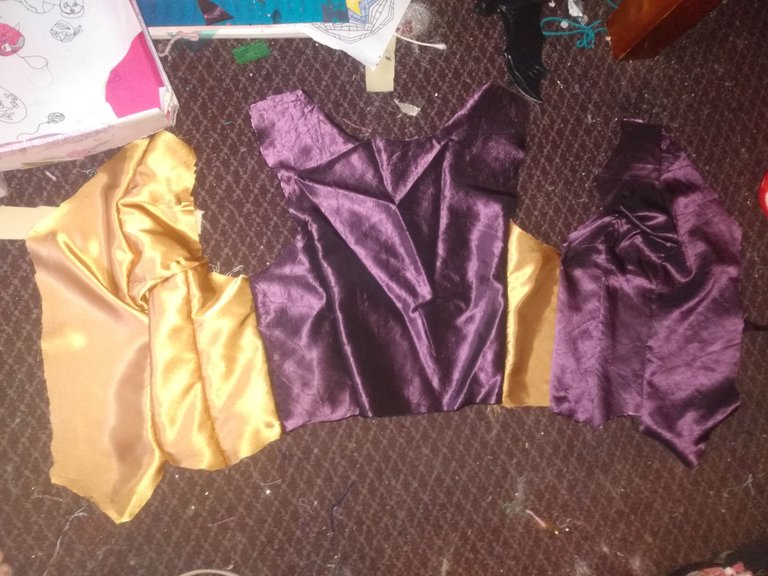
I sorted out the pattern pieces and started sewing them together. I stitched the lining and the main as separate pieces and sewed them together at the end. First I sewed the four pairs of side pieces together.
Next I sewed the dart in the front piece (I ended up sewing them in the wrong place but I didn’t realize it until much later.)
After that I sewed the front pieces together. I discovered this later, but I also mixed up this seam somehow.
Next I sewed the side pieces to to the front pieces.
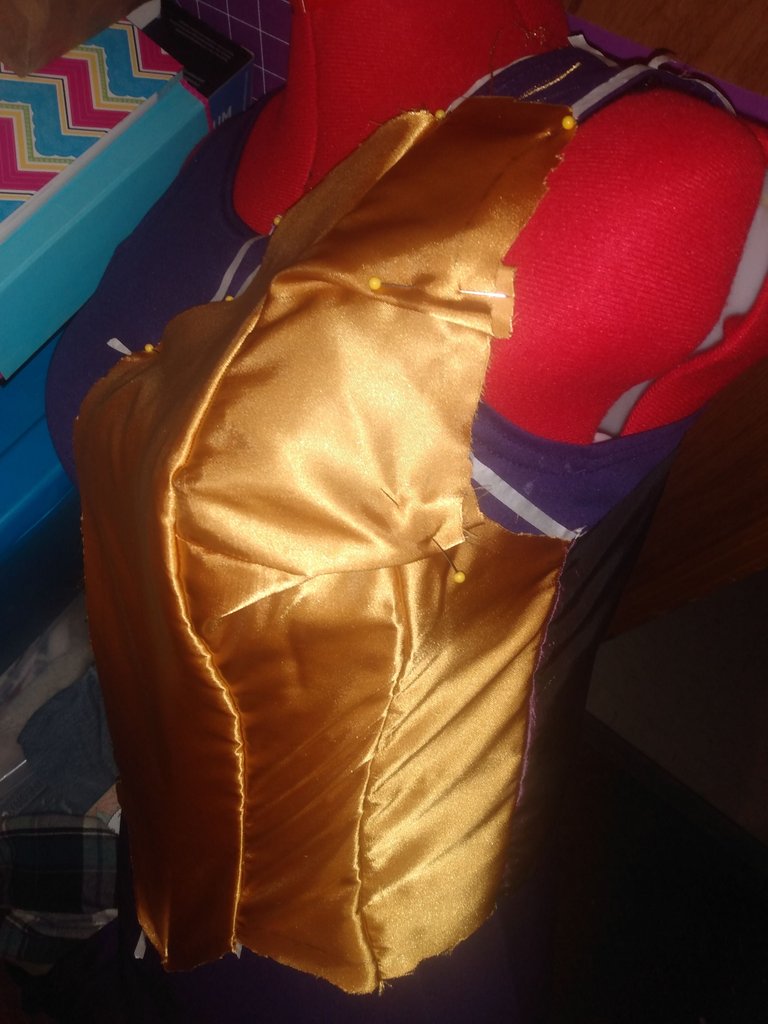
After that, I pinned one of my pieces over where I drafted the pattern to make sure the piece was the right shape. I found some issues with it, and made adjustments by adding more darts.
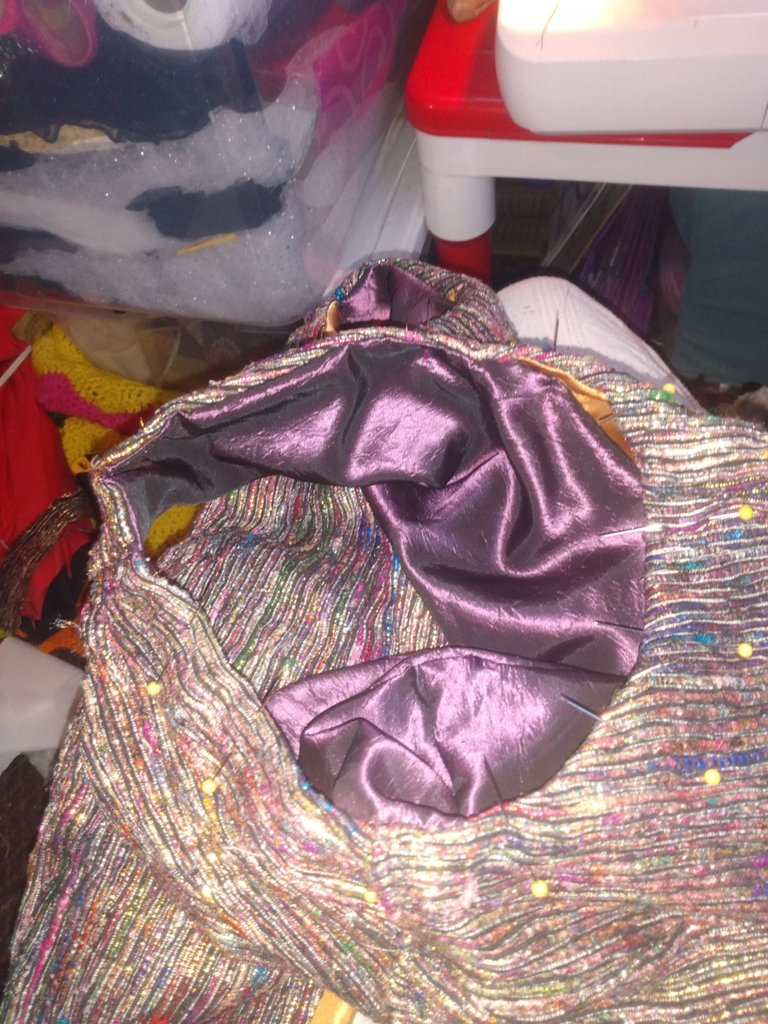
I sewed the front pieces to the back pieces at the side seams. I also sewed the shoulder seams, but I later had to cut them back apart.
When I had the outer piece done I added two metal rings to be able to attach a chain to later.
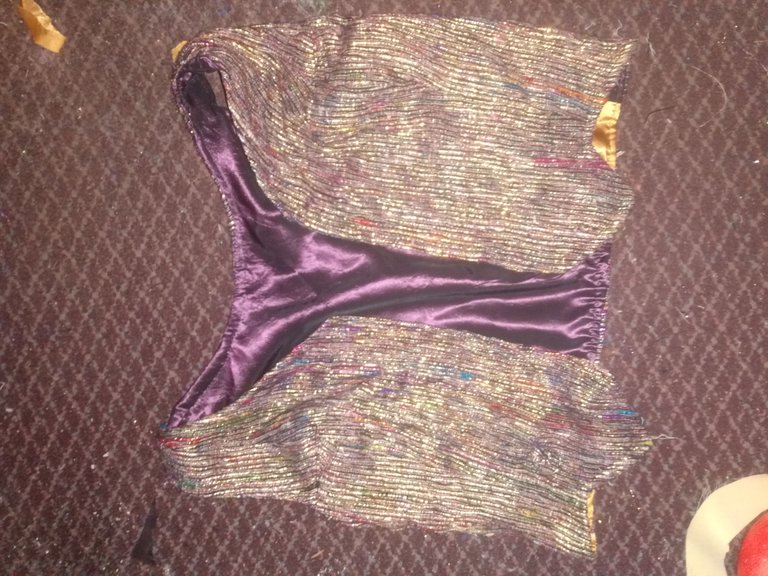
After I had the full vest piece and the full lining piece both done, I pinned them right sides together and sewed around all of the edges, leaving a place open to turn it inside out.
After I trimmed the seam allowances I turned the vest right side out. Then I sewed the shoulder seams together. Next I top-stitched around the whole edge. After that I added four buttons and button holes to the front of the vest.

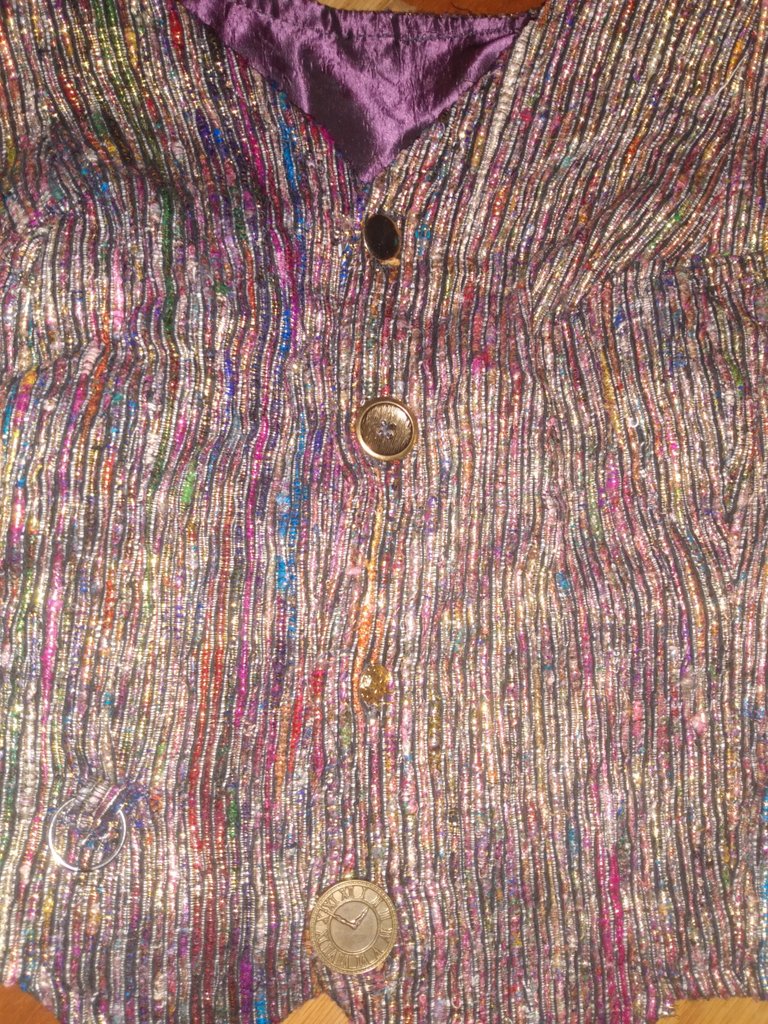
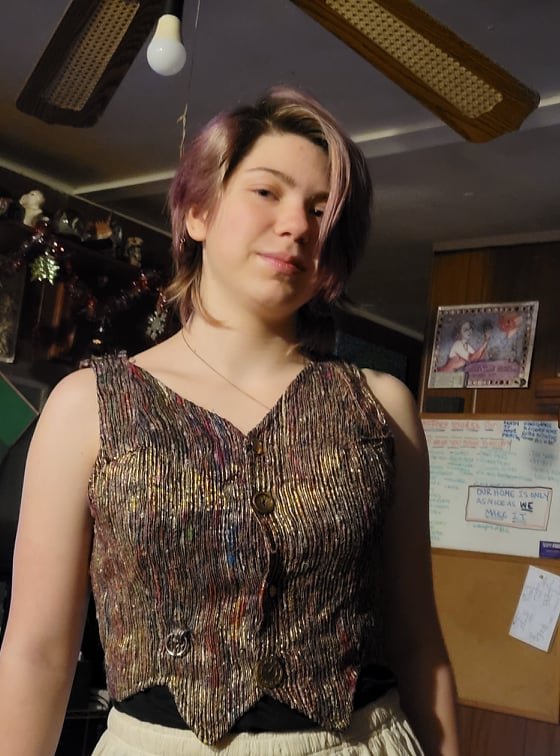
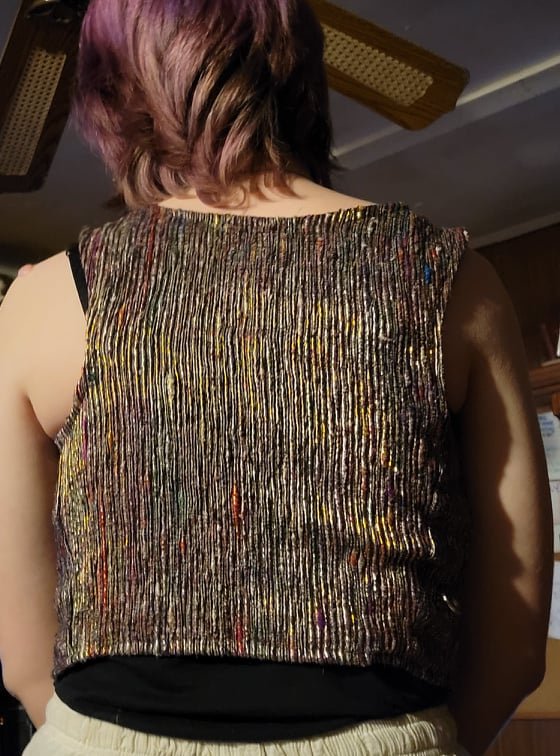
After that I was done. I think the vest turned out ok, what do you guys think? I would like to be proud that I fully remembered to take pictures every step of the way this time. So I have been thinking about maybe translating my posts to be bilingual but I’m not sure if it would be worth the time. What do you guys think? and if I did start translating my posts, what other language would you guys like the best? I’m partial to German and other European languages but I’m open to any suggestions.
If you are interested in seeing more of my creations, I post pictures of them semi-regularly on my Instagram, which is @cass_the_biblophile, so I totally recommend following me. Also, please leave a comment so that I know you read it. Peace, and I hope you are all doing well.
Congratulations @cassidydawn! You have completed the following achievement on the Hive blockchain and have been rewarded with new badge(s):
Your next target is to reach 1250 upvotes.
Your next target is to reach 4500 upvotes.
You can view your badges on your board and compare yourself to others in the Ranking
If you no longer want to receive notifications, reply to this comment with the word
STOPTo support your work, I also upvoted your post!
Check out the last post from @hivebuzz: