LIRA THE DARK 🔮 Splinterlands Art Contest SPT W-230
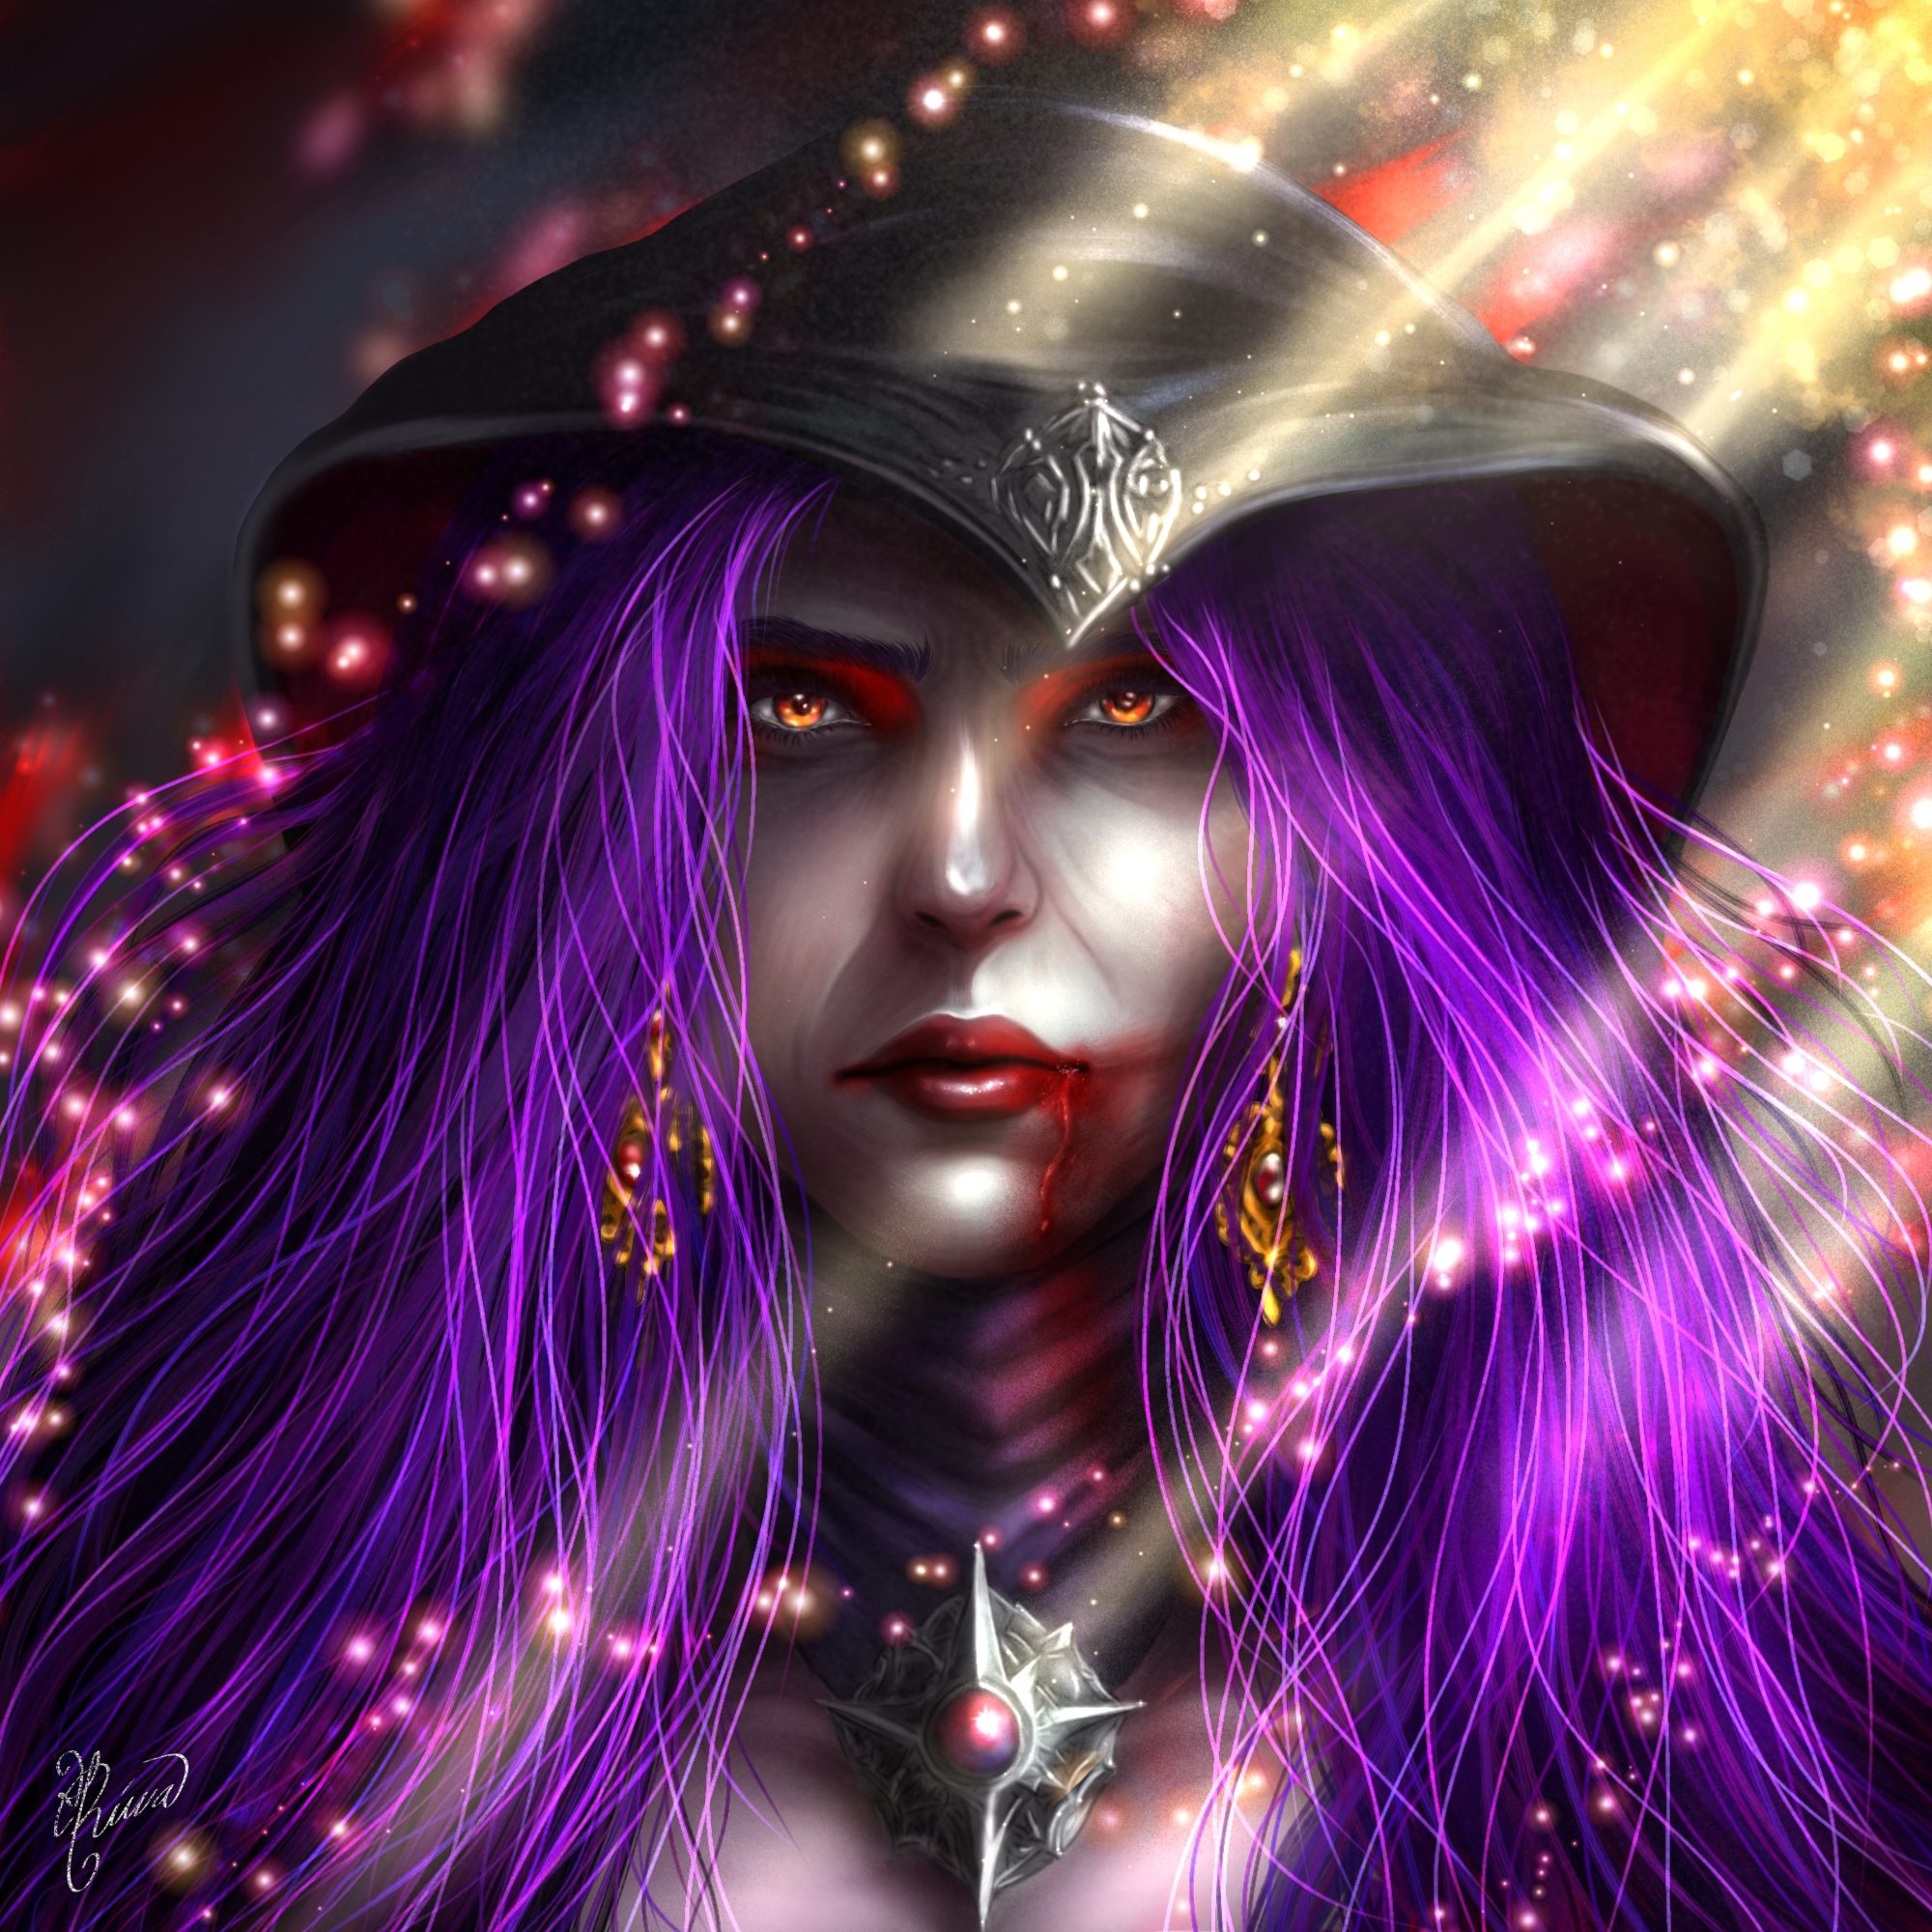
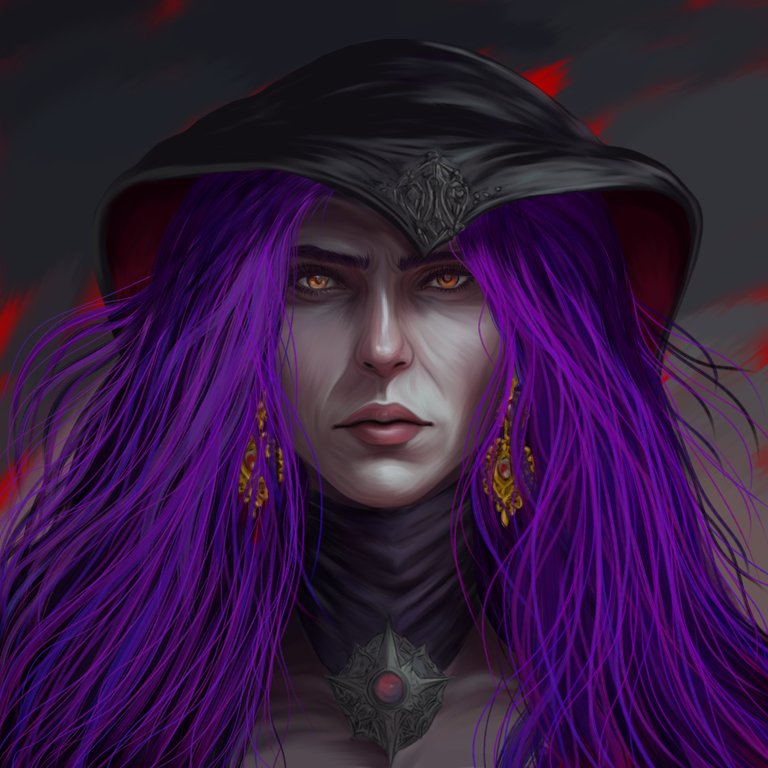
Hola!😌❤️ gran y estimada comunidad de Hive, un saludo para todos y cada uno, deseando como siempre que cada día estén muy bien y felices! Estoy muy complacida este día en querer compartir mi participación nuevamente para esta semana al concurso de Splinterlands, y para el cual escogí la carta de LIRA THE DARK para representarla con un rostro sereno pero a la vez intimidante. Quise representarlo como su propia naturaleza lo expresa, dándole toques de destellos, para darle ese semblante intimidante bajo un resplandor de luz del sol que no le hace daño, demostrando así su letalidad. Para este dibujo tarde unas 11h, lo cual me ha permitido seguir aprendiendo para ir disminuyendo esas horas, dibujando un poco más rápido. Me gustó este resultado con esta carta y esperando les guste a todos ustedes. Que lo disfruten! 😉
Hello!😌❤️ great and esteemed Hive community, greetings to one and all, wishing as always that every day you are very well and happy! I am very pleased this day to want to share my participation again for this week to the Splinterlands contest, and for which I chose the LIRA THE DARK card to represent it with a serene yet intimidating face. I wanted to represent him as his own nature expresses it, giving him touches of sparkles, to give him that intimidating countenance under a glare of sunlight that does not hurt him, thus demonstrating his lethality. For this drawing it took me about 11 hours, which has allowed me to keep learning to decrease those hours, drawing a little faster. I liked this result with this card and hoping you all like it. Enjoy! 😉

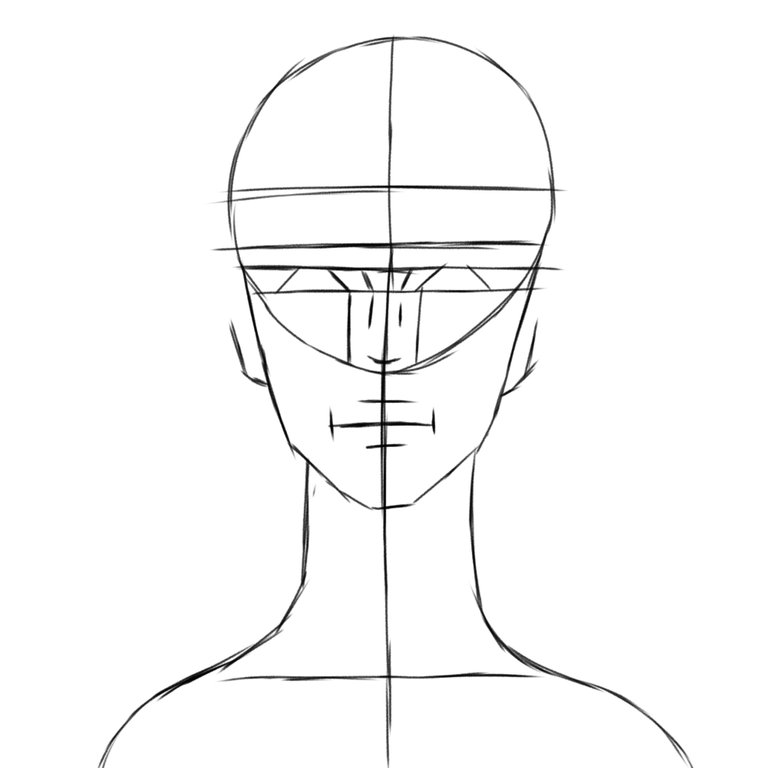
Etapas del Dibujo/Drawing Stages
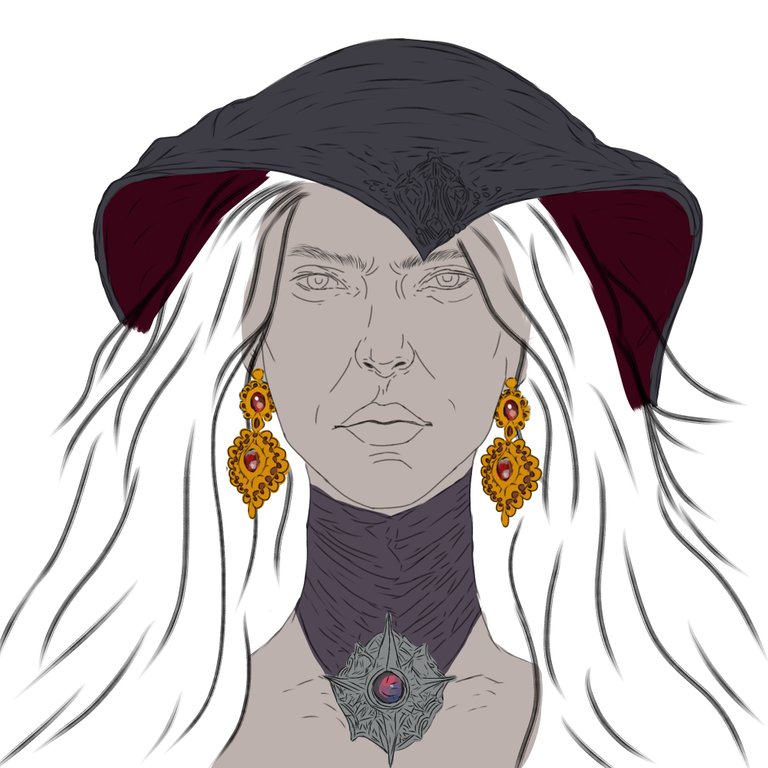
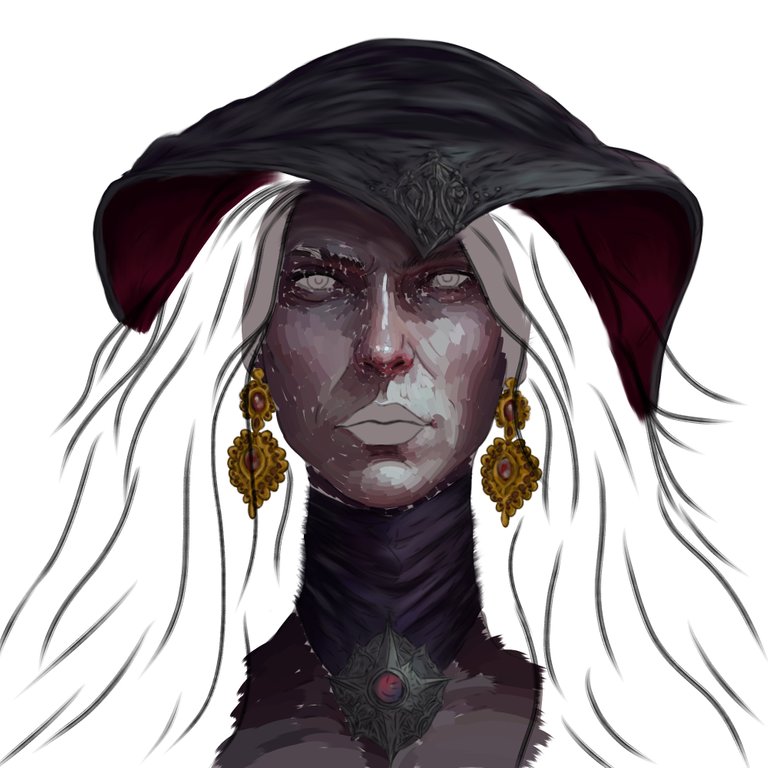
Para comenzar abrí la capa para realizar el boceto guía e ir luego a otra capa para realizar el delineado utilizando un lápiz #1 para hacer tanto el boceto como el delineado. Después en una nueva capa pase a aplicar una base de colores para piel, capucha, zarcillos y bufanda, luego pase a aplicar varios matices variando tonalidades utilizando una brocha tipo brillo de cabello 2. Como vi que los tonos estaban algo pálidos, pase a bajar el contraste de la capa para oscurecer un poco !as los colores de las prendas sin bajar el contraste de la piel. Utilice un método de mezcla Normal para la aplicación de los colores.
To start I opened the layer to make the guide sketch and then go to another layer to make the outline using a #1 pencil to make both the sketch and the outline. Then in a new layer I applied a base of colors for fur, hood, tendrils and scarf, then I applied several shades varying tones using a hair gloss brush 2. As I saw that the tones were a little pale, I lowered the contrast of the layer to darken a little the colors of the garments without lowering the contrast of the fur. Use a Normal blending method for the application of the colors.
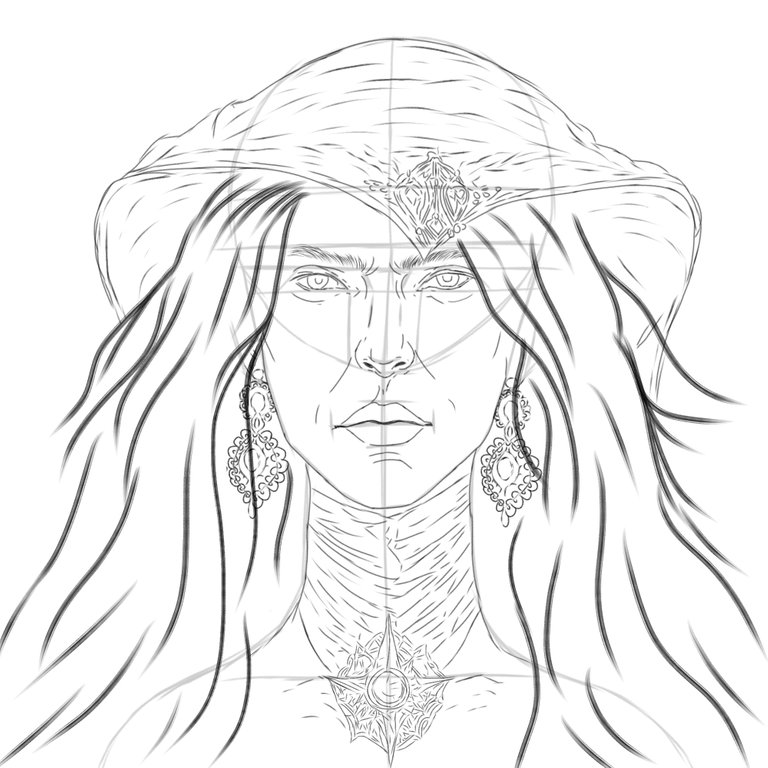
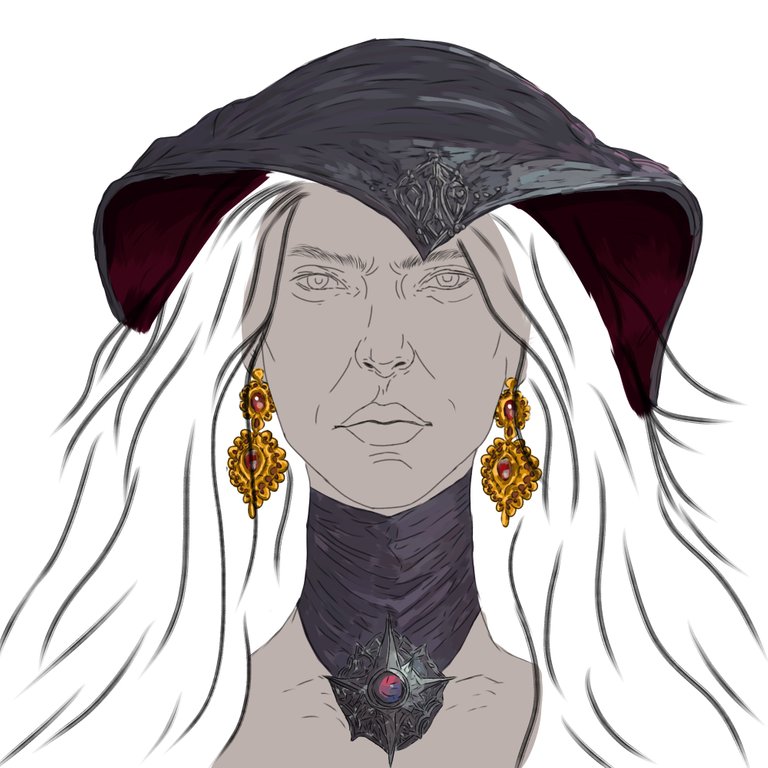
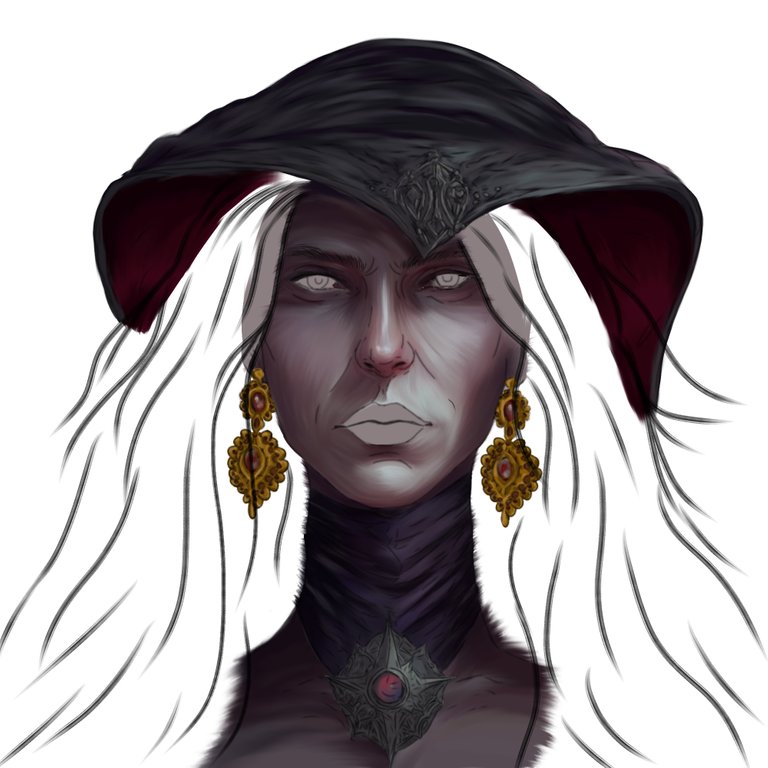
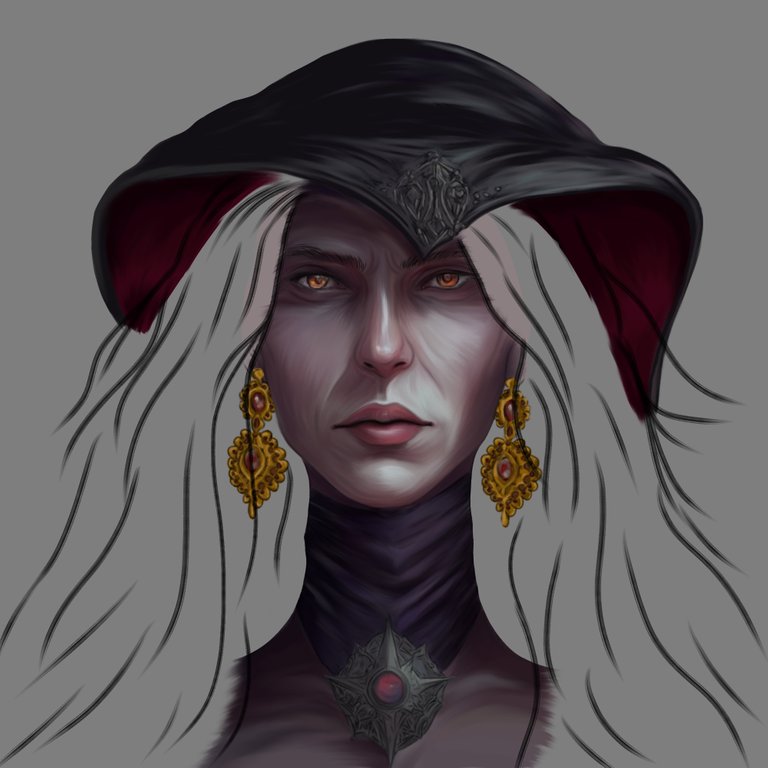
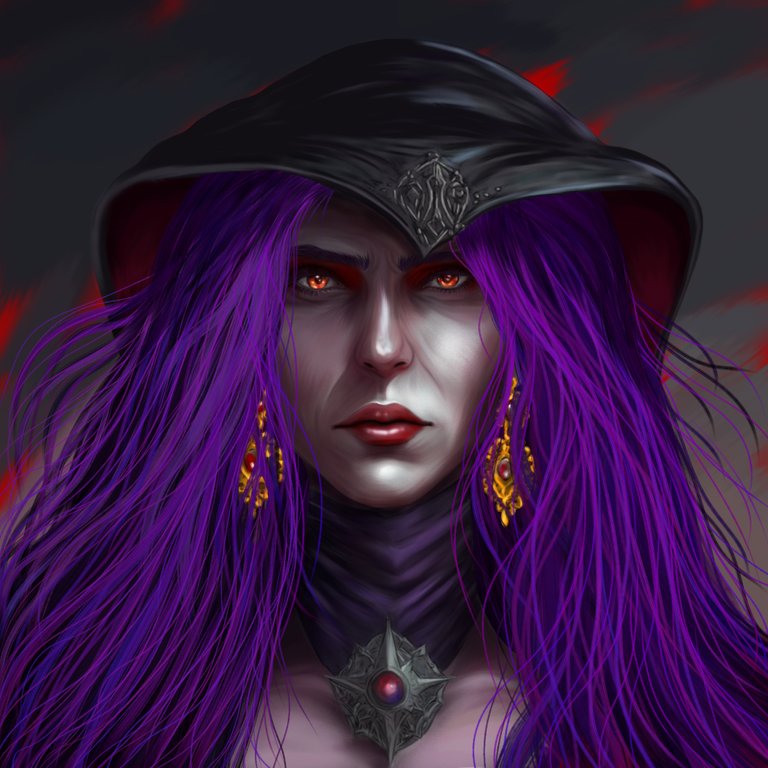
Después, en esta etapa pase a mezclar y suavizar los trazos en la capucha y bufanda. Seguí matizando la piel agregando colores algo saturados, luego suavice y mezcle para lograr la transición armónica. Borre el color sobresaliente del delineado, y para los trazos use la misma brocha tipo brillo de cabello, hasta para la mezcla o difuminado, ya que su trazo es bastante consistente y fluido. Difumine el delineado y luego pase a mezclarlo con la capa de color para fundirlo con ello. Luego, pase a matizar los ojos en la misma capa con el método de mezcla Normal. Seguidamente, cambie el color del fondo a un gris para descansar un poco la vista, y pase a trabajar la cejar, pestañas y el cabello en otra capa usando la brocha tipo Pelo que me parece ideal para el trazo de las cejas y pestañas. Para estos use varios tonos de morados con un método de mezcla Normal, solamente varíe los tonos entre más claros y más oscuros.
Next, at this stage I moved on to blending and softening the strokes on the hood and scarf. I continued to shade the skin by adding somewhat saturated colors, then soften and blend to achieve the harmonious transition. Blot out the overhanging color of the eyeliner, and for the strokes use the same hair gloss type brush, even for blending or smudging, as your stroke is quite consistent and fluid. Blend the eyeliner and then move on to blending it with the color layer to blend with it. Next, shade the eyes in the same layer using the Normal blending method. Next, change the background color to a gray to give the eyes a little rest, and move on to the eyebrow, lashes and hair in another layer using the Hair brush which I find ideal for the eyebrow and lash line. For these I used various shades of purple with a Normal blending method, just vary the shades from lighter to darker.
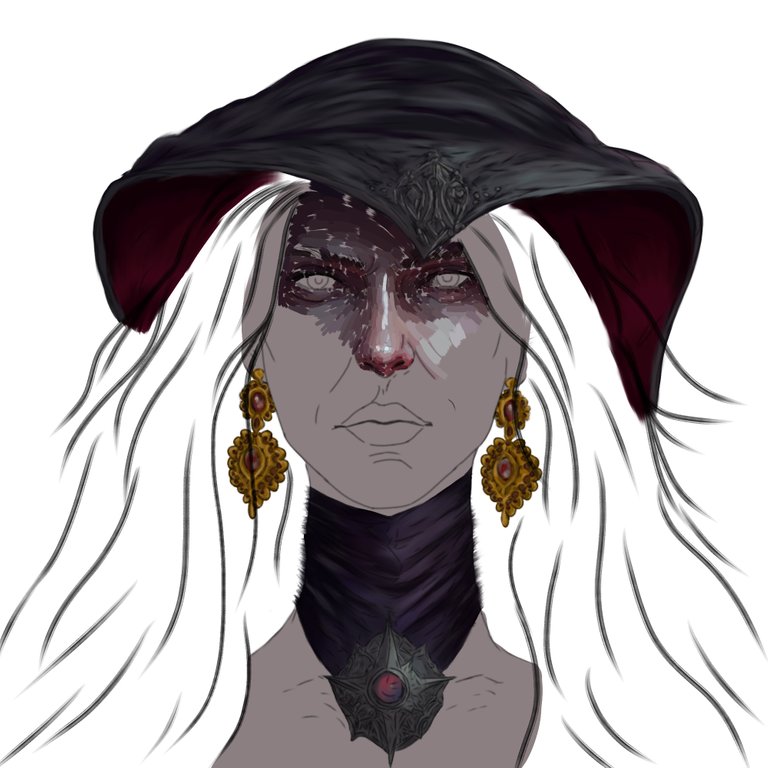
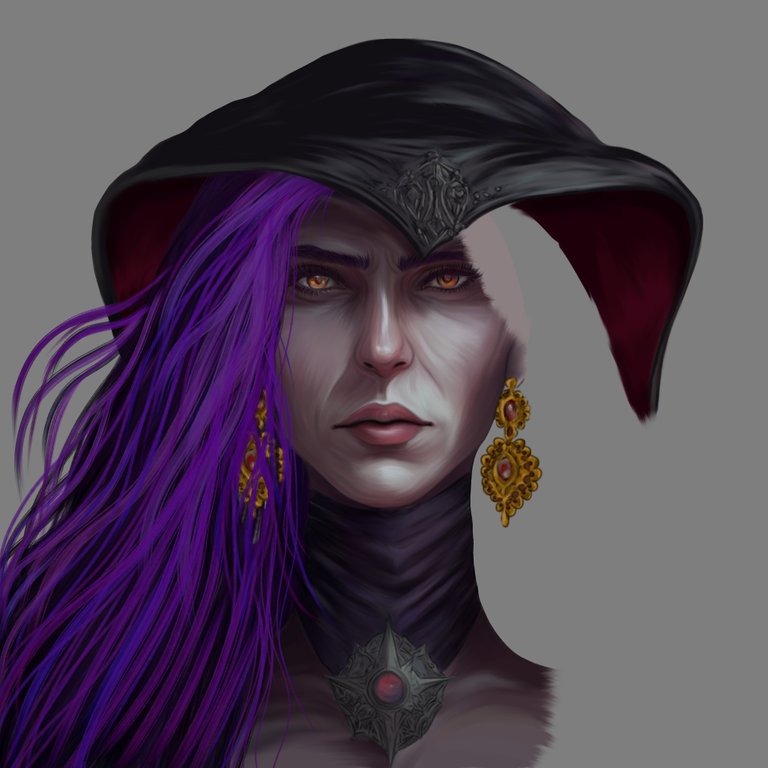
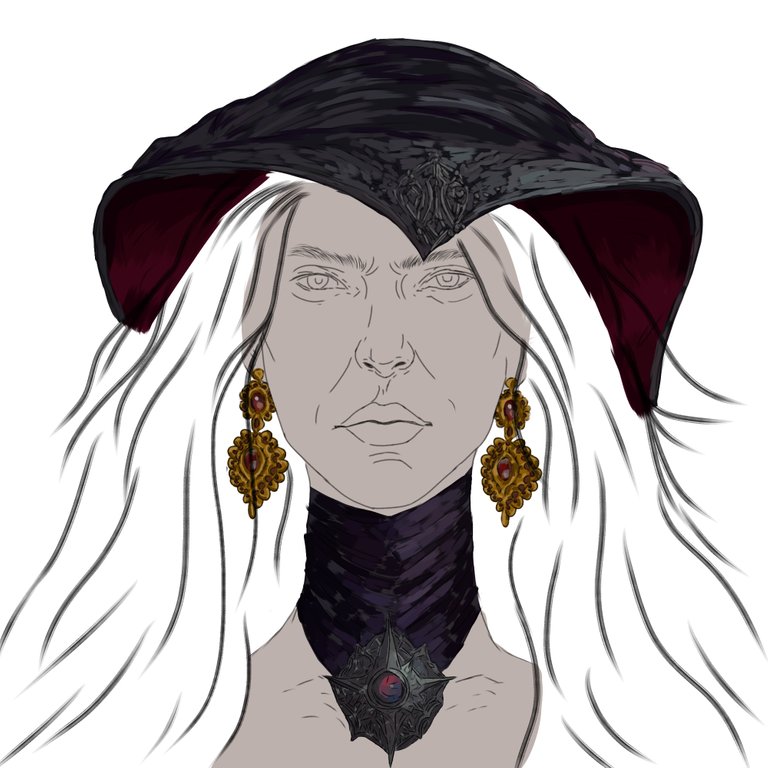
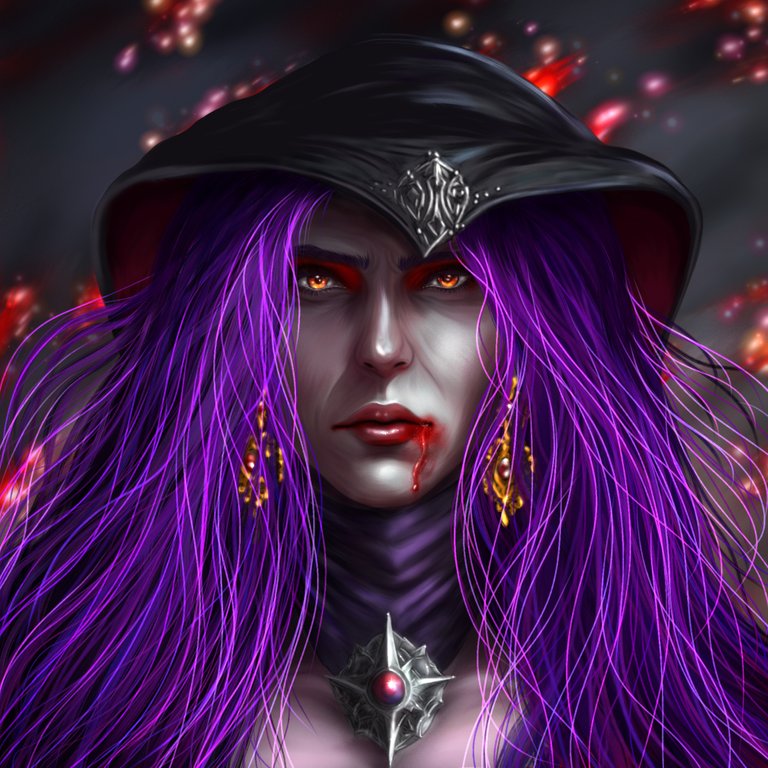
Después de terminar de recrear el cabello con la brocha tipo Pelo, en una nueva capa fui trabajando el fondo con un color rojo de base donde luego agregue pinceladas con aerógrafo de partículas con tonos grisaseos, que pase a mezclar para suavizar usando la brocha tipo brillo de cabello 2. Luego abrí otra capa con método de mezcla superposición para agregar una mayor saturación y brillantes a algunos colores, agregandolo en los ojos con un aerógrafo normal, y también en los labios, las piedras de las prendas, y varios toques en la piel, haciendo ver un resultado más fresco y no tan plano, logrando una profundidad. Seguí retocando con brillos usando un Aerógrafo Normal y con una capa con método de mezcla añadir para resaltar algunas secciones como en las prendas, después fui agregando algunos mechones de cabello un poco más iluminados para darle una mayor profundidad y volumen al cabello. Pase agregar brillos en el fondo con una brocha tipo punto de brillo los cuales Difumine un poco para darle una perspectiva de movilidad. Agregue un poco de sangre en un costado de su boca con un aerógrafo normal y en una capa de superposición donde agregue luego algunos brillos mínimos con una brocha punto de brillo. Luego use la brocha de pulverización y de Puntillismo para agregar algo de salpicadura. Oscureci un poco más algunas sombras con una capa de Multiplicar y agregué resplandor de luz con un aerógrafo normal y uno de partículas para trabajar el resplandor, en una capa con método de mezcla añadir, y pase a aplicar destellos de brillos a su alrededor con una brocha tipo punto de brillo, logrando así este resultado para esta carta. Espero les haya gustado y contar con sus especiales apoyos y me comenten aquí que les pareció? Gracias mi querida comunidad! 😚😉
Then I opened another layer with overlay blending method to add more saturation and highlights to some colors, adding it on the eyes with a normal airbrush, and also on the lips, the stones of the garments, and several touches on the skin, making the result look cooler and not so flat, achieving a depth. I continued retouching with glosses using a Normal Airbrush and with a layer with blending method add to highlight some sections as in the garments, then I was adding some strands of hair a little more illuminated to give more depth and volume to the hair. I added shimmers in the background with a glitter dot brush which I blurred a bit to give it a more mobile perspective. Add some blood on the side of her mouth with a regular airbrush and in an overlay layer where you then add some minimal shimmers with a glitter dot brush. Then use the spray and Pointillism brush to add some splatter. I darkened a little more some shadows with a Multiply layer and added light shimmer with a normal airbrush and a particle airbrush to work the shimmer, in a layer with blend method add, and move on to apply glitter sparkles around it with a glitter dot type brush, achieving this result for this card. I hope you liked it and count on your special support and tell me here what you thought? Thank you my dear community! 😚😉

Redes Sociales/ Social Networks
Sigueme en/ Follow me in:
👉Instagram: @catrynart
👉 Twitter: @catrynart
Herramientas Usadas/Used Tools
- Tablet Android/ Android Tablet
- Programa Ibis Paint X/ Ibis Paint X Program
- Traductor Deepl/ Deelp Translator
- Servidor de Imagenes Imgbb/ Imgbb Image Server
- Dactilopintura Digital/ Digital Fingerprint Painting
🌺¡HASTA EL PRÓXIMO POST!🌺
Detenerse es Retroceder
To Stop is to go Backwards
https://twitter.com/1629316644987174912/status/1630577092432723969
The rewards earned on this comment will go directly to the people sharing the post on Twitter as long as they are registered with @poshtoken. Sign up at https://hiveposh.com.
Cool design, really like the bright purple hair on the front and the fire effect in the eyes, there is just something about the last effect I feel its just like to much noise, still looks cool, lot of talent must take hours do a drawing like this one
Thank you so @skiptvads 😊
Do you know you can win a Chaos Legion pack and many other things just by following some simple steps ?? Check out our Latest Daily Showcase and Participate our latest Giveaway. Thanks
I admire your work so so much dear, that fierce look on her face is everything, welldone
Thank you my beautiful! What a pleasure to know that you have liked the progress I've made little by little. A strong hug 🙆😚💕
🫂
Thanks for sharing! - castleberry#6859

Thank you so my @castleberry🙆❤️😊
Just Awesome!
👍🏼👏🏻👏🏻👏🏻👍🏼
Thank you so @lesmann 👋😊
Magnificent Job on this,. perfect colors!
Absolutely!
Have an Amazing Week!
🙋🏻♀️✨🌄✨🙋🏻♀️
Thank you very much I appreciate it very much! An excellent week to you too, from here a big greeting.😌❤️👋
Your Welcome and a Big Greeting to You as well!
👏🏻🙋🏻♀️👏🏻
Gran trabajo y muy bien explicado!
Muchas gracias @lauraptis 😉👋