(Esp/Eng) Tutorial/ Diy|Caja sorpresa con temática de Superman/ Tutorial/ Diy|Superman themed surprise box
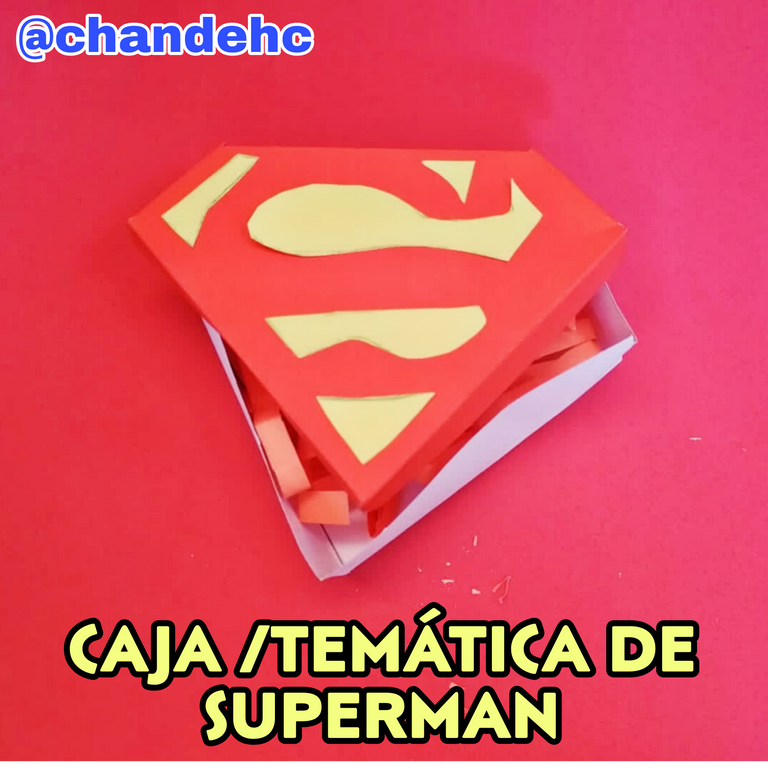
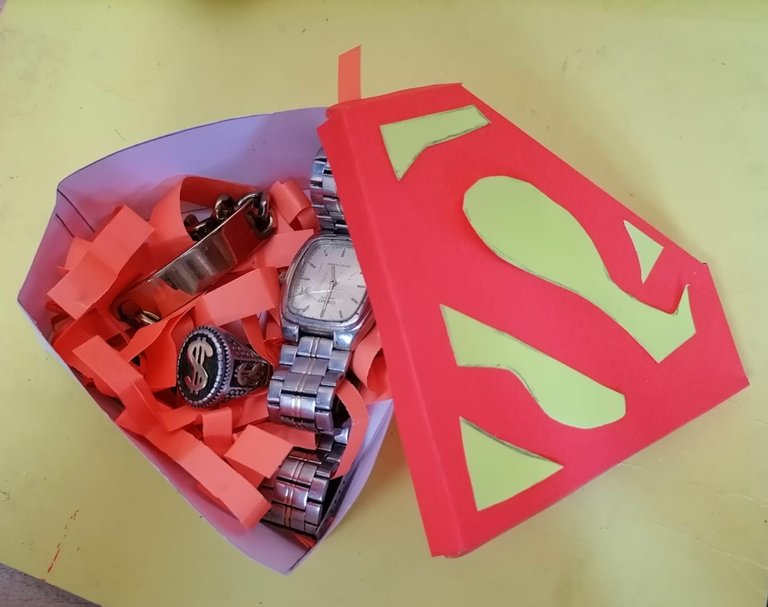
Feliz y bendecido domingo mi gente hermosa de #Hive, que hoy sea un gran día para todos, en especial para esos padres amorosos, que siempre han estado presente en la vida de sus hijos. El proyecto crafts de hoy, es dedicado a los padres, es una hermosa cajita con temática de Super Man, para obsequiar.
Happy and blessed Sunday my beautiful people of #Hive, may today be a great day for everyone, especially for those loving parents, who have always been present in the lives of their children. Today's crafts project is dedicated to fathers, it's a beautiful Super Man themed box to give as a gift.
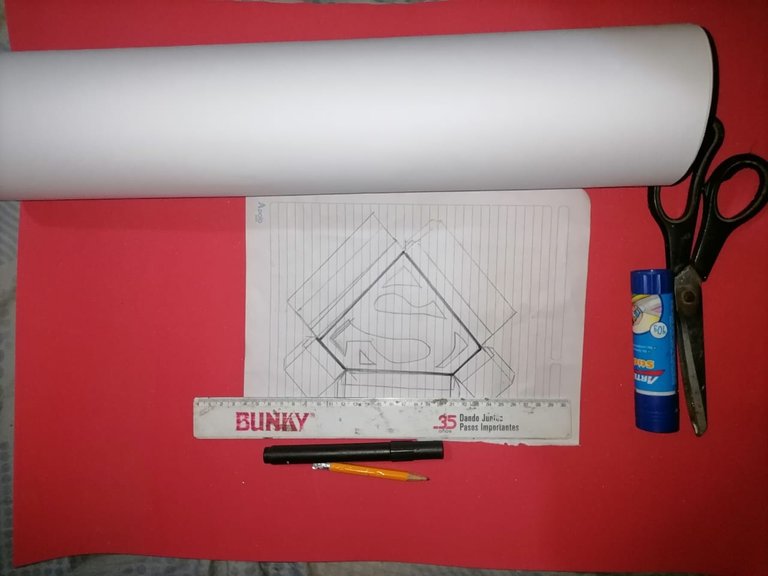
- Cartulina, amarilla, roja y blanca.
- Molde o plantilla de la caja y el logo.
- Pega en barra.
- Regla.
- Tijeras.
- Lápiz.
- Cardboard, yellow, red and white.
- Mold or template of the box and logo.
- Glue stick.
- Ruler.
- Scissors.
- Pencil.
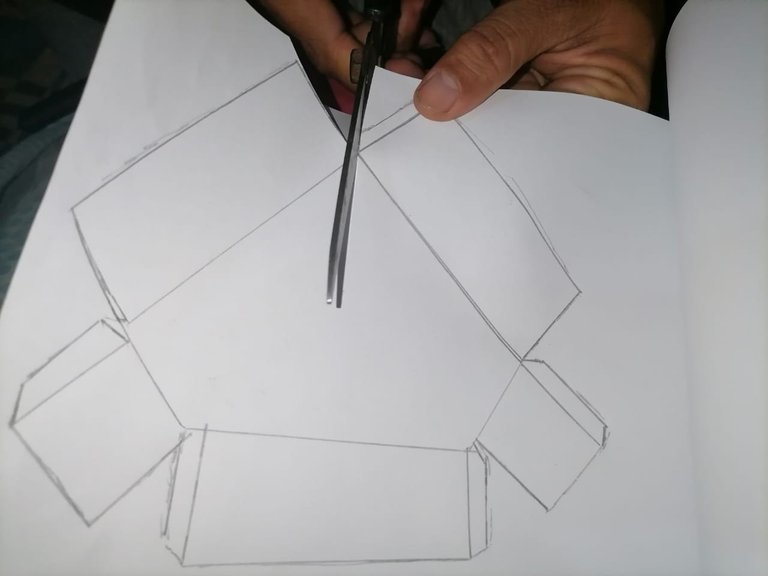
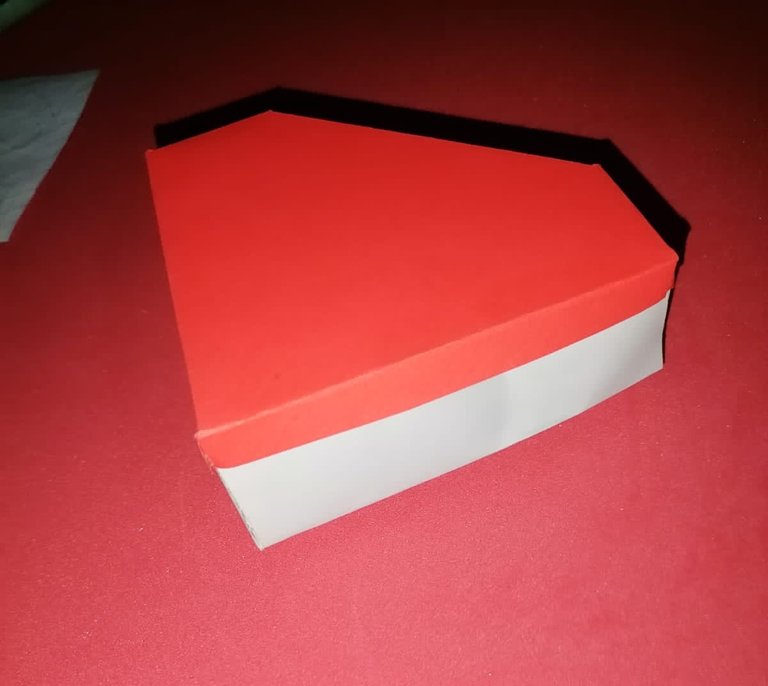
Montaremos nuestro molde sobre la cartulina blanca, marcamos y recortamos.
We will mount our mold on the white cardboard, mark and cut out.
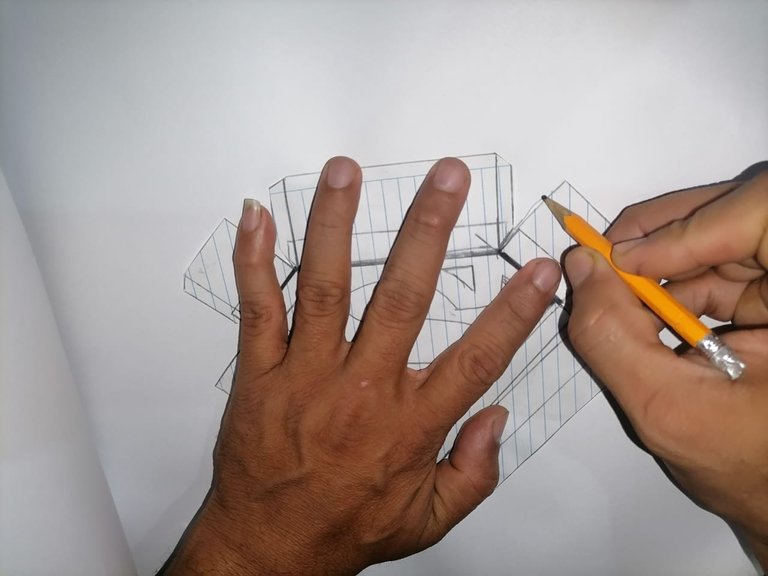
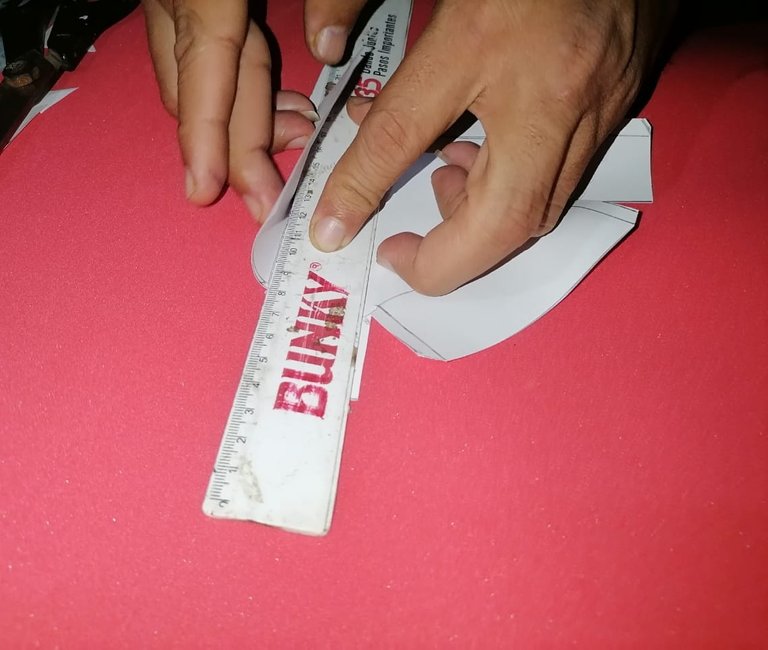
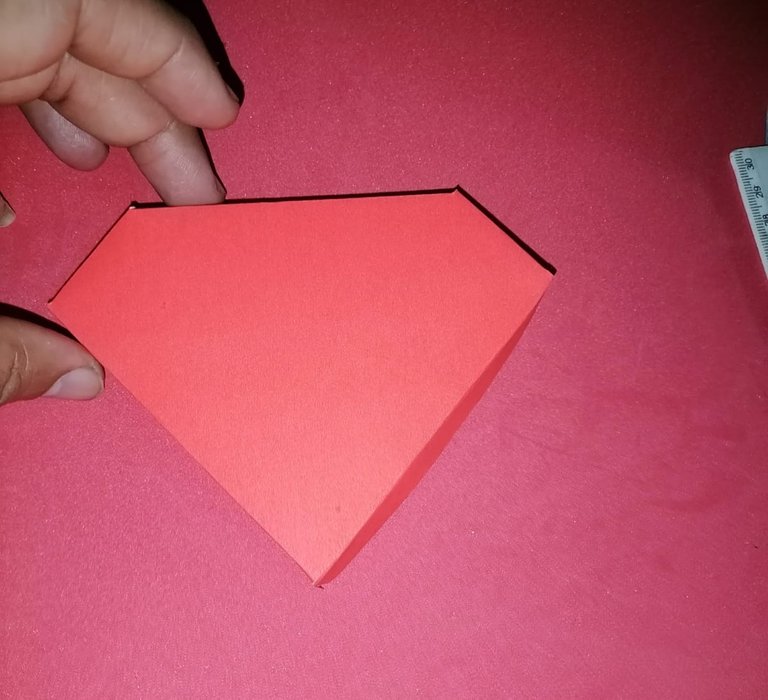
Con la ayuda de una regla doblaremos las pestañas de los laterales y las pestañas pequeñas de unión de la caja.
With the help of a ruler we will bend the flanges of the sides and the small flanges of the junction of the box.
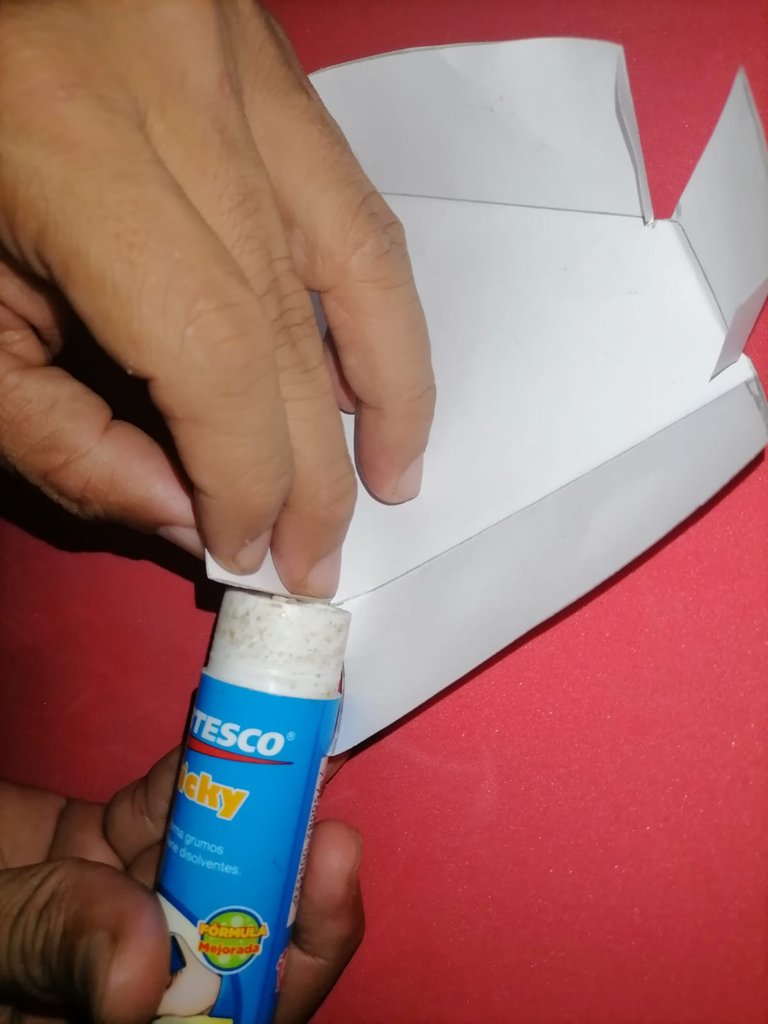
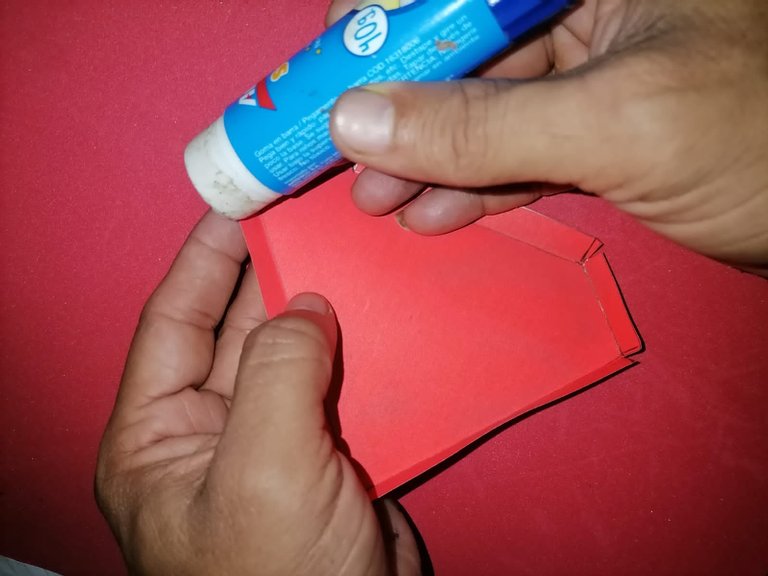
Aplicamos pegamento en las pestañas de unión para unirlas a las pestañas laterales.
Apply glue to the connecting tabs to join them to the side tabs.

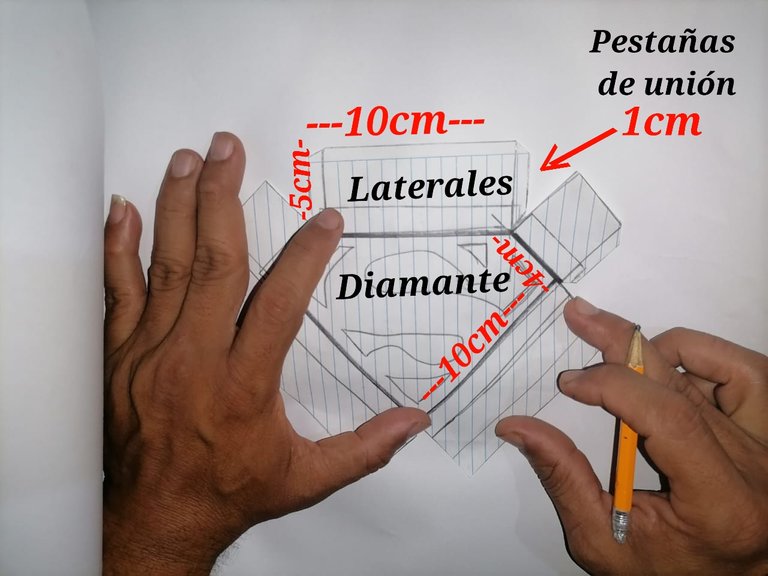
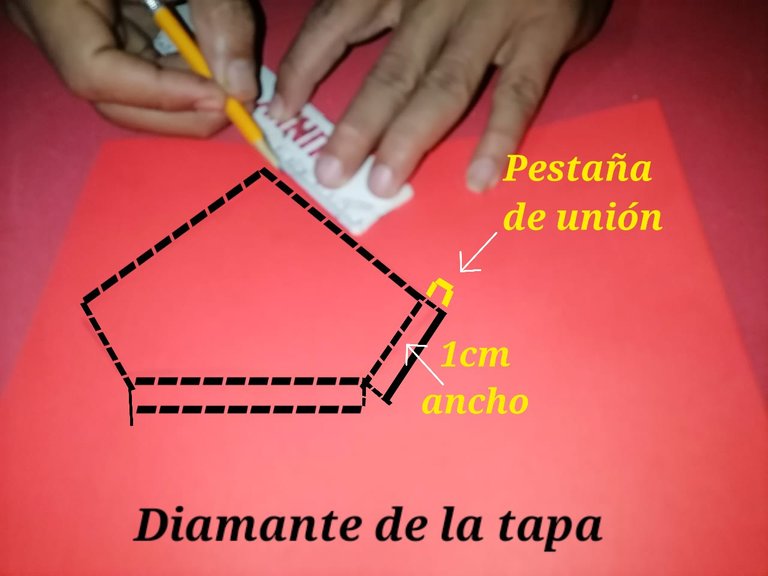
Luego dibujamos un diamante de 5mm aproximadamente más grande que el de la caja, para hacer la tapa. Agregamos unas pestañas de 1cm de ancho por cada lado del diamante, y otras pestañas pequeñas en los extremos de las pestañas grandes, para hacer las uniones de la tapa.
Then we draw a diamond approximately 5mm larger than the one in the box, to make the lid. We add 1 cm wide tabs on each side of the diamond, and other small tabs at the ends of the large tabs, to make the joints of the lid.
Unimos las pestañas para armar la tapa.
We join the tabs to assemble the lid.
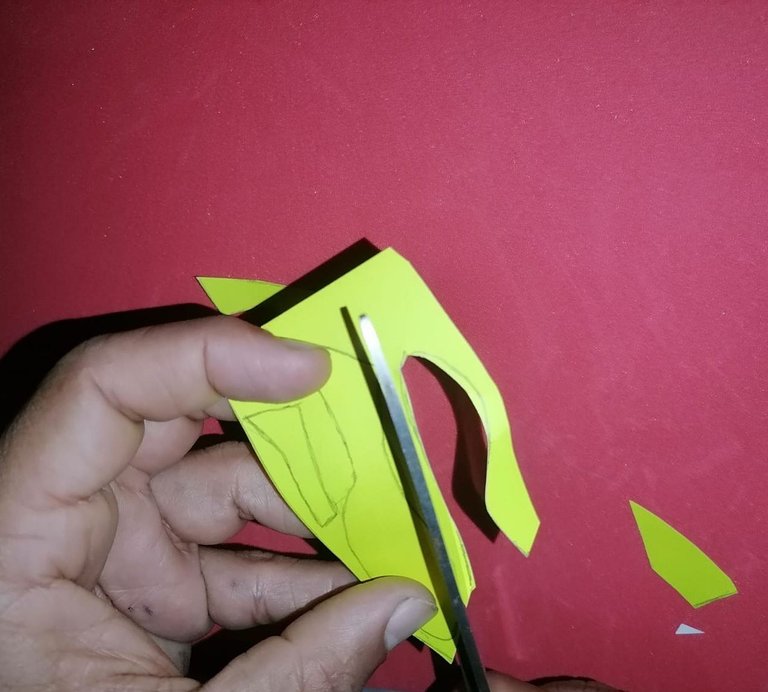
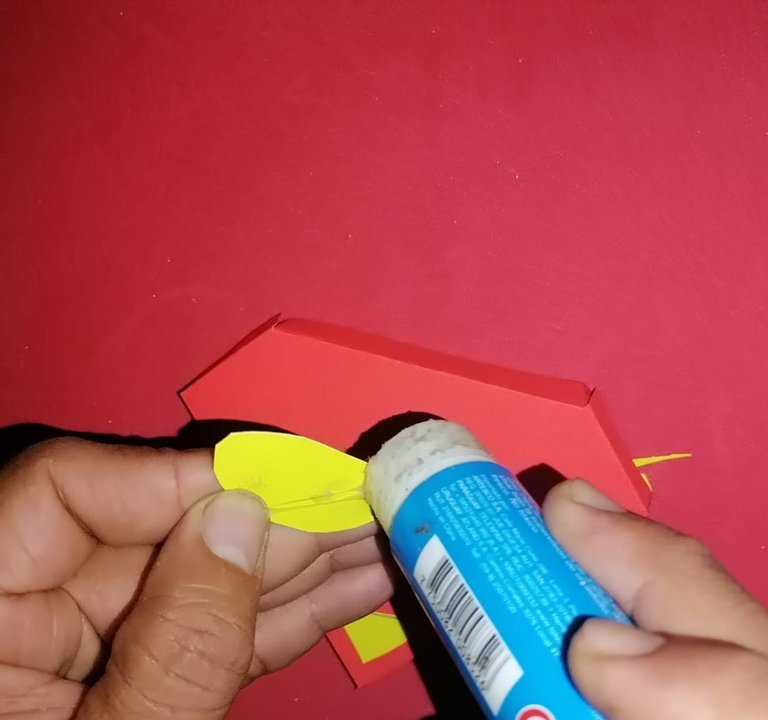
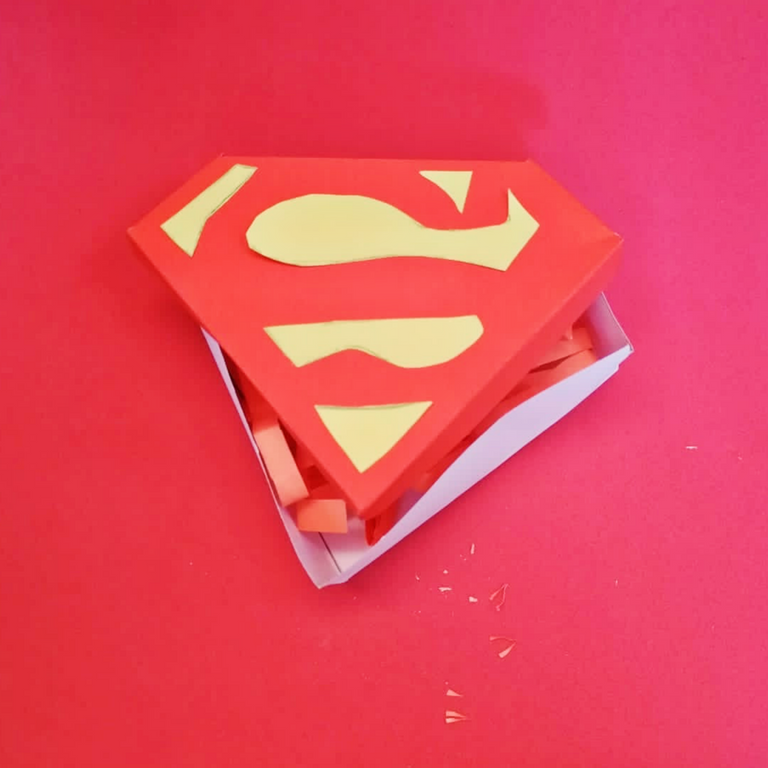
Finalizamos pegando sobre la tapa, los detalles amarillos de la "S" y terminamos nuestra caja de Super Man.
We finish by gluing the yellow details of the "S" on the lid and we finish our Super Man box.

Gracias apreciados amigos lectores por quedarse hasta el final de éste tutorial, espero les haya gustado. Que sigan pasando un lindo día. Bendiciones 🙏🏻.
Thank you dear reader friends for staying until the end of this tutorial, I hope you liked it. Have a nice day. Blessings 🙏🏻.
Muchas gracias por compartir esta publicación, la verdad el paso a paso esta muy bien explicado y es fácil de entender, también muchas gracias por compartir esta increíble idea para regalo del día del padre.
Saludos estimado @jjperozo,gracias por dejarme saber en tu comentario que te gusto éste paso a paso; Dios te bendiga y que tengas un excelente día amigo.
igualmente
Que linda cajita, te quedó muy bien, yo soy malísima para hacer cajitas, nunca me dan las medidas jaja gracias por ese tutorial tan bien explicado 😃
Hola mi linda amiguita @mariajcastro28,si te entiendo, hay algunas cosas que no se nos dan mucho, pero lo intentamos 🙂, y gracias a ti por comentar 😊