Winter Project: Floor Finishing DIY
Hi fellow DIYers,
Today I'm back with another fun DIY post, seems to be the theme for our winter time!

Winter Project: Floor Finishing DIY
One of the really fun things of late is having some DIY projects to finish up at home! I've been taking advantage of a few things like the colder weather and our son being older and behaving a lot better for us so that I can get some small projects finished. It's also good to keep busy and not just sit around doing jack shit lol.
A few years ago I started the kitchen floor project, one that was sorely needed since the floors in the kitchen and other parts of the house were an awful, terrible looking linoleum. What I didn't get to do was finish all parts of it! I needed to finish putting the stuff under the stove and took the opportunity to do it, as well as use up some of the boards that we've got left over in the house.
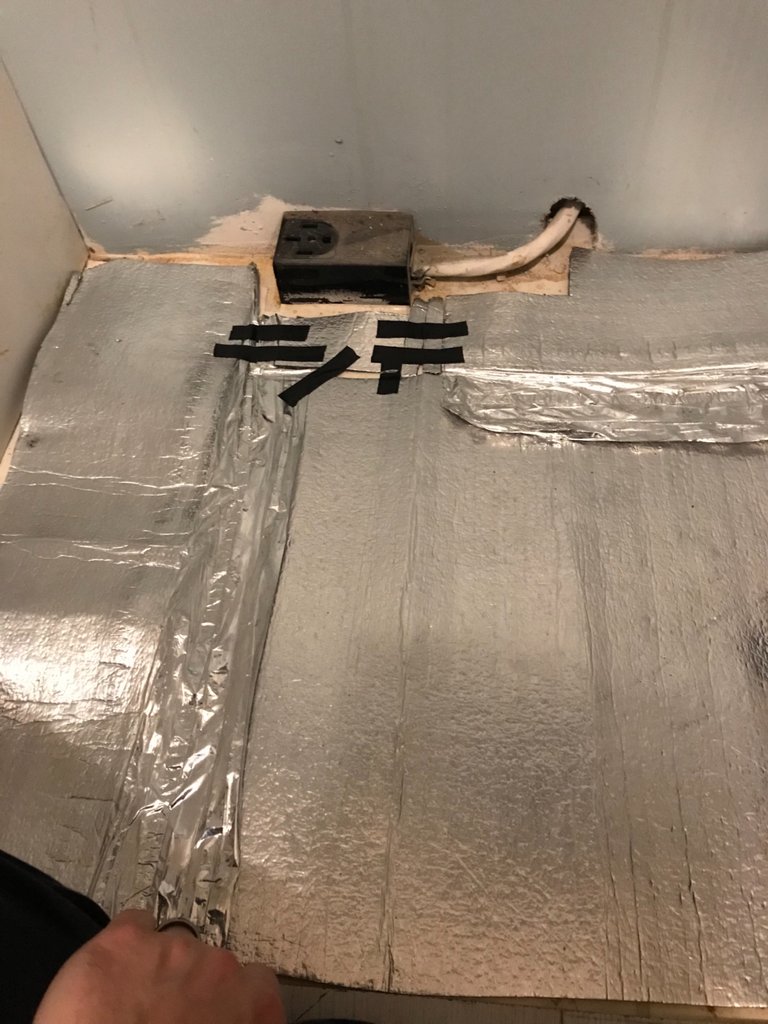
What the first step is, that I skipped for a few minutes until I remembered it, was to lay down the insulation! The flooring insulation here does a few things but importantly keeps the sound levels down in a building that's got multiple floors like ours. It also improves the heat retention of the place, since the reflective coating reflects the heat back upward. Stuff works great! Lol
You have to put the stuff reflective surface up, at least I think. That's how they have the tape facing on the different layers. This way you reflect the heat the floor gets back into the unit. I think this also acts as a decent vapor barrier but these floors aren't waterproof sadly. If we have to, I'll install the good stuff before we move but only if we are told we have to. I know I already have to in the bathroom but that's a project for another time.
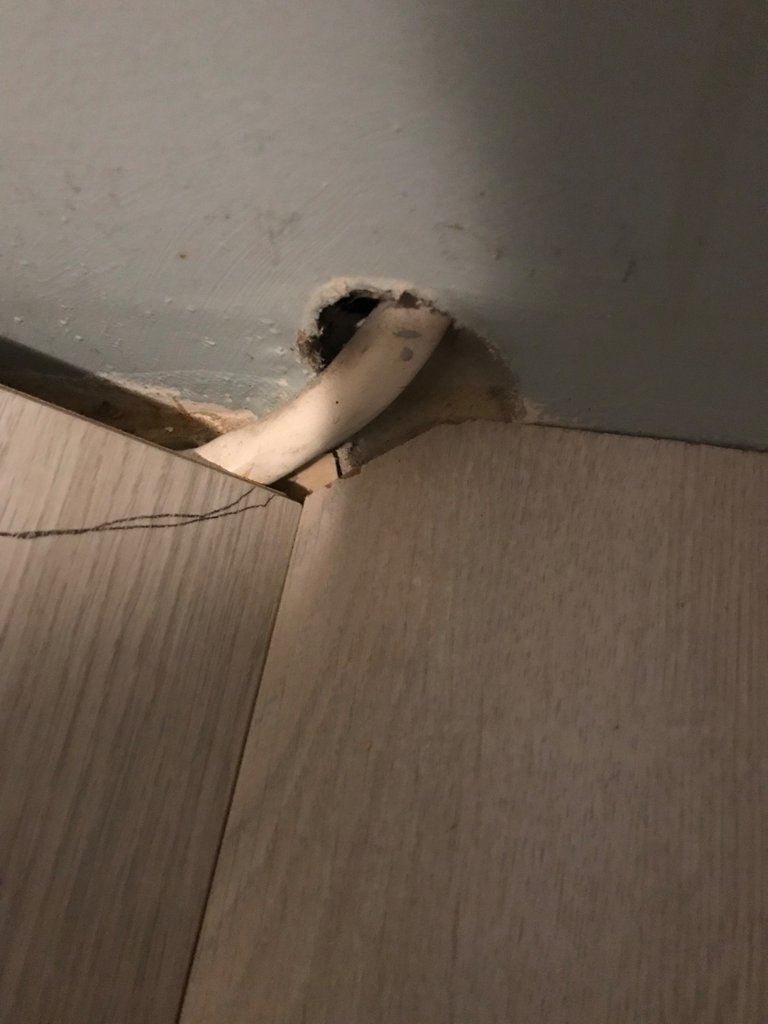
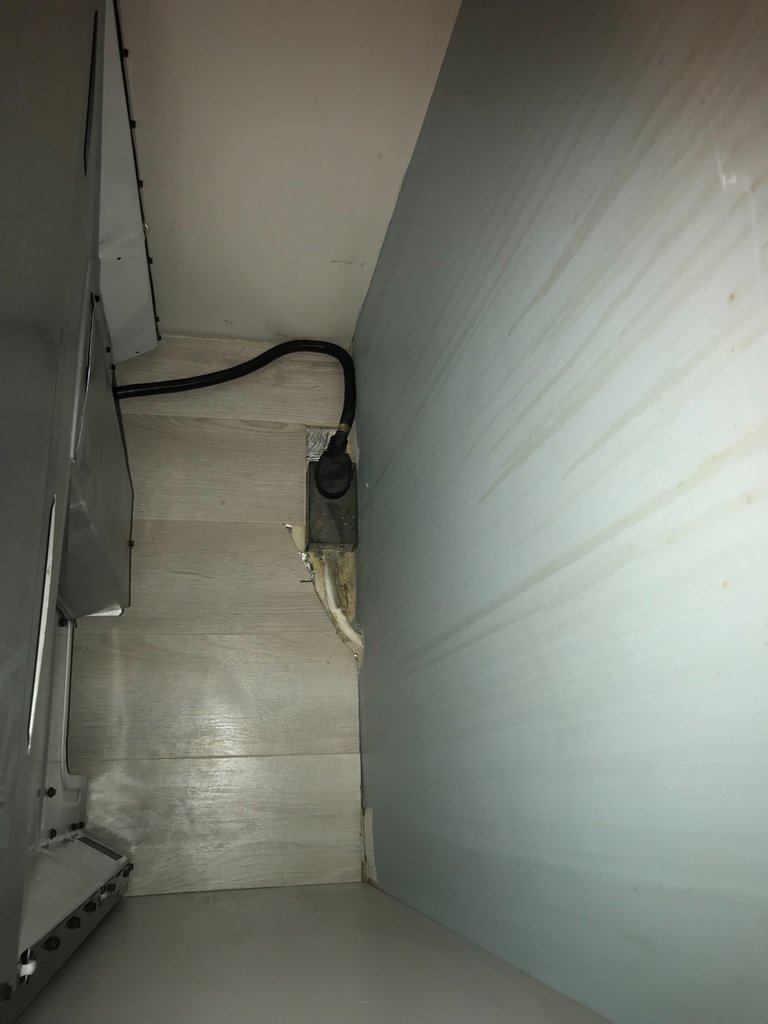
It's important to factor in the different areas as well. I had to make sure it nearly touched the wall and left room for the plug here so that the floors wouldn't be bending downward at one end, even though the heavy stove is going to sit on top of it. I taped the pieces up so that way they wouldn't move around while I was doing the work.
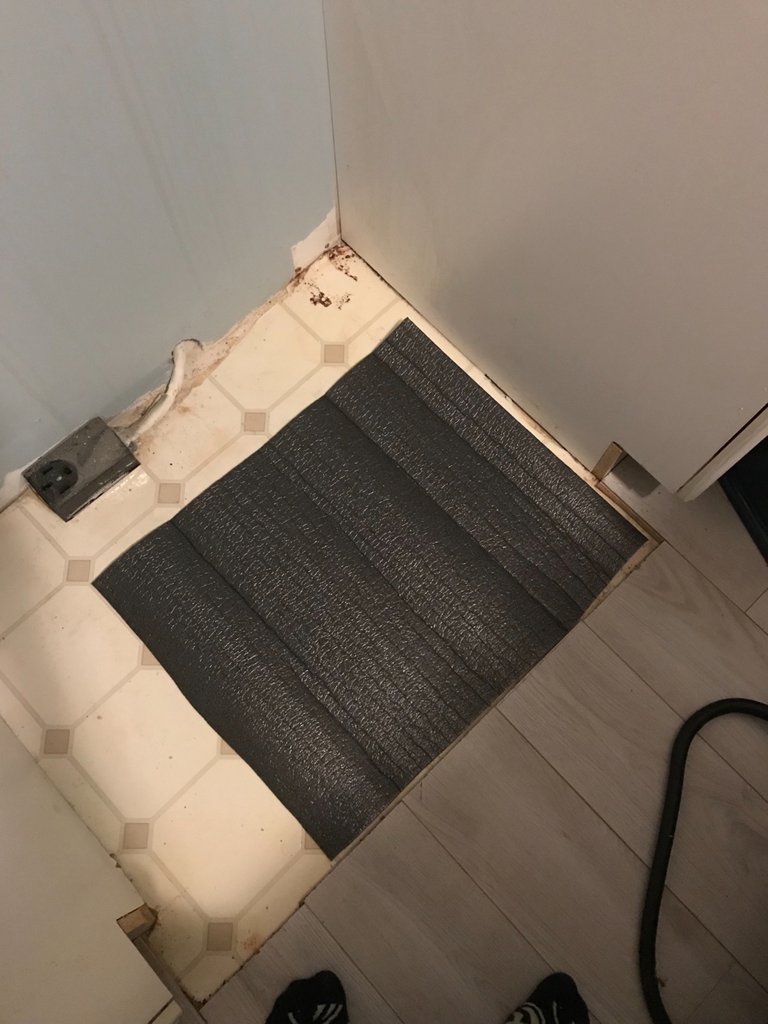
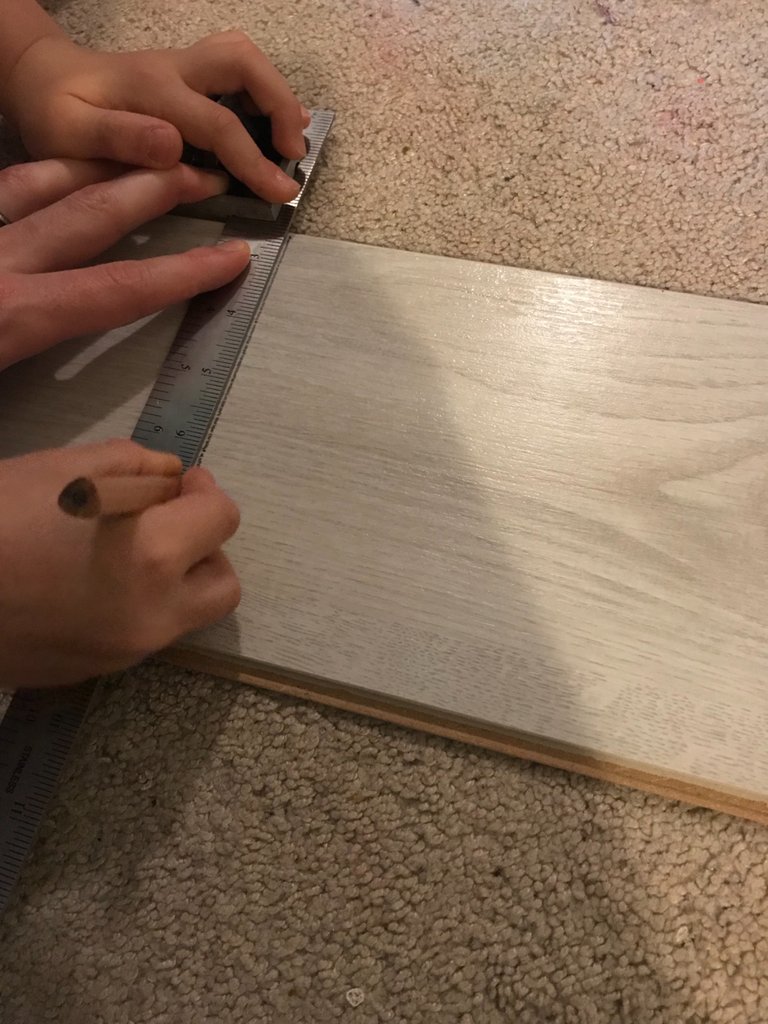
Now it was time to get to cutting! I did this step, as I said above, before I actually put the insulation down but didn't want to waste time retaking photos lol oh well.
No job is without it's difficulties which is fine. I had to factor in the cord here. Thankfully this is all behind the stove so I didn't have to make things perfect but relatively good enough. Quick mark on the board and it's cutting time!
The work wasn't complete without some assistance from the little man! He loves helping and having tasks to do. Drawing the lines is important as anything so I let him do that. He understands a lot more about the tools which is great. I didn't have my square down with me so I asked him to go get it, and where it was roughly. He came back a moment later with the right tool!
I also had to factor in the outlet which was a lot bigger than a normal one since it's for an electric stove.
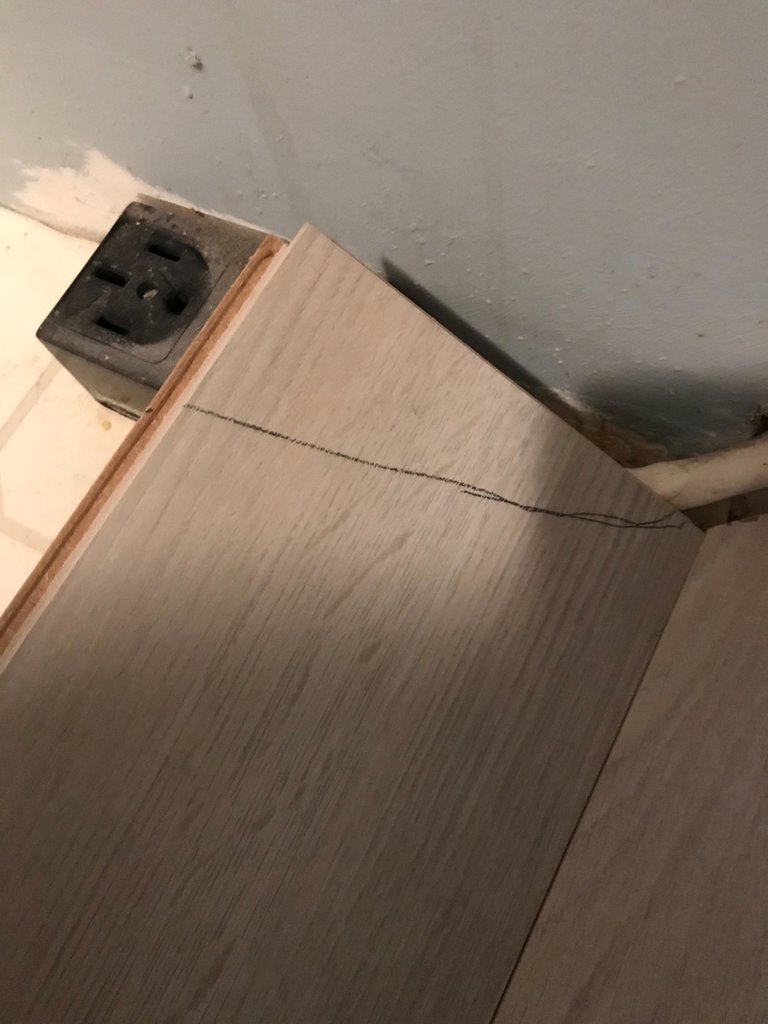
The cord was definitely large so guessing how it would fit made it a little tricky at times. Thankfully I was able to just take the line I had and just cut a little bit extra to make it work!
The little man was excited to help me fit the floor pieces together! I was showing him how the "click and lock" type flooring works, have it at an angle and slide it together then press it down and bam it's done!
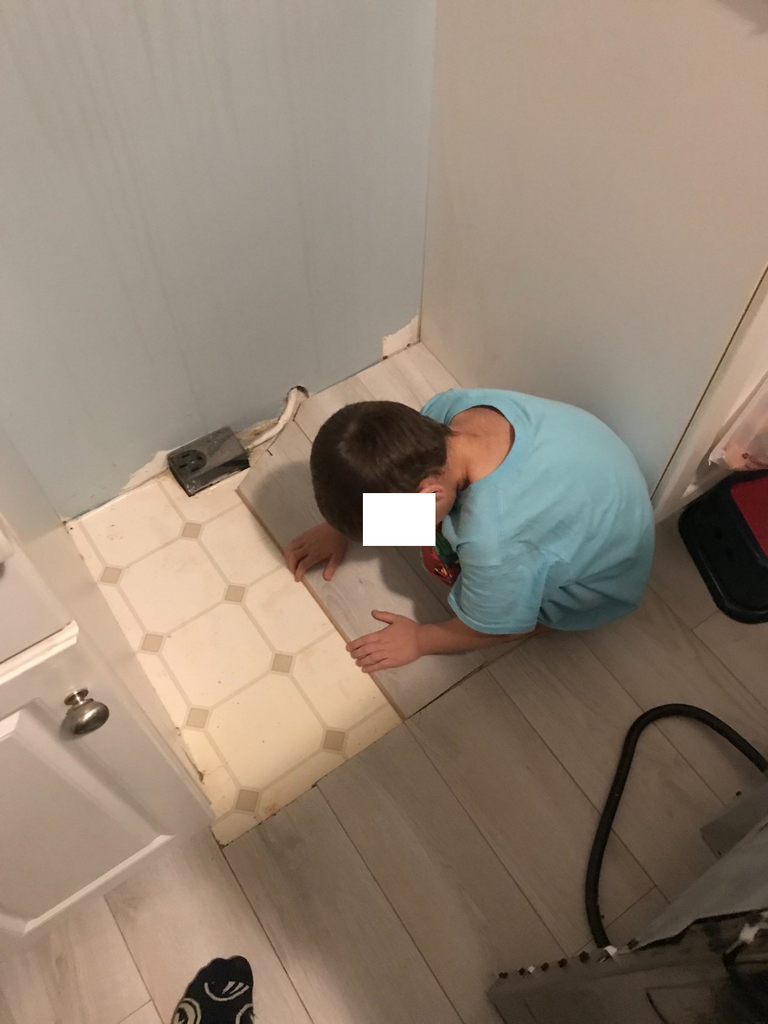
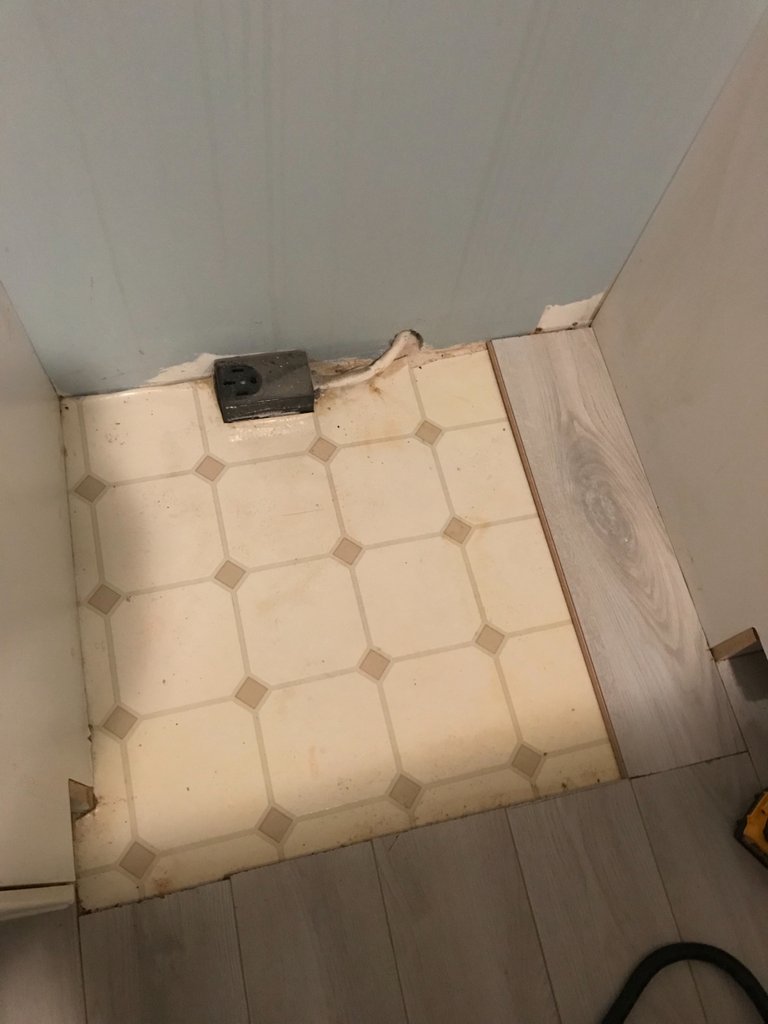
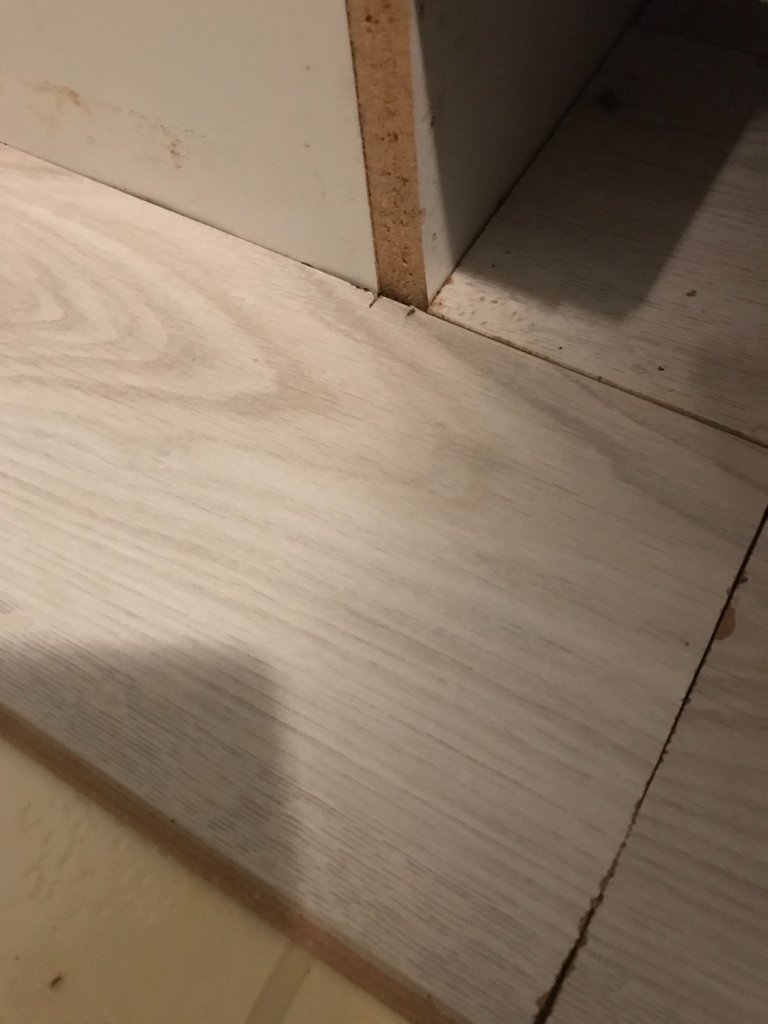
I'm glad that I didn't have to fuss around too much with the clearance on the cabinet here. The floor lined up perfectly! I needed the extra strength that the click-lock offered in this situation since I had to remove the top lock portion on the board.
I forgot to take a picture of the floor all finished before putting the stove back on top of it but didn't want to move it completely out of the way lol so I just left it and snapped a photo on top! I am happy with how it turned out, it certainly wasn't going to be perfect but it was an improvement over not having it there at all. Now I can check that off the list of the items I needed to get finished!
I'm really liking how close it turned out. I didn't even give the end of the boards a 1/8th of an inch of clearance to the wall so that way the floor wouldn't slide.
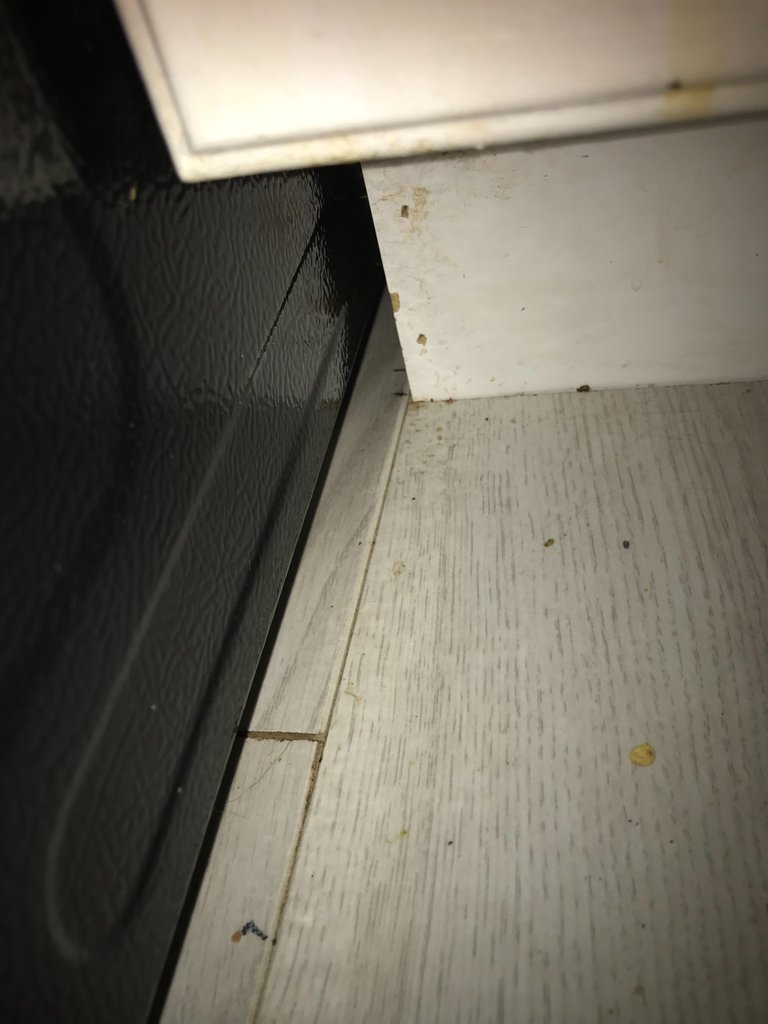
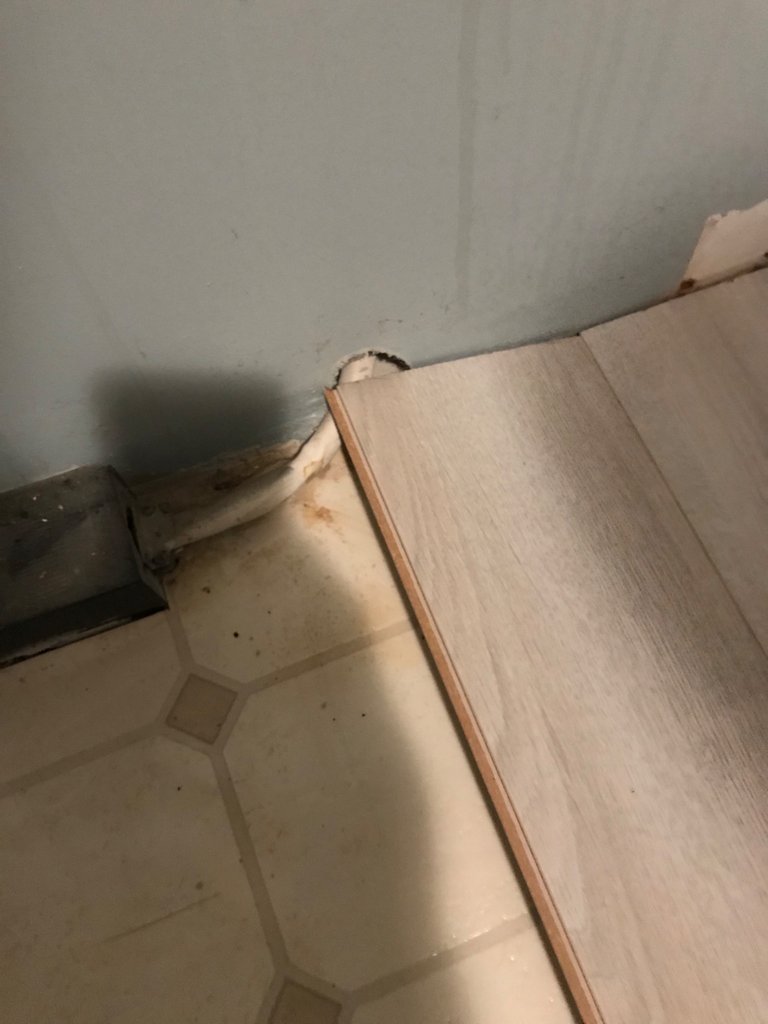
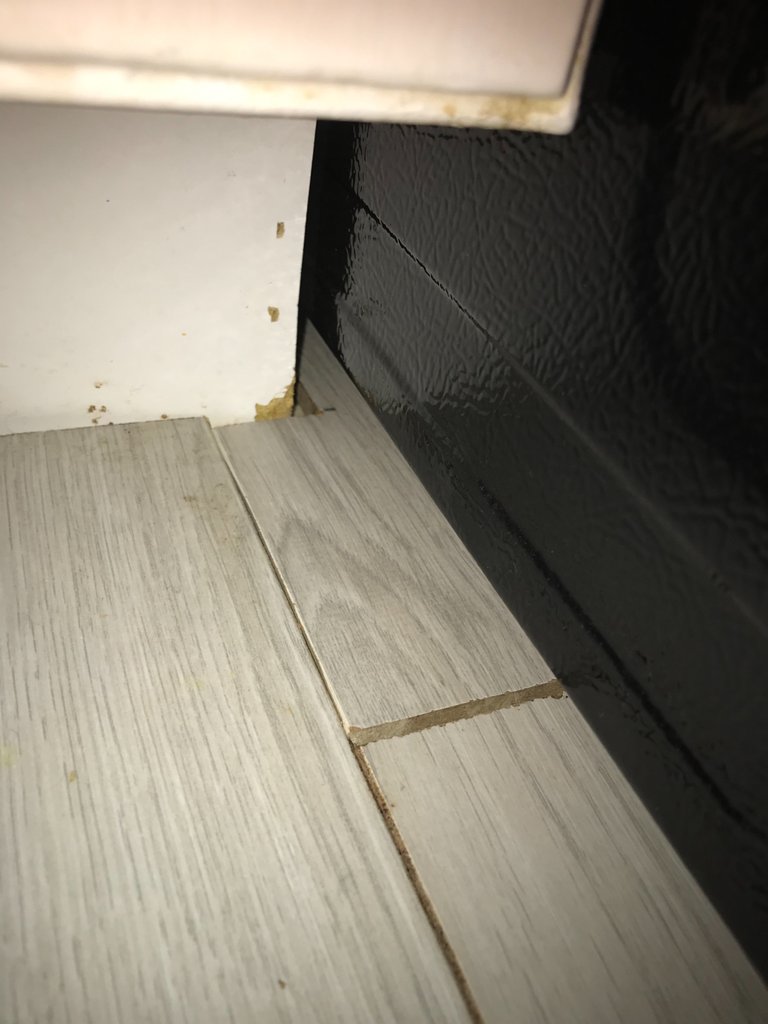
I don't know what's going on here, the floor certainly fit into place when I finished up but I looked at it after writing this and it was in place so guess it was just a bad picture lol
In all, this was a fun project to finish up. Sometimes projects at home are lifelong projects it feels like. It's good to get the initial parts done but when it comes to finishing up every single aspect of it, that's where sometimes it goes off the rails. I have one more spot to do on the floor and wall here before the kitchen is hopefully completely finished, unless the realtor/inspector comes in when we go to sell it and tells us it looks like shit and we need to replace it.

Do you want to get paid, in crypto, for searching the internet? Try using and signing up for Presearch to earn some great crypto! I've currently got 2,645 PRE tokens, with a market value of $862.27. It doesn't sound like a lot but when you search using sites like Google you get paid $0! Join Presearch to break Google's stranglehold on the internet searches. If you'd like to sign up, use my referral link below and spread the word!
https://www.presearch.org/signup?rid=513043


I need to figure out HVAC. One of the rooms upstairs does not get enough heat and I have to run an electric heater all night long. I am new to house owning and need to hire a professional to do HVAC check. I wish I knew a trick or two :)
Ah I hear you man, when a room is cold that sucks! What we did ourselves to put a band-aid on the issue was to plastic off the windows. A lot of heat loss happens from poorly insulated windows! Our windows in our bedrooms still have plastic on them to this day, we haven't replaced them but the windows in the living room we replaced and holy shit it's like night and day!
Make some small adjustments to the environment and you can get some pretty big improvements in temperature. We also added electrical outlet insulators. These little foam things that go around the outlet and block drafts from coming in.
For the HVAC issue, it could be something as easy as a clogged duct in the ceiling or attic or something more complicated like an under-performing unit that's just simply not big enough to push the air.
What type of heat do you have? Is it baseboard, forced air or iron units?
Well-done buddy.. you should have involved me the engineer to come help you with it.
Haha, thanks! It certainly felt like I needed a bit of engineering skill to get the floor lined up with that outlet!
Sure, you should have taken the level with guage anyway... It is cool.. well-done, how is your son doing and his mama? Best regards
Thanks; we are doing well, everyone had a cold the past week so we are trying to recover and get out from that! The little man and I feel a lot better but my wife is still having some issues, she should be getting back to normal hopefully this weekend! Thanks for stopping by my friend
Congratulations @cmplxty! You have completed the following achievement on the Hive blockchain and have been rewarded with new badge(s):
Your next target is to reach 55000 upvotes.
You can view your badges on your board and compare yourself to others in the Ranking
If you no longer want to receive notifications, reply to this comment with the word
STOPTo support your work, I also upvoted your post!
Check out the last post from @hivebuzz:
Thank you for sharing this amazing post on HIVE!
Your content got selected by our fellow curator @priyanarc & you just received a little thank you via an upvote from our non-profit curation initiative!
You will be featured in one of our recurring curation compilations and on our pinterest boards! Both are aiming to offer you a stage to widen your audience within and outside of the DIY scene of hive.
Join the official DIYHub community on HIVE and show us more of your amazing work and feel free to connect with us and other DIYers via our discord server: https://discord.gg/mY5uCfQ !
If you want to support our goal to motivate other DIY/art/music/homesteading/... creators just delegate to us and earn 100% of your curation rewards!
Stay creative & hive on!
AWESOME!
It's always good to be able to do things yourself. It's easier than standing around waiting for someone else to come and do it.