Taking time to Reconnect with Ceramics
Recently I joined a ceramics class, and I am relearning all of the basic techniques of how to do clay handbuilding.
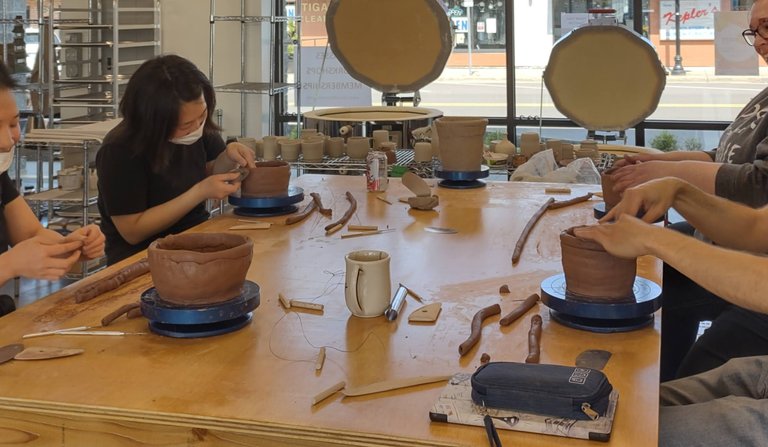
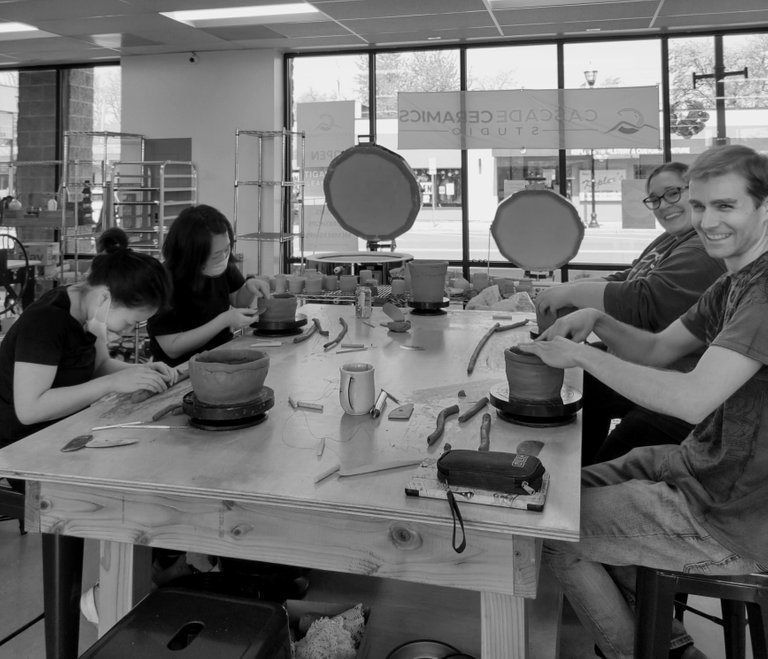
Check out the recent photos of my experiences and first creations at the ceramics studio. That fellow on the right is me. Consider this my adult foray back into the nostalgia days of my high school years when I last molded clay to be kiln fired.
Coil and Pinch
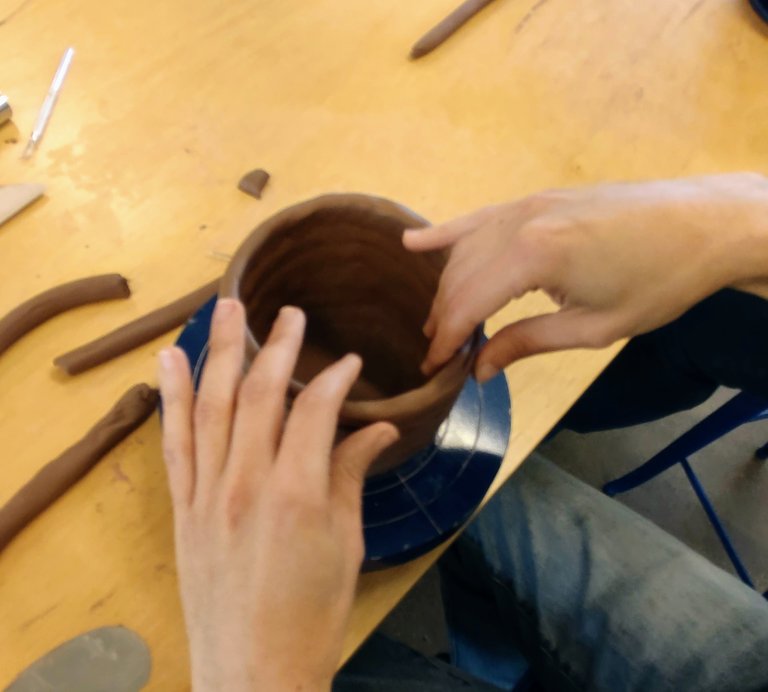
In our second class we started learning how to roll out coils. With the banding table, we learn to work quickly by developing even motions with the thumb while it slowly spins in a circle.
Pinch Pot
Here is the pinch pot I made from the first class. It went into the kiln and I shattered the studio record...
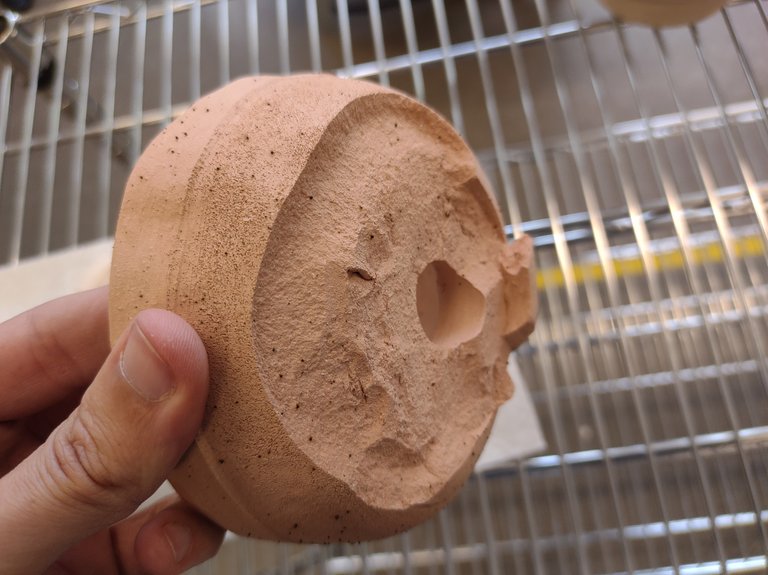
First pot to explode in the kiln.
Lesson learned: Anything can happen in the kiln.
Most likely the base was too thick.
Pinch pottery is challenging for me. I kept asking questions about how thick to allow the clay to be. My first attempt with the wet clay resulted in a pinch pot with a paper thin base center and thick walls. Using a wire cutter we cut that one up to view the cross-section.
Here, my second attempt overcompensated with a thick base in the center.
Above, I reconstructed the broken shards to recreate the original shape.
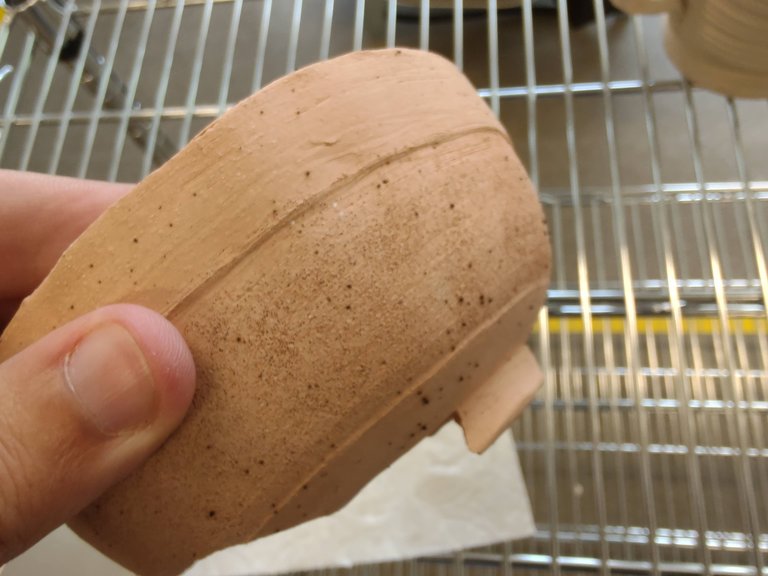
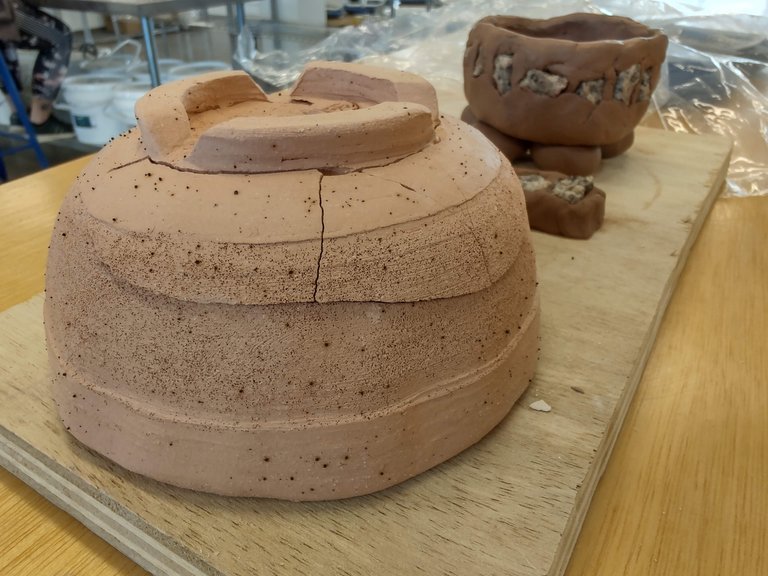
The bisque state of the clay, Pioneer Dark Speckles, is almost a pink tan terracotta shade, while the raw clay is mud brown.
My experiment with texturizing the surface was a success. I used a bristle brush in a tapping motion to imitate a brick texture.
Can this be salvaged? I am going to ask on Sunday if there is any possibility this item can still be glazed to glue the pieces together permanently.
Experimenting With Granite
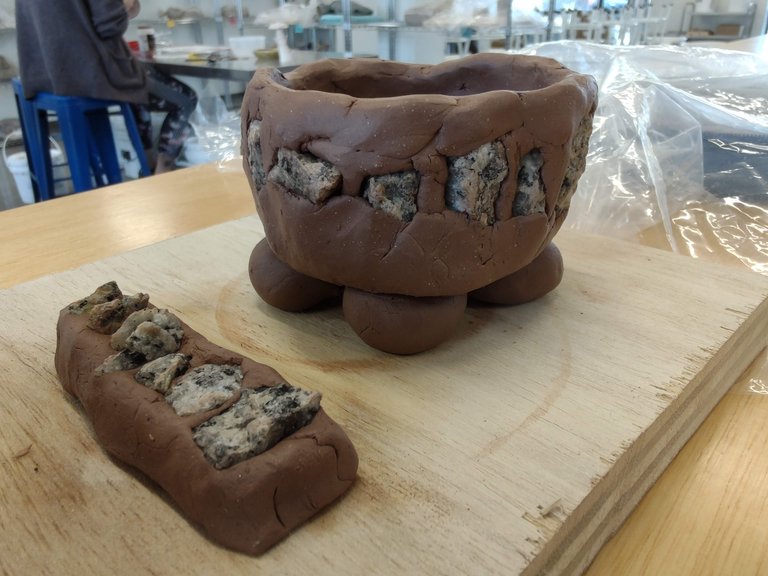
So because I was interested in recreating various rocky textures, I brought in various types of rocks thinking they could be used as stamps. Instead, my instructor encouraged me to consider baking my granite gravel chips directly into the clay.
Apparently, granite is a composite of mostly quartz and mica. My instructor claims these minerals go through a process of ventrification, and will stay stable at our cone 6 kiln temperature.
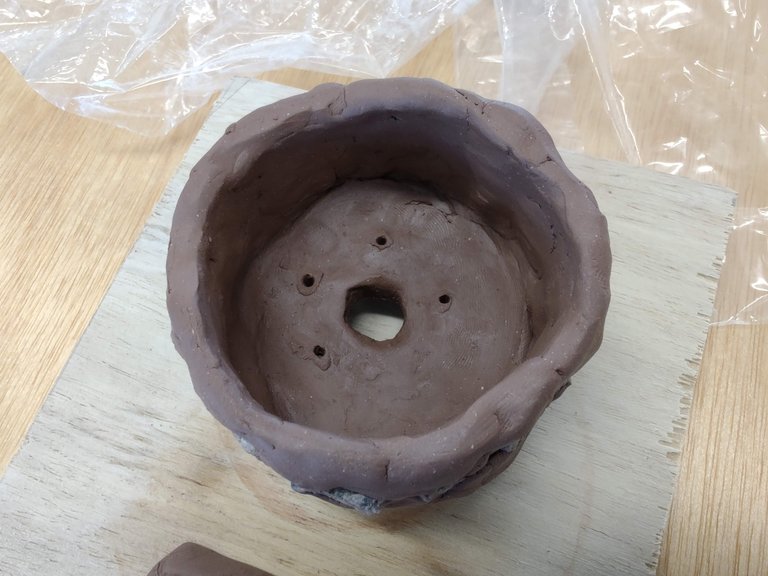
This mini pinch pot I made quickly, leaving a few edges rough and unfinished to match the irregular rock shapes. I think this could work as a small bonsai tree planter.
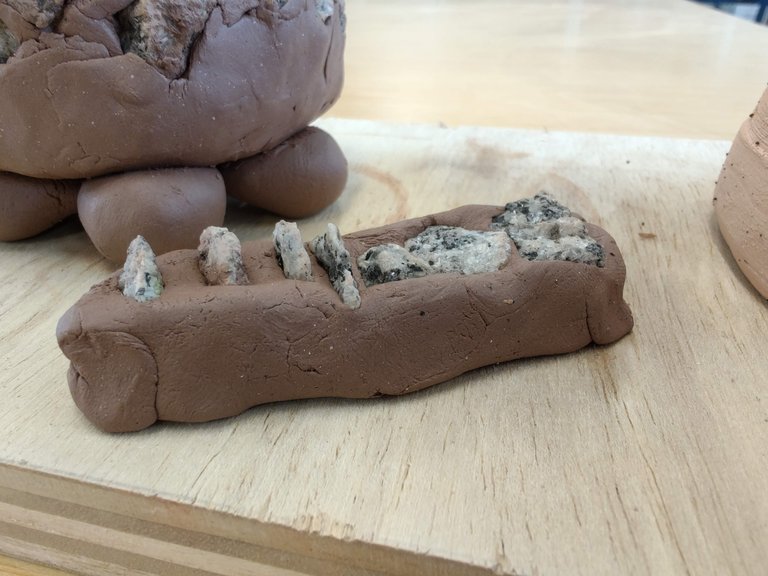
On the planter walls, the granite chips had to be enclosed around all edges quite a bit so they would not fall off. Even with a deeply pressed rock, the clay does not stick to it.
Clay sticks to clay, skin, the table, clothing, but not rock.
The little log I made for testing how granite reacts when baked on top of the clay. If the clay shrinks and the rock does not, it will probably crack I am guessing.
Relief Sculpturing
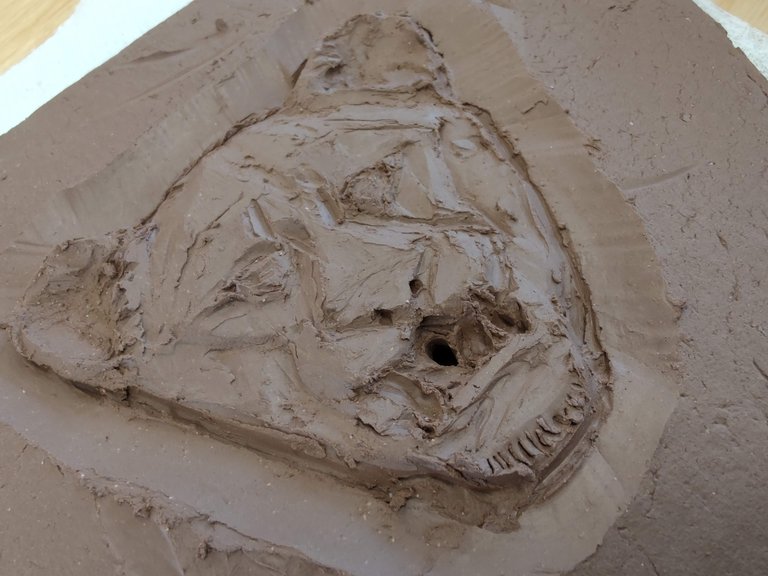
This is another experiment of my own. I started carving a relief of a lion face, using real life animal photos for reference.
If I can build just one good face then perhaps I can reproduce it by making a slip mold around the original.
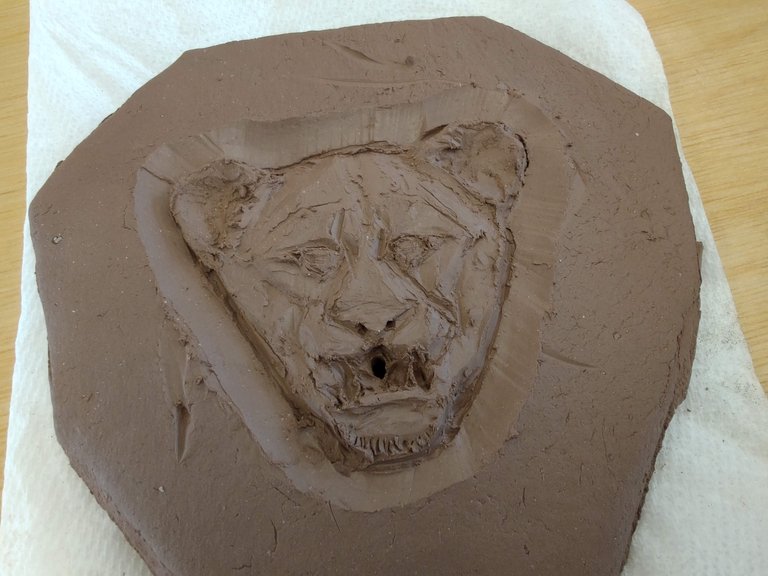
The purpose of the lion faces is to have them decorate the walls of a box shaped bonsai planter. The holes in the mouths, I am hoping can function as pour spouts that only drain water from the planter when the water level increases beyond a certain height.
So far I have etched the outline and contoured the edges of the face. To make the face more realistic I will add some clay to the nose, which will give some more depth.
Most of my sculpting is done on soft clay using a sgraffito tool with a tiny thick pallete edge. With it I can pat, press, and smooth the clay. Now that the clay is leather hard, the clay only reacts to scraping and smoothing actions. The needle tool is a bit more effective in areas like the mouth that were not so easy to open up in the wet clay.
The next phase of my work on this will be to add soft clay to the nose and cheeks. Last time I did mostly carving down so maybe building up the clay on the more forward features will make the face more 3D and less like a cartoon sketch.
Conclusion
Thanks for checking out my experiences and creative ceramics. Let me know if there is a specific community where you want me to share this type of content. I would like to share some more in the future weeks if anyone is interested.
#granite #rocks #handbuilding #kiln #bisque
Post Beneficiaries:
- 1% @cryptopie
This is my way of thanking each of you for your friendship and support. By sharing my talents on Hive, I can also share to help with your needs.
Let my success also grant you some happiness too.

bonitas
What fun! As soon as I saw you making pots, I thought bonsai planters! haha There is a pottery school we pass every time we drive into town since we moved here. We talk about classes often. Congratz on taking the plunge. Too bad about the exploded pot. I'm interested to see how the pot with granite inlays comes out of the kiln. I like that you showed up at the first class with ideas to try 🙂