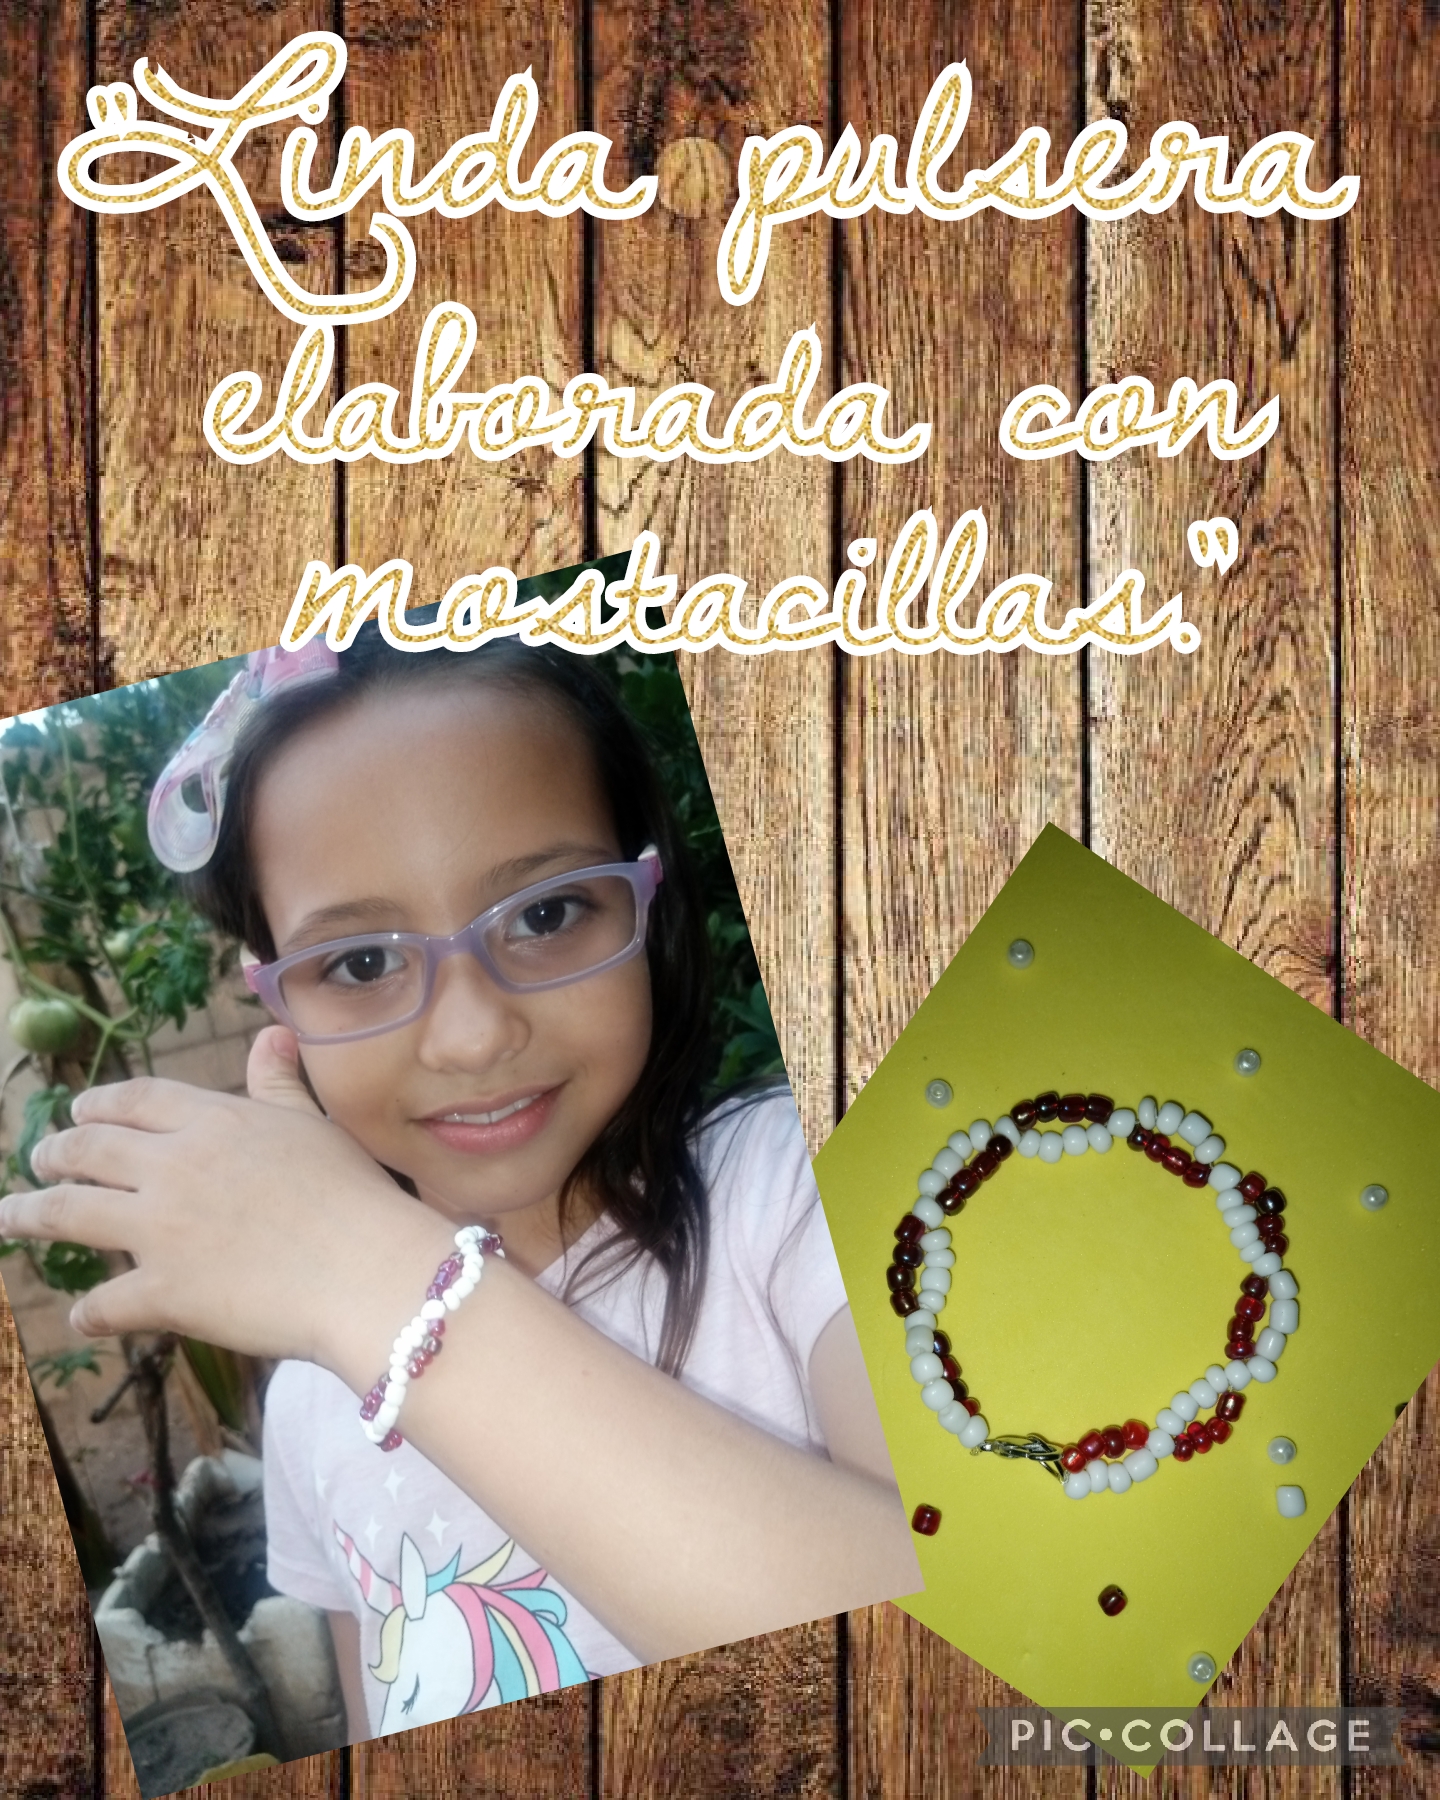
Tutorial: Linda pulsera, elaborada con mostacillas.//Tutorial: Nice bracelet, made with beads.
Muy buenas noches, mi gente hermosa de esta linda comunidad Jewelry, ante de todo espero se encuentren muy bien y hayan pasado un feliz día, junto a sus seres queridos les envio un saludo virtual, hoy les vuelvo a invitar a mi blog, les traigo el tutorial de una linda pulsera, elaborada con mostacillas, muy fácil y sencilla de elaborar, esta pulsera fue elaborada para regalársela a la niña de una amiga, pero como verán mi hija fue la primera que se la puso, ahora vamos a comenzar con el paso a paso.
Good evening my beautiful people of this beautiful jewelry community, first of all I hope you are very well and have had a happy day, together with your loved ones I send you a virtual greeting, today I invite you again to my blog, I bring you the tutorial of a beautiful bracelet, made with beads, very easy and simple to make, this bracelet was made to give it to a friend's girl, but as you can see my daughter was the first to use it, now we are going to start with Step a Passed.
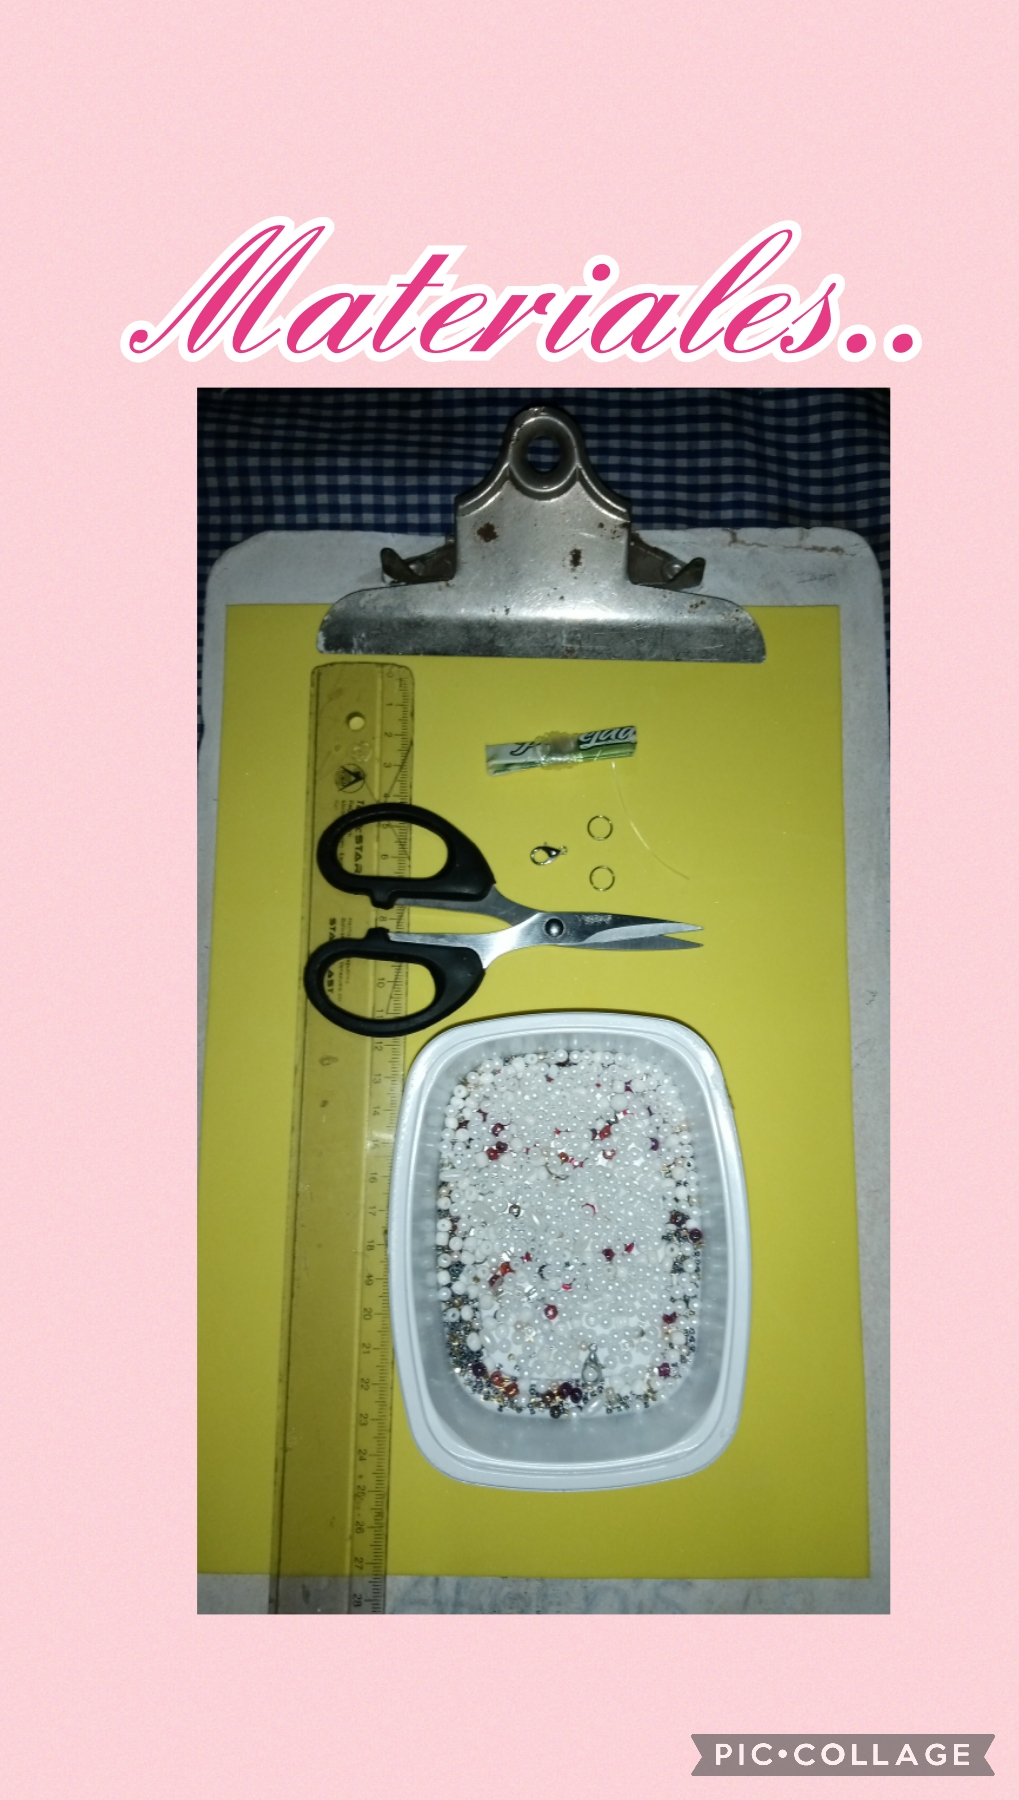
Vamos a necesitar los siguientes materiales y herramientas para elaborar esta linda pulsera, con mostacillas.
*Mostacillas,
*Hilo de nailon.
*2 argollas de metal.
*1 trancadero de metal, para abrir y cerrar.
*1 tijera.
*1 regla métrica.
*1 tabla con gancho a presión.
We are going to need the following materials and tools to make this beautiful bracelet, with beads.
*beads,
*Nylon thread.
*2 metal rings.
*1 metal lock, to open and close.
*1 scissors.
*1 metric ruler.
*1 board with snap hook.
Let's start with the step by step of this fun tutorial.
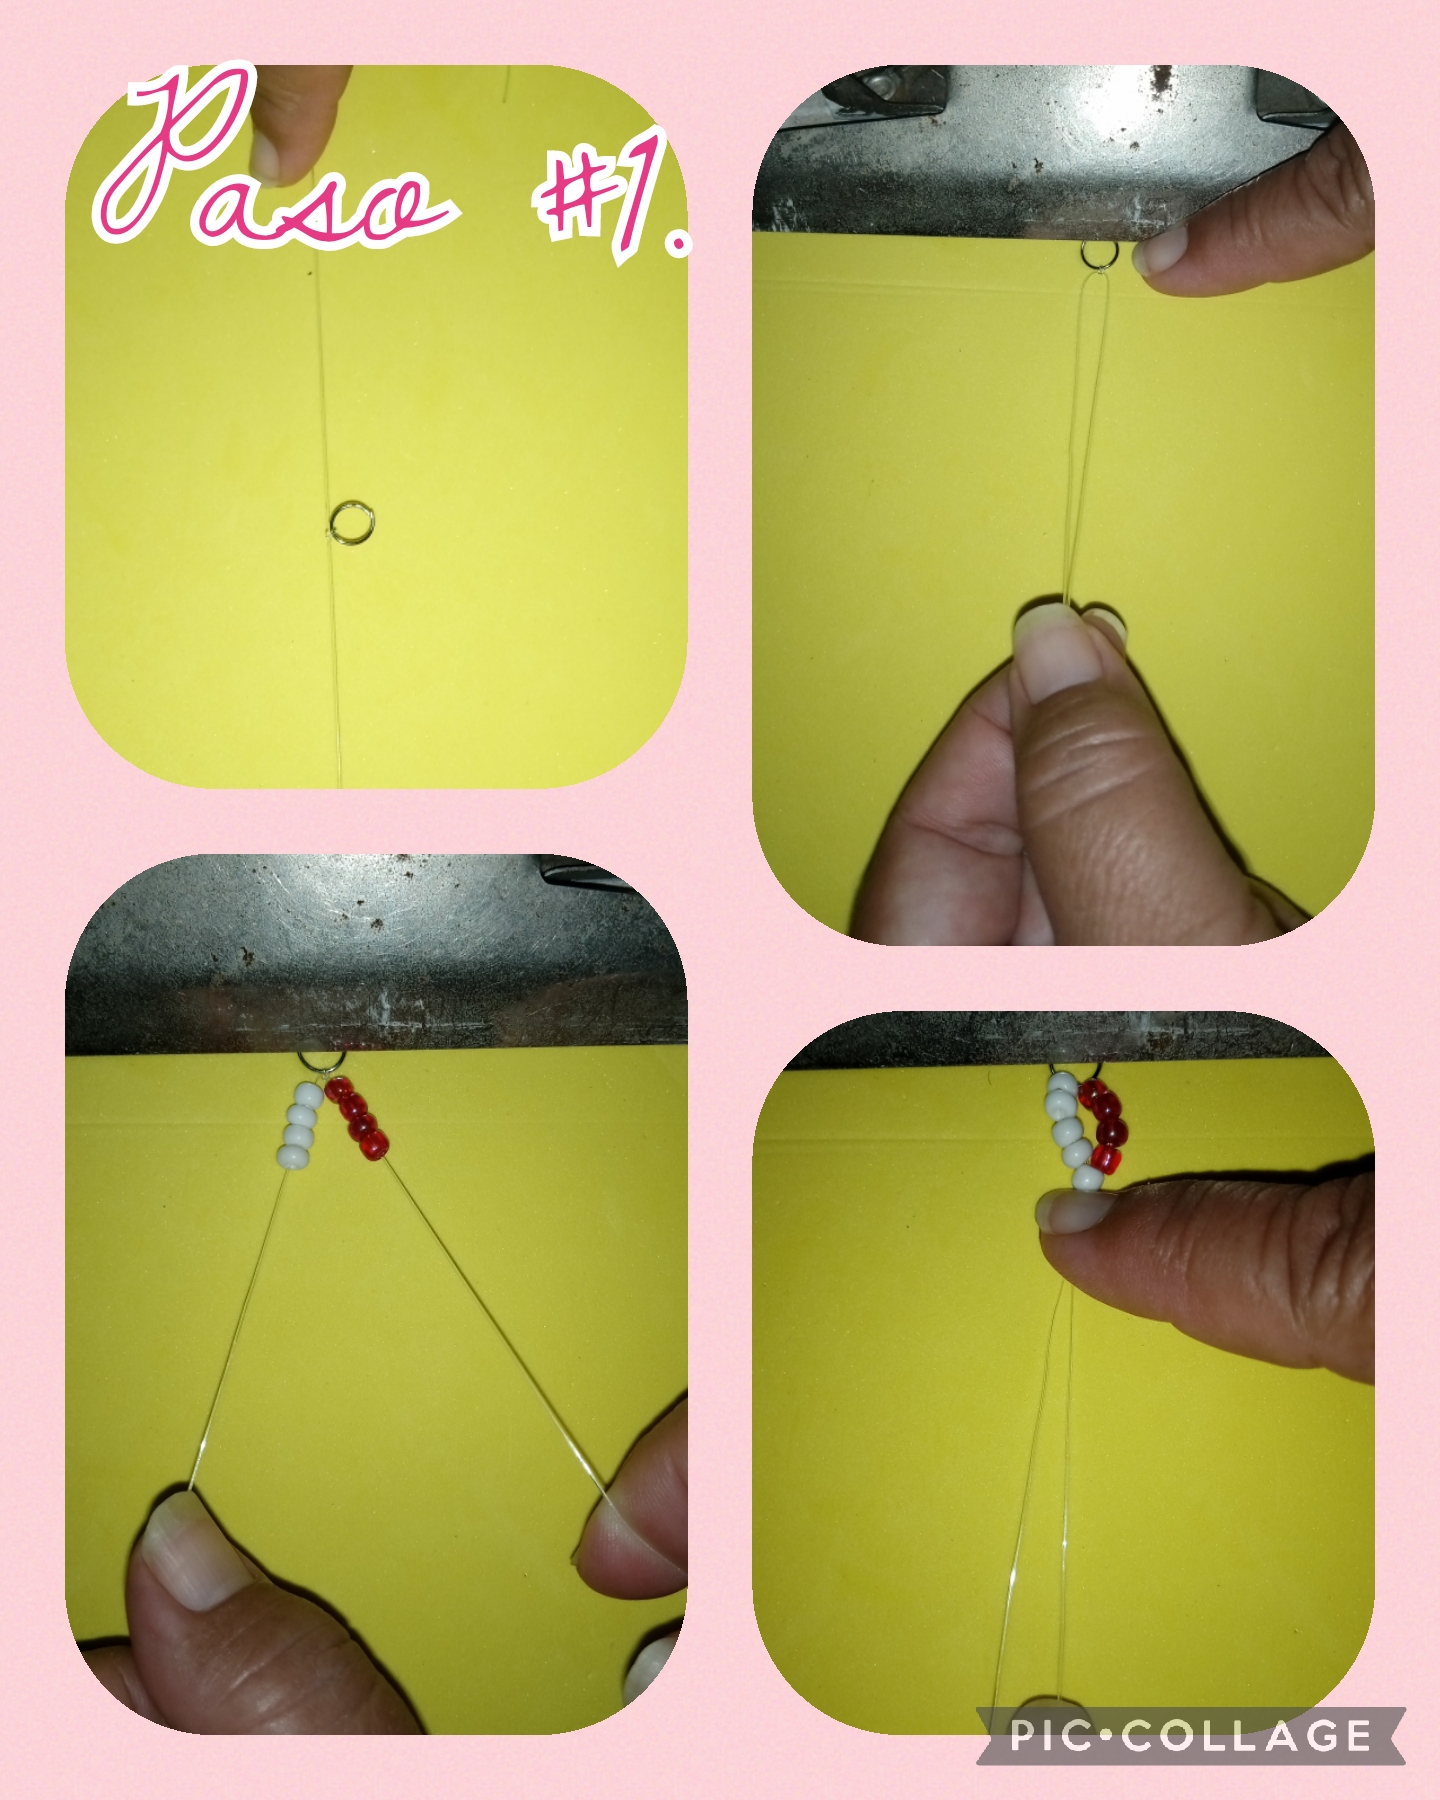
Step #1. We're going to start our tutorial today, we're going to take a metric ruler and measure 60 centimeters long, on the nylon thread, then we'll insert a ring and fold it in half and tie a knot and tighten it pretty tight. , so that it does not come loose, then we place it on the table with the pressure hook, we press it to insert the beads into the two nylon threads and then we cross them, I show you the images.
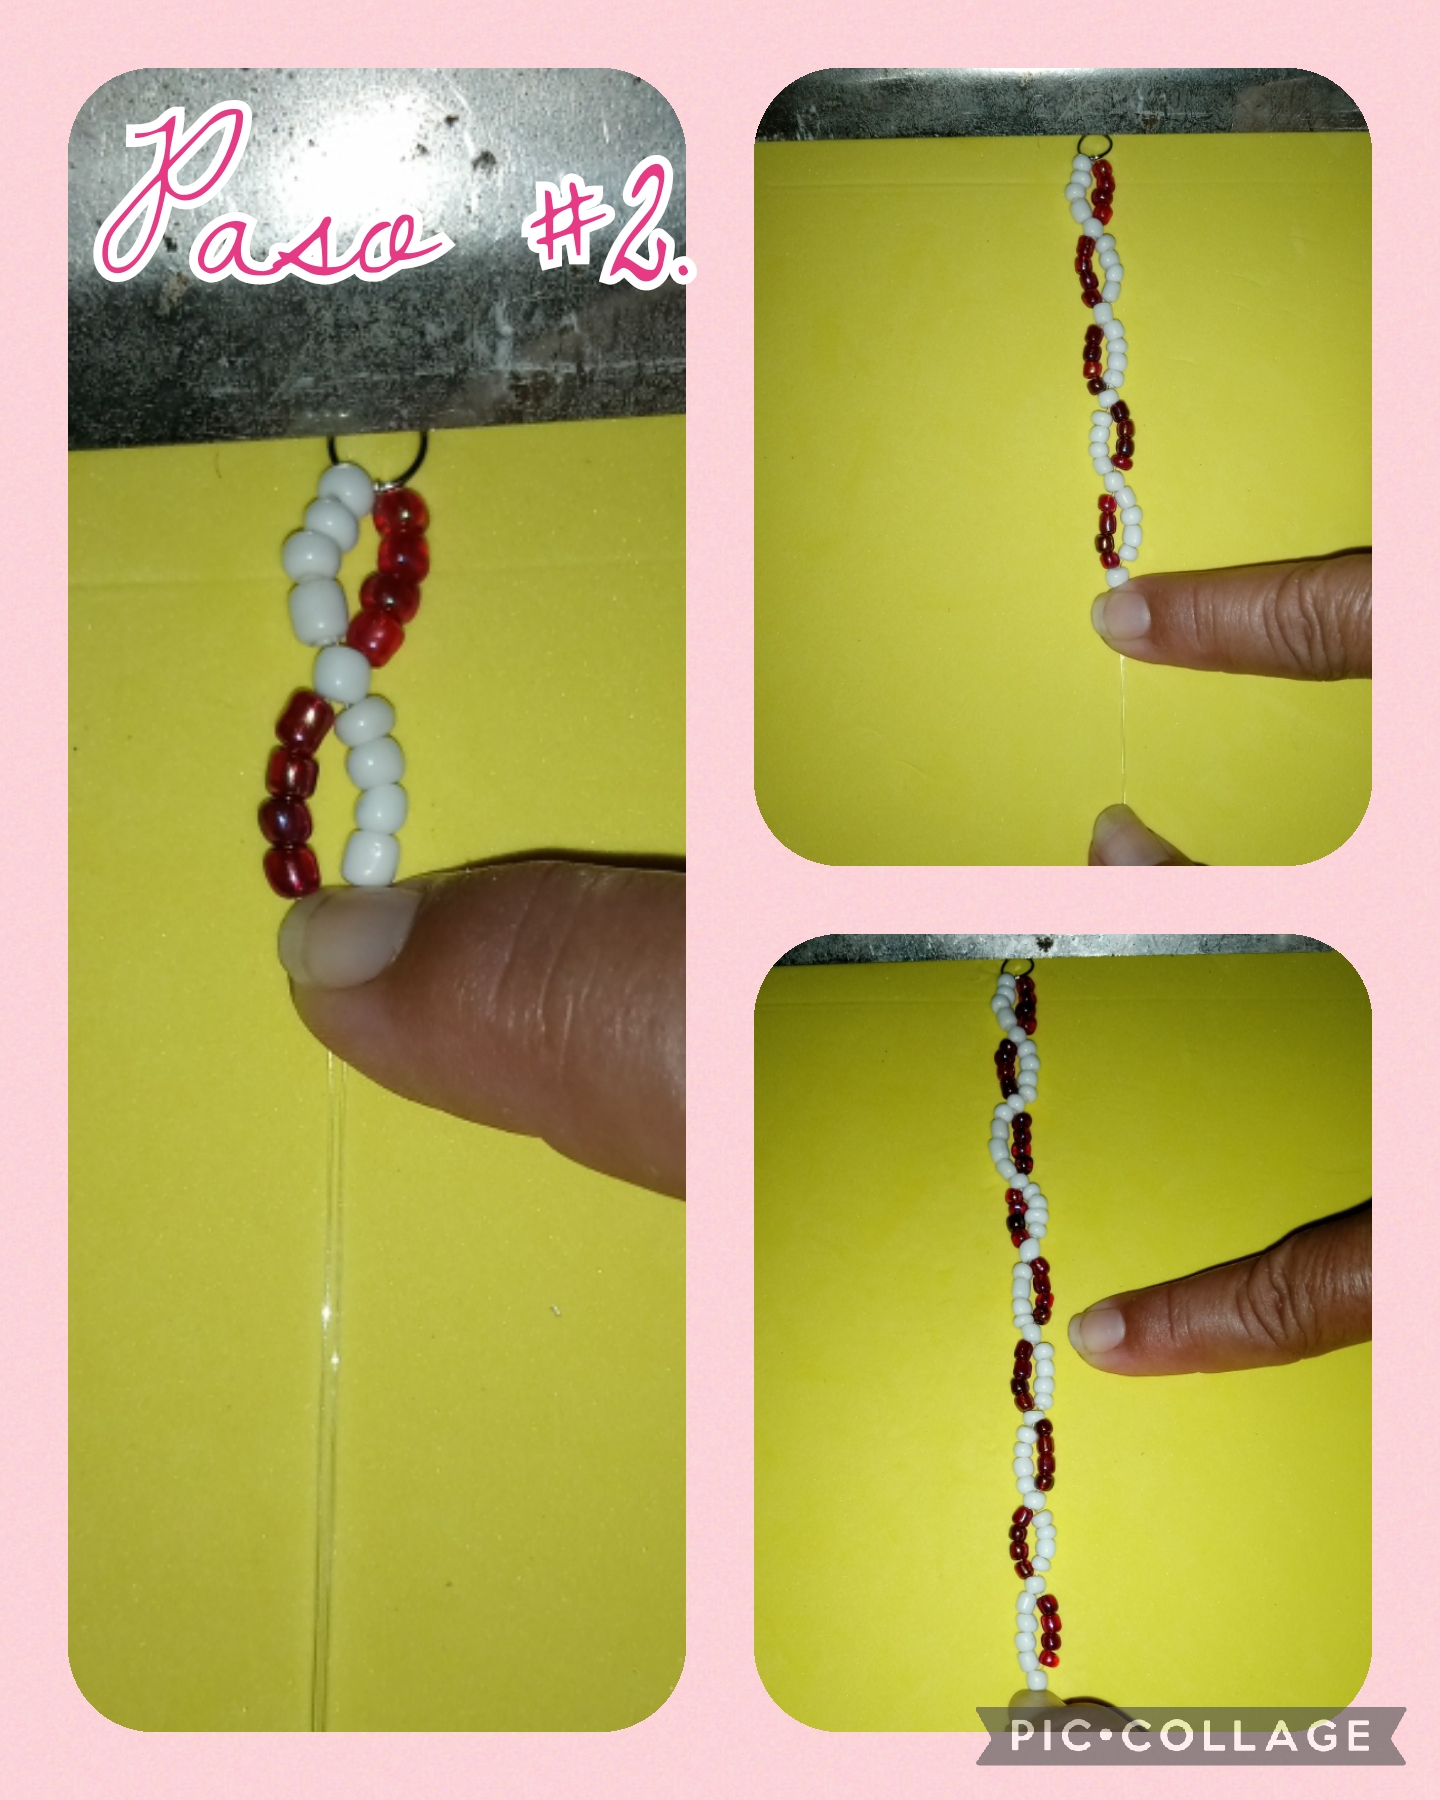
Step #2. In this step we continue inserting the beads on one side of the nylon thread, inserting 4 white beads and on the other inserting the same 4 red beads, and then we take another bead and insert the 2 threads into the same hole, we take it until the two are joined threads, and we cross it from right to left and from left to right, see the images.
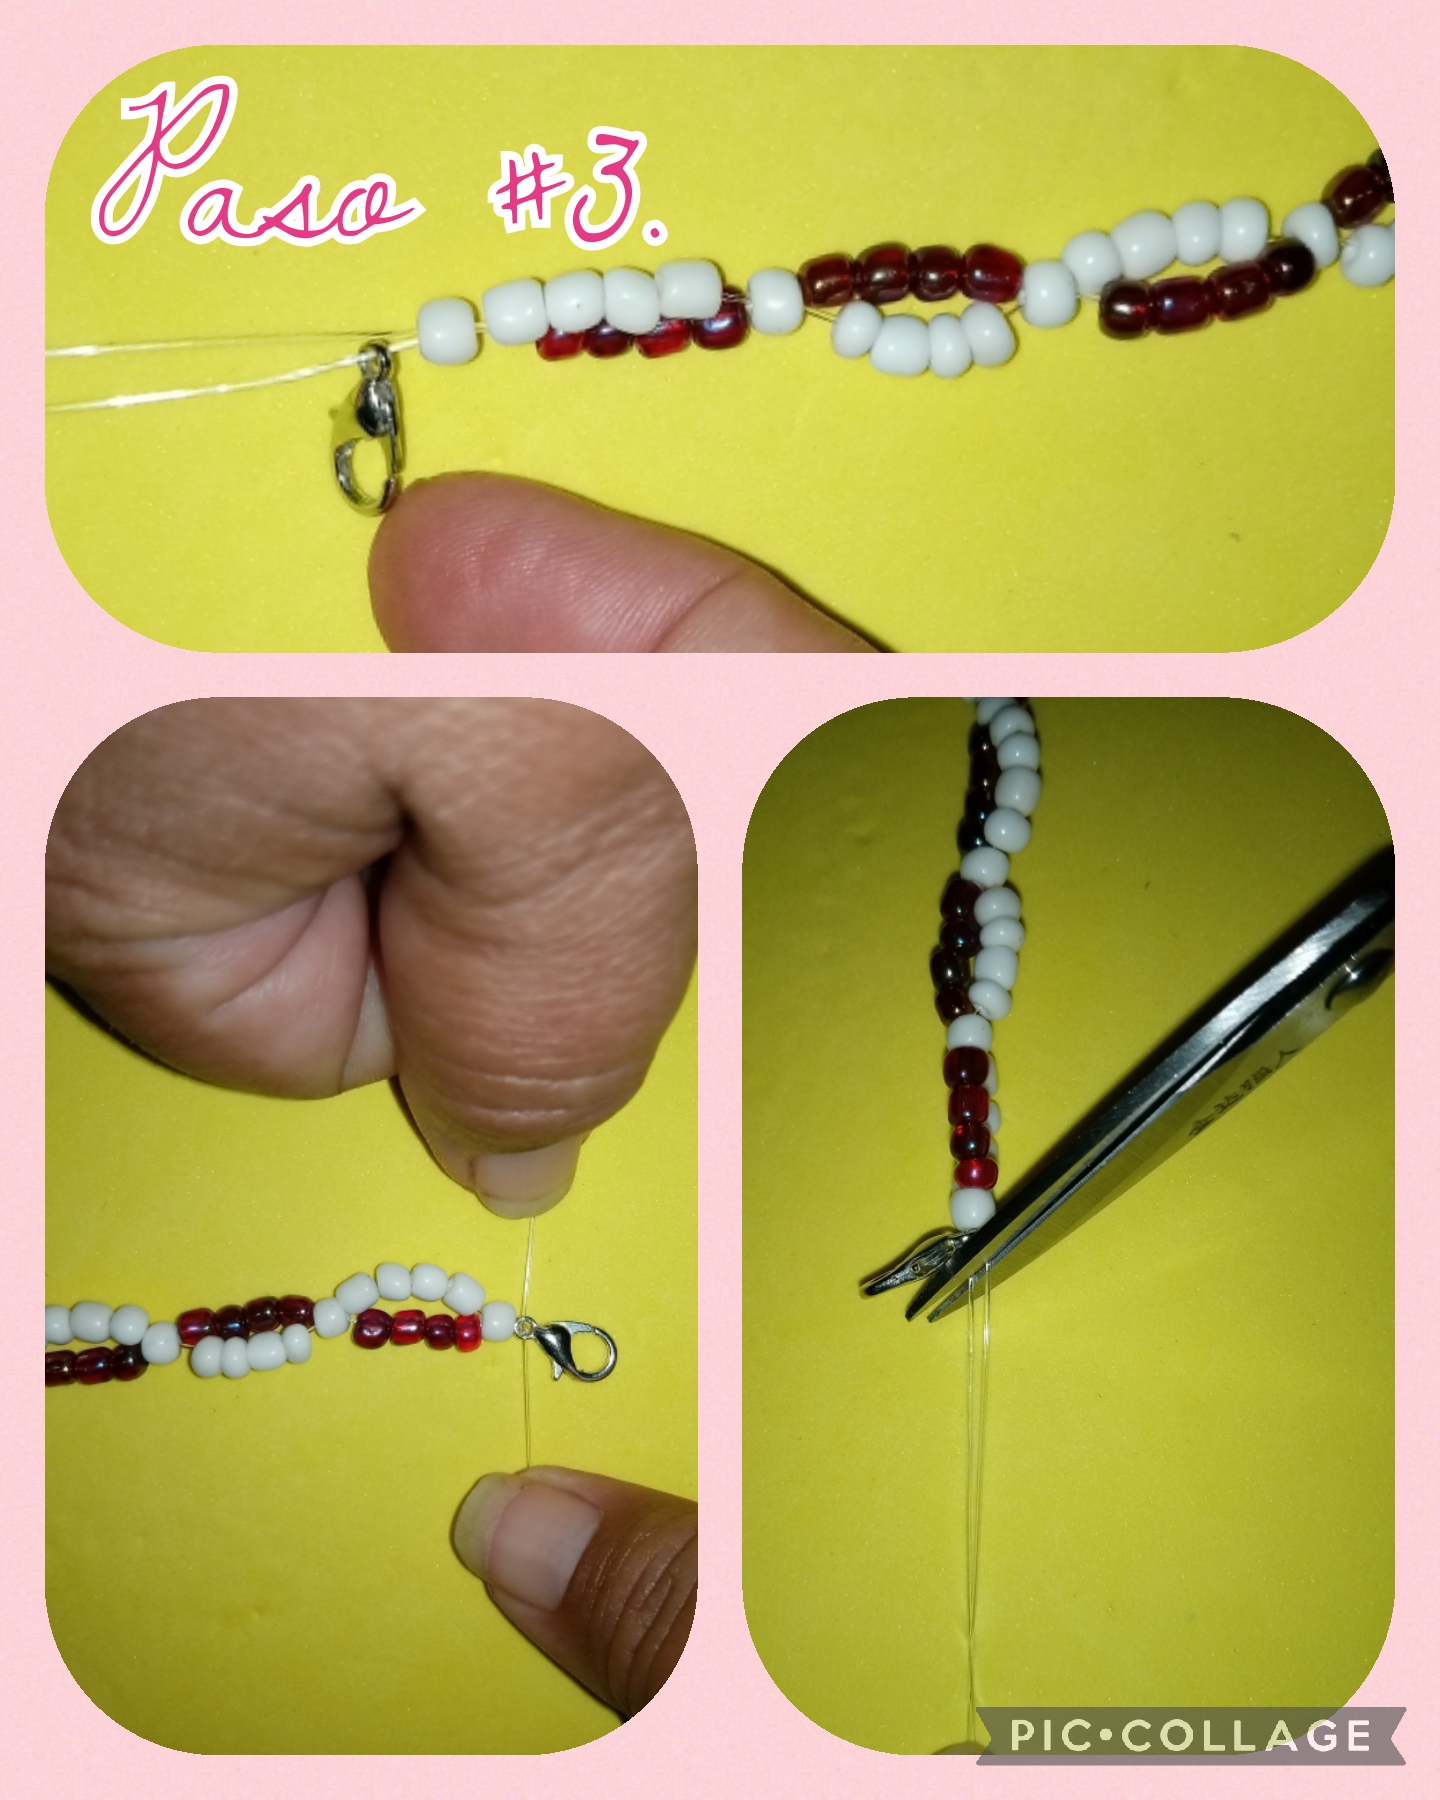
Step #3. Having finished inserting all the beads, to the desired size, we take the metal lock and insert it through one of the two threads, we make a knot and tighten it hard, we take a pair of scissors, cut the excess and to finish with a tinderbox we burn to seal well and not come loose, see pictures.
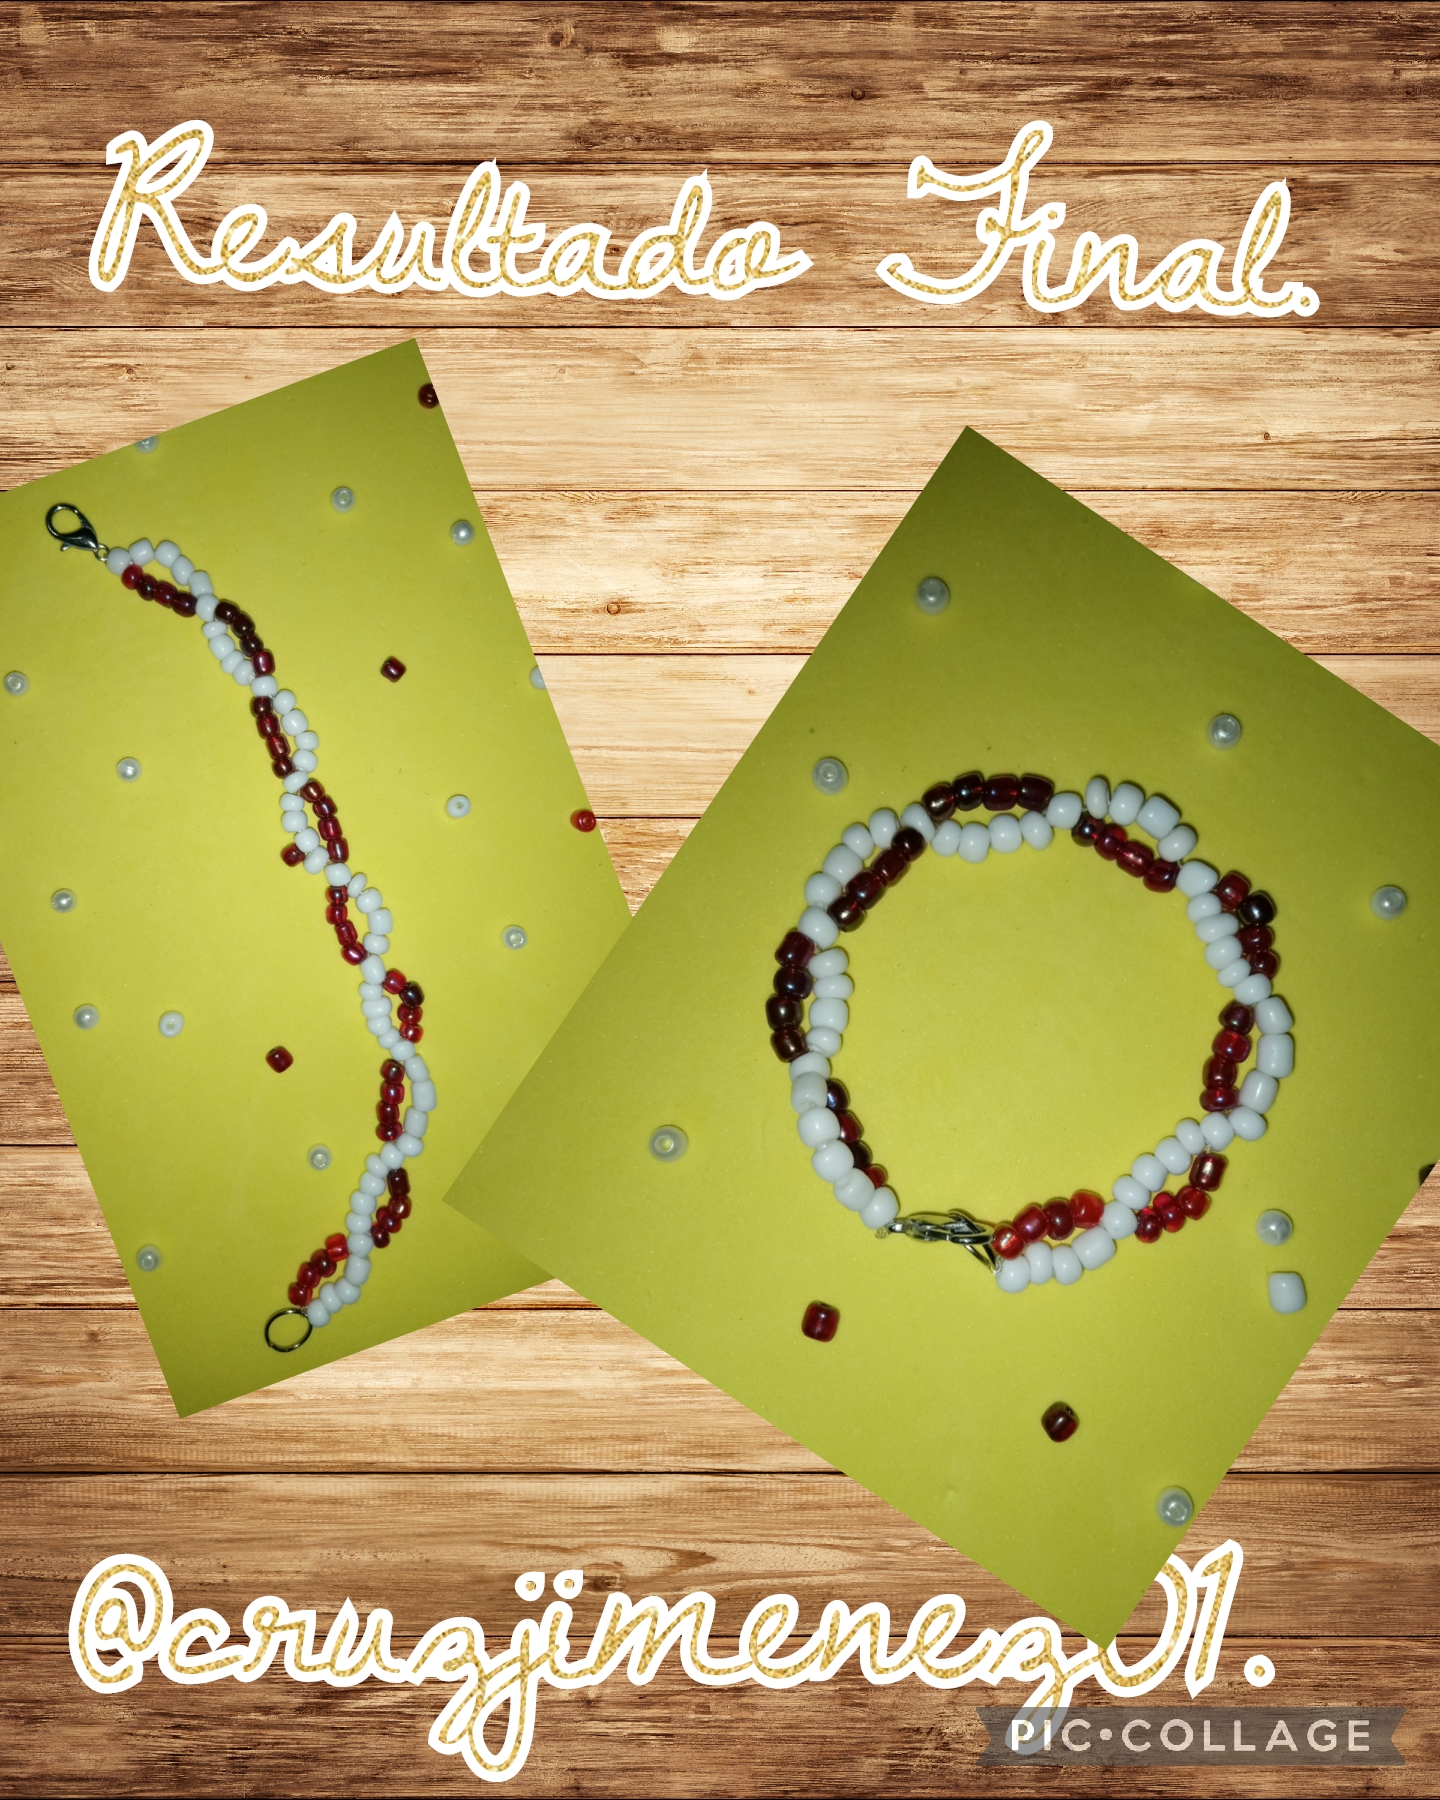
Once all the steps have been completed, the final result was a beautiful bracelet, with a beautiful crossed fabric, made with beads, I thank you for watching and reading until the end, have a good night and God bless you all .
Las fotos fueron capturadas con mi teléfono Tecno Spark 6go y editadas con la aplicación Pic- Collage y traducido el texto con el traductor Google Esp-Ing.
The photos were captured with my Tecno Spark 6go cell phone and edited with the Pic-Collage application and translated the text with the Google Esp-Ing translator.
Te quedó linda y linda la modelo
Hola, si quedo muy linda, muchas gracias y la modelo es muy bonita...
Muy linda pulsera amiga me gusta mucho la combinación de colores, y queda muy lindo el diseño.
Amiga recuerda los post deben ser mayores a 1000 palabras
Hola, me alegro mucho q te haya gustado la pulsera, y en cuanto a las 1000 palabras voy a estar muy pendiente, saludos, bendiciones.