Tutorial: "Lindas moñeras para mi niña, decoradas con una flor, hechas con perlas".//Tutorial: "Pretty headbands for my girl, decorated with a flower, made with pearls."
Muy buenas tardes, mi hermosa gente de esta comunidad Jewelry, antes de todo espero que estén pasando este jueves santo, en familia, con mucha alegría y todos divirtiéndose. Bienvenidos a mi blog nuevamente, porque hoy les traigo un interesante tutorial, y se trata de hacer unas flores, con perlas para decorar unas moñeras, para mi niña los materiales que utilizamos fueron perlas, color marrón y perlas color rosada, estas moñeras son ideales para las princesas de la casa, además que combinan con todo, porque las perlas tienen un toque espectacular que resaltan mucho donde las coloquen, por eso fue que decidí decorar esas moñeras, con perlas ahora vamos a mostrarle el tutorial, y comencemos con el paso a paso.
Good afternoon, my beautiful people of this Jewelry community, first of all I hope you are spending this Holy Thursday, with your family, with great joy and everyone having fun. Welcome back to my blog, because today I bring you an interesting tutorial, and it's about making some flowers, with pearls to decorate some ribbons, for my girl the materials we used were pearls, brown and pink pearls, these ribbons are ideal for the princesses of the house, besides that they combine with everything, because the pearls have a spectacular touch that stand out a lot where they are placed, that's why she decided to decorate those hair bands, with pearls now we are going to show you the tutorial, and let's start with the step one step

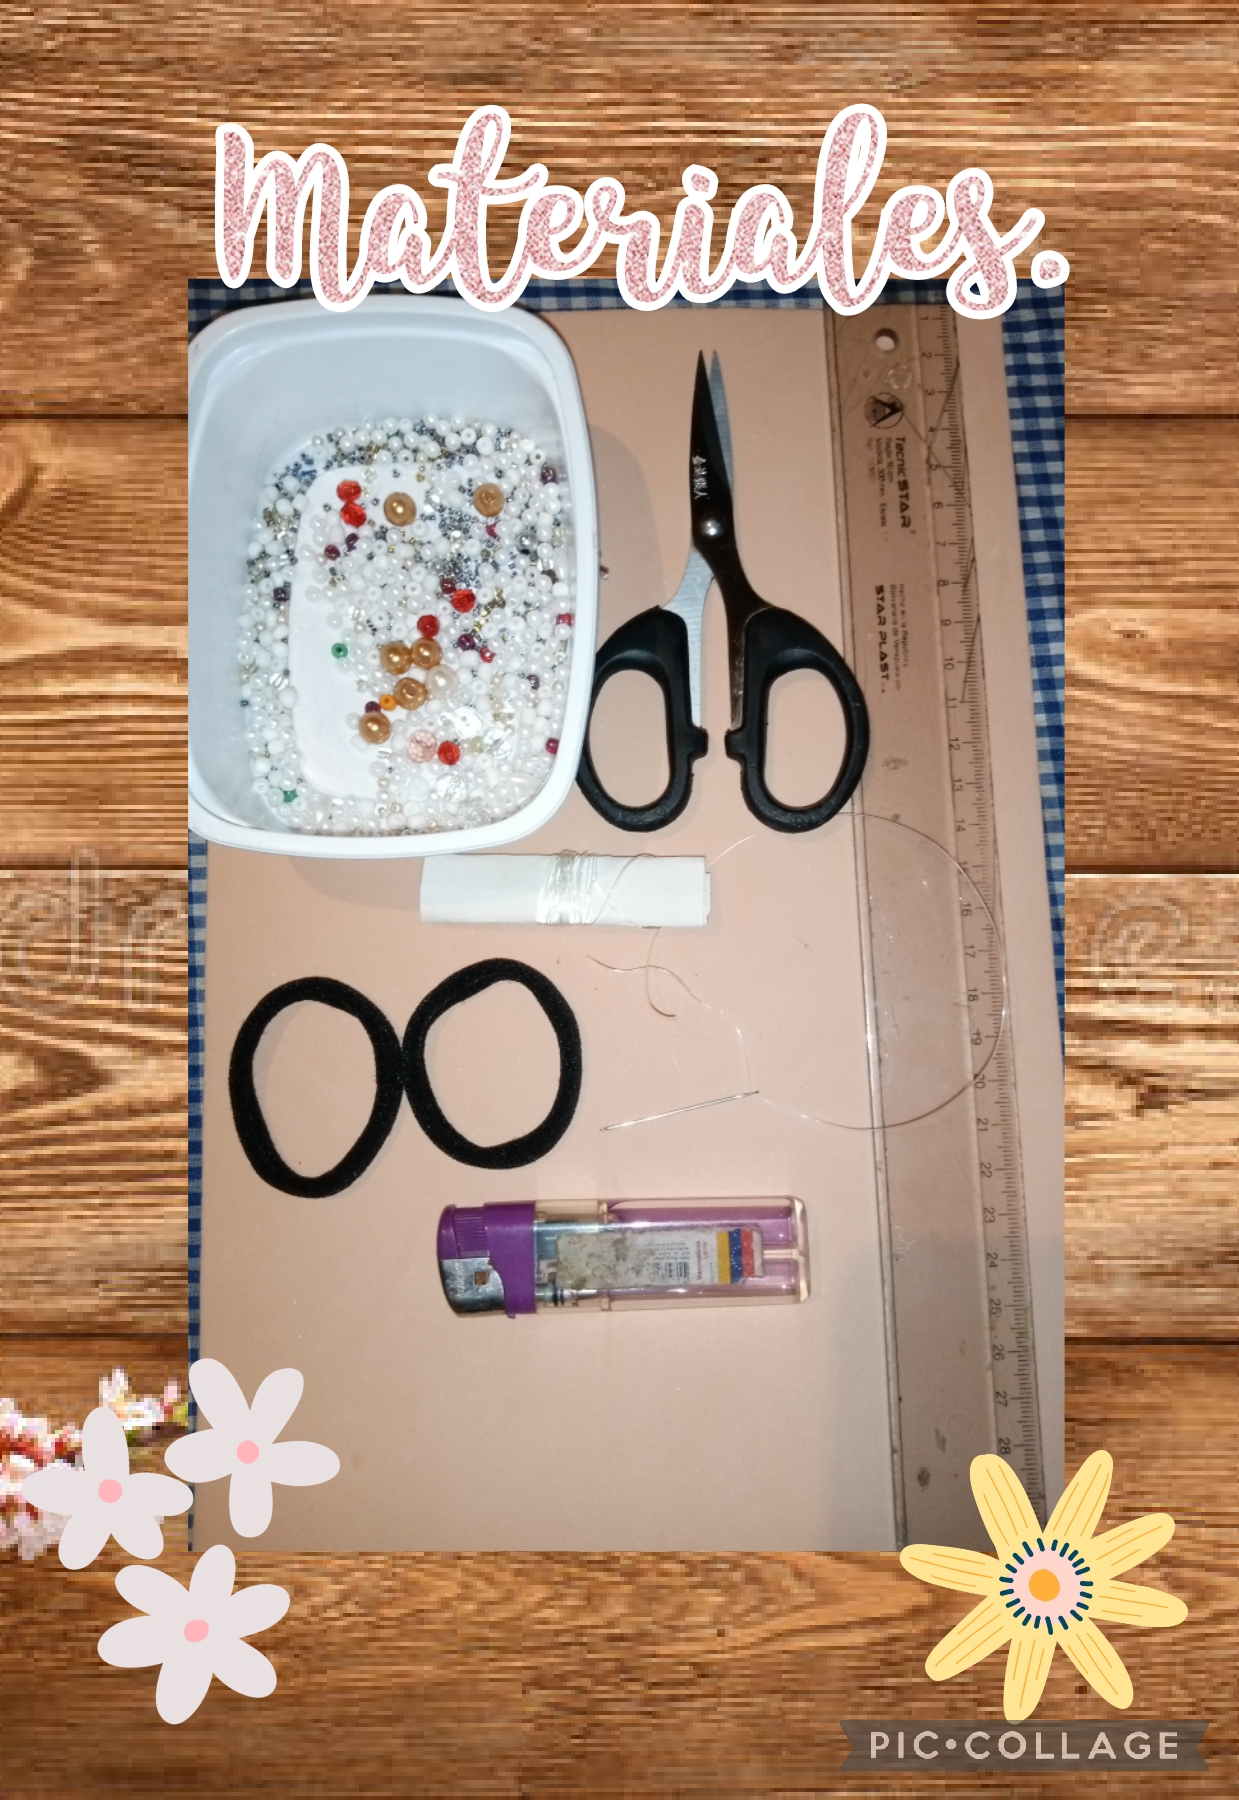
Vamos a utilizar los siguientes materiales y herramientas, para decorar estas lindas moñeras.
*Perlas, colores marrón y rosadas.
*Nailon, transparente para bisutería.
*2 moñeras, color negras.
*1 tijera.
*1 yesquero.
We are going to use the following materials and tools to decorate these cute bow tie.
*Pearls, brown and pink colors.
*Nylon, transparent for jewelry.
*2 moñeras, black color.
*1 scissors.
*1 tinderbox.
Let's start, with the step by step to decorate some ribbons.
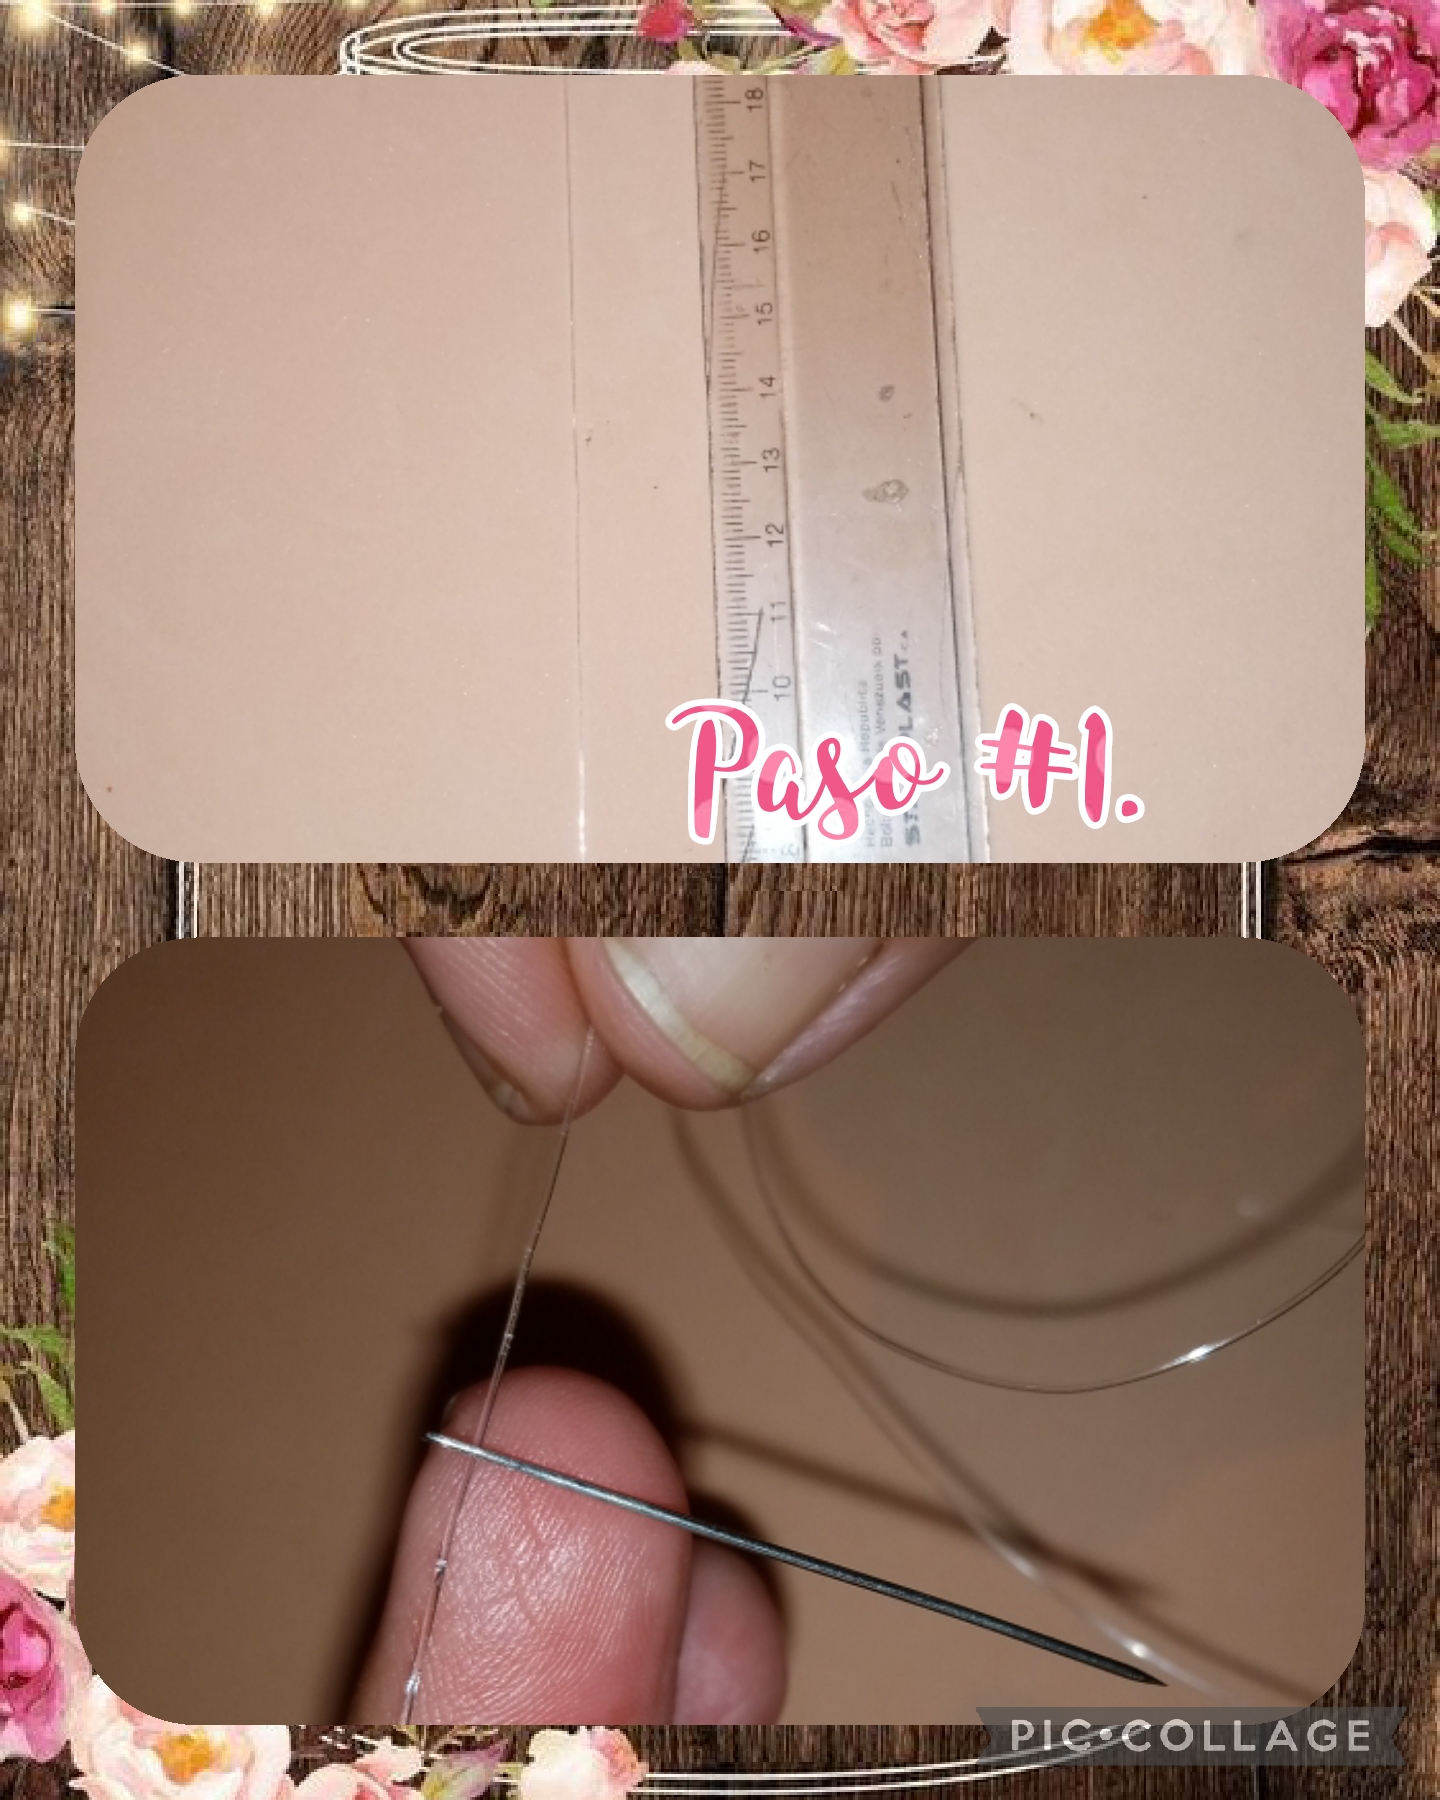
Step #1. We are going to start making some flowers, with pearls to decorate some ribbons and we are going to do it in the following way, the first thing we are going to do is, we take a metric ruler and the transparent nylon thread, for jewelery and we take the measurements of 60 centimeters and with the help of scissors, we are going to put the double nylon thread and we are going to cut it in half, so that each nylon thread remains with the measure of 30 centimeters, then we take a needle and insert the nylon thread , see pictures.
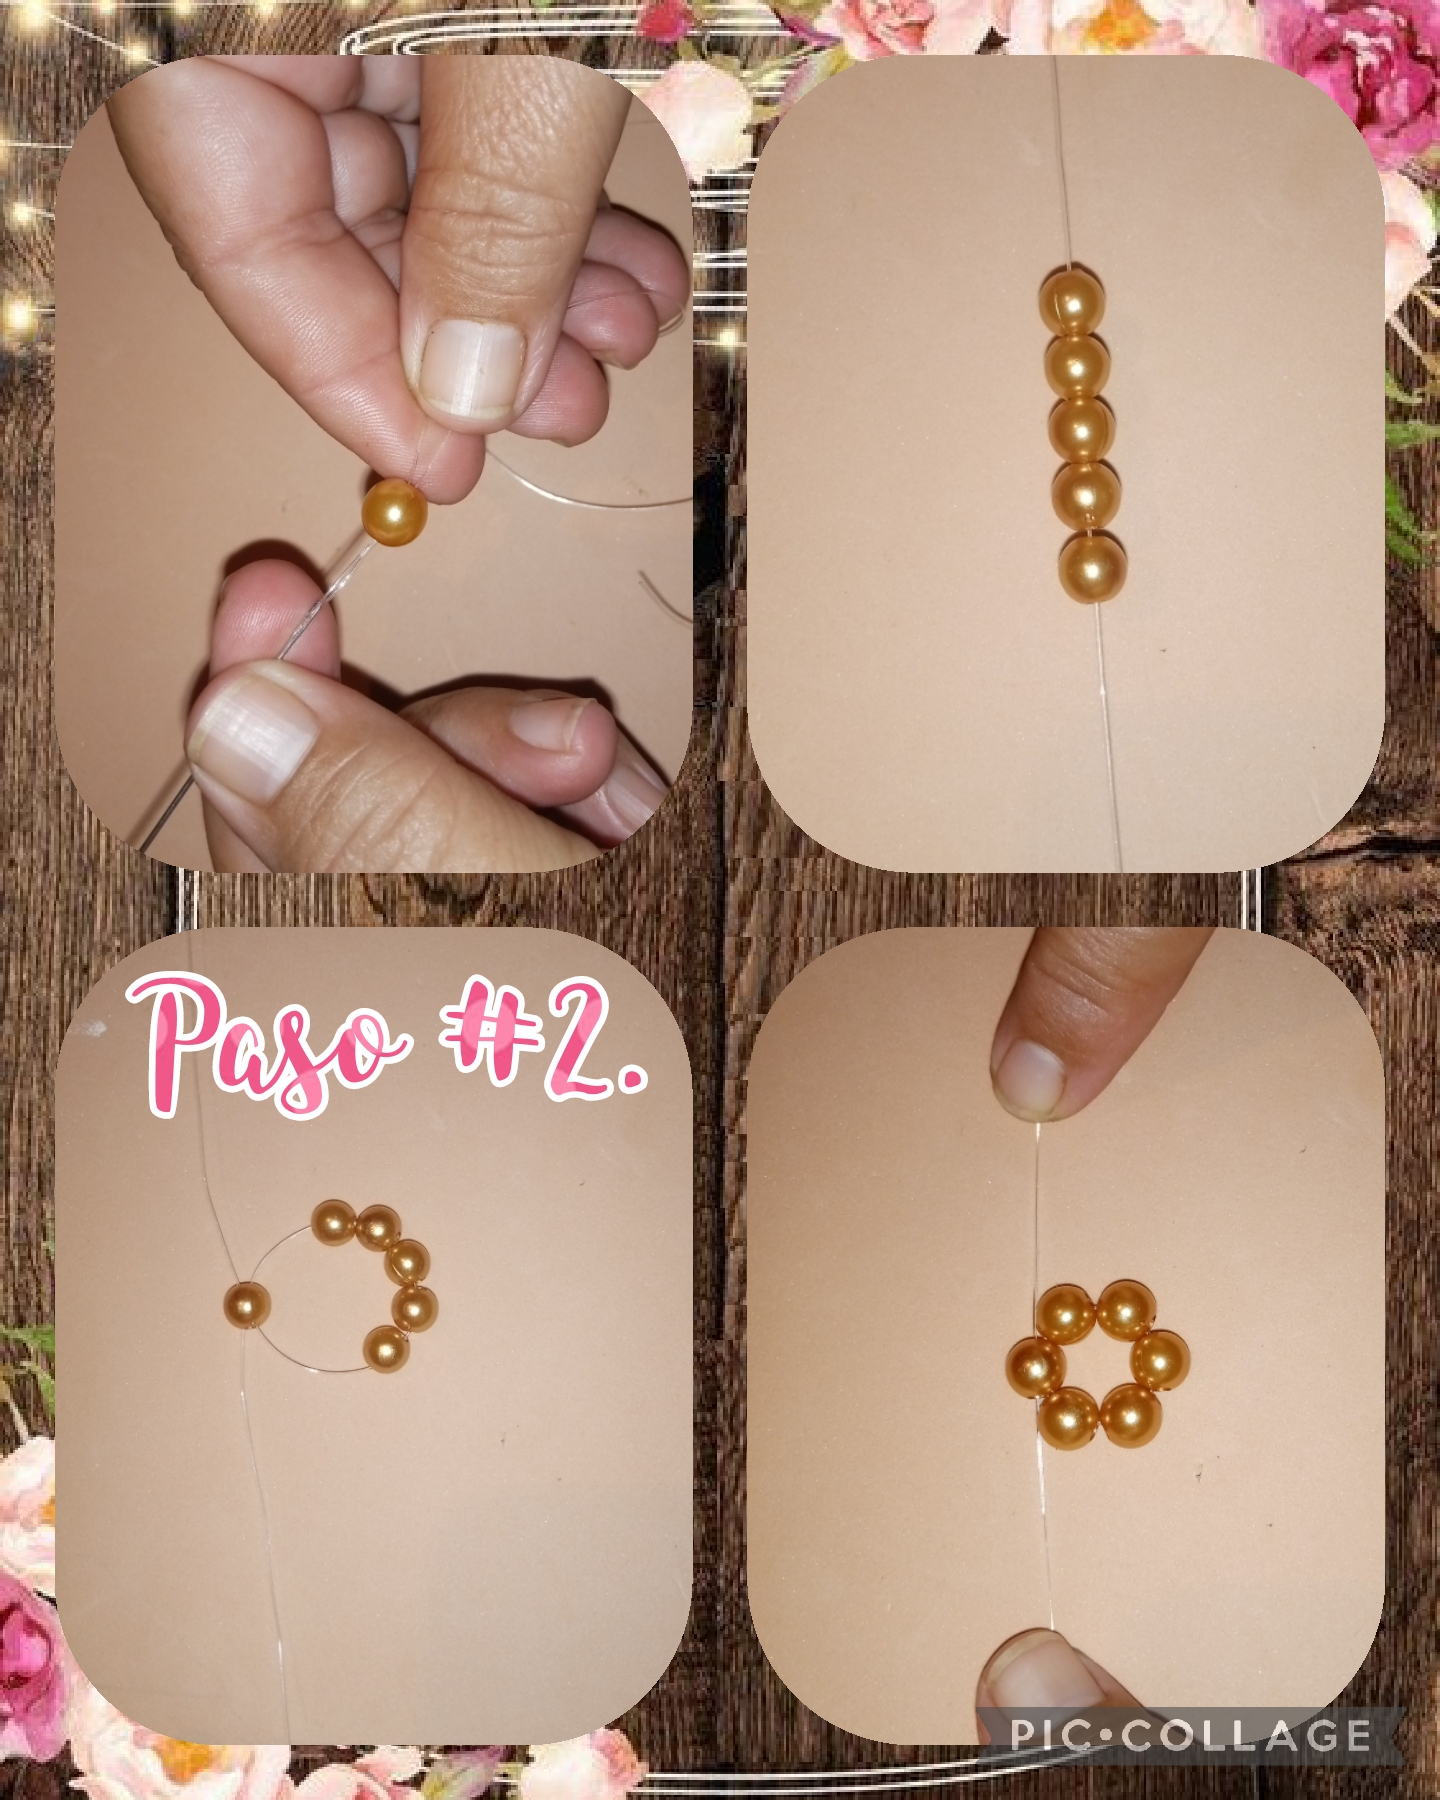
Step #2. In this step we are going to begin to insert the pearls into the nylon thread, first we are going to insert 5 brown pearls and then another pearl, the last pearl, which we are going to insert with the crossed threads, then we press to join all the brown pearls, which in total are 6 pearls of that color and we end up tying a knot so that it does not come loose, I show you the images.
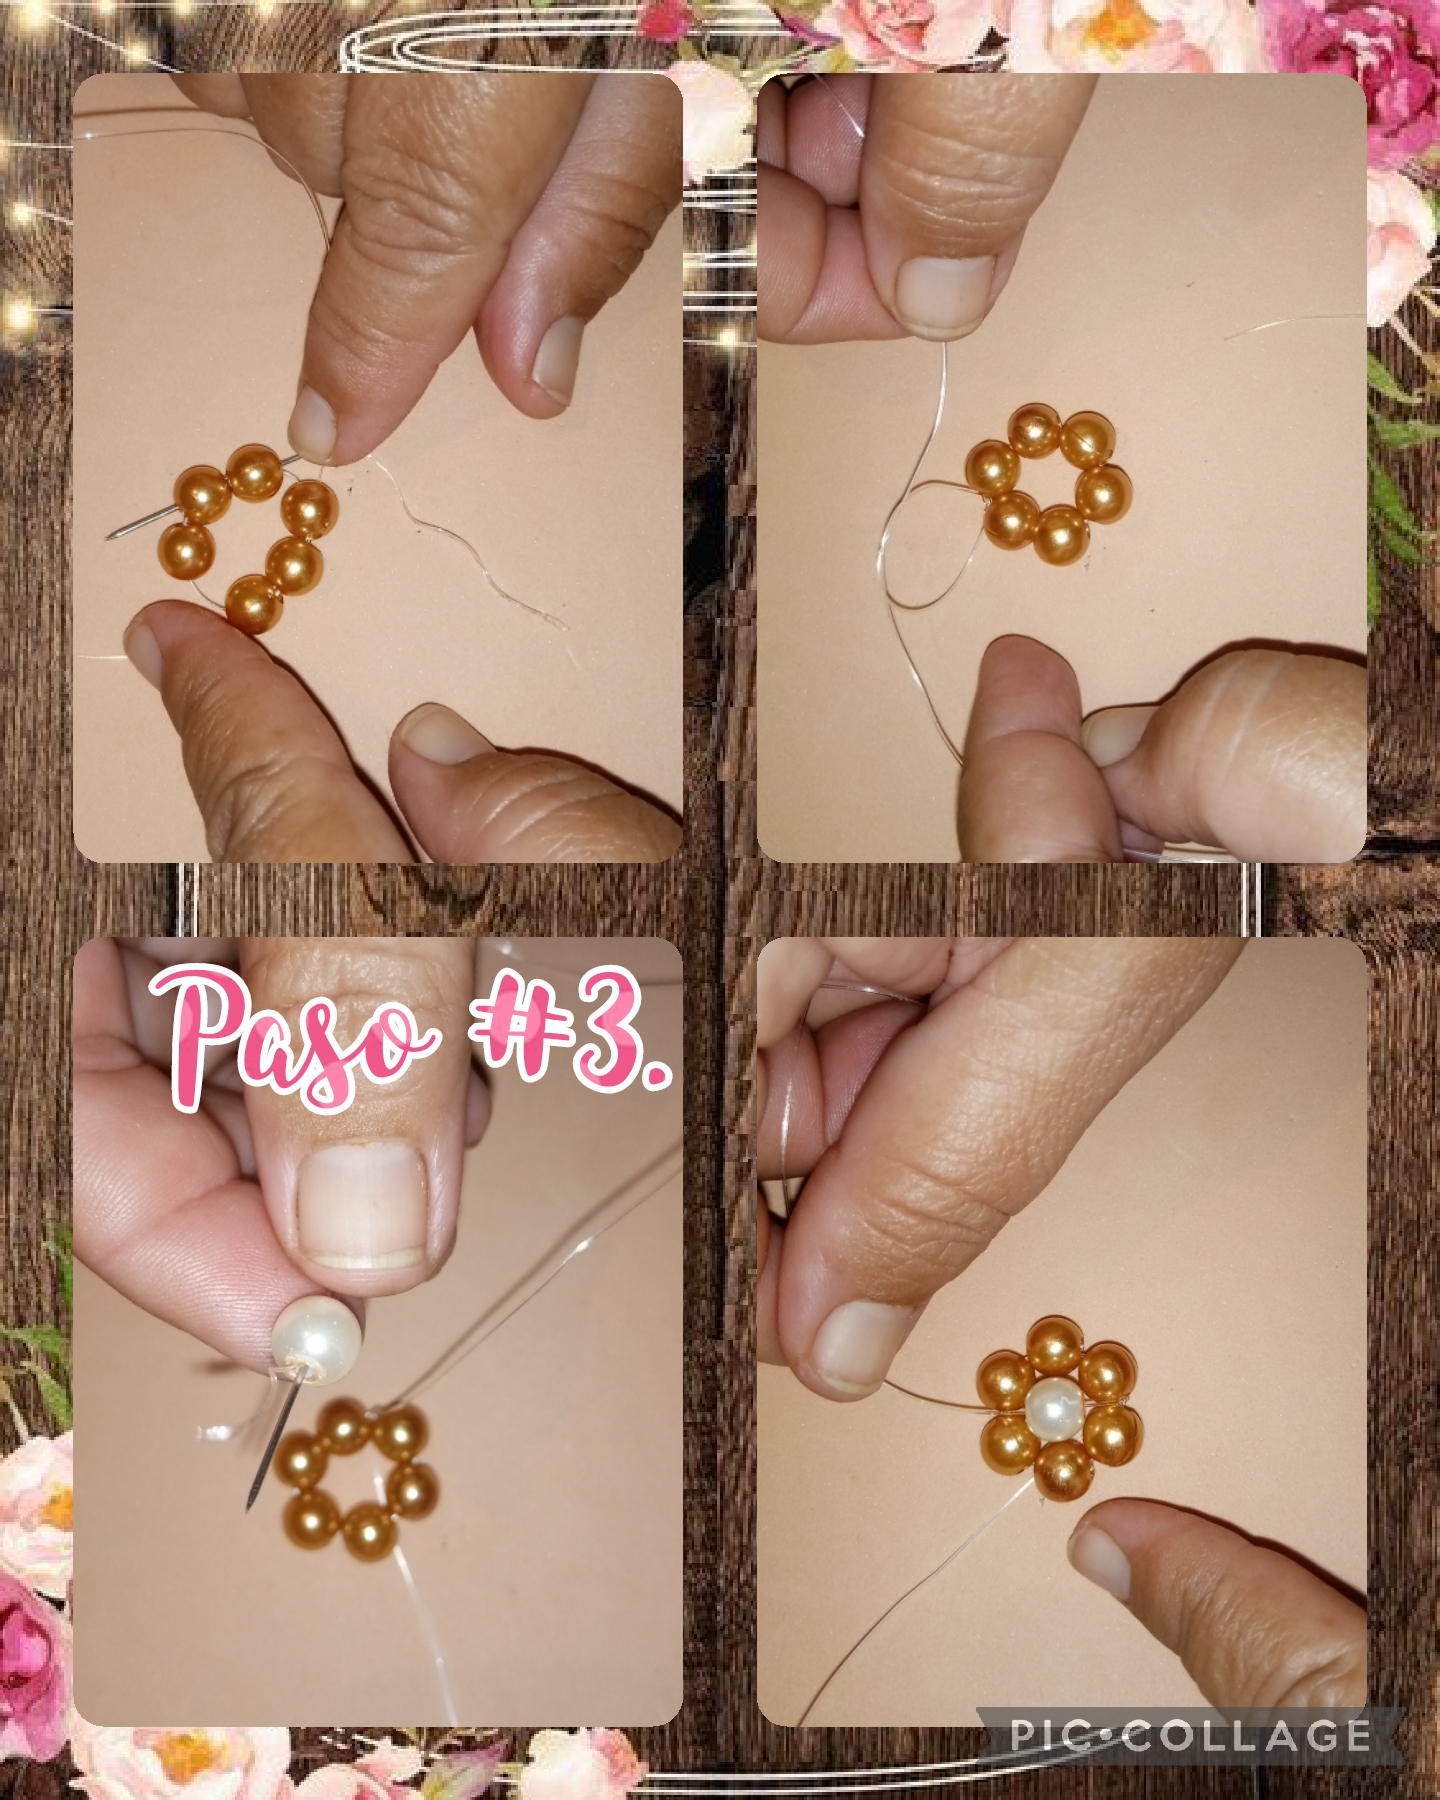
Step #3. In this step we are going to sew all the pearls, one by one so that it is tight and does not come loose, and we make another knot again, then we take a pink pearl and we put it in the needle, that pearl is inserted in the center to To complete the formation of the flower, we introduce the nylon thread into one of the pearls, to make sure that it does not loosen and is tight, see the images.
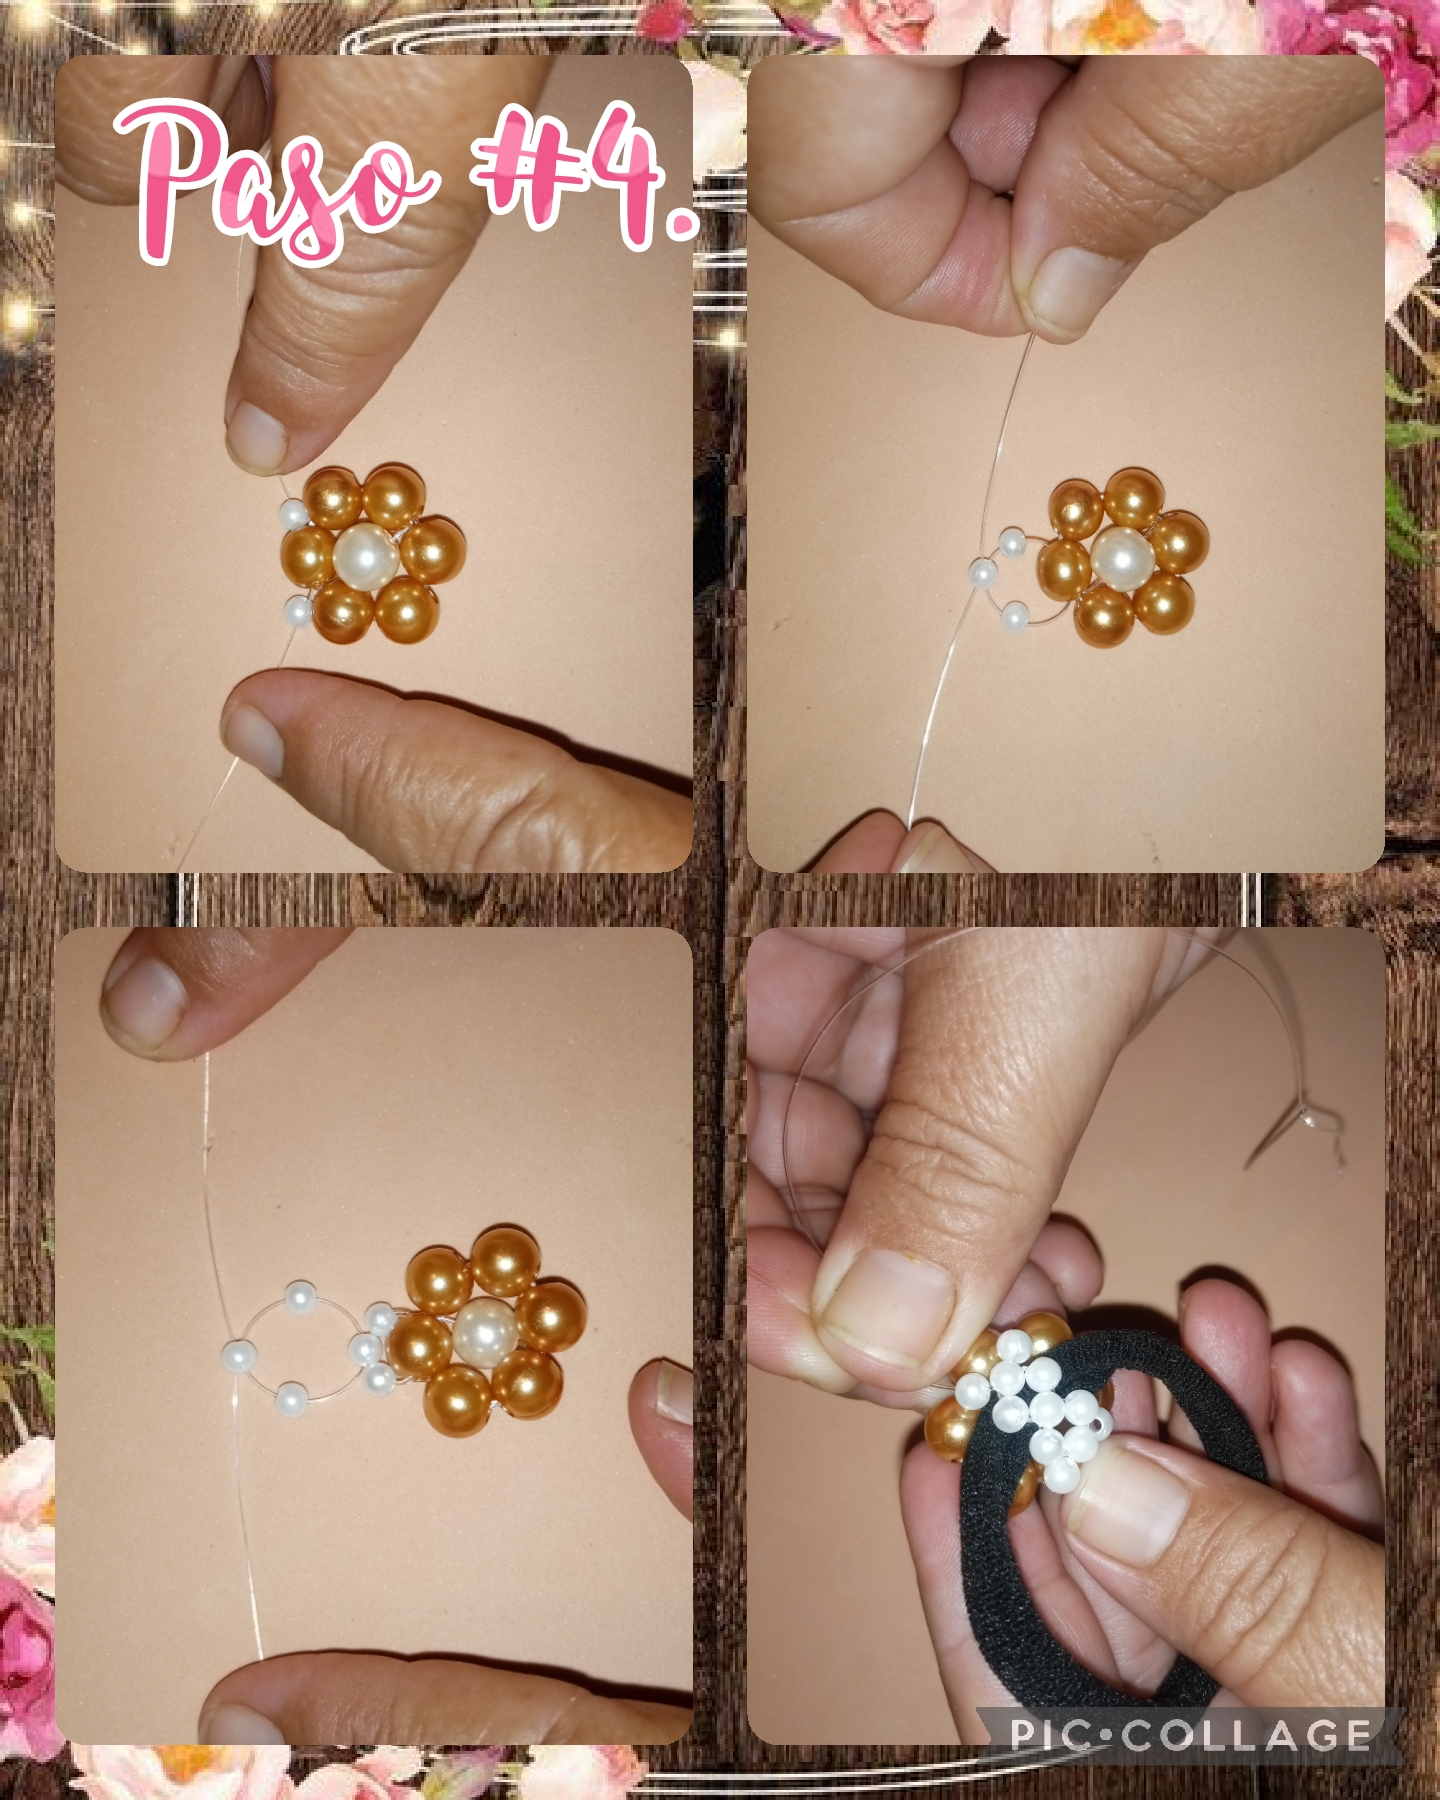
Step #4. We continue to form the flower, now we are going to insert 2 small white pearls in each nylon thread, and another pearl, and insert it, crossing the 2 threads, press and do the same again, this is to hold the bow tie, see the images.
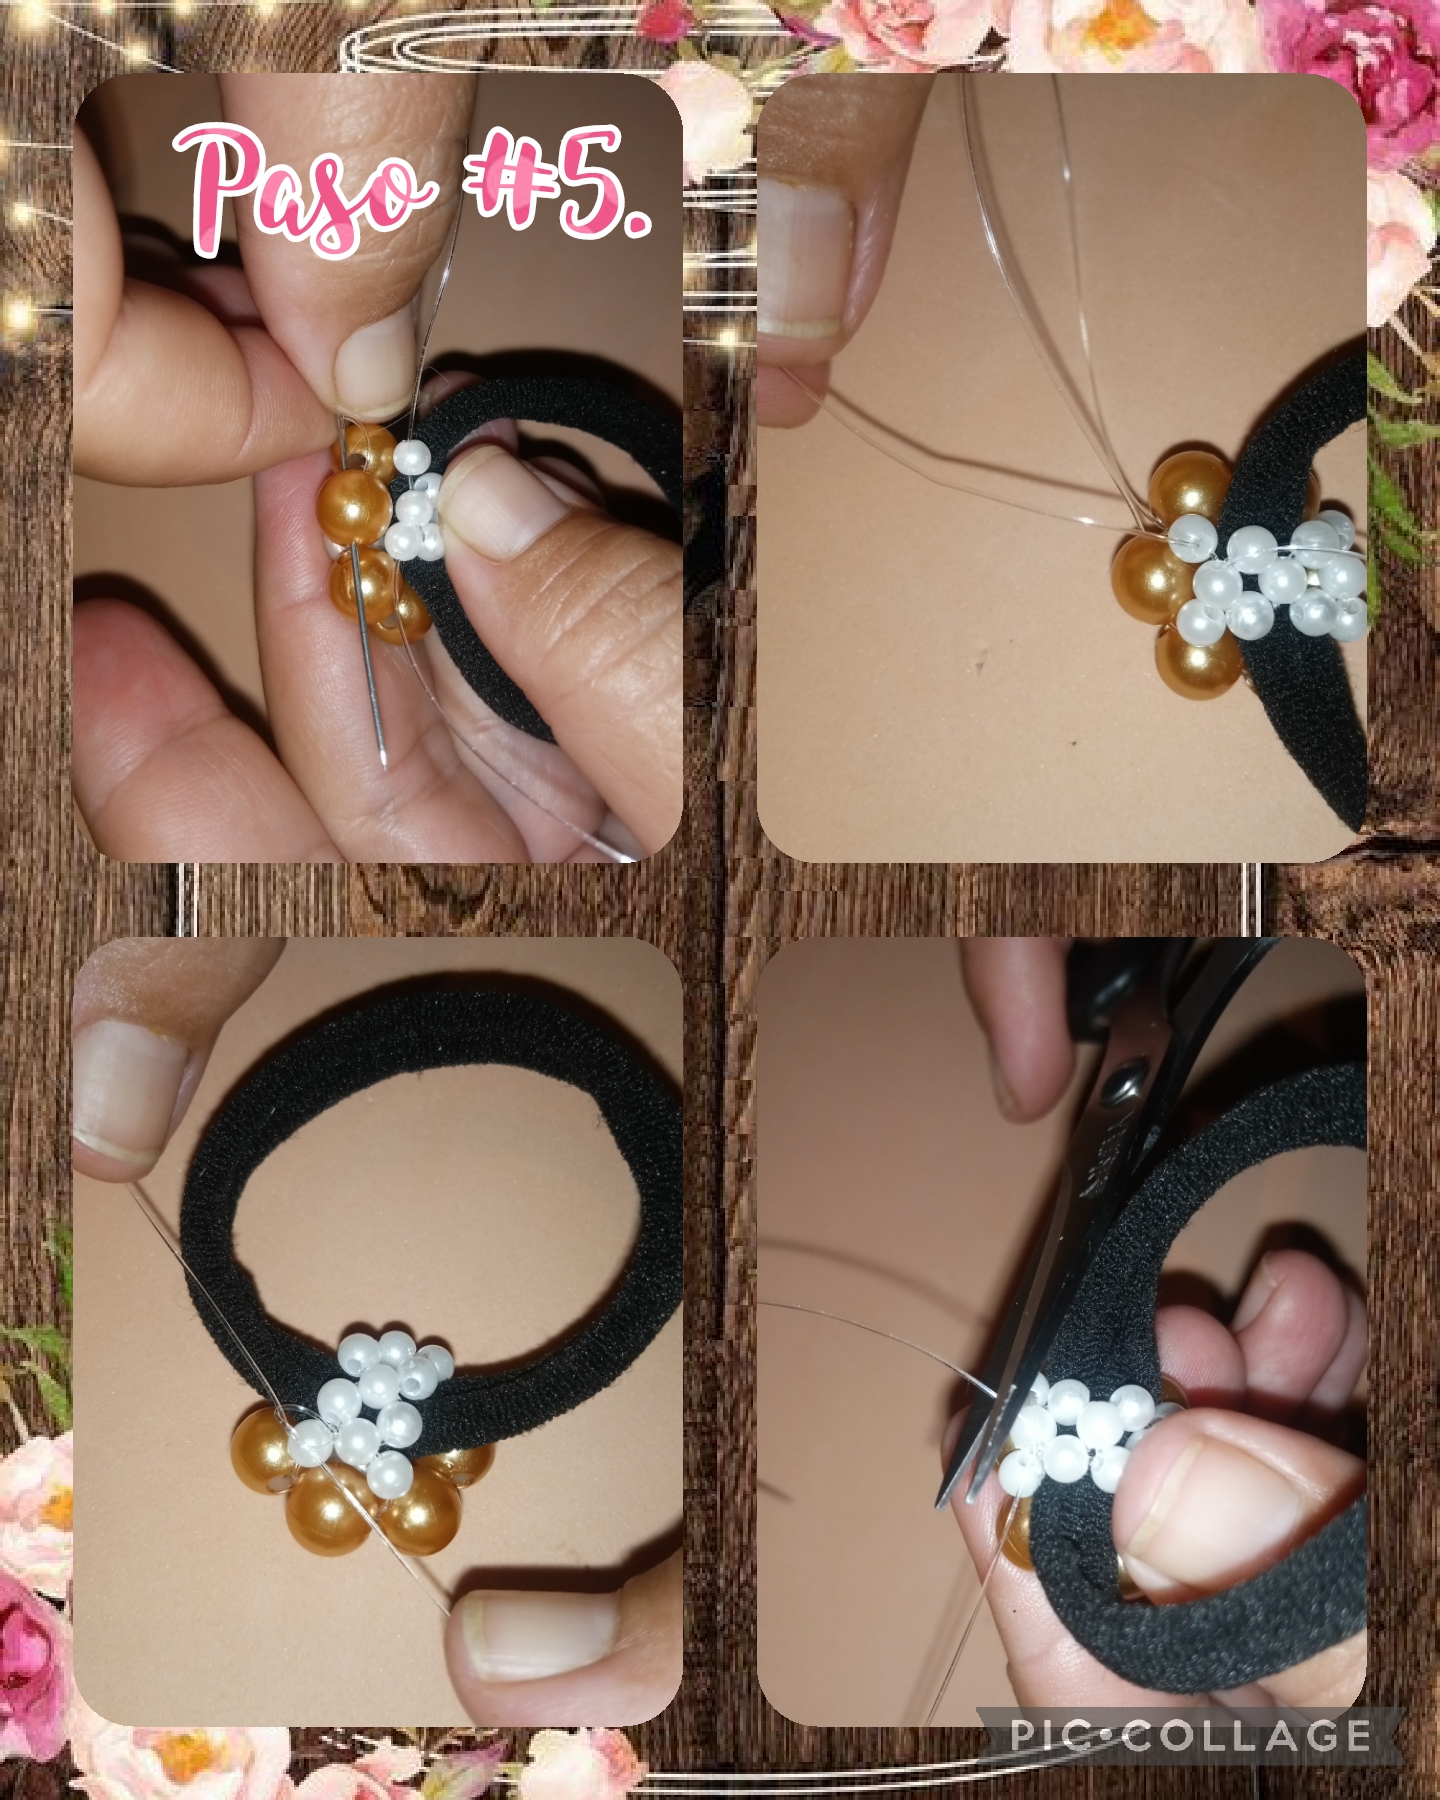
Step #5. Now in this step, we are going to sew all the pieces to the headband inserting the nylon threads, from the small pearls to the large pearls, after finishing sewing the pieces in the headband we take scissors and cut the excesses and with a tinderbox we burn all the ends to seal it, so that it does not come loose, see the images.

We have reached the end of all the steps, and the final result was some pretty hair bands, decorated with a flower made of pearls, it is ideal for the princesses of the house, and they will surely look very pretty, as much as they fit To my girl, I thank you for visiting my blog and reading until the end, I wish you a happy afternoon, and God bless you.
Las fotos fueron capturadas con mi teléfono Tecno Spark 6go, y editadas con la aplicación Pic-Collage y traducido con Google Esp-Ing.
The photos were captured with my Tecno Spark 6go cell phone, and edited with the Pic-Collage application and translated with Google Esp-Ing.
Muy Original y las colitas quedan bellas, gracias por compartir tu paso a paso con nosotros @cruzjimenez01 😃🤗
Hola, me alegra mucho q te haya gustado mi trabajo...
Gracias, saludos.
A few weeks ago, I made a hair packing for myself but my first daughter is also making use of it. Your daughter must be happy 😁 to see 🙈 the headband.