Paper polar bear - Step by step [ENG-ESP]
Greetings friends, after spending a short vacation for Easter, take some time to continue studying and expanding my knowledge with the origami technique and thus achieve recreate very good figures that are of great impact and very striking. This time we are going to make a great polar bear, being an animal of very good size, dangerous and the impressive thing is that it is not found anywhere, therefore, it has to be taken care of, for being a unique species. Beyond that it will be an origami that we are going to make in two parts, to finally get them together and get a great origami of the polar bear. So do not miss this procedure.
Saludos amigos, luego de pasar unas cortas vacaciones por Semana Santa, tome algo de tiempo para seguir estudiando y ampliando mi conocimiento con la técnica del origami y de esa manera lograr recrear muy buenas figuras que son de gran impacto y muy llamativas. Esta vez vamos a realizar un gran oso polar, siendo un animal de muy buen tamaño, peligroso y lo impresionante es que no se encuentra cualquier parte, por lo tanto, se tiene que cuidar, por ser una especie única. Más allá de eso será un origami que vamos a realizar en dos partes, para al final lograr unirlos y obtener un gran origami de dicho oso polar. Así que no te pierdas este procedimiento.
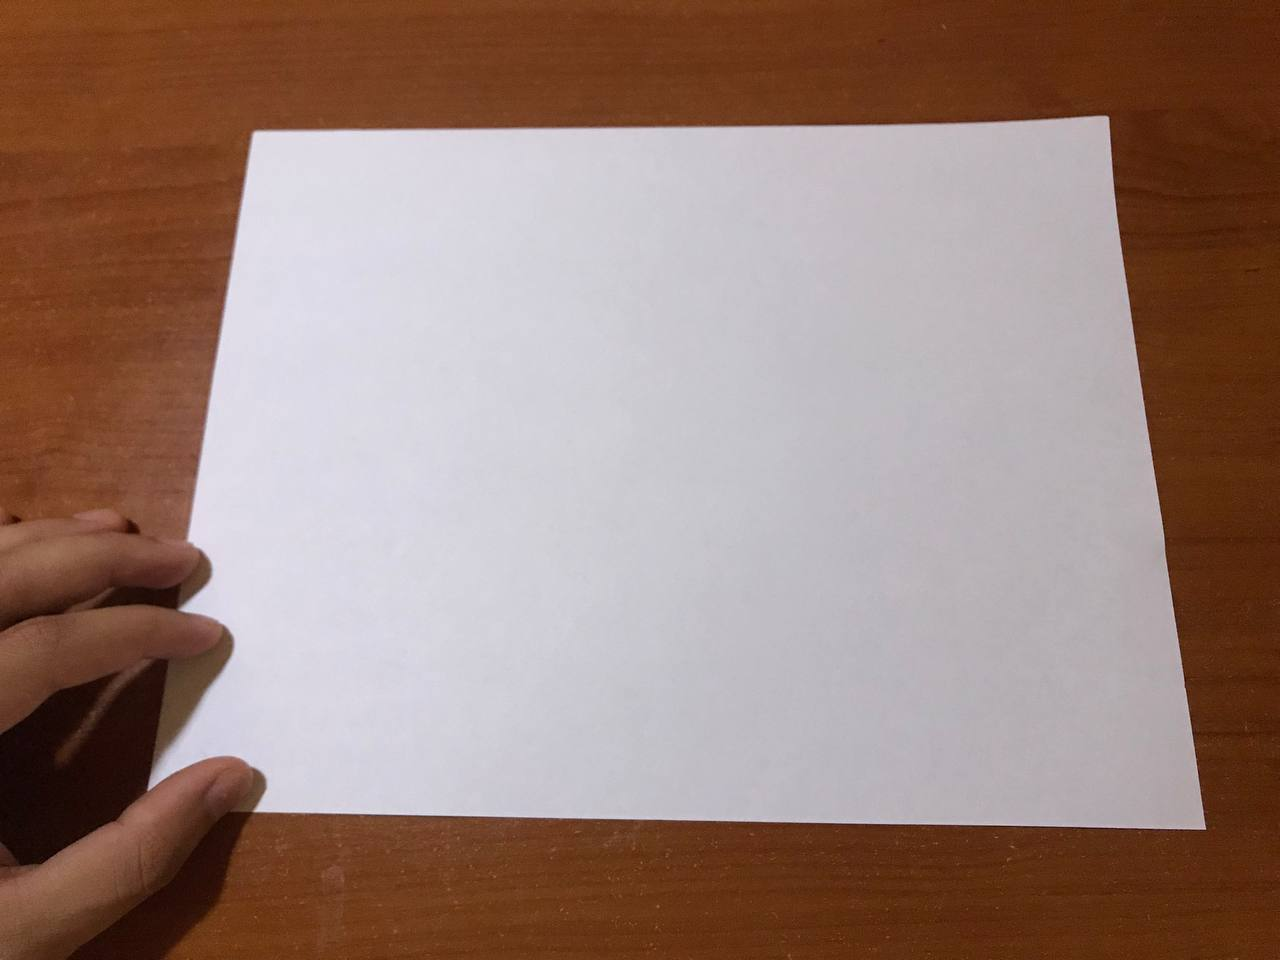
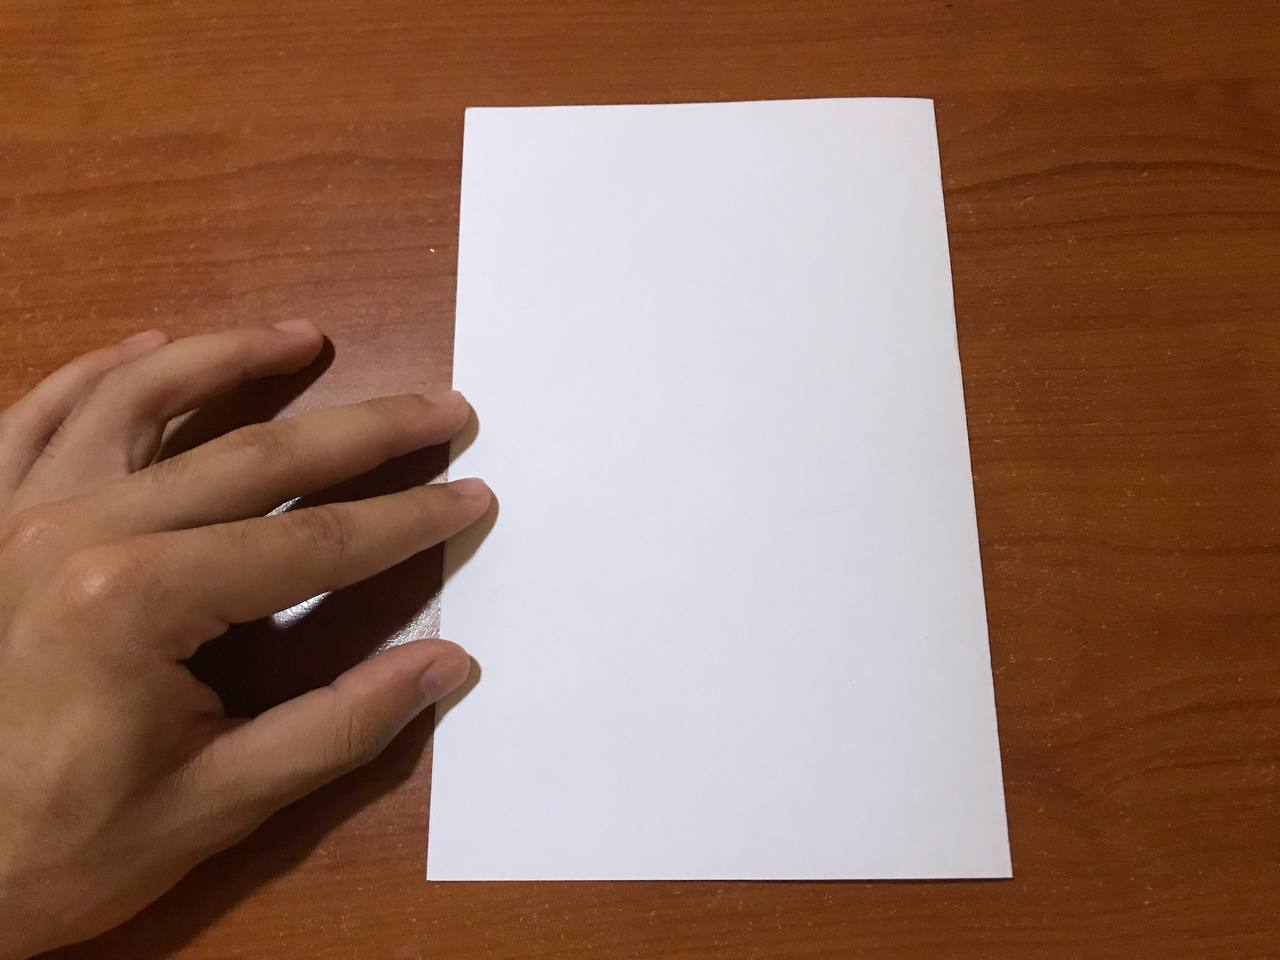
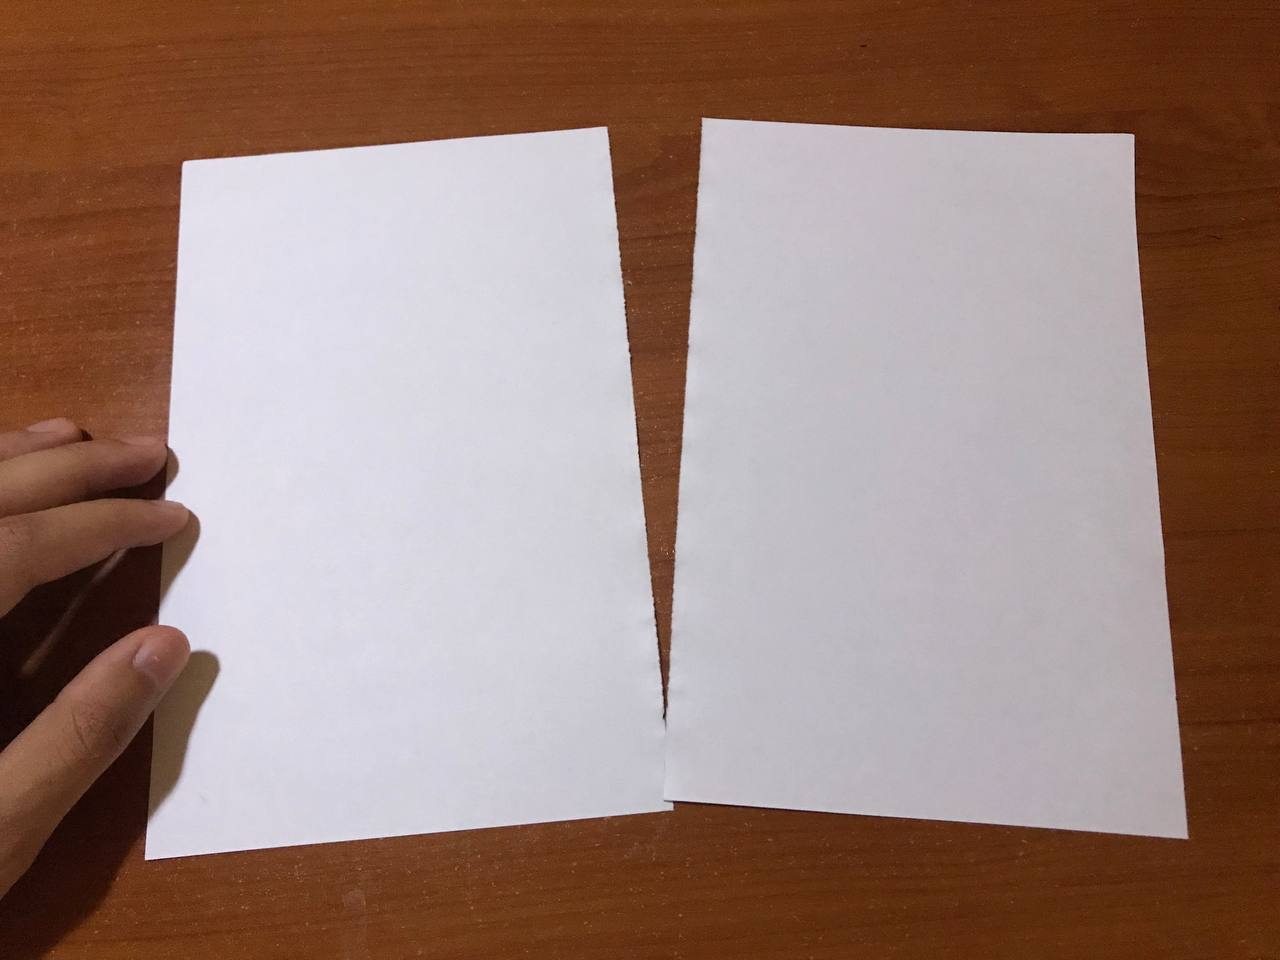
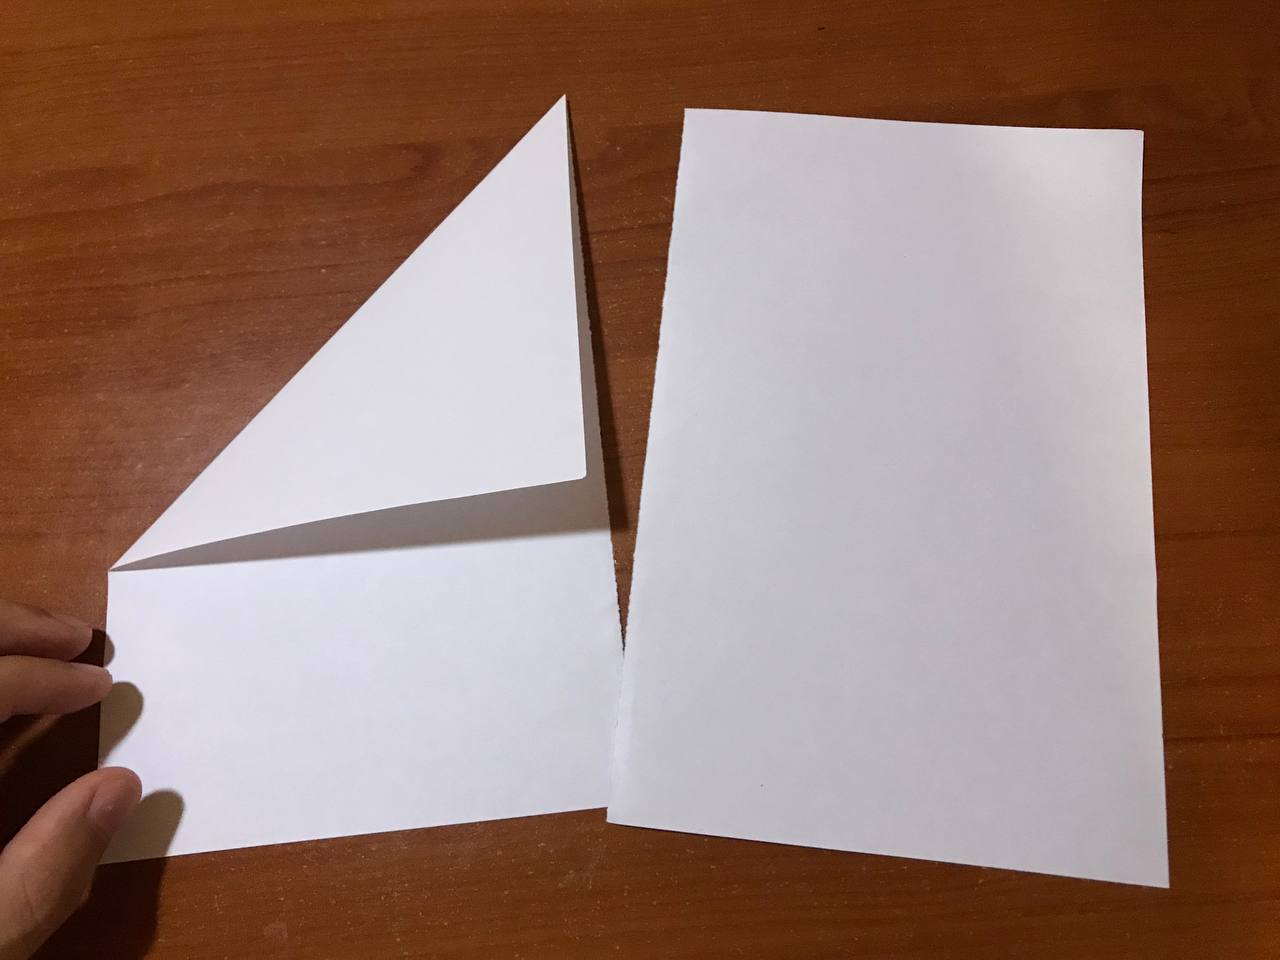
To start making this new origami the first thing we have to do is to take a blank sheet of paper or the color you like to work with. Once that is ready we take our sheet and we are going to fold it in half, marking very well that line, we open our sheet and with the help of a scissors we cut and we will have two triangles of the same size.
Para comenzar a realizar este nuevo origami lo primero que tenemos que hacer es tomar una hoja en blanco o del color que guste para poder trabajar. Una vez listo eso tomamos nuestra hoja y la vamos a doblar por toda la mitad, marcando muy bien dicha línea, abrimos nuestra hoja y con la ayuda de una tijera cortamos y nos quedarán dos rectángulos del mismo tamaño.
|
|
|
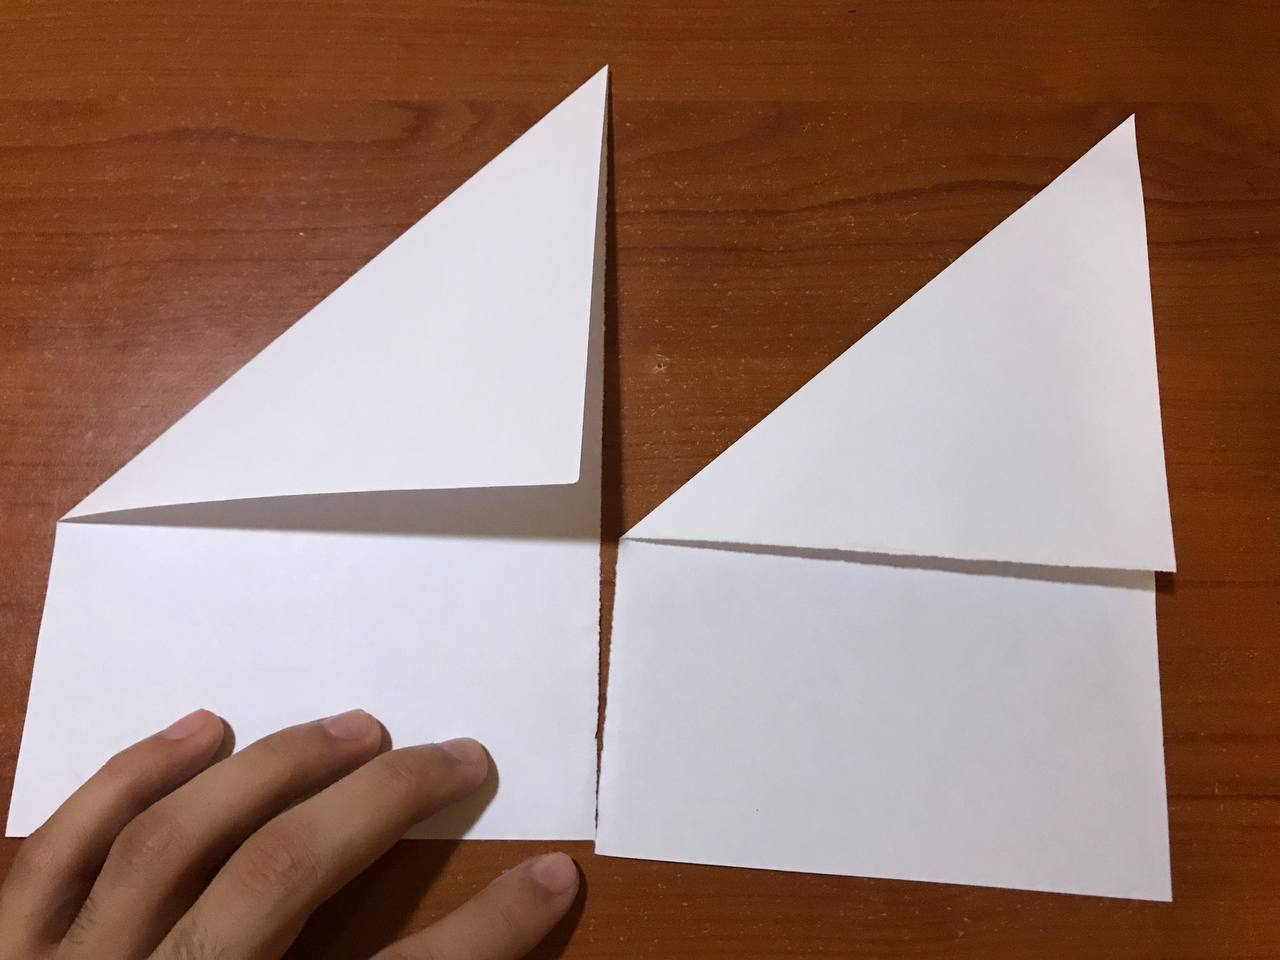
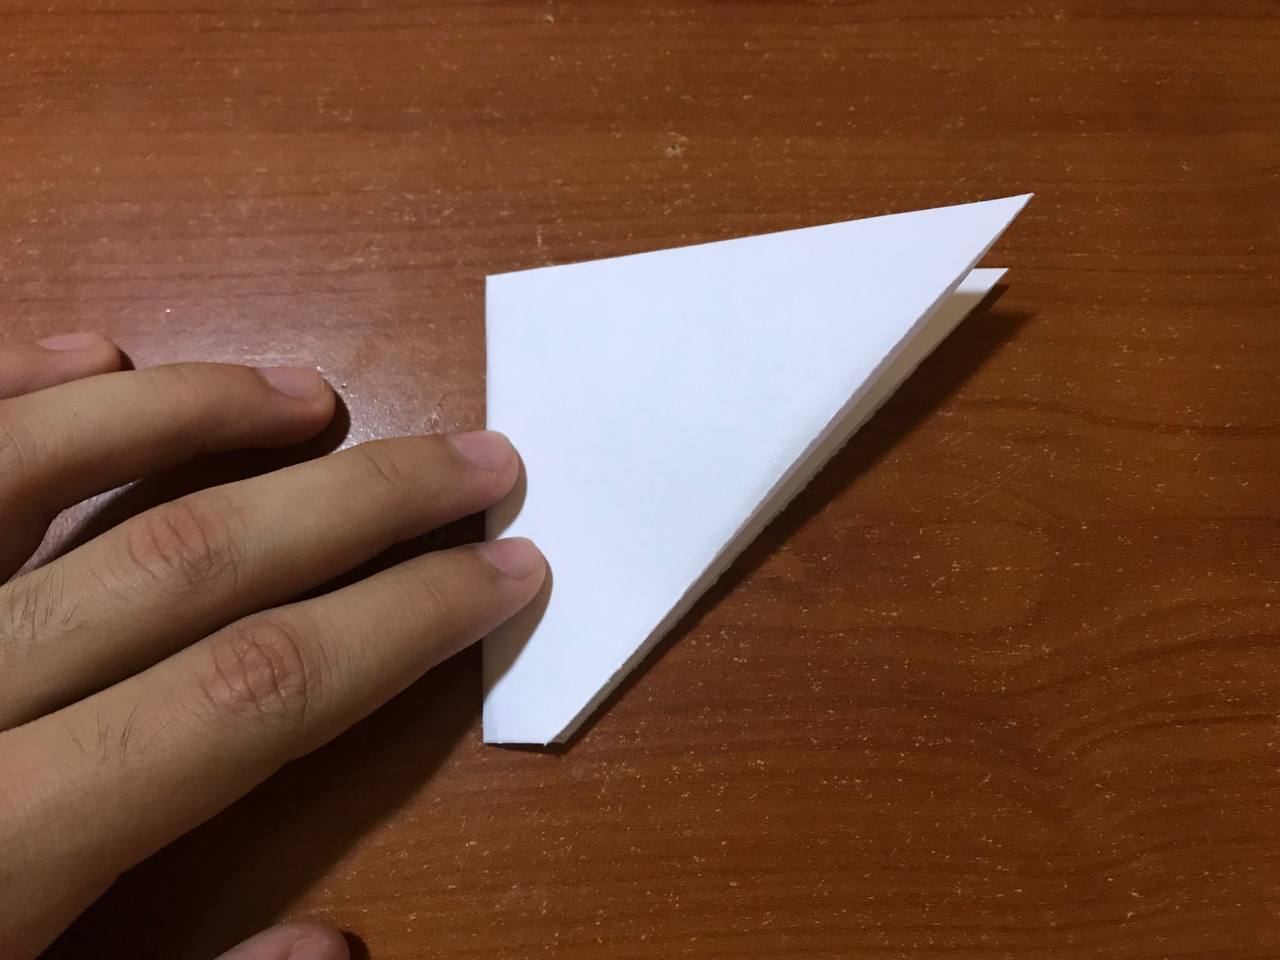
Next, we will fold one of the ends of our sheet to the edge of the sheet, which will leave a small triangle at the top as shown in the photo, we will repeat the same thing on the second sheet that we cut in the previous step. Folding very well so that the triangle is marked.
Seguidamente, vamos a doblar uno de los extremos de nuestra hoja hasta el borde la hoja, la cual saldrá un pequeño triángulo en la parte de arriba como se nota en la foto, eso mismo lo vamos a repetir en la segunda hoja que cortamos en el paso anterior. Doblando muy bien para que así queda marcado el triángulo.
|
 |
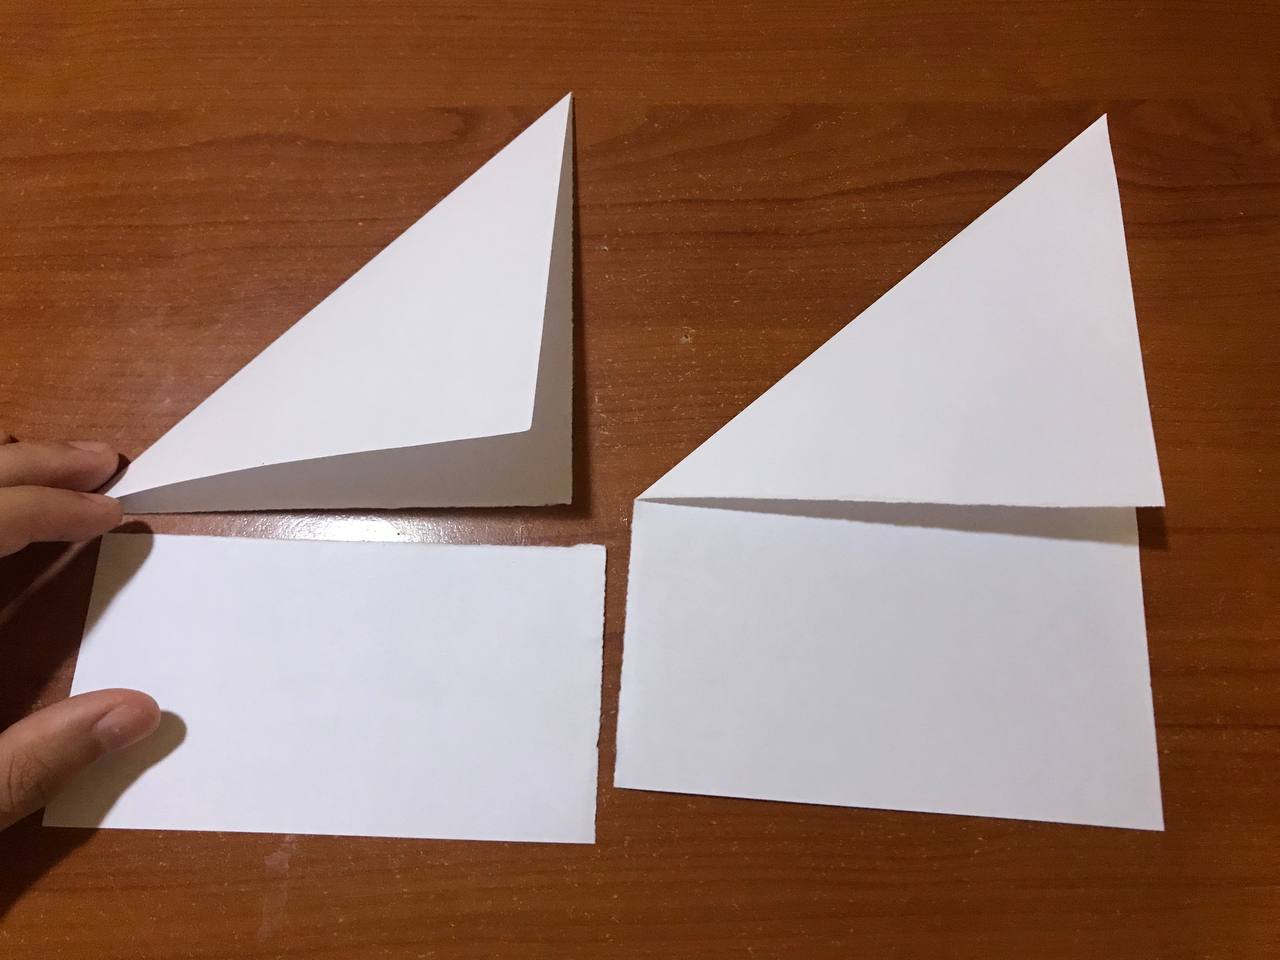
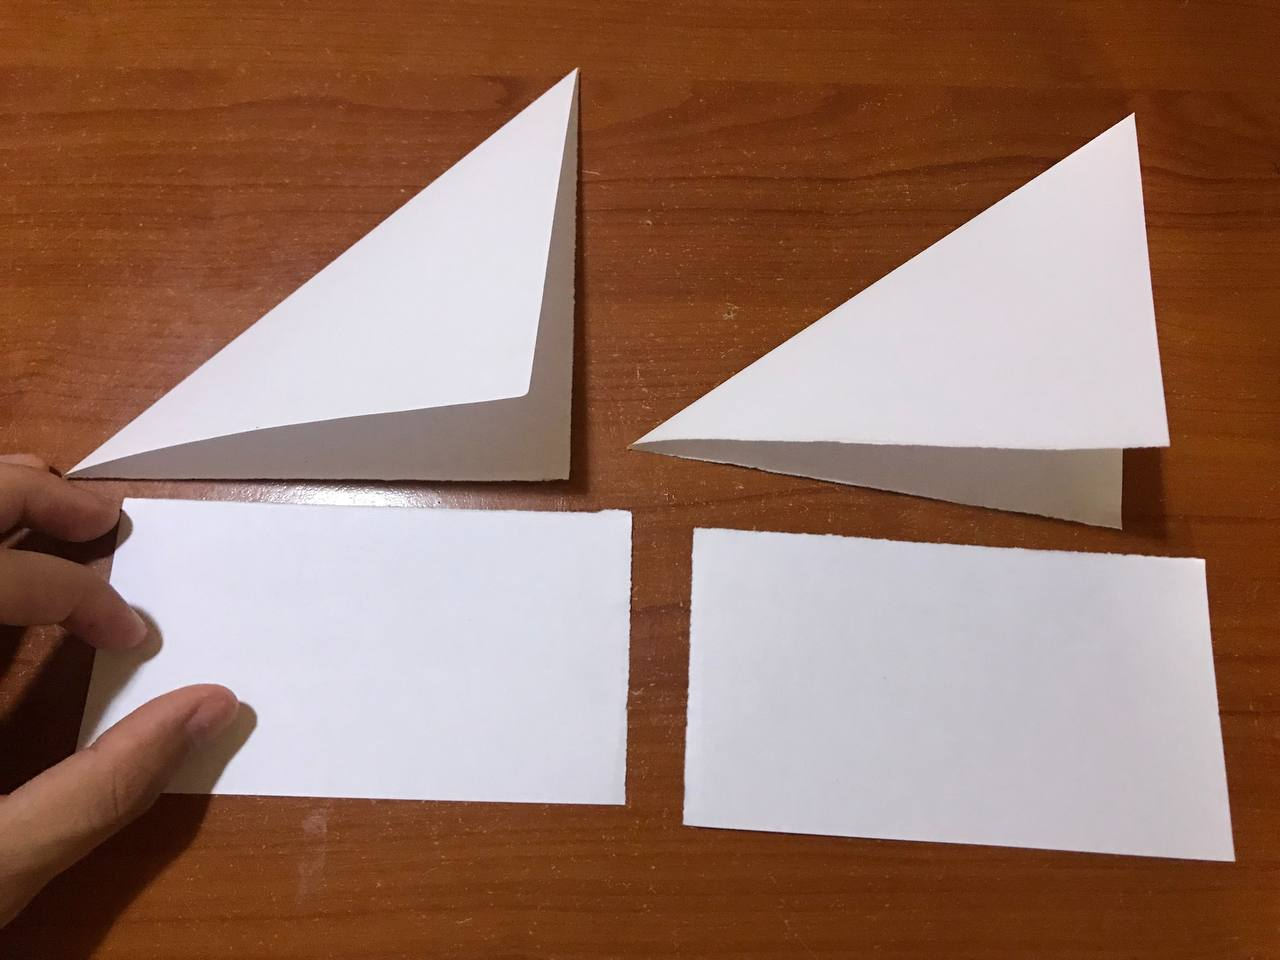
We take the scissors again and carefully cut the bottom part of our leaf so that only the triangle remains and that way it will be much easier to work on the polar bear. We are going to repeat this on both leaves.
Volvemos a tomar la tijera y con mucho cuidado vamos a cortar la parte de debajo de nuestra hoja para que así solamente quede el triángulo y de esa manea sea mucho fácil poder trabajar en dicho oso polar. Esto lo vamos a repetir en ambas hojas.
|
 |
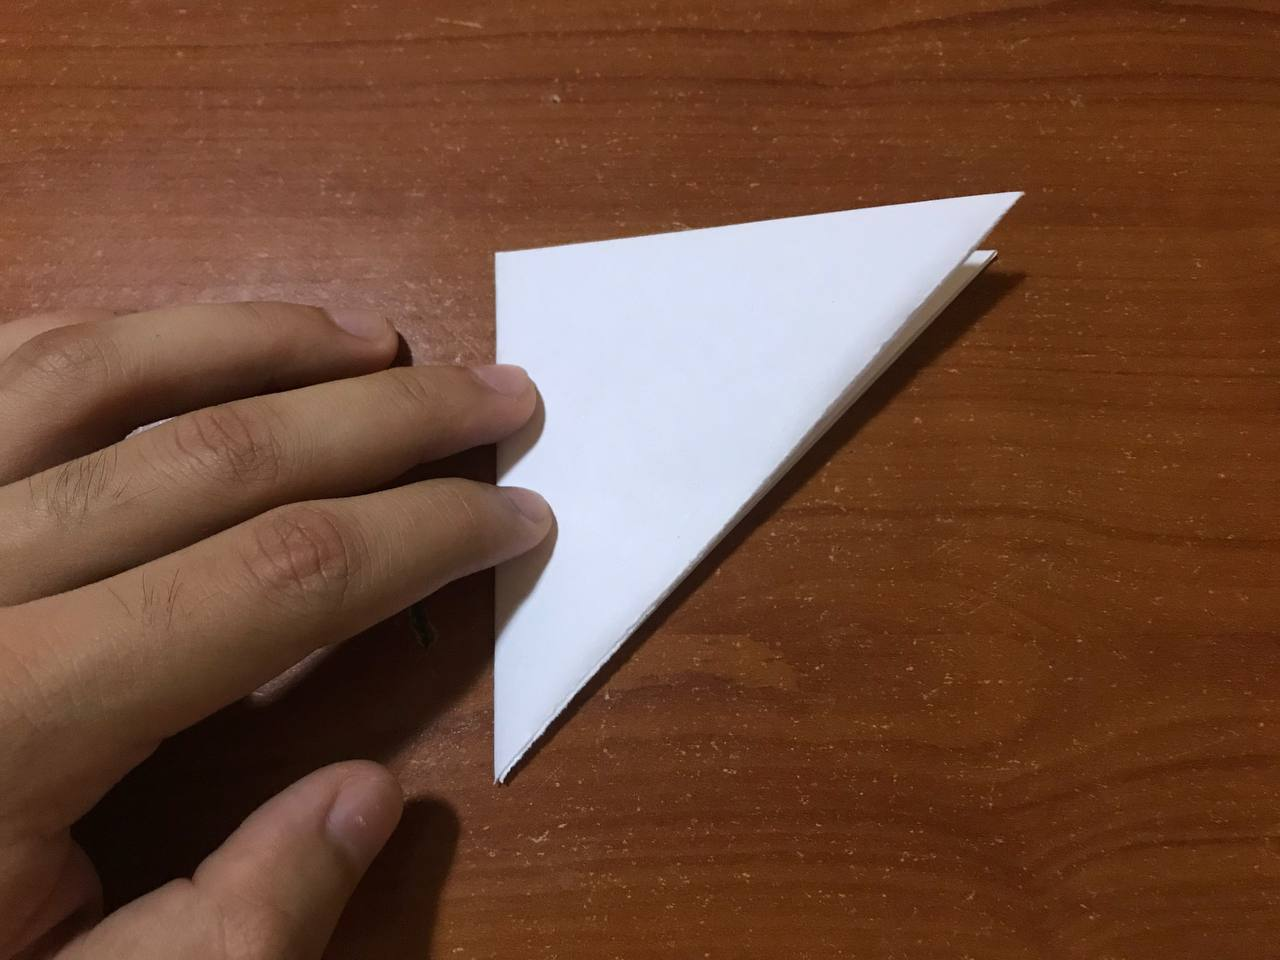
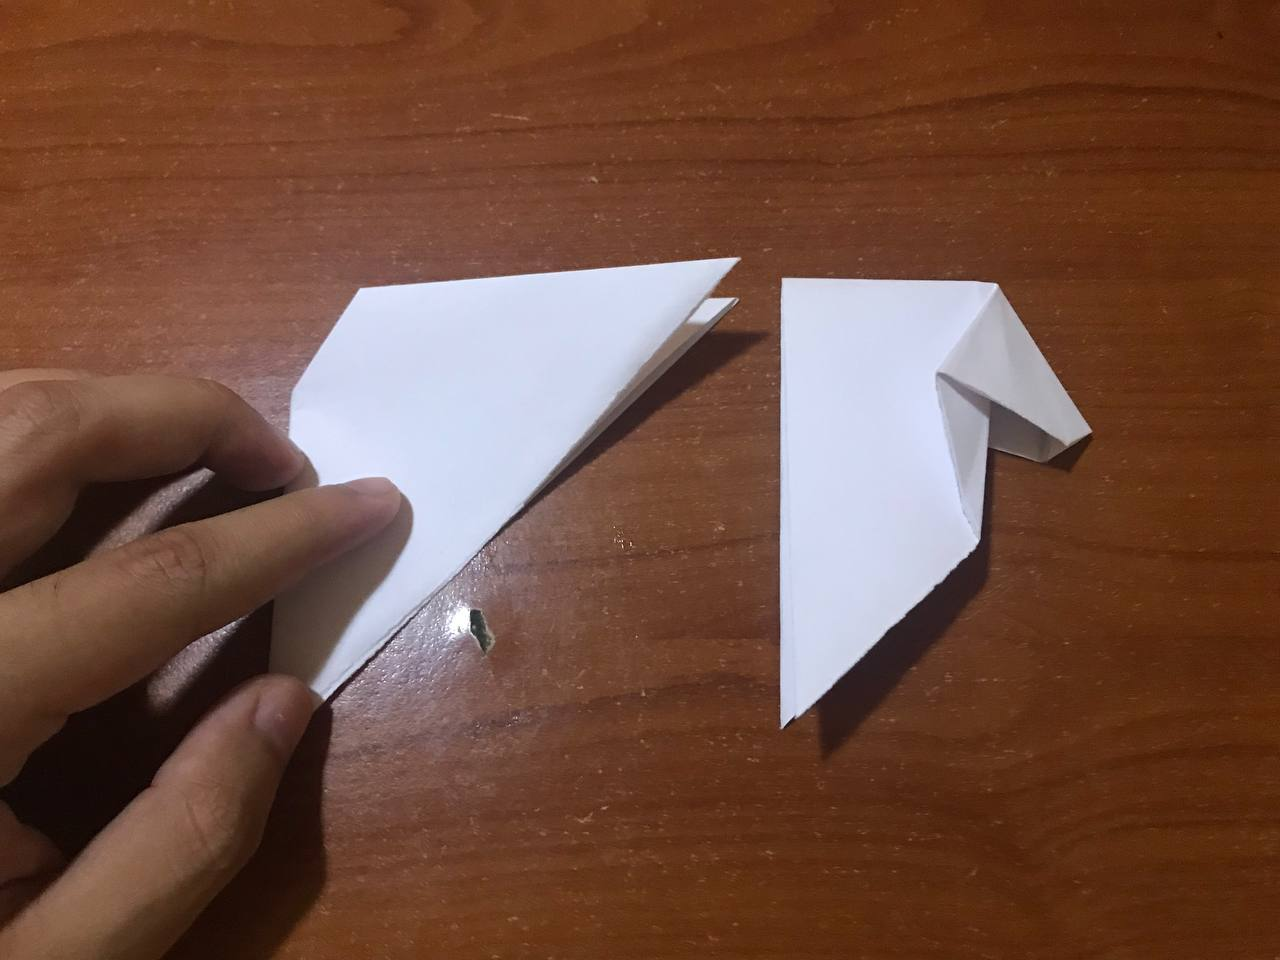
Now we are going to take one of the triangles we cut in the previous step and we are going to make a small fold at the bottom of our leaf, bringing the leaf up a little bit with a centimeter and mark it. Next, we are going to fold it in half joining the other two ends of the triangle without disassembling anything on the sheet.
Ahora vamos a tomar uno de los triángulos que cortamos en el paso anterior y vamos a realizar un pequeño doblez en la parte de abajo del nuestra hoja, llevando un poco la hoja hacia arriba con un centímetro y marcamos. Seguidamente, vamos a doblar por la mitad uniendo las otras dos puntas del triángulo sin que se desarme nada en dicha hoja.

|
 |
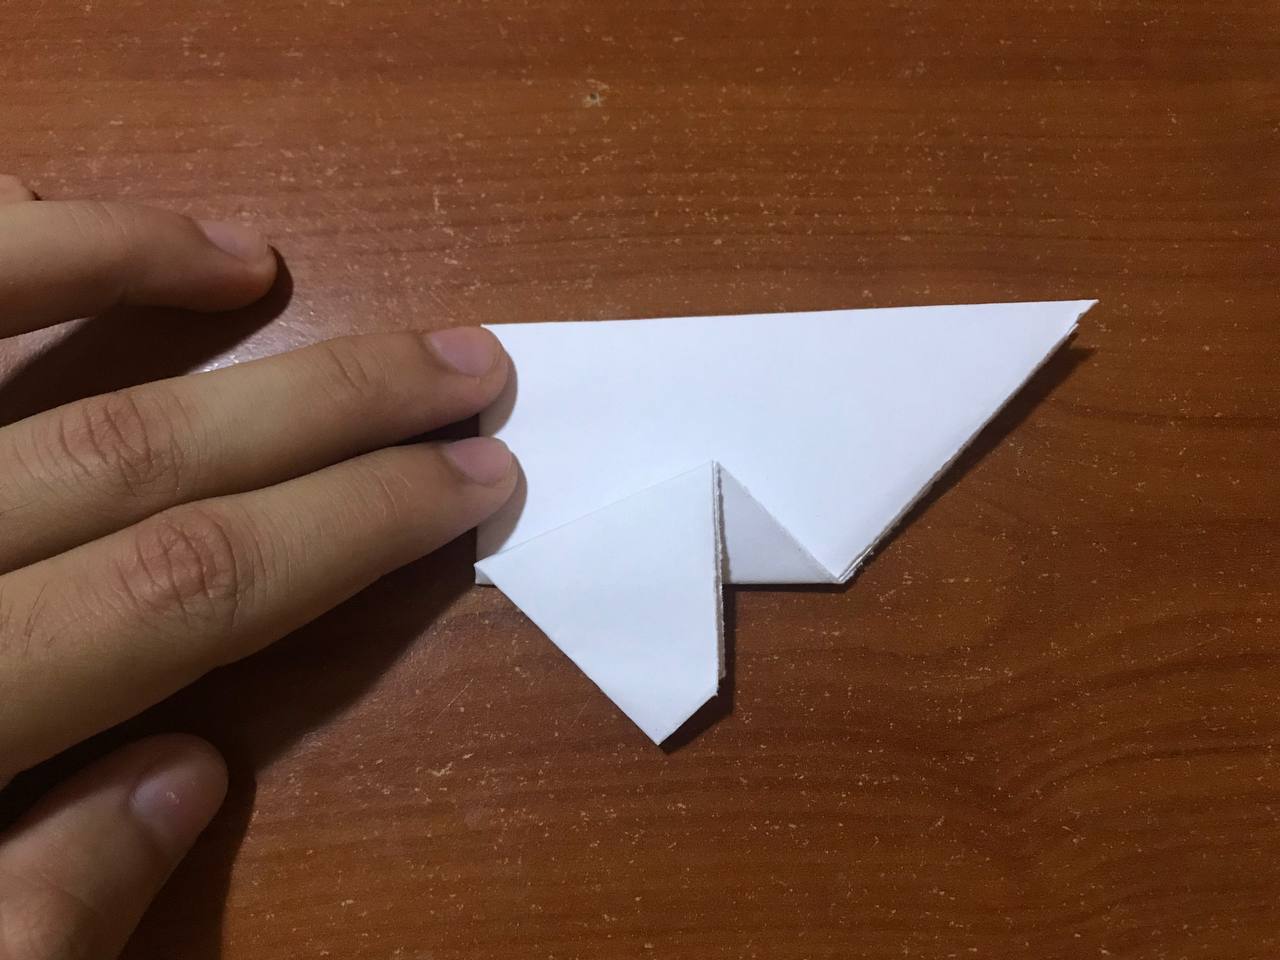
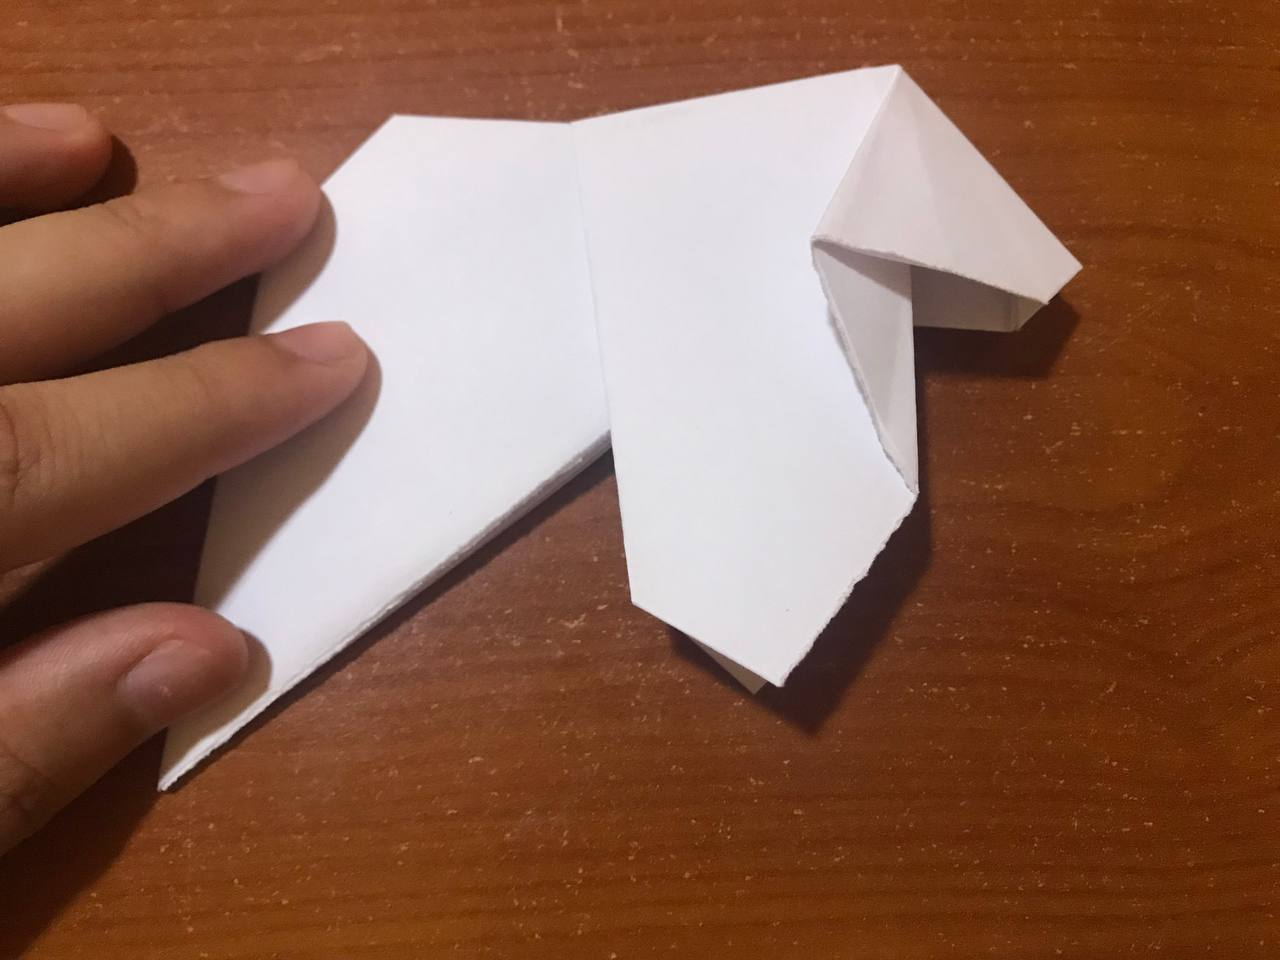
Then we will fold the bottom part upwards, flattening it very well and we will have a kind of triangle on the sheet, then we fold it downwards again, on the same part as shown in the pictures with the idea that everything is very well marked. We open our sheet and make a fold inward and folding it along the same line of the previous step and fold the sheet in half again.
Luego doblaremos la parte de abajo hacia arriba, aplastando muy bien y nos quedará especie de un triángulo en la hoja, allí mismo volvemos a doblar hacia abajo, sobre la misma parte con se nota en las fotos con la idea de que todo queda muy bien marcado. Abrimos nuestra hoja y haremos un pliegue hacia adentro y doblando tal cual por la misma línea del paso anterior y volvemos a doblar la hoja por la mitad.

|
 |

|
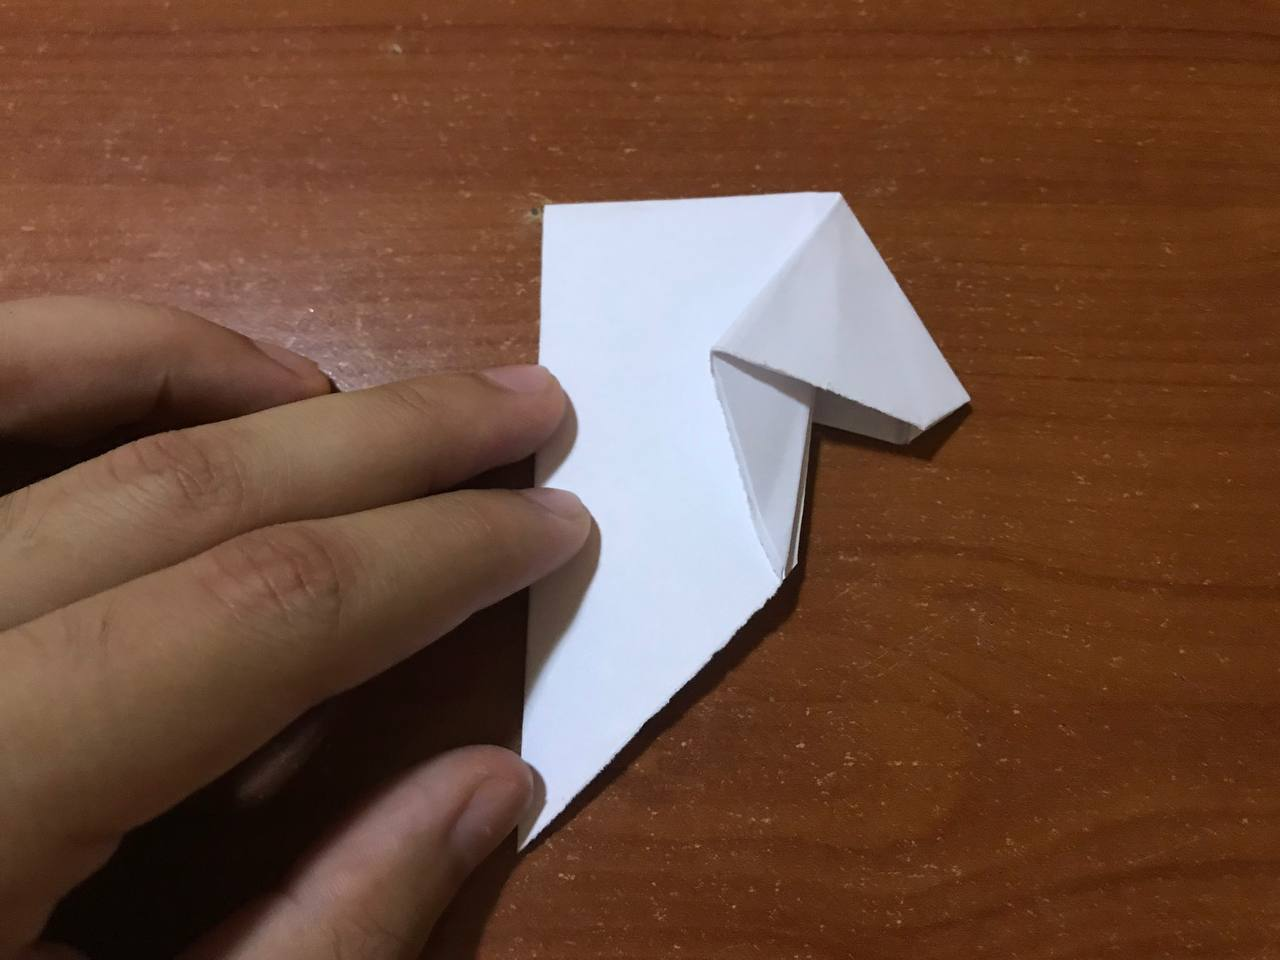 |
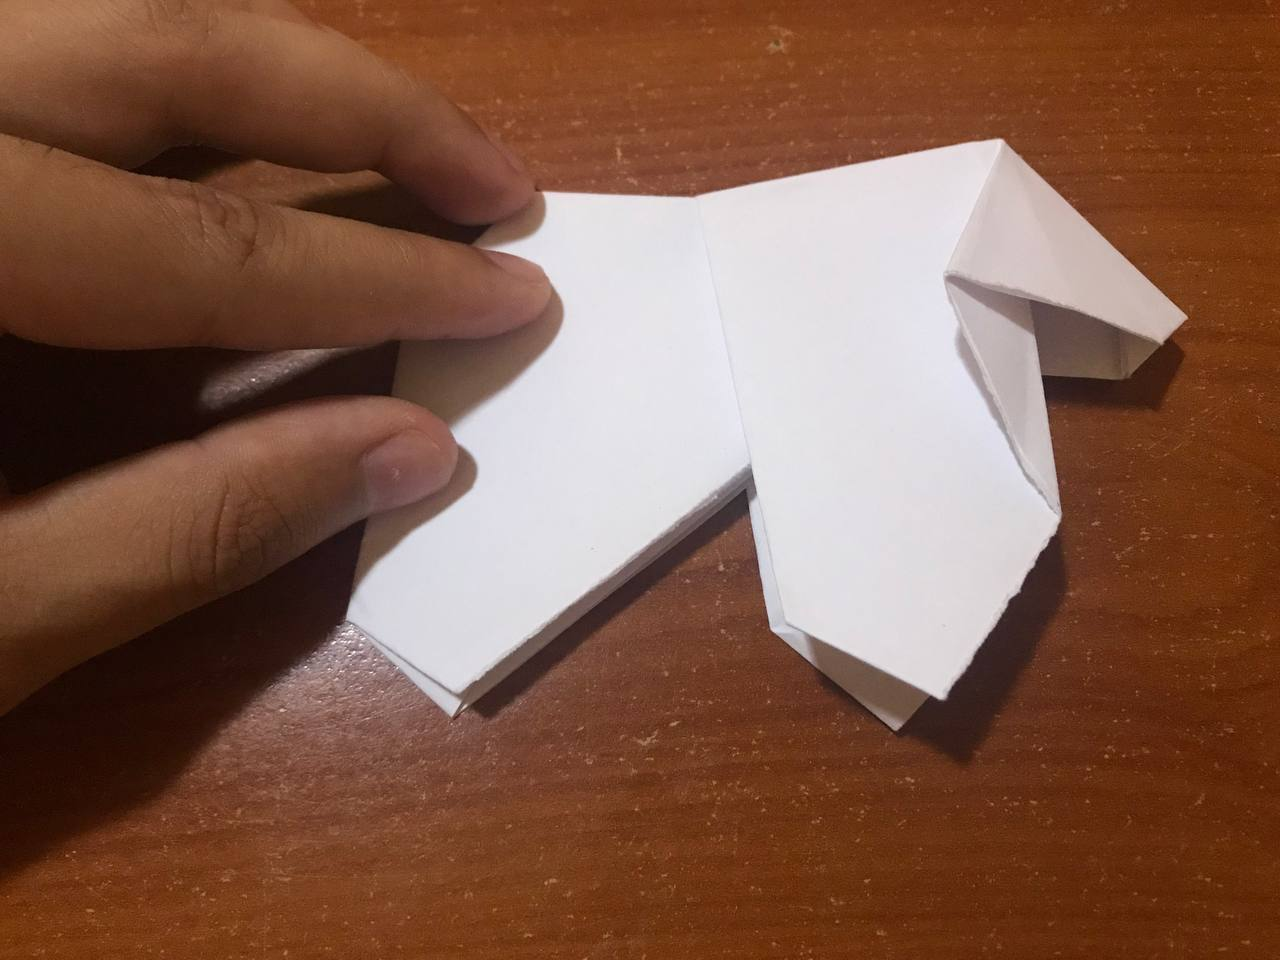
Little by little our polar bear will be taking shape, where now we are going to take the other sheet that we cut and we are going to fold it in half very carefully. Right there we are going to fold one of the ends inward about a centimeter, and then proceed to enhance sort of a fold inward of the sheet, which will be the back of our paper bear.
Poco a poco nuestro oso polar estará tomando formar, donde ahora vamos a tomar la otra hoja que cortamos y vamos a doblar por toda la mitad con mucho cuidado. Allí mismo vamos a doblar una de las puntas hacia adentro como un centímetro, para luego a proceder a realzar especie de un pliegue hacia adentro de la hoja, la cual esto será la parte de atrás de nuestro oso de papel.
|

|

|
Now we are going to take the two parts of paper, which are ready with their respective doubles to join them, in this step we are going to use the help of glue or silicone to be able to join and be fixed. With this, the polar bear will have a complete body. In addition, we are going to give it a little inclination at the moment of gluing them.
Ahora vamos a tomar las dos partes de papel, que están lista con su respectivo dobles para unirlos, en este paso vamos a utilizar la ayuda de la pega o silicón para poder unir y quedar fijas. Con esto el oso polar tendrá su cuerpo completo. Además, vamos a darle una pequeña inclinación al momento de pegarlos.
|
 |
We continue bending the tips of the leaf, in order to be able to pull out the paws of this big bear, bending upwards, until this big bear is stabilized. You have to be careful, since the back paws are a little longer.
Continuamos doblando las puntas de la hoja, para así poder sacar las patas de este gran oso, doblando hacia arriba, hasta lograr que se estabilice este gran oso. Se tiene que estar pendiente, ya que las patas de atrás son un poco más largas.
|
 |
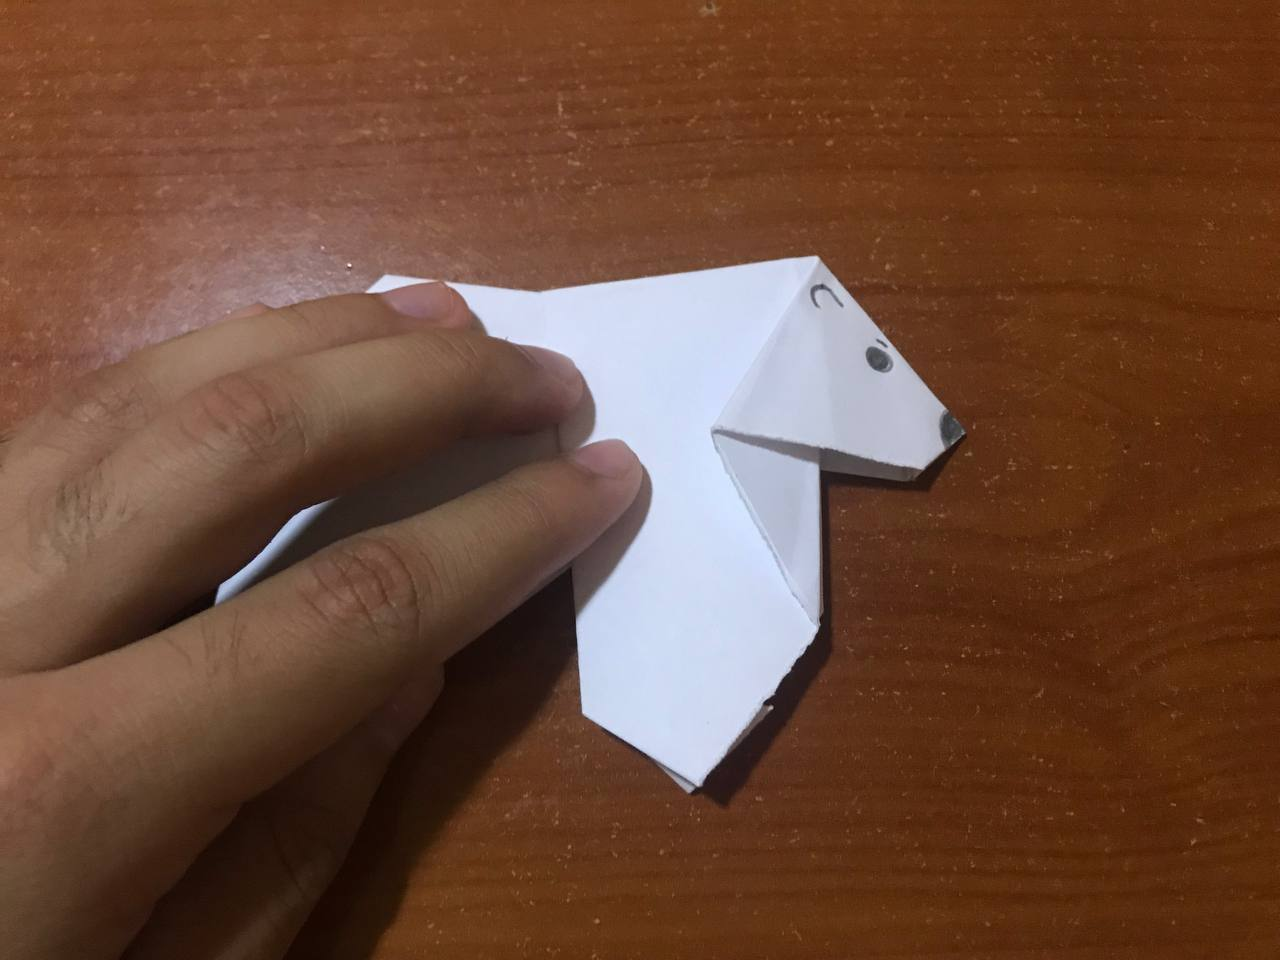
Finally, with the help of a pencil or a marker we are going to place some final details, so that this great polar bear is ready. We do this on both sides of the sheet.
Por último, con la ayuda de un lápiz o un marcador vamos a colocarle algunos detalles finales, para que así ese gran oso polar quede listo. Esto lo hacemos en ambas cara de la hoja.

Resultado // Result
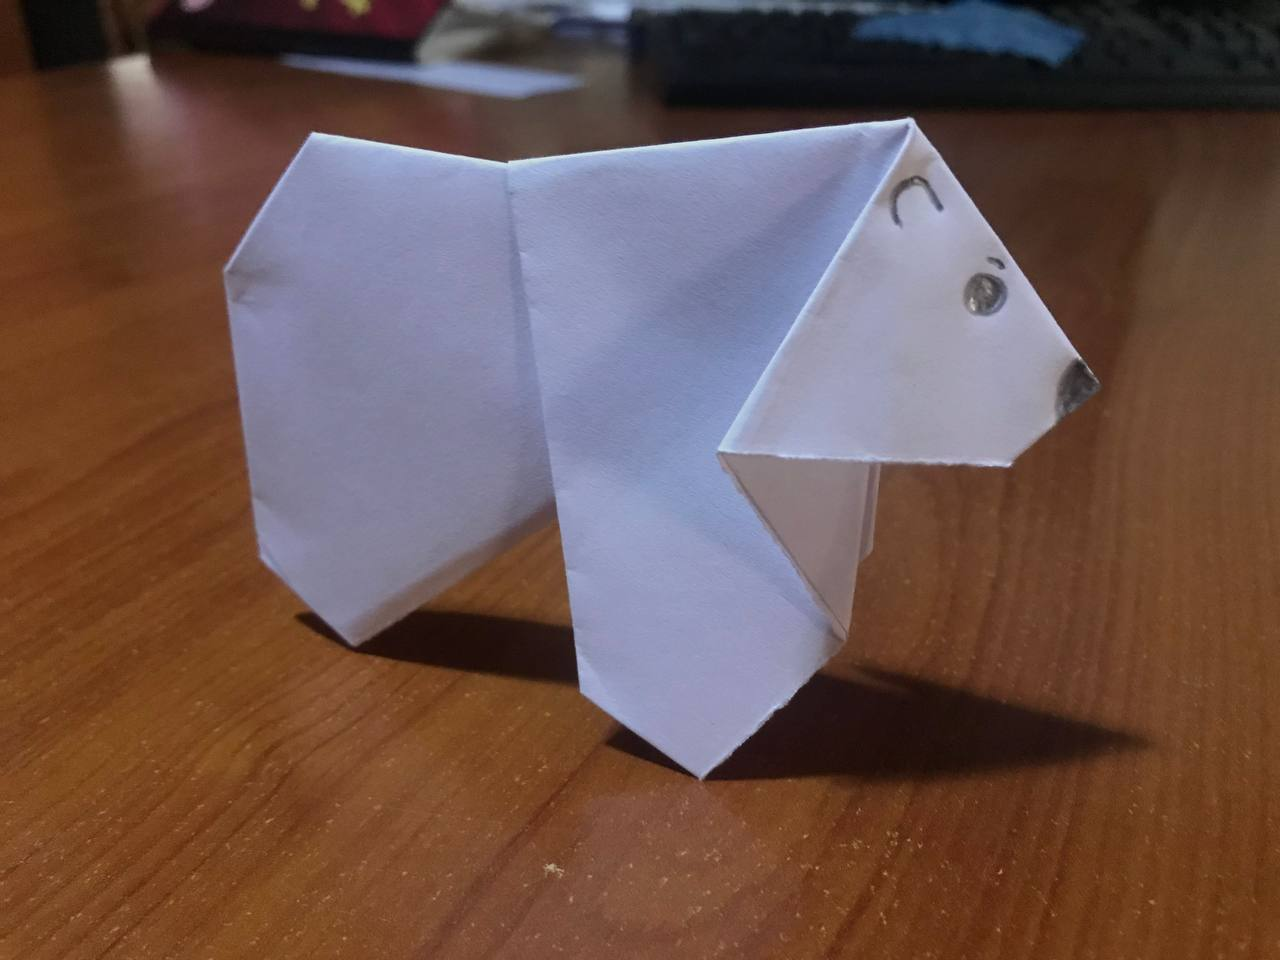
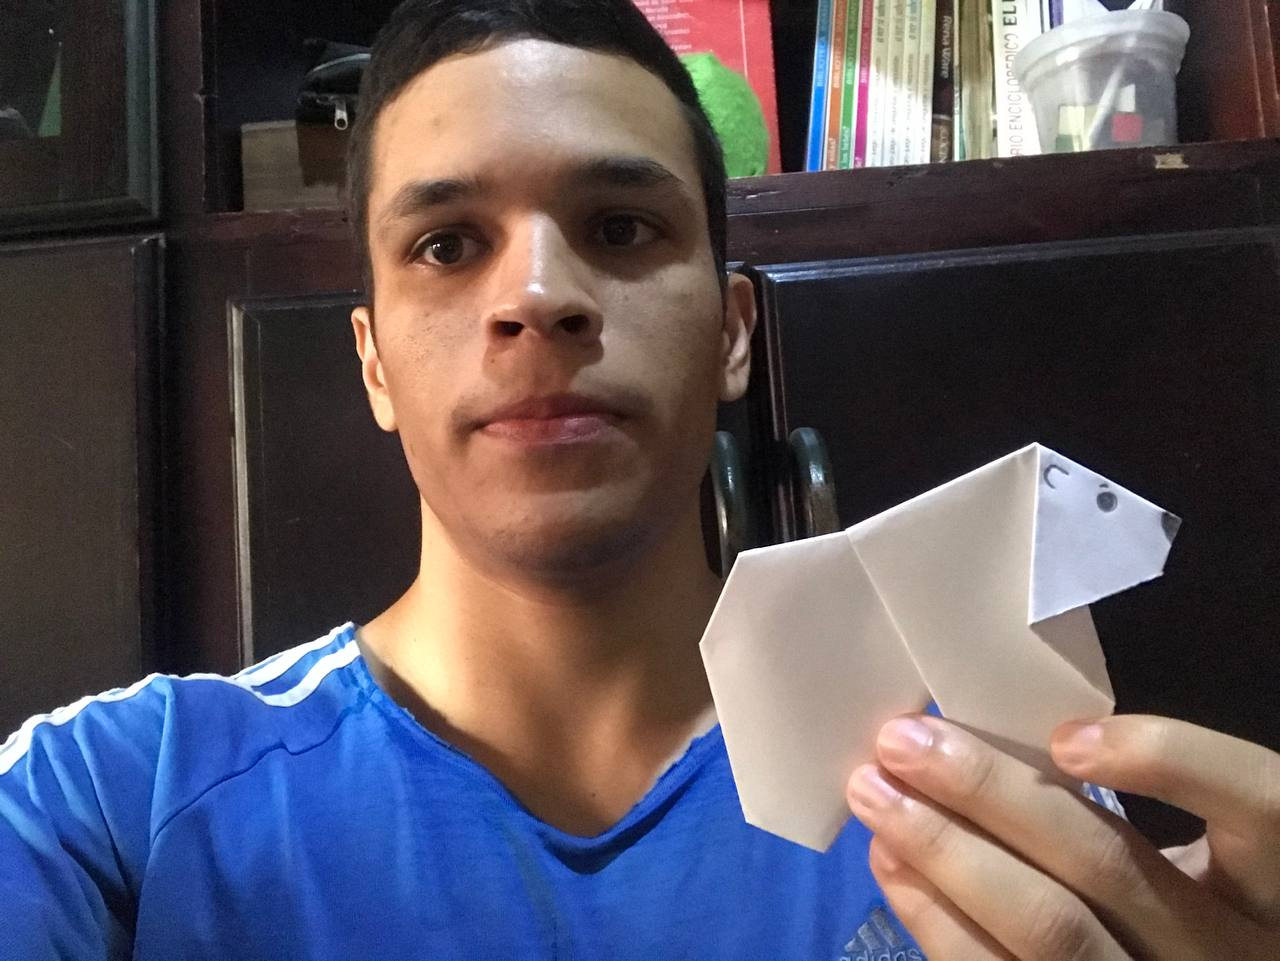
A very practical and easy to make origami, since it is not necessary to do so much folding and in just minutes you can get this very striking result of such a bear. So this paper origami will be useful for many things. You can vary the size of the polar bear with a smaller triangle and thus achieve a large family, where it is perfect for playing, gifts and many other things. So see you next time with another origami.
Un origami muy práctico y fácil de hacer, ya que no se necesita hacer tanto doblez y en solo minutos puedes conseguir este resultado muy llamativo de dicho oso. Así que este origami de papel te servirá para muchas cosas. Puedes variar el tamaño del oso del polar con un triángulo más pequeño y de esa manera lograr una gran familia, donde es perfecto para jugar, regalarlo y muchas otras cosas. Así que nos vemos en la próxima con otro origami.
Fotos tomadas con un Iphone 7 // Photos prises avec un iPhone 7.
👏 Keep Up the good work on Hive ♦️ 👏
🙏 Don't forget to Support Back 🙏
Muchas gracias por el apoyo, saludos.
@davidpena21, you are most welcome!
Please Support Back
!ALIVE
@davidpena21! You Are Alive so I just staked 0.1 $ALIVE to your account on behalf of @ hivecurators. (7/10)
The tip has been paid for by the We Are Alive Tribe through the earnings on @alive.chat, feel free to swing by our daily chat any time you want, plus you can win Hive Power (2x 50 HP) and Alive Power (2x 500 AP) delegations (4 weeks), and Ecency Points (4x 50 EP), in our chat every day.

👍
hola David! esta genial esa técnica, siempre me ha llamado la atención pero creo que lo más cerca que he llegado es hacer un barquito de papel jajajaj, admiro la paciencia y el conocimientos que personas como tu tienen para lograrlo, exitos!!!
Muchas gracias amiga, tienes que comenzar y veras que podrás lograr muy buenas figuras de papel.
te quedo super genial!!! me encanta el origami
un gran pukuabrazo
Muchas gracias amigo, un arte de maravilla y se pueden lograr muchas cosas.
Así ess
AWWWWW ¡QUE MONITOOOO DAVIDDDD! 😍😍
Gracias amiga, un trabajo de unas cuentas horas y de esa manera poder lograr cada paso del mismo.
Que bonito!!! Super dulce el oso polar, es tierno, aunque sean enormes!!! Te pediría caballo, pero creo que es muy difícil... te lo dejo jajaja gracias David!❤️
Gracias amiga, una figura muy buena. Buscare para lograr hacer ese caballo.
Tranquilo se que por las papitas debe ser difícil...
Ya veremos ajajaj
Ahhh te di un desafío jajajaja quiero verlo!
¡Felicidades! Esta publicación obtuvo upvote y fue compartido por @la-colmena, un proyecto de Curación Manual para la comunidad hispana de Hive que cuenta con el respaldo de @curie.
Si te gusta el trabajo que hacemos, te invitamos a darle tu voto a este comentario y a votar como testigo por La Colmena.
Si quieres saber más sobre nuestro proyecto, te invitamos a acompañarnos en nuestro servidor de Discord.
Muchas gracias por el apoyo. Saludos.