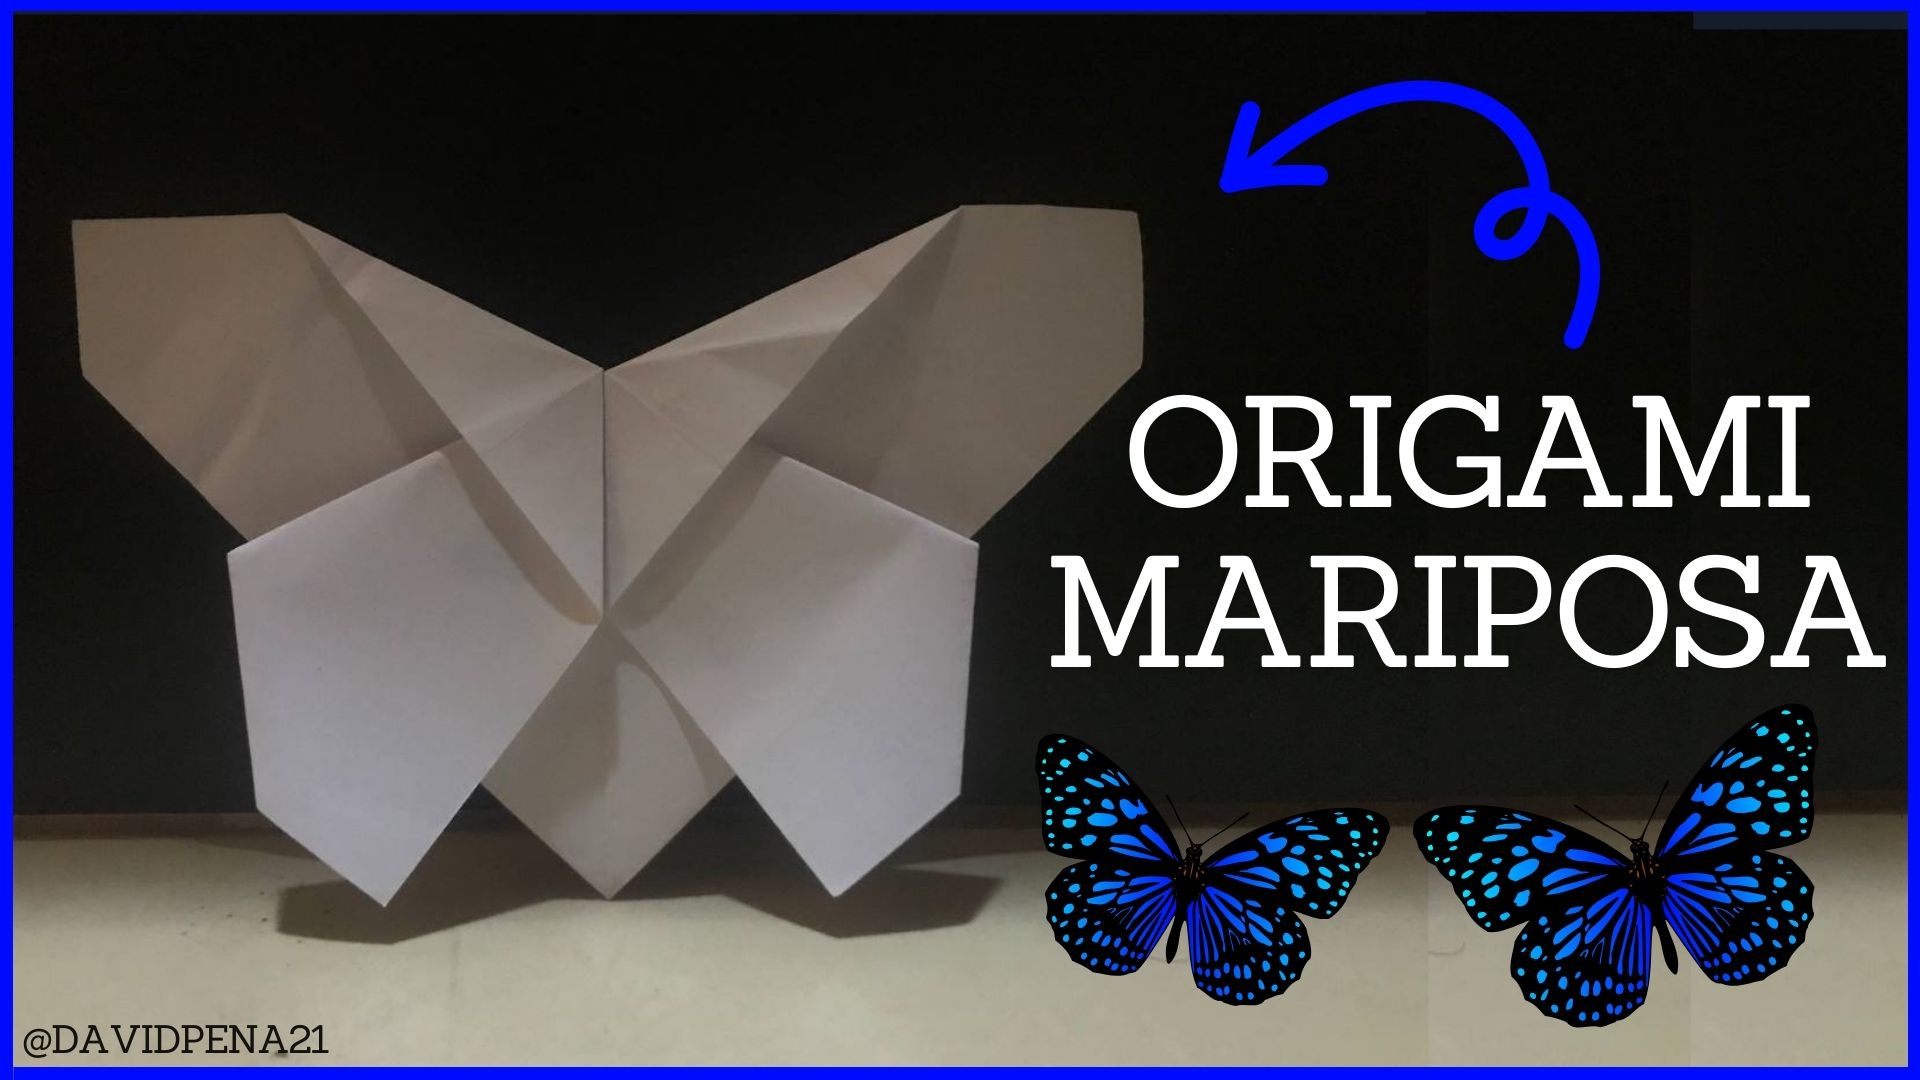
Pretty paper butterfly - Step by step [ENG-ESP]
Greetings friend, after a few weeks without publishing content related to origami, we are here and we come with new figures that little by little I will be sharing the procedure, so that you are encouraged to practice this great art of origami, which is perfect to put the mind to work. In the last orgami post I published, I received a comment from my friend @liveofdalla, with the challenge of making a butterfly, which is a very beautiful insect and its colors are of great impact, therefore, I started looking among so many designs, accepting this great paper challenge. So I share with you the step by step of this great butterfly and I hope you like it friend.
Saludos amigo, luego de unas semanas sin publicar contenido referente a origami, ya estamos por aquí y venimos con nuevas figuras que poco a poco les estaré compartiendo el procedimiento, para que así ustedes se animen a practicar este gran arte del origami, la cual es perfecto para poner a trabajar la mente. En el último post de orgami que publique, recibí un comentario de la amiga @liveofdalla, con el reto de hacer una mariposa, la cual es un insecto muy bonito y sus colores son de gran impacto, por lo tanto, me puse a busca entre tantos diseños, aceptando este gran desafío de papel. Así que les comparto el paso a paso de esta gran mariposa y espero que te guste amiga.
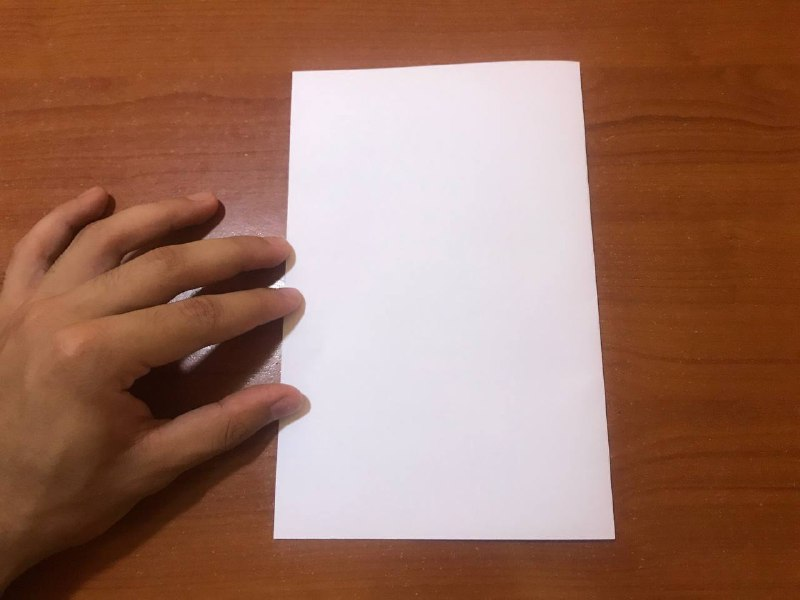
The first thing we need to assemble our origami today is to take a sheet of paper of any color of your choice to begin to make what would be this great paper butterfly. Where we are going to fold our sheet in half and mark the line very well, in order to begin to make the different folds that characterize this origami.
Lo primero que necesitamos para armar nuestro origami de hoy es tomar una hoja tipo carta de cualquier color de su preferencia para así comenzar a realizar lo que sería esta gran mariposa de papel. Donde vamos a doblar nuestra hoja por toda la mitad y marcamos muy bien la línea, para así comenzar a realizar los distintos pliegues que caracterizan a este origami.

|
 |
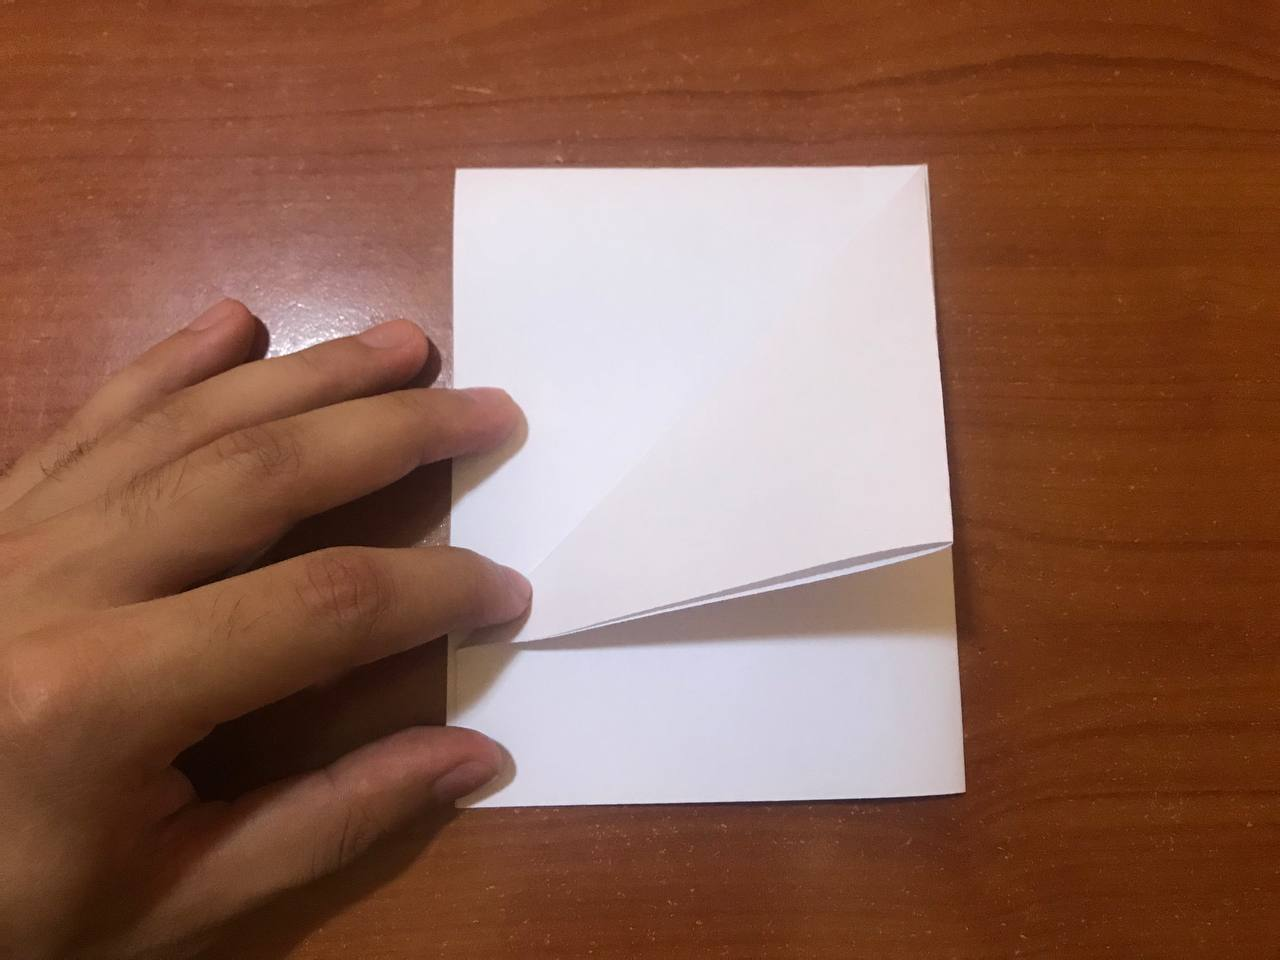
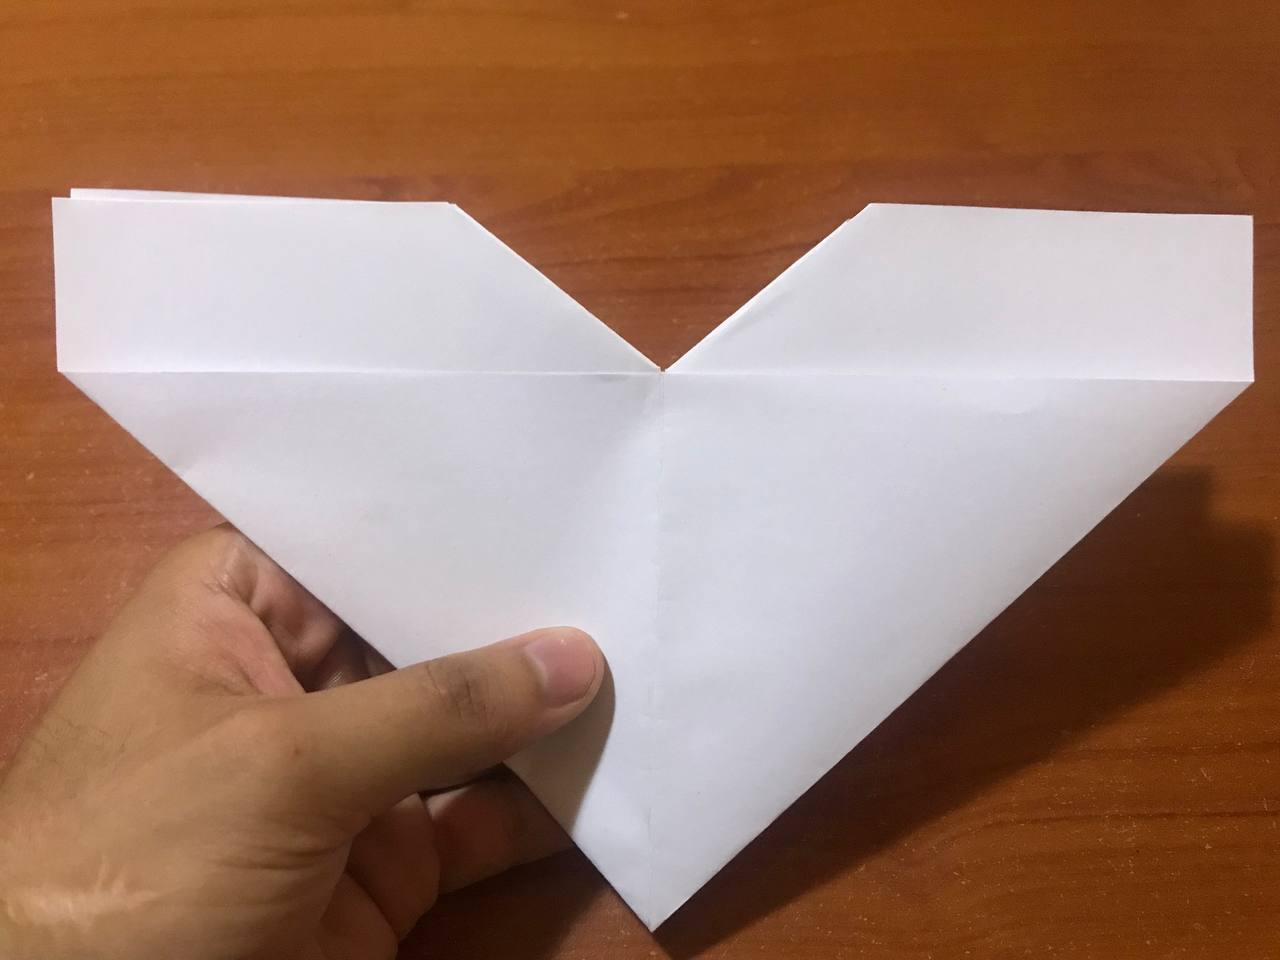
Once the leaf is folded, we fold it in half again, flattening it very well so that the leaf does not fall apart, two folds that are very important and from there is where our butterfly will come out. Right there we are going to fold the tips outwards, taking them to the edge of the leaf, as shown in the photos, which will not be a kind of triangle. We are going to repeat the same thing on the other side of the leaf.
Una vez doblada la hoja, volvemos a doblar por toda la mitad, aplastando muy bien para que así no se desarme la hoja, dos dobles que son muy importantes y a partir de allí es donde saldrá nuestra mariposa. Allí mismo vamos a doblar las puntas hacia afuera, llevándolas hasta el borde de la hoja, como se nota en las fotos, la cual no quedara especie de un triángulo. Eso mismo lo vamos a repetir en la otra cara de la hoja.

|
|

|
Then we are going to take our paper and each of the sides that we folded in the previous step we open it open very carefully and thus make a fold inward and fold again, but flattening a little, where we will be a larger triangle and much easier to handle and fold each of the parts of the butterfly, the same we repeat on both sides.
Luego vamos a tomar nuestro papel y cada uno de los lados que doblamos en el paso anterior lo abrimos abrir con mucho cuidado y para así realizar un pliegue hacia adentro y volvemos a doblar, pero aplastando un poco, donde nos quedara un triángulo más grande y mucho más fácil para manejar y doblar cada una de las partes de dicha mariposa, igual volvemos a repetir en ambas lados.

|

|

|
Next, we will fold the bottom part of our paper, specifically the tips that came out of the previous step upwards, both have to be the same size and we flatten them very well, just to mark the line. Then we are going to open our paper a little bit and we are going to make a fold towards those ends, folding very well and you can see that the butterfly is taking shape.
Seguidamente, doblaremos la parte de debajo de nuestro papel, específicamente las puntas que salieron del paso anterior hacia arriba, ambas tienen que quedar del mismo tamaño y aplastamos muy bien, todo sea para marca la línea. Luego vamos a abrir un poco nuestro papel y vamos a realizar un pliegue hacia con esas puntas, doblando muy bien y pueden ver que la mariposa está tomando forma.

|
 |

|
 |
Now we take any of the two sides and we will take the tip of our sheet towards the center very carefully and once they are joined there is where we are going to fold, where we have to be a little careful, because at the top of the paper can be unmoored or get a little ugly, no doubt we crush with great force and we will have ready one of the wings of the butterfly, that same thing we will repeat on the other side of the sheet and you will see a great result.
Ahora tomamos cualquiera de los dos lados y vamos a llevar la punta de nuestra hoja hacia el centro con mucho cuidado y una vez que se unan allí es donde vamos a doblar, donde tenemos que tener un poco de cuidado, ya que en la parte de arriba se puede desamar o ponerse un poco feo el papel, sin duda aplastamos con mucha fuerza y tendremos lista una las alas de la mariposa, eso mismo lo vamos a repetir en el otro lado de la hoja y verán un gran resultado.

|
 |
We check that everything has been very well folded in its respective place and in that way we will have the two wings of our butterfly ready and with that we finish what would be this great paper origami.
Revisamos que todo haya quedado muy bien doblado en su respectivo lugar y de esa amanera vamos a tener las dos alas de nuestra mariposa lista y con eso damos por terminado lo que sería este gran origami de papel.
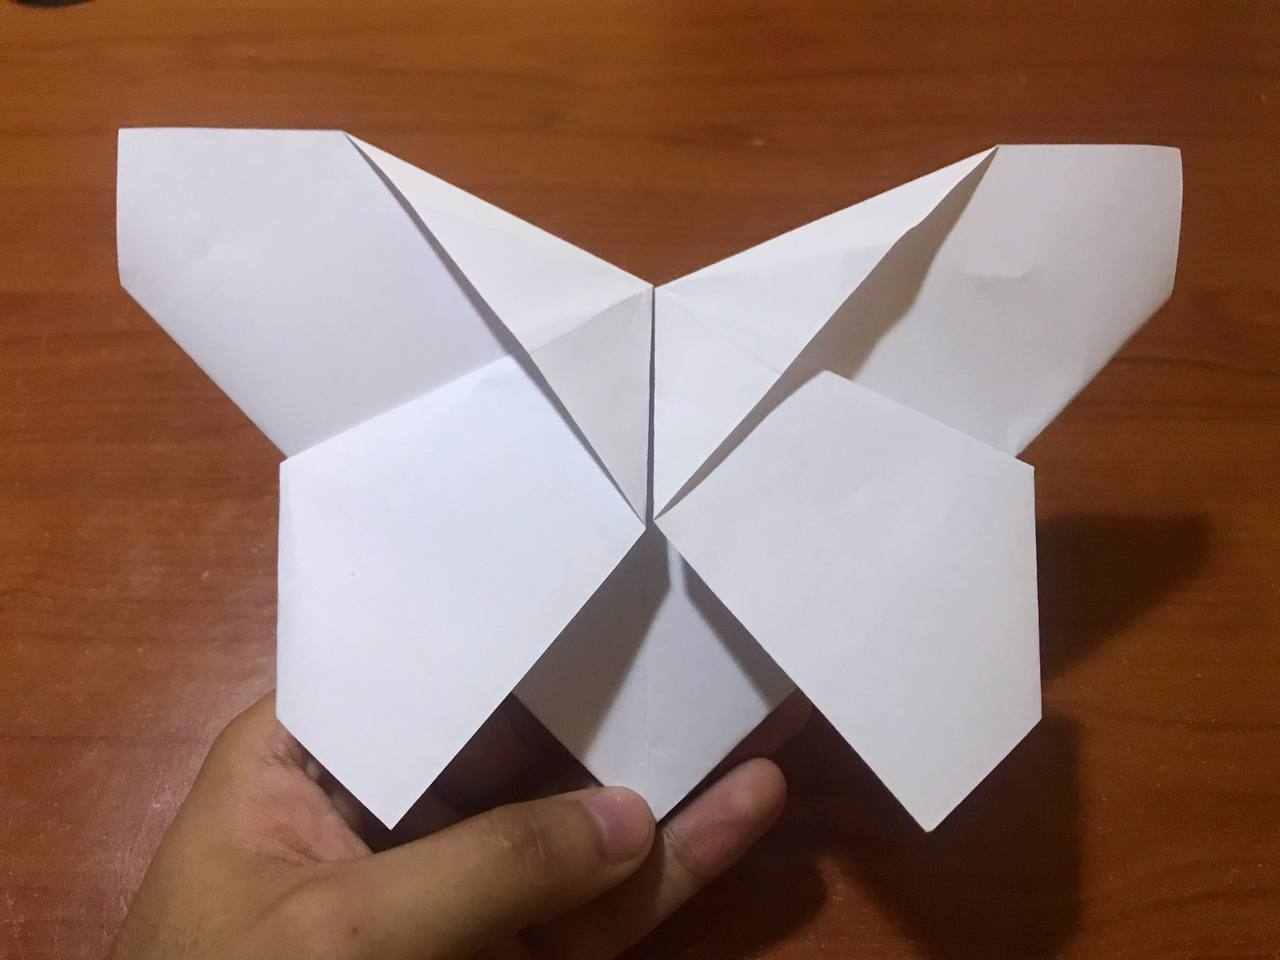
Resultado // Result
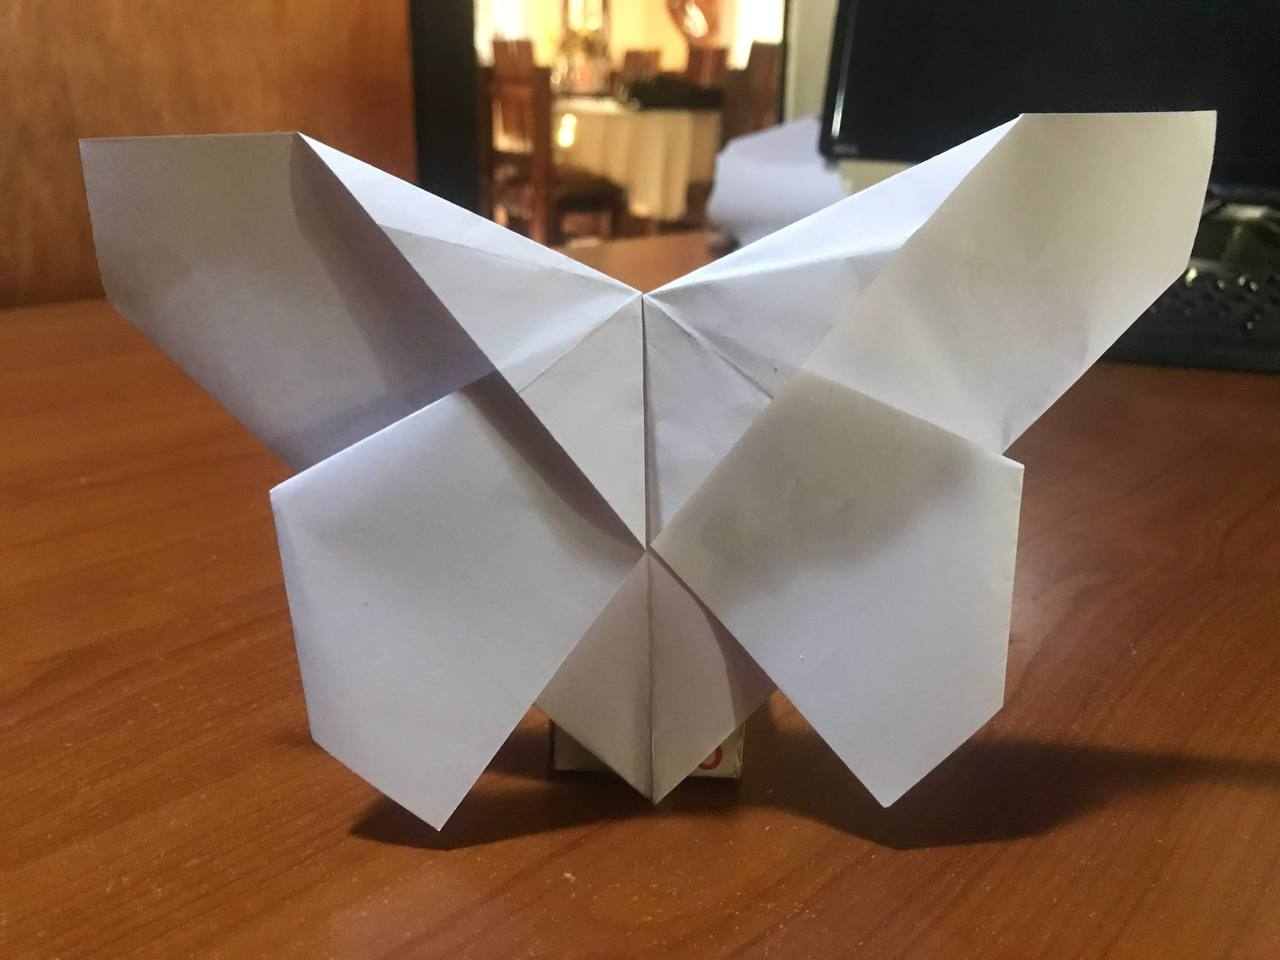

A very practical origami, simple and in just a few steps you can get it and without having to fold much paper for this butterfly. So this paper origami will serve you for many things, you can vary the size, either smaller or larger and thus achieve a large collection of butterflies, where it is perfect for playing, gifts and many other things. So see you next time with another origami.
Un origami muy práctico, sencillo y en tan solo pocos pasos lo puedes conseguir y sin tener que doblar mucho el papel para esta mariposa. Así que este origami de papel te servirá para muchas cosas, puedes variar el tamaño, ya sea más pequeño o grande y de esa manera lograr una gran colección de mariposas, donde es perfecto para jugar, regalarlo y muchas otras cosas. Así que nos vemos en la próxima con otro origami.

Fotos tomadas con un Iphone 7 // Photos prises avec un iPhone 7.

Awwwwww ¡Que lindísimaaaa Daviddddd! Améeeee demasiadooo 😍😍😍 dibujada se debe ver aun más hermosa, toca que luego les pongas colores a tus origamis ¡me encantó! 👏🏻👏🏻
Muchas gracias amiga y genial que te haya gustado, un gran trabajo.
Creo que si se pinta, se dañaría el arte del origami 🤷♂️
Wow amigo! Te quedó súper linda la mariposa
Yo últimamente he estado encantada con las mariposas porque siempre que salgo por ahí a tomar fotos, aparecen por cualquier lado y las logro capturar justo a tiempo
Las mariposas en sí no me gustan mucho, principalmente las negras que son muy grandes, pero siempre me han encantado las que tienen colores hermosos. Siempre me quedo como boba viéndolas y luego saco mi tlf para capturarlas.
Me gustaría hacer esta mariposa que nos compartiste, está muy chévere. Siento que la concentración que se tiene al hacer origamis podría ser de gran ayuda para liberar cualquier tipo de estrés y librarse de pensamientos
Gracias por compartirnos esta nueva creación, me alegra que te hayas puesto a prueba a ti mismo por medio de liveofdalla para realizar este origami. Espero seguir viendo mucho más
Saludos y abrazos David 🤗 @davidpena21
Hola amiga, las mariposas son muy bonitas y mas aun cuando están paradas y se nota ese gran combinación de colores en ellas.
El origami es un gran arte y estoy seguro de que te servirá muchísimo y lo bueno es que lo puedes compartir por aquí en hive.
Me parece una mariposa bastante detallada, las divisiones quedan con un aspecto realista, coincido que le falta un poco de color para que resalte más esta hermosa forma de origami, se ve genial amigo, también me gusta hacer estas formas, pero hace ya días que no he tenido tiempo para dedicarle.
Gracias amiga, un trabajo muy bonito y se consiguen grandes cosas. Tienes que animarte.
Wow, this is nice but it would have looked even better if it was in colored paper.
Thank you very much friend, very beautiful art and many things can be achieved.
Me fascinan las mariposas, pero eso creo ya lo sabías jajaja hay muchas en mis diseños! Te quedó preciosa David, hermosa!❤️
Es algo que no puede faltar y siempre le colocas un gran color y de esa manera son muy llamativas.
Significan cambio y transmutación por eso me encantan! Gracias!
🤣🤣🤣🤣🤣🤣
!discovery 35
This post was shared and voted inside the discord by the curators team of discovery-it
Join our Community and follow our Curation Trail
Discovery-it is also a Witness, vote for us here
Delegate to us for passive income. Check our 80% fee-back Program
https://twitter.com/hivediy47901/status/1783033040983192035
Muchas gracias por el apoyo, saludos.