Portalápices en forma de carrito // Pencil holder in the shape of a trolley// By @daysiselena
❣️¡Hola amigos de hive!❣️
❣️Hello friends of hive!❣️

Este proyecto que les traigo es un trabajo sencillo y muy útil para todos los niños para que tengan todos sus colores ordenados, además es una forma creativa de incentivar la educación y además muy divertidas.
This project I bring you is a simple and very useful work for all children to have all their colors in order, it is also a creative way to encourage education and also very fun.
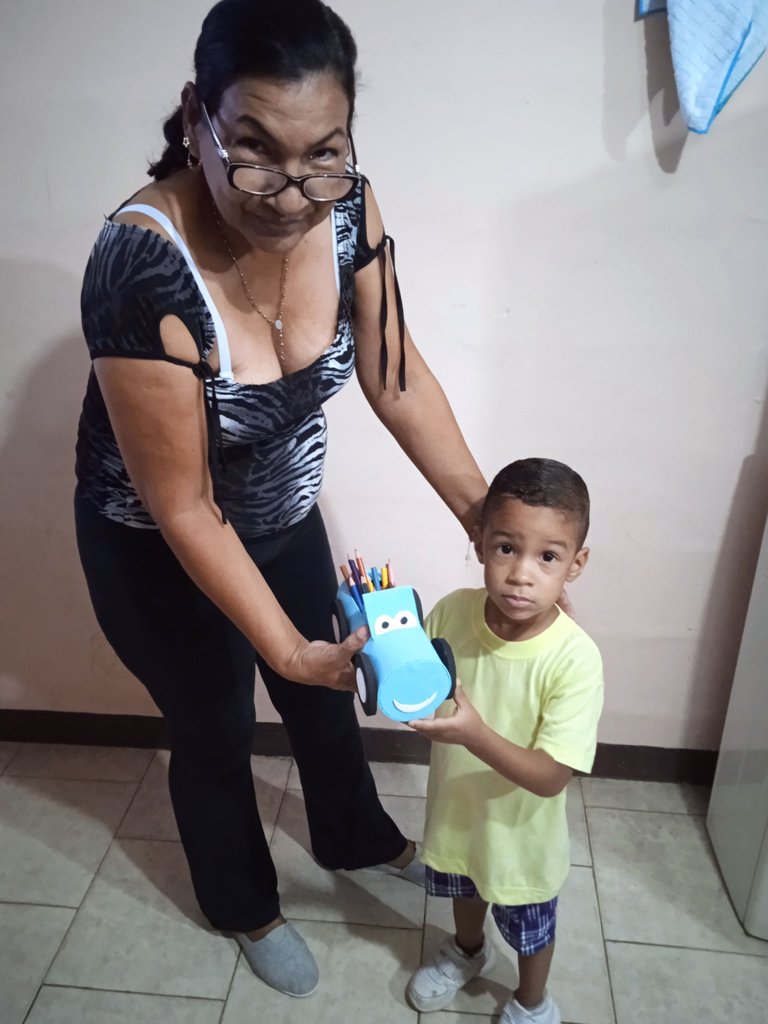
Este proyecto lo realicé para mi nieto Gael ya que quería regalarle algo para que guardara sus lápices de colores y además que a él le gustan los carros, en el momento que le di el regalo se emocionó mucho y enseguida bautizó su carro con el nombre Bugly un nombre que se le ocurrió. Para mi es importante poder dar un regalo a Gael que tanto le gusta, es una creatividad bastante moderna y hermosa.
I made this project for my grandson Gael because I wanted to give him something to keep his crayons and also that he likes cars, the moment I gave him the gift he was very excited and immediately baptized his car with the name Bugly, a name that he came up with. For me it is important to be able to give a gift to Gael that he likes so much, it is a very modern and beautiful creativity.
Materiales || Materials
- Una botella plásticas
- Cartón
- Foami
- Pistola de silicón
- Exacto
- Tijera
- A plastic bottle
- Cardboard
- Foami
- Silicone gun
- Exact
- Scissors

Paso a paso || Step by step
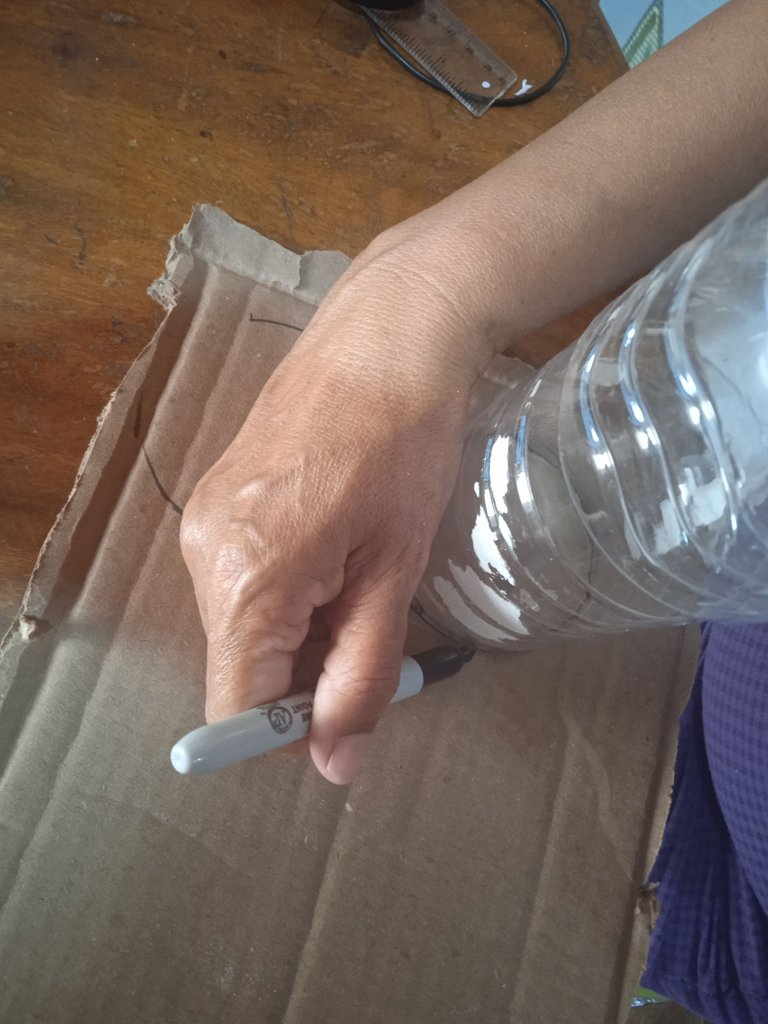
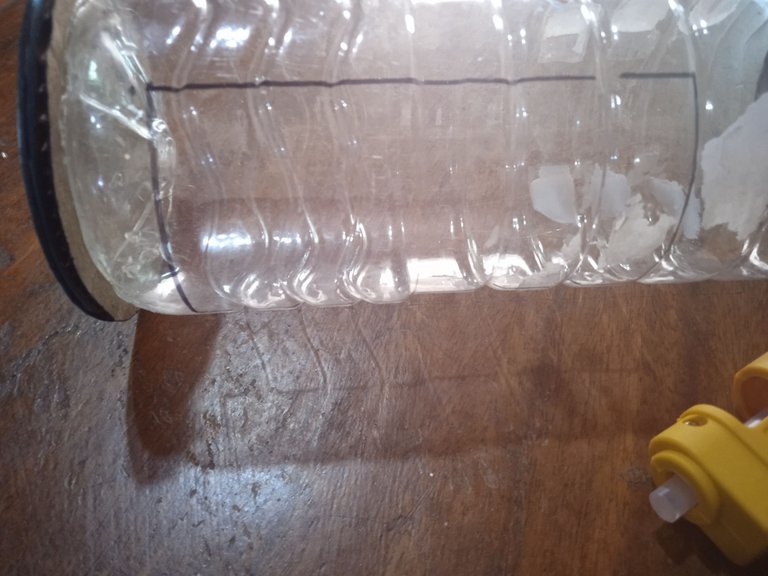
- Lo primero que hacemos es picar la botella plástica con ayuda del exacto.
- The first thing we do is to chop the plastic bottle with the help of the exact.
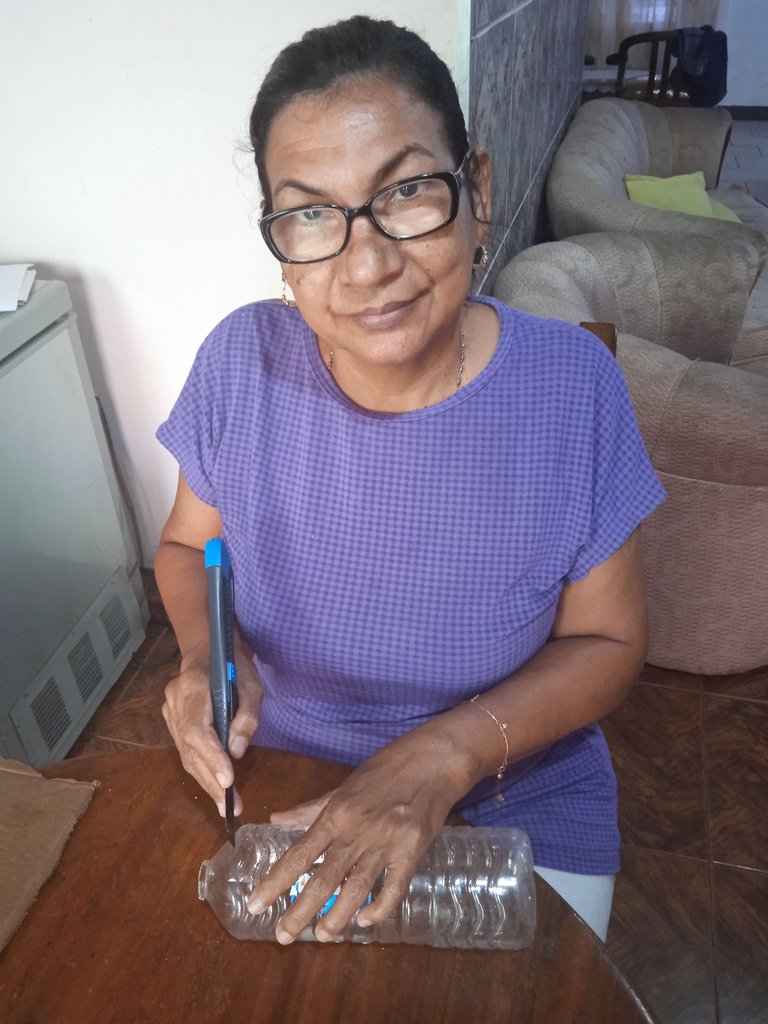
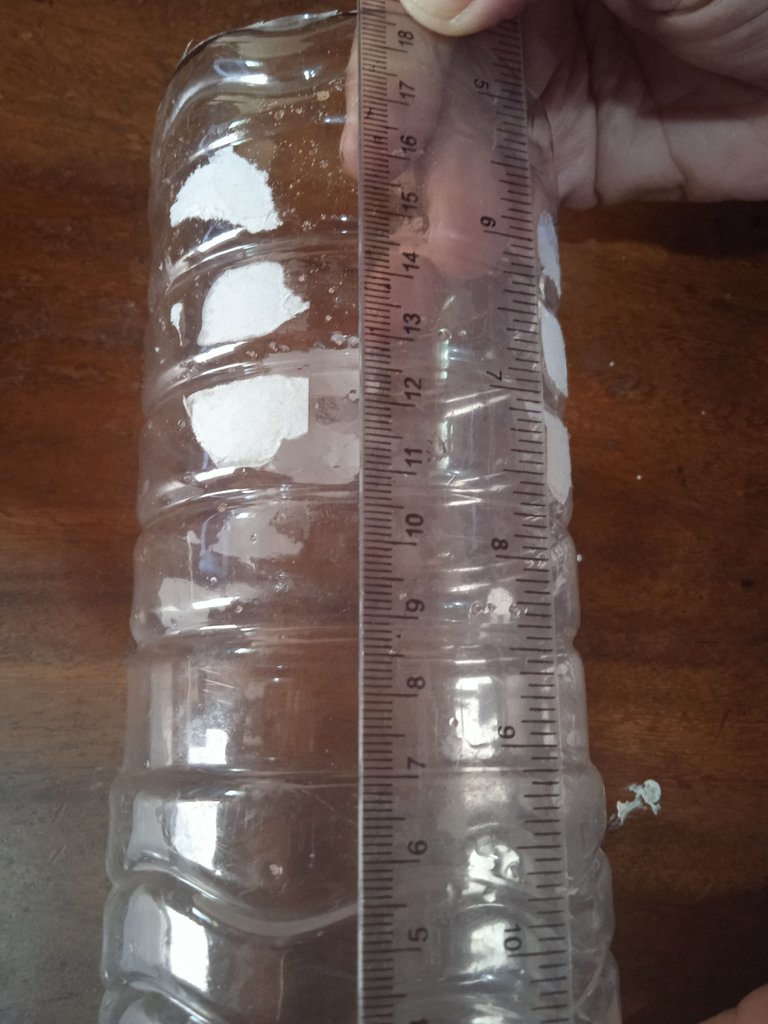
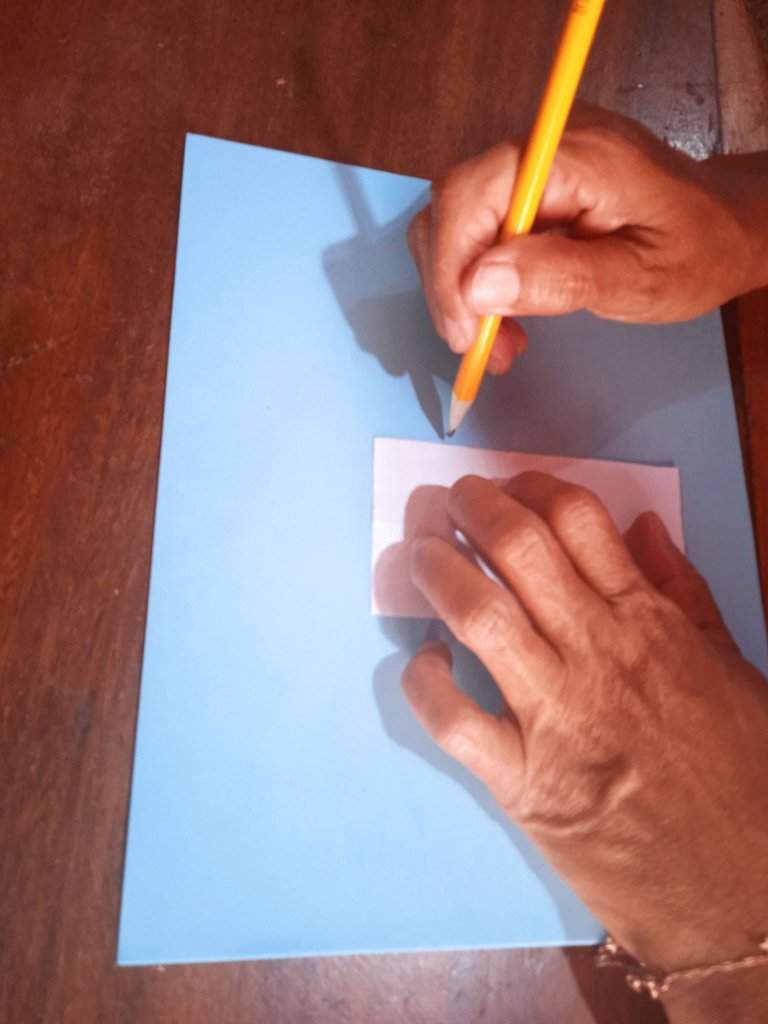
- Para cortar la botella debe medir con una regla 18 y medio., marcar con un marcador y luego cortar.
- To cut the bottle you must measure with a ruler 18 and a half, mark with a marker and then cut.
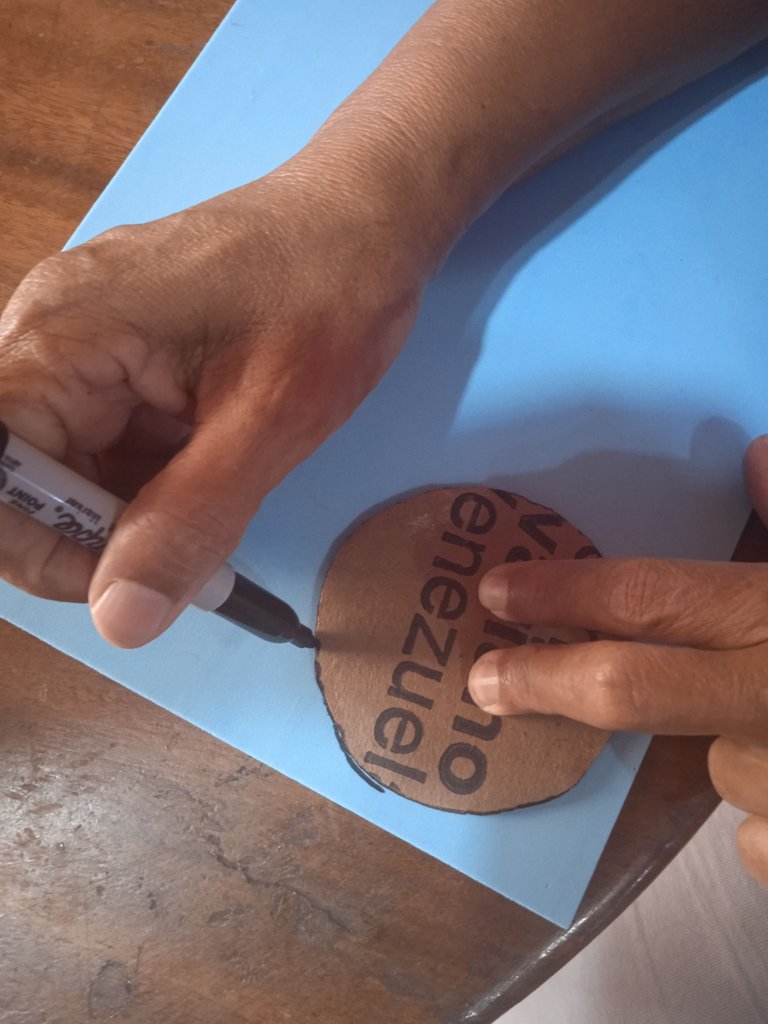
- Con la ayuda de la botella marcar un círculo en el cartón, recortar y luego marcar en el foami.
- With the help of the bottle mark a circle on the cardboard, cut out and then mark on the foami.
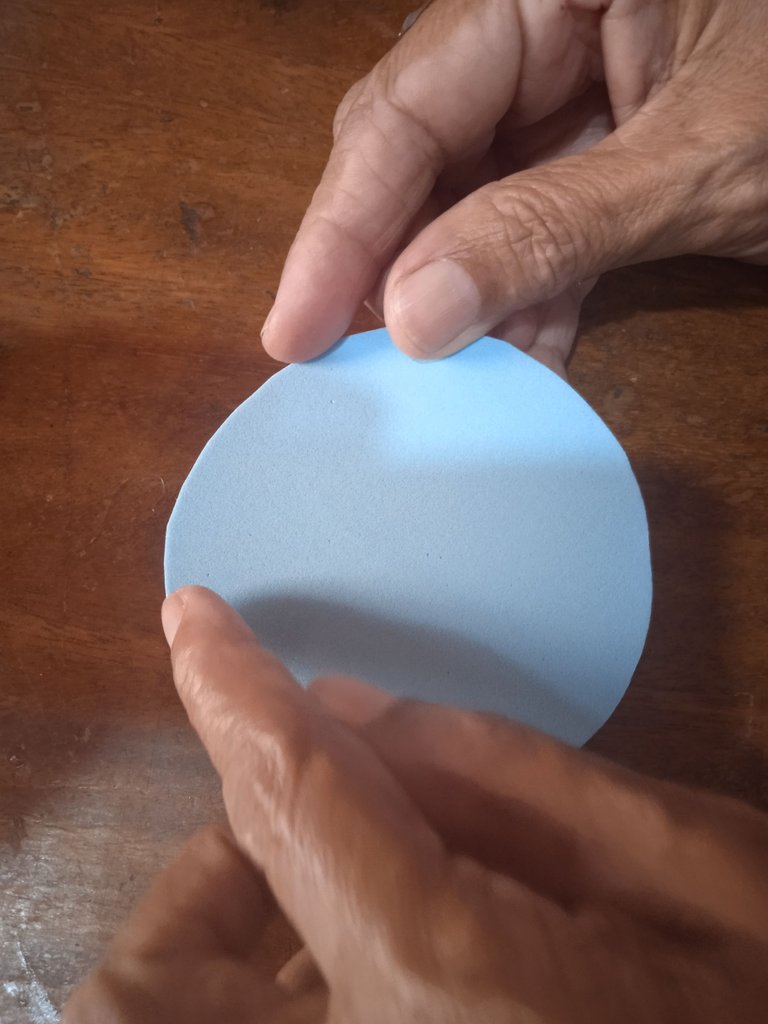
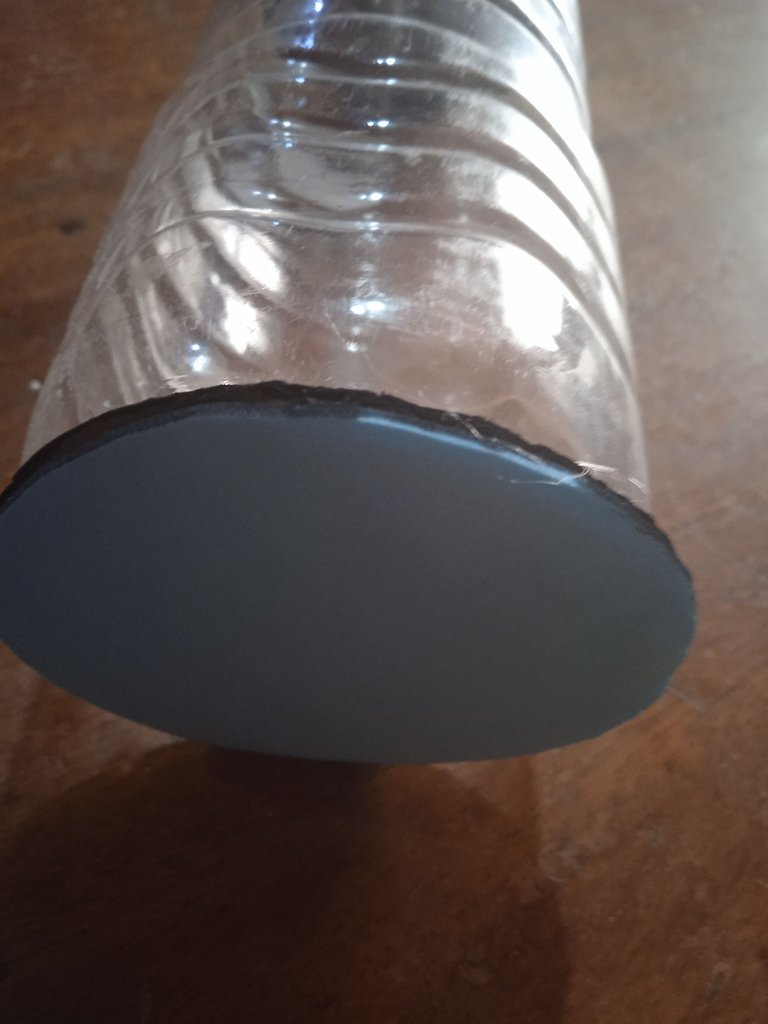
- Luego pegar el foami en el cartón.
- Then glue the foami on the cardboard.
- Luego pegar lo topes trasero y delantero.
- Then glue the front and rear bumpers.
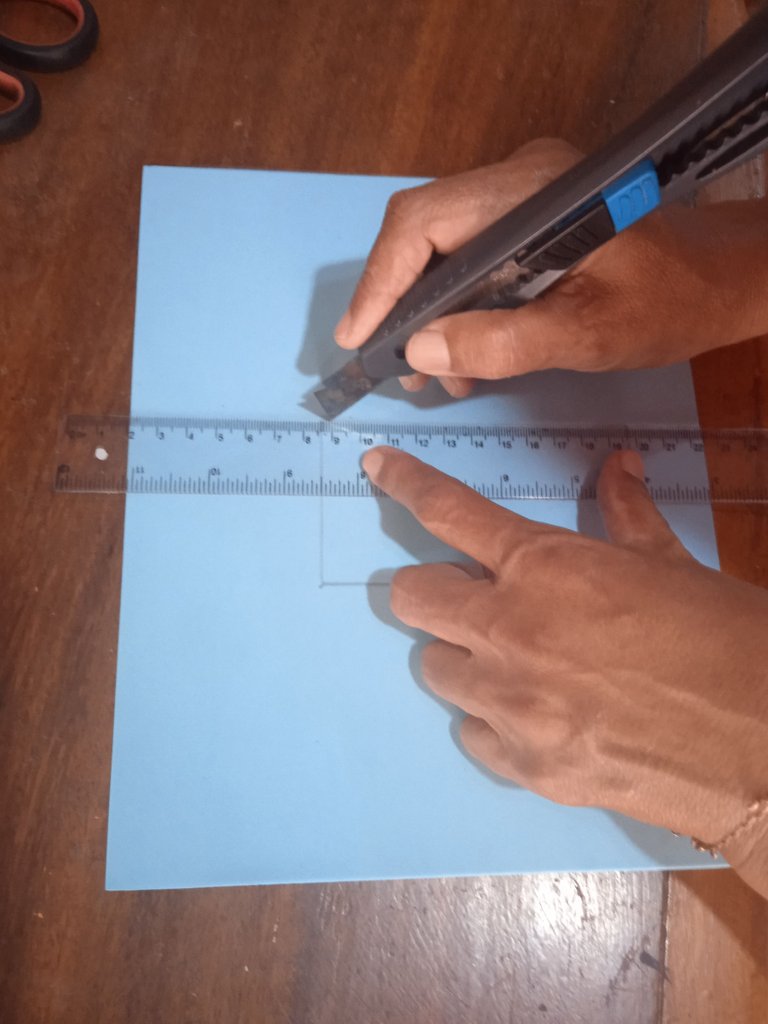
- Luego trazar un rectángulo con las siguientes medidas 6 por 11 para marcar en la botella y hacer el
orificio.
- Then draw a rectangle with the following measurements 6 by 11 to mark on the bottle and make the hole.
the hole.
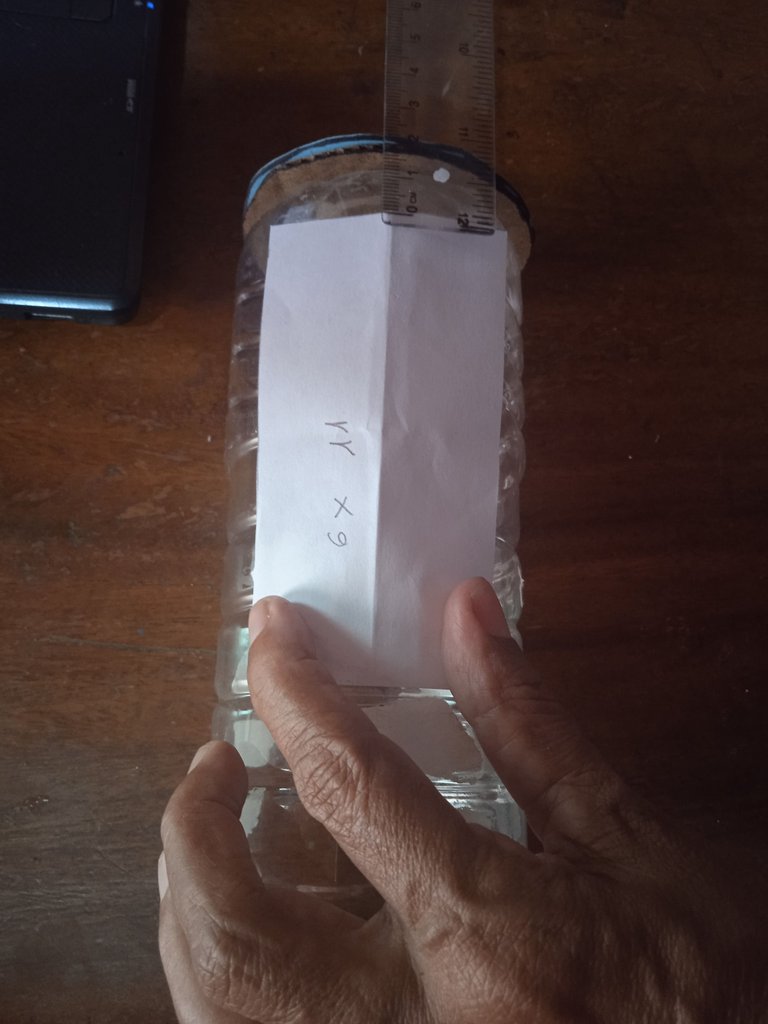
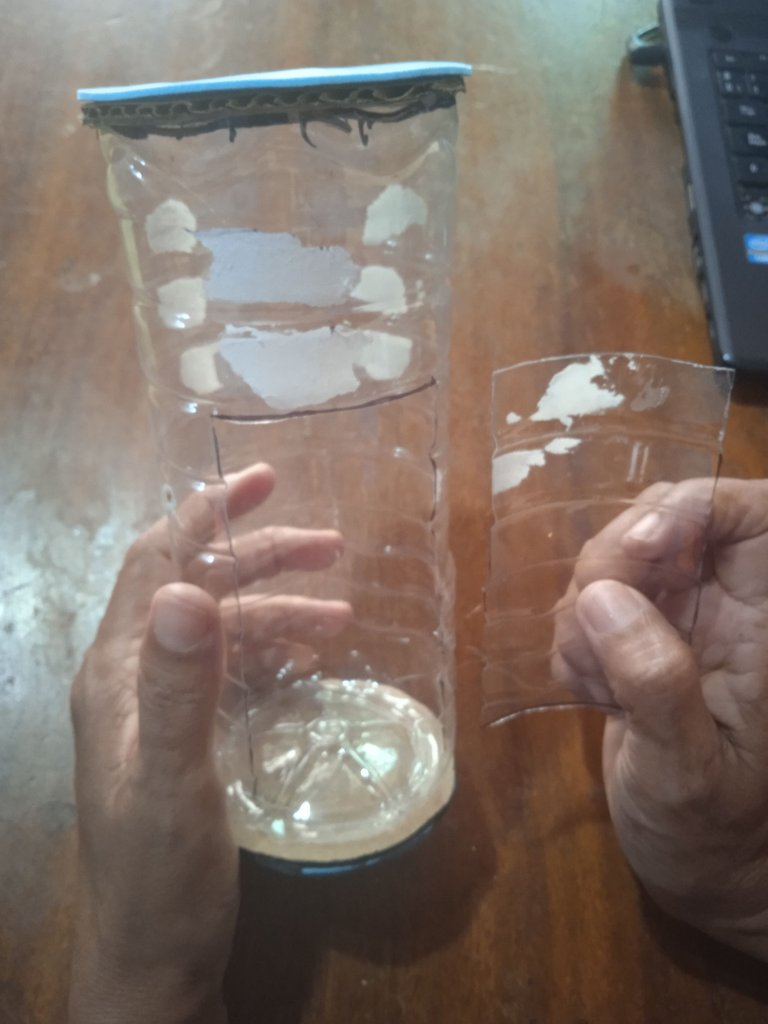
- Marcar con ayuda del marcador el rectángulo en la botella y recortar con ayuda de la tijera.
- Mark the rectangle on the bottle with the marker and cut it out with the scissors.
lo
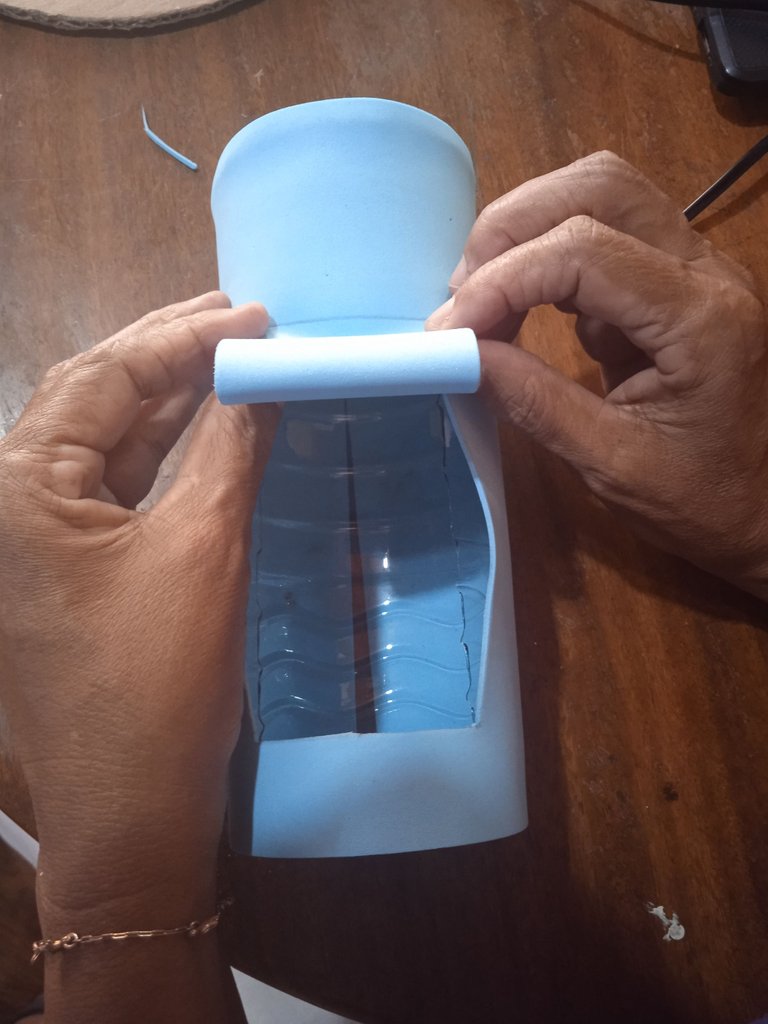
- Luego marcar en el foami el rectángulo para pegar en la botella.
- Then mark on the foami the rectangle to glue on the bottle.
- Pegar en la botella el foami con la ayuda de la pistola de silicón.
- Glue the foami to the bottle with the help of the silicone gun.

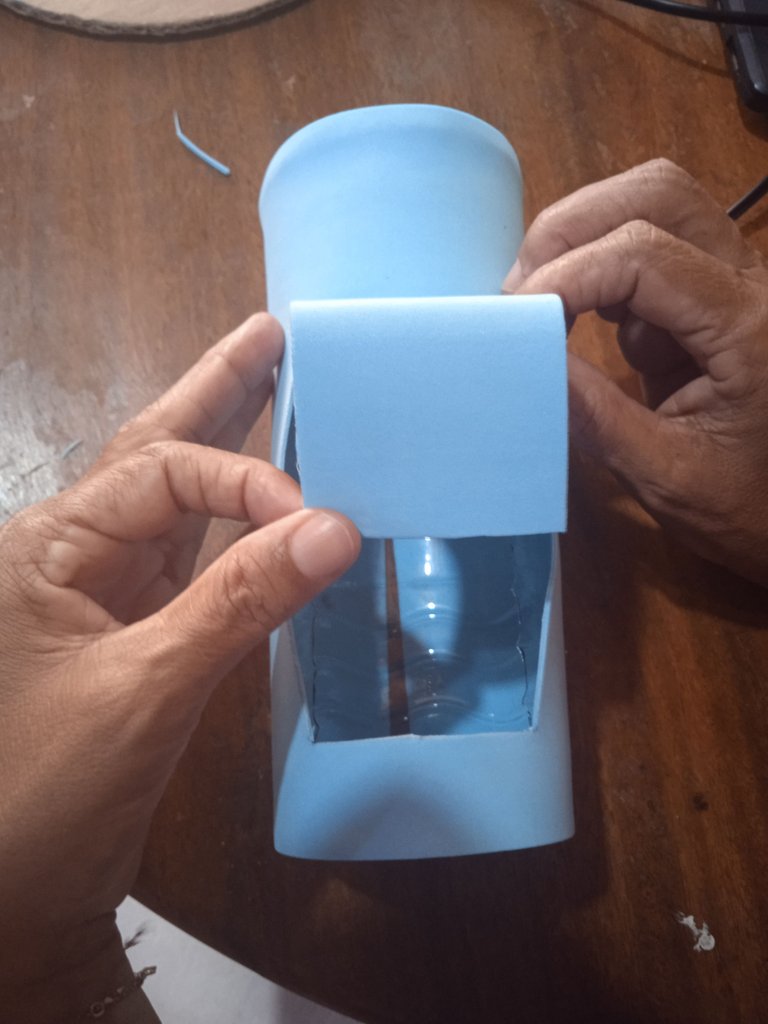
- Pegar de esta manera que quede el parabrisas derecho.
- Glue in this way, so that the windshield is straight.
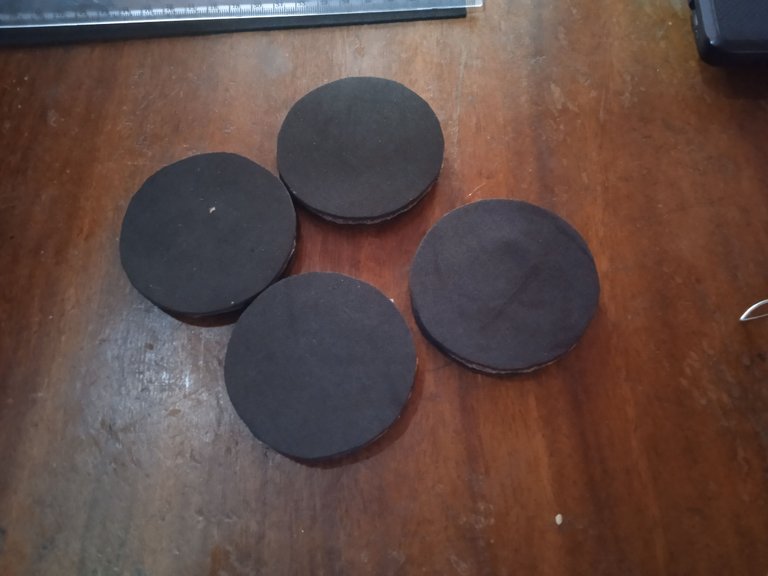
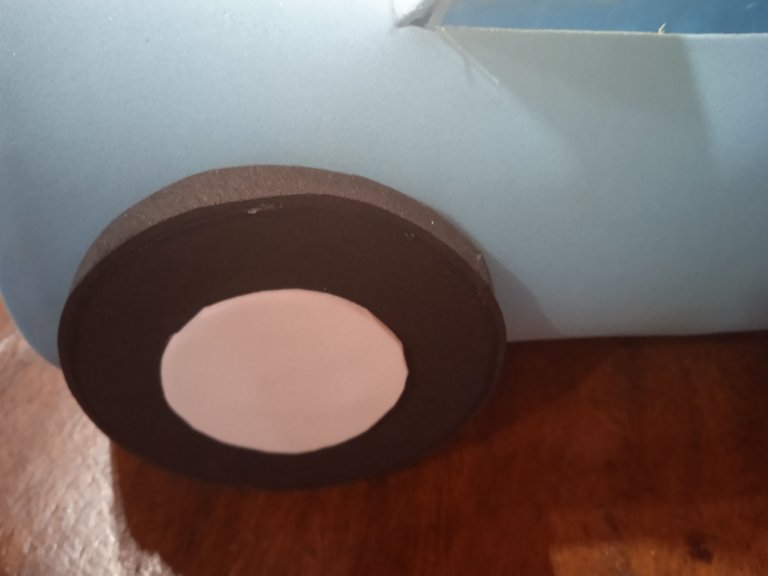
Ahora hacemos la rueda del carro, marcamos en un cartón los círculos y recortamos. Luego marcar los círculos en el foami negro.
Now we make the wheel of the cart, we mark on a cardboard the circles and cut out. Then mark the circles on the black foami.
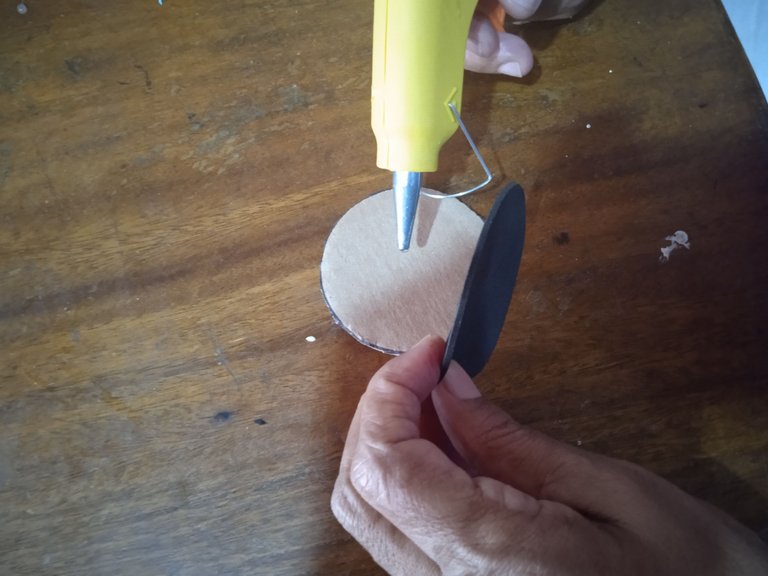
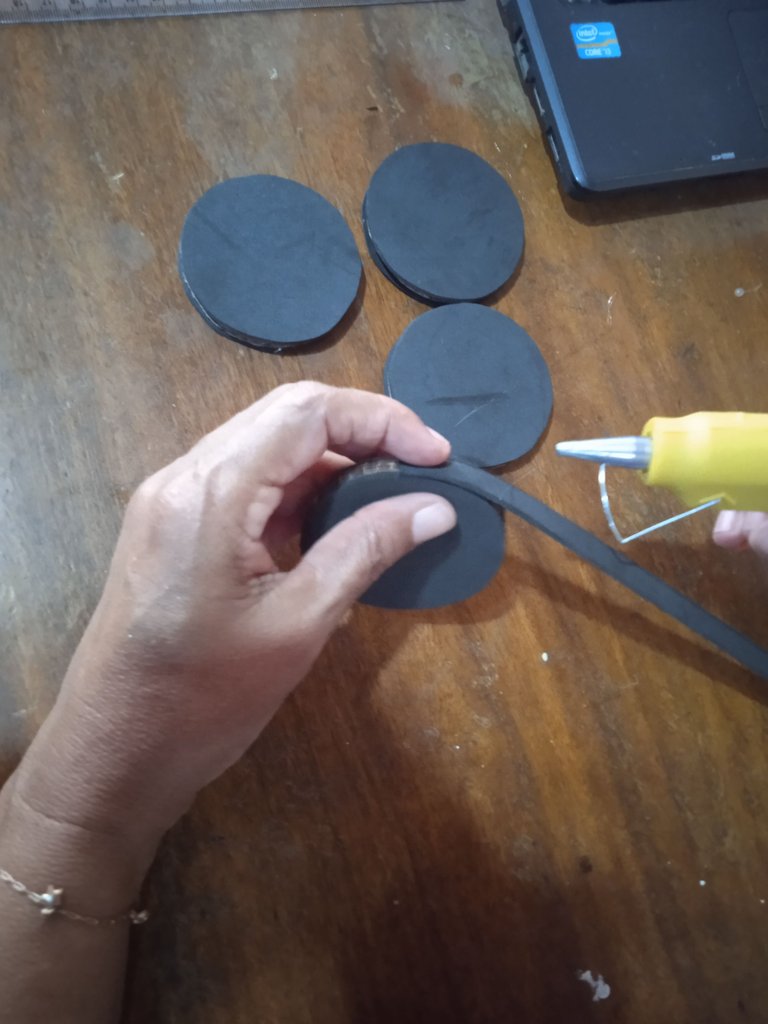
- Luego trazamos en el foami una línea de 1cm de ancho se recta y se pega alrededor del caucho.
- Then we draw a 1 cm wide line on the foami, straighten it and glue it around the rubber.

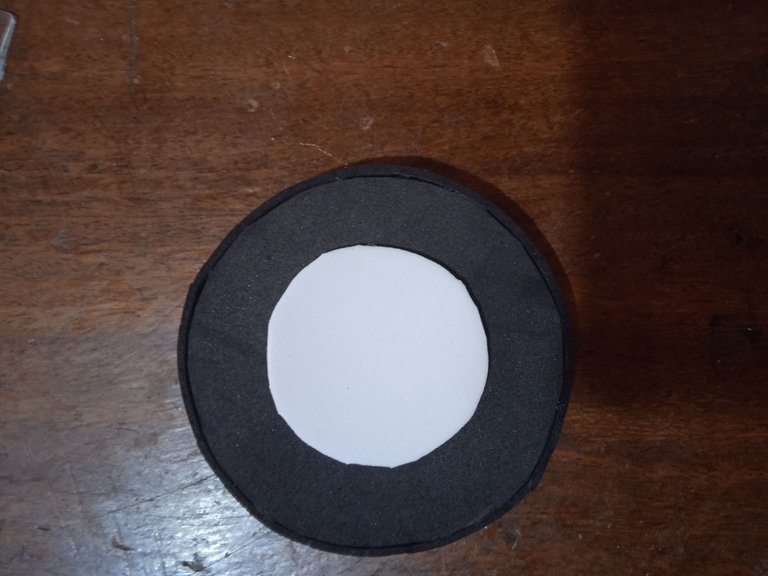
- Luego hacer un circulo pequeño en blanco y pegar a la rueda.
- Then make a small blank circle and glue it to the wheel.
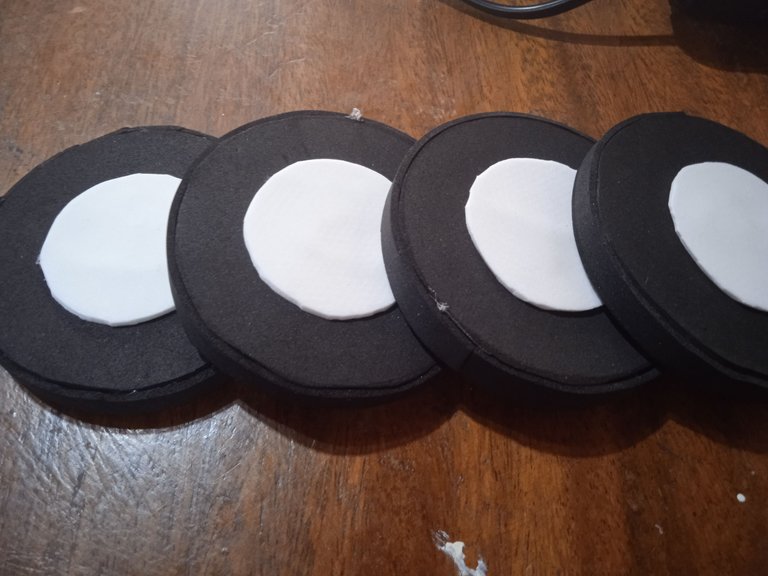
- Luego pegar en el carro.
- Then glue on the carriage.
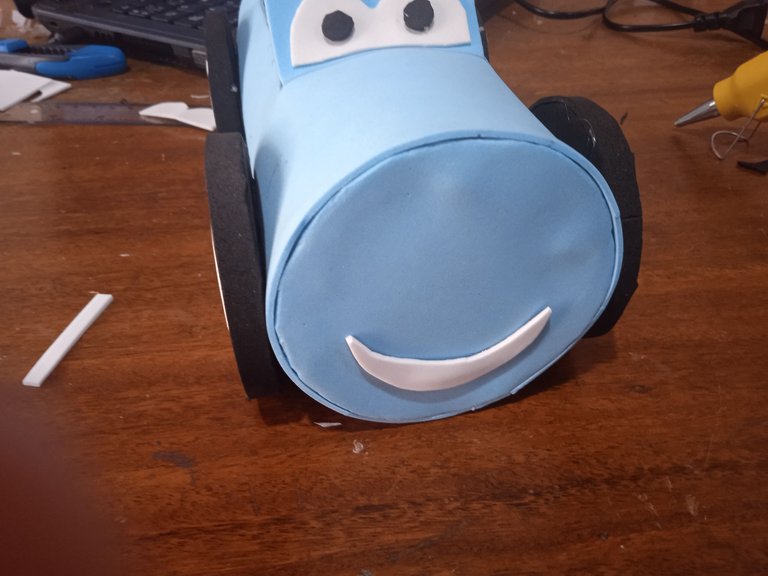
- Luego hacer los ojitos, la boca y pegar al carro.
- Then make the eyes, mouth and glue to the carriage.
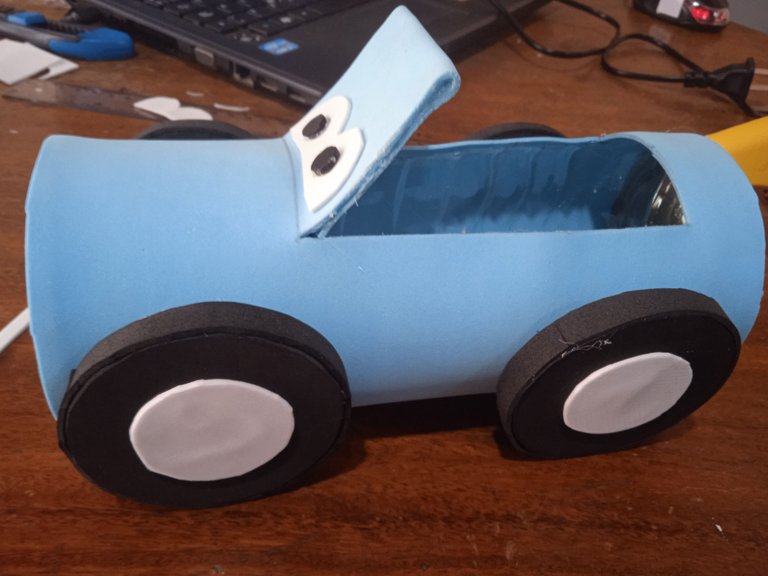
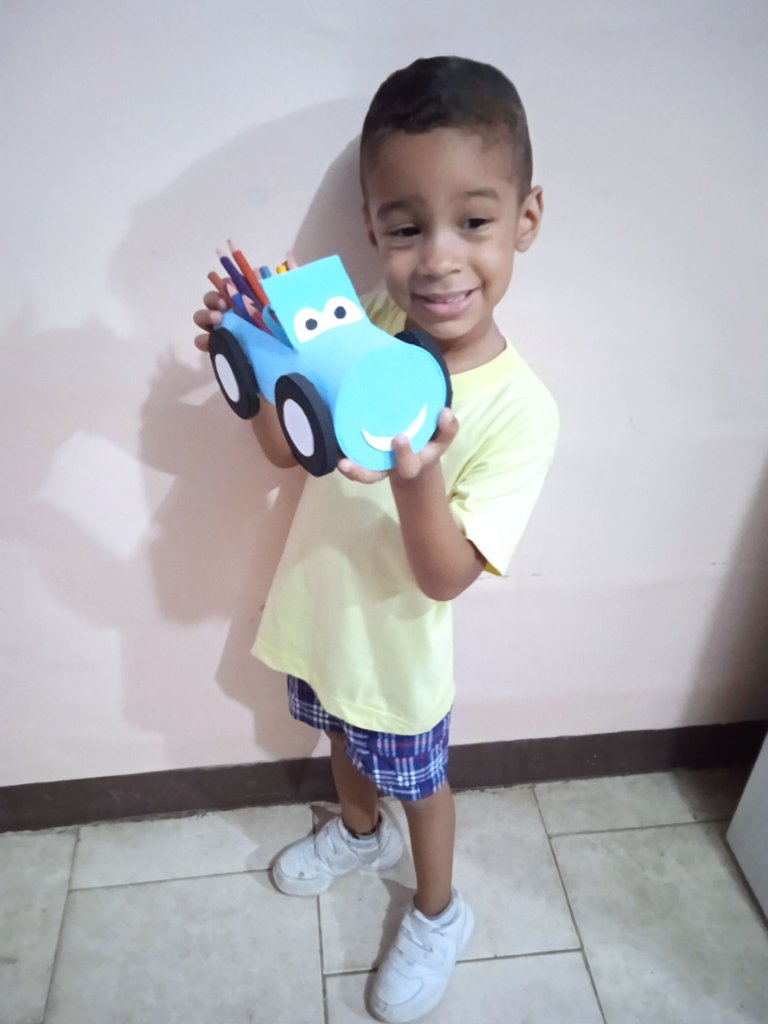
- Listo el portalápices en forma de carrito.
- The pencil holder in the shape of a trolley is ready.
Ahora disfrutar de su carro.
Now enjoy your cart.

Hola @daysiselena muy bonito tu trabajo u más si es para nuestro nieto, te felicito te estás votando en las manualidades.
Me gusto ese carrito, te quedo bello
mucha creatividad