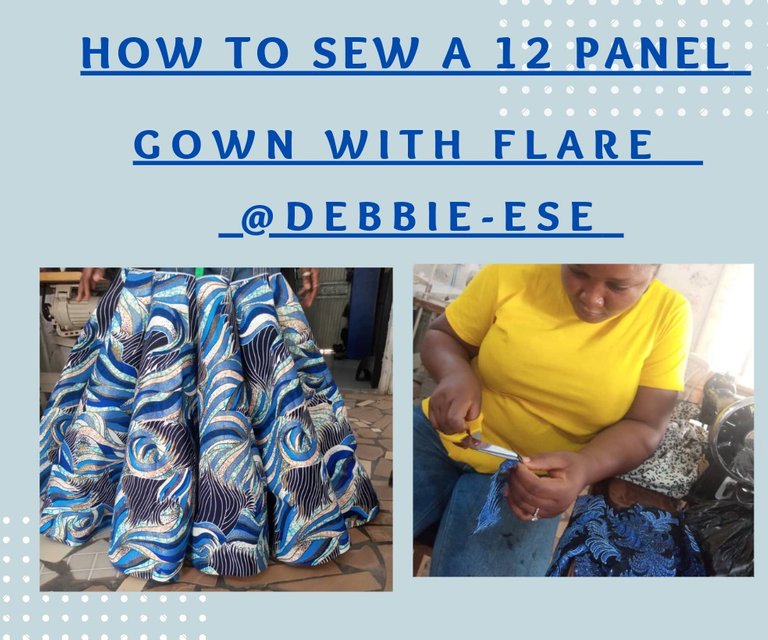
HOW TO SEW A 12 PANEL GOWN WITH FLARE
Hey lovelies ❤️
It's your favorite girl @debbie-ese 😍
Welcome to my blog 🤗
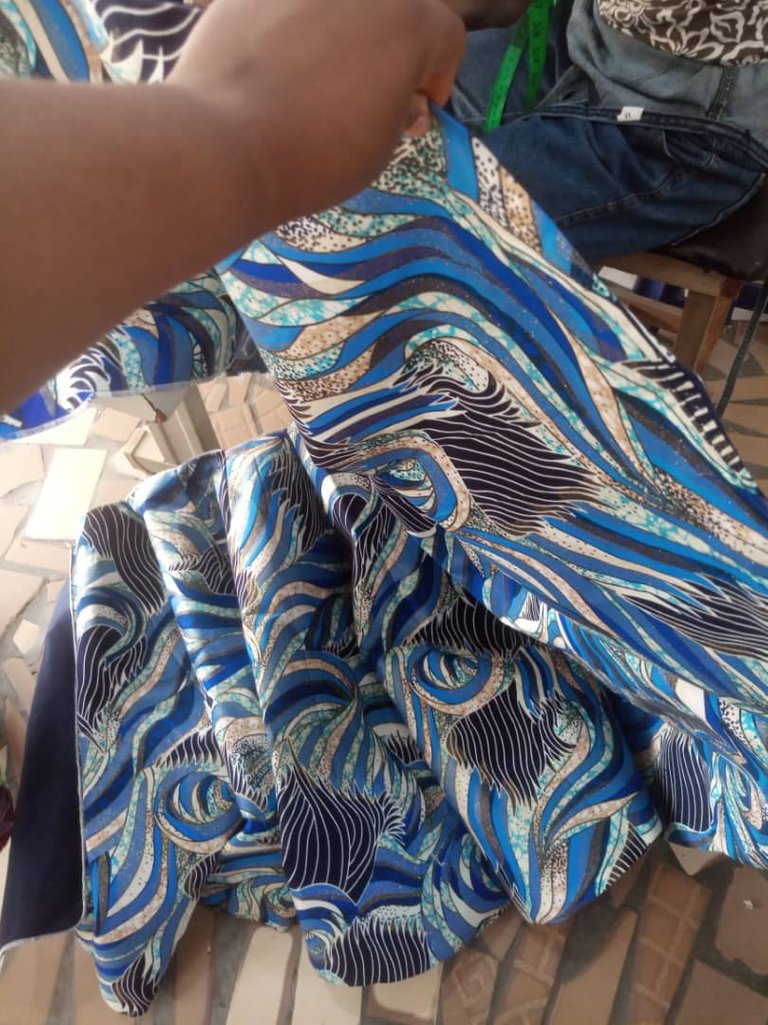
In this post, I will be doing a tutorial on how to sew a 12 Panel Gown. A 12 panel gown is simply a gown that has 12 panels of fabrics stitched together at the skirt part or lower part of the gown. This dress is for a client that needed it for an event about two weeks ago in another city.
Even though she brought the materials late, we were still able to get her dress done just the way she wanted it. Unfortunately, I was unable to get the pictures of the finishing of the dress because the client was present while we were rounding up the work and she was in a haste. So, I was unable to take a picture of it.
Actually, the job was received by my boss at my fashion training center and she used it as an instructional exercise to teach us the basics of a panel dress.
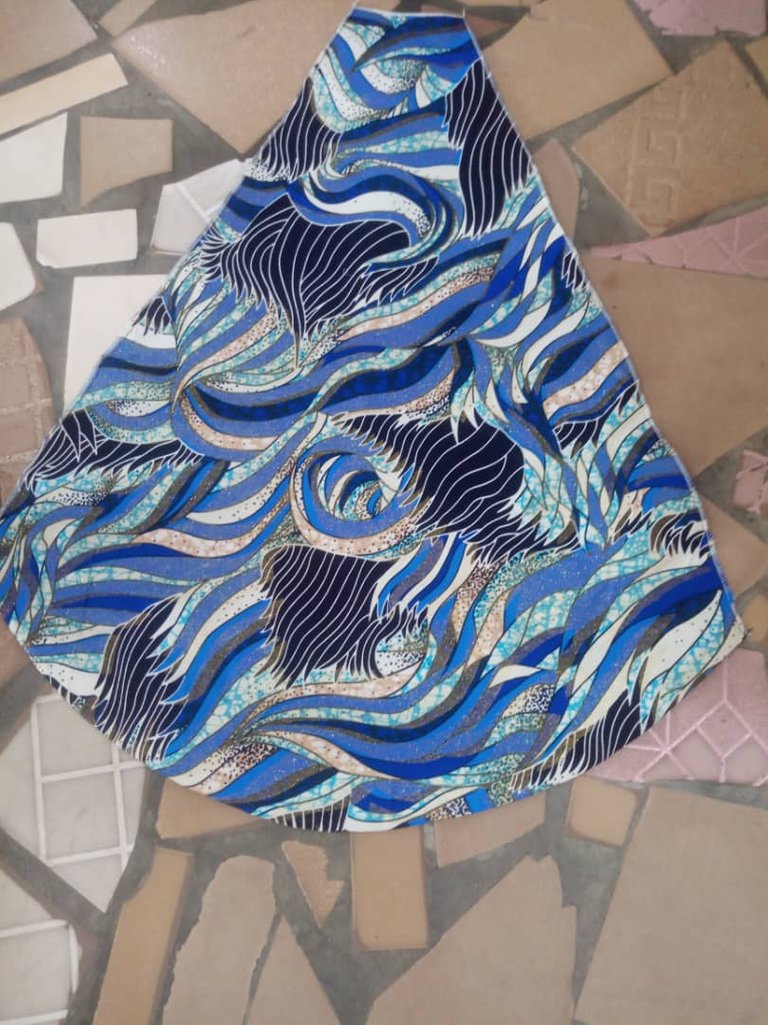
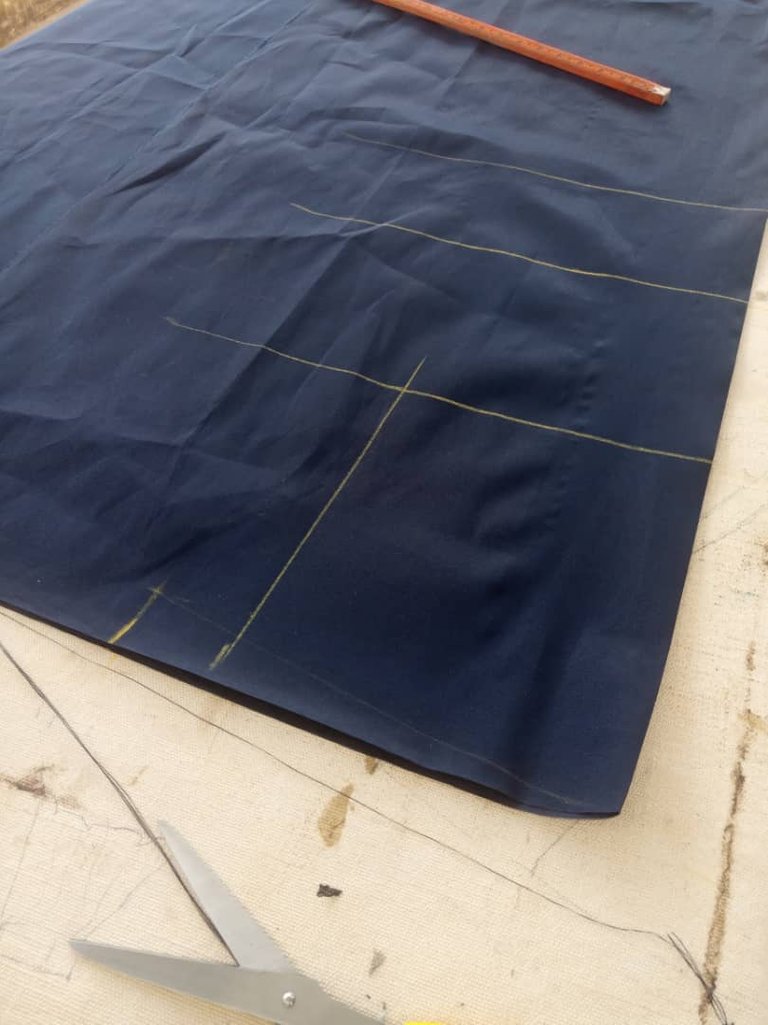
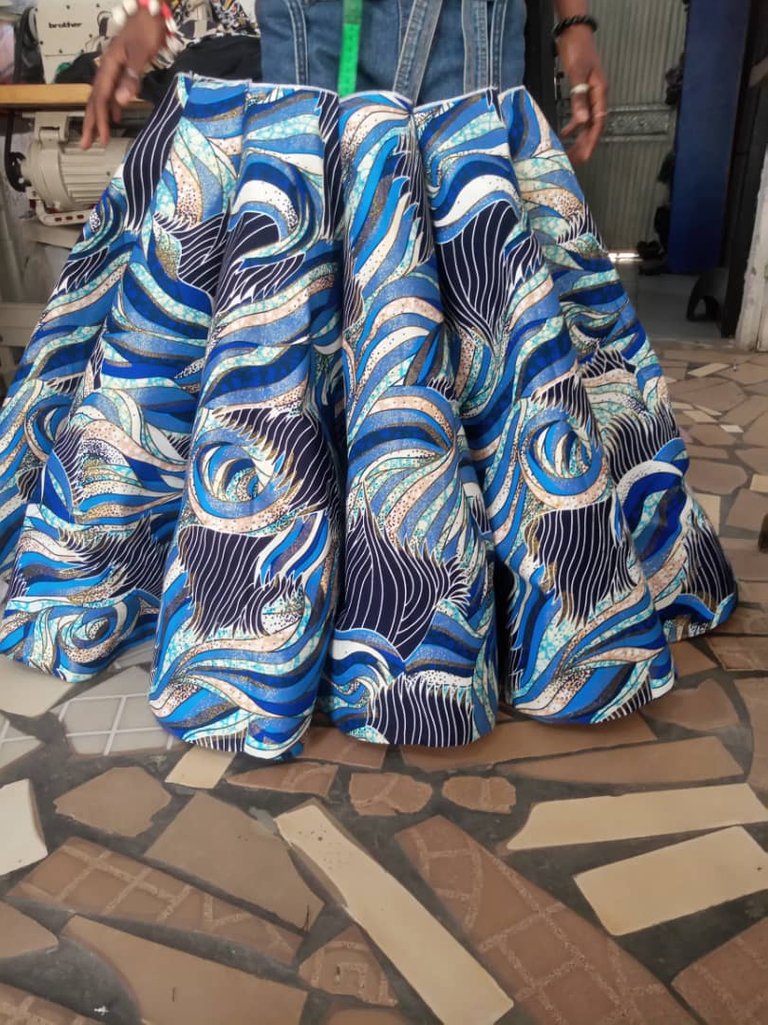
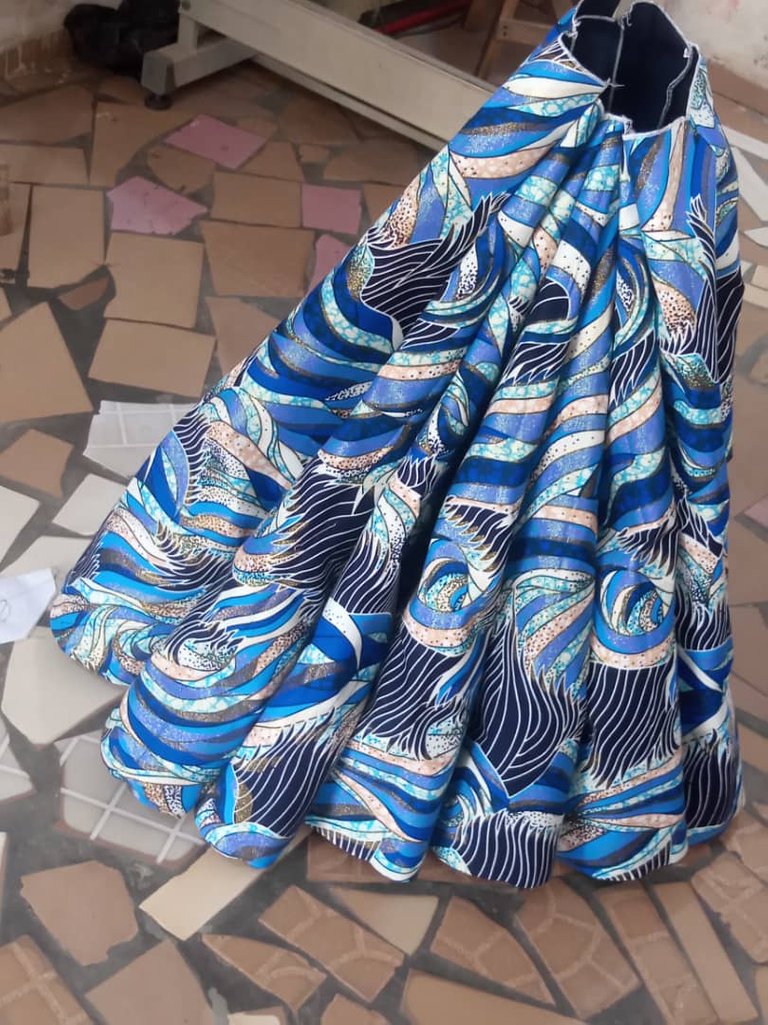
The main material that was used to see the beautiful dress is an African print, also known as Ankara fabrics. We also used hard gum stay for the panels to make sure they stand well and about six yards of it was used. Likewise, about six yards of lining was also used for the panel part of the dress. So, in drafting out the pattern for the lower part of the dress, that is the skirt part, we have to minus her full length measurements from her half length measurements.
So, her half length is 15 inches, that is, from her shoulder to waistline and her full length measurements is 58 inches. Therefore, 58 inches minus 15 inches is equal to 43 inches and that is the measurements for her lower part.
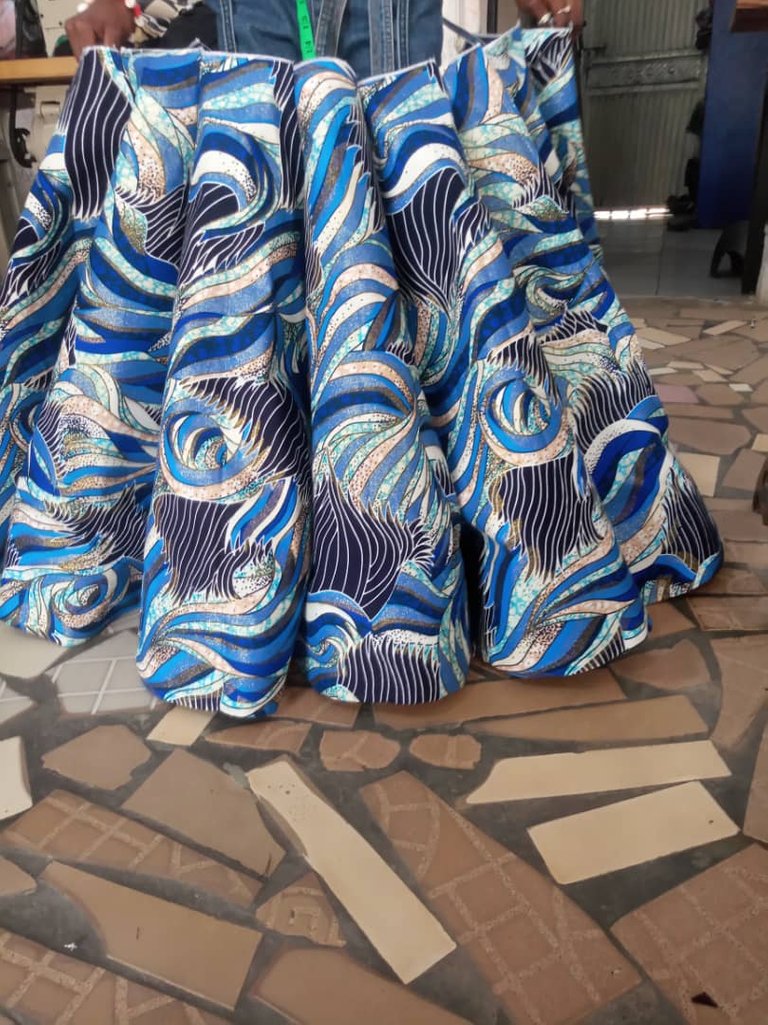
Then for cutting out the 12 panels that is required for the dress, we have to divide the measurements for her waist and divide by the number of panels that we want. Therefore, 36 inches (waist measurements) divided by 12 panels will give us three inches. So, this mean that that the measurement for each of the panels on the top is 3 inches, then you can decide how many inches you want for the lower part. We used 20 inches for the lower part of the panel measurement.
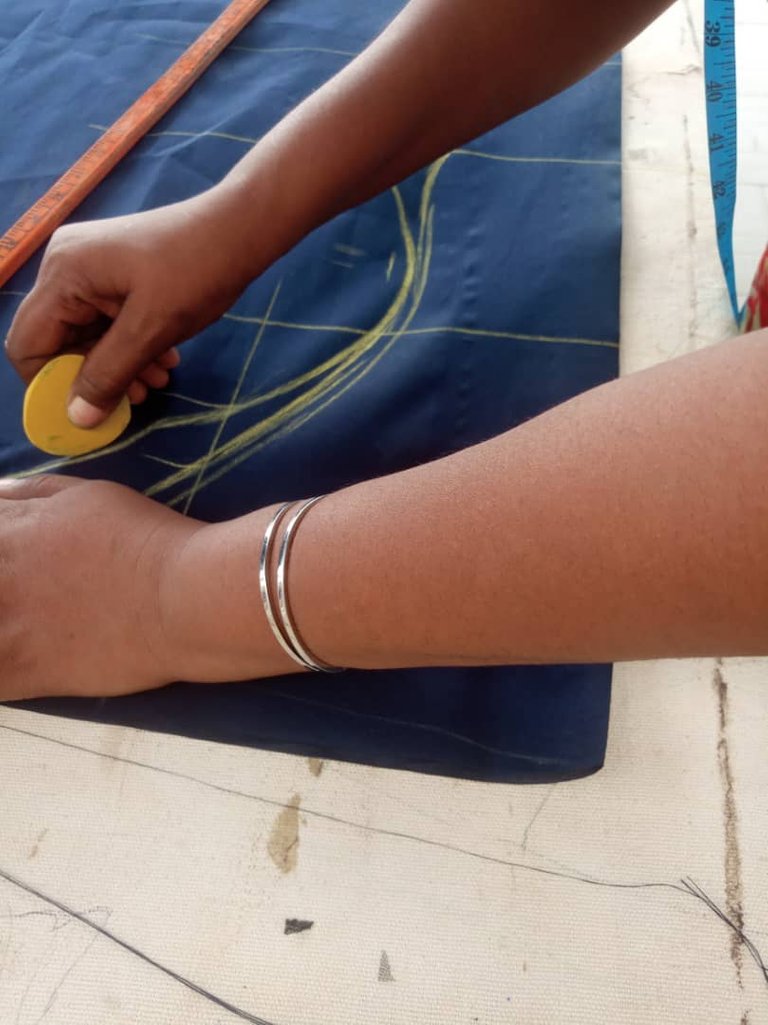
In drafting out the panel, my lining material is folded into two, so I will divide the three inches into two which will give us one and half. Then for the lower part, I will come up by three inches and mark ten inches, that is the half of the desired 20 inches.
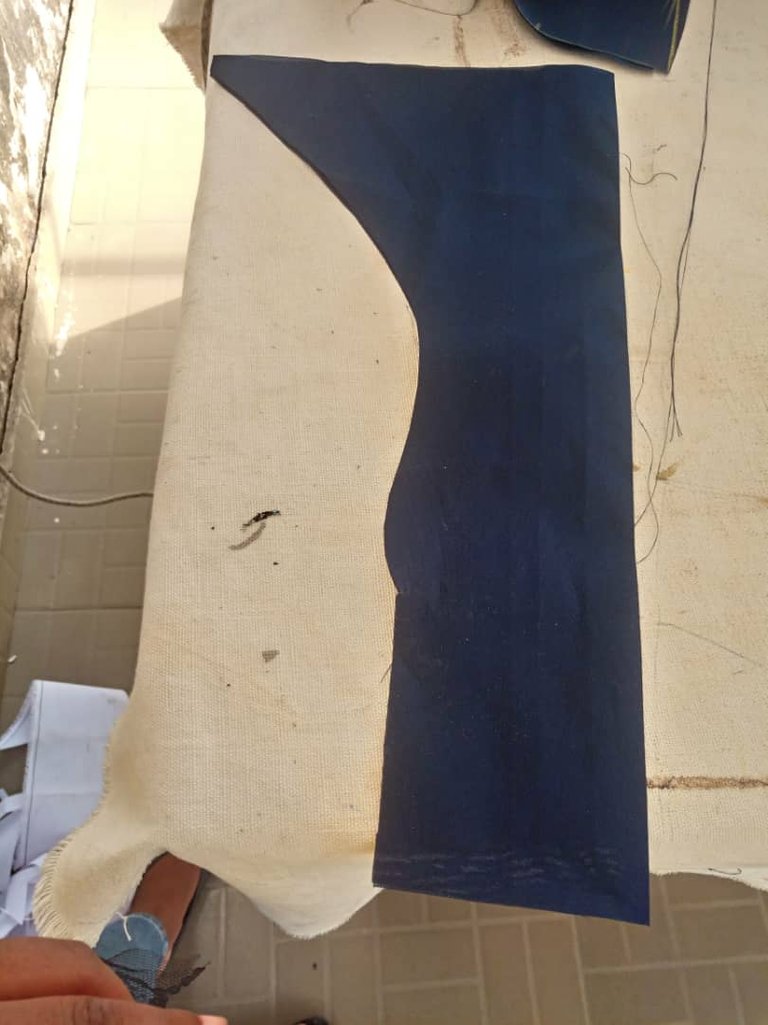
Afterwards, I will cut the lining and place on the Ankara fabrics and add half inch seam allowance on both sides. It is the main fabric that has half seam allowance, the lining will not have. This is what I will use to cut 10 pieces of it excluding the two centre back. The cutting of the two centre back will be different because of zip allowance. To cut the two centre back, you can use the lining to cut it out by leaving half inch seam allowance on one side and one inch seam allowance on the other side because of zip allowance. So, use the first one to cut the second one by allowing the right side to face each other or the wrong side to face each other.
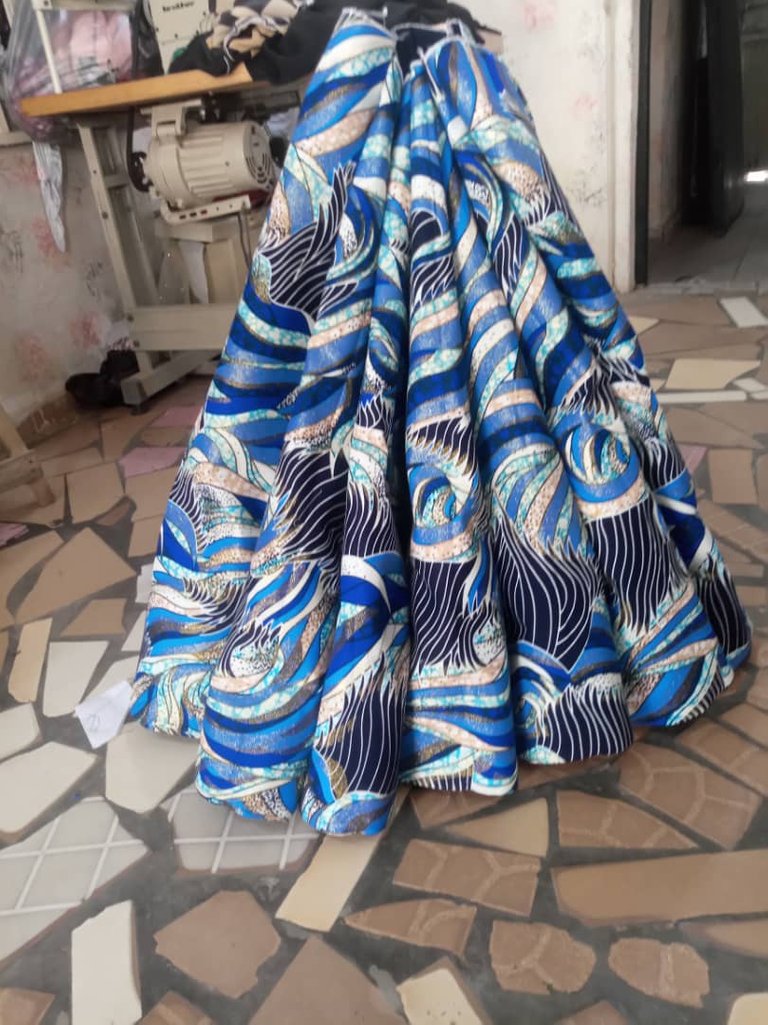
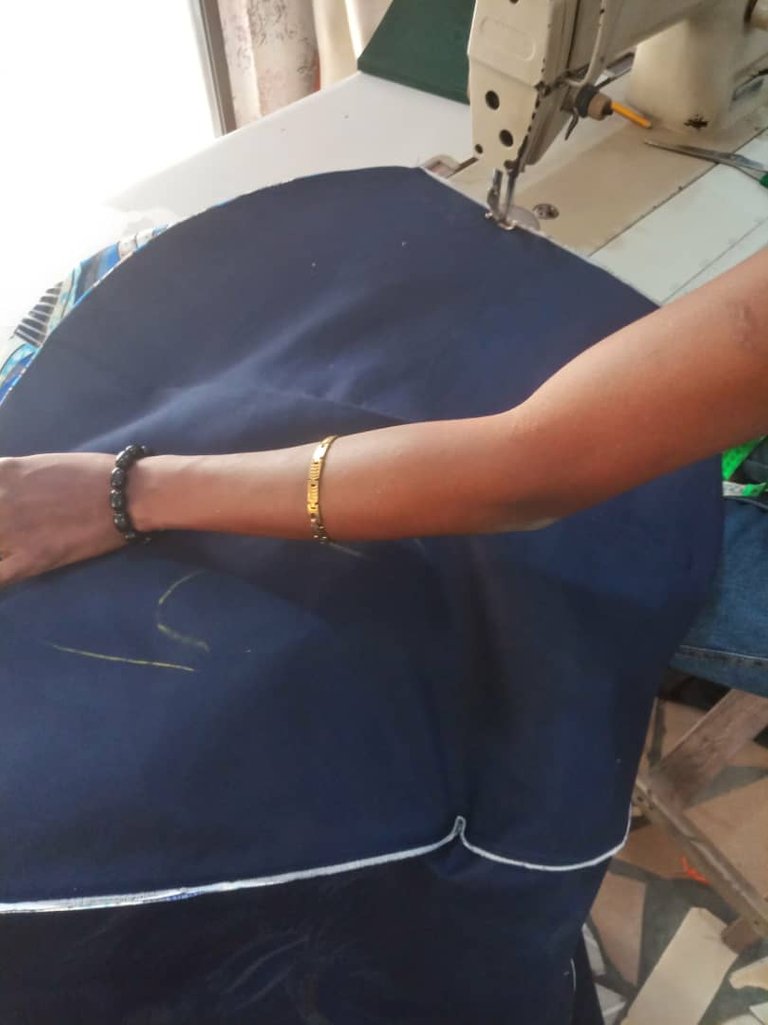
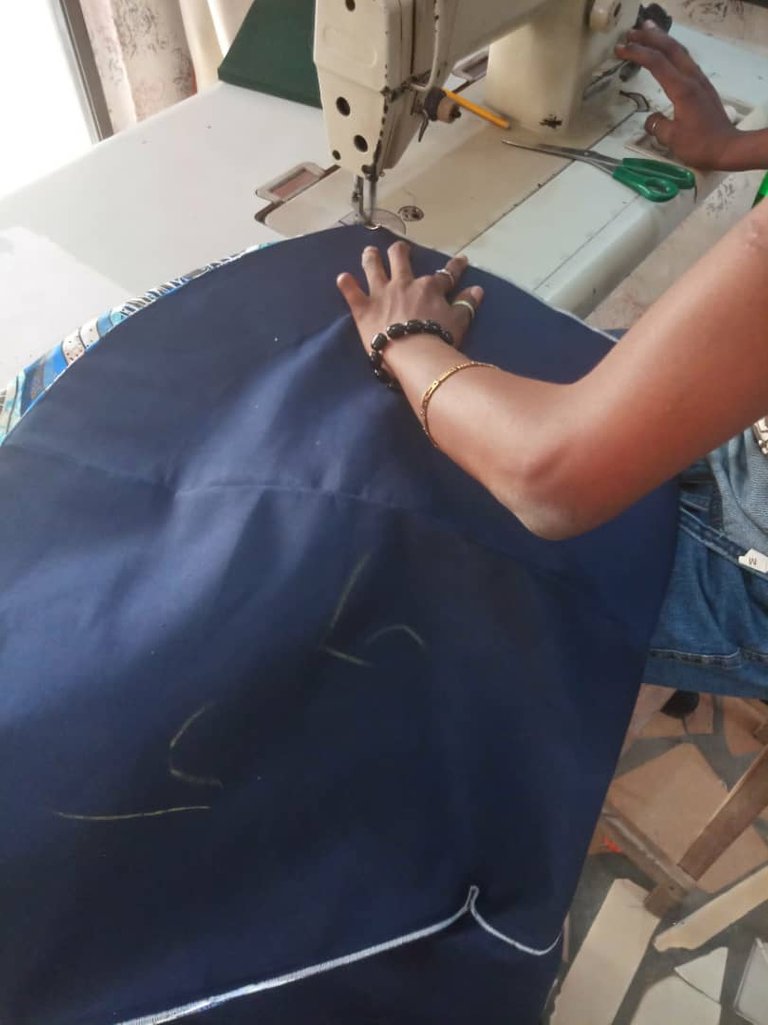
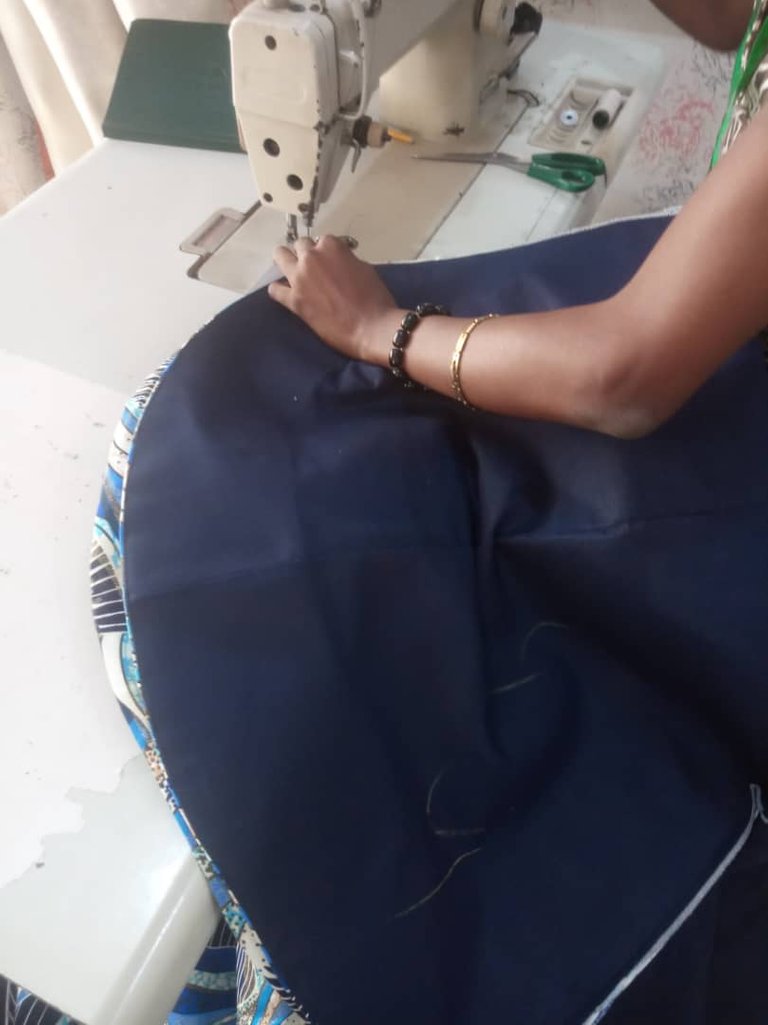
Now, use your already cut out fabrics to cut the 12 gum stay that will be needed. It is the iron on type that I used. You will iron each gum stay on each of the fabric. Also, you will attach the lining to the already ironed gum stay and fabrics on all panels. Then you join all the 12 panels together, with the right sides facing each other. Afterwards you proceed to cut and join the upper part of the dress. The customer wanted a basic design with ordinary dart with puff sleeves that have gather and elastic.
Thank you for your time lovelies.
The post is originally written by me 💕@debbie-ese💕

This is really beautiful thanks for sharing @debbie-ese
Thank you @smilestitches
You’re welcome @debbie-ese
!discovery 25
Thanks @stevenson7
This post was shared and voted inside the discord by the curators team of discovery-it
Join our community! hive-193212
Discovery-it is also a Witness, vote for us here
Delegate to us for passive income. Check our 80% fee-back Program
Thanks for the support
Thank you for sharing this amazing post on HIVE!
Your content got selected by our fellow curator @stevenson7 & you just received a little thank you via an upvote from our non-profit curation initiative!
You will be featured in one of our recurring curation compilations and on our pinterest boards! Both are aiming to offer you a stage to widen your audience within and outside of the DIY scene of hive.
Join the official DIYHub community on HIVE and show us more of your amazing work and feel free to connect with us and other DIYers via our discord server: https://discord.gg/mY5uCfQ !
If you want to support our goal to motivate other DIY/art/music/homesteading/... creators just delegate to us and earn 100% of your curation rewards!
Stay creative & hive on!
Thanks for the support @diyhub.
This is lovely dear.
I once tried something like this but it went wrong 😂
I kinda wonder how you got the panels to form the semi circles.
Thanks so much. The calculations need to be precise in order to get it right.
With the help of collar stay and gum stay using the right measurements, the semi circles was achieved. It's very easy once you master it
Thank you for sharing this @debbie-ese you did a great job
Thanks @olubato