Architecture+furniture design || Two-faced house door part III.

![]()
Happy weekend and how are youmy freind hiveans ? and welcome to June,may it be a month full of blessings for all of us and I am @deltasteem who is an architecture+desain furniture worker, in the last few days I just finished an architectural project of a two-faced house door which is a reservation door belonging to the local community of my area.
In door design, everyone has different tastes and some of them sometimes bring door designs taken from the internet and then they renovate a little circuit pattern to give birth to a door design that looks so beautiful.
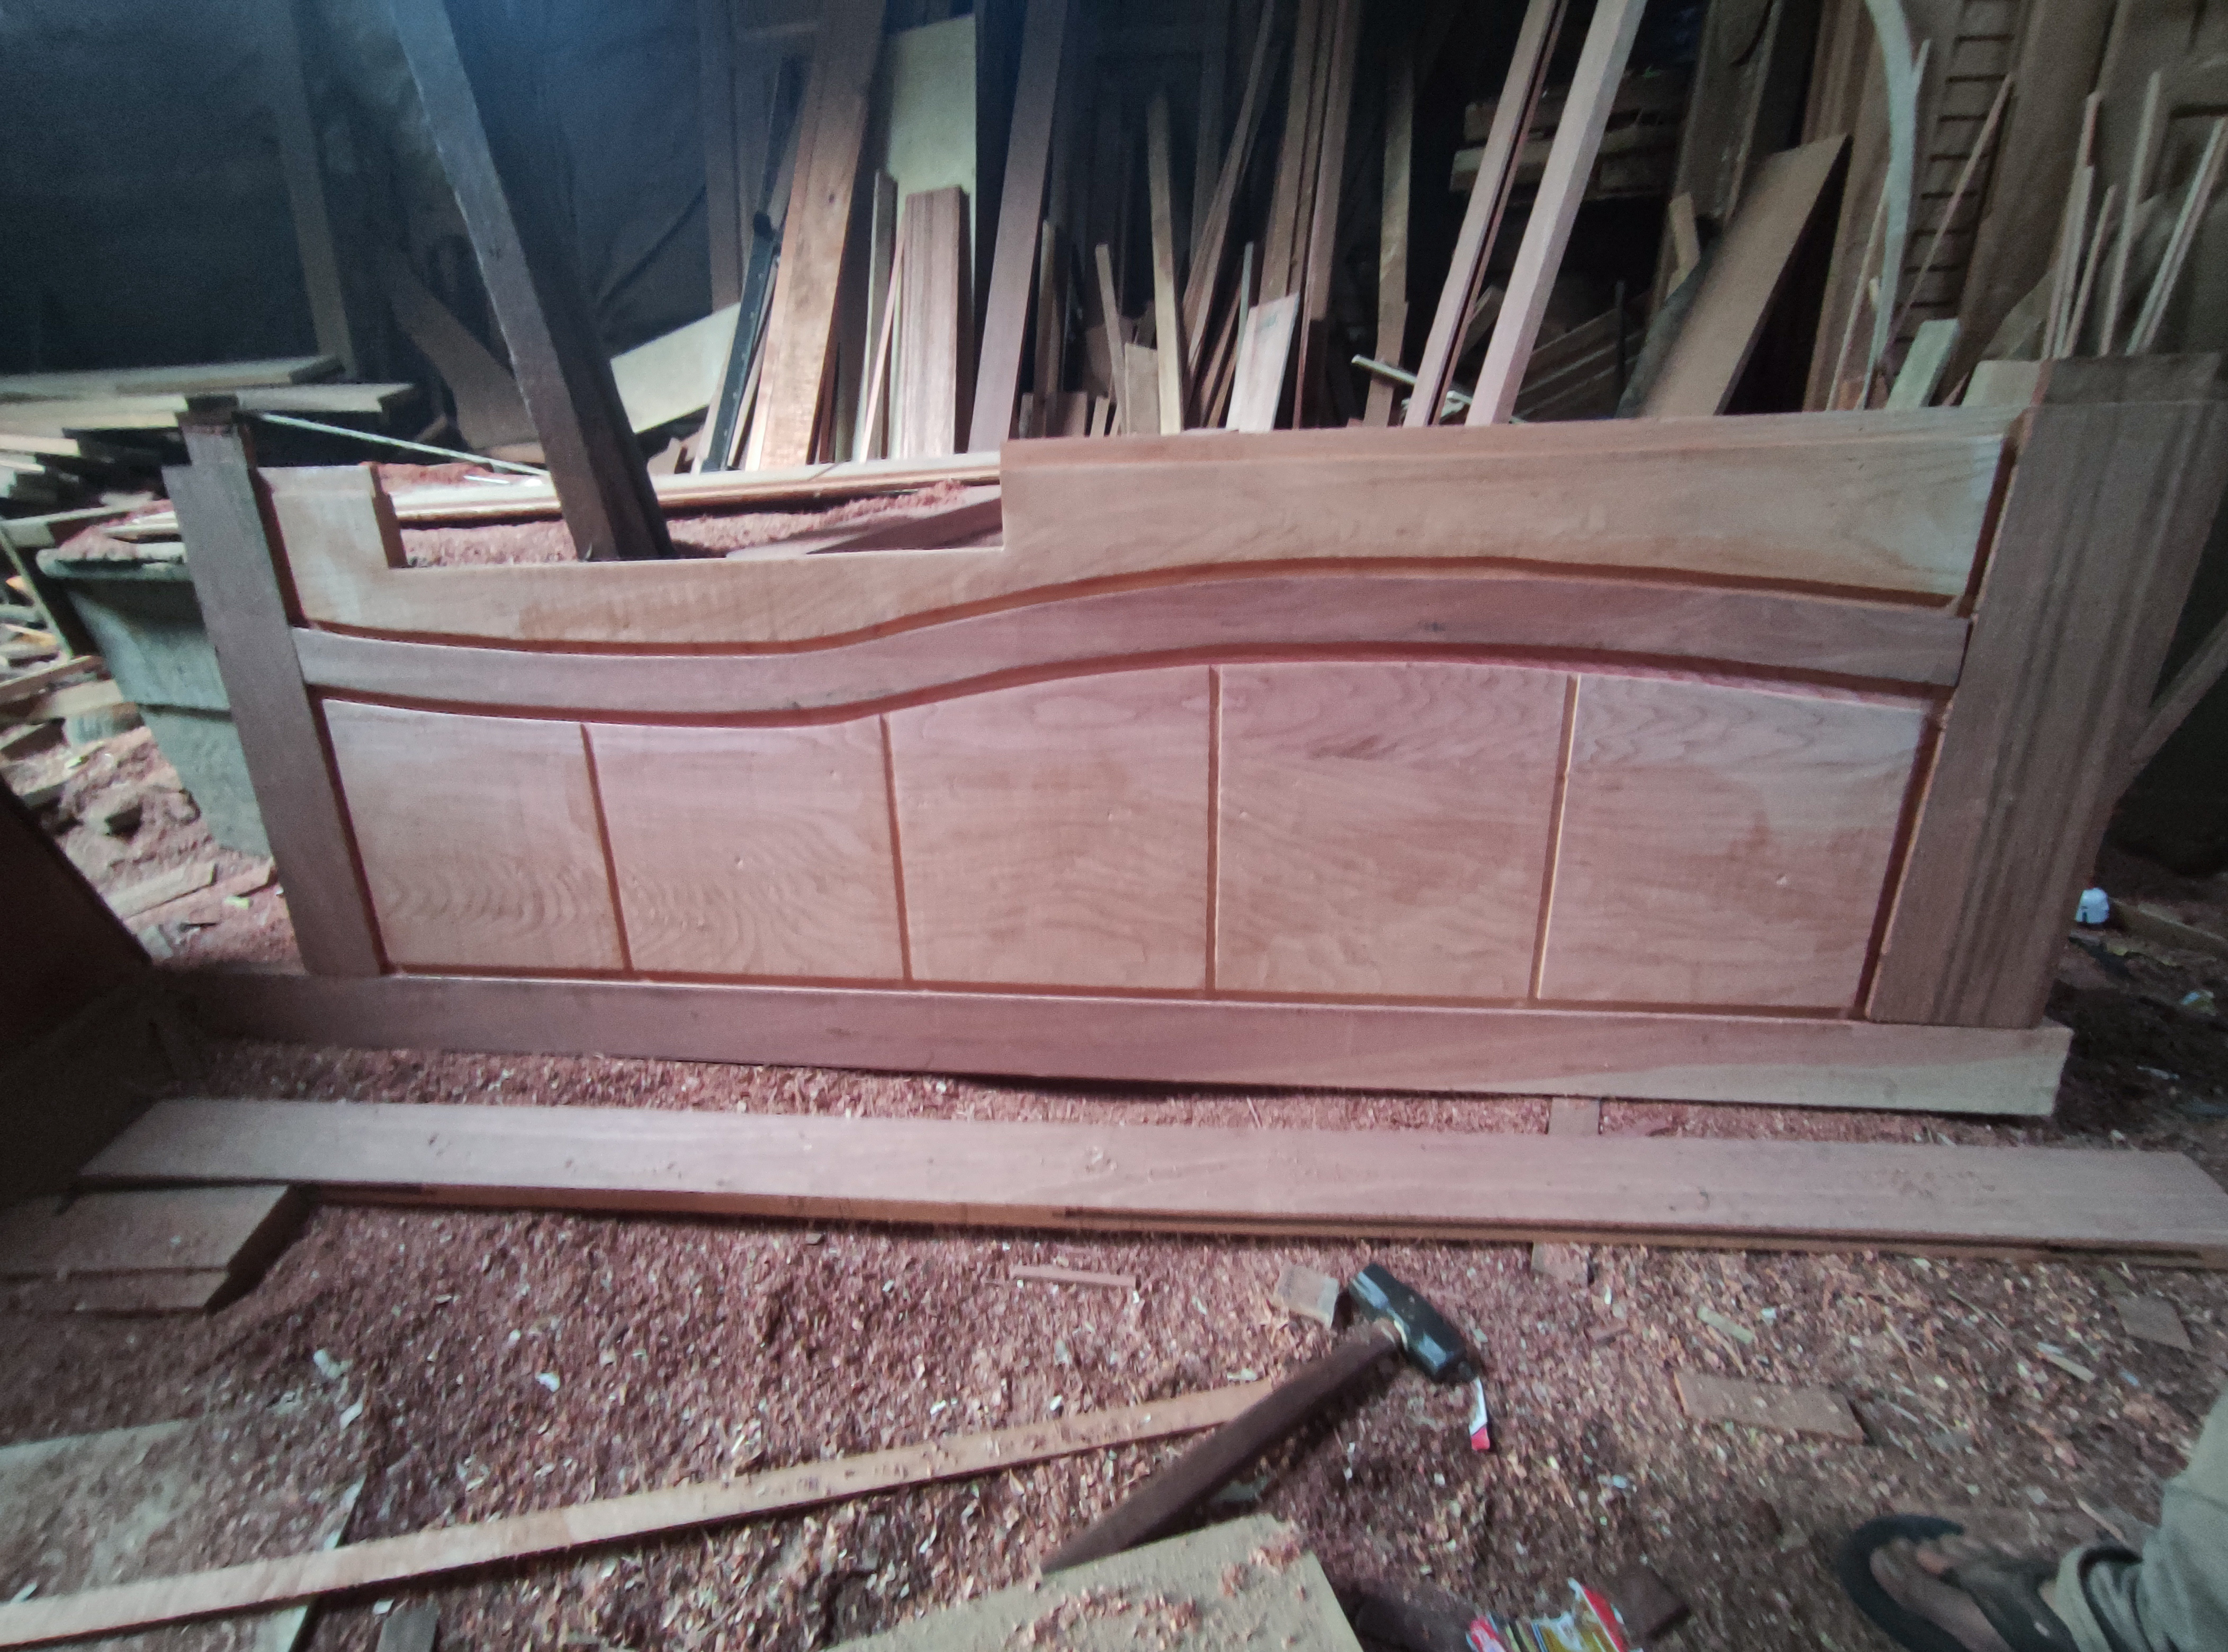
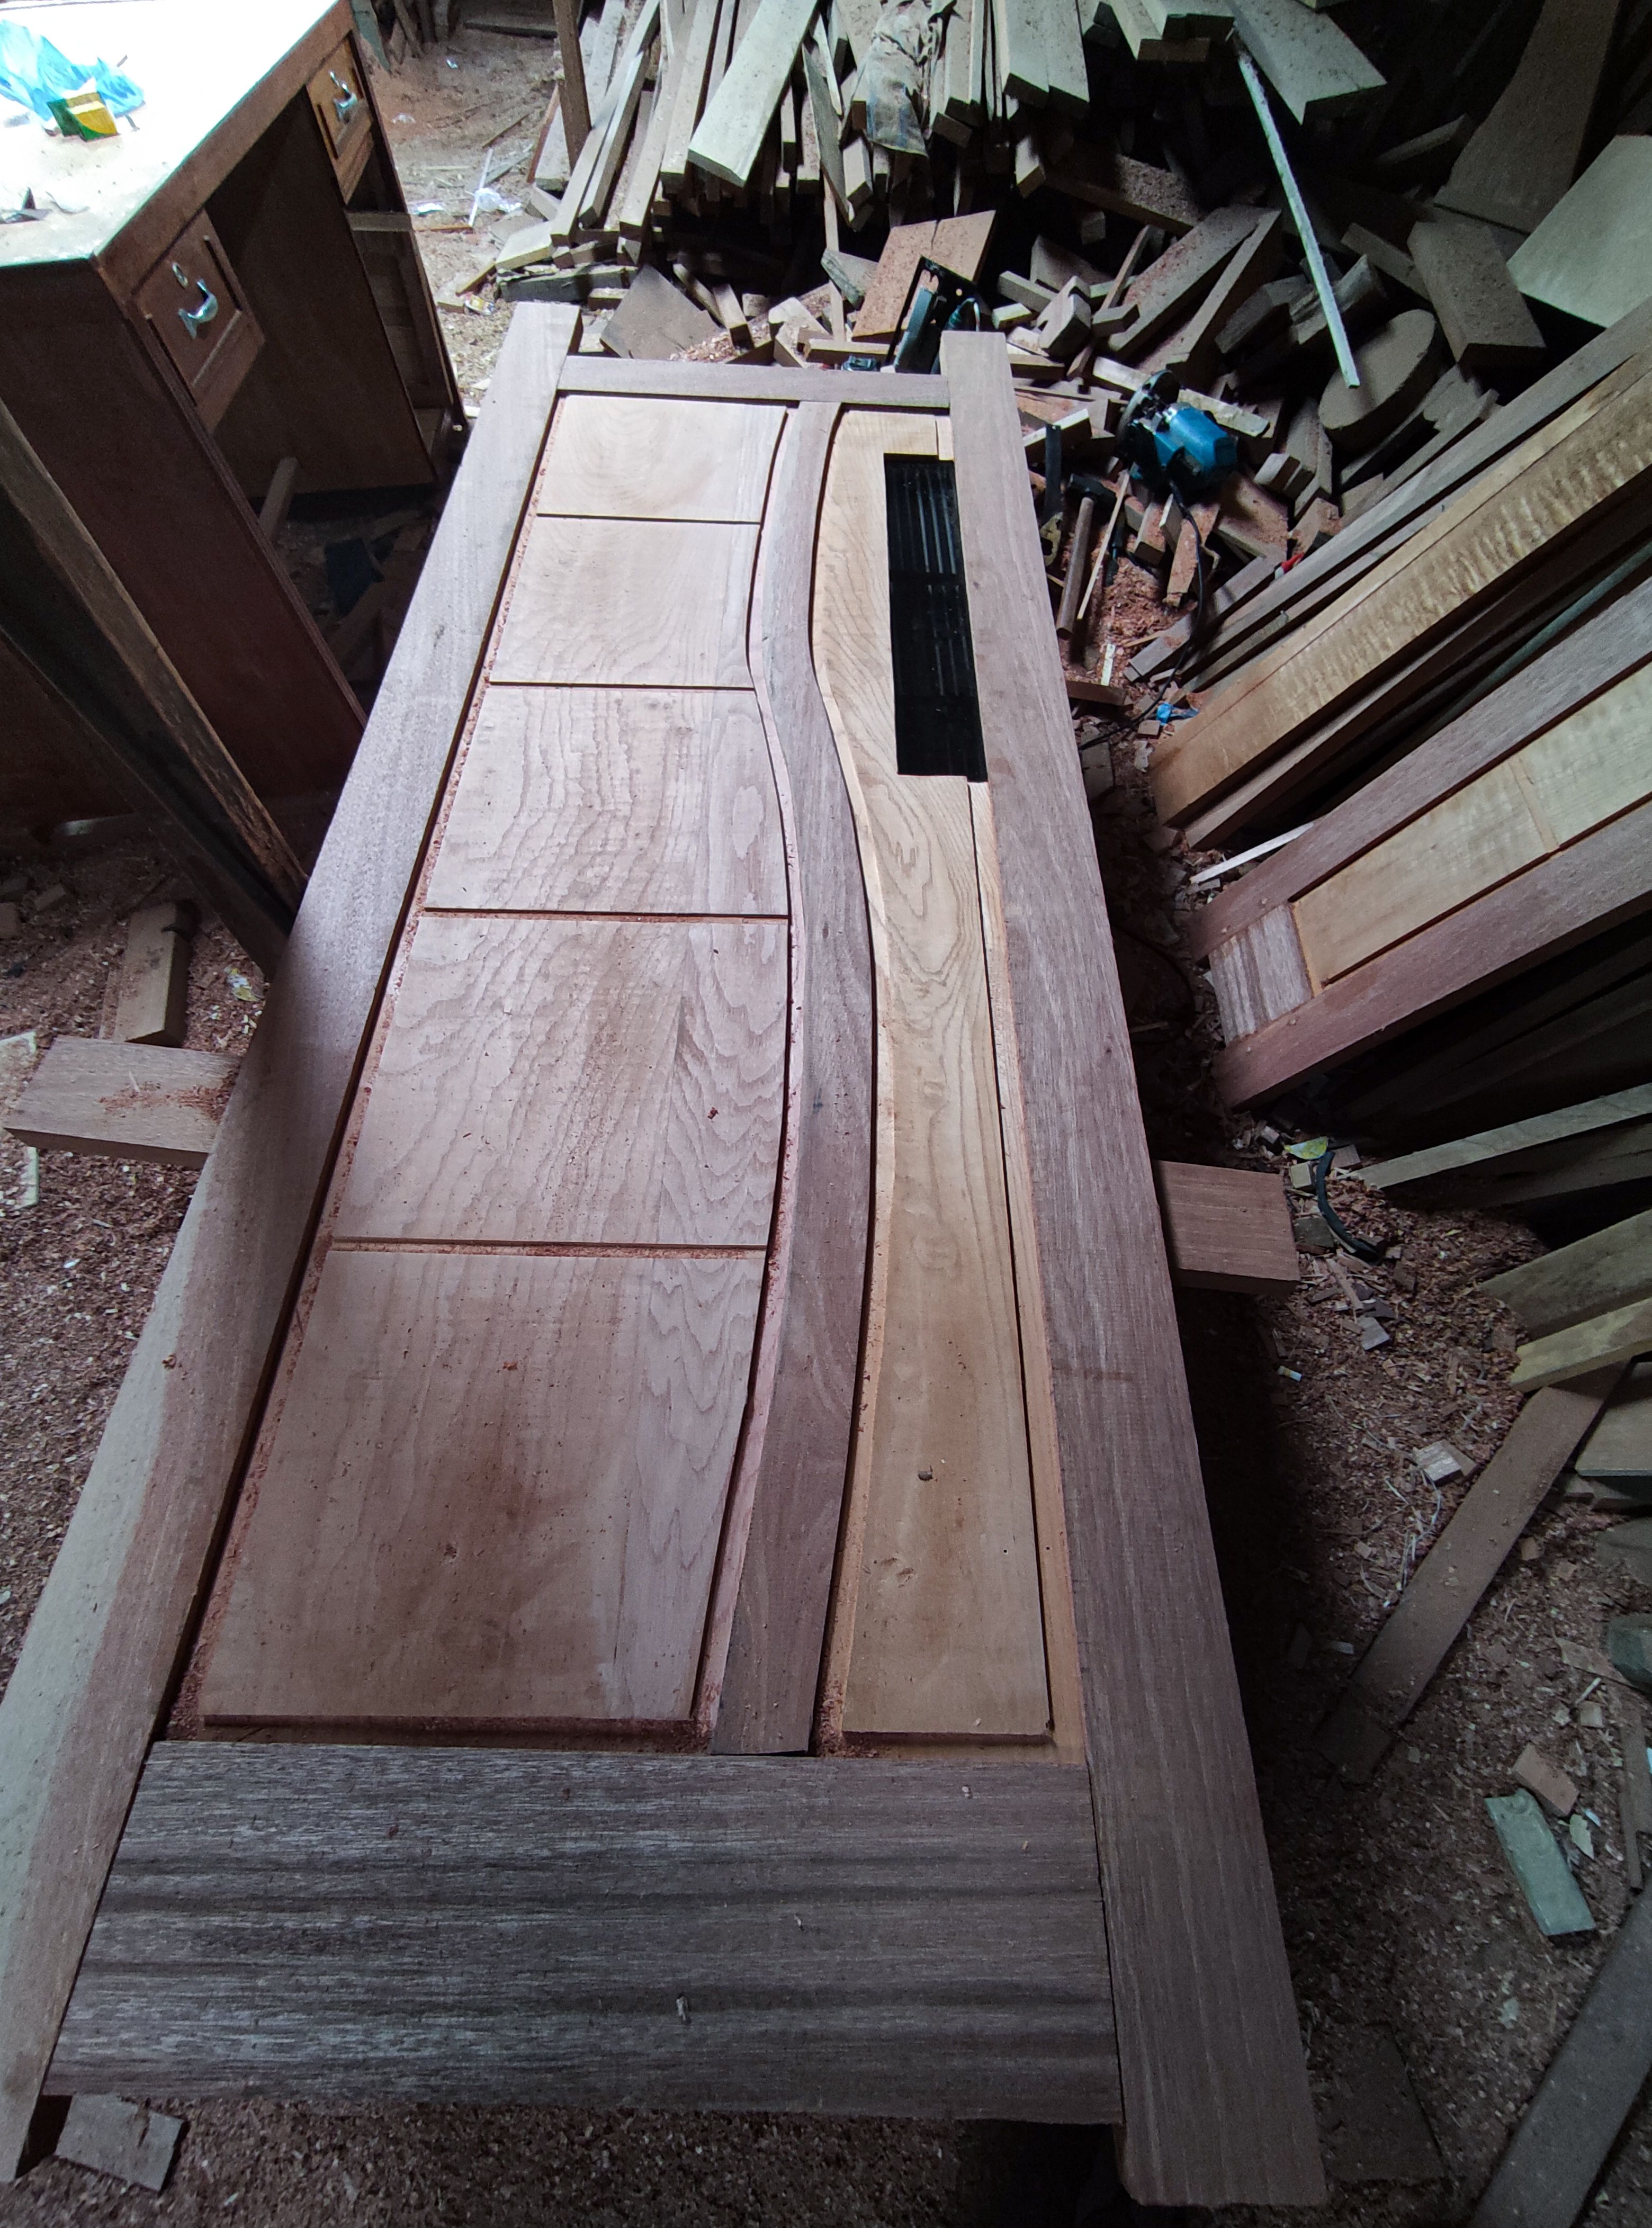
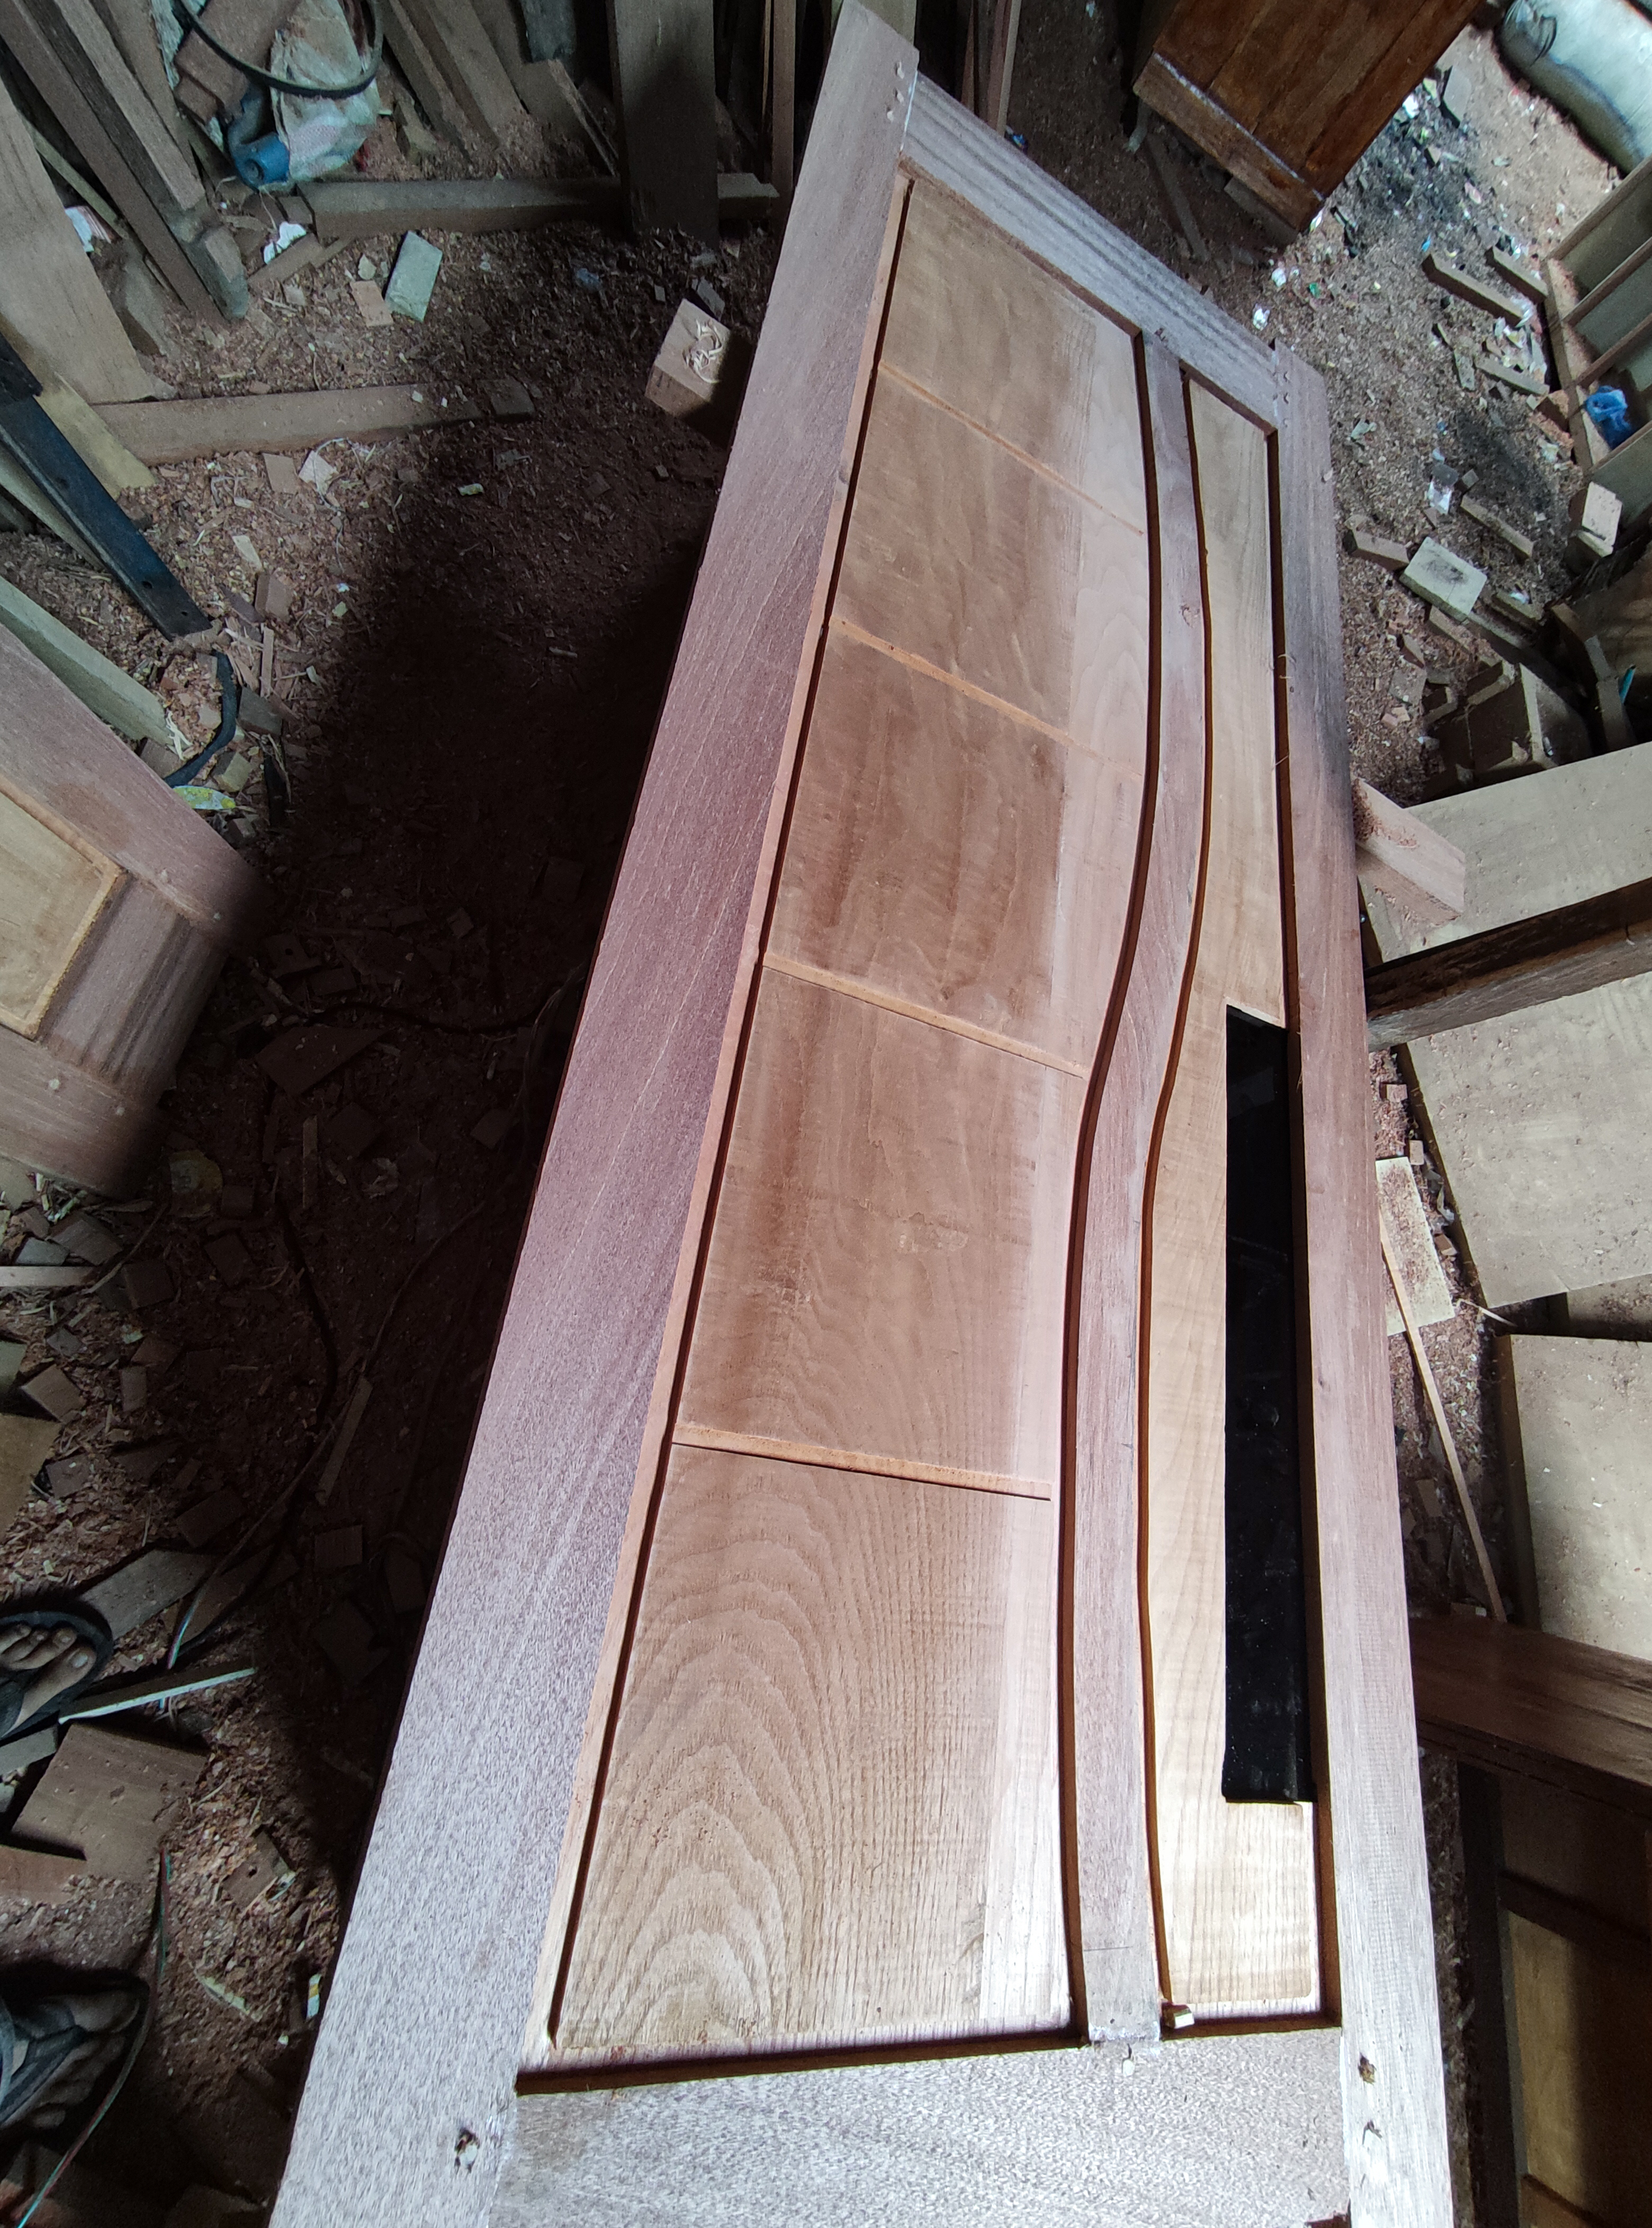
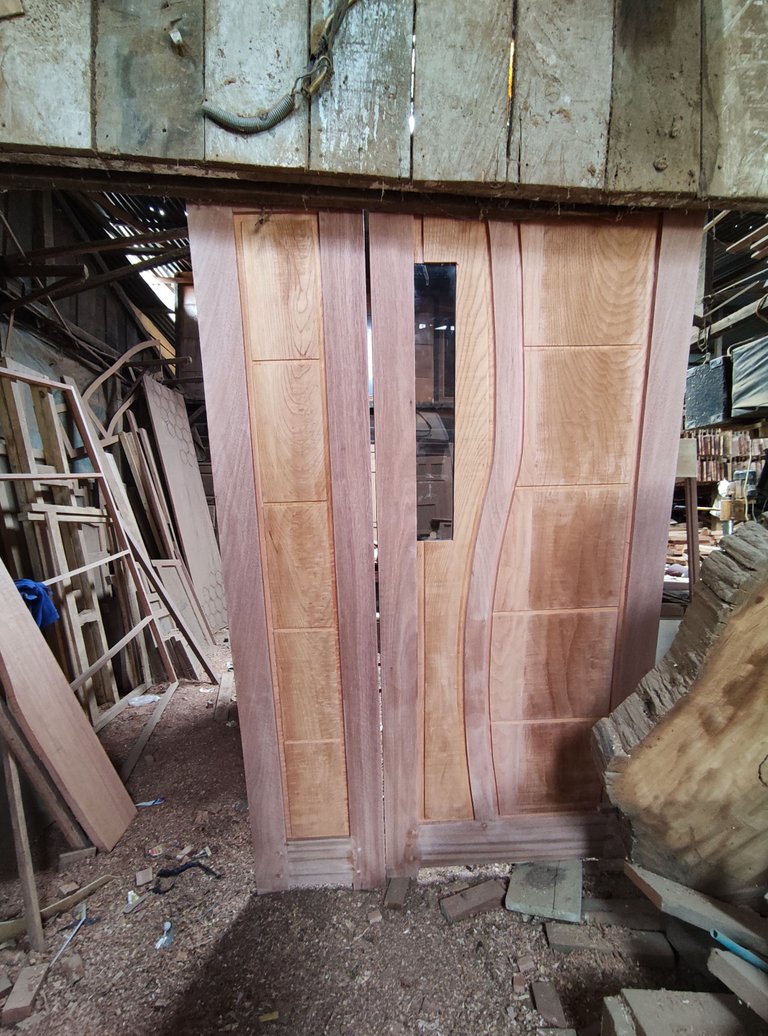
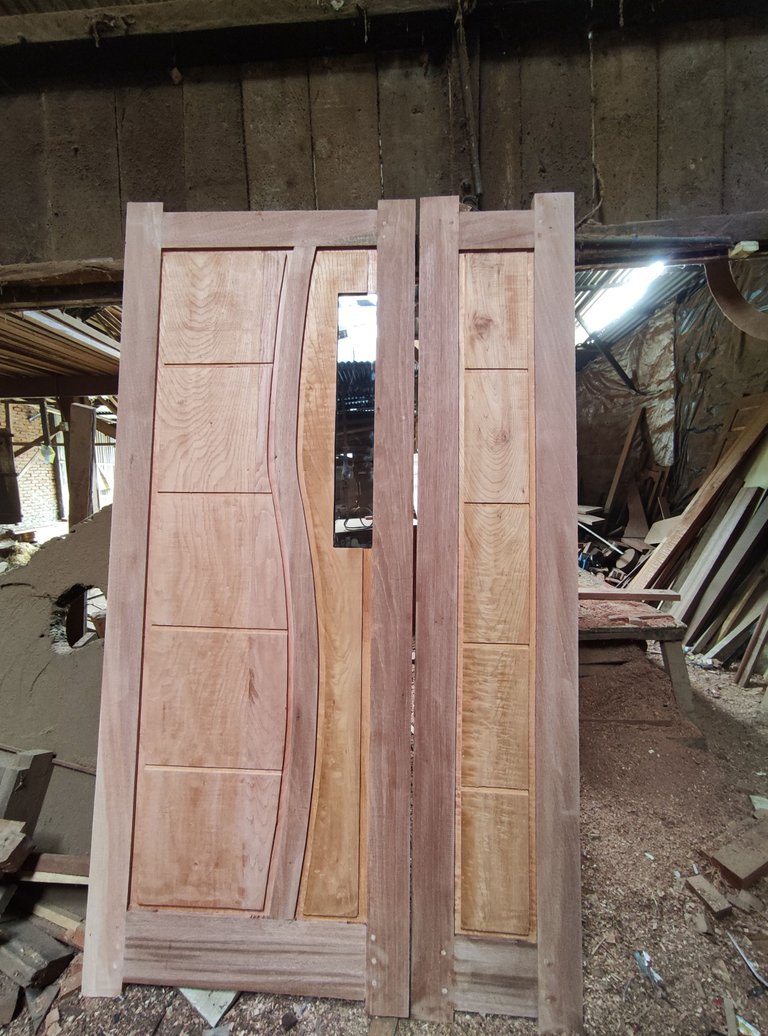
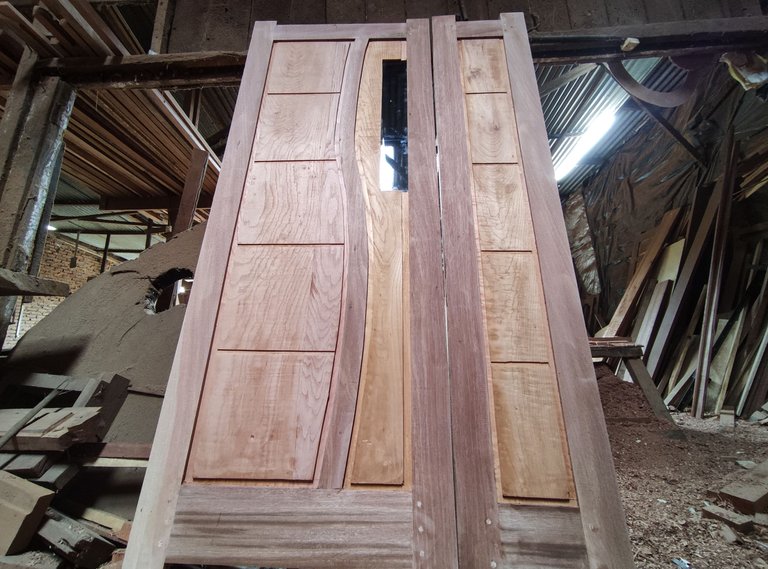
This time I got an order for an open door two with designs that look so amazing and look so beautiful with the overall length and width of the door being 120cm x 200cm ,
if we look at the picture, the design looks simple and both doors only have 3 leaves and don't have much bone in the inner circuit pattern and with image design.
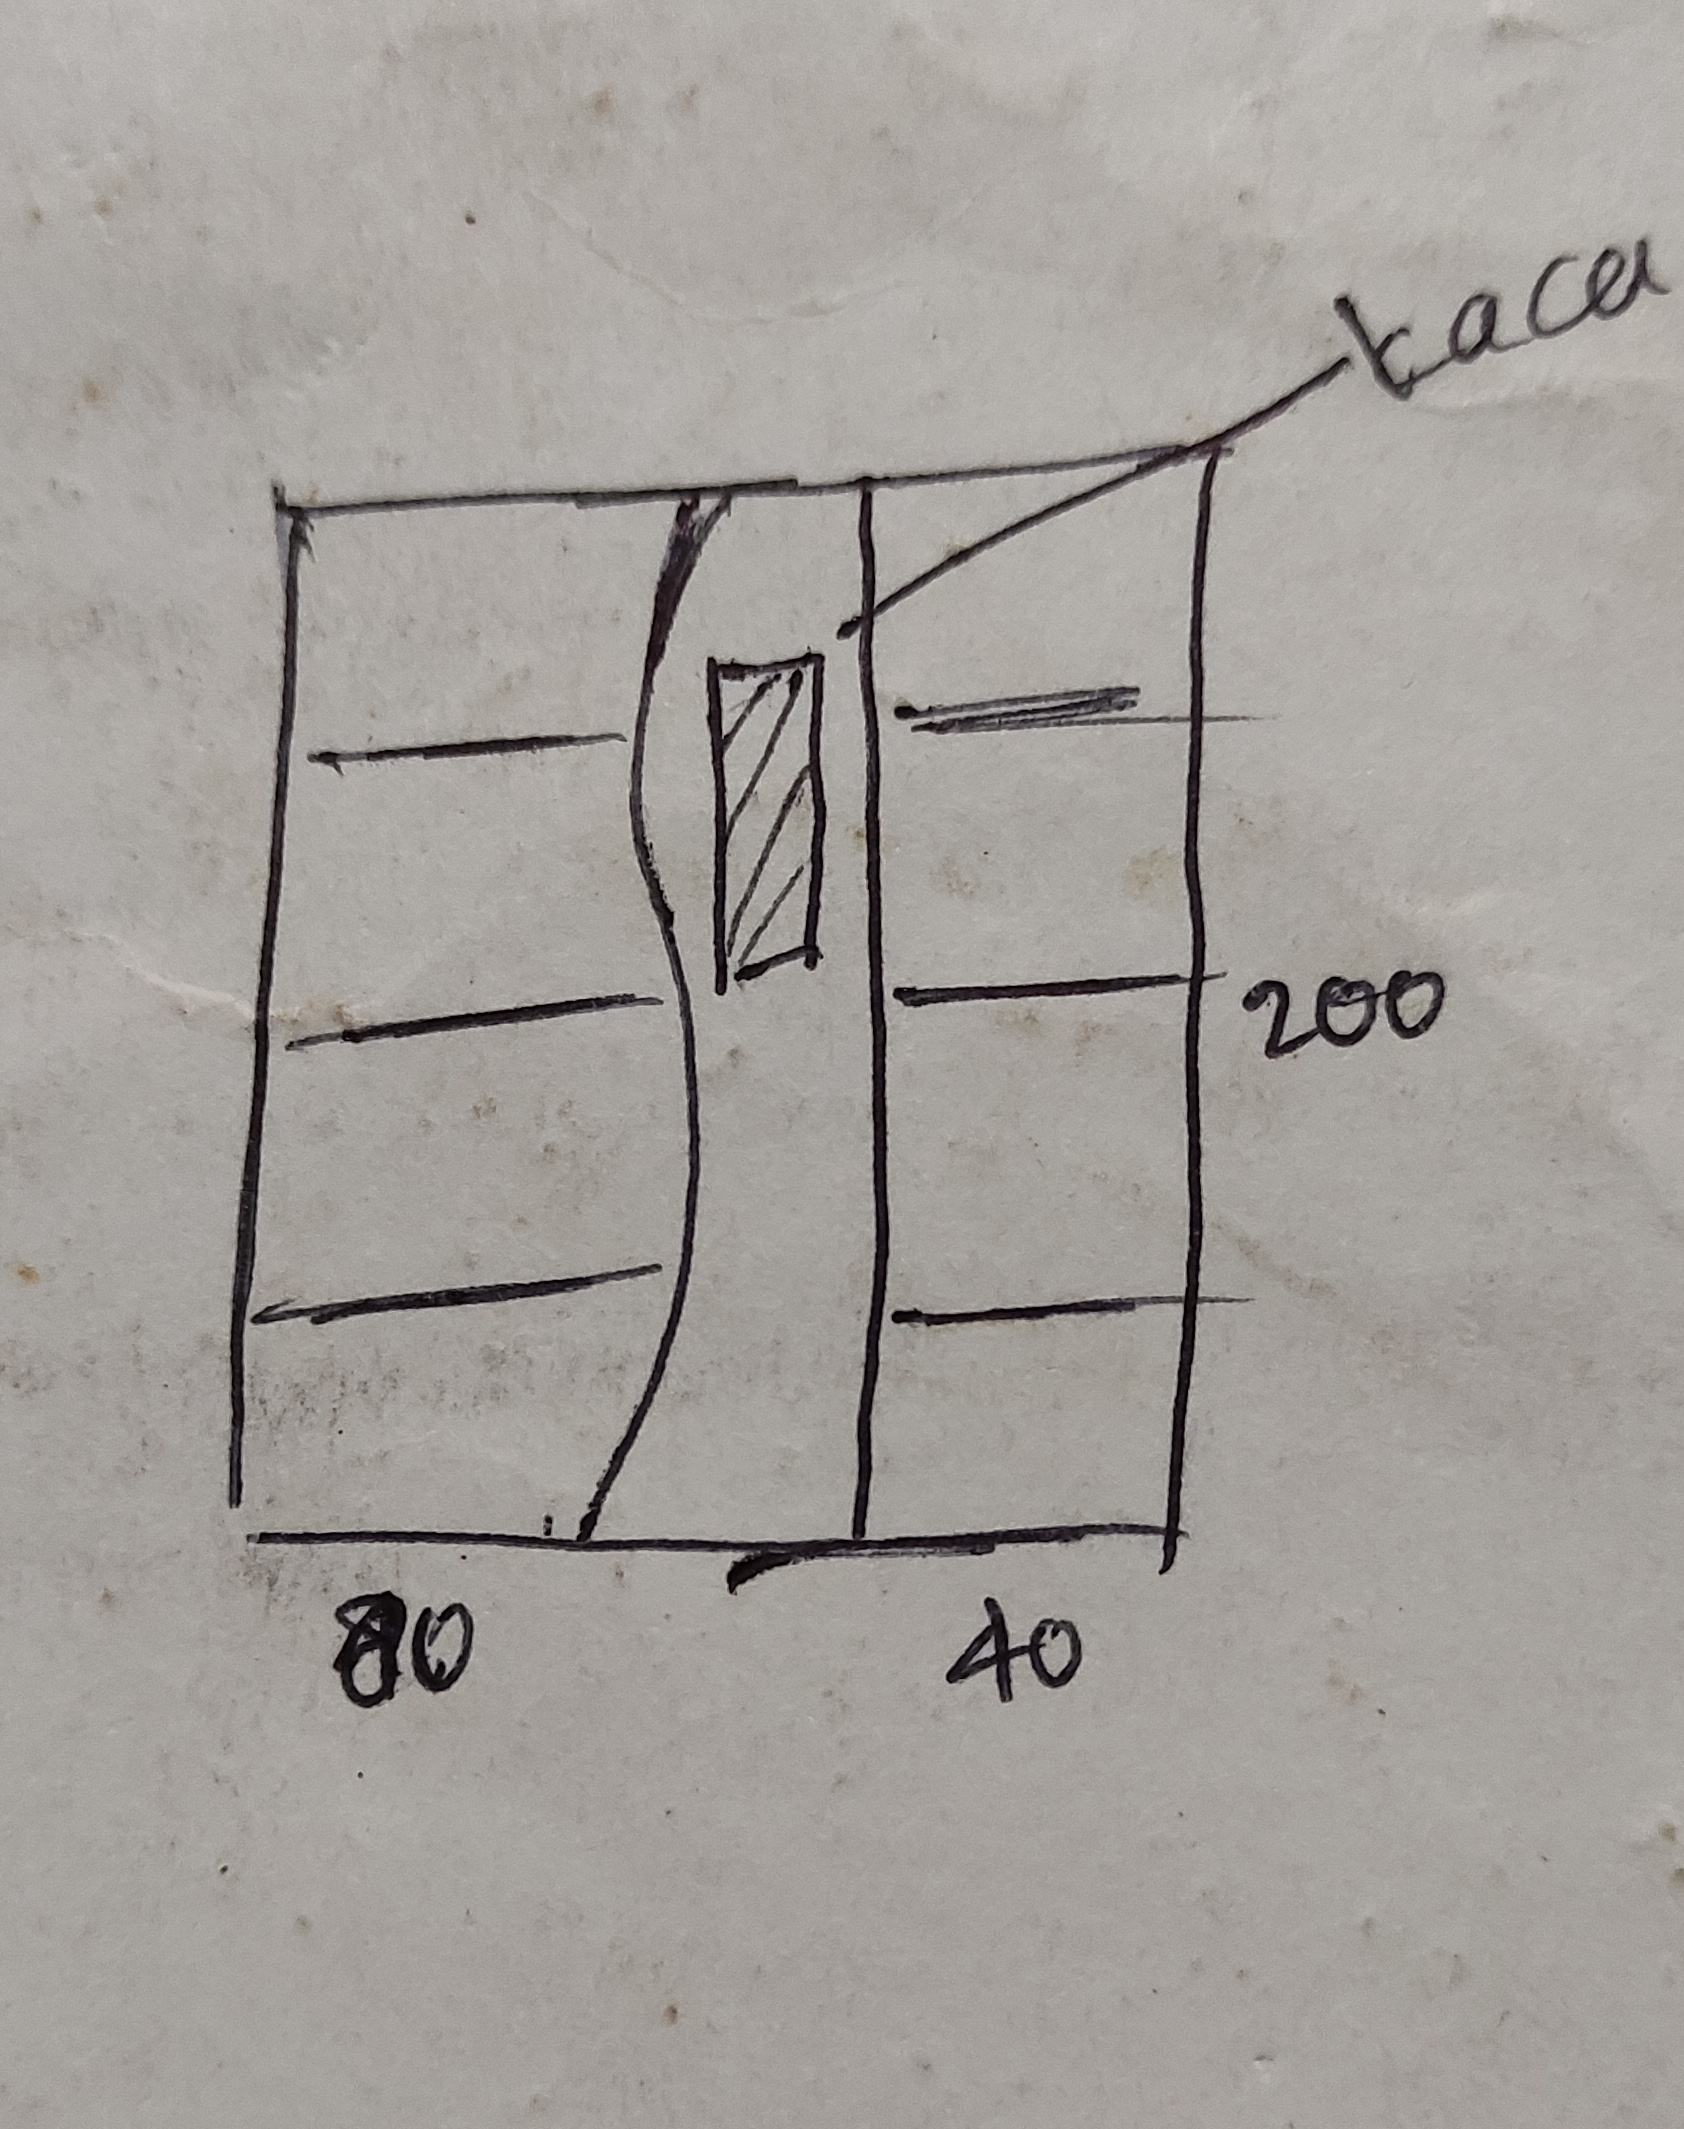
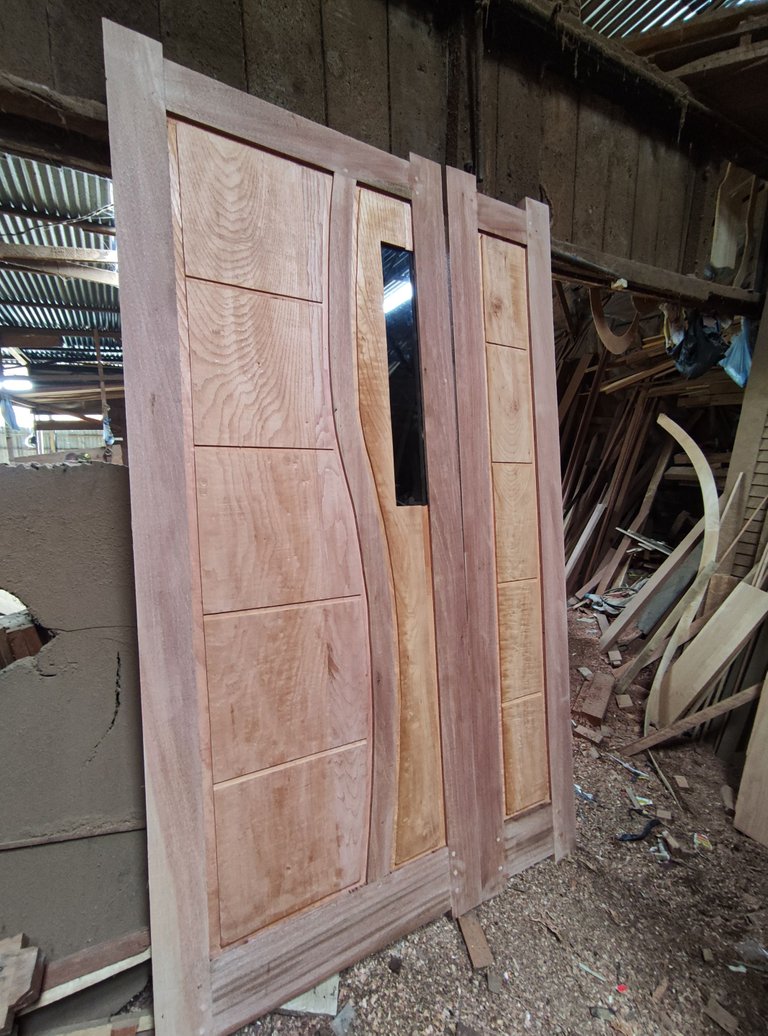
In the picture you can see a pair of doors with different widths and a door measuring 80cm on the front door. The customer asked me to provide black glass with the width decreasing and extending upwards and that door consists of 2 units with different widths and have the same height,namely 1 unit measuring 80cm wide x 200cm high and 1 unit measuring 40cm wide x 200cm high,that door has a modern minimalist design with a line pattern design on the sheet sheet and only has 1 central truss partition on the 80cm wide door sheets.
My customer ordered the door with meranti wood frame material and for the door leaf the customer ordered made suren wood.
And for that price of a package of doors is about $ 150.
And in my first week edition this June you can enjoy or follow a few steps to complete the architectural+design double-door project which is one of the projects I just completed this week.
gambar saya.
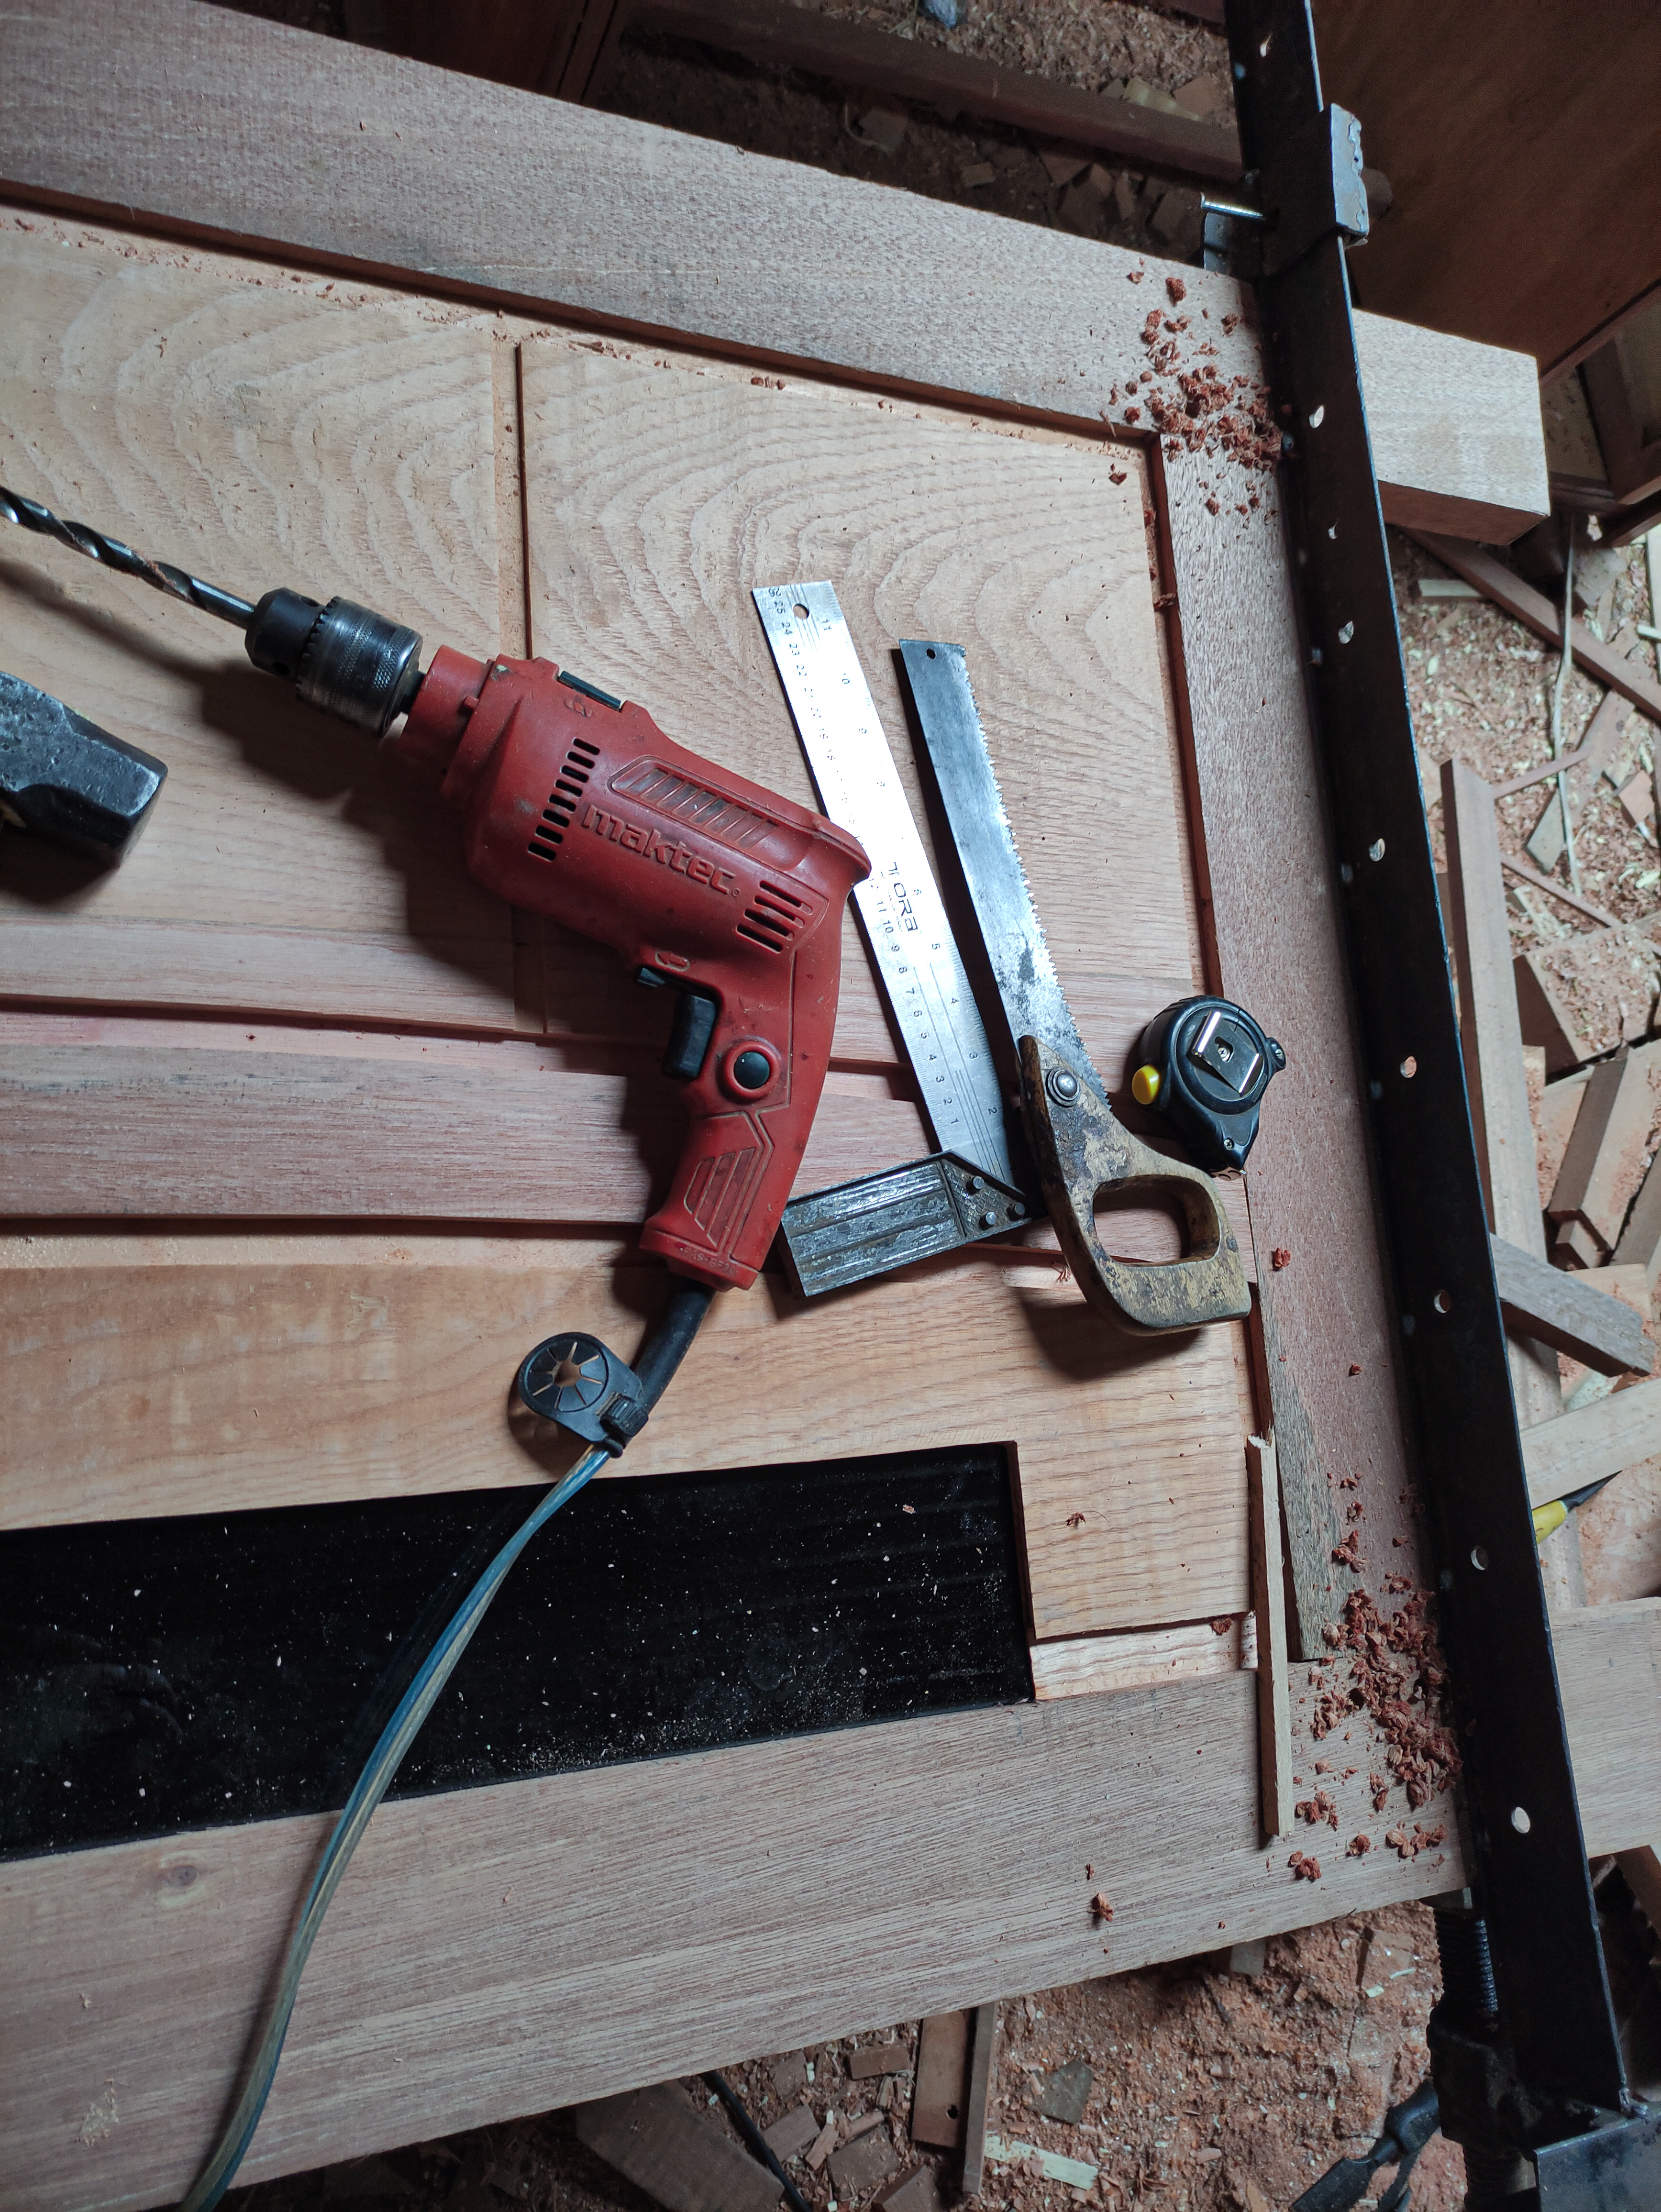
To complete the project the materials and machines I need are as follows.

1.Meranti wood that has been trimmed ....for the main frame, the left and right of the post and the upper bulkhead, the width of the door which is the main series measuring wide 10.5cm X 3.5 cm thick and the bottom door width of 16cm and the middle door series bulkhead in the form of window material with a size of 3.5 cm x 6 cm is the main binding material for the window series.

2.Wood cutting machine to cut all wood materials for door materials.
3.Shaving machine to flatten the entire surface of the series connection and make leaf comb carvings.*
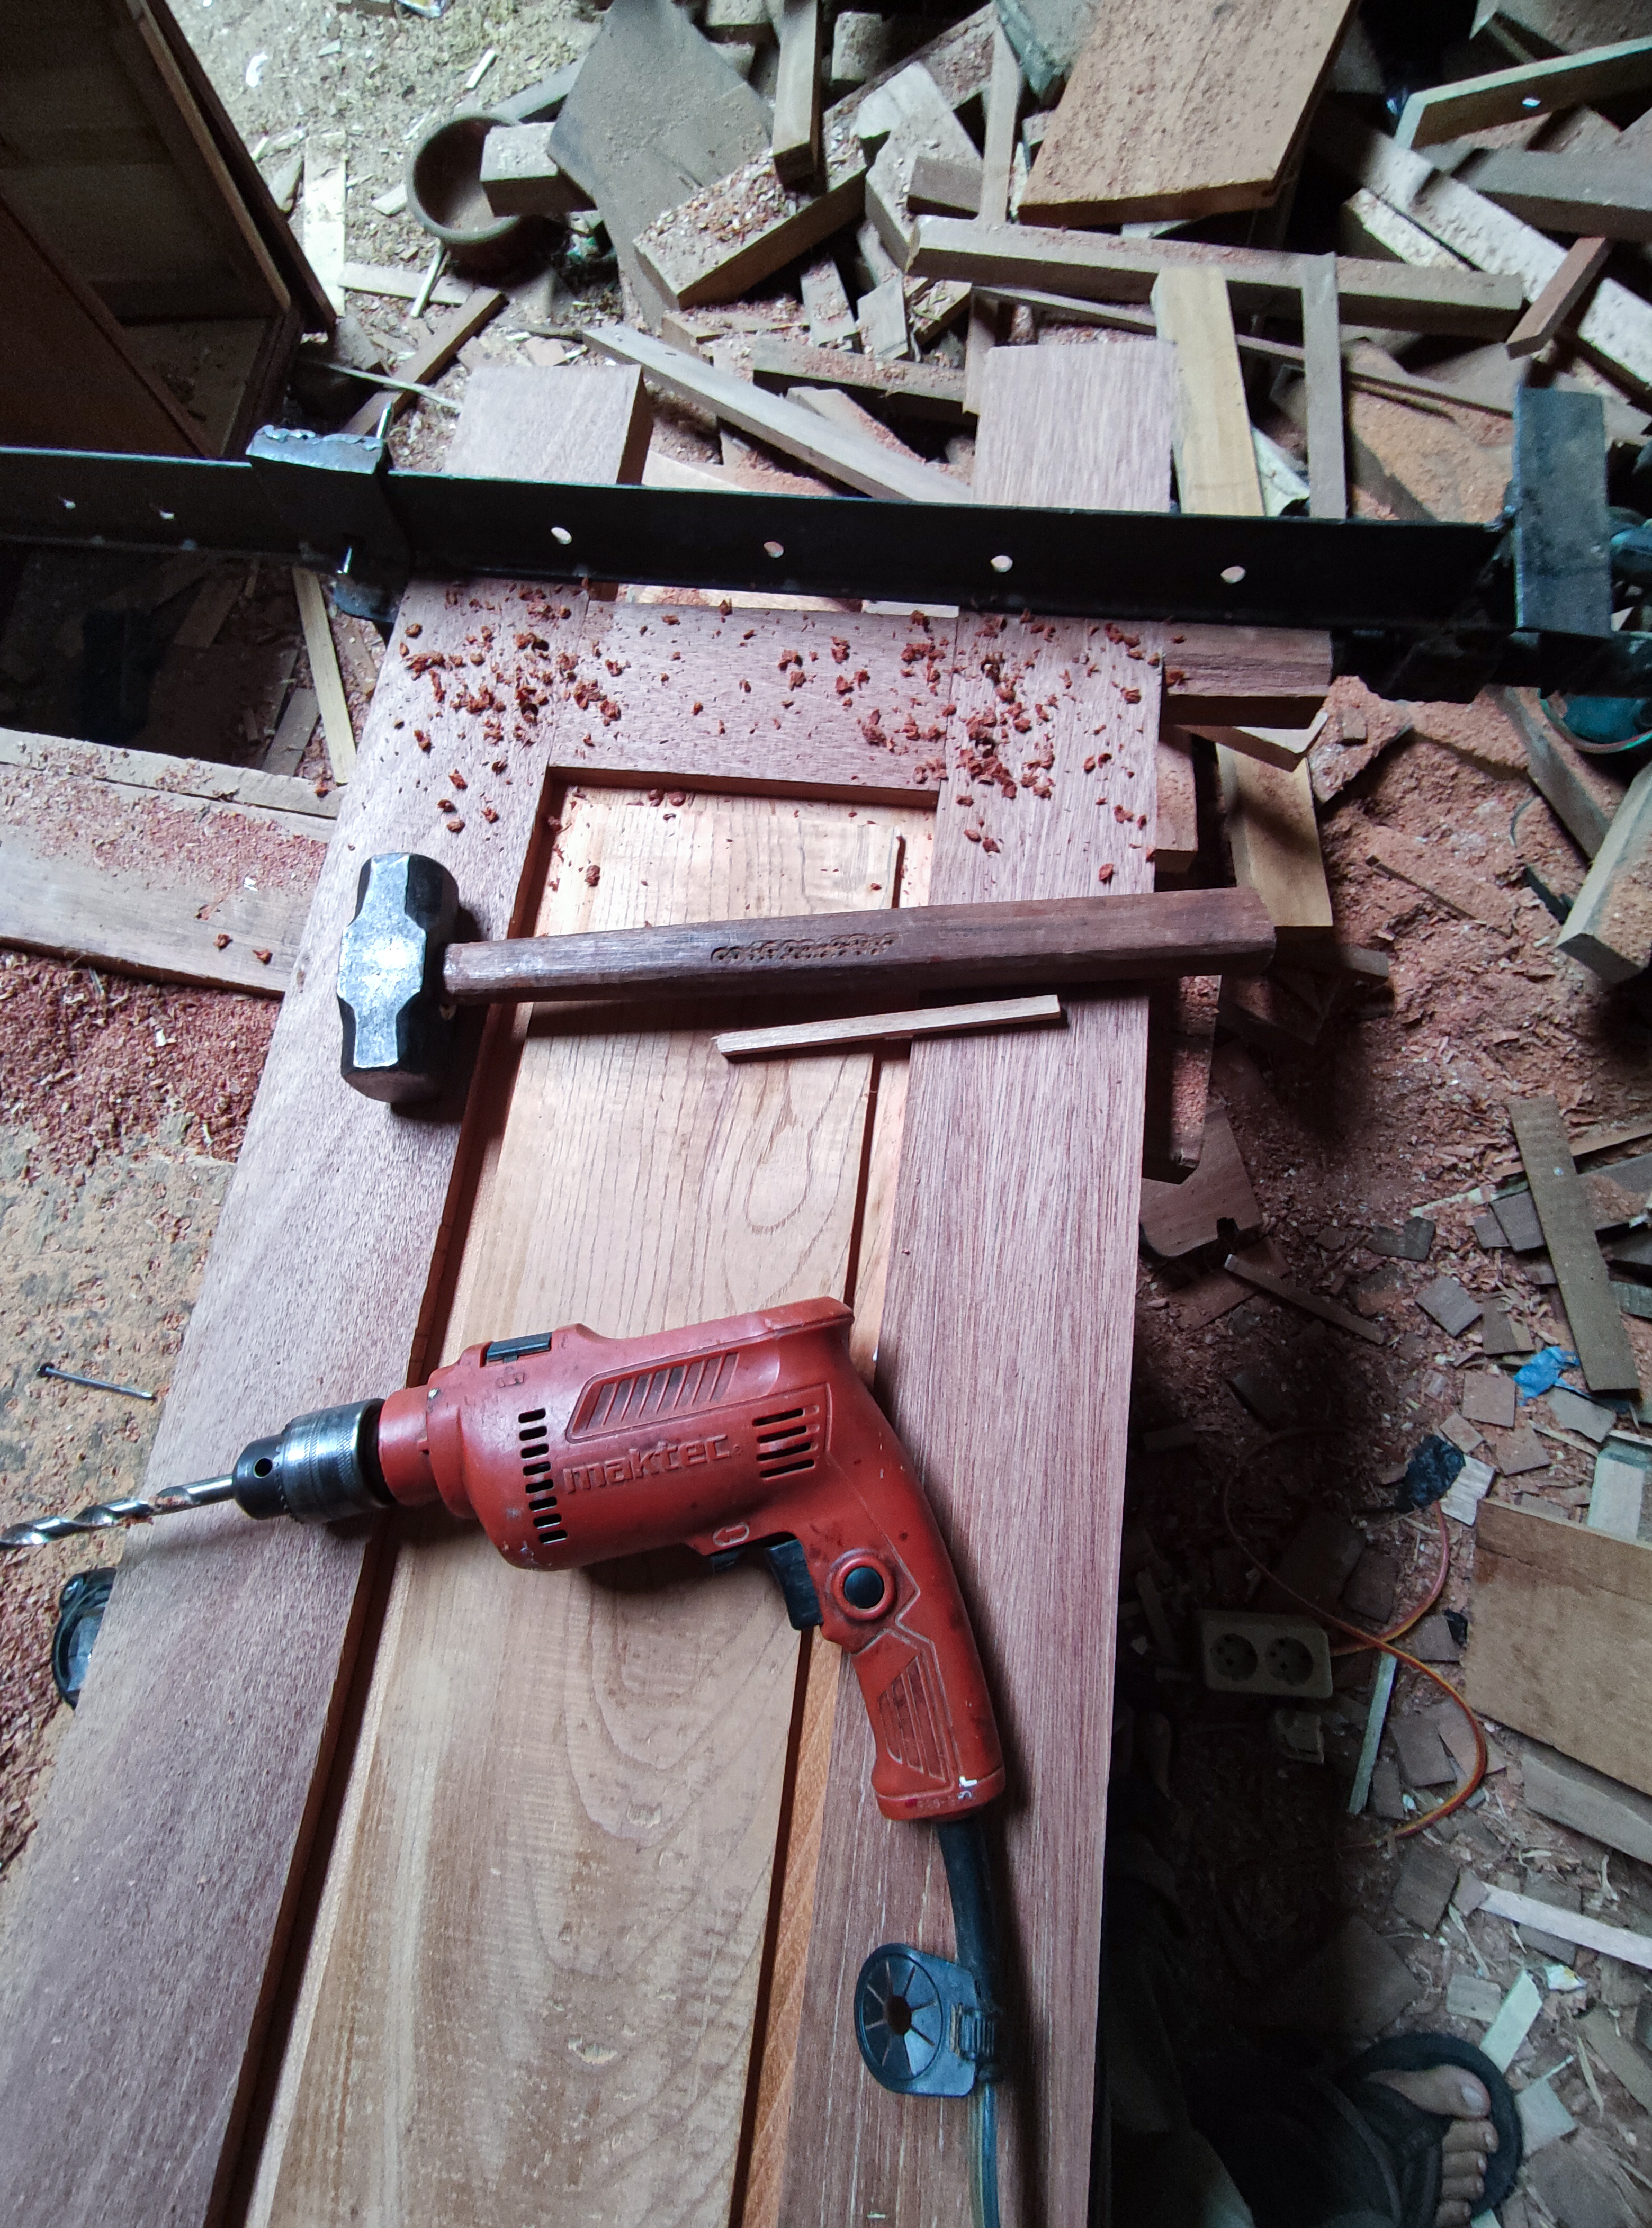
4.Hand drill(to make holes in the wood when installing the pegs) and sit drill(to make holes in the bulkhead of the top and bottom of the dors).
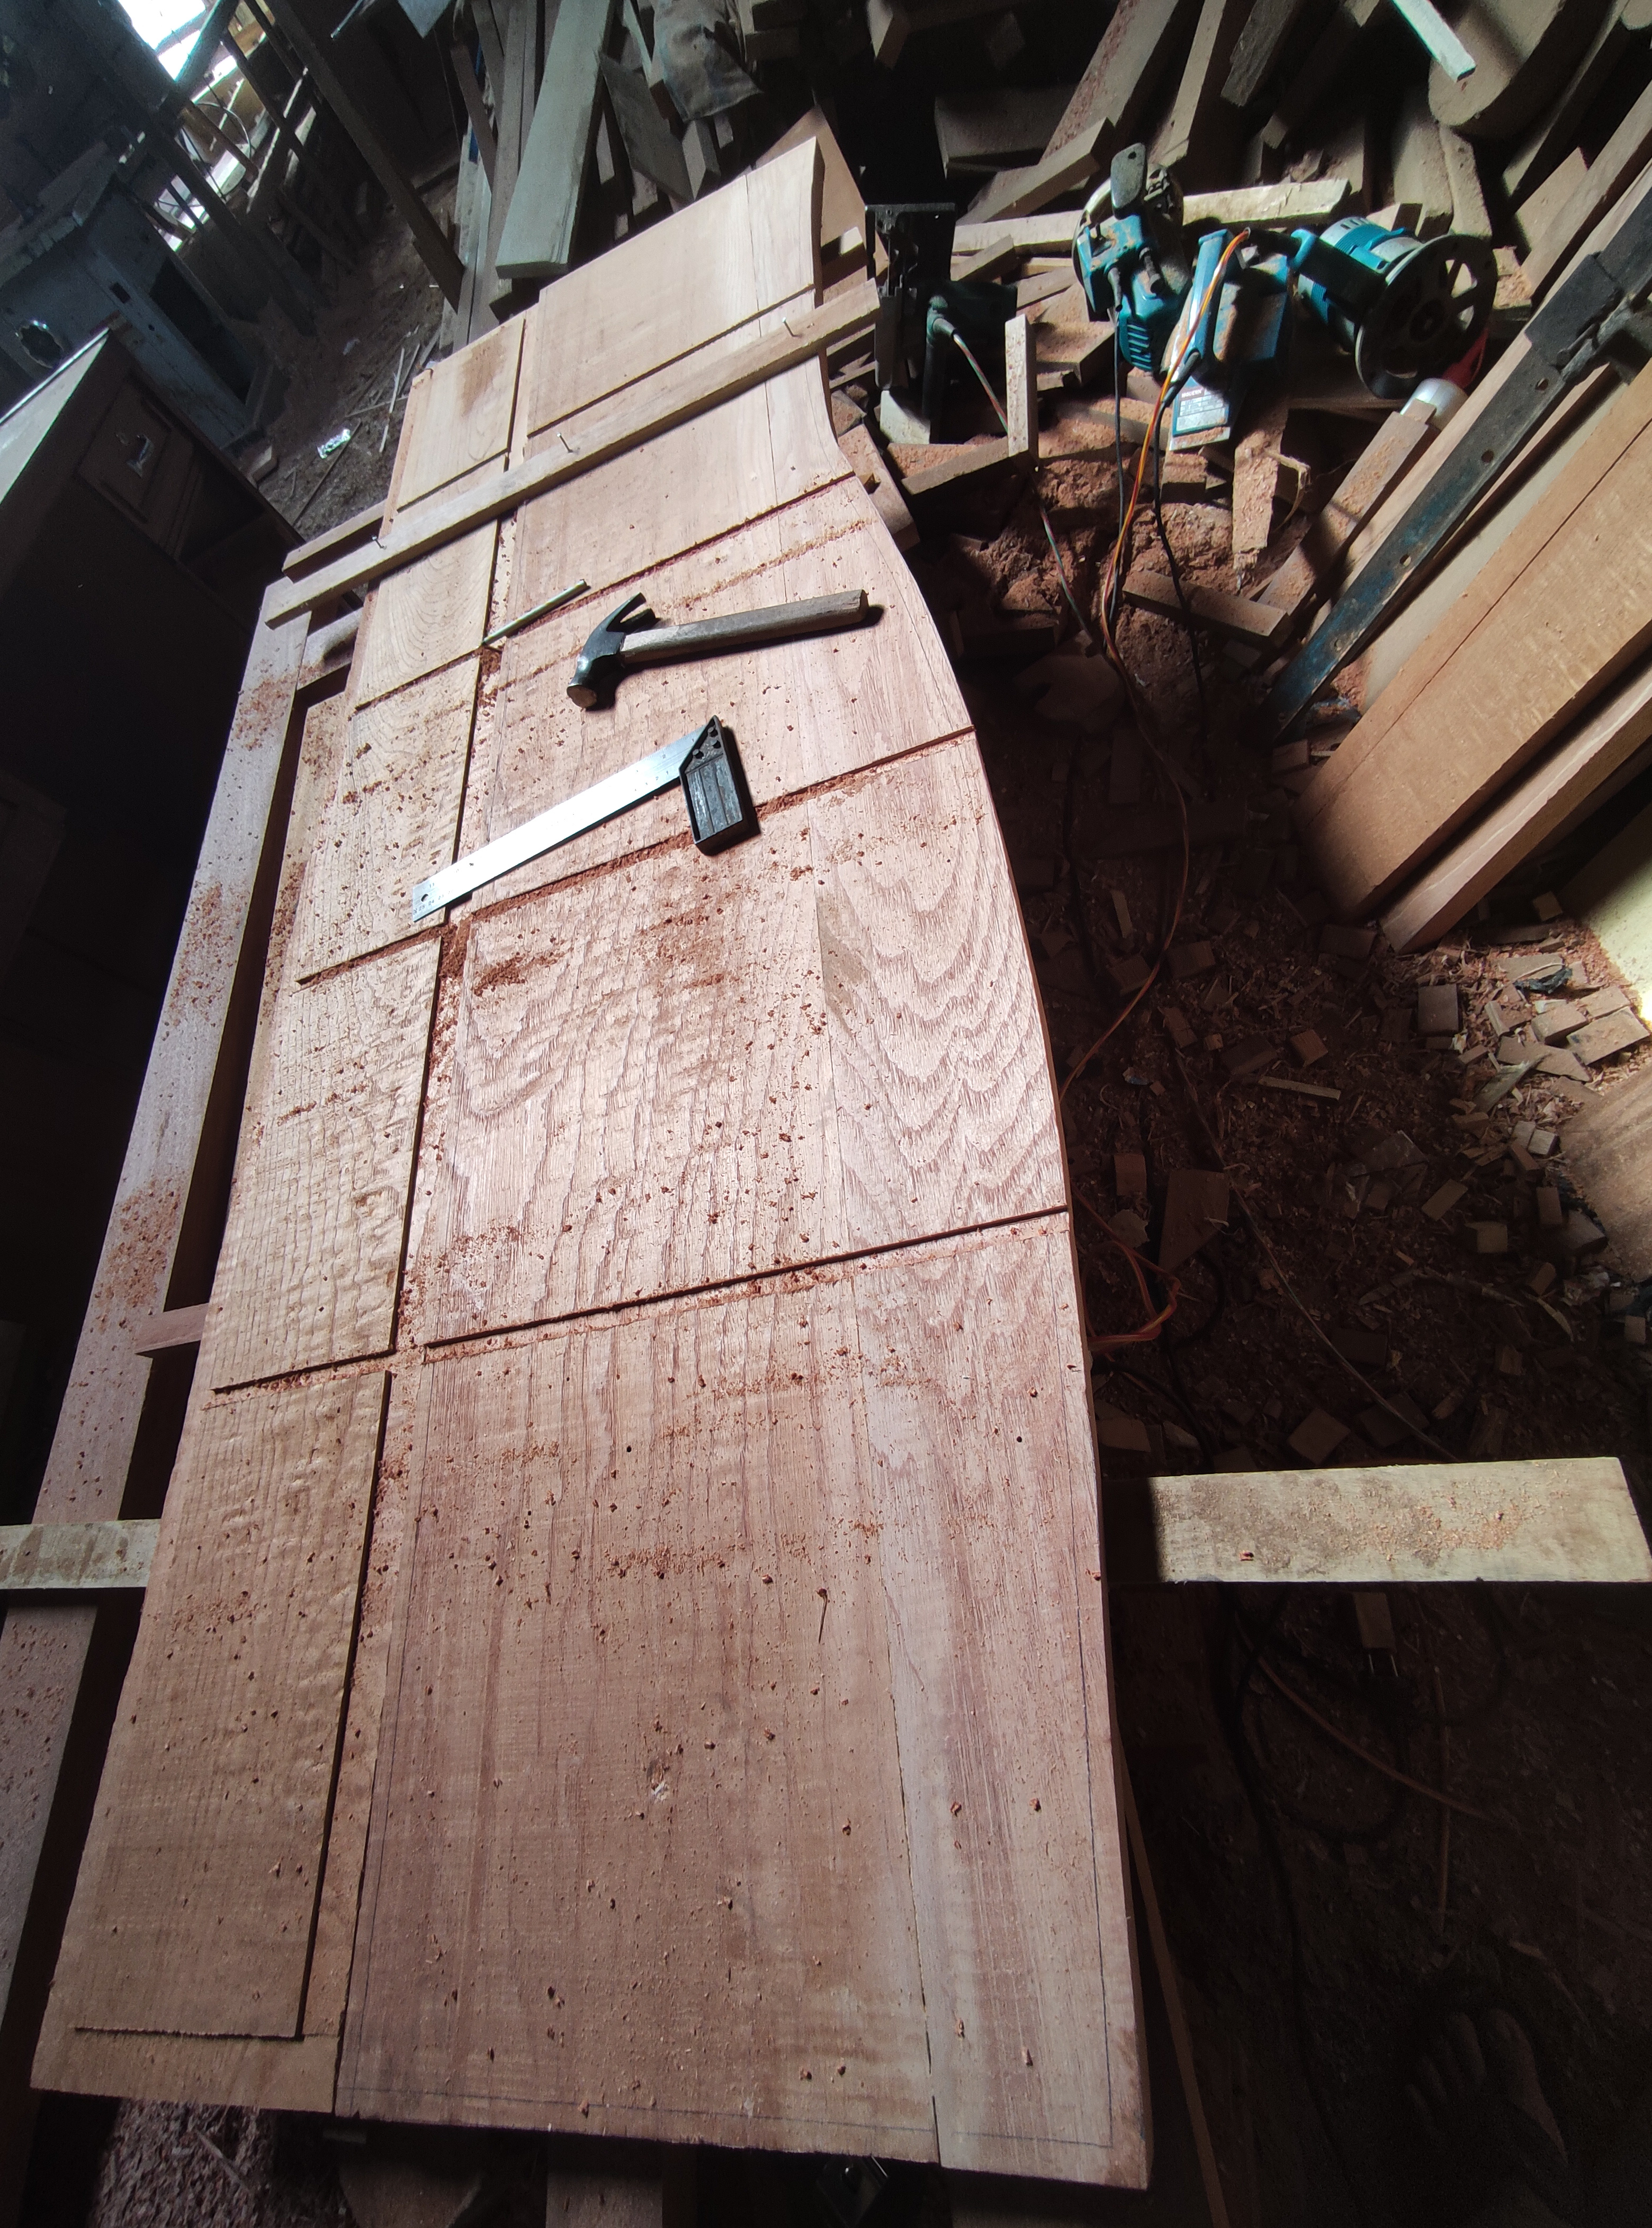
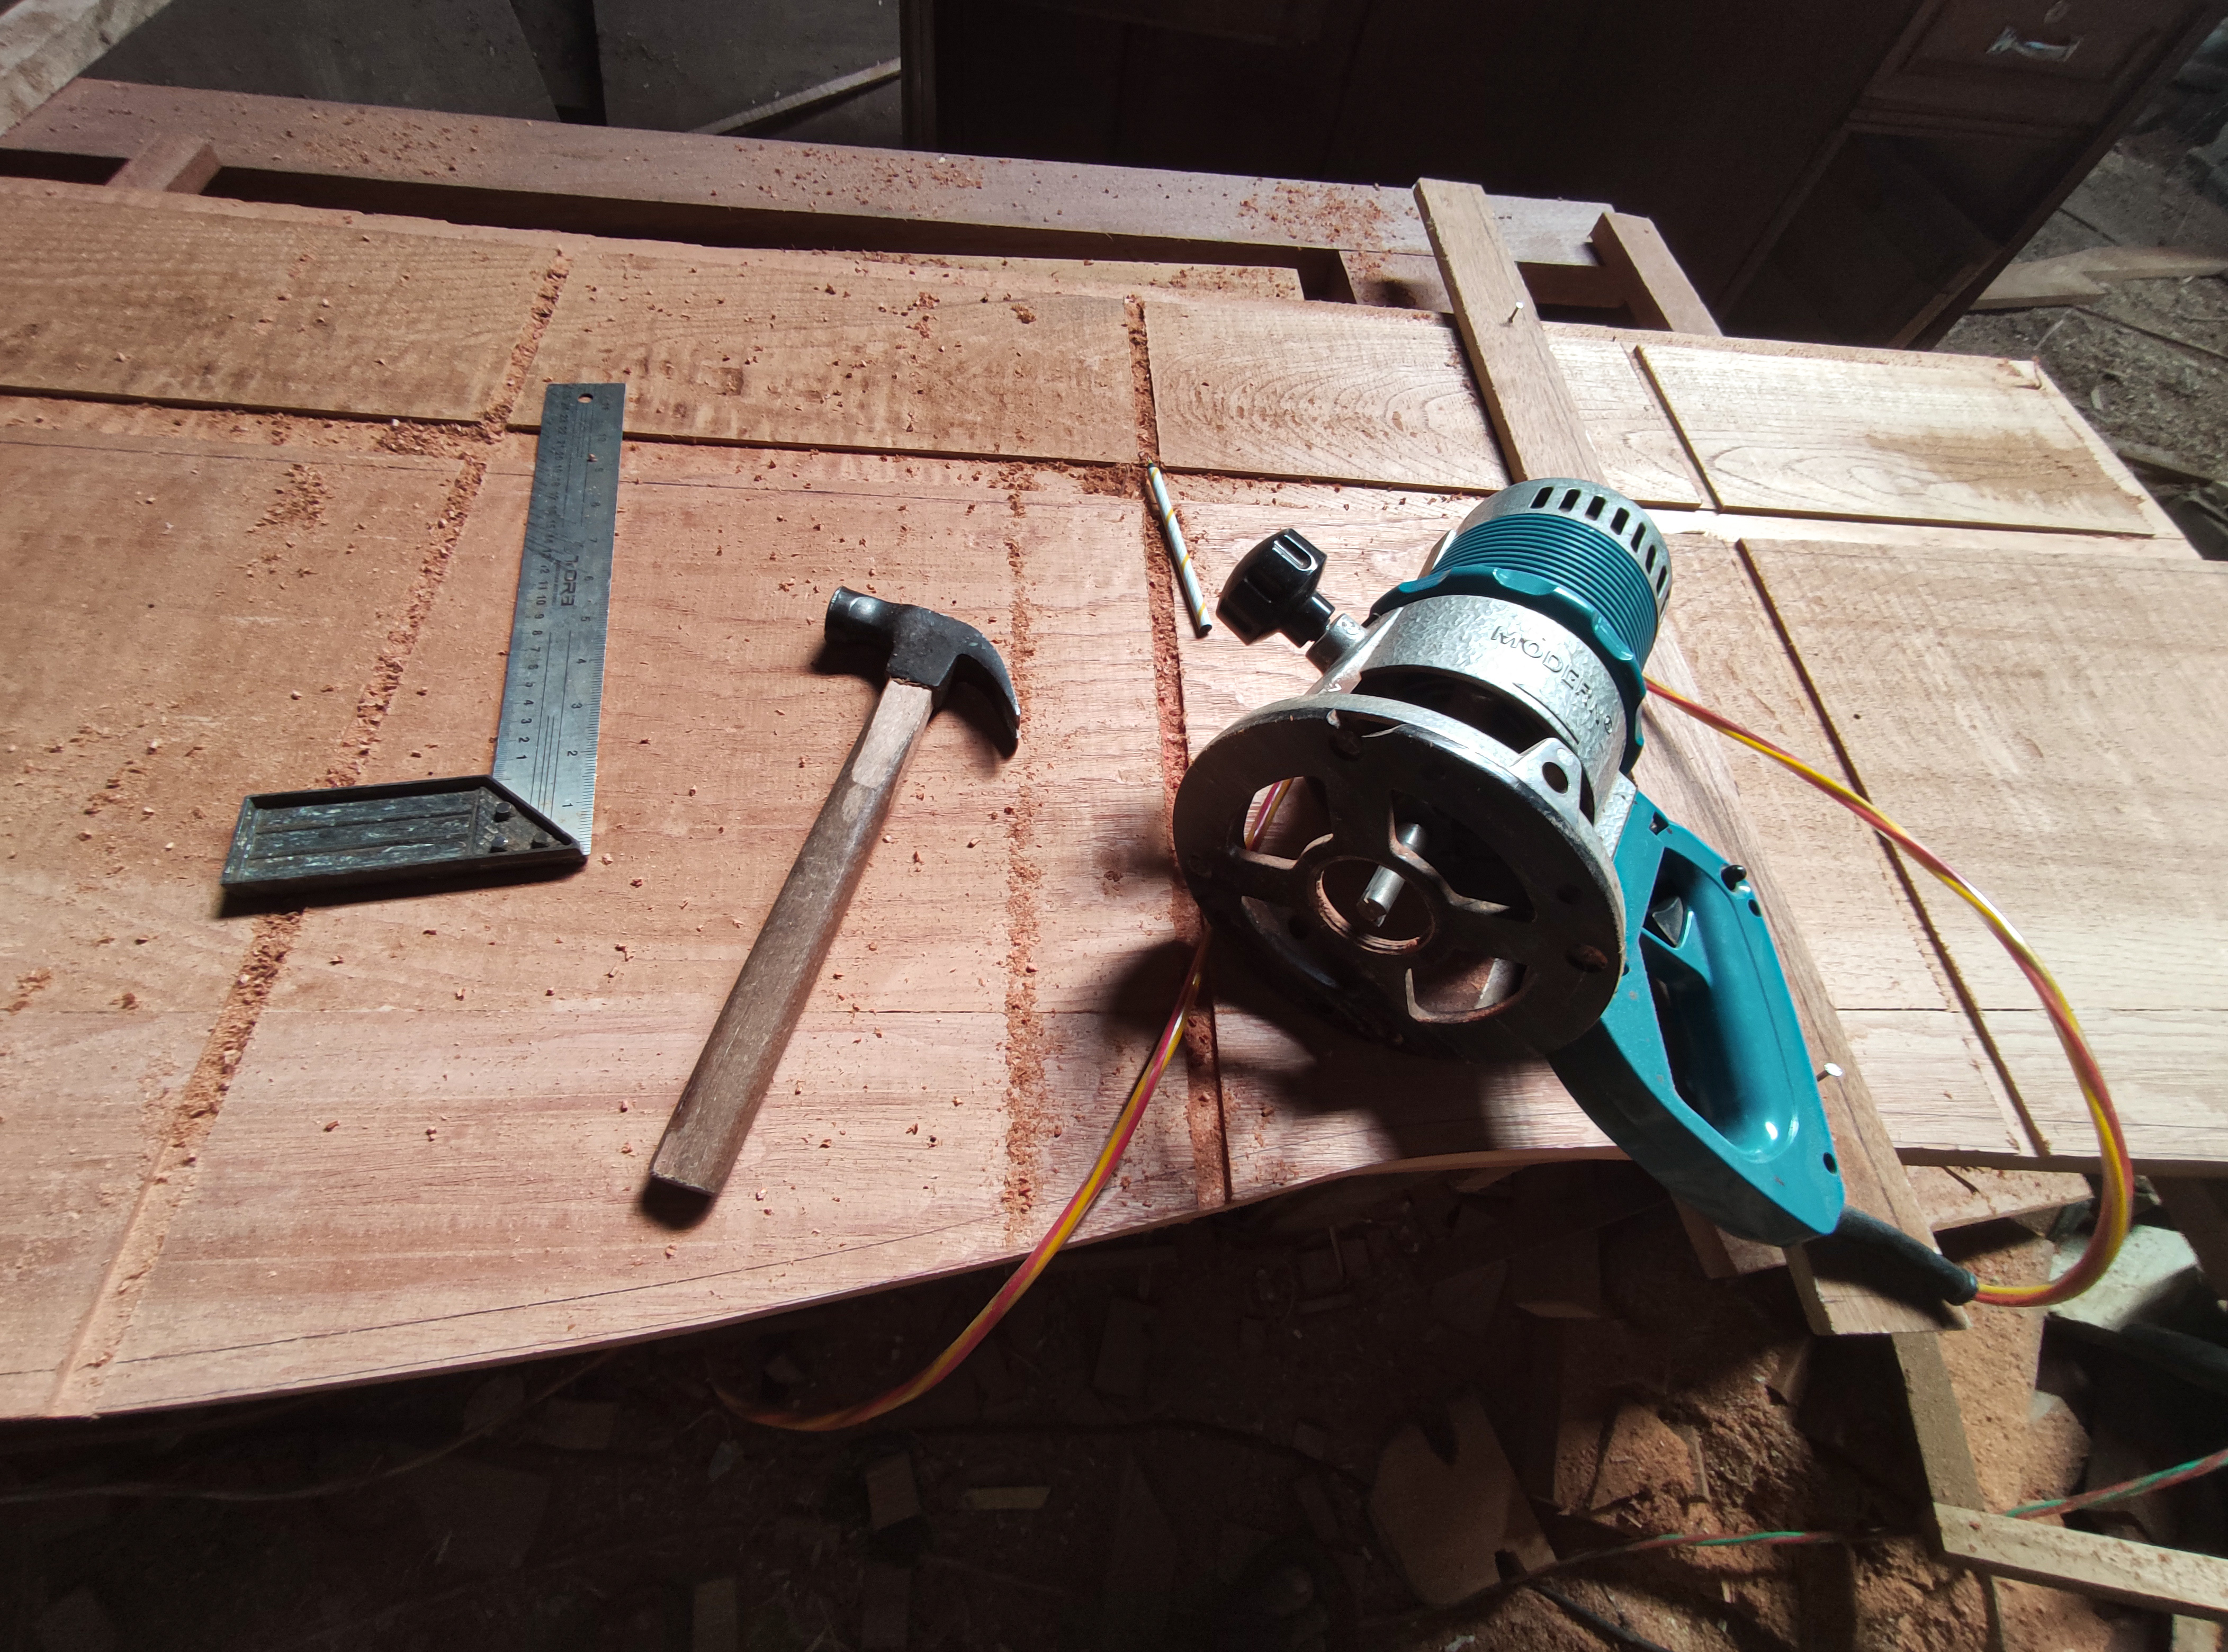
5.Meter and hammer
6.Router machine(for making flowers on the inside corners of doors and making leaf holder holes of doors).
7.Meter (measuring instrument)and elbow.
8.Smoothing machine .
9.Panel machine (to make nipple pegs on frame sets) and for door leaf flower panels and.
10.Manual iron press to the door series during the process of installing the pegs.
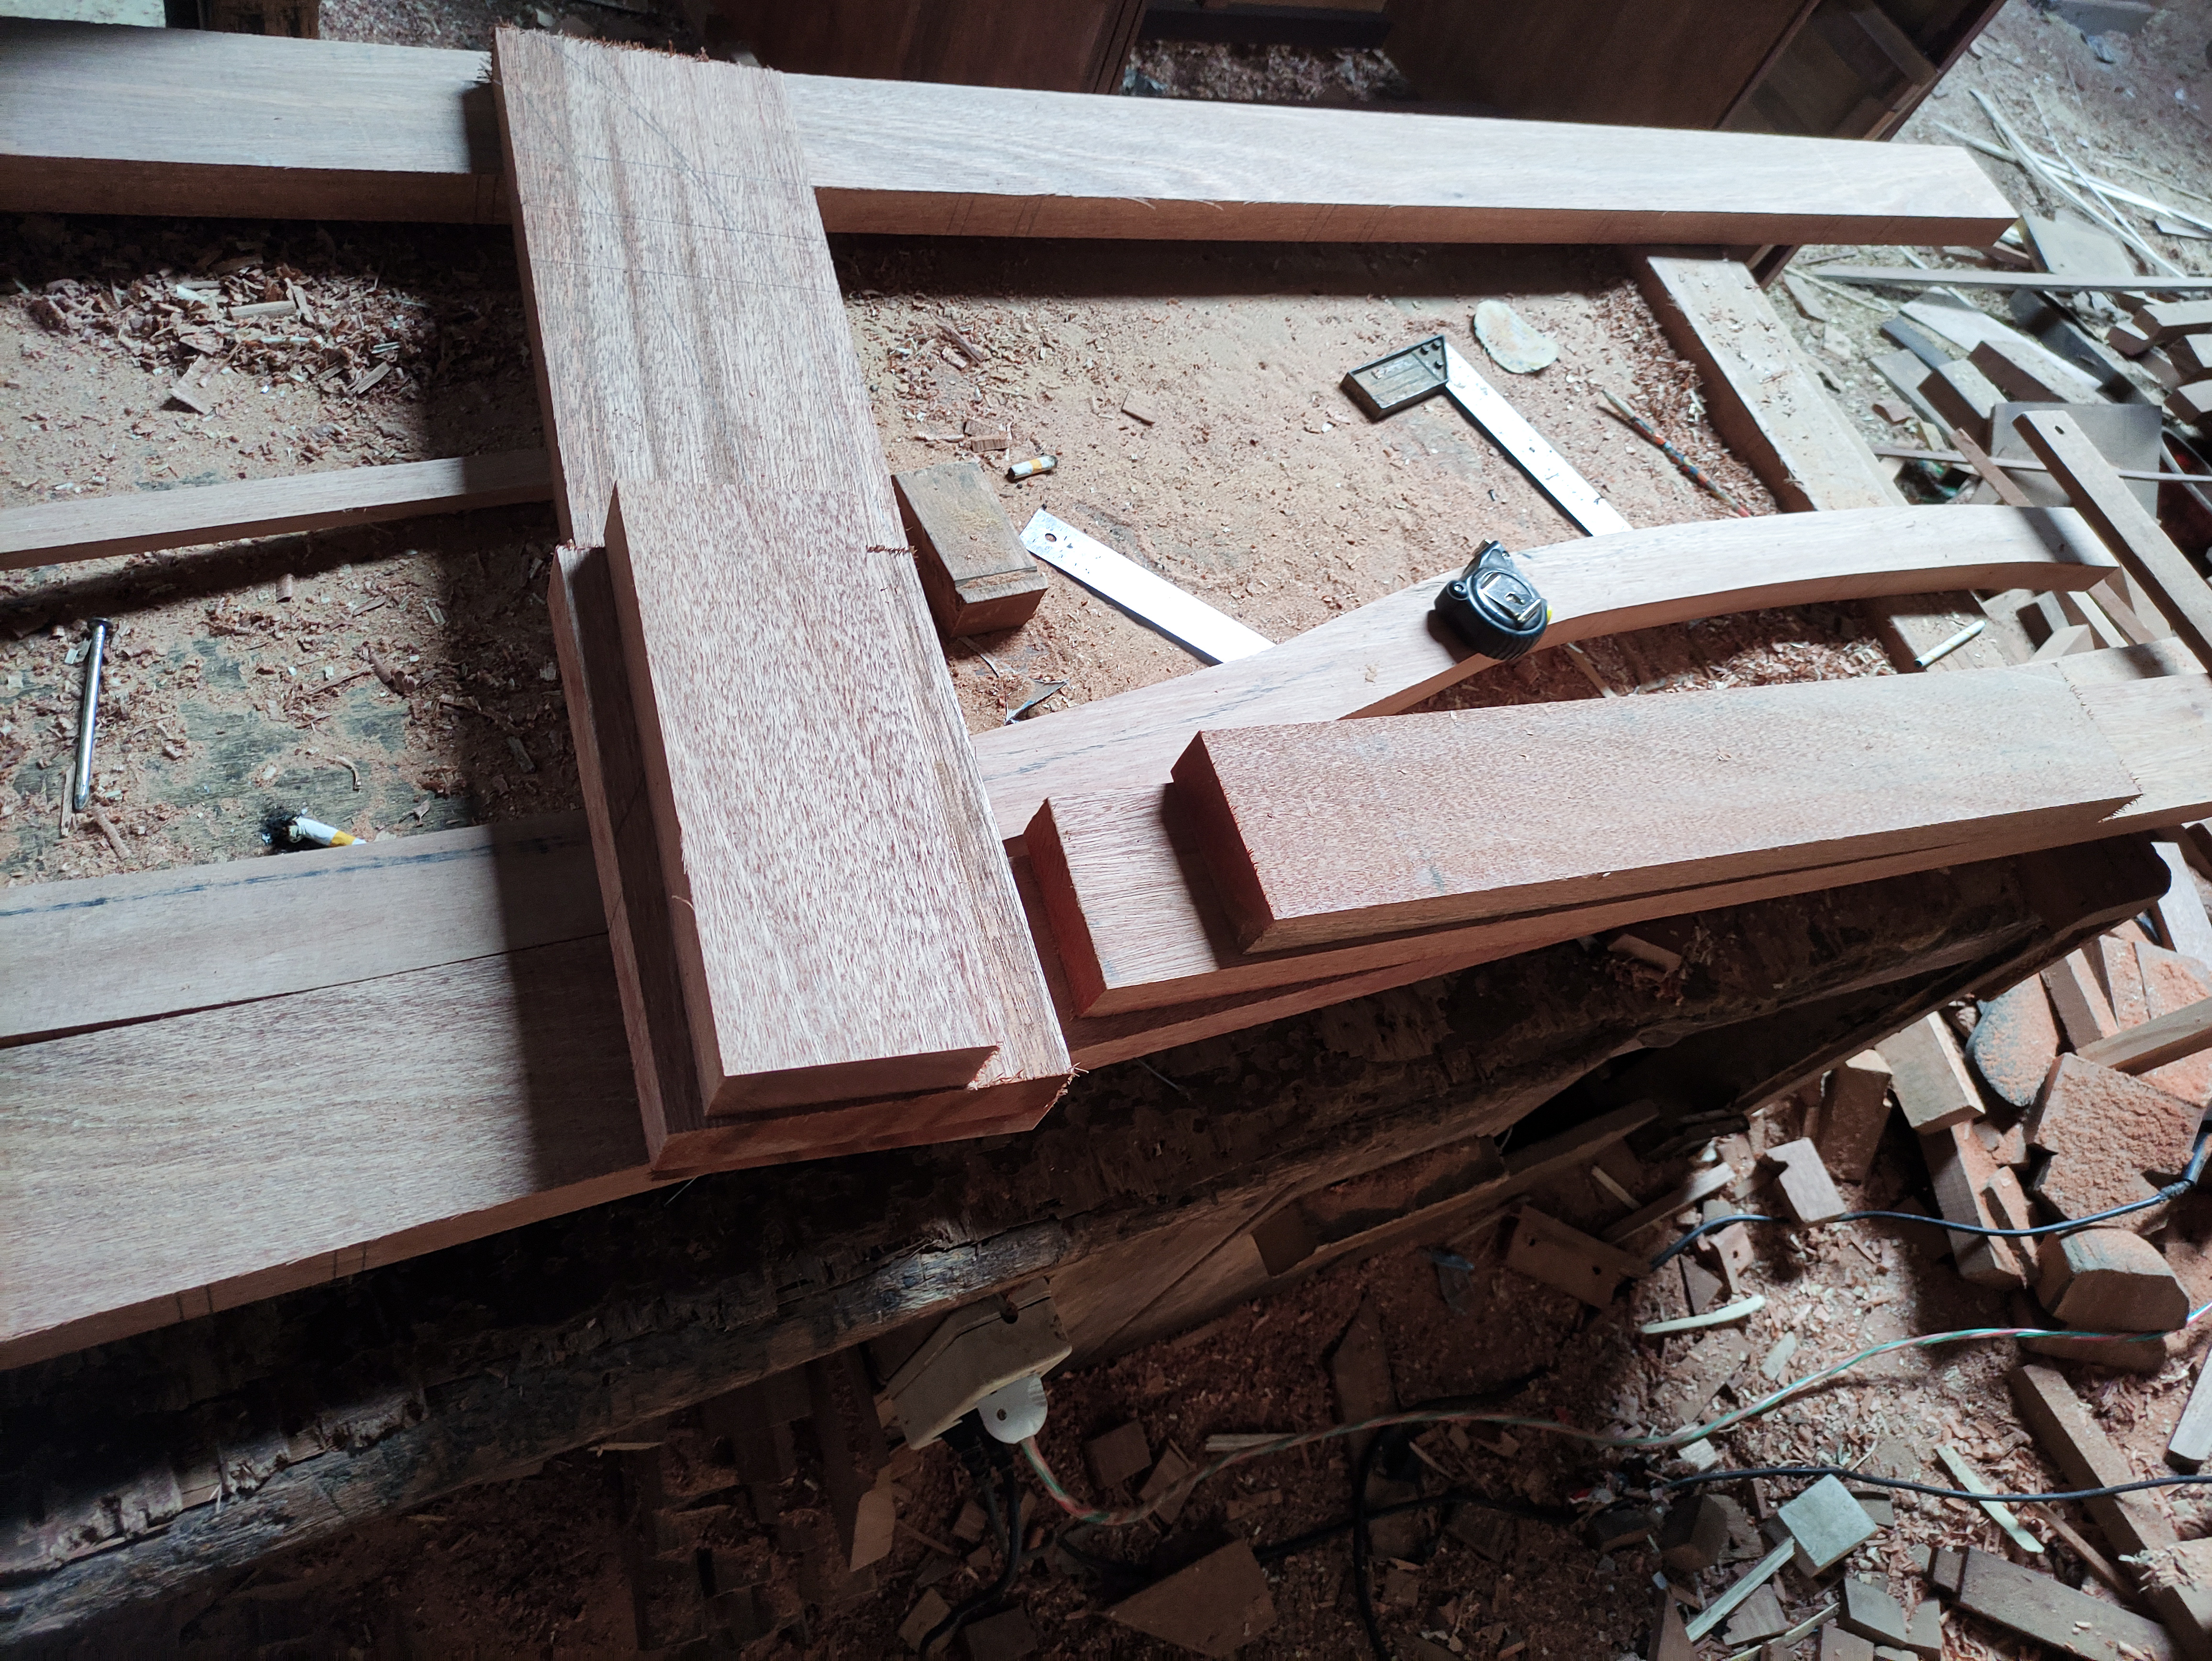
After all the materials are available, now we enter the main process, namely the preparation of a series of left-right door poles simultaneously from both doors,namely the main door pole 80 x 200 and the main door pole 40 x 200 and in the process of working on the door, it remains the same as the process of making doors or windows that I did before, namely the peg connection system.
The door frame material that has been trimmed with a width of 10.5cm with a thickness of 3.5cm of wood is the size of wood that we often use to make a series of doors, Then I outlined the drilling area for the door-wide bulkhead pegs of the four main posts of that two doors.

After I finished outline the set of drill point mounts, I continued cutting the bulkhead for the door width frame, for the size of the main bulkhead, the width of the door from the two doors of course has a different length and the size of the width of the wood for the top bulkhead and the bottom bulkhead frame of the door, of course, are different,for the upper bulkhead of the door we often provide a wood size of 10.5cm with a thickness of 3.5cm and for the lower bulkhead we often provide a wooden bulkhead measuring 16cm.
And after I calculated the length and number of bulkheads for a door measuring 80cm wide, I had to prepare 1 wood measuring 10.5 wide with a wood thickness of 3.5 cm and a length of 67cm consisting of 4 cm left and right of the peg and also 1 wooden bulkhead measuring 16cm wide with 3.5cm thick and 67cm long consisting of 4cm nipple pegs at the left and right ends of the bulkhead.
And for the door divider that is 40cm wide, I have to prepare the top bulkhead wood with a width of 10.5cm with a thickness of 3.5cm of wood and a length of 27cm one stick and also 1 wooden bulkhead measuring 16cm wide with 3.5cm thick and 27cm long consisting of 4cm nipple pegs at the left and right ends of the bulkhead.
After I finished the bulkhead of the basic circuit, now I continue the process of making the middle bulkhead on the circuit doors a width of 80cm x 200cm.
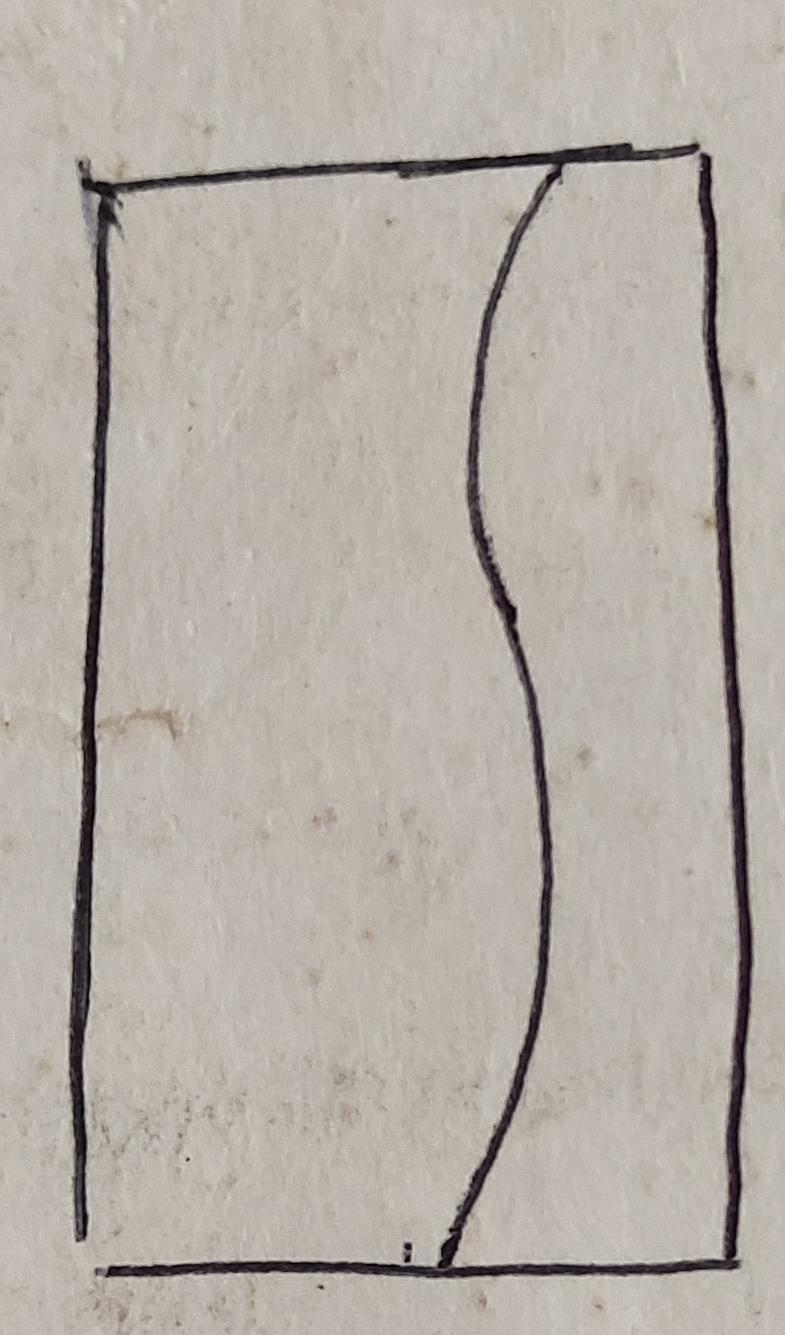
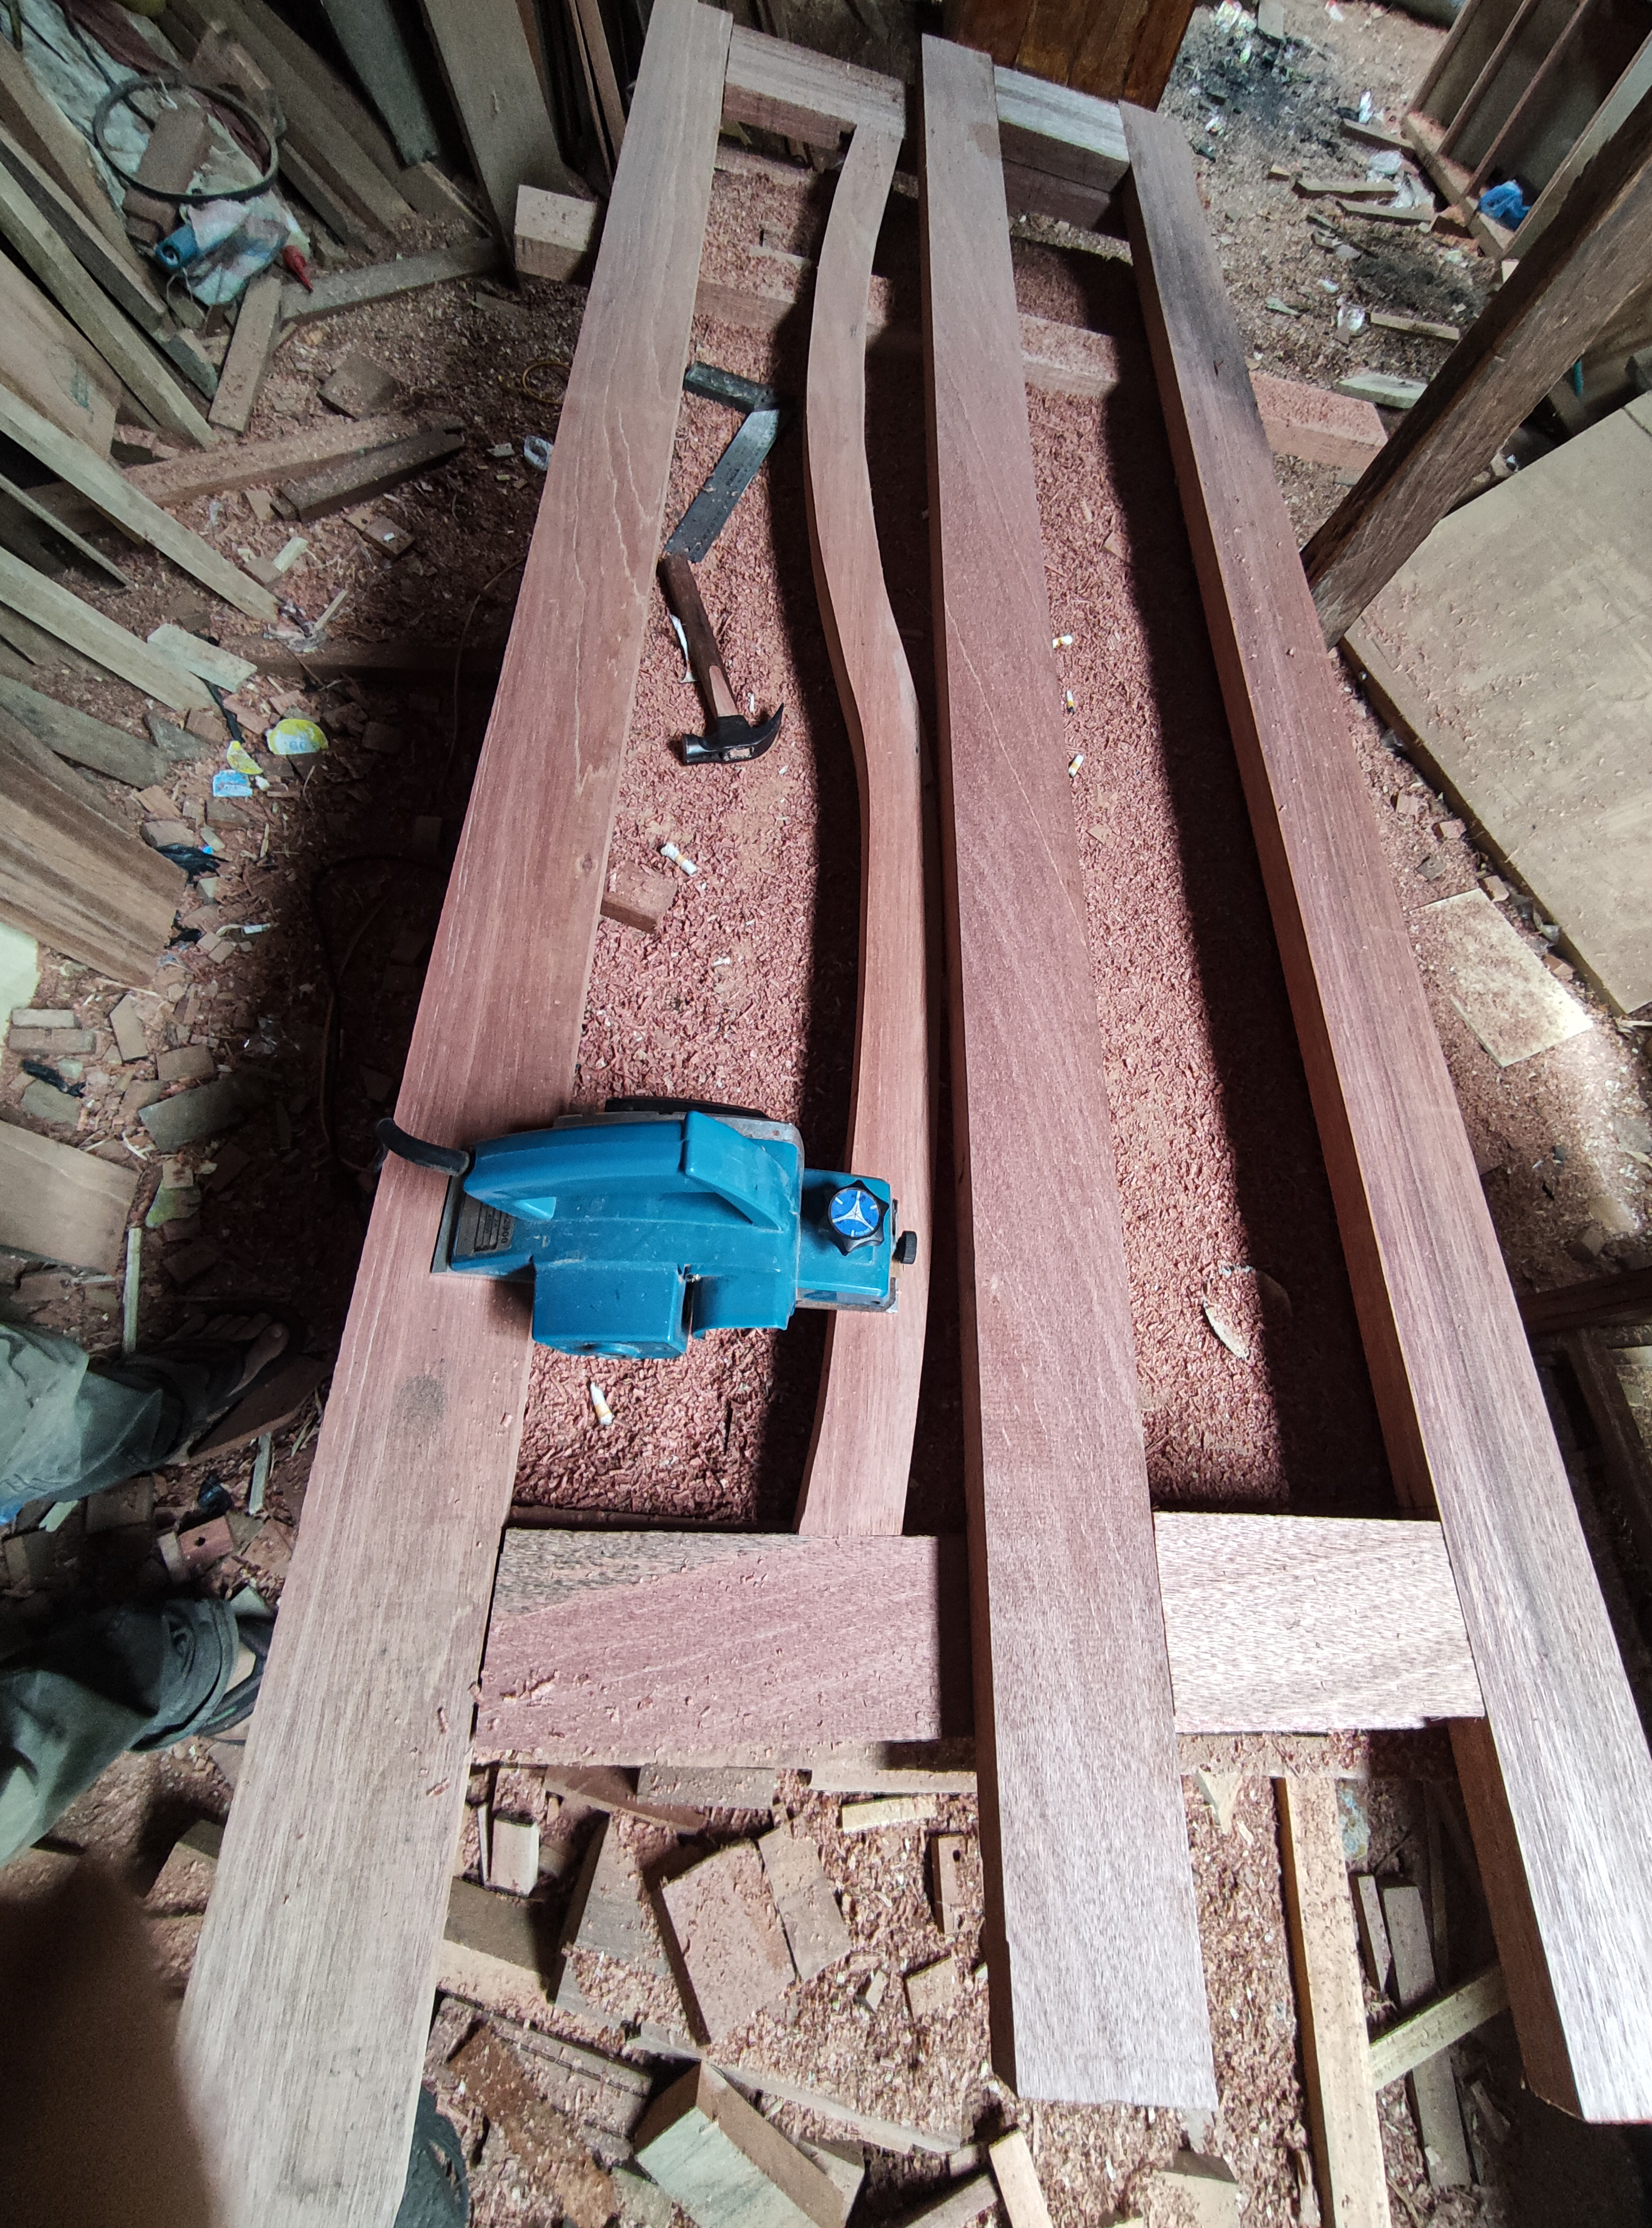
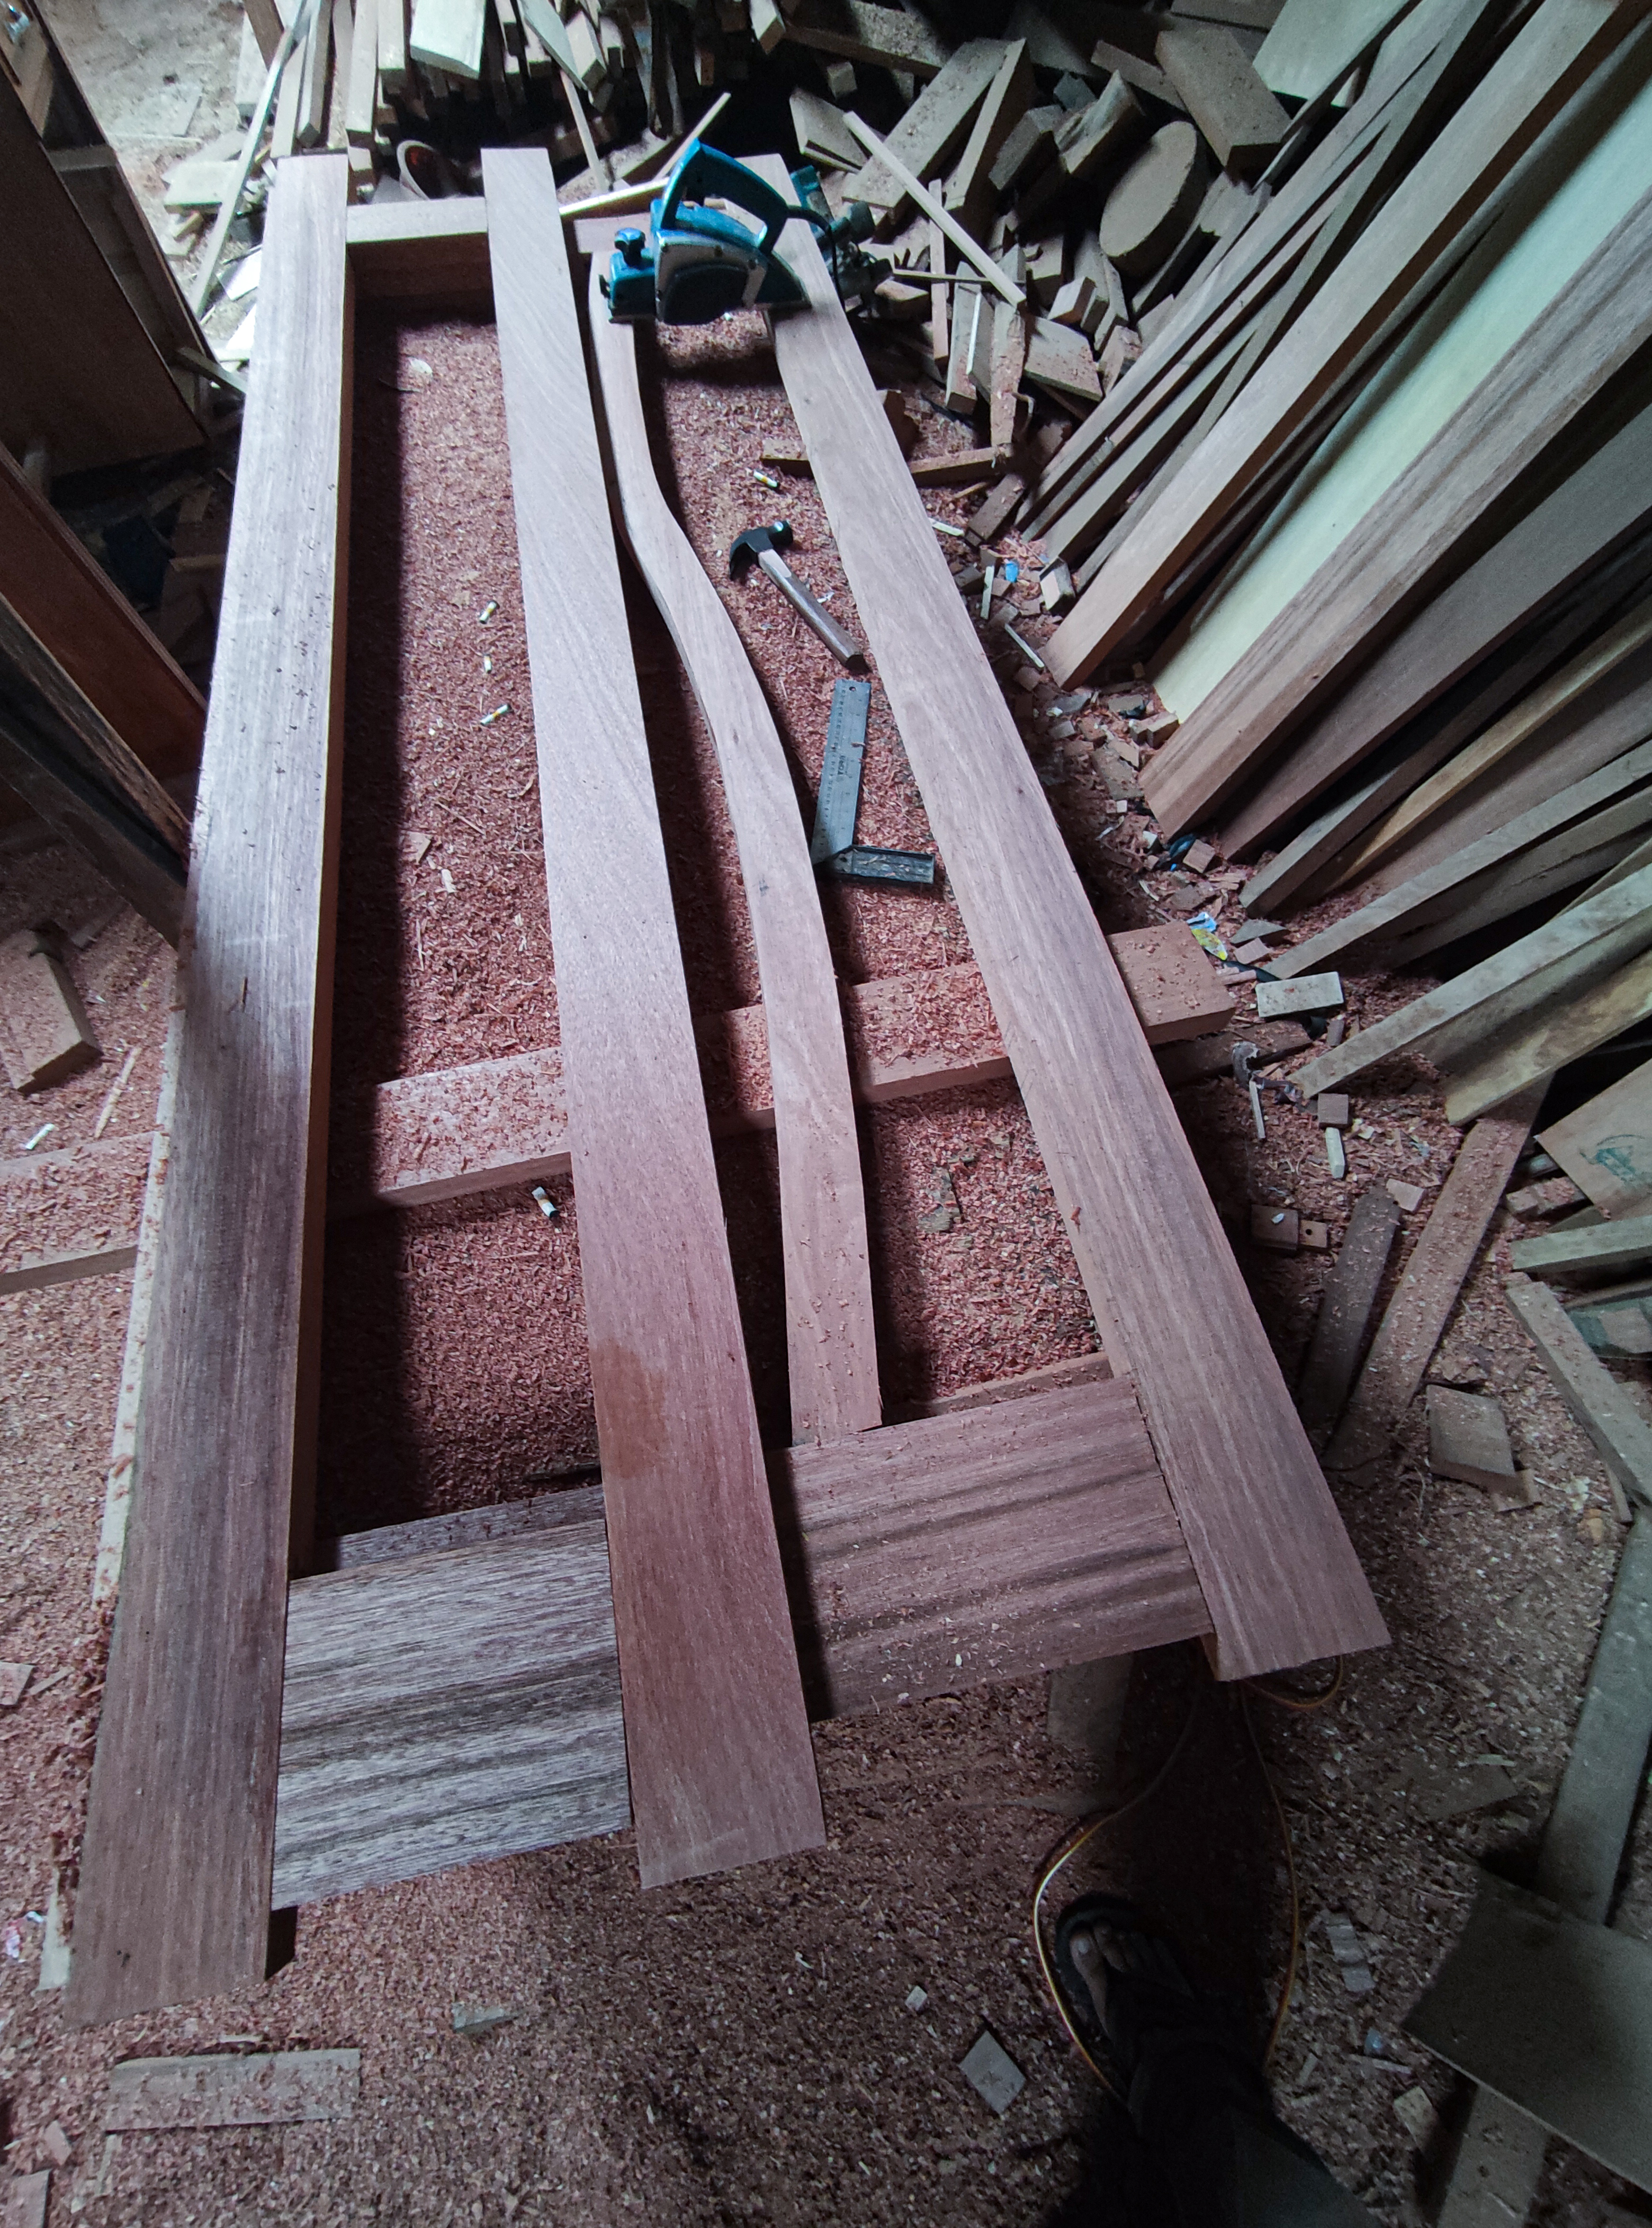
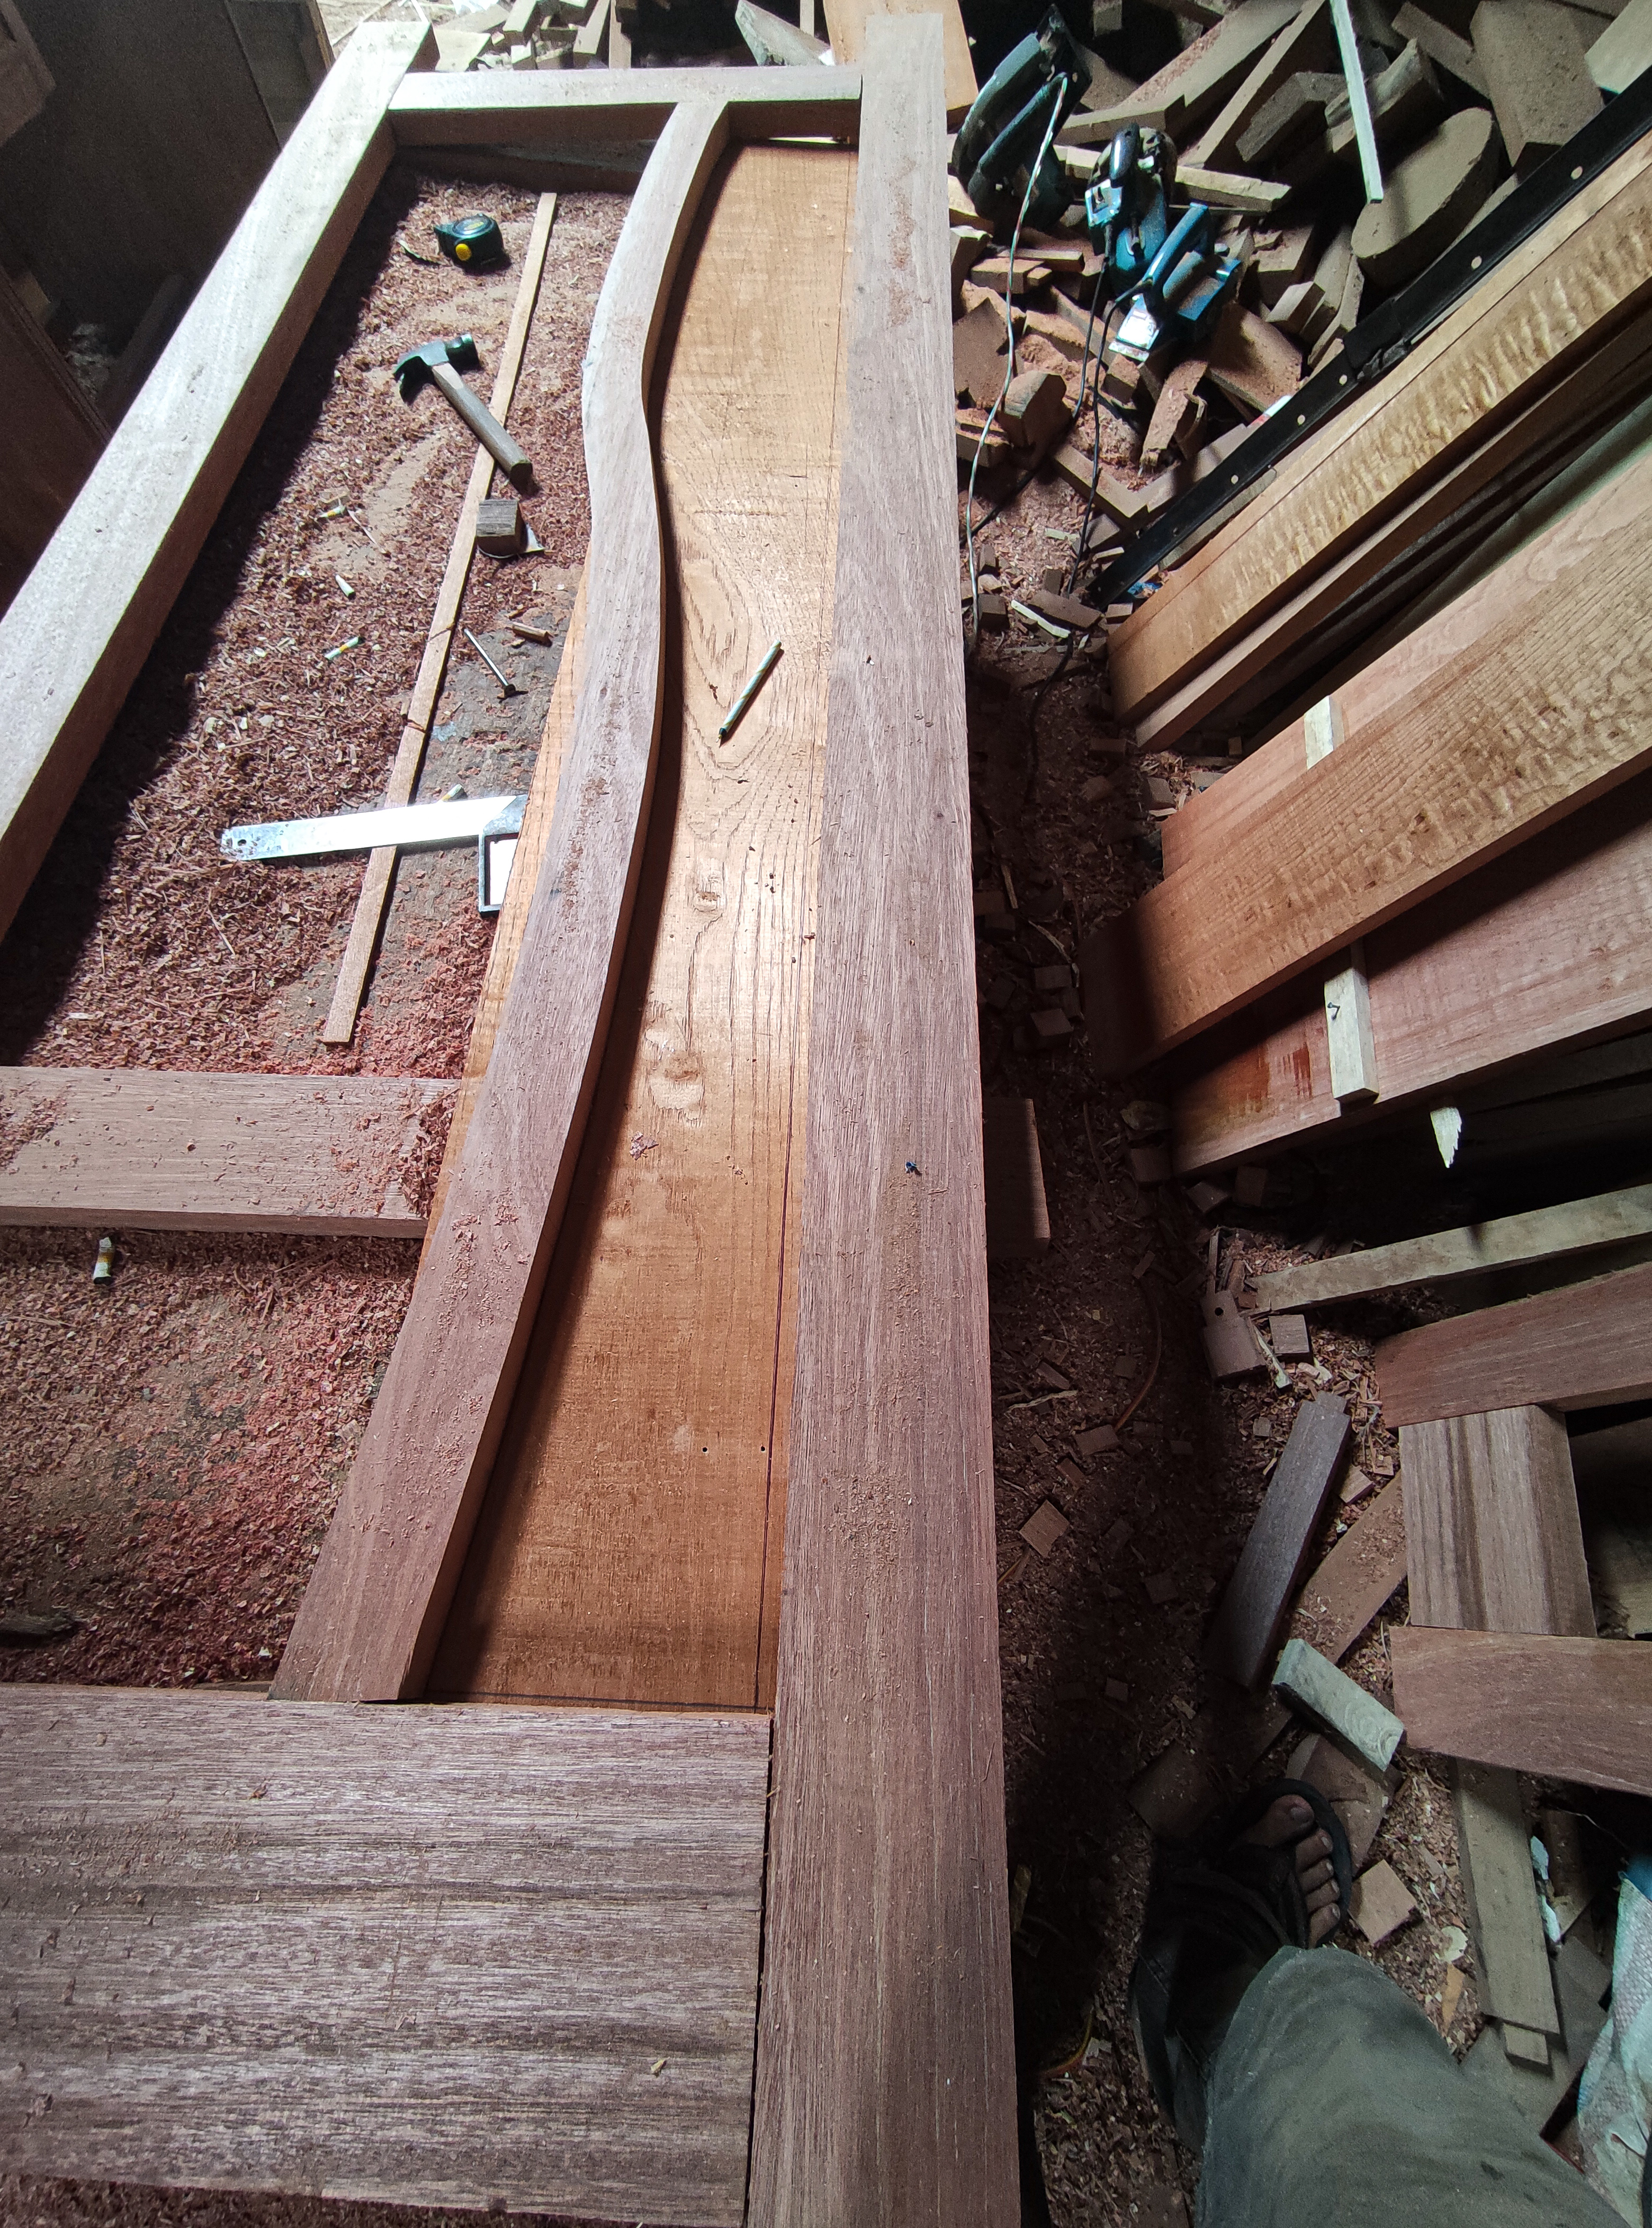
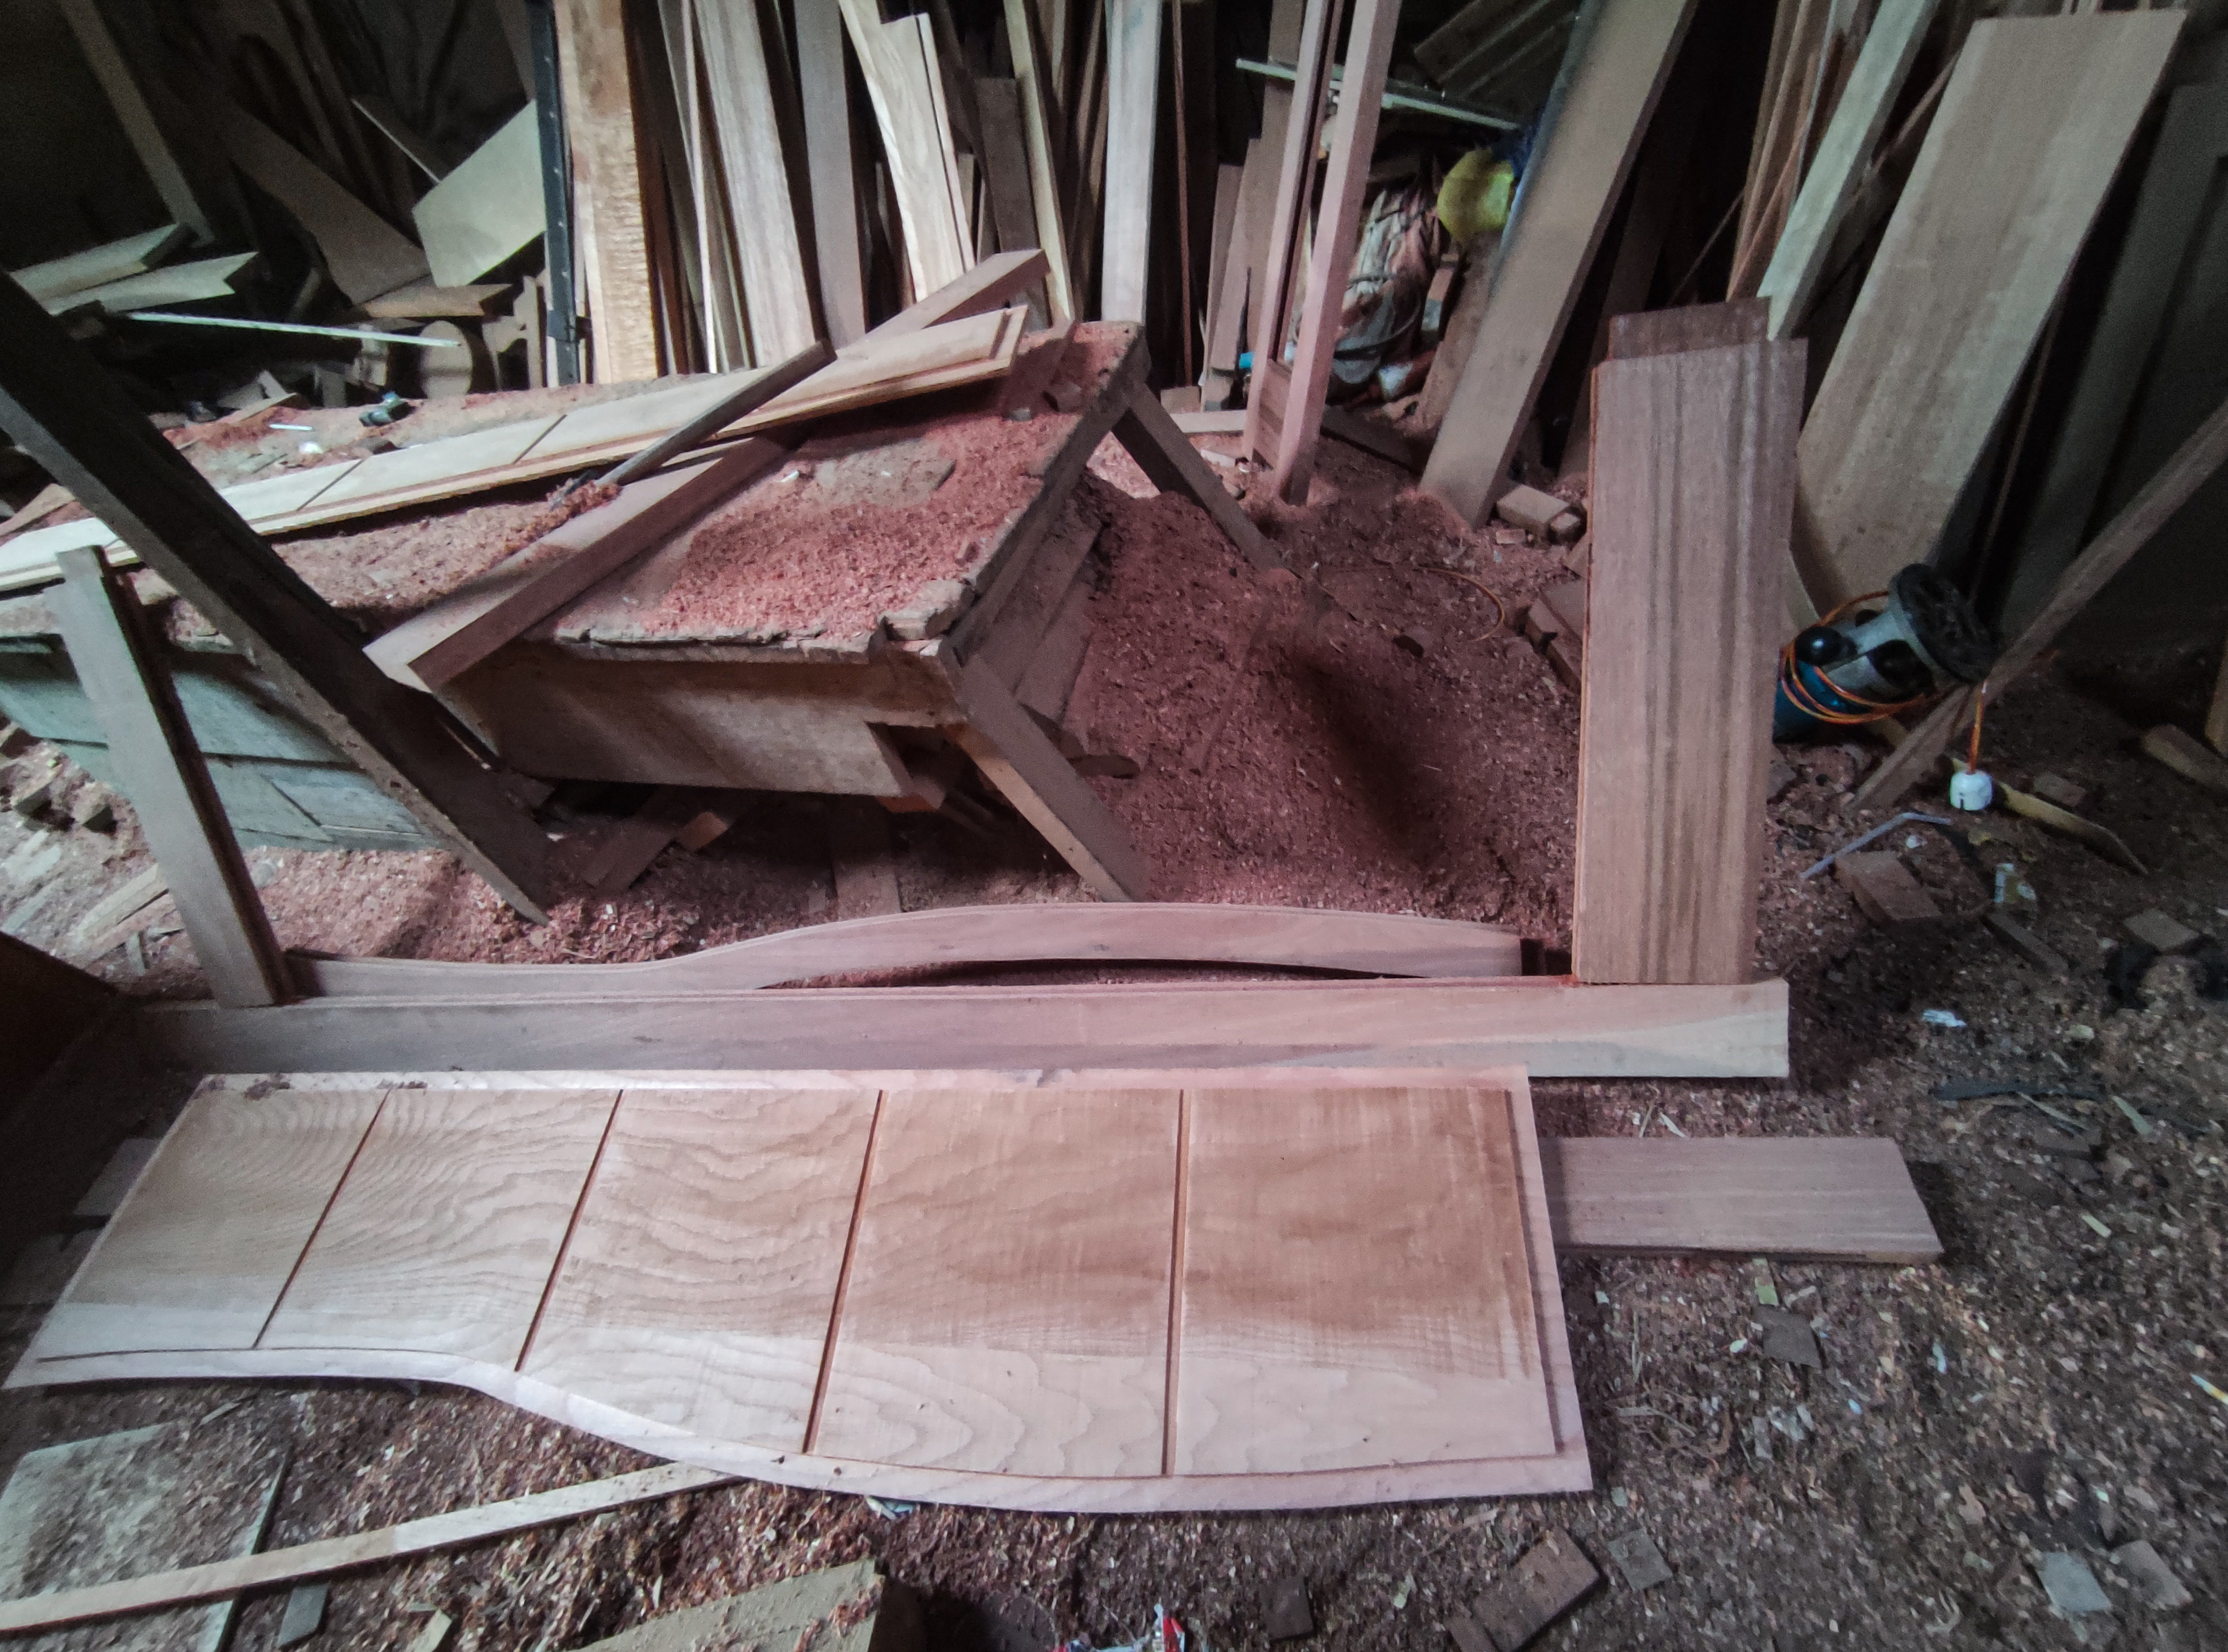
To make the bend bulkhead I used a wooden block with a width of 16cm with a thickness of 3.5cm of wood and a length of 177.5cm according to the size in the door series consisting of 4cm top and bottom pegs.
And the process of making environmental insulation for the door after I provided a thick plank of wood with a width of 16cm, then I drew an arch and continued cutting using a sitting jitaw machine and this is what the basic cutting process looks like.
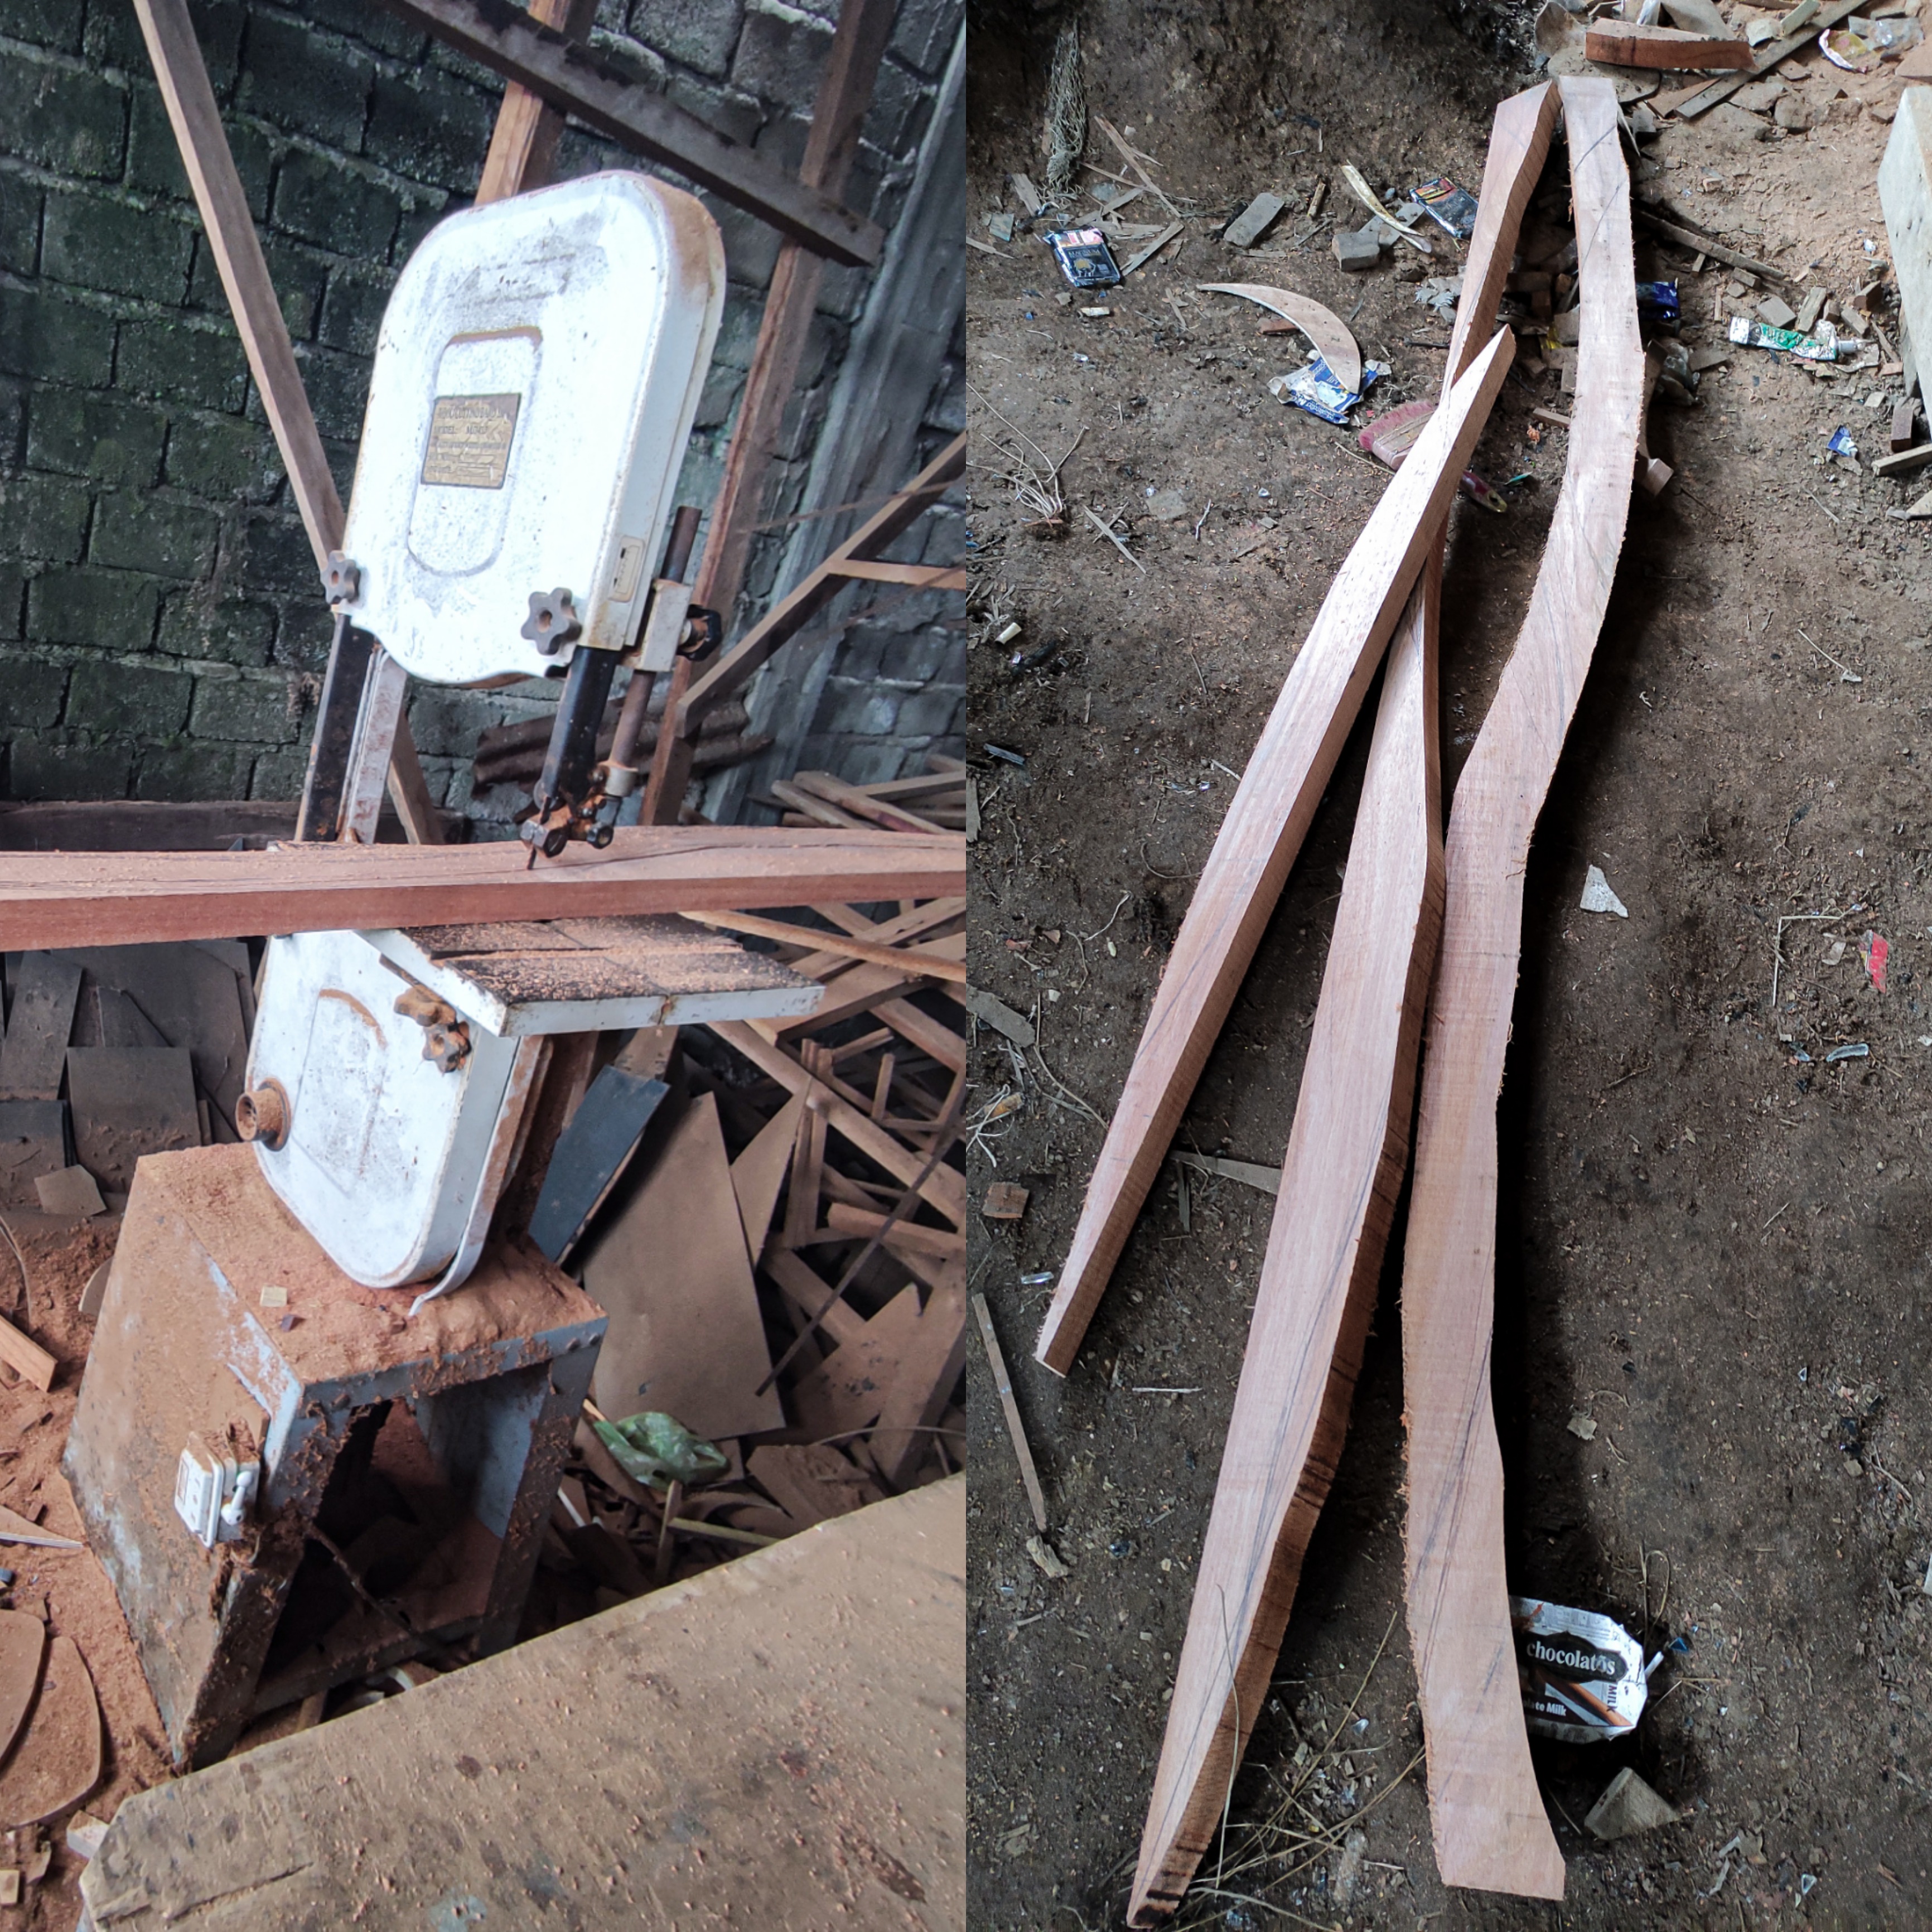
After finishing the cutting of the bulkhead arch, then I continued the process of trimming it to form the curve as I expected by using a grenda machine and a shaving machine until the bulkhead is curved up to a size of 6cm with a thickness of 3.5cm.
After the process of preparing all the bulkheads for the door base material, now I will continue the process of drilling the peg holder on the main bulkhead of the two doors and also drilling the upper and lower bulkheads of the 80cm door.
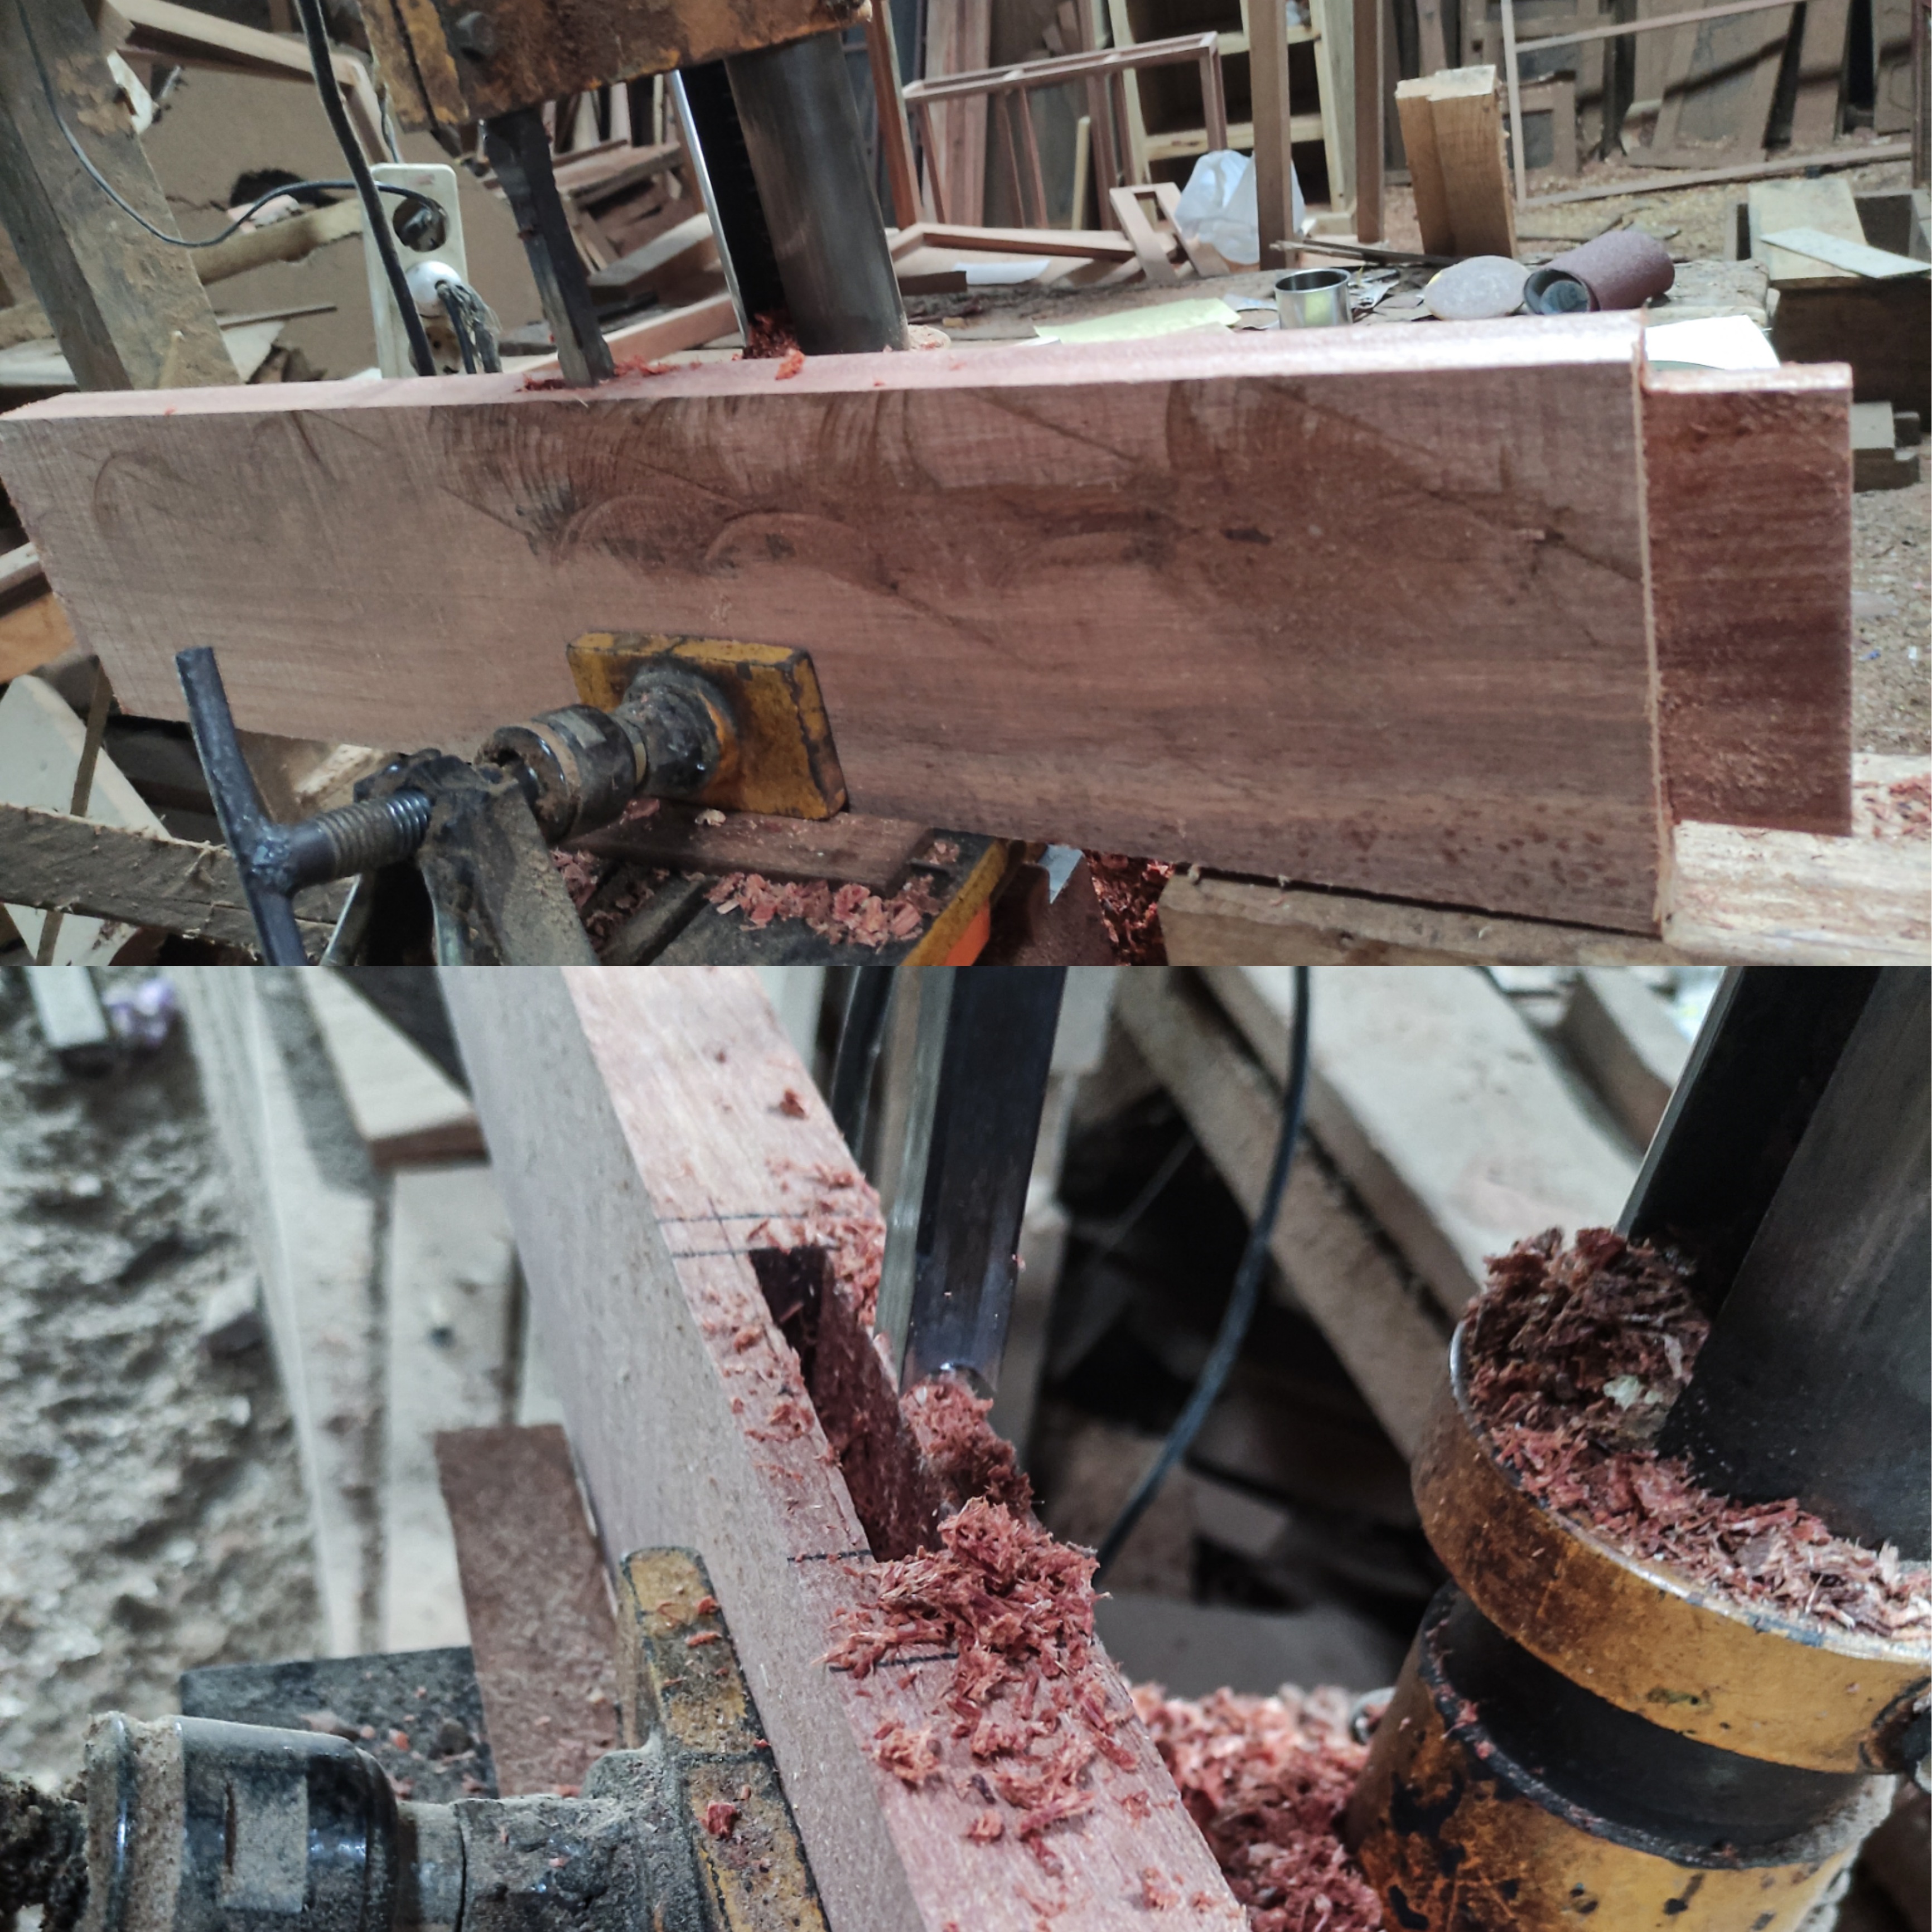
And after the drilling process is complete, then I continue the process of making the peg nipples from all the door width wooden bulkheads and the process of making the peg nipples I do using a panel machine and that process goes like this.
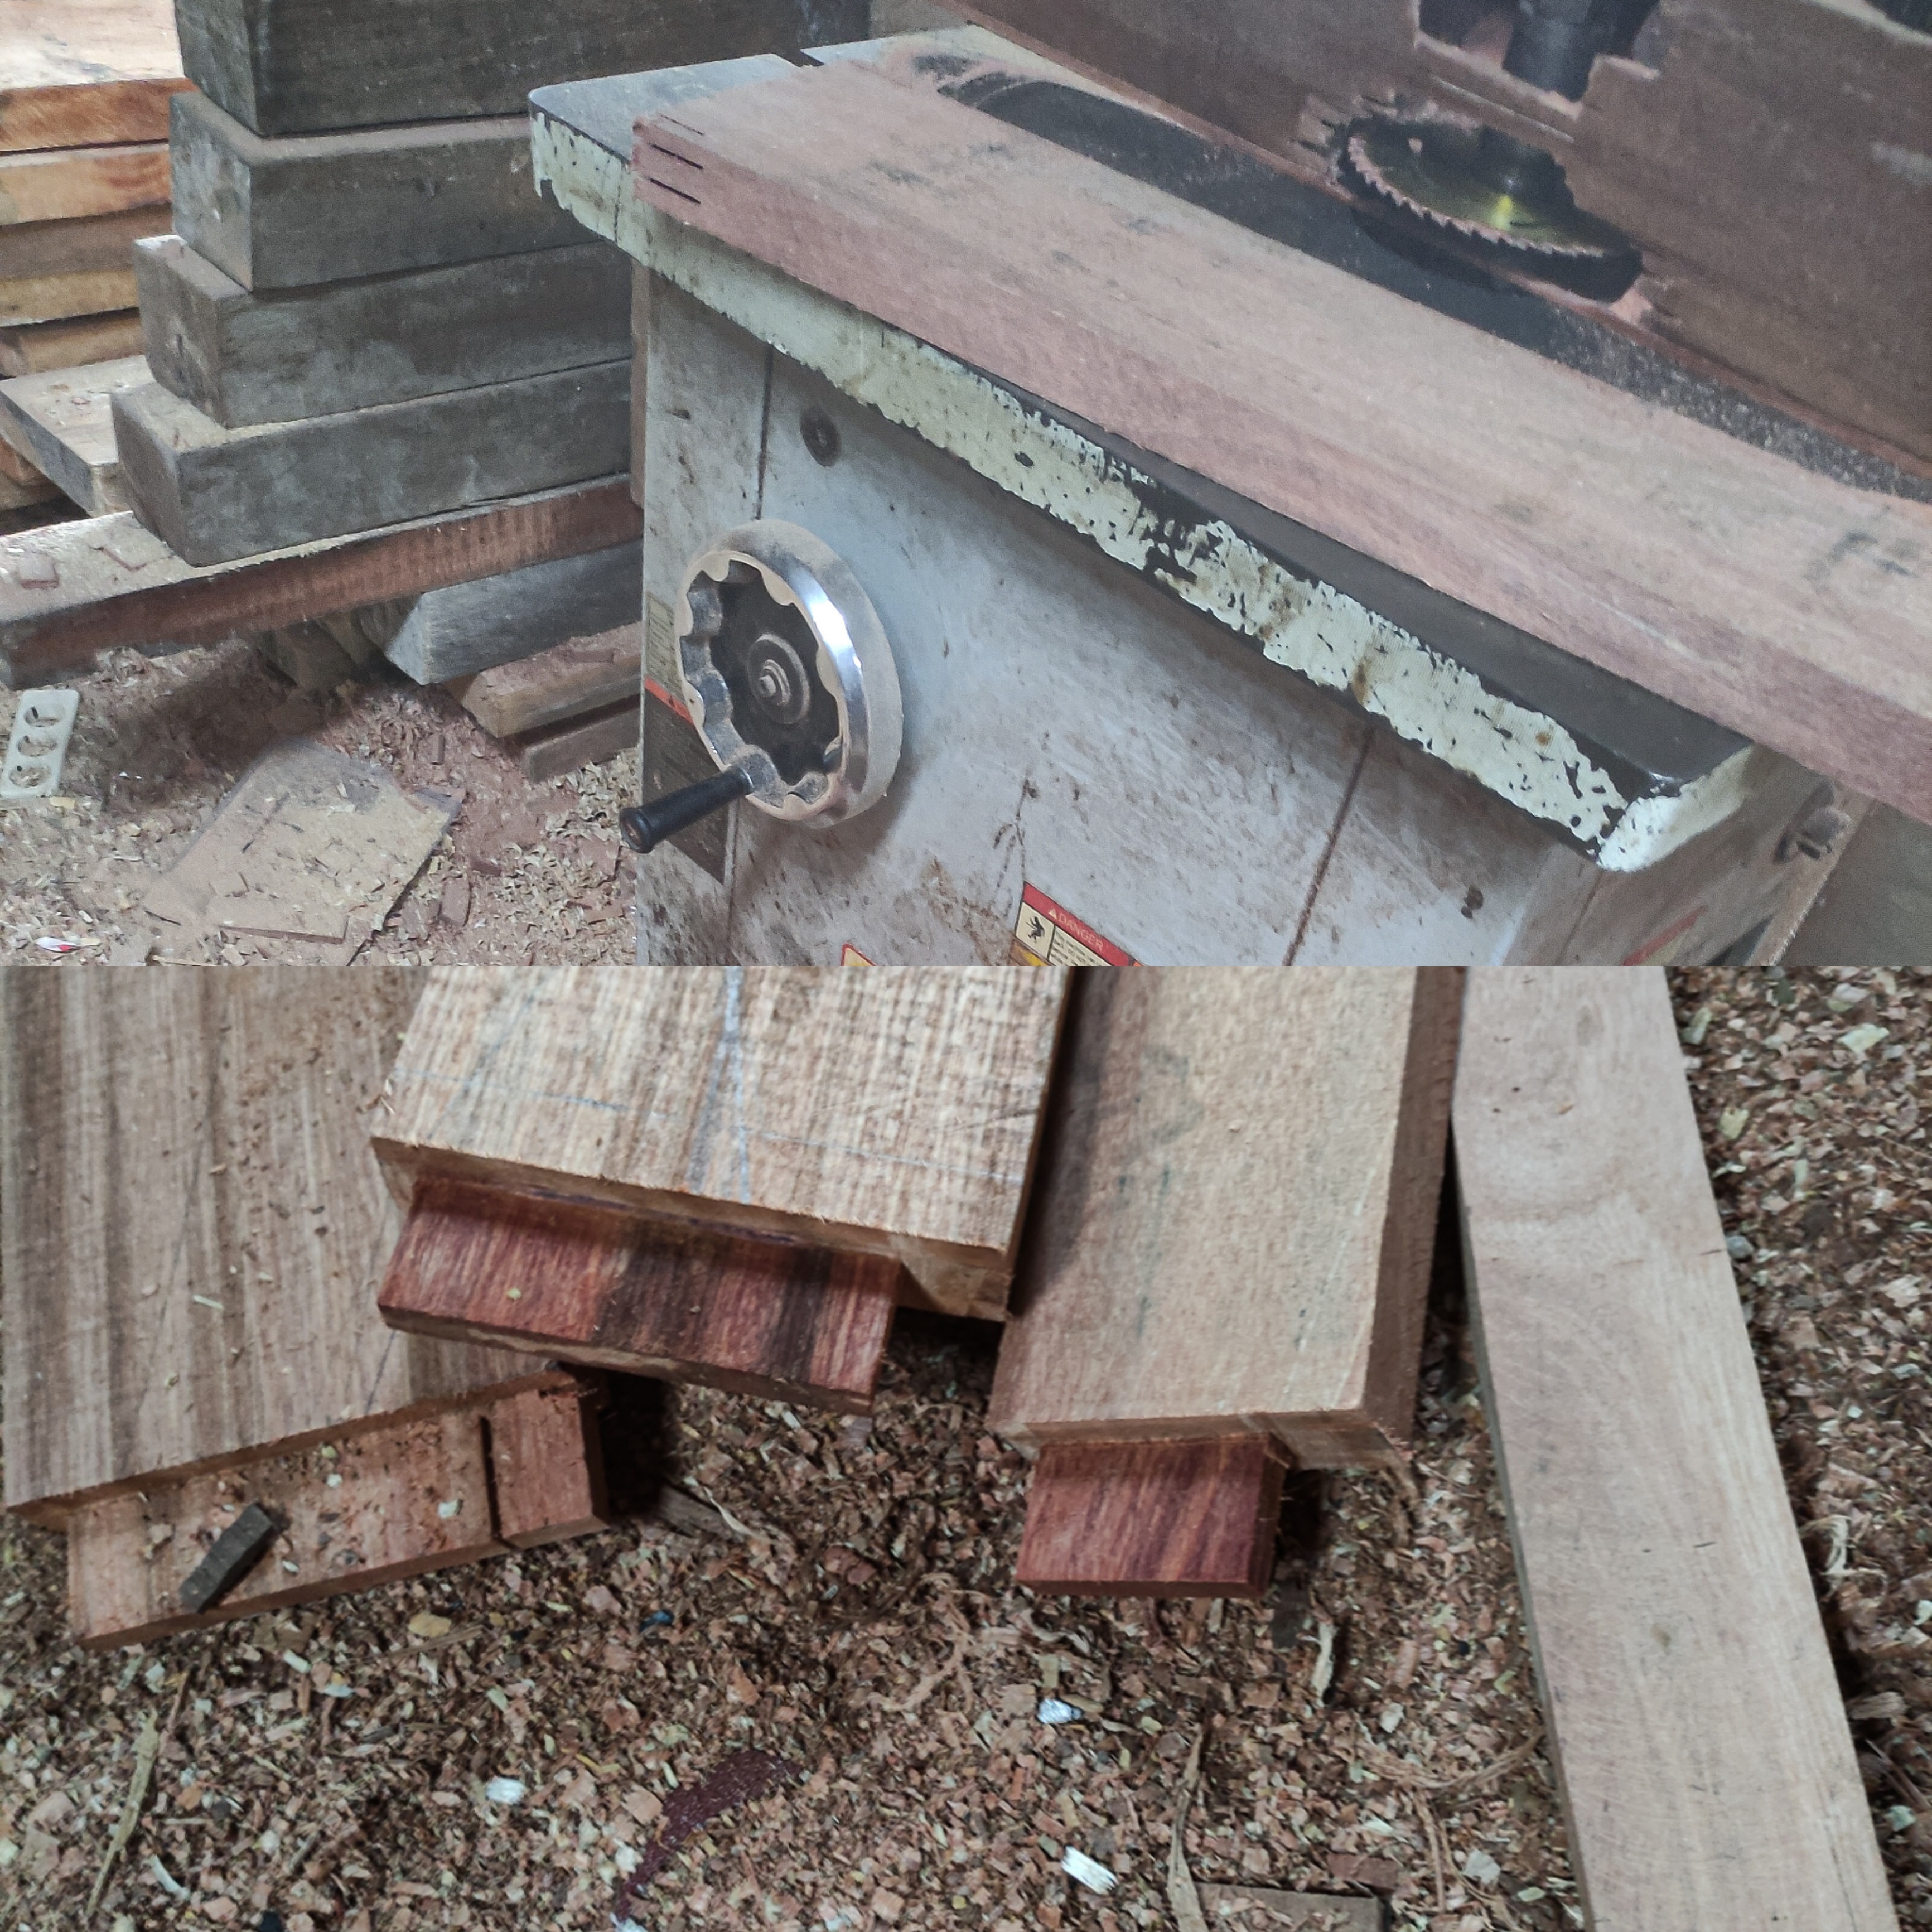
The results after the process of making the nipples of the pegs are completed on the of all the bulkheads.
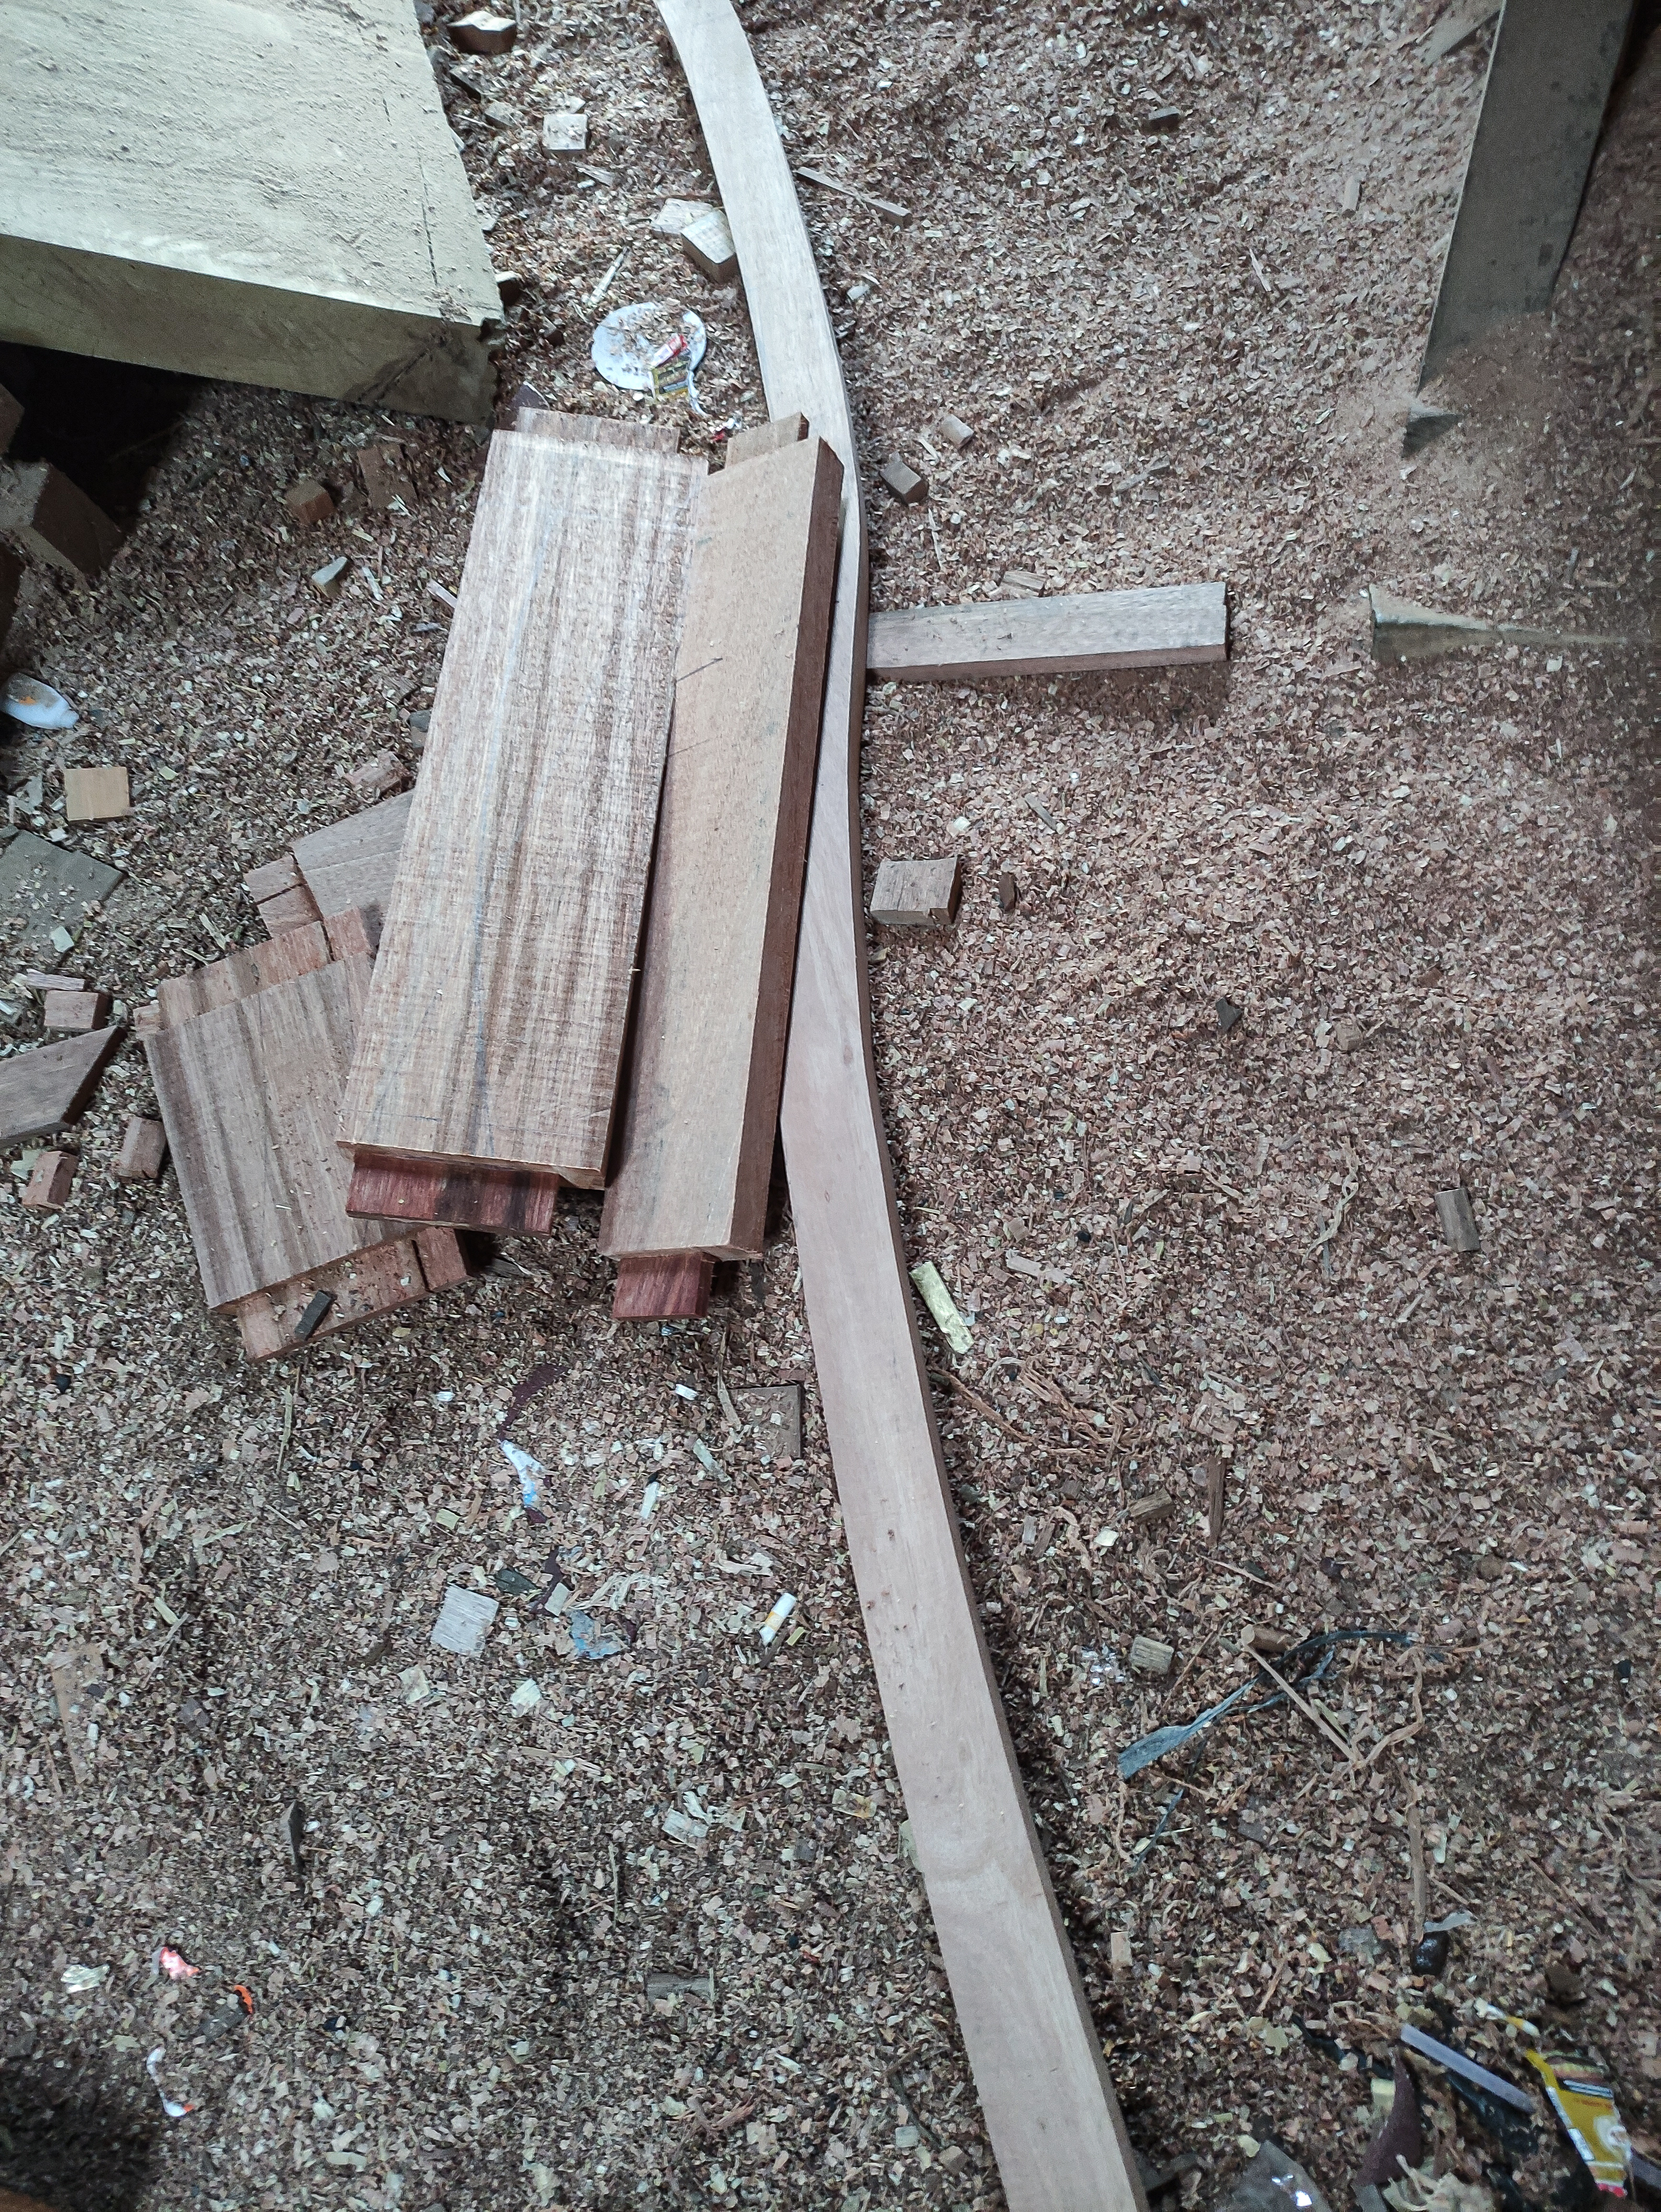
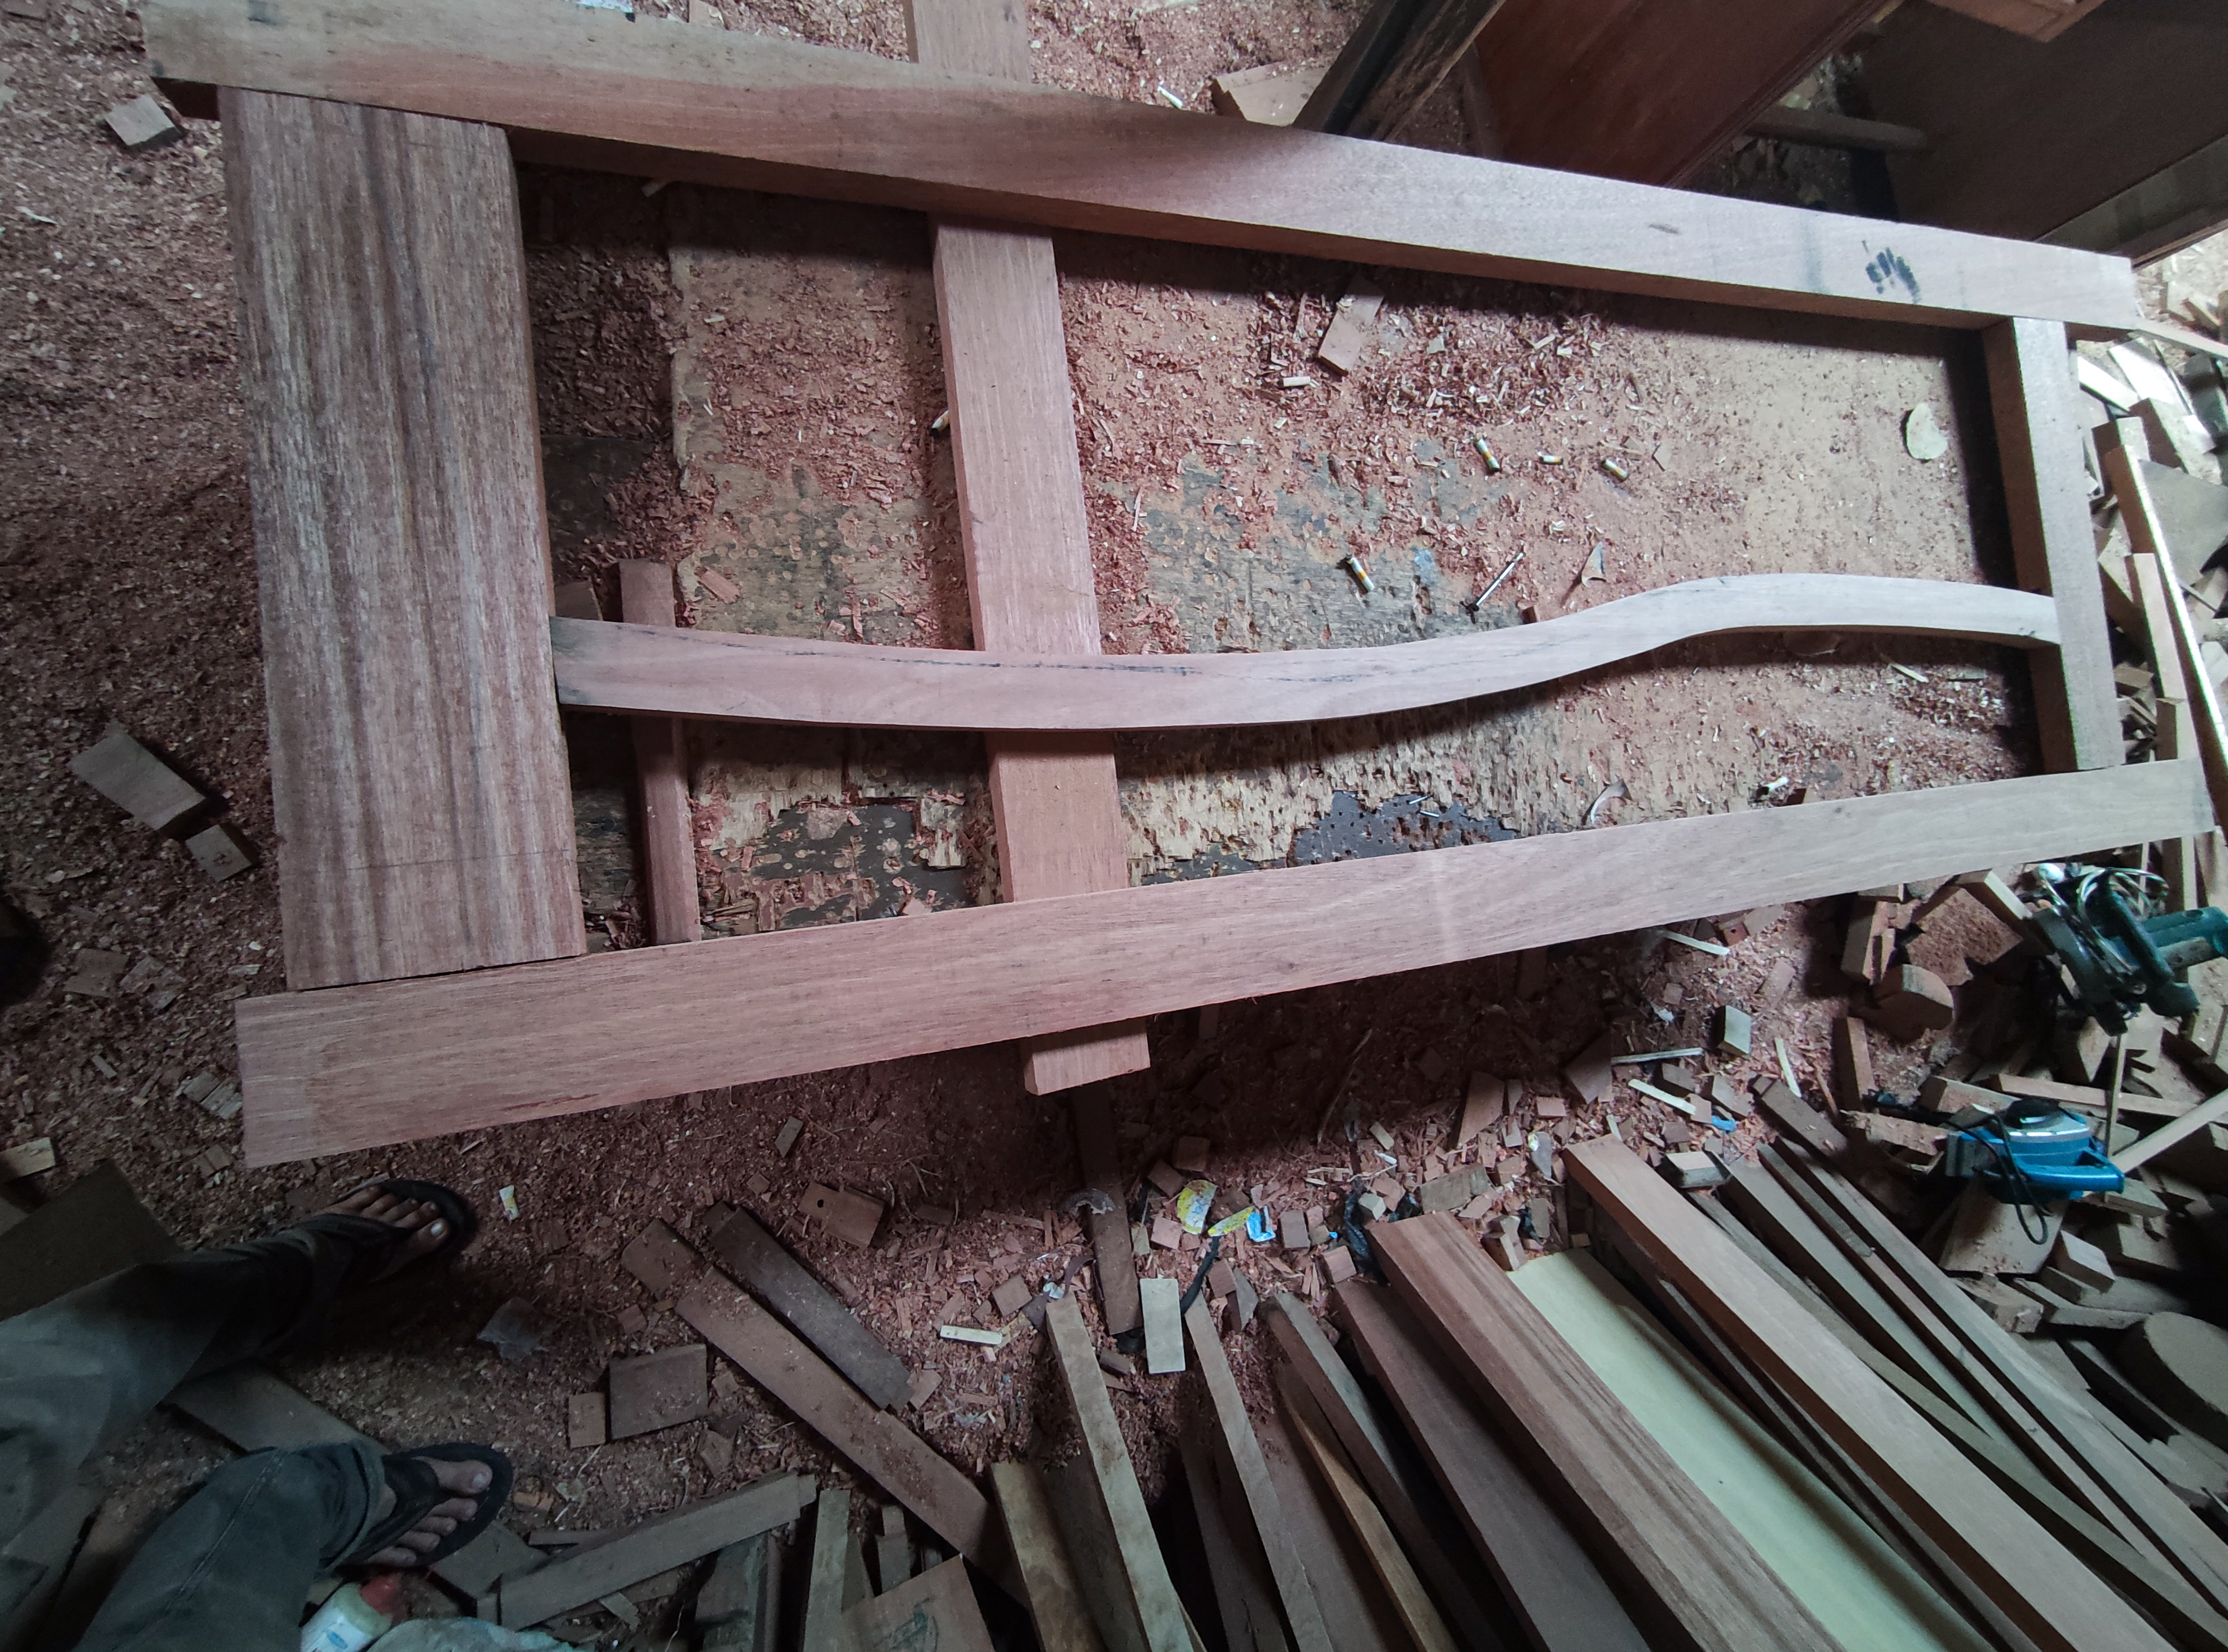
And now I continue the process of unifying the entire series of doors .
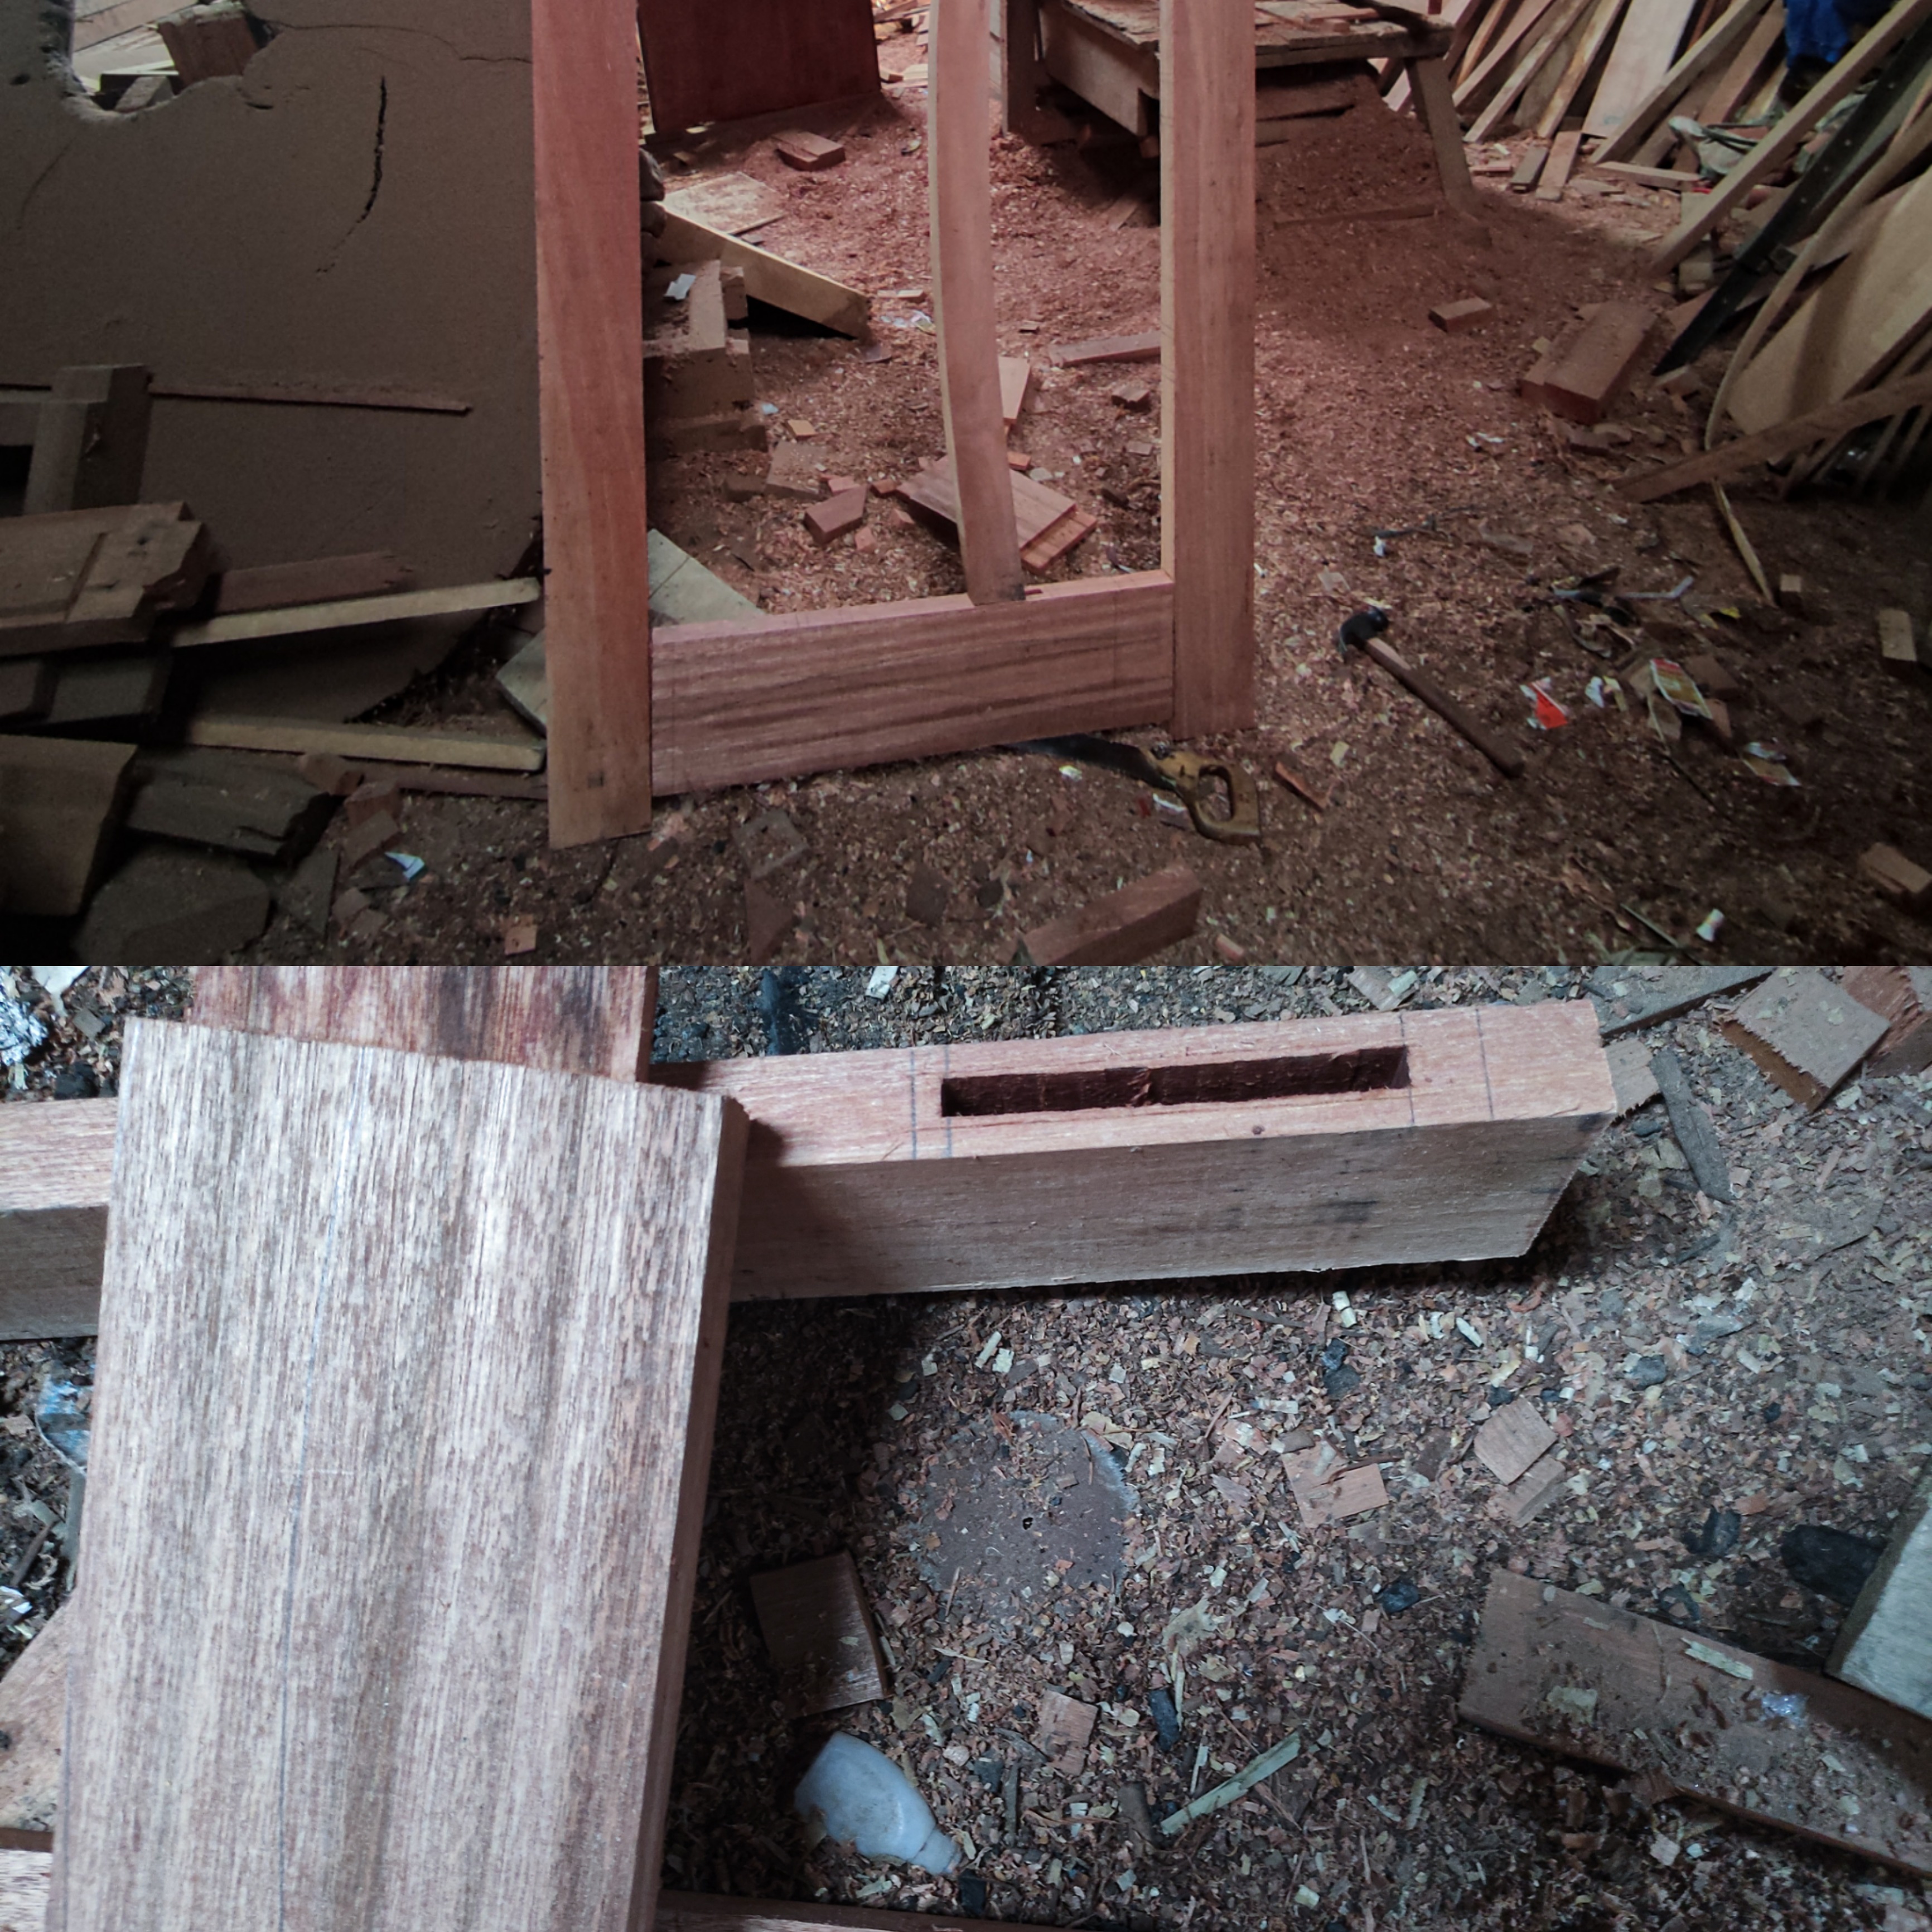
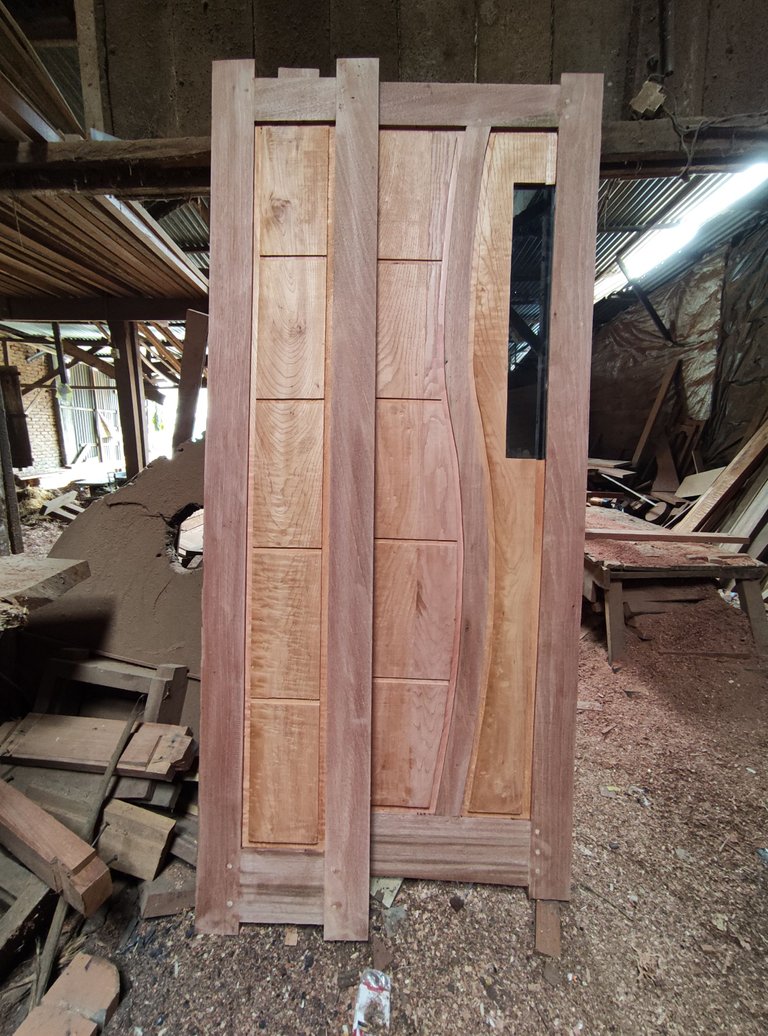
Then after the process of unifying all the bulkheads of the two doors is complete, this is what the door looks like.
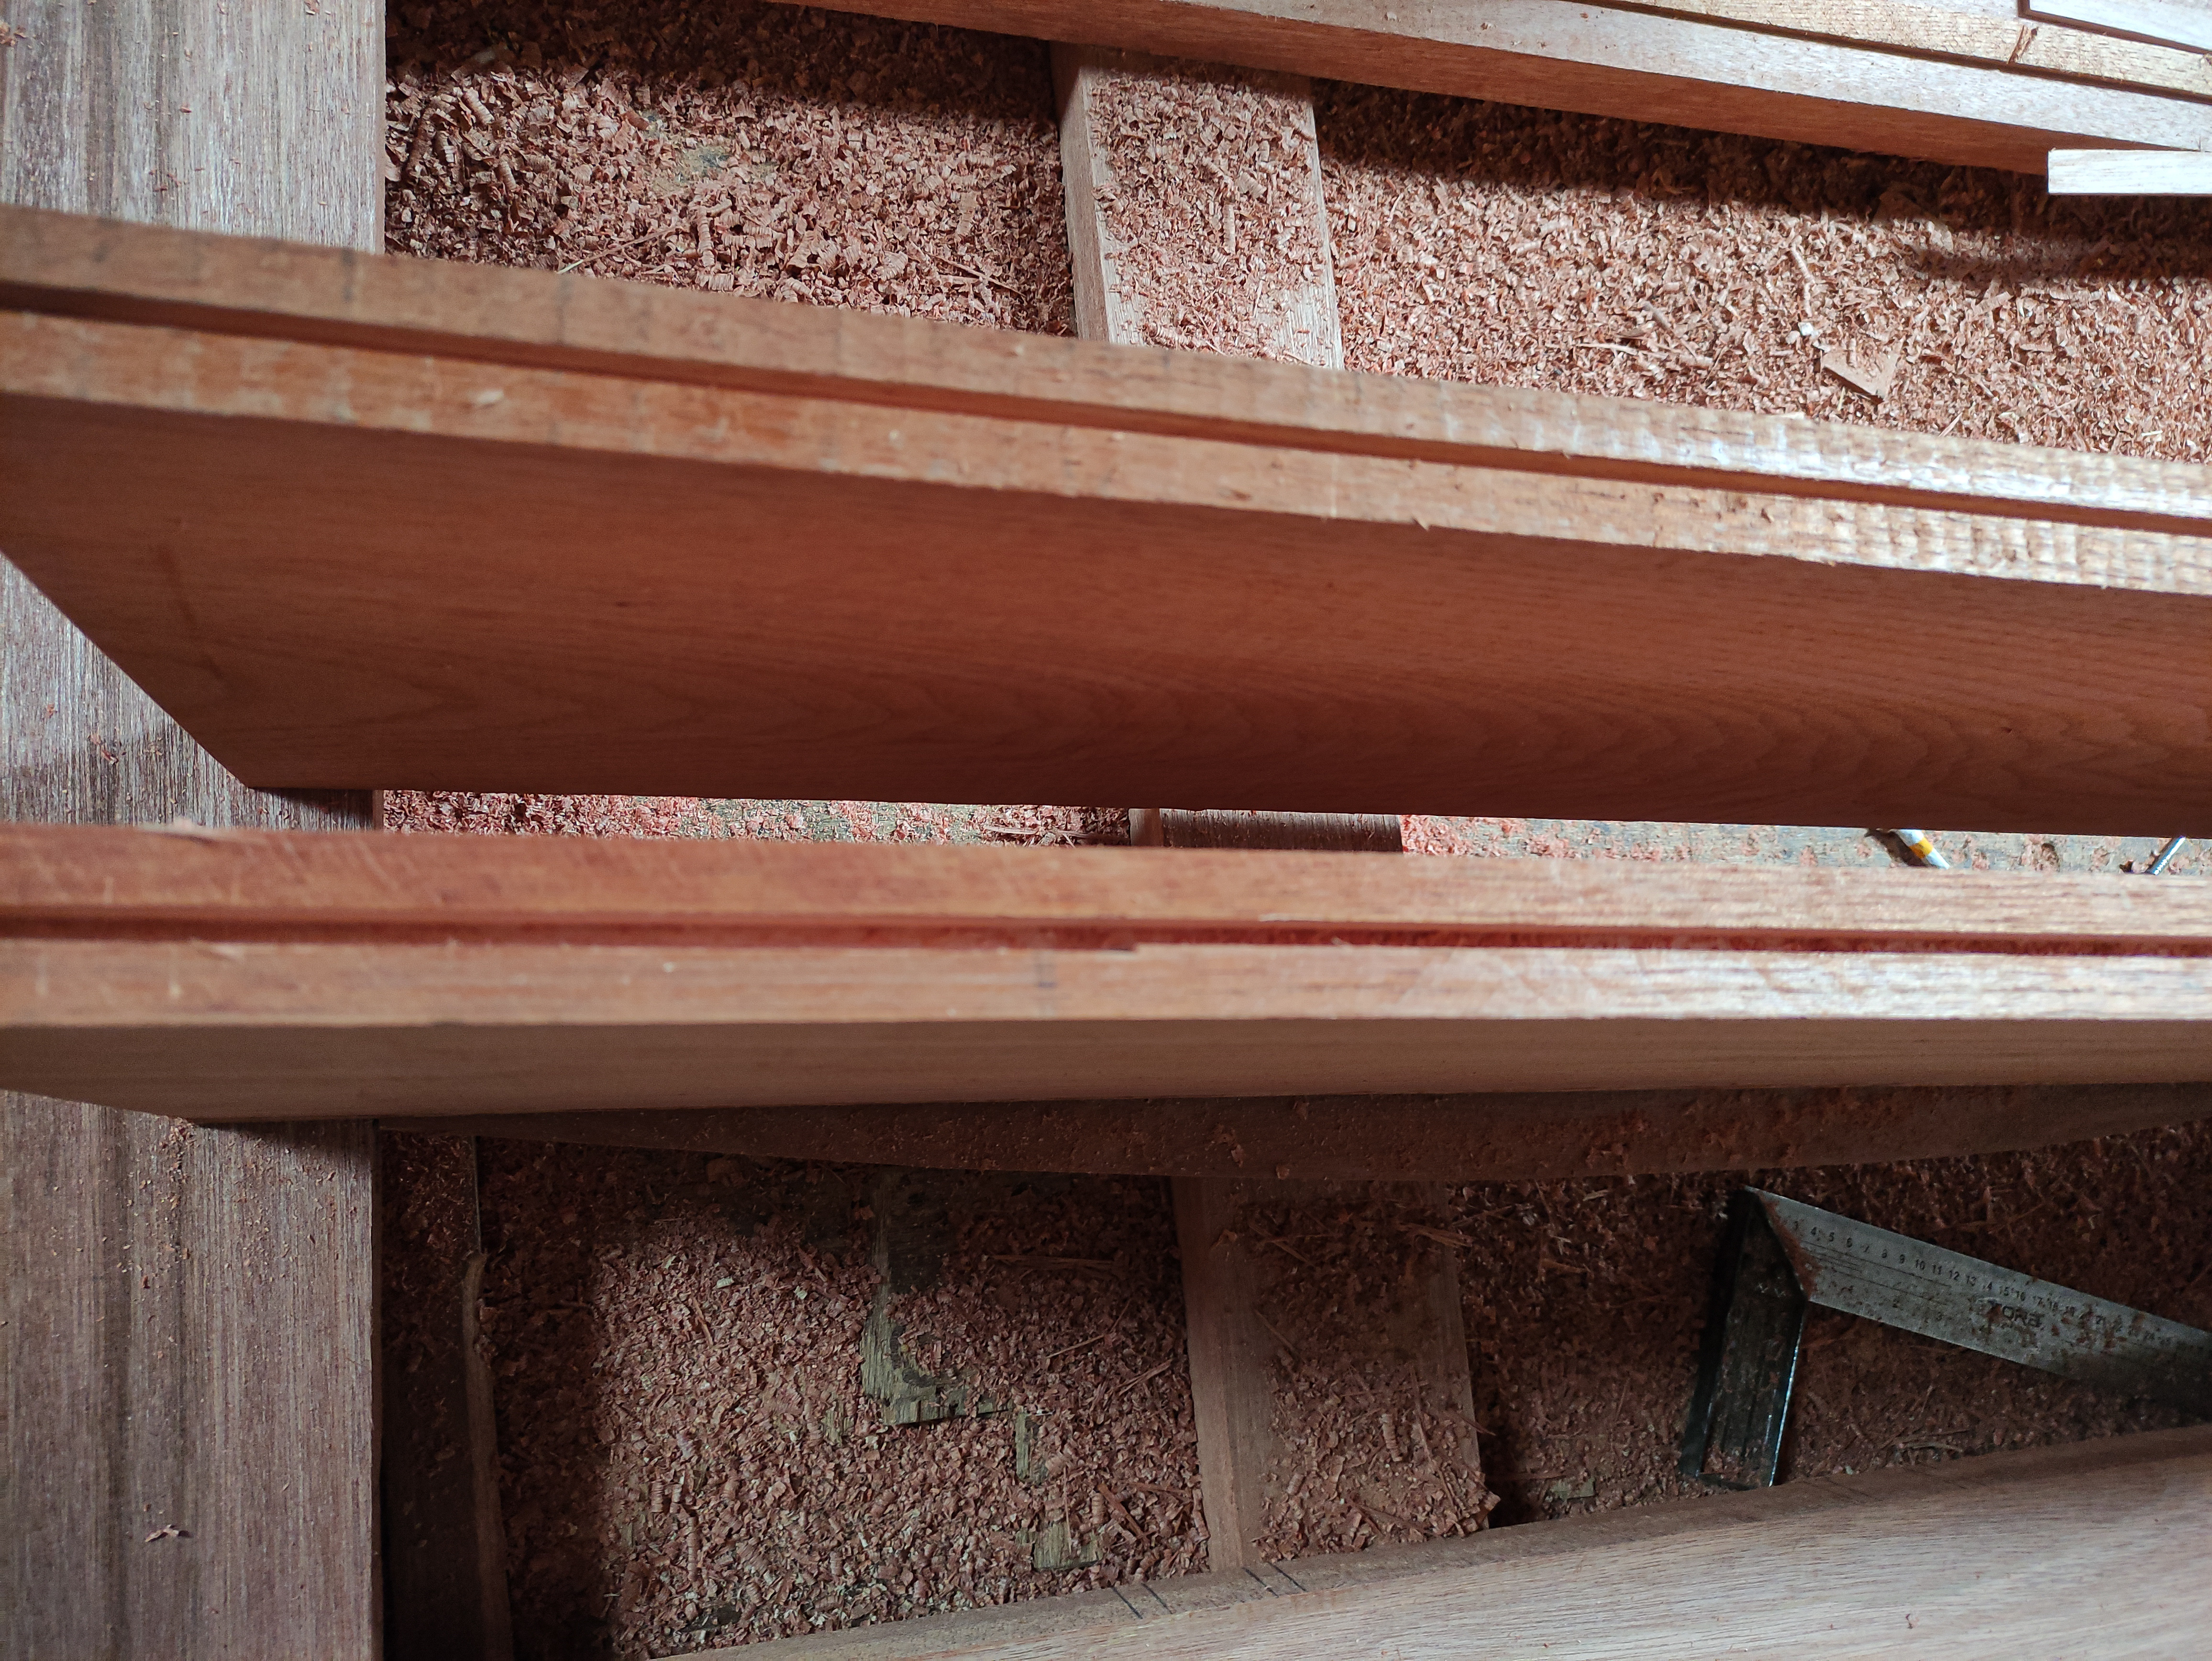
Next, I continued the process of pruning to smooth the entire wooden surface of the two doors using a shaving machine.
And this time for the design of this one door order, I did not give flowers to the inner corner of the wooden surface because this is a type of minimalist design door.
and because there were no flowers on the surface in the series, I continued with the process of scraping the door holder using a router machine.
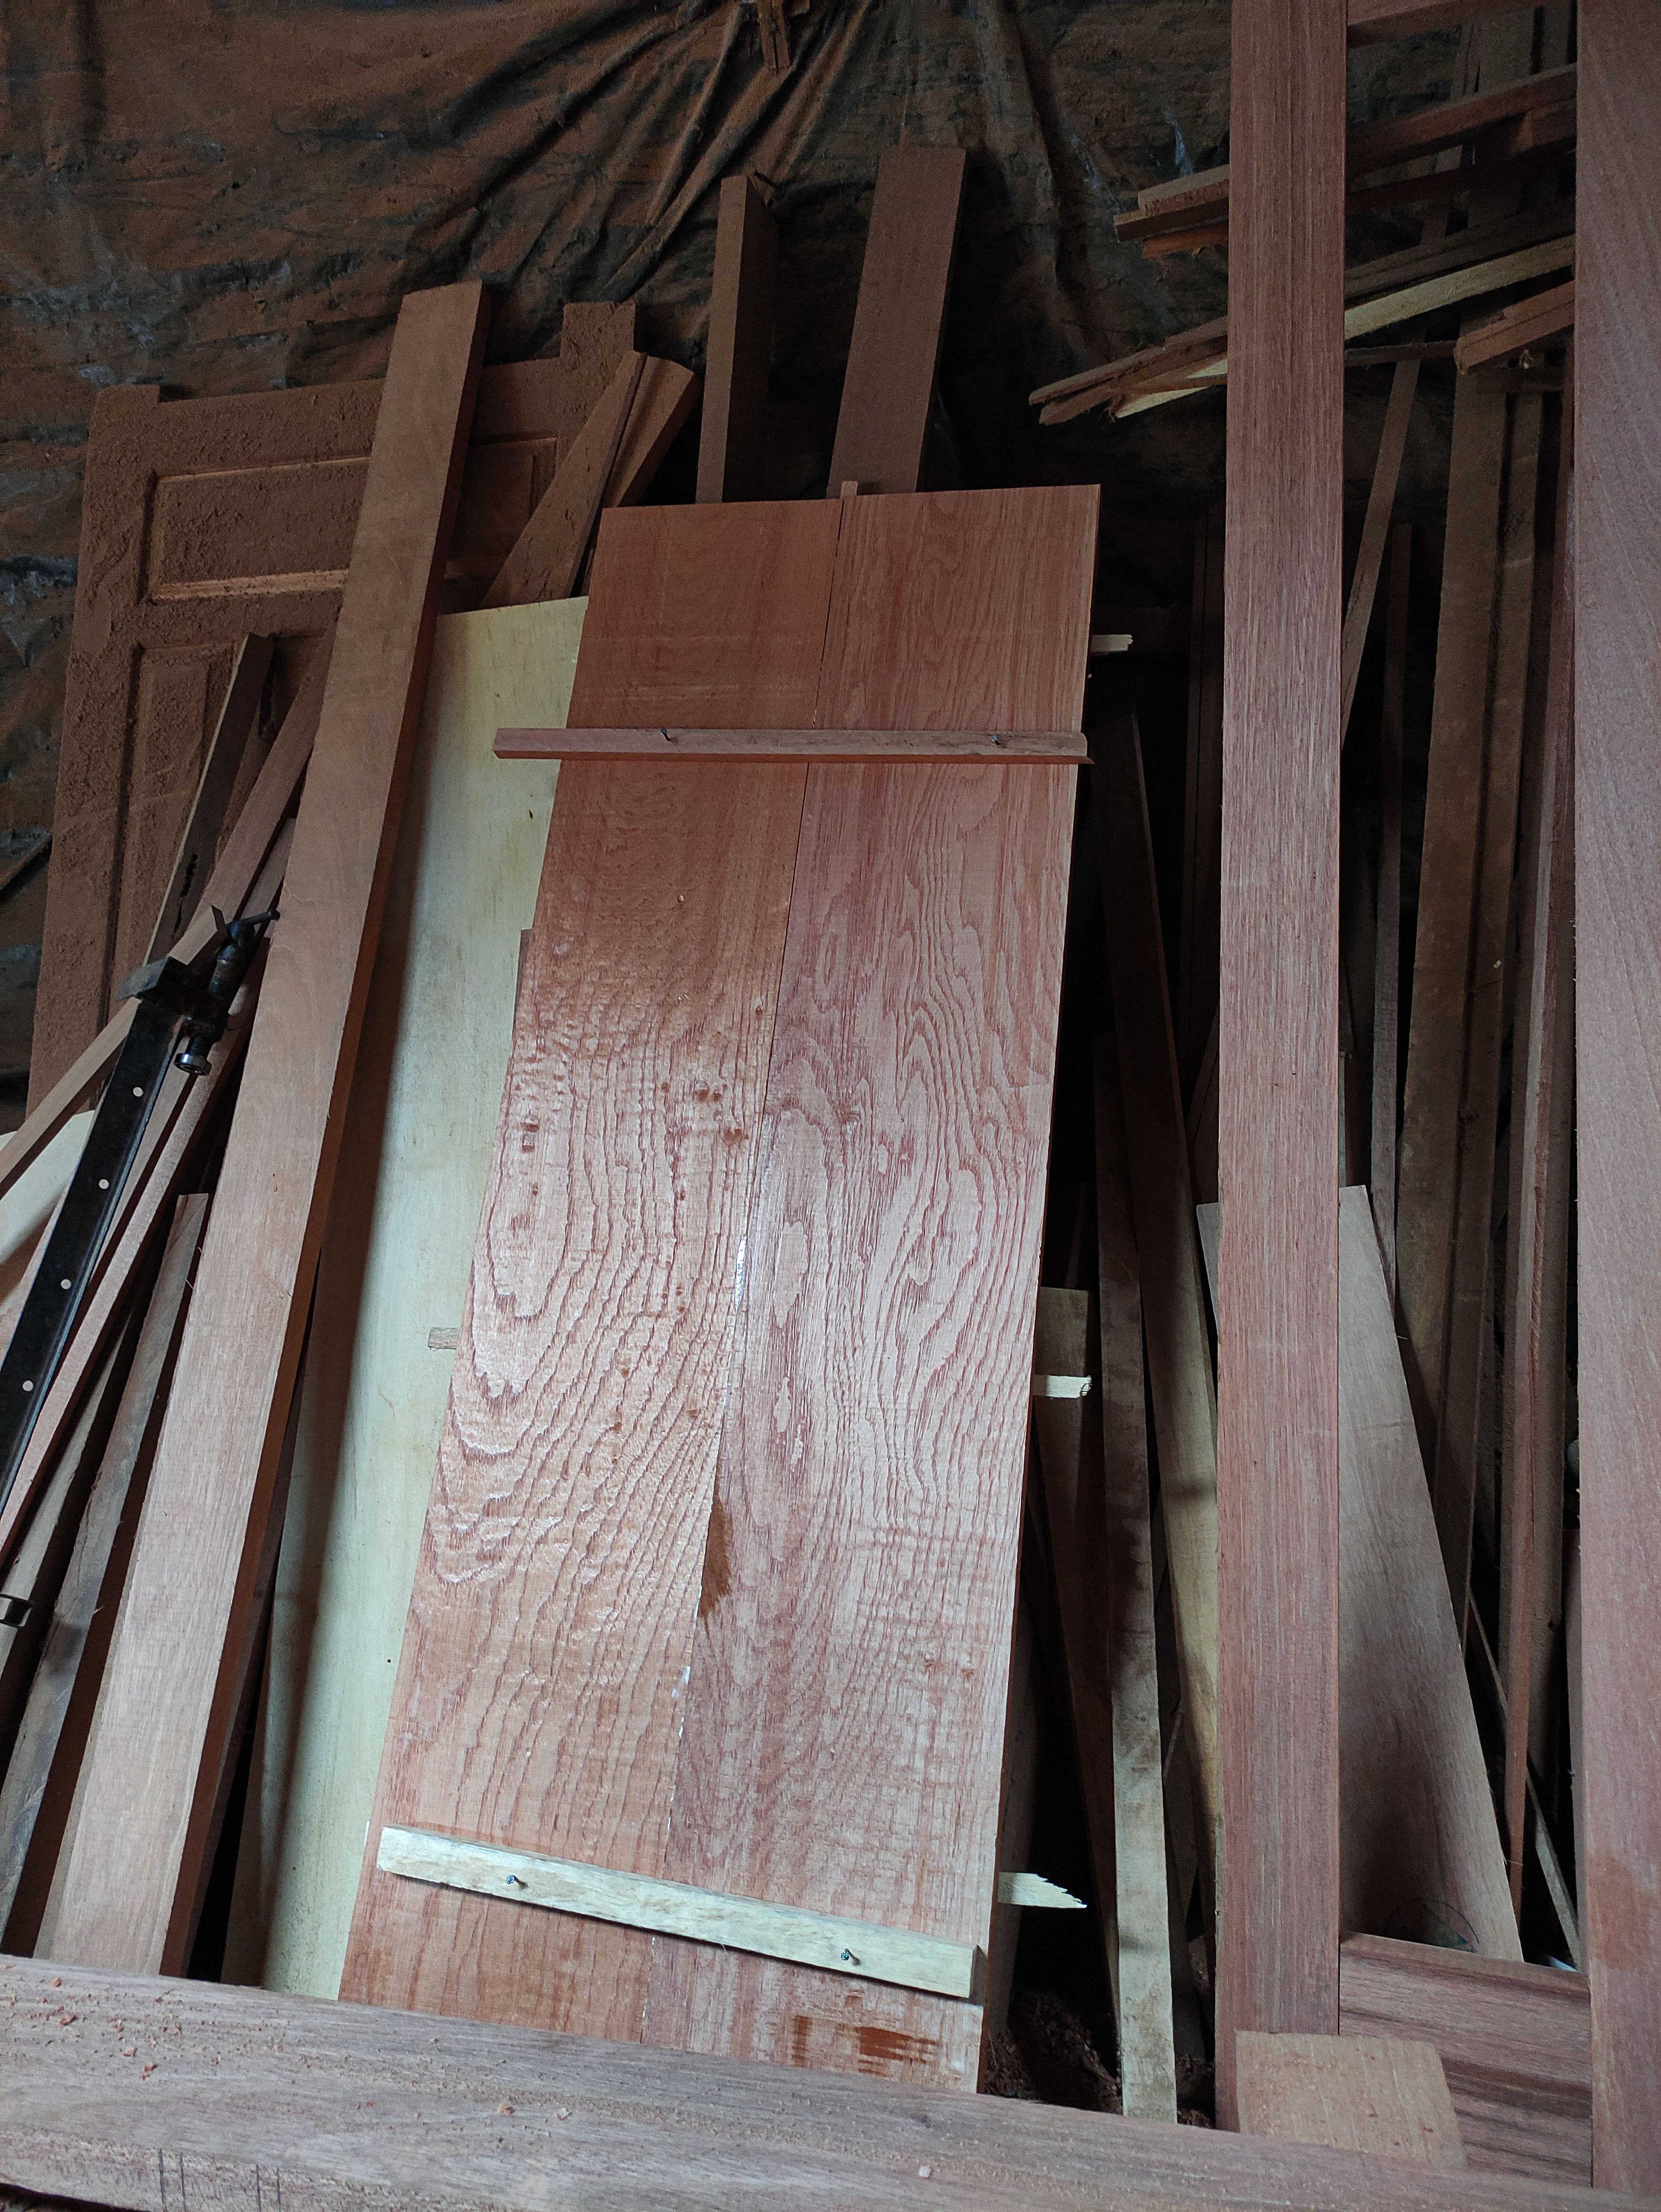
Then after the process of preparing the series of the two doors is complete, now I continue the process of preparing the sheet boards for that two doors.
At CV Furniture, we only provide sheet boards that are flat/30cm/25cm wide with a thickness of 2.5cm and we usually use this wide board for door sheets and the two door sheets have different width sizes, for a door measuring 40cm wide x 200cm high the width of the board for the door leaf is 21 cm X height 175.5 cm consisting of 1 cm nail around the leaf or board.
And for the door measuring 80cm wide X 200 cm high, the leaf sheet is divided into two parts by following the curve and for the first leaf measuring 42.5cm wide X 175.5cm high following the curve line consisting of a 1 cm nipple around the leaf.
For Lebaran, the front surface of the door is 18cm in size by shrinking in the middle following the curve of the leaf and at the top there is a small glass holder embedded in the series of door leaf boards.
Because we only have door leaf boards with an average width of 30cm so, for an 80cm x 200 cm door with a base leaf size of 42.5cm I had to connect the two boards using glue and pressing and the process of making the initial stage to the end of the door is a bit complicated..
Leaf splicing.

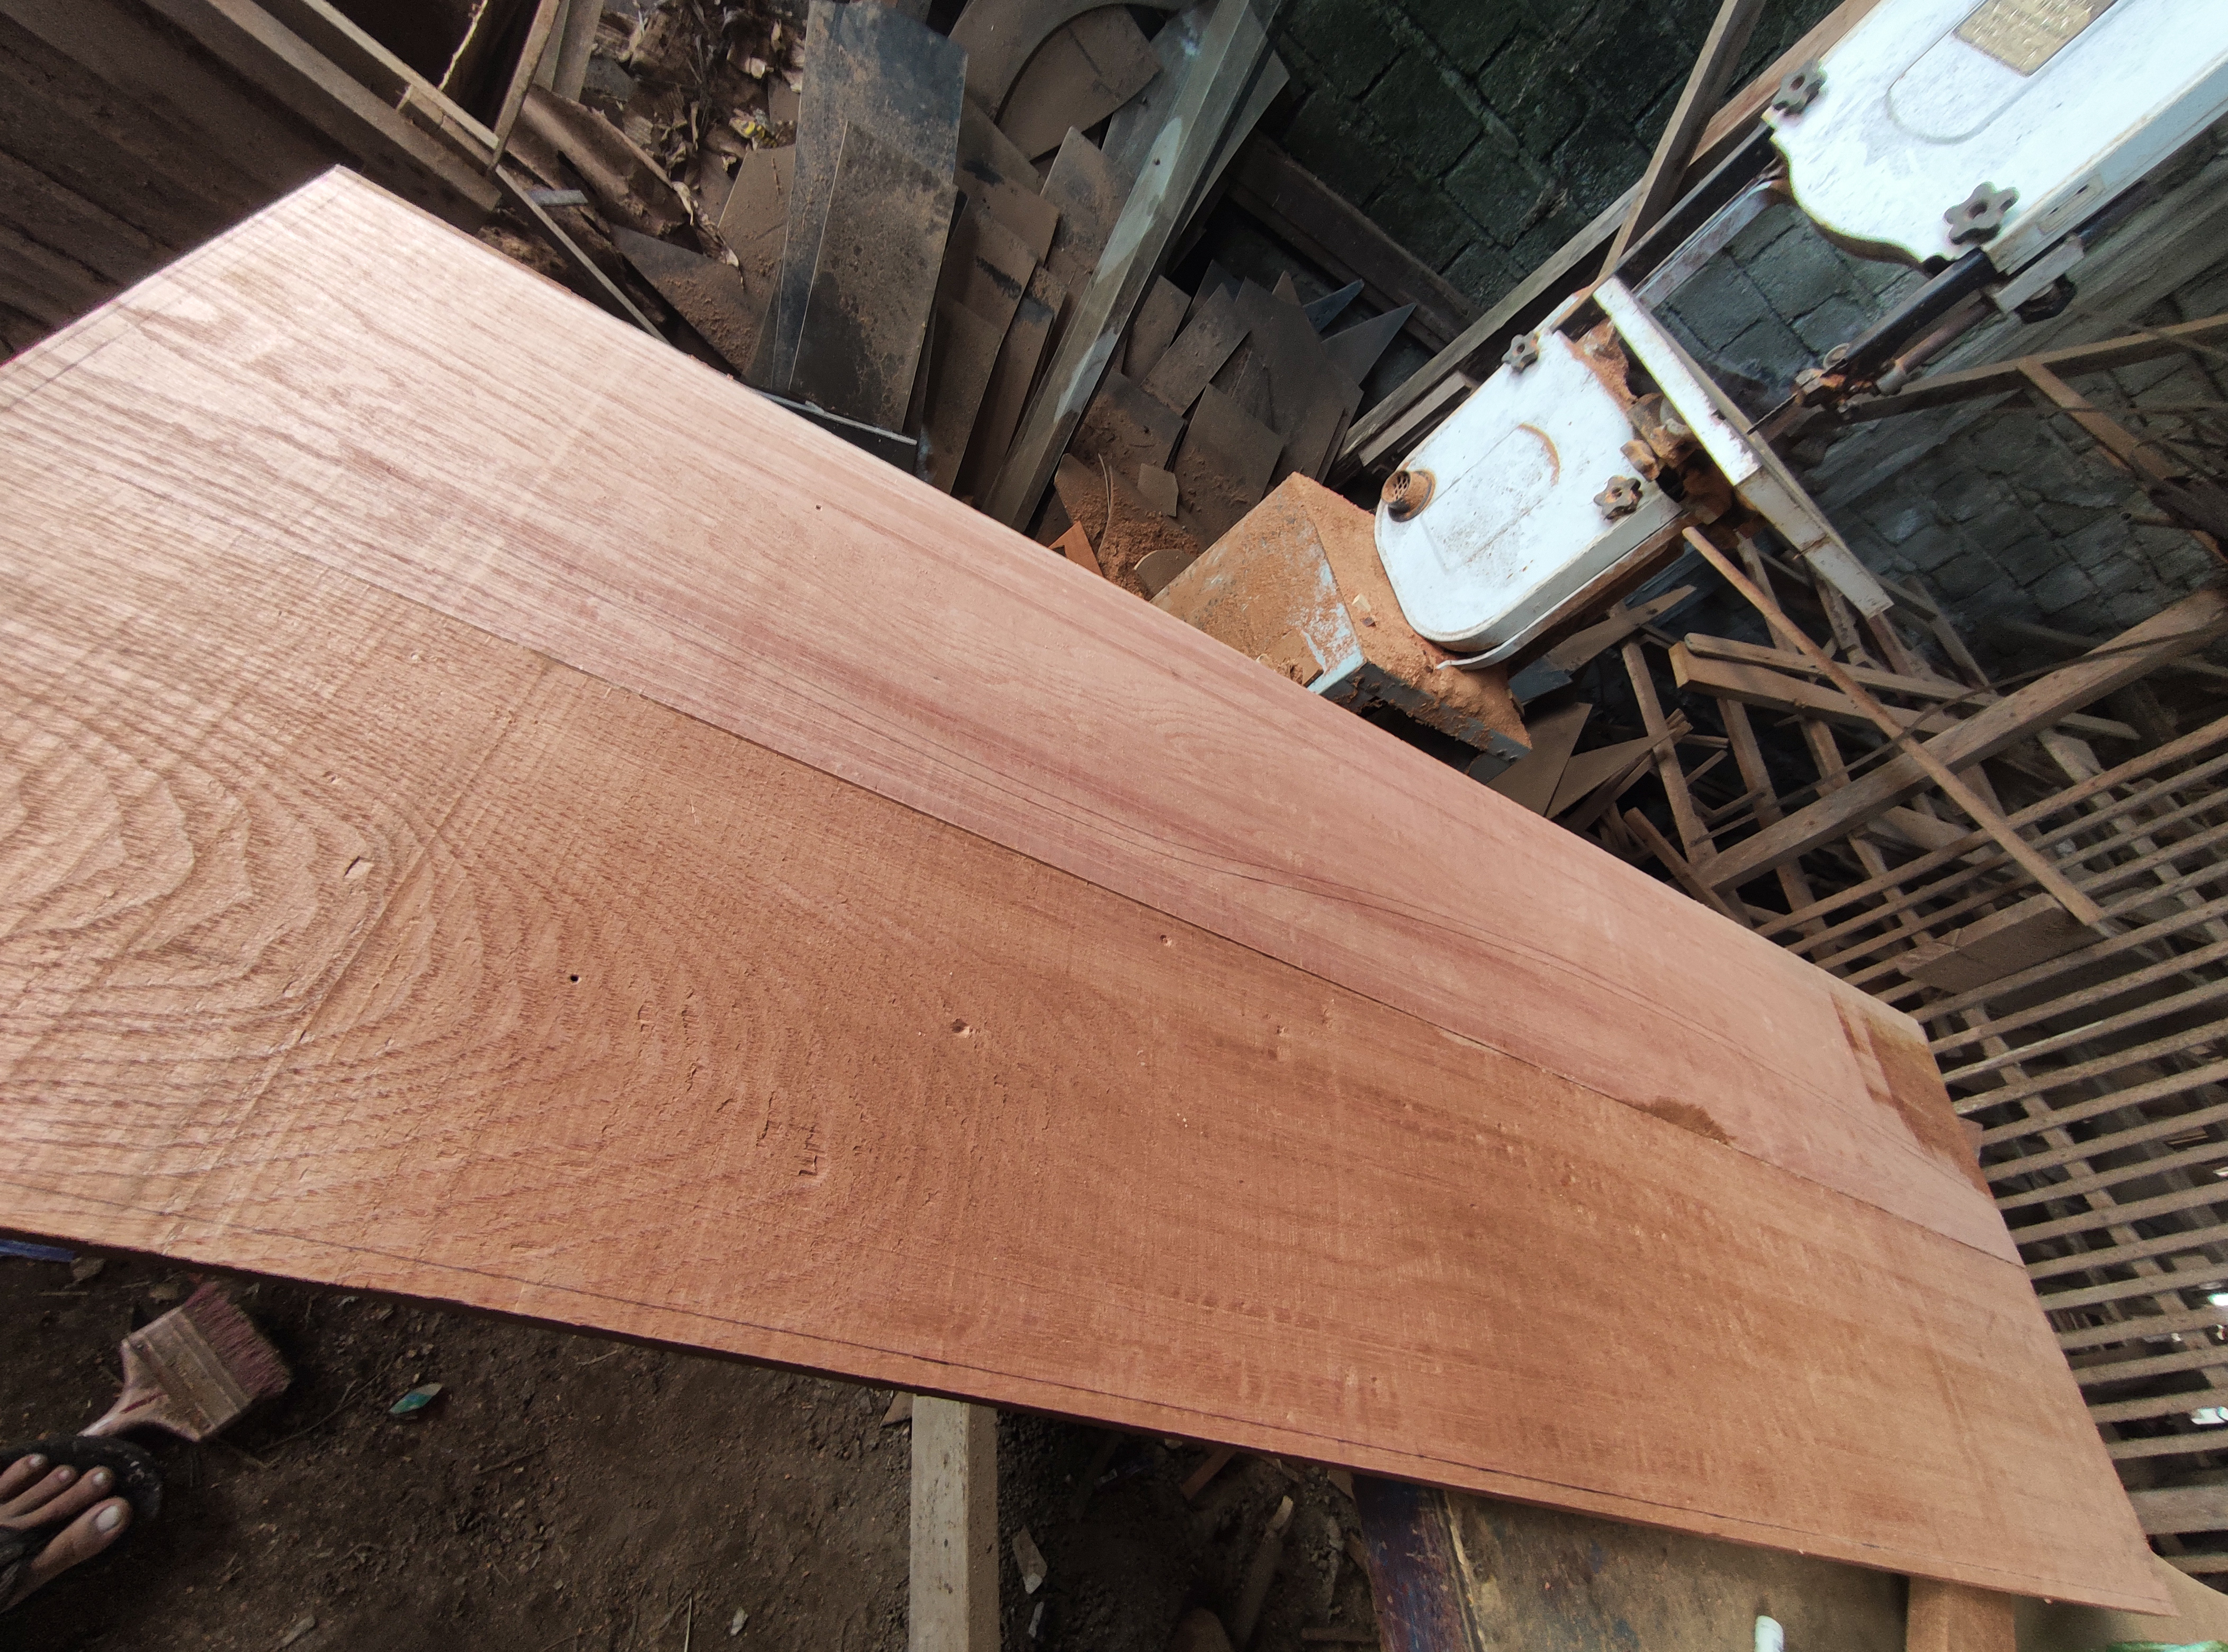
plank / door leaf sheet with a wood width of 30cm and a thickness of 2.5cm of wood and we often call the wooden plank a suren board,the wood has a faded reddish brown color with a very stunning floral texture and that wood has a light and soft weight.
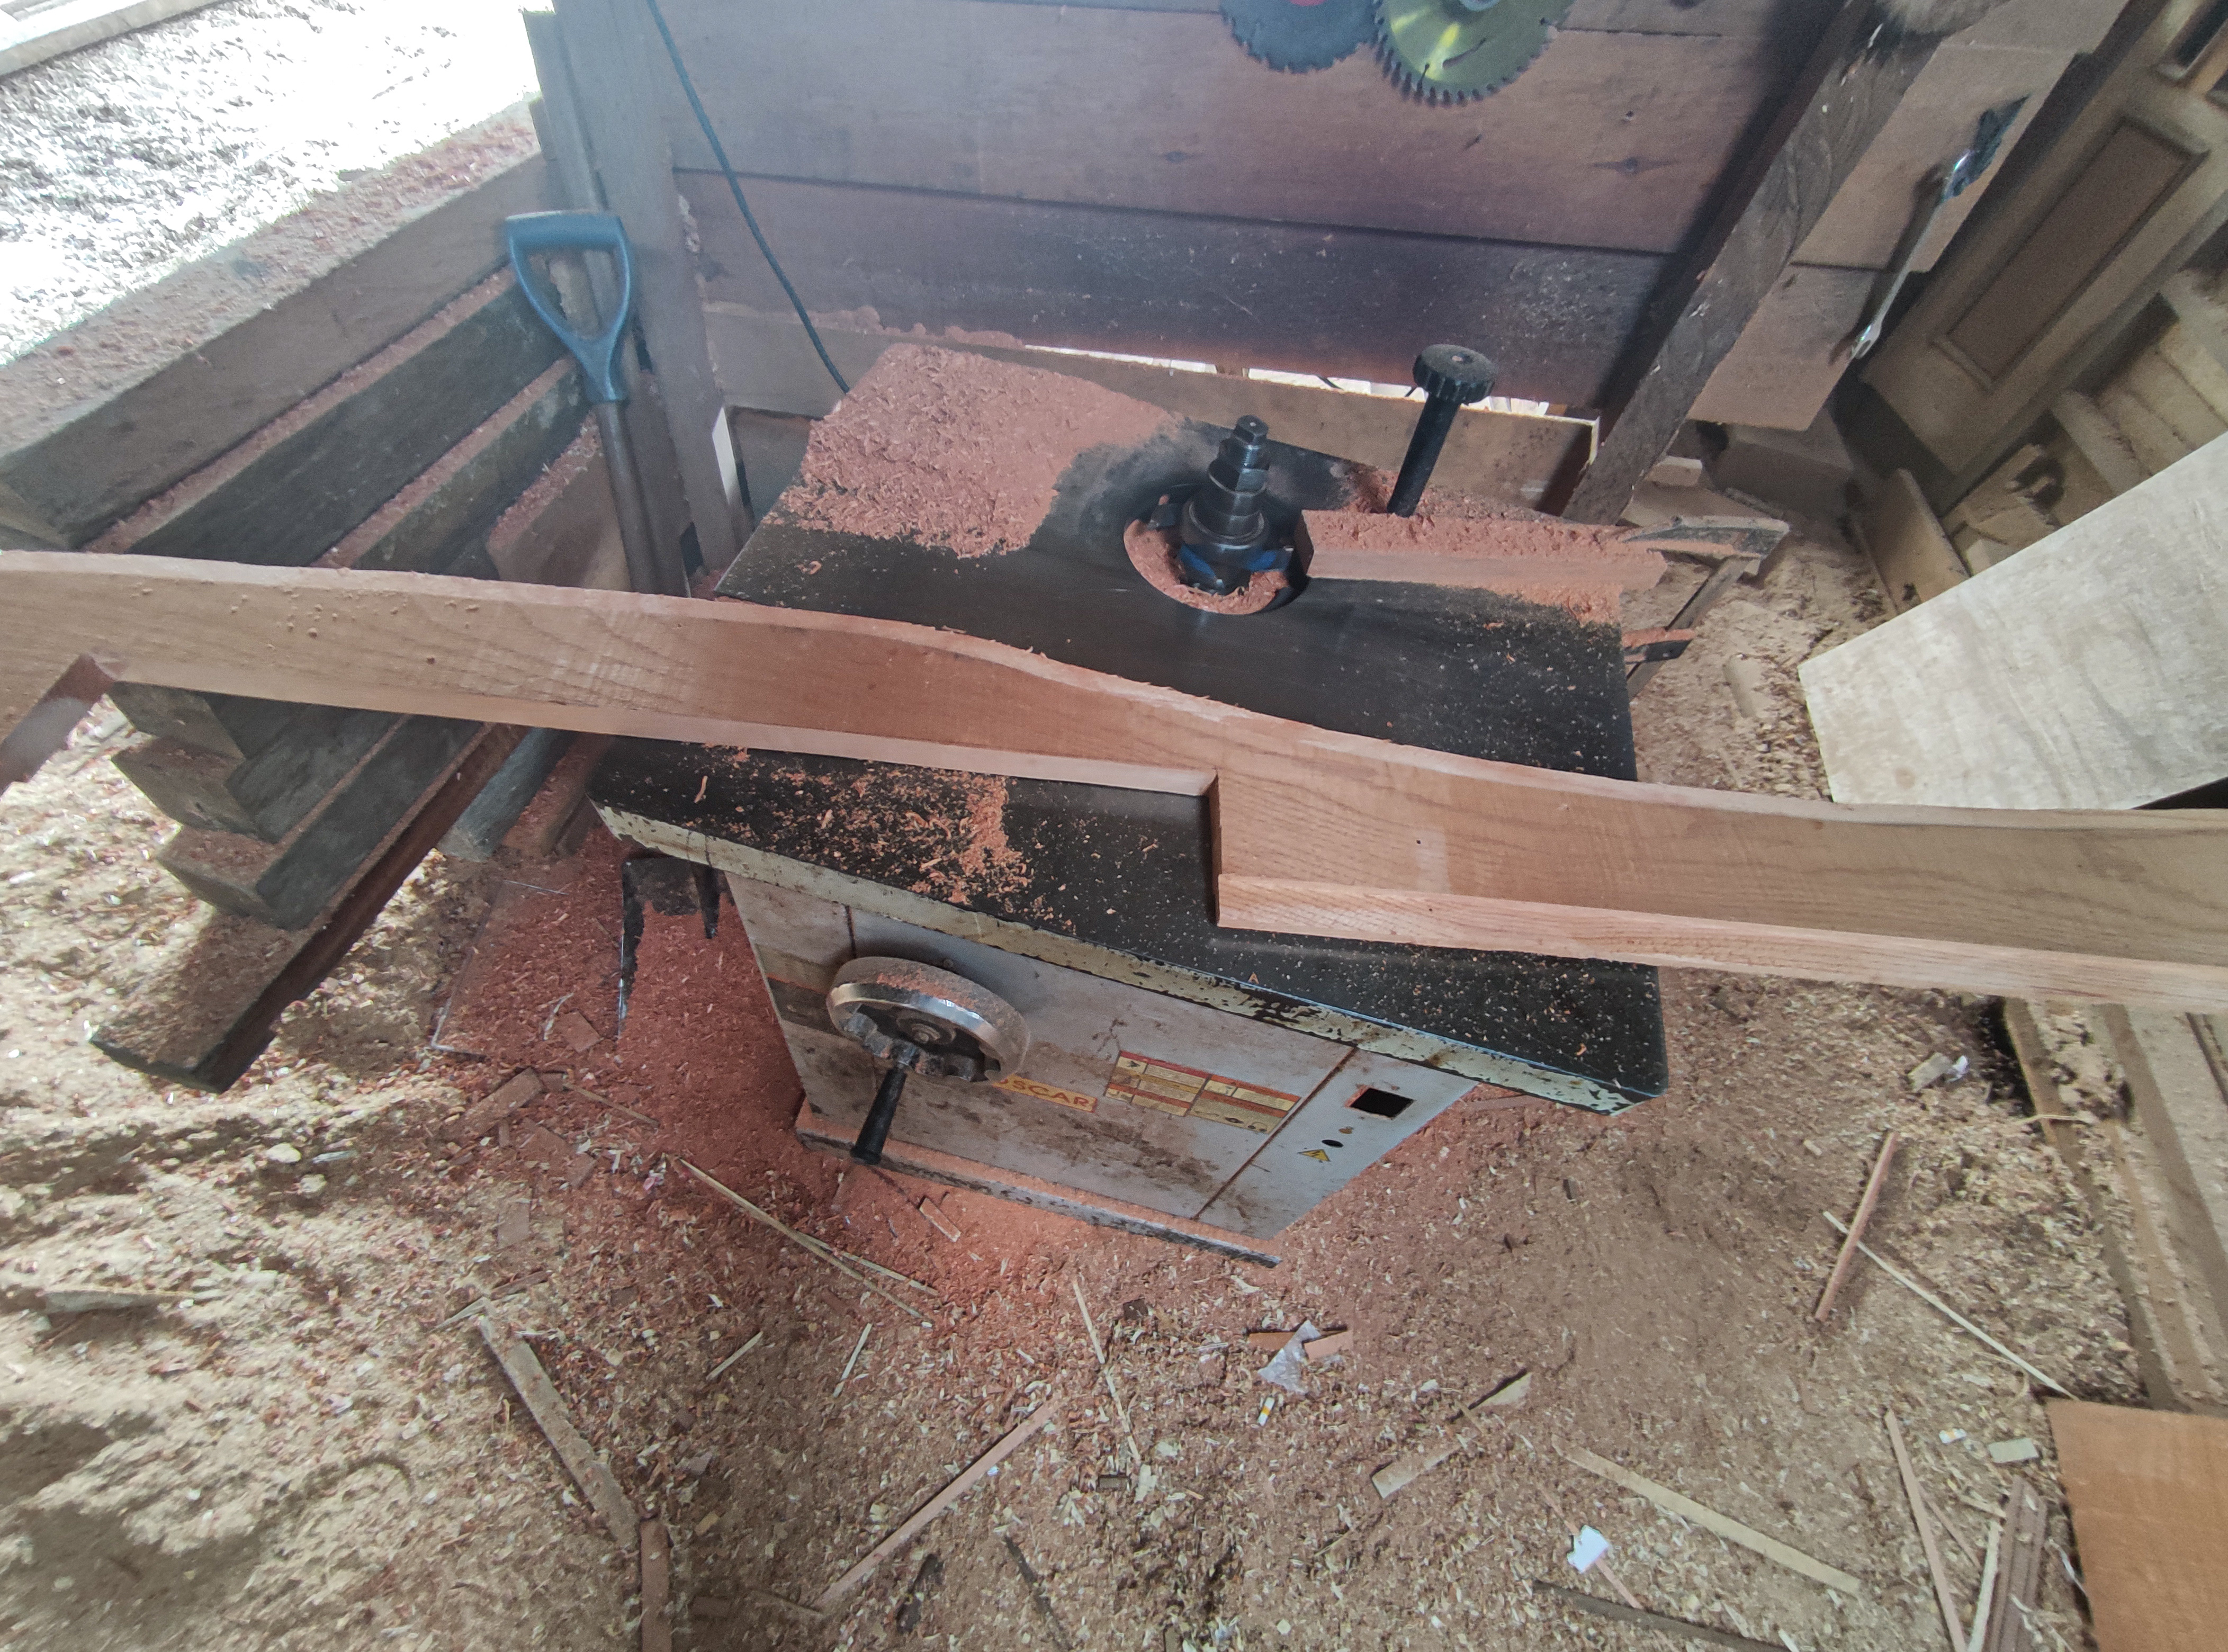
To attach the board, I provided a center peg and scraped it using a router machine with a mount width of .0.5mm and a depth of 1cm and the process goes like this.
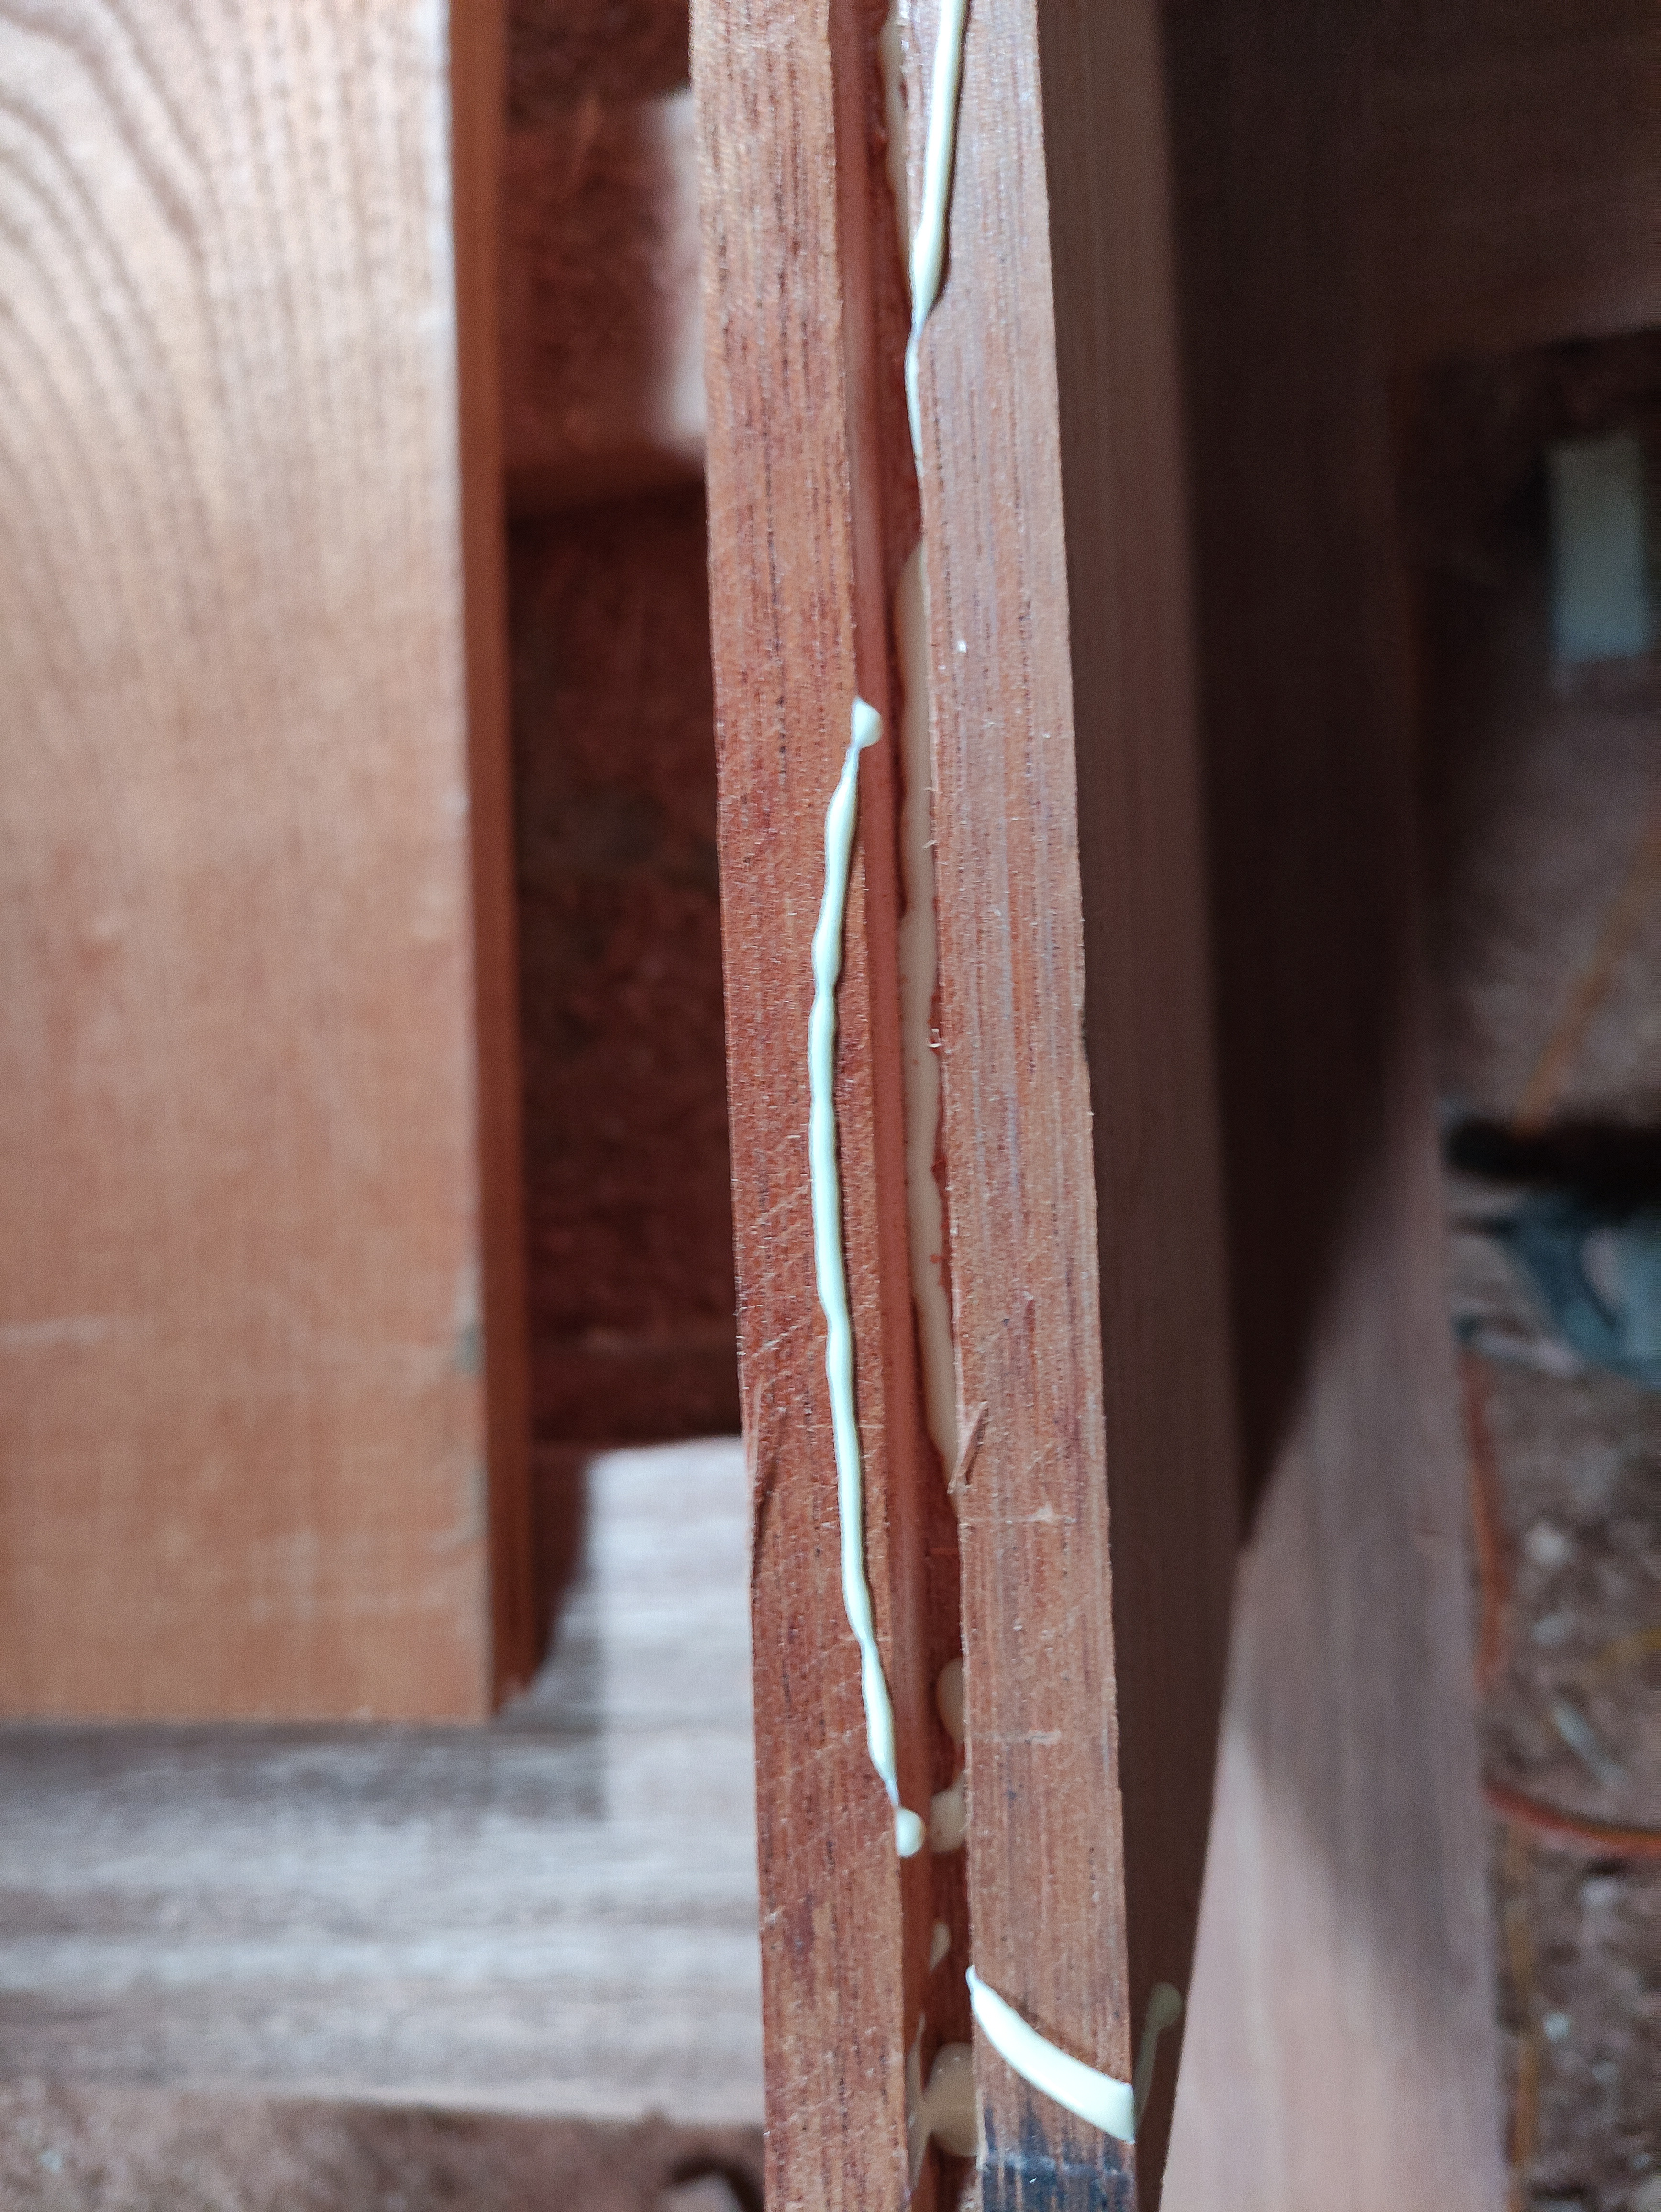
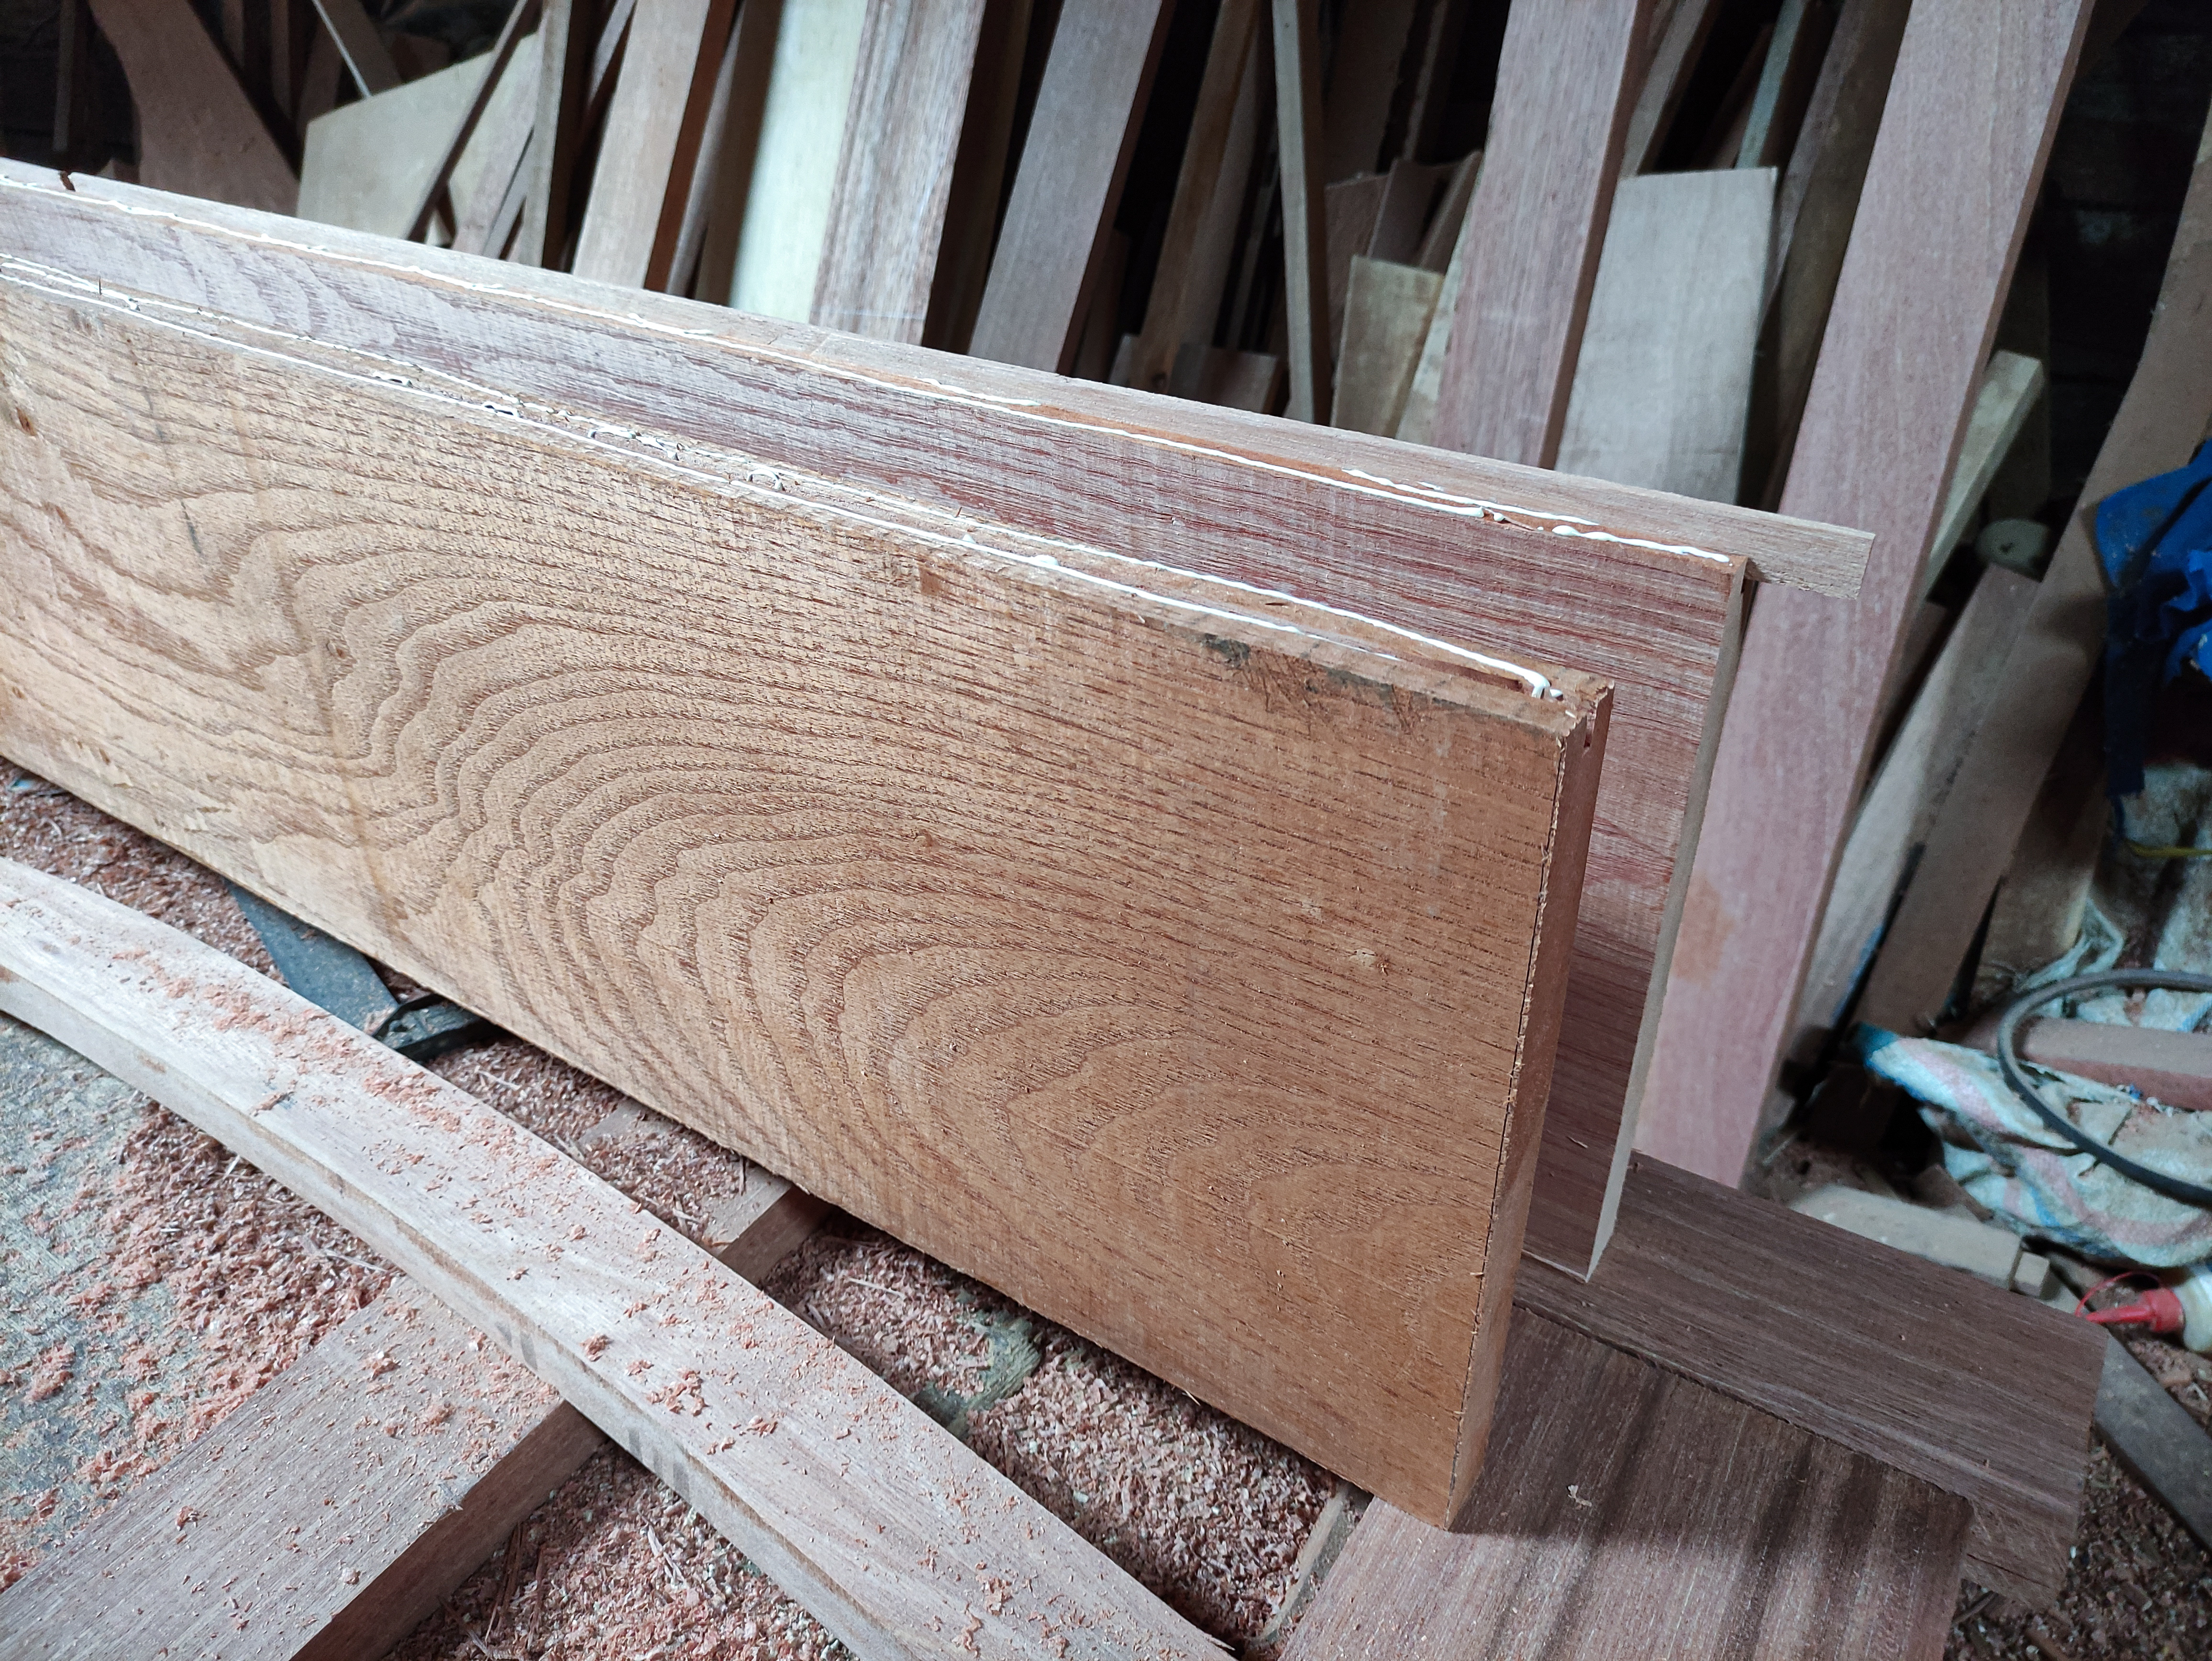
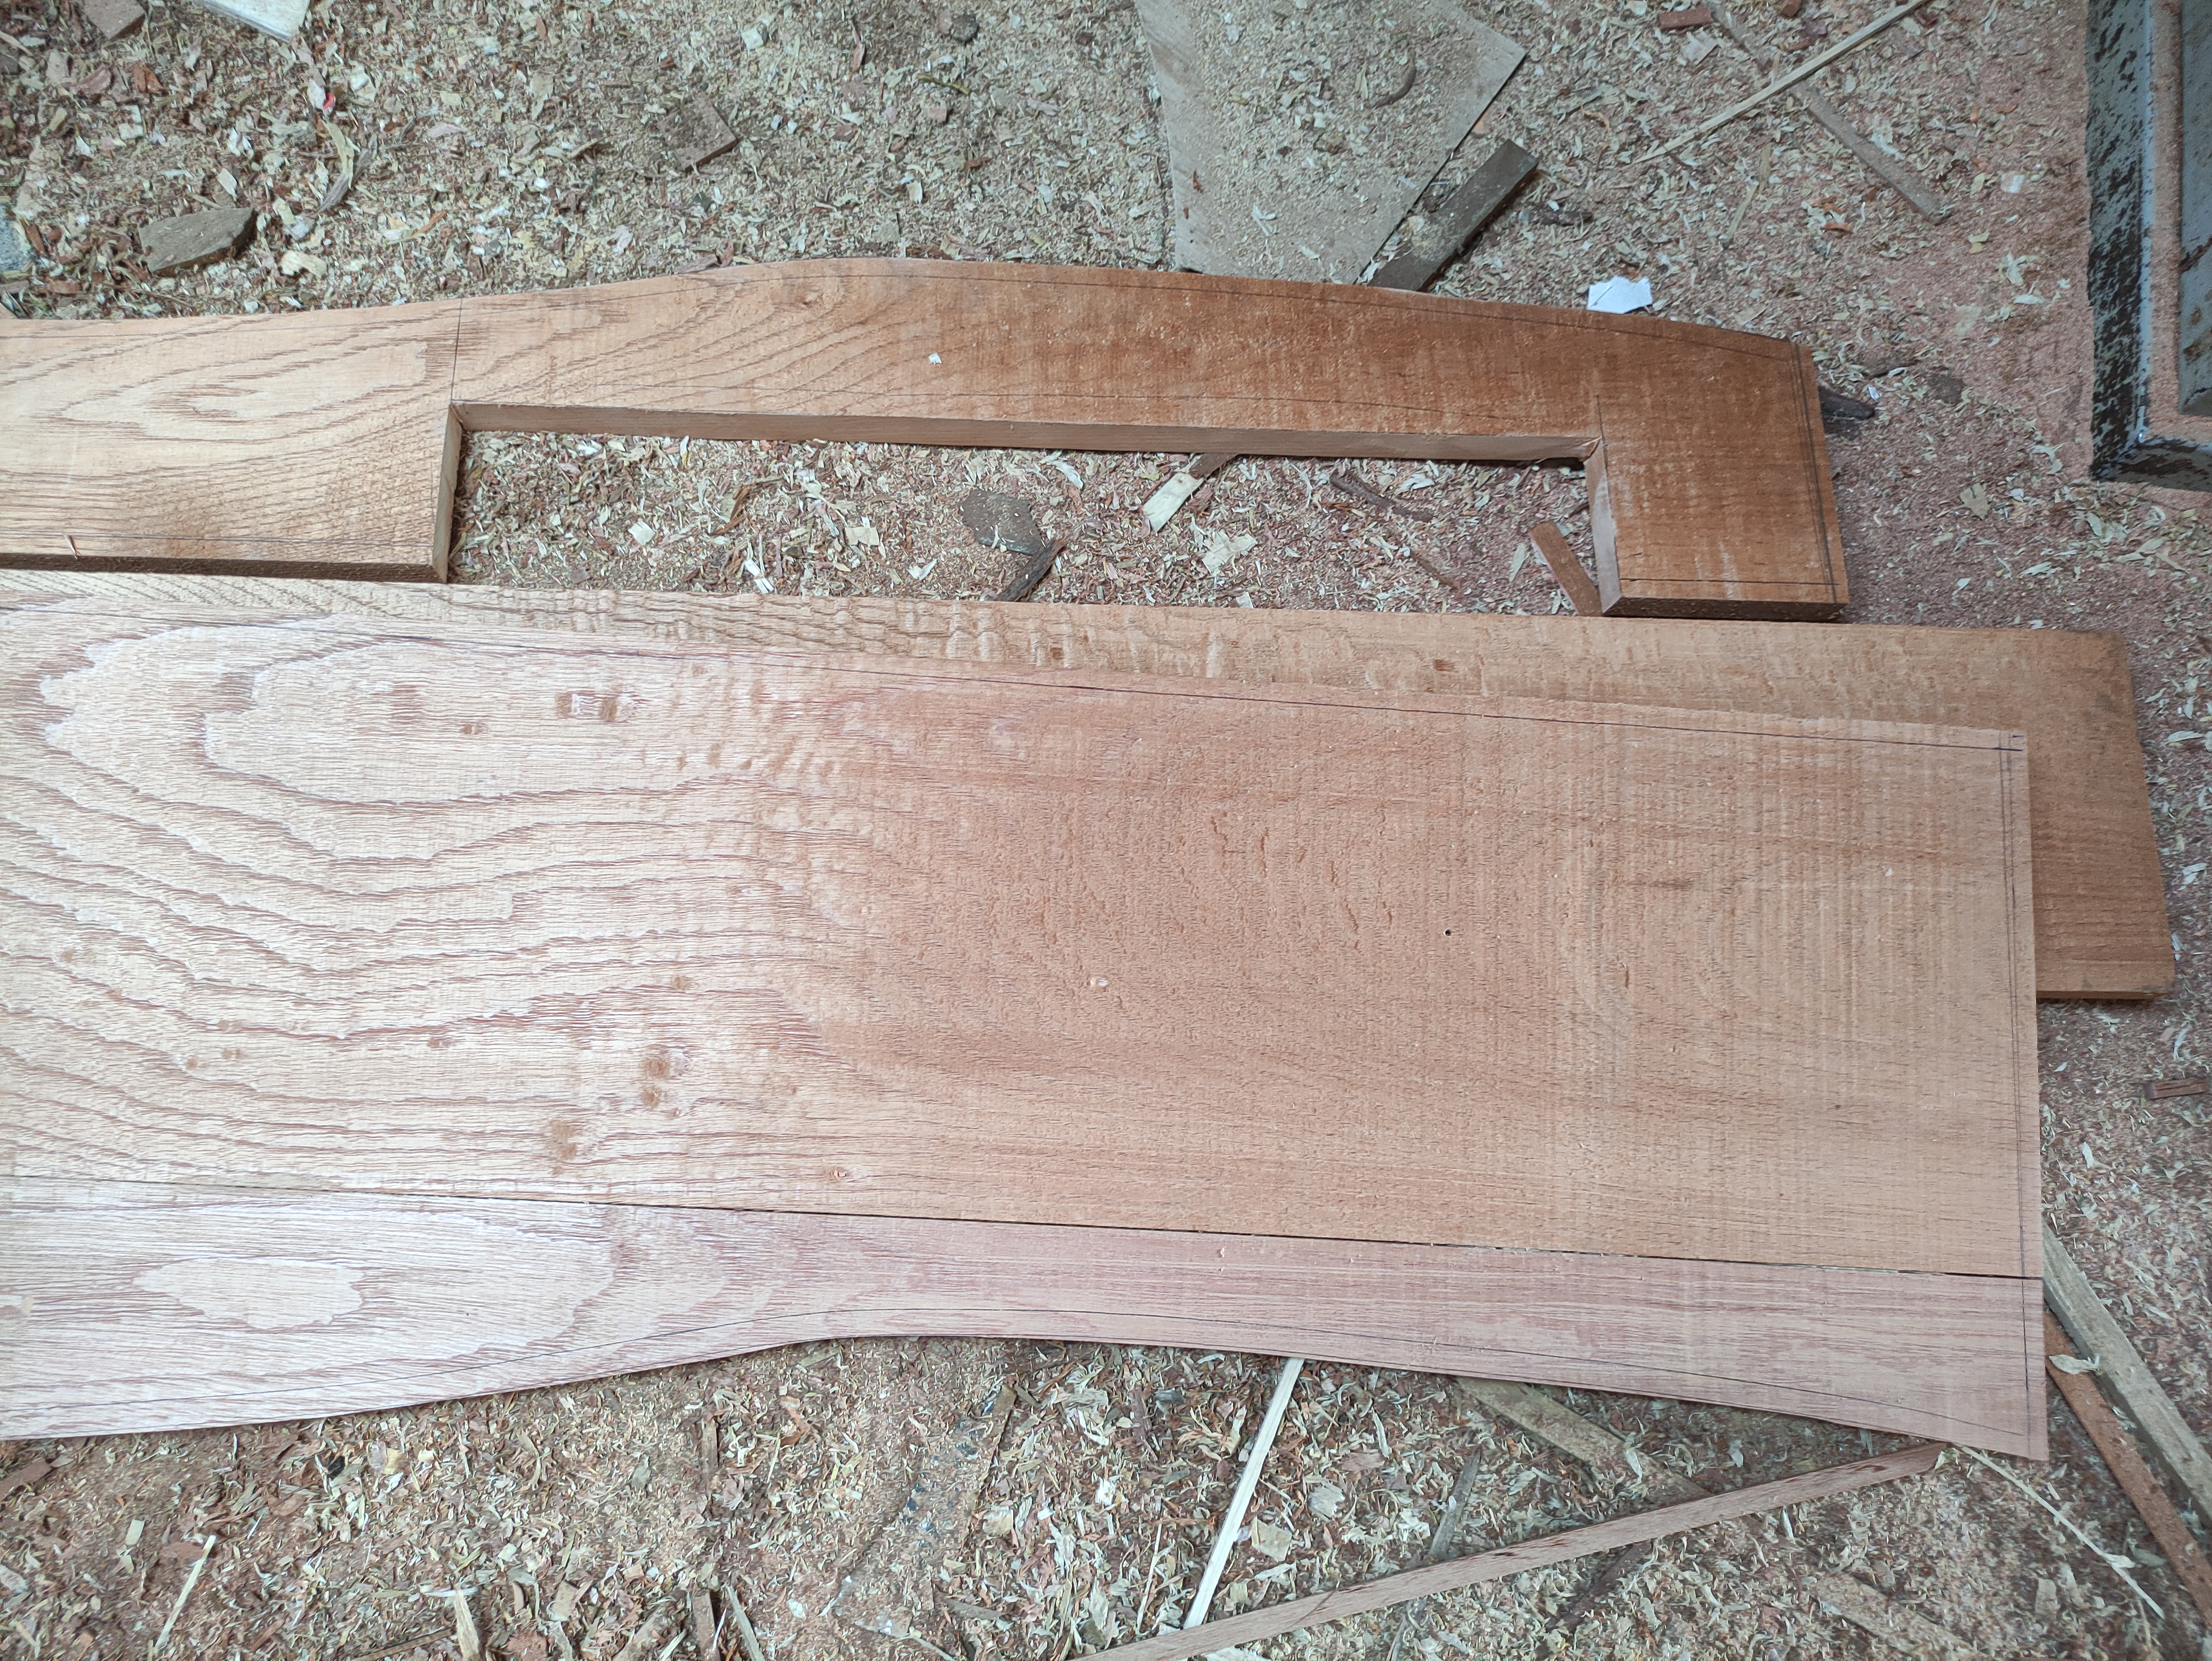
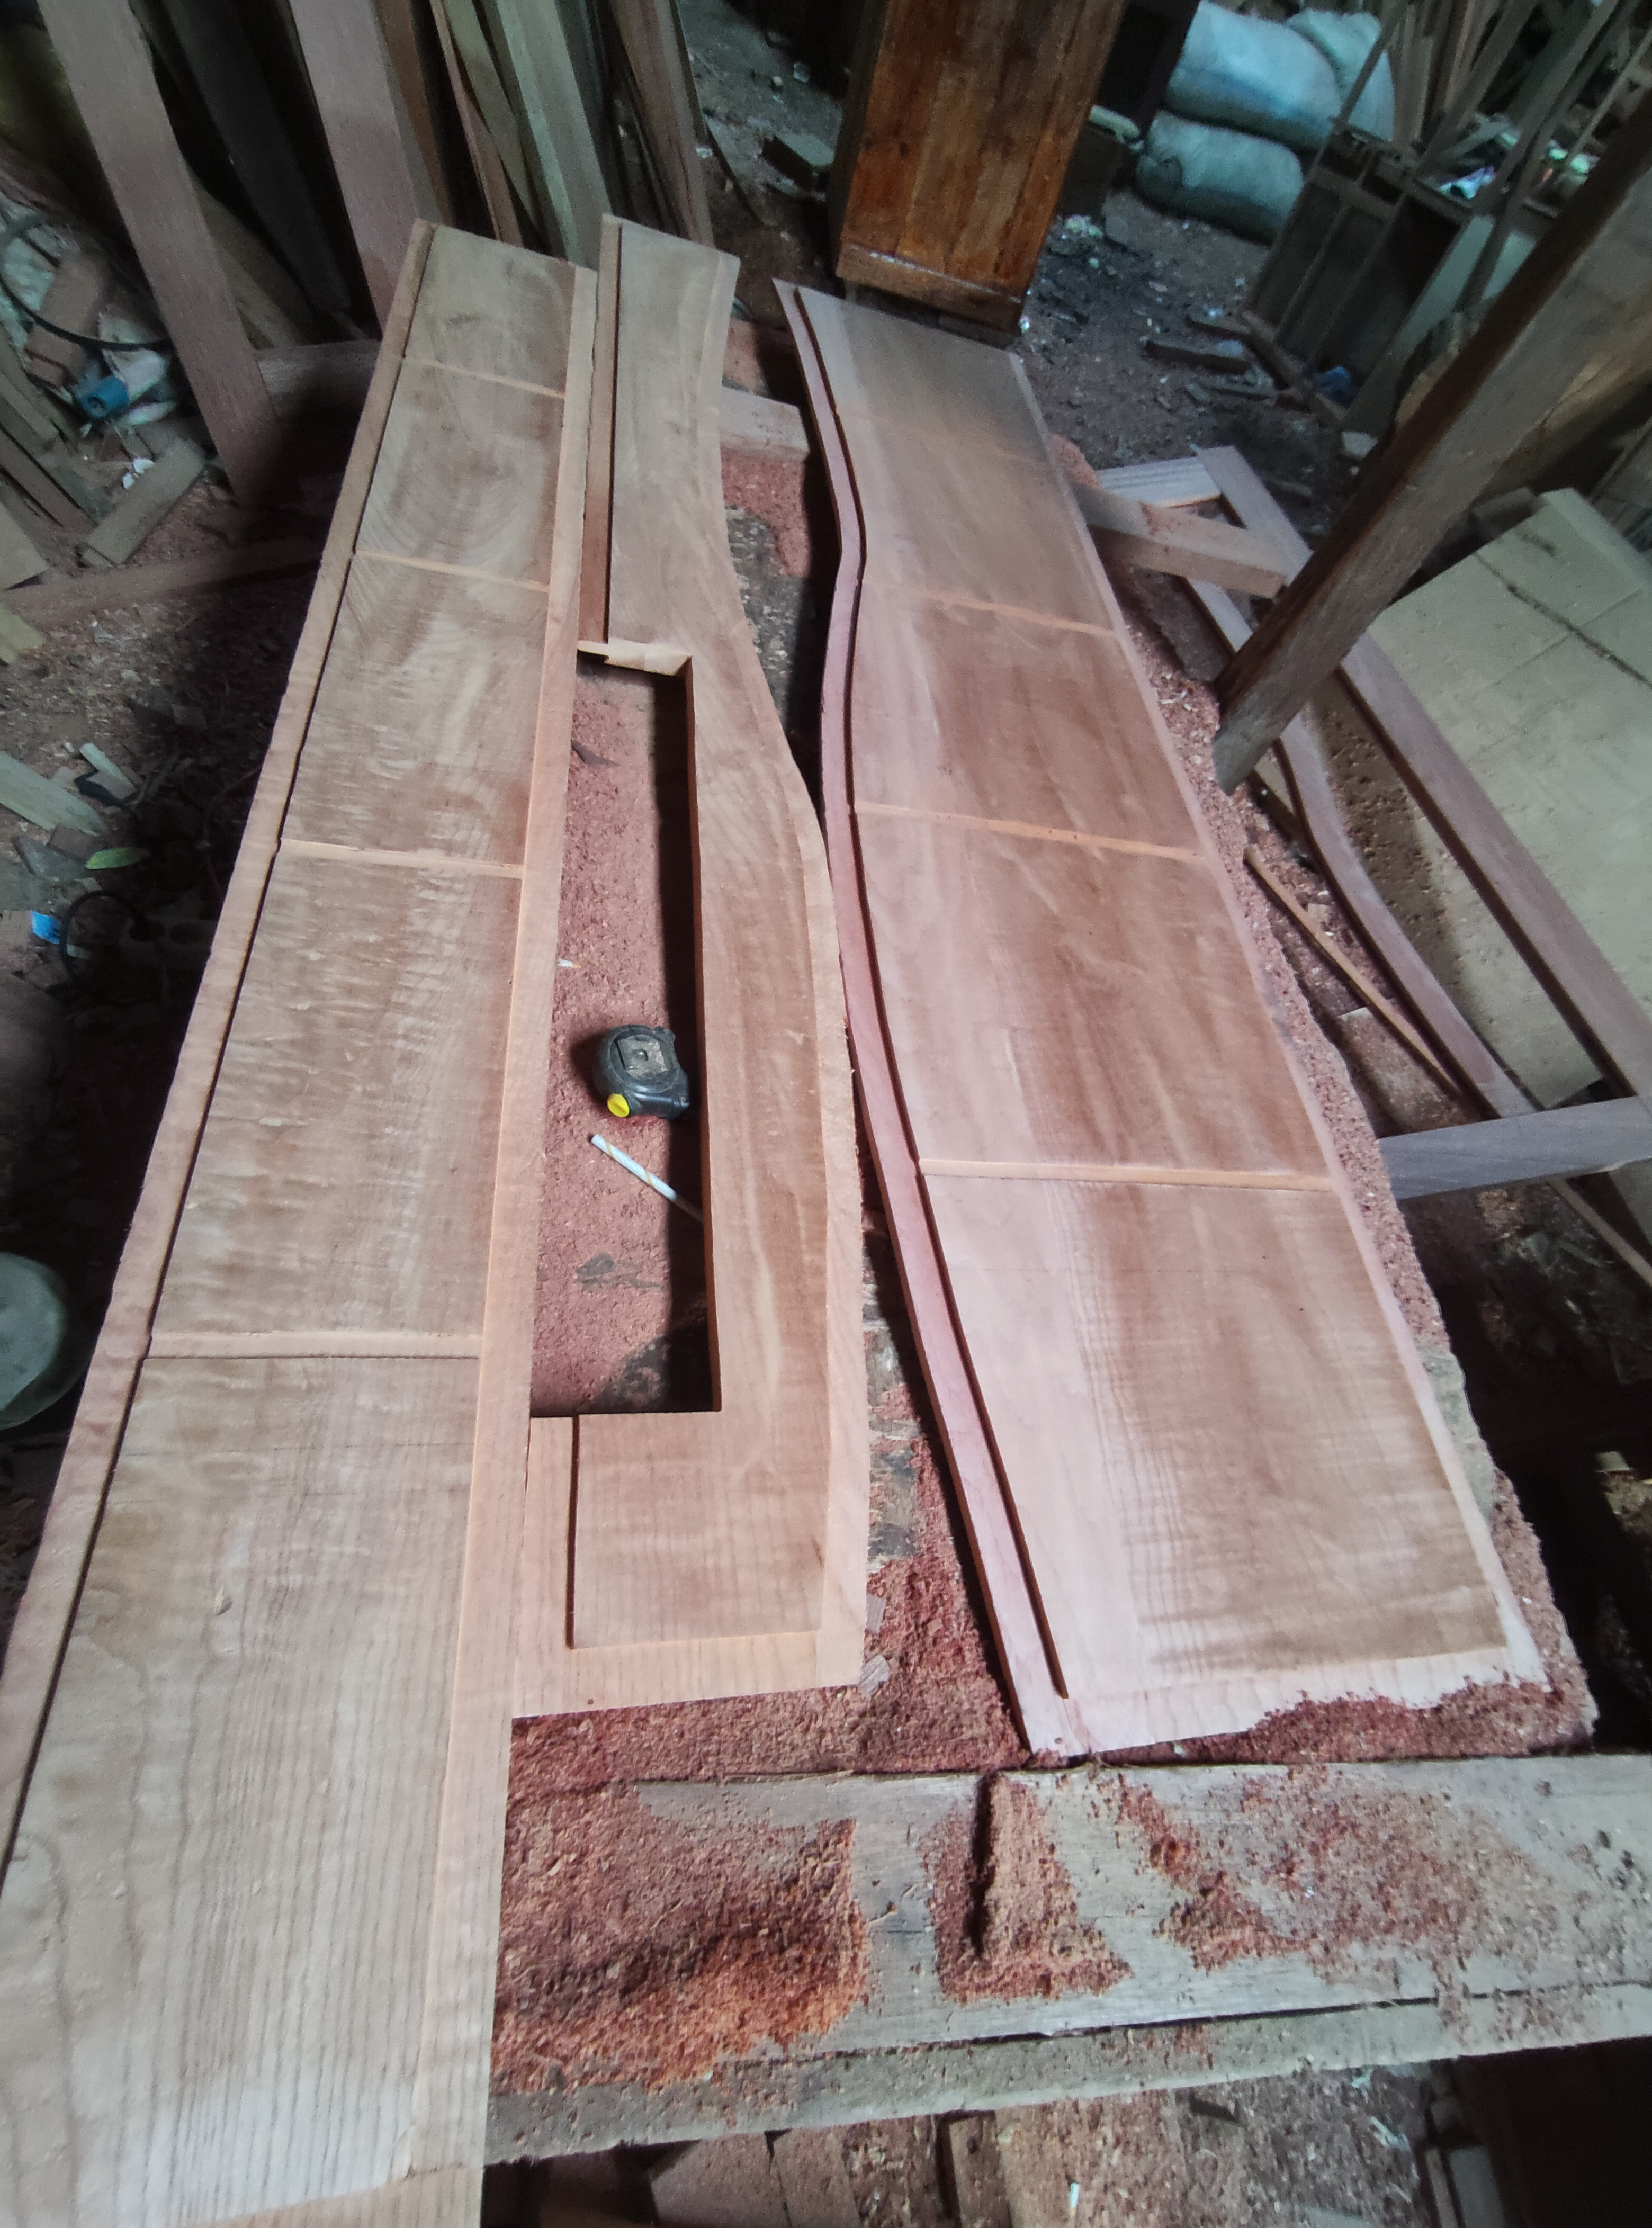
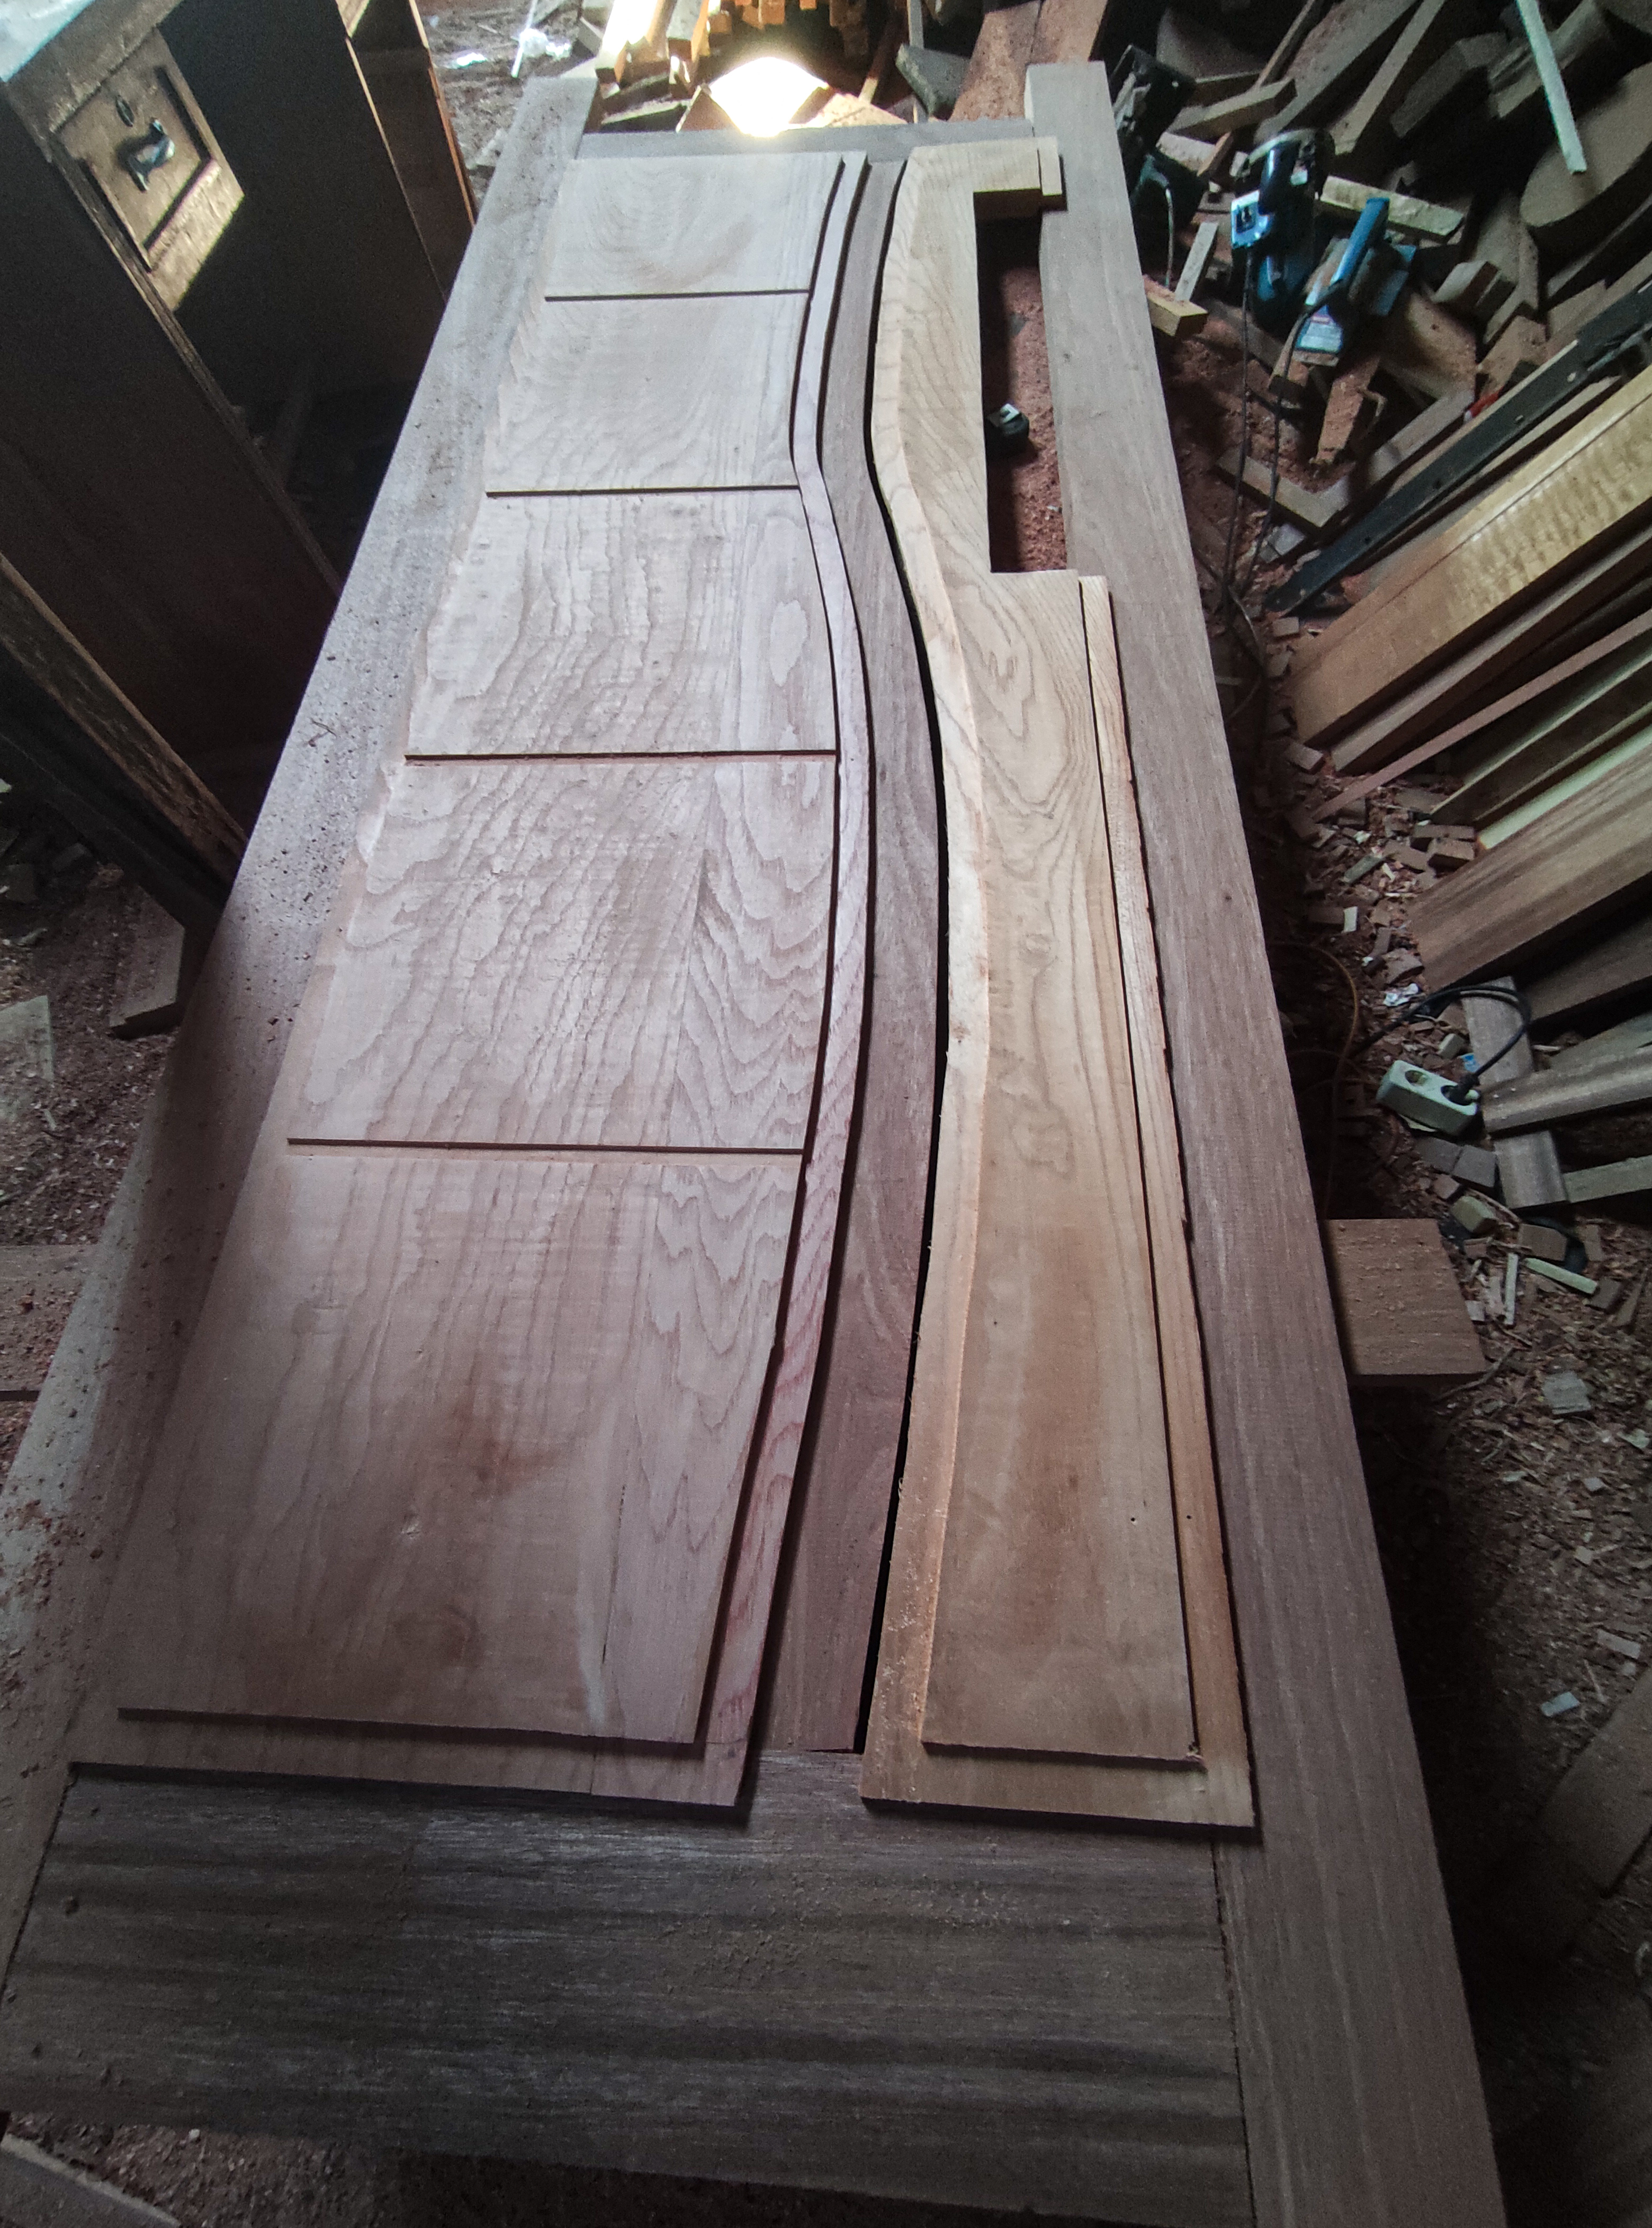
And after the glue is completely dry, then I outline the door connection leaf following the arch print of the door bulkhead.
Furthermore, after the process of marking the line following the curve of the door bulkhead was completed for the two doors, I continued by cutting the indentation using a jitaw machine.

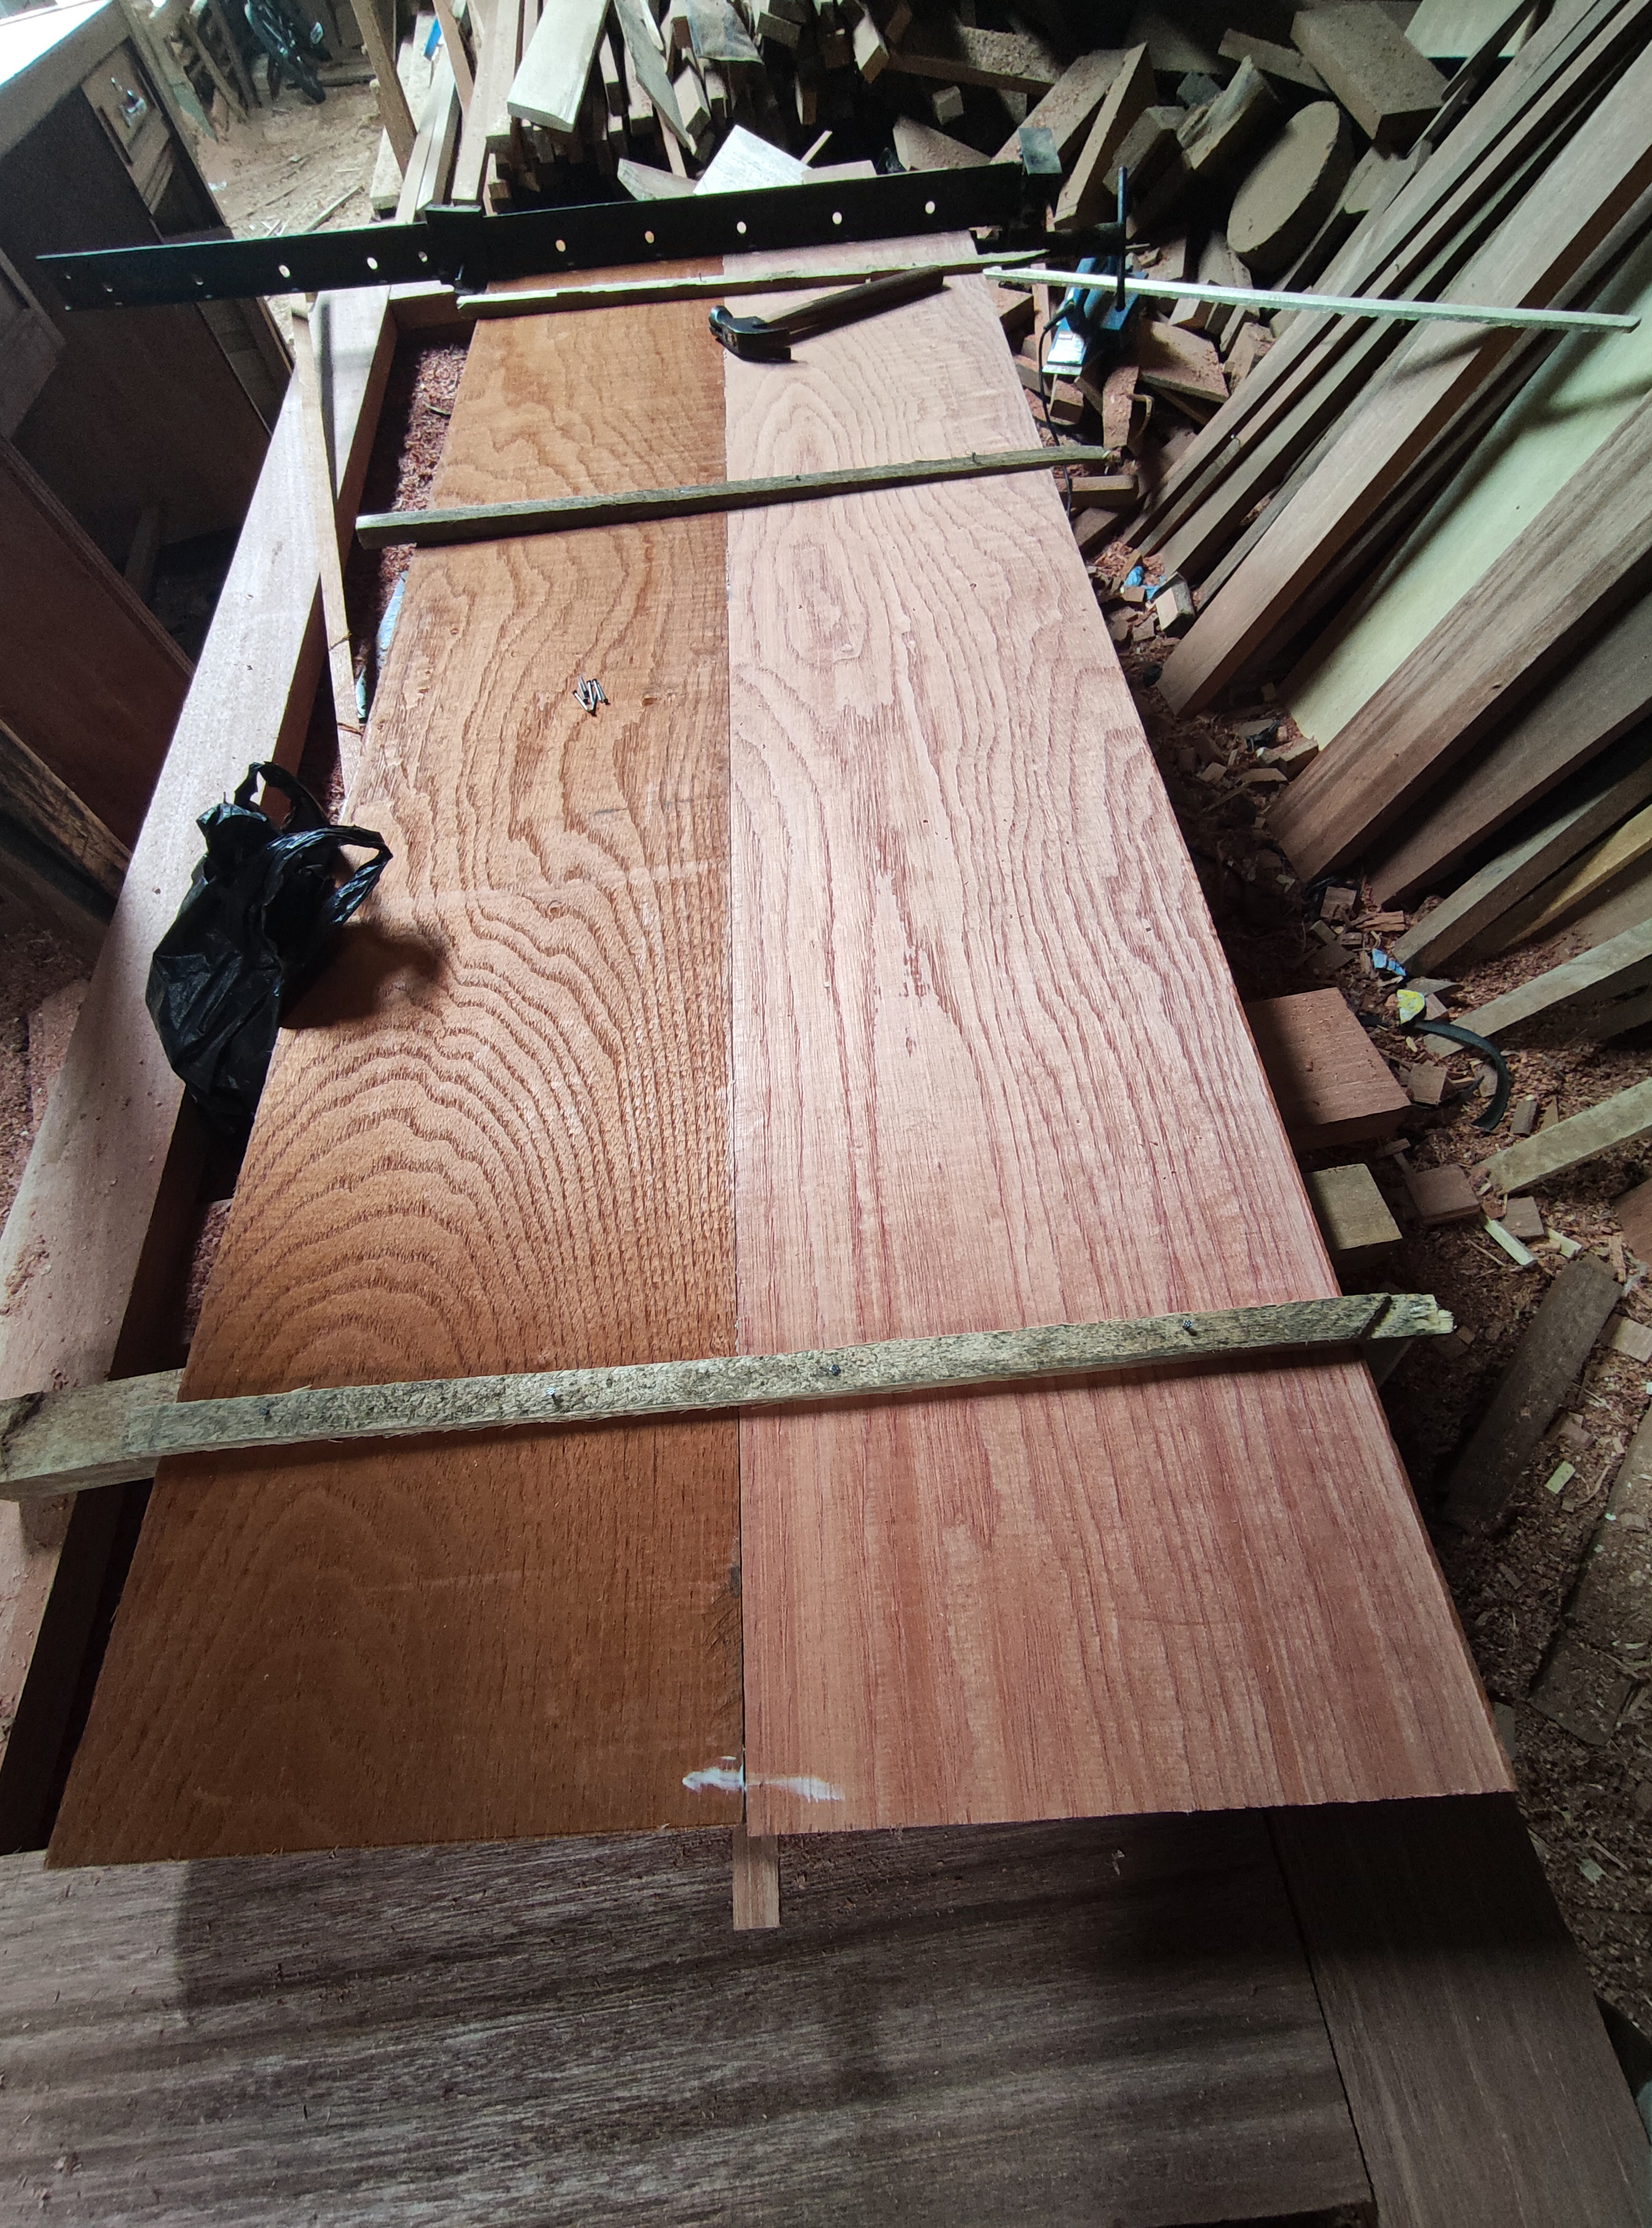
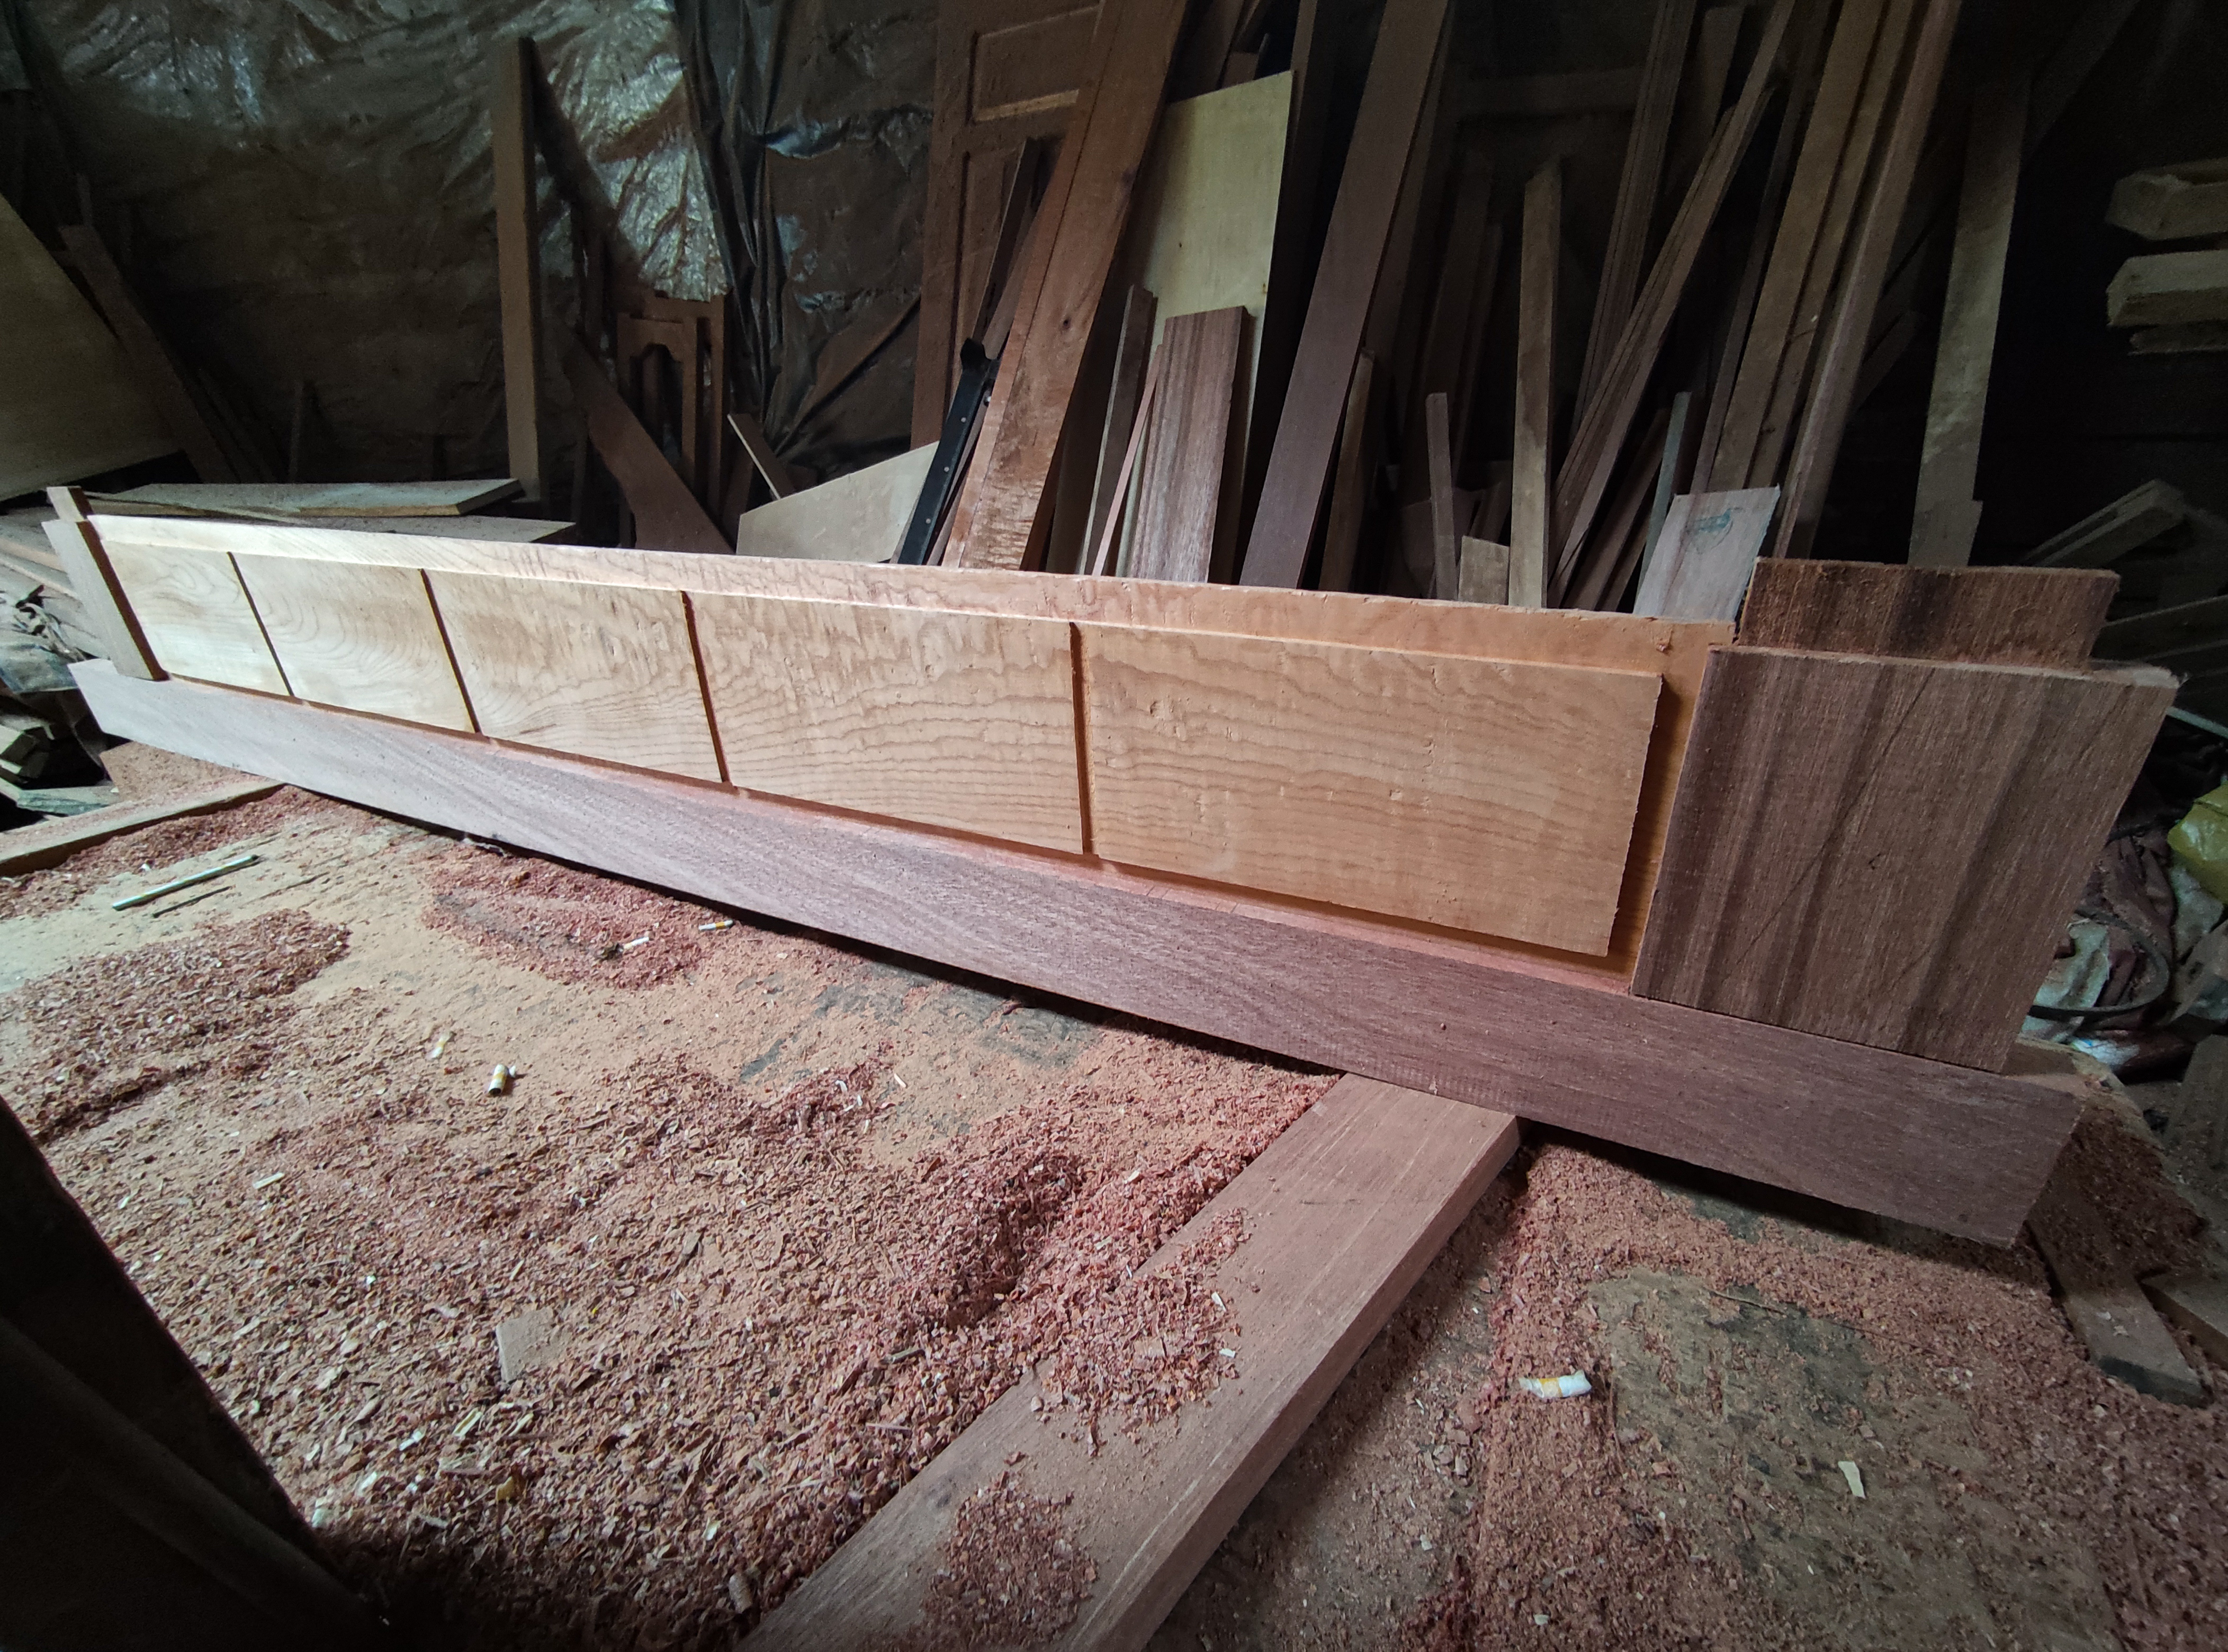
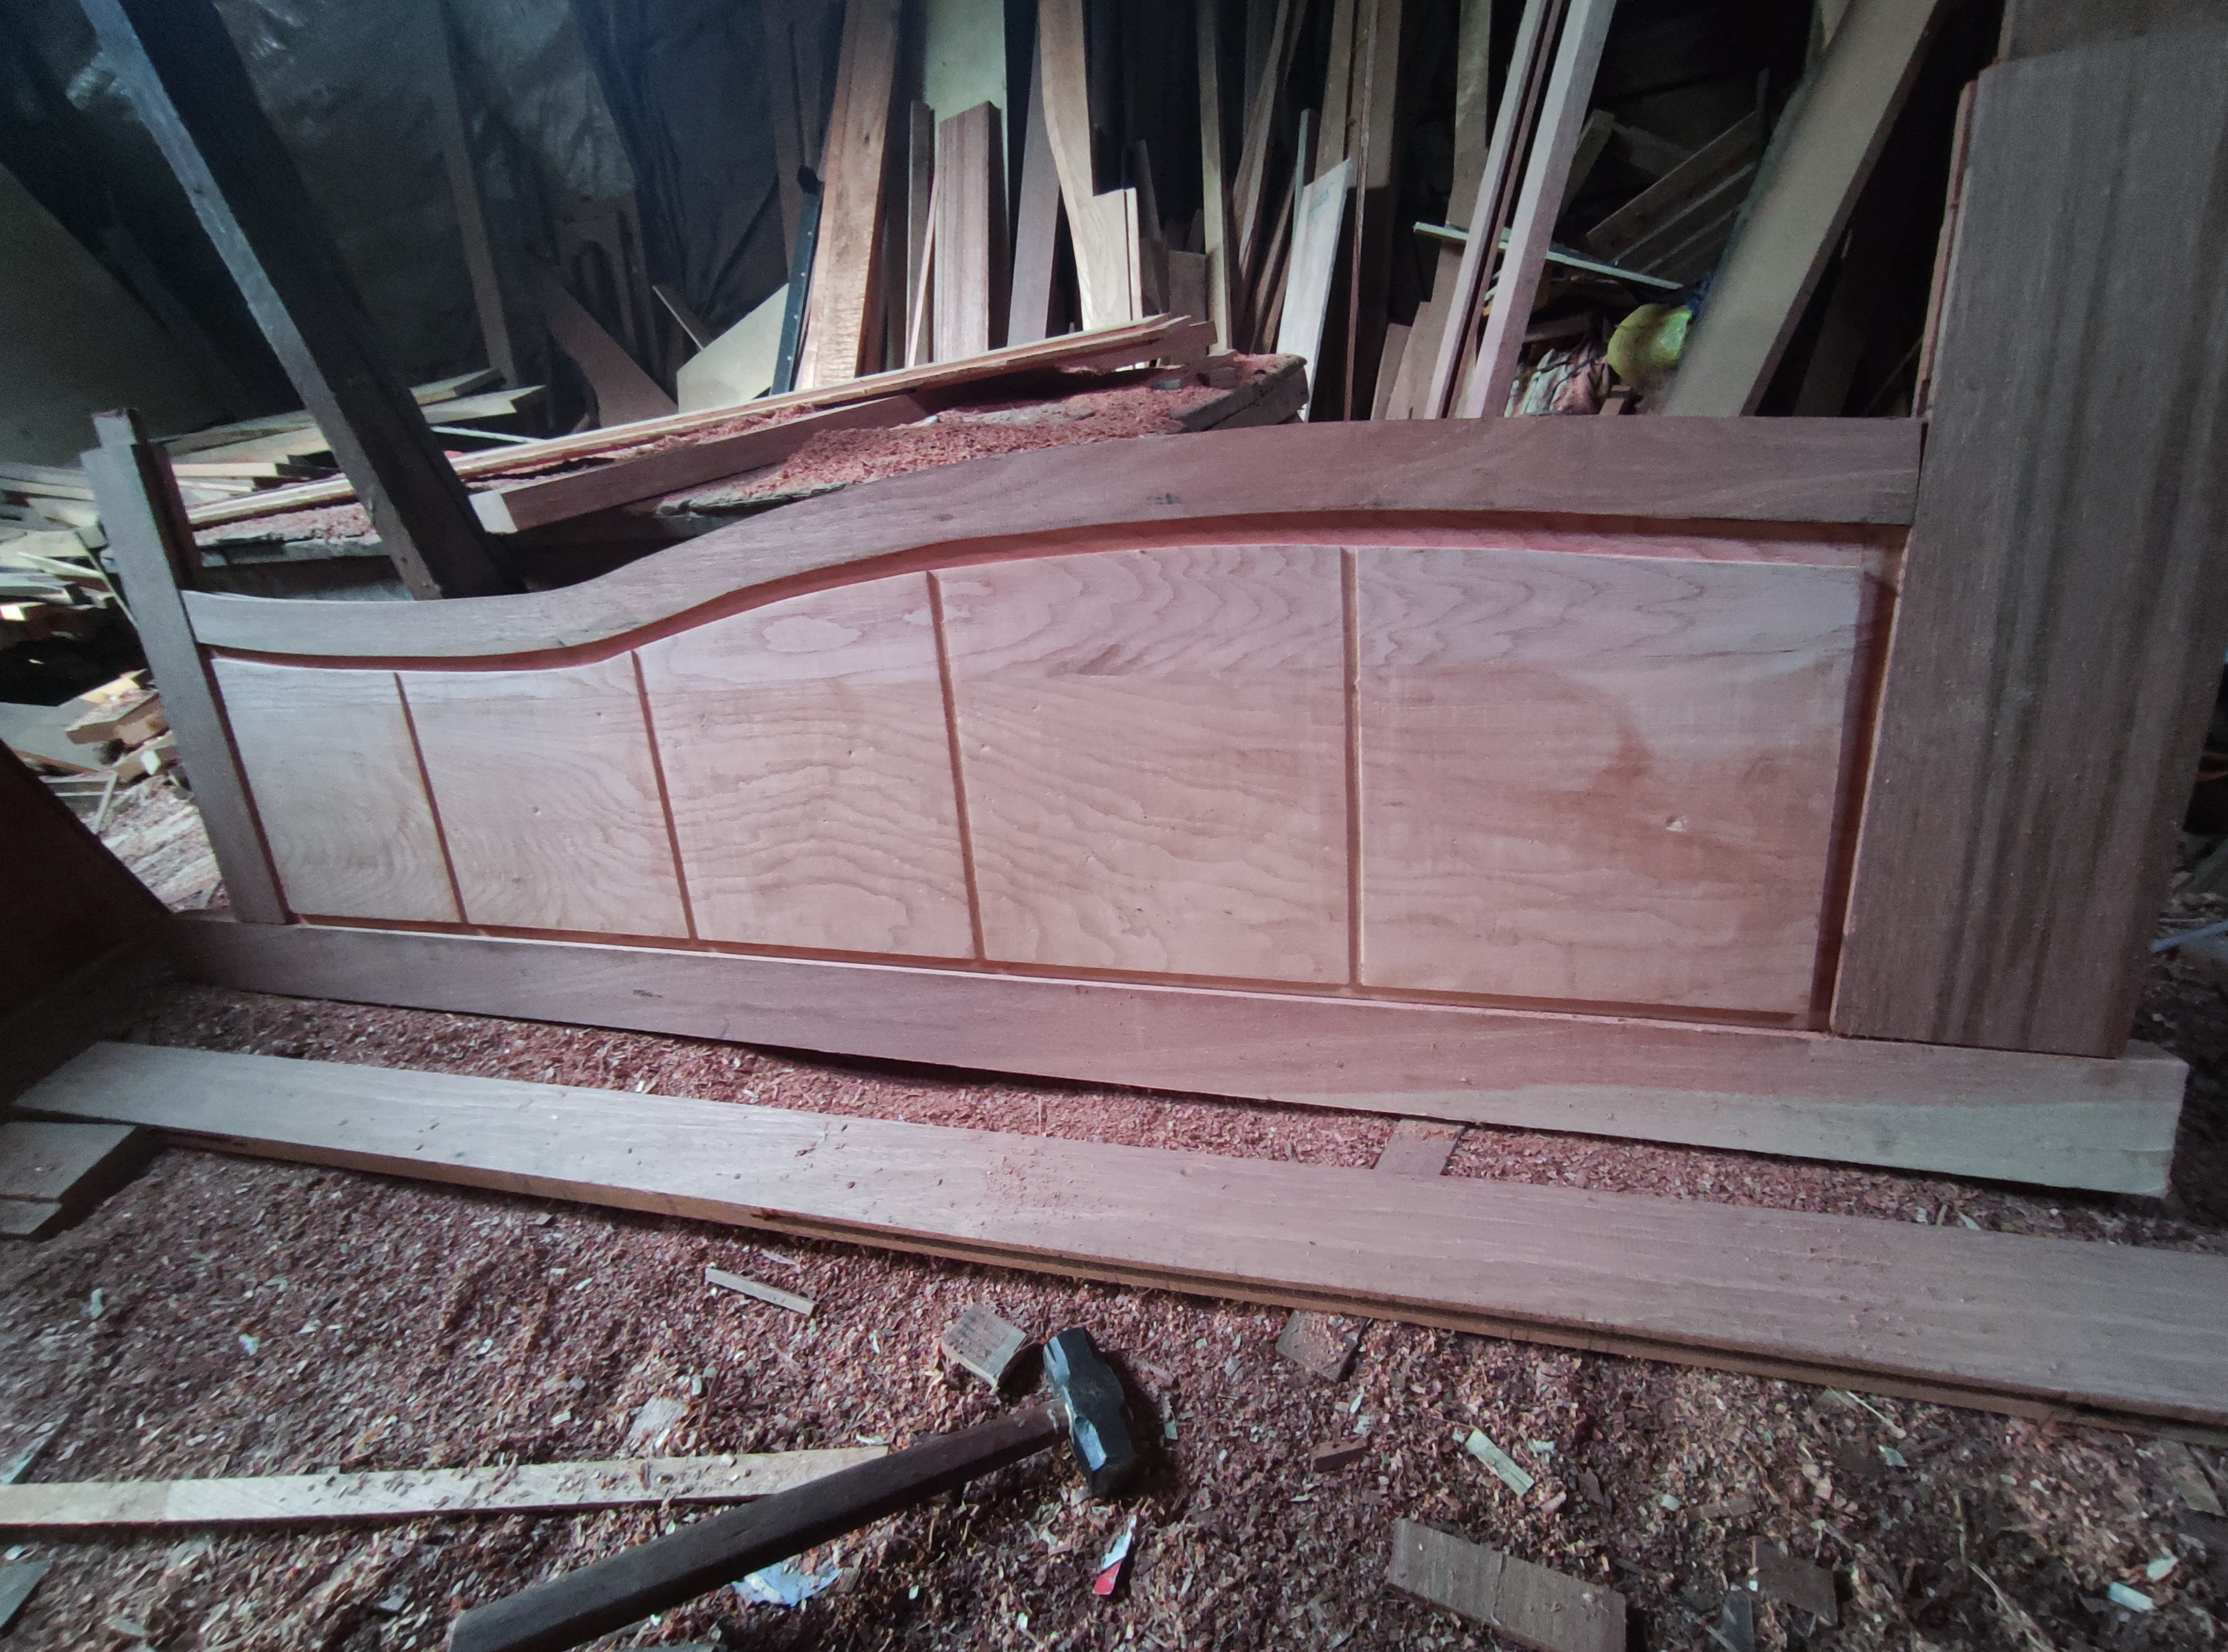
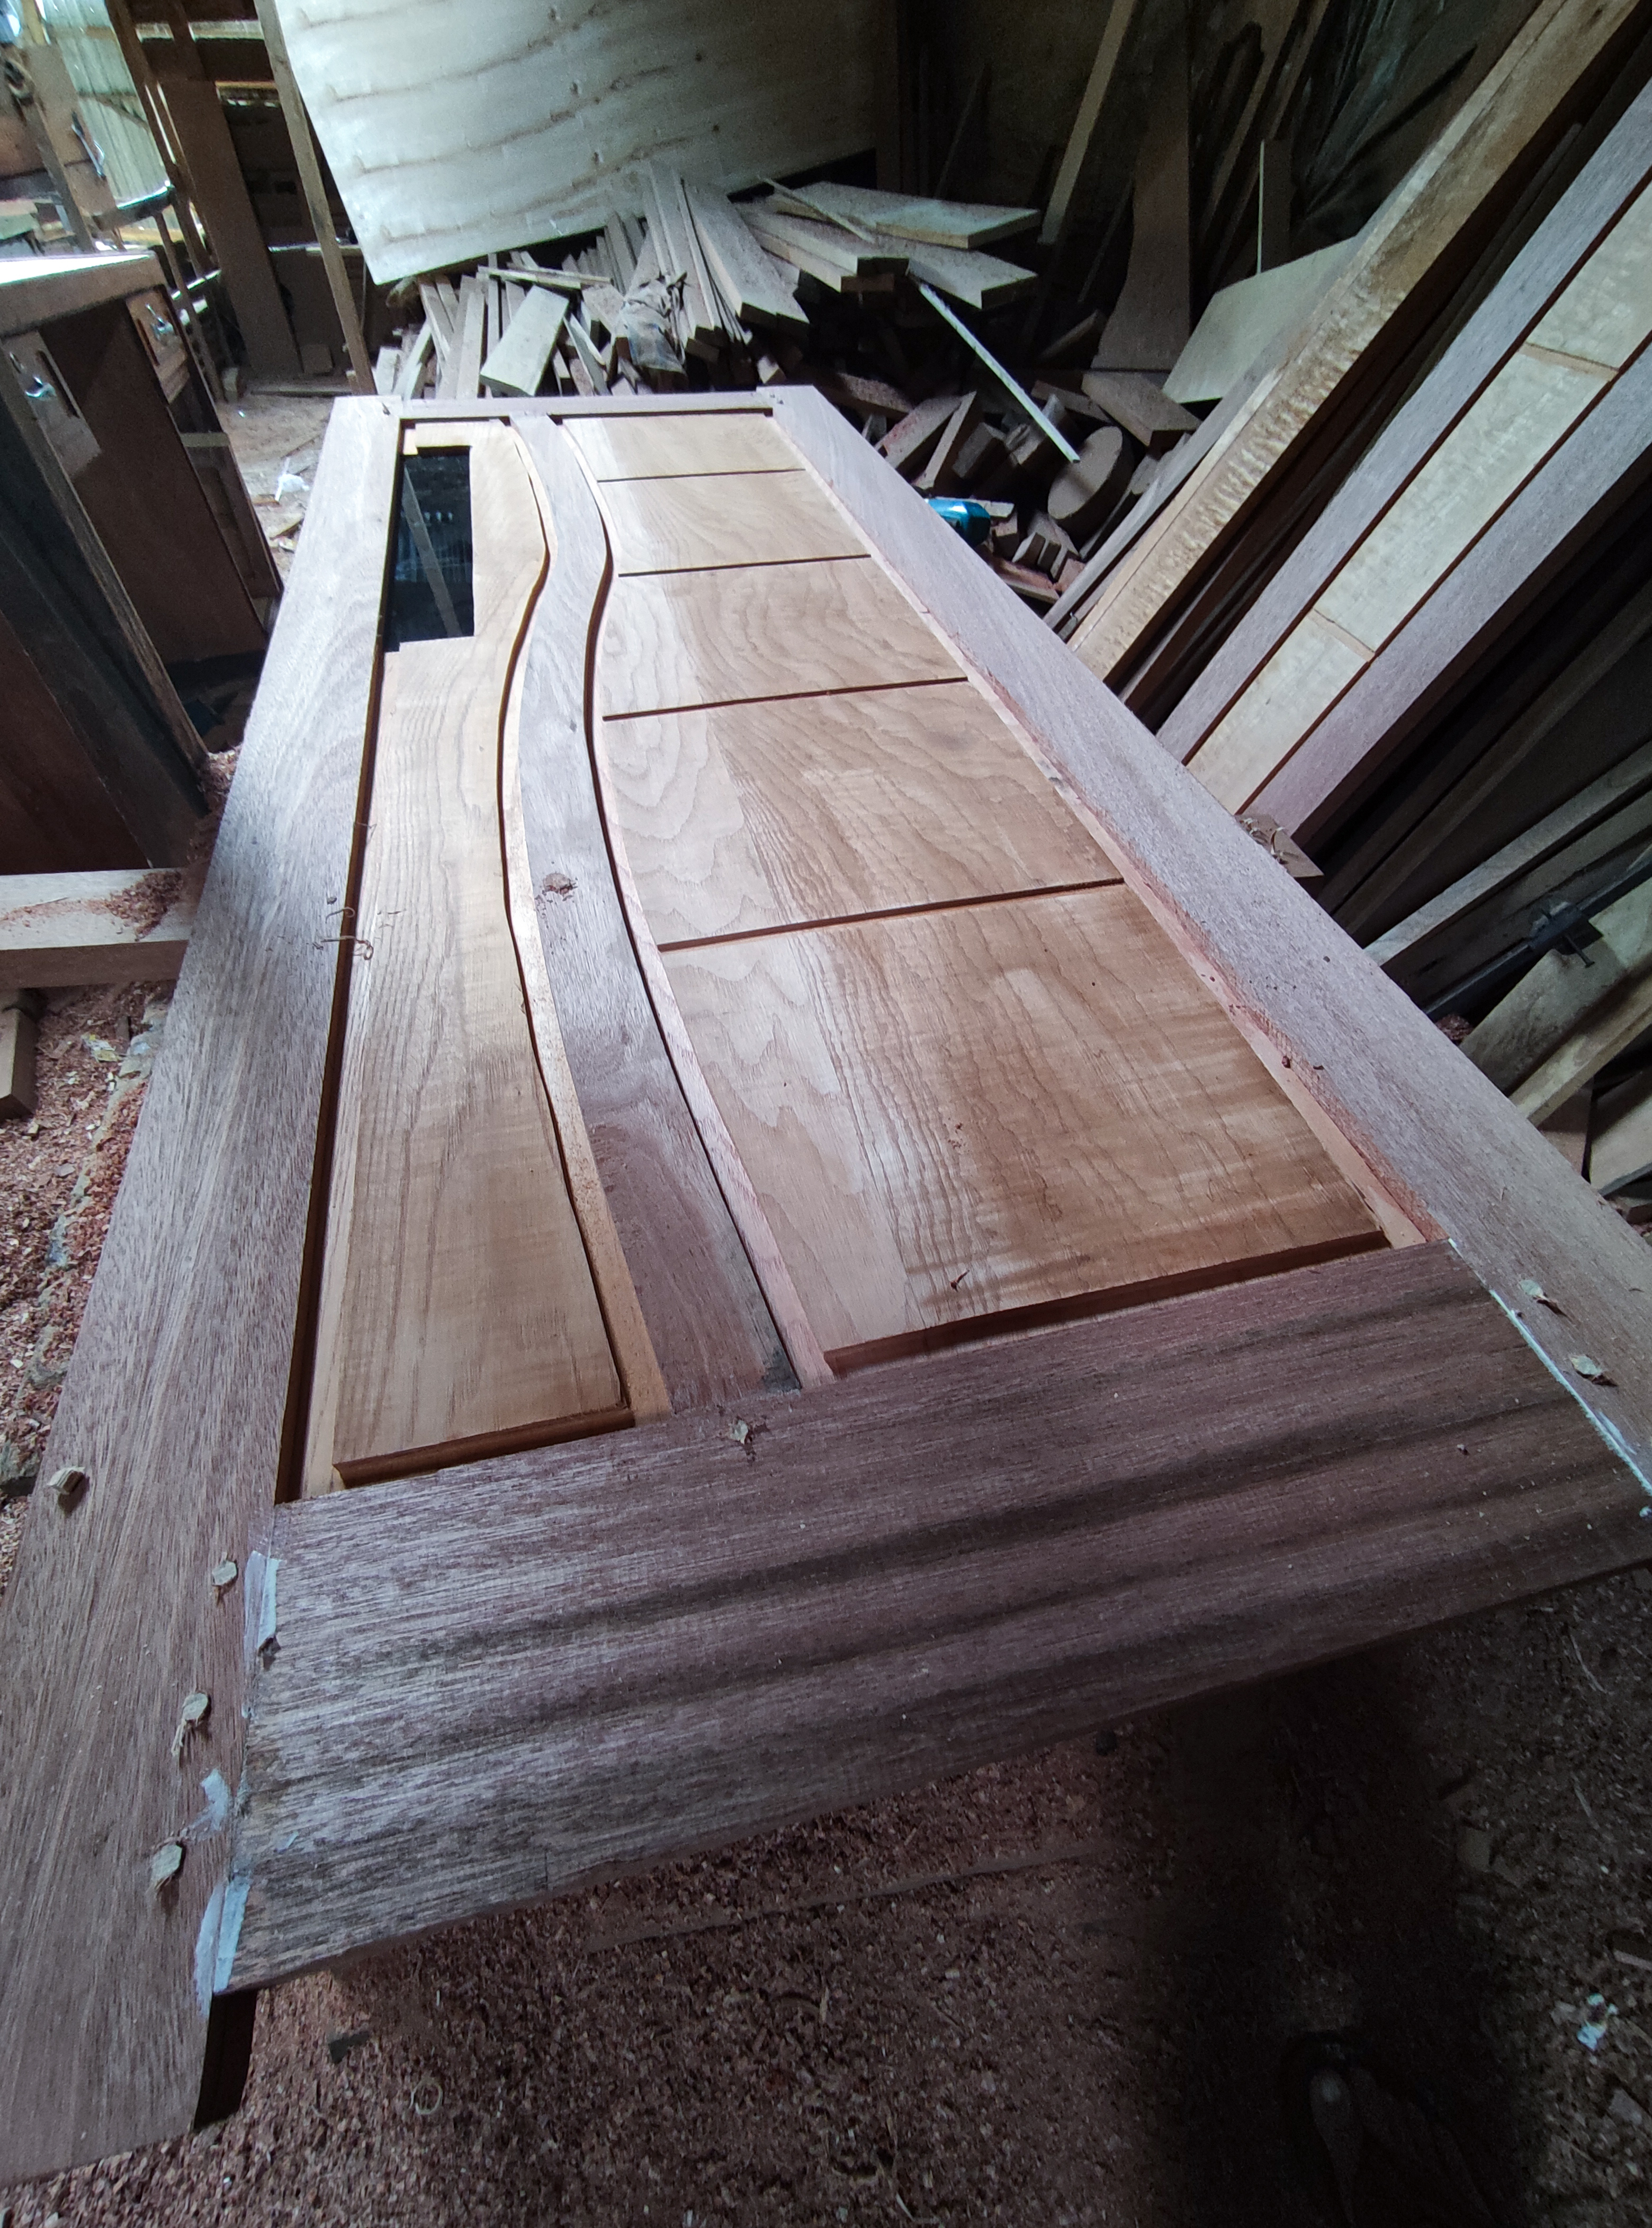
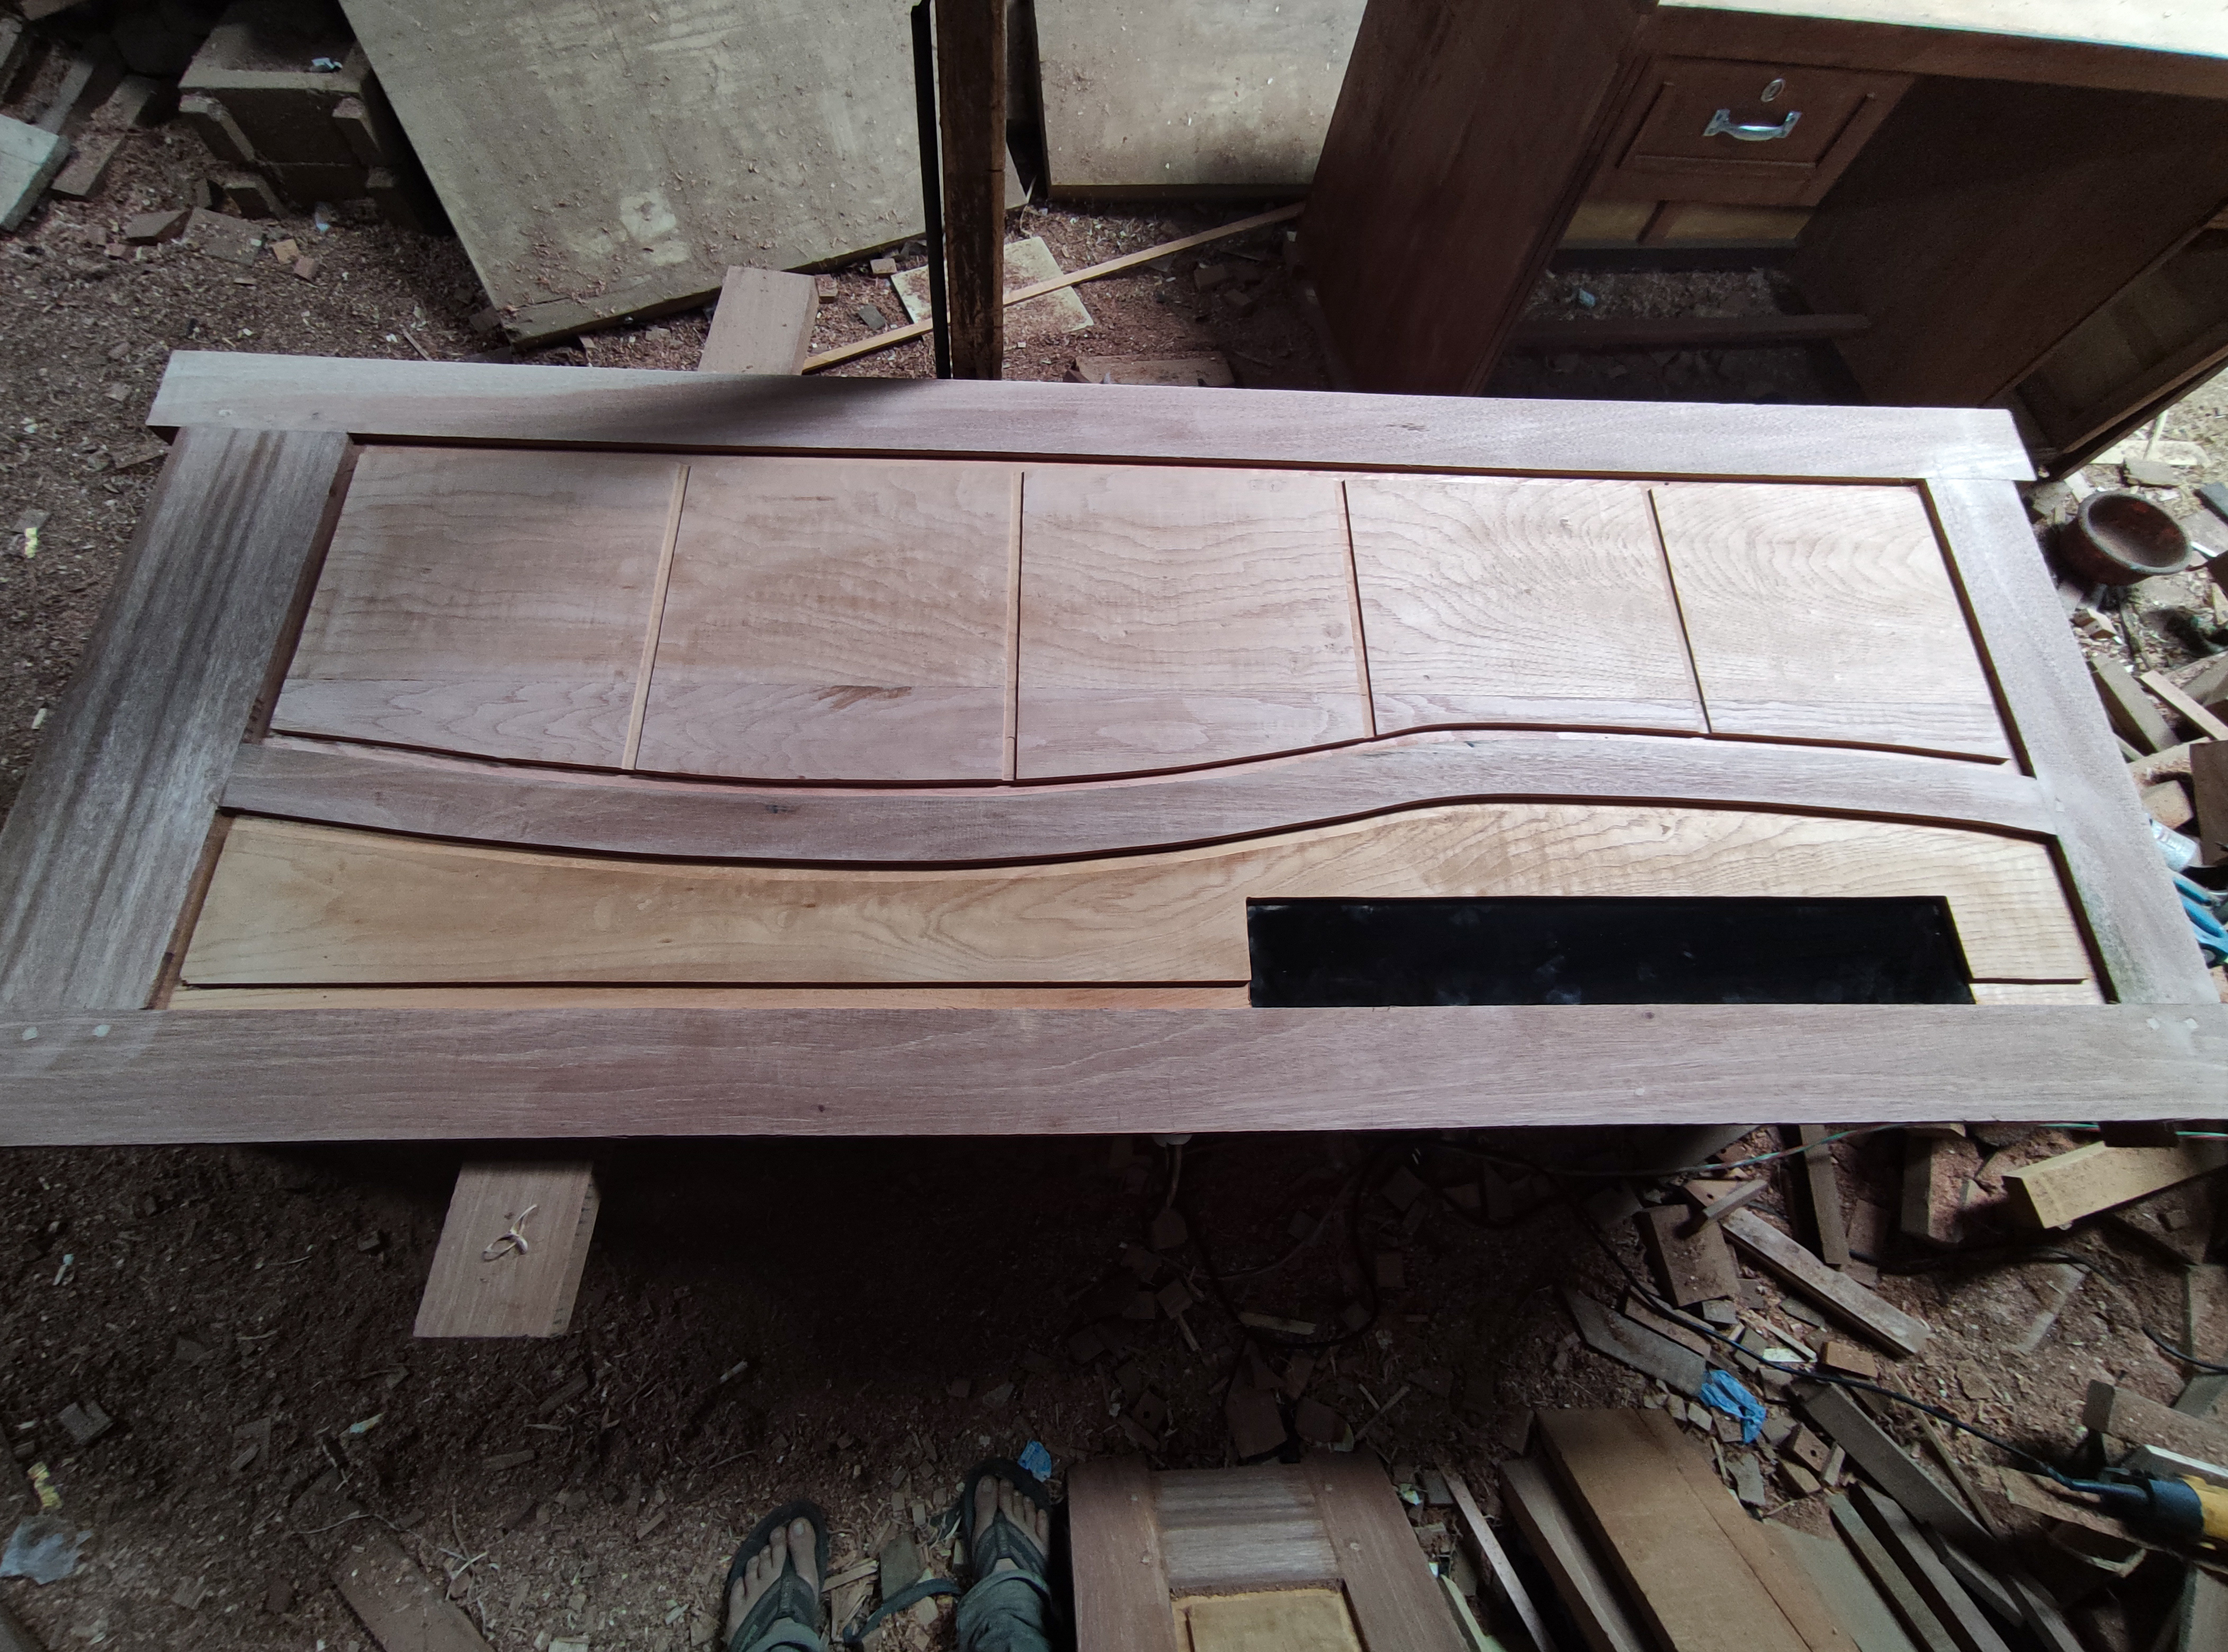
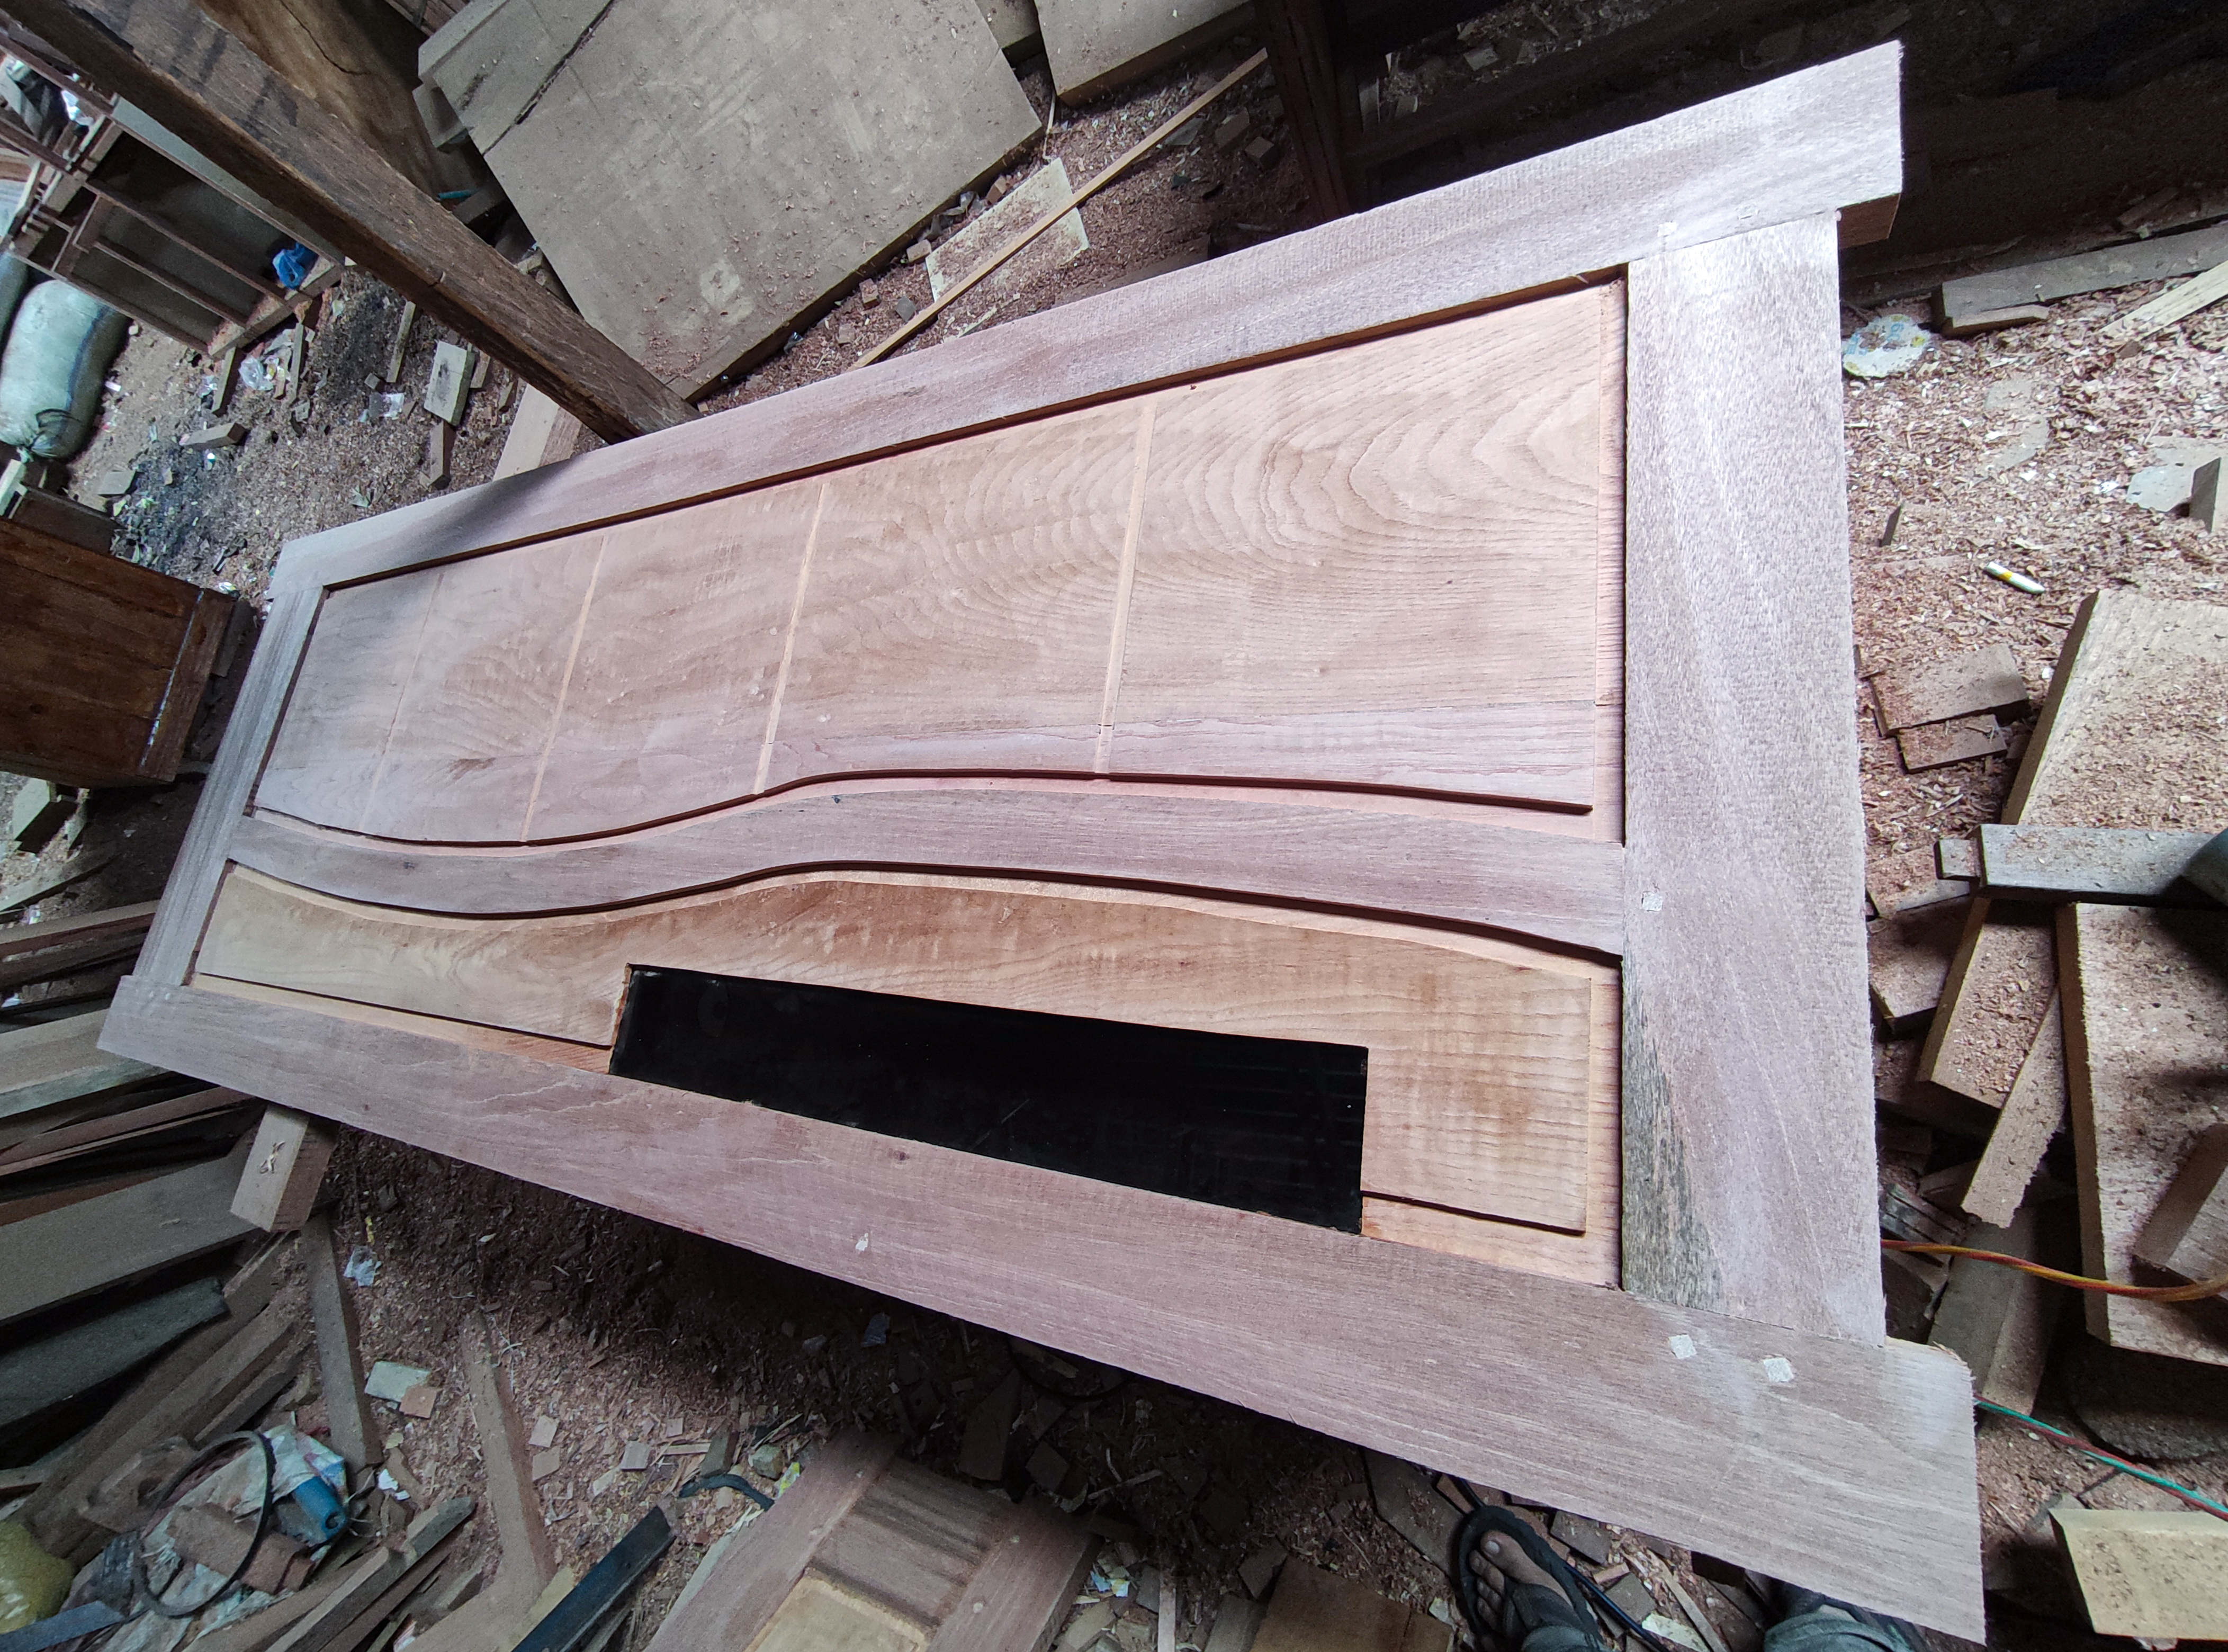
After the cut is complete, this is what the leaf boards of the two doors look like.
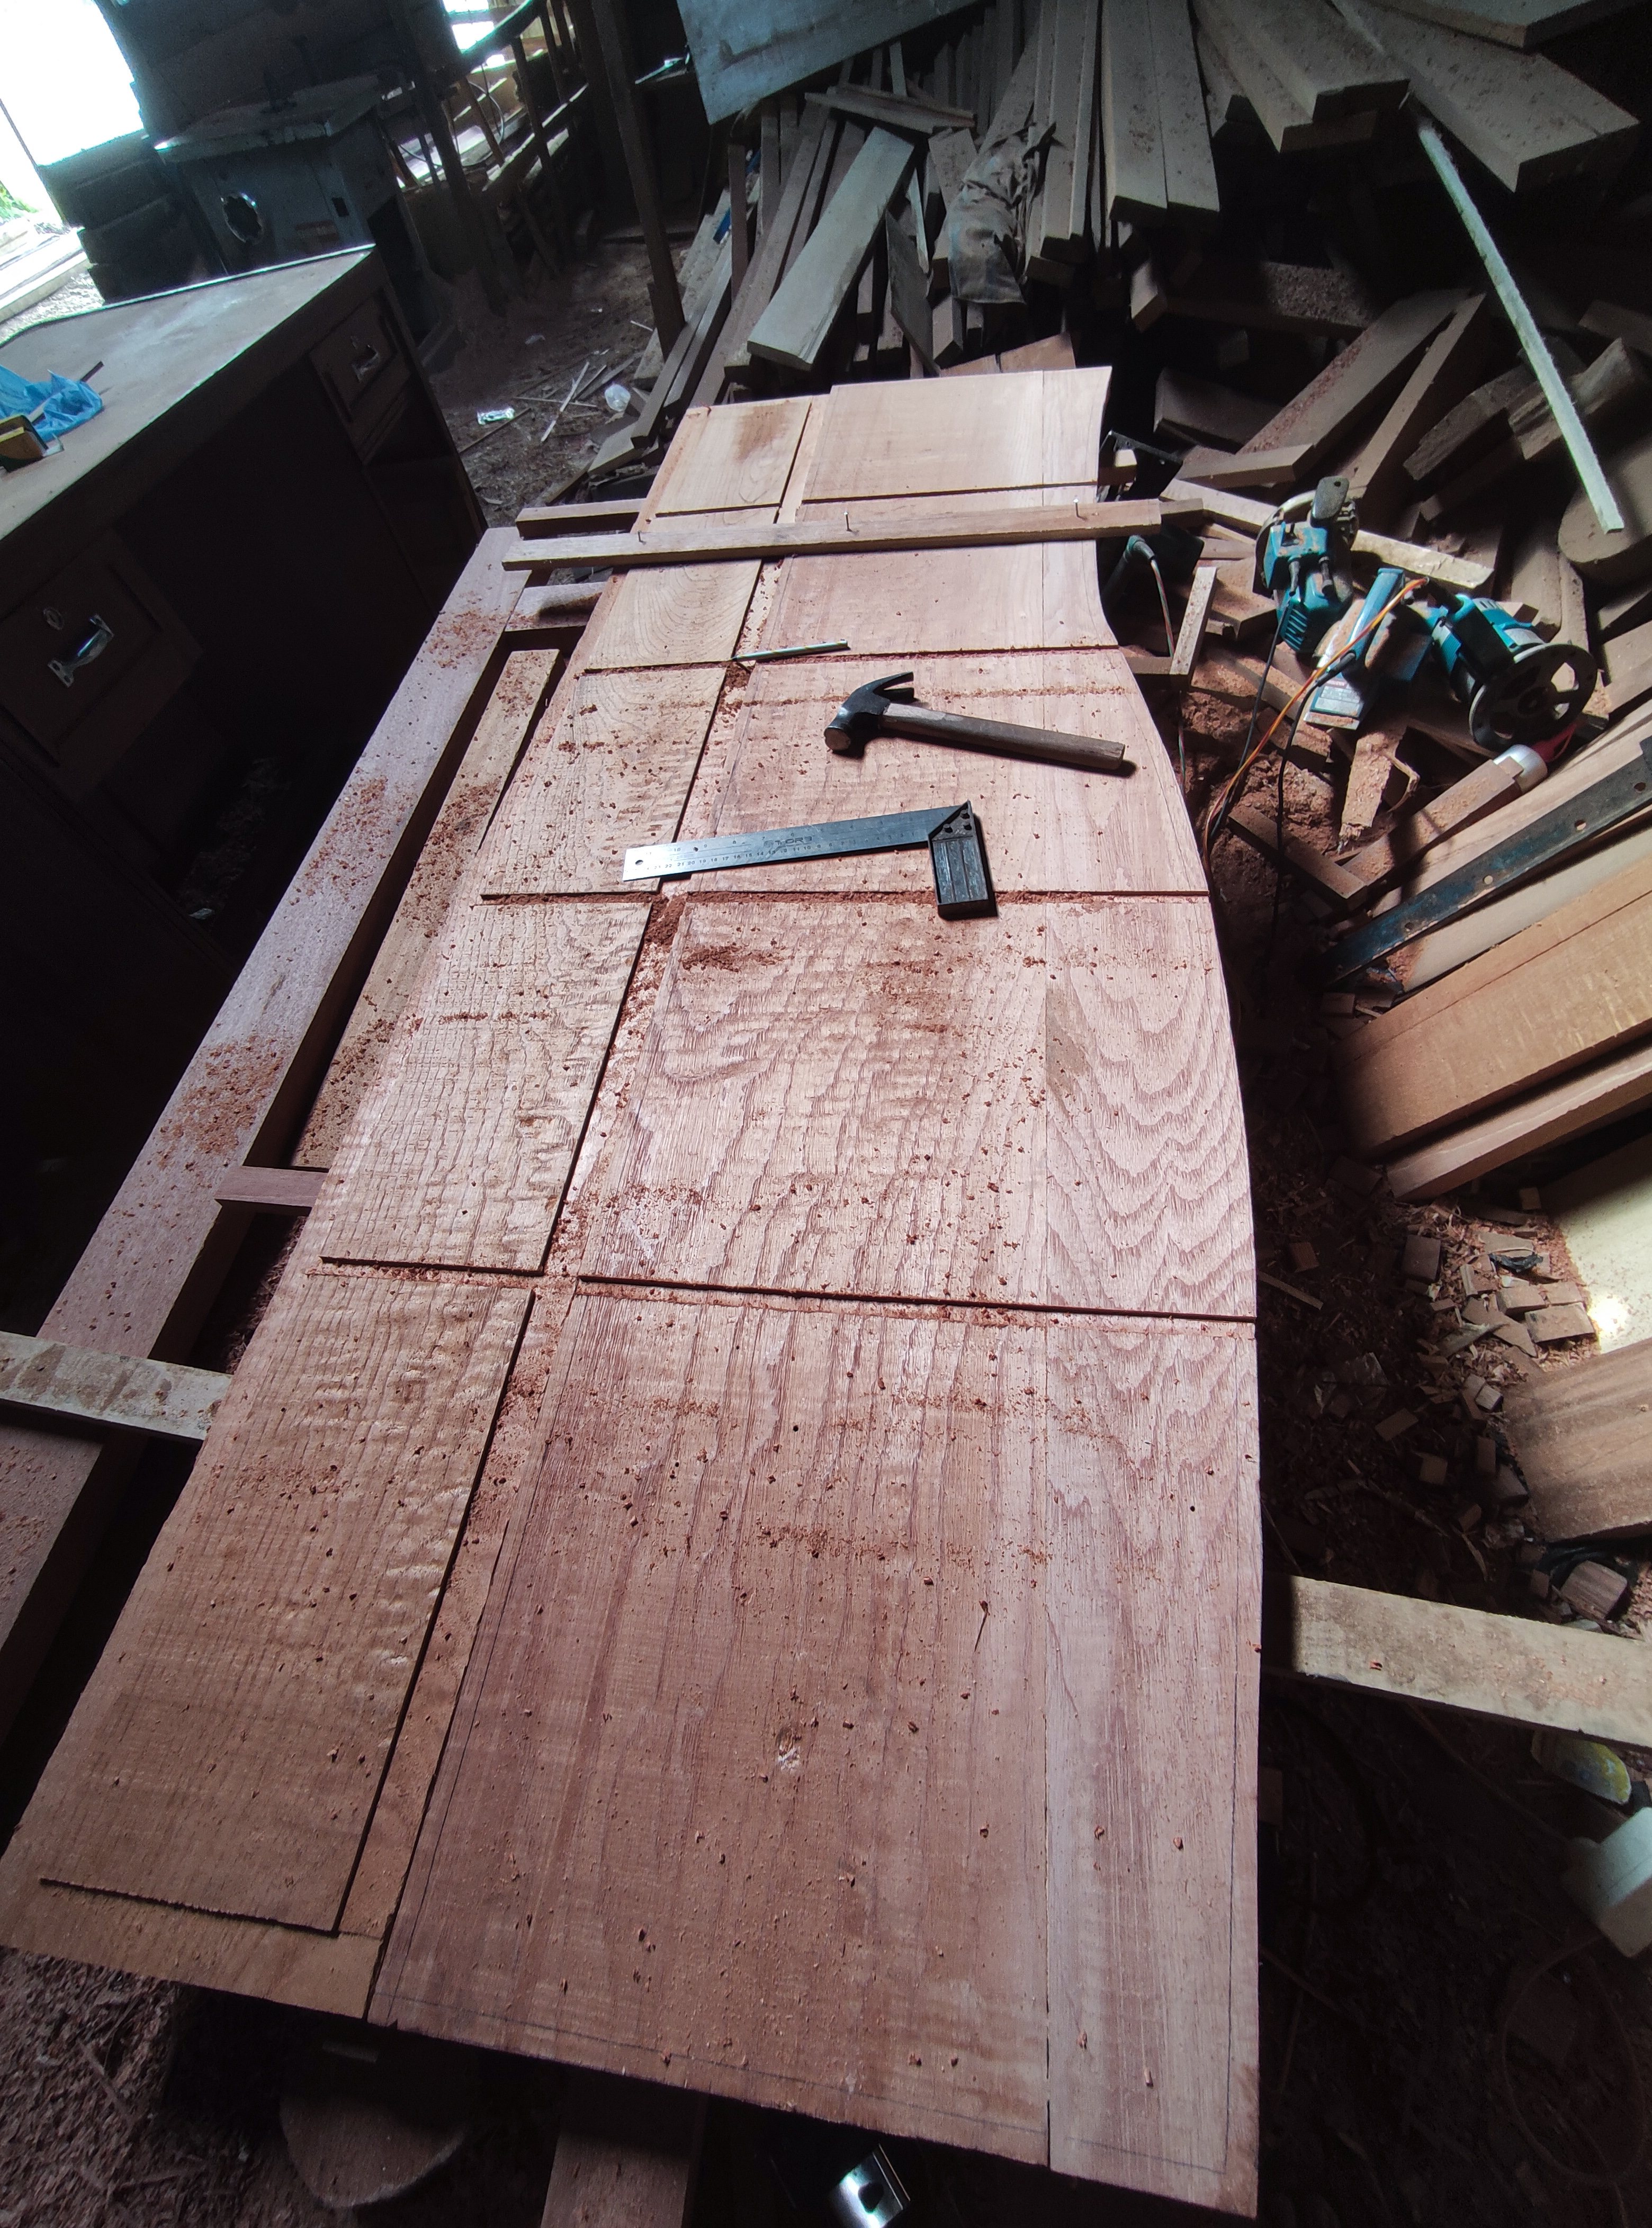
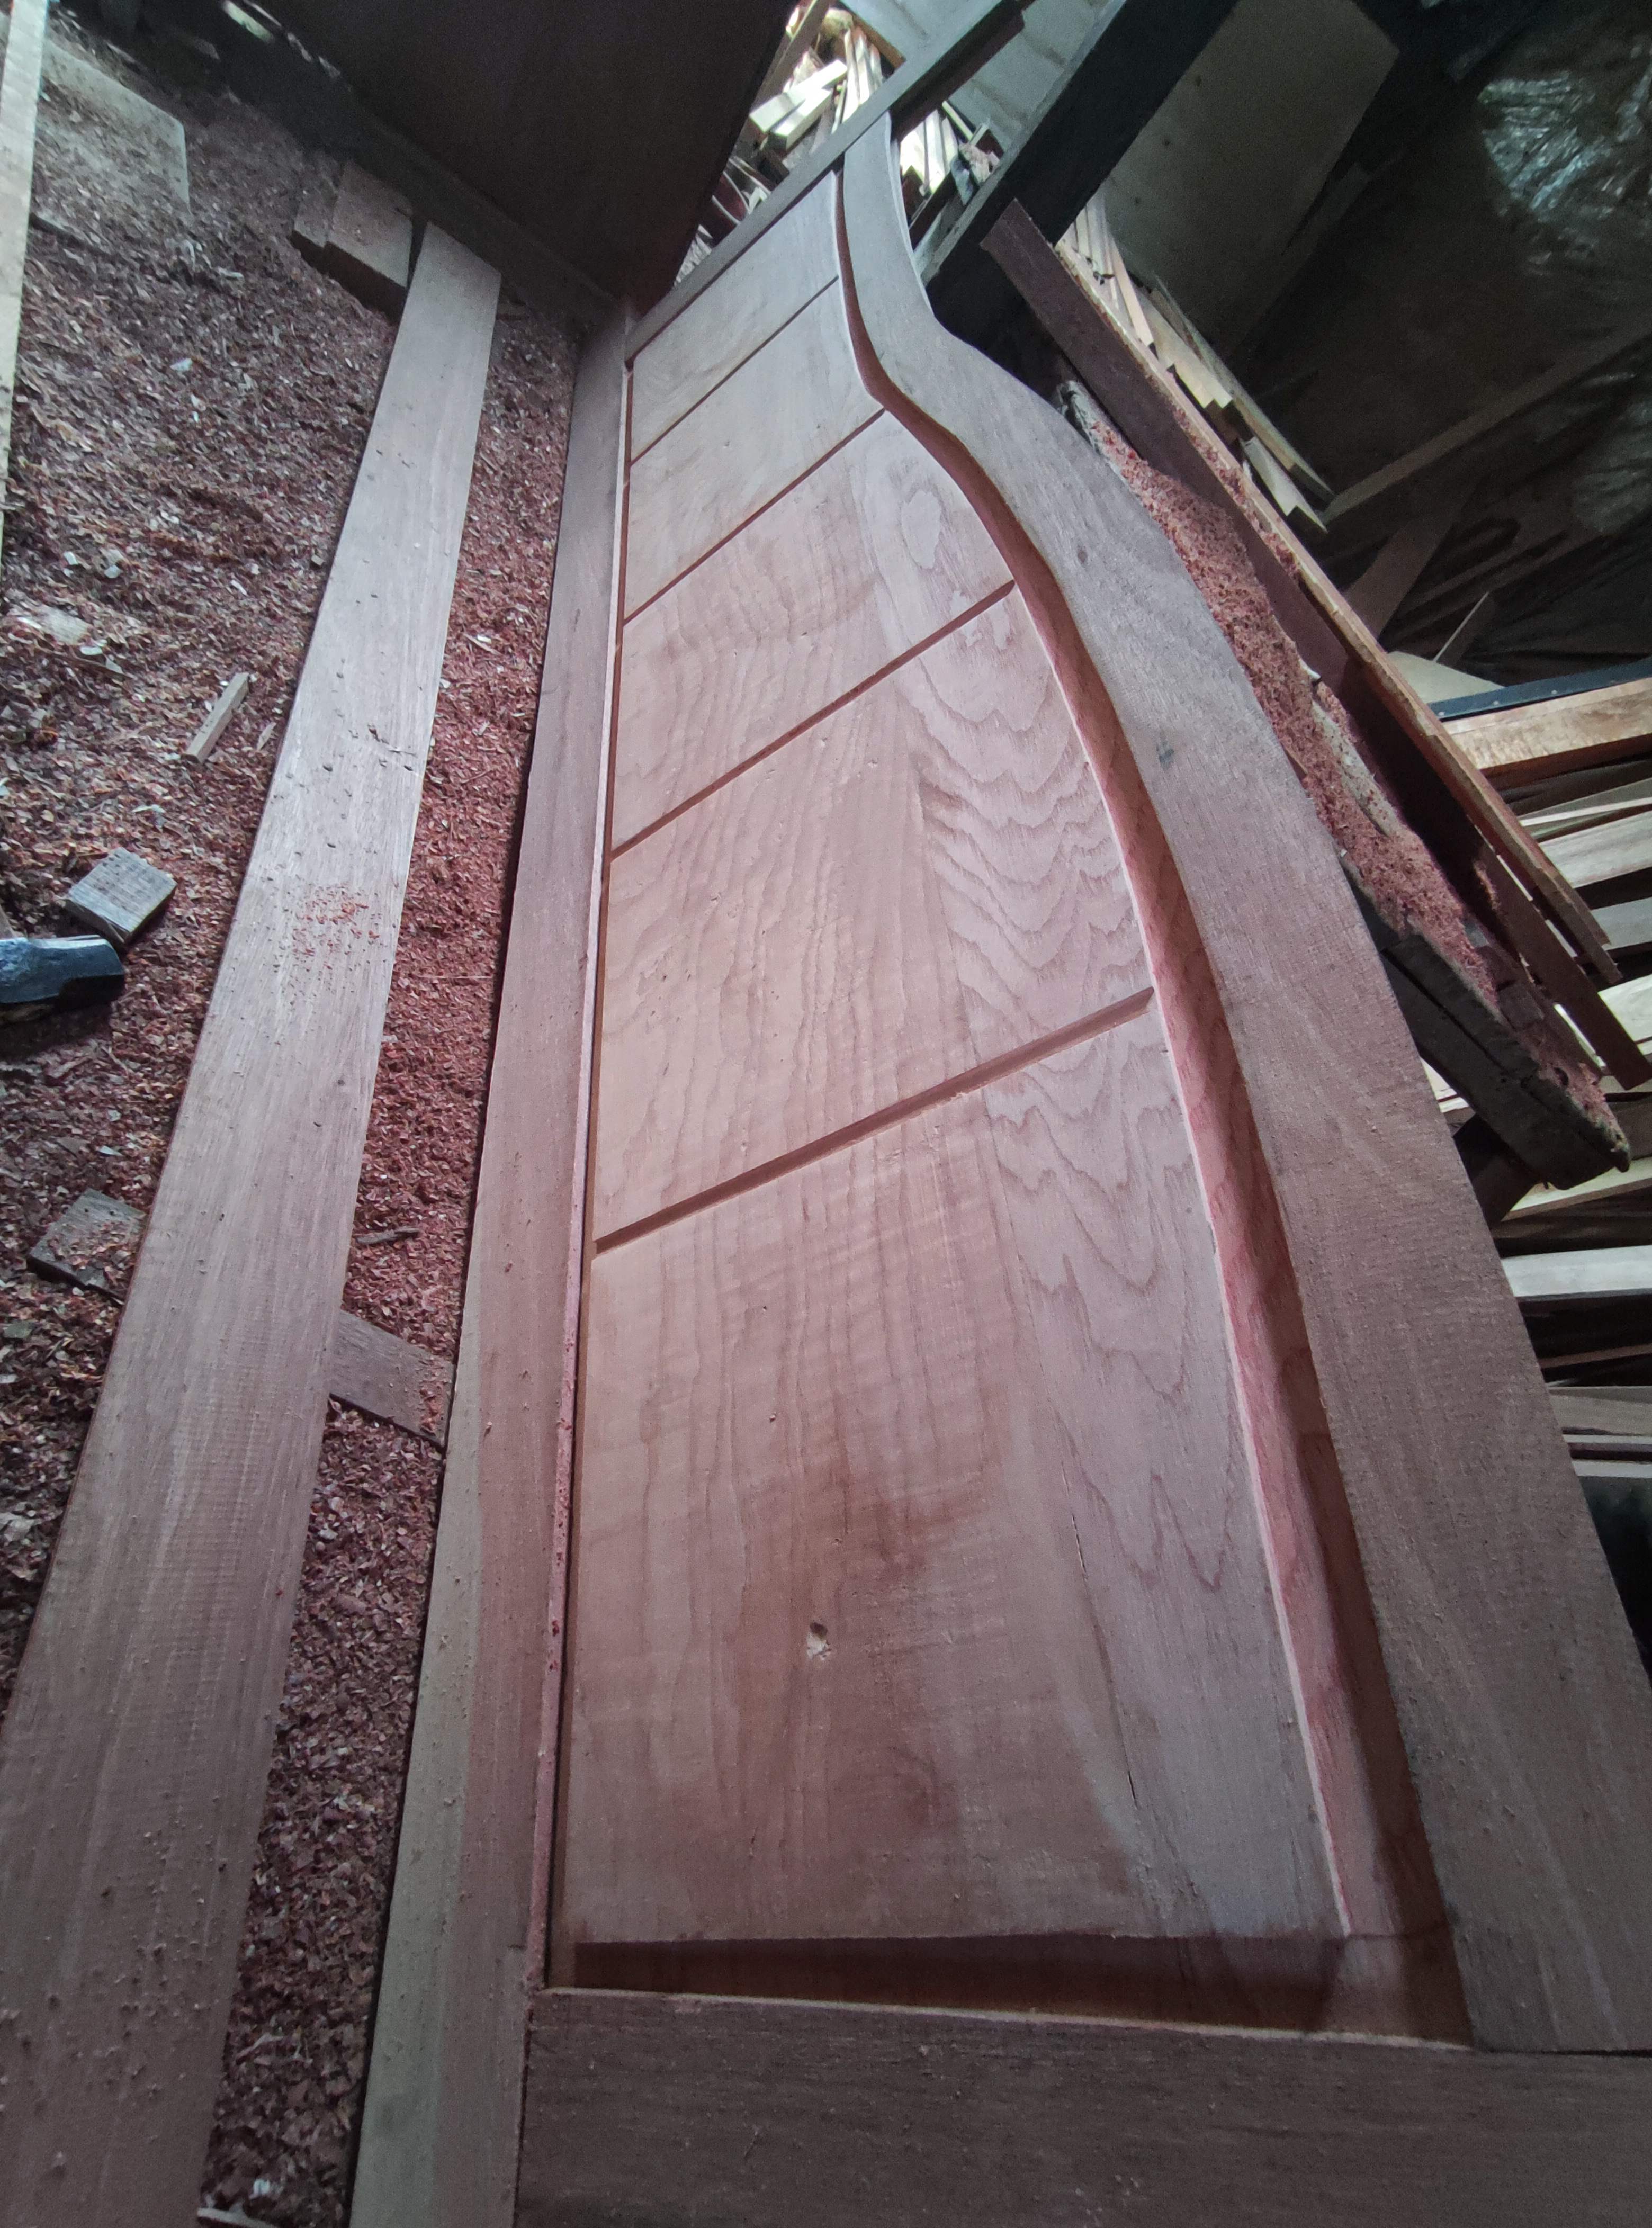
Then after cutting the leaf arches, I continued the process of giving the lines on the sheet of the door at the same time so that the lines on the two doors were completely even.
in the process of giving the line on the door sheet, I used a router machine with a line width of 0.5mm and a depth of 0.5mm with a line spacing of 30cm.
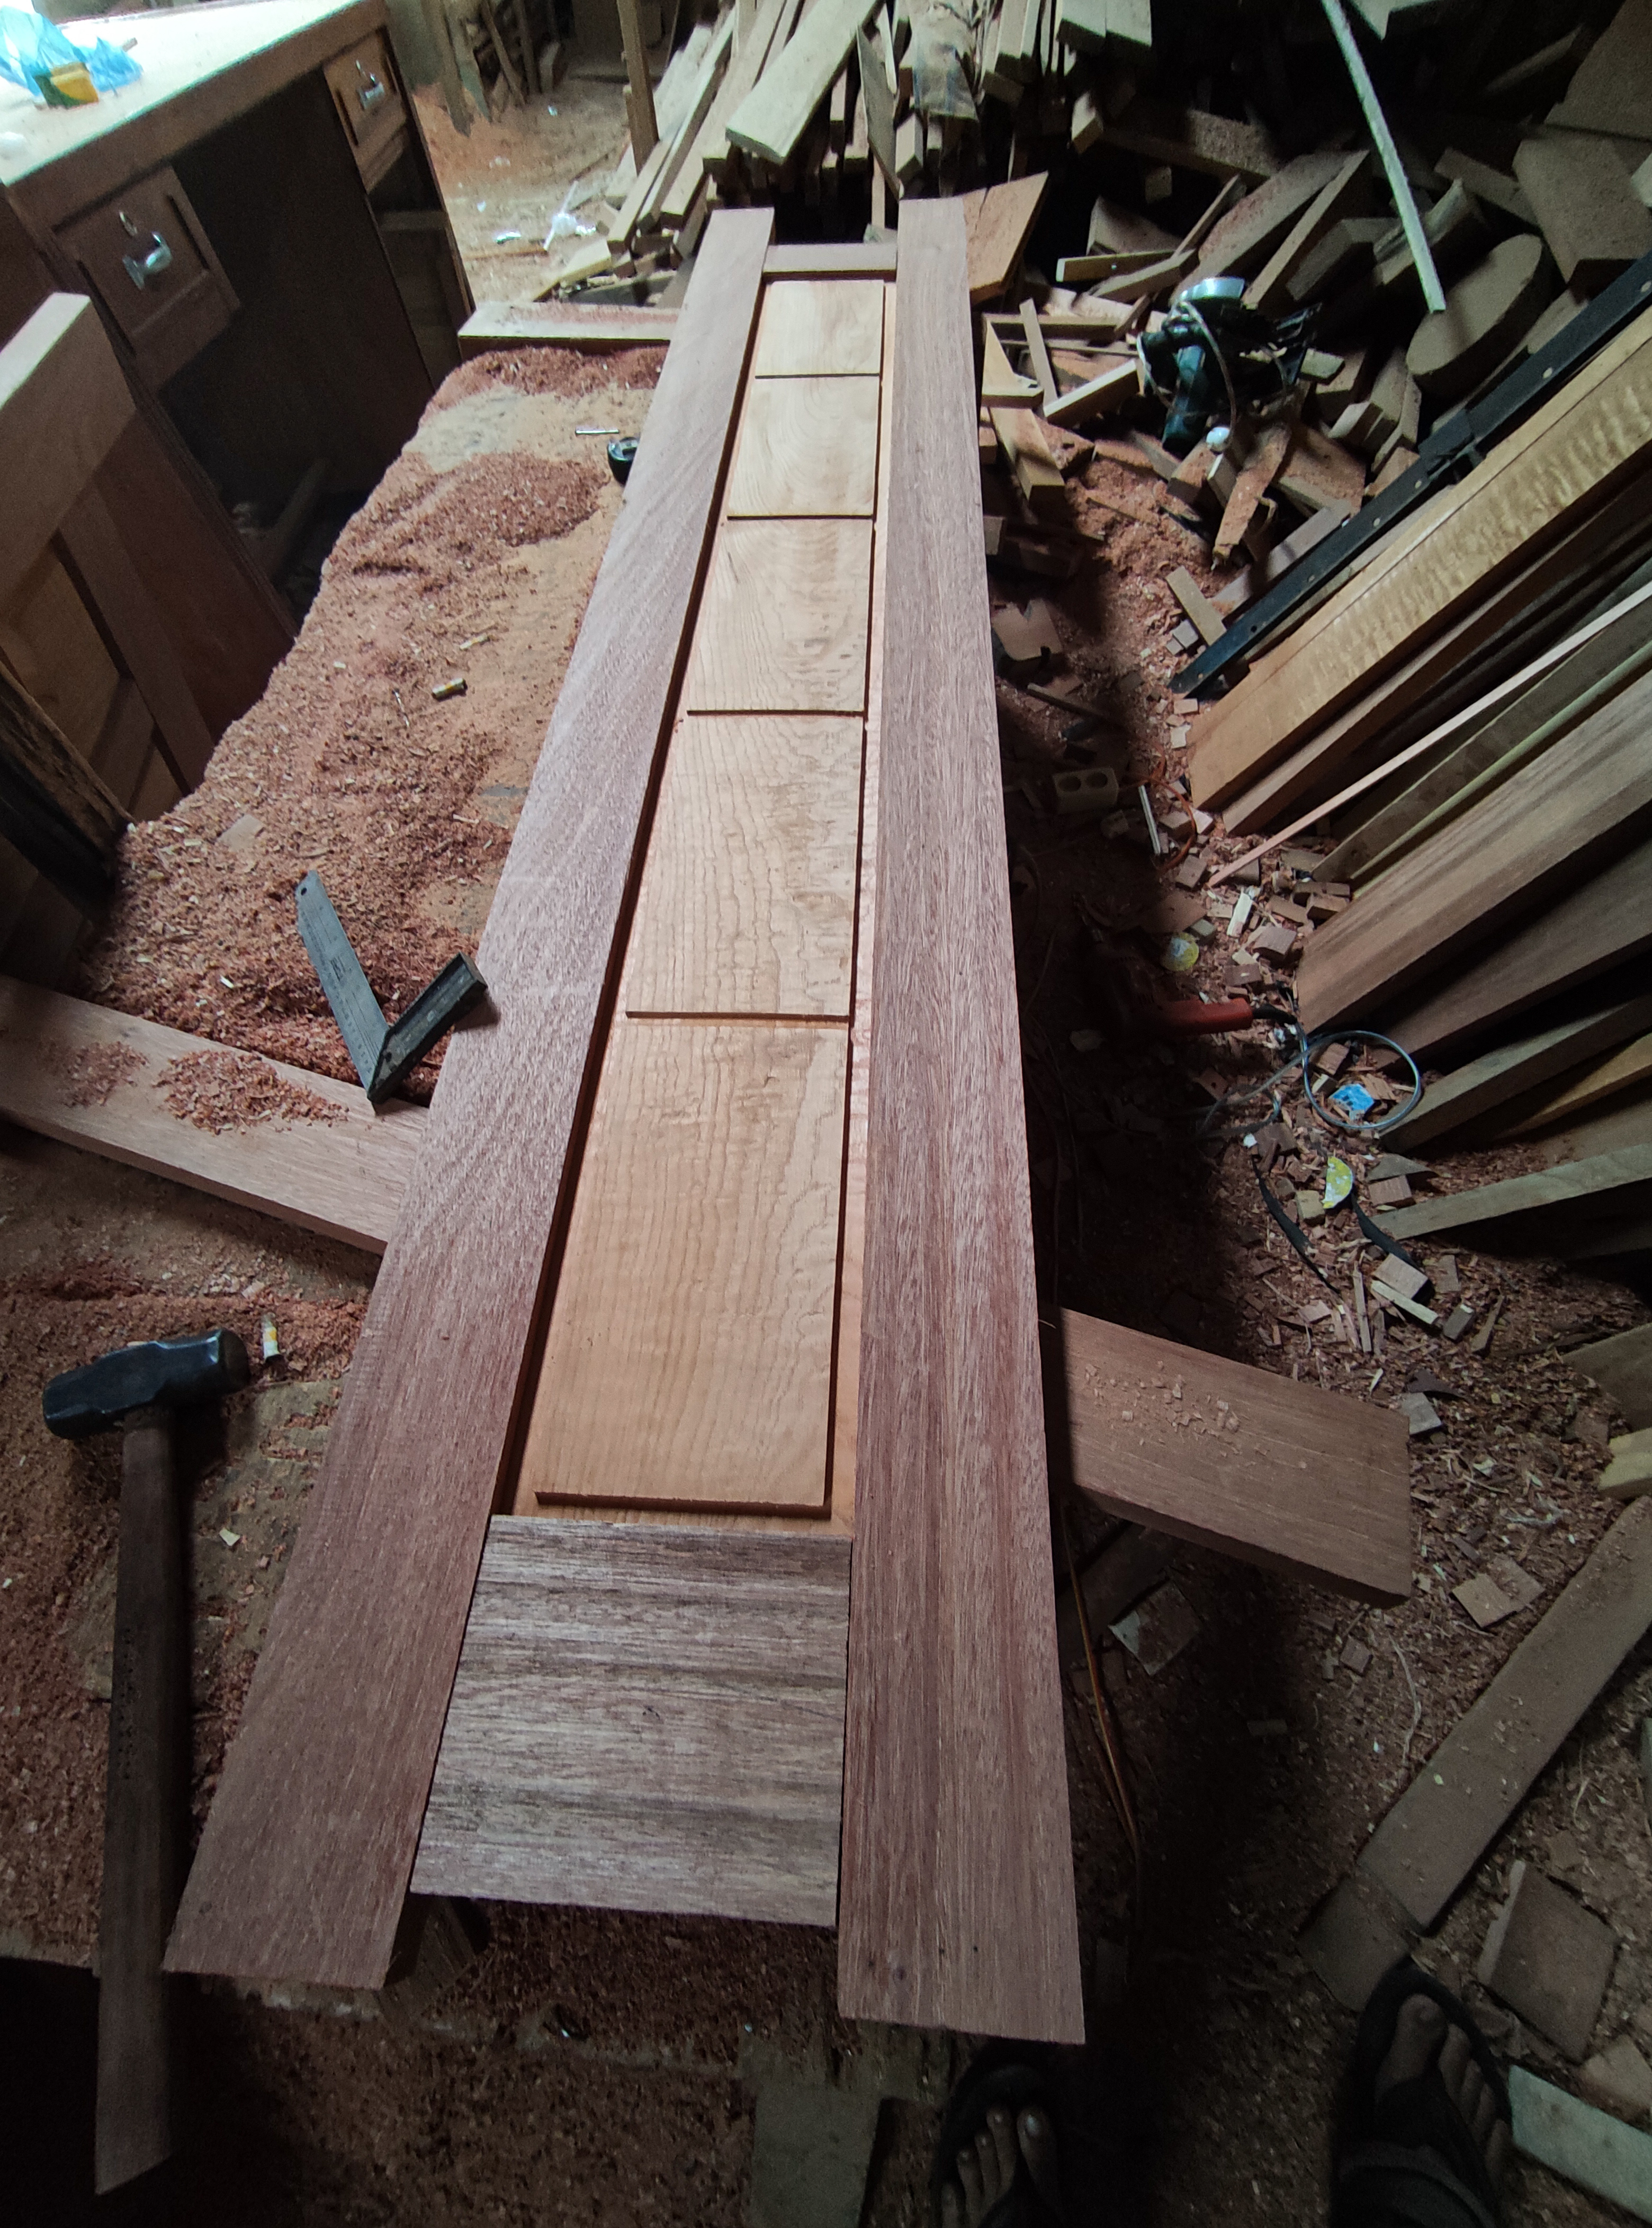
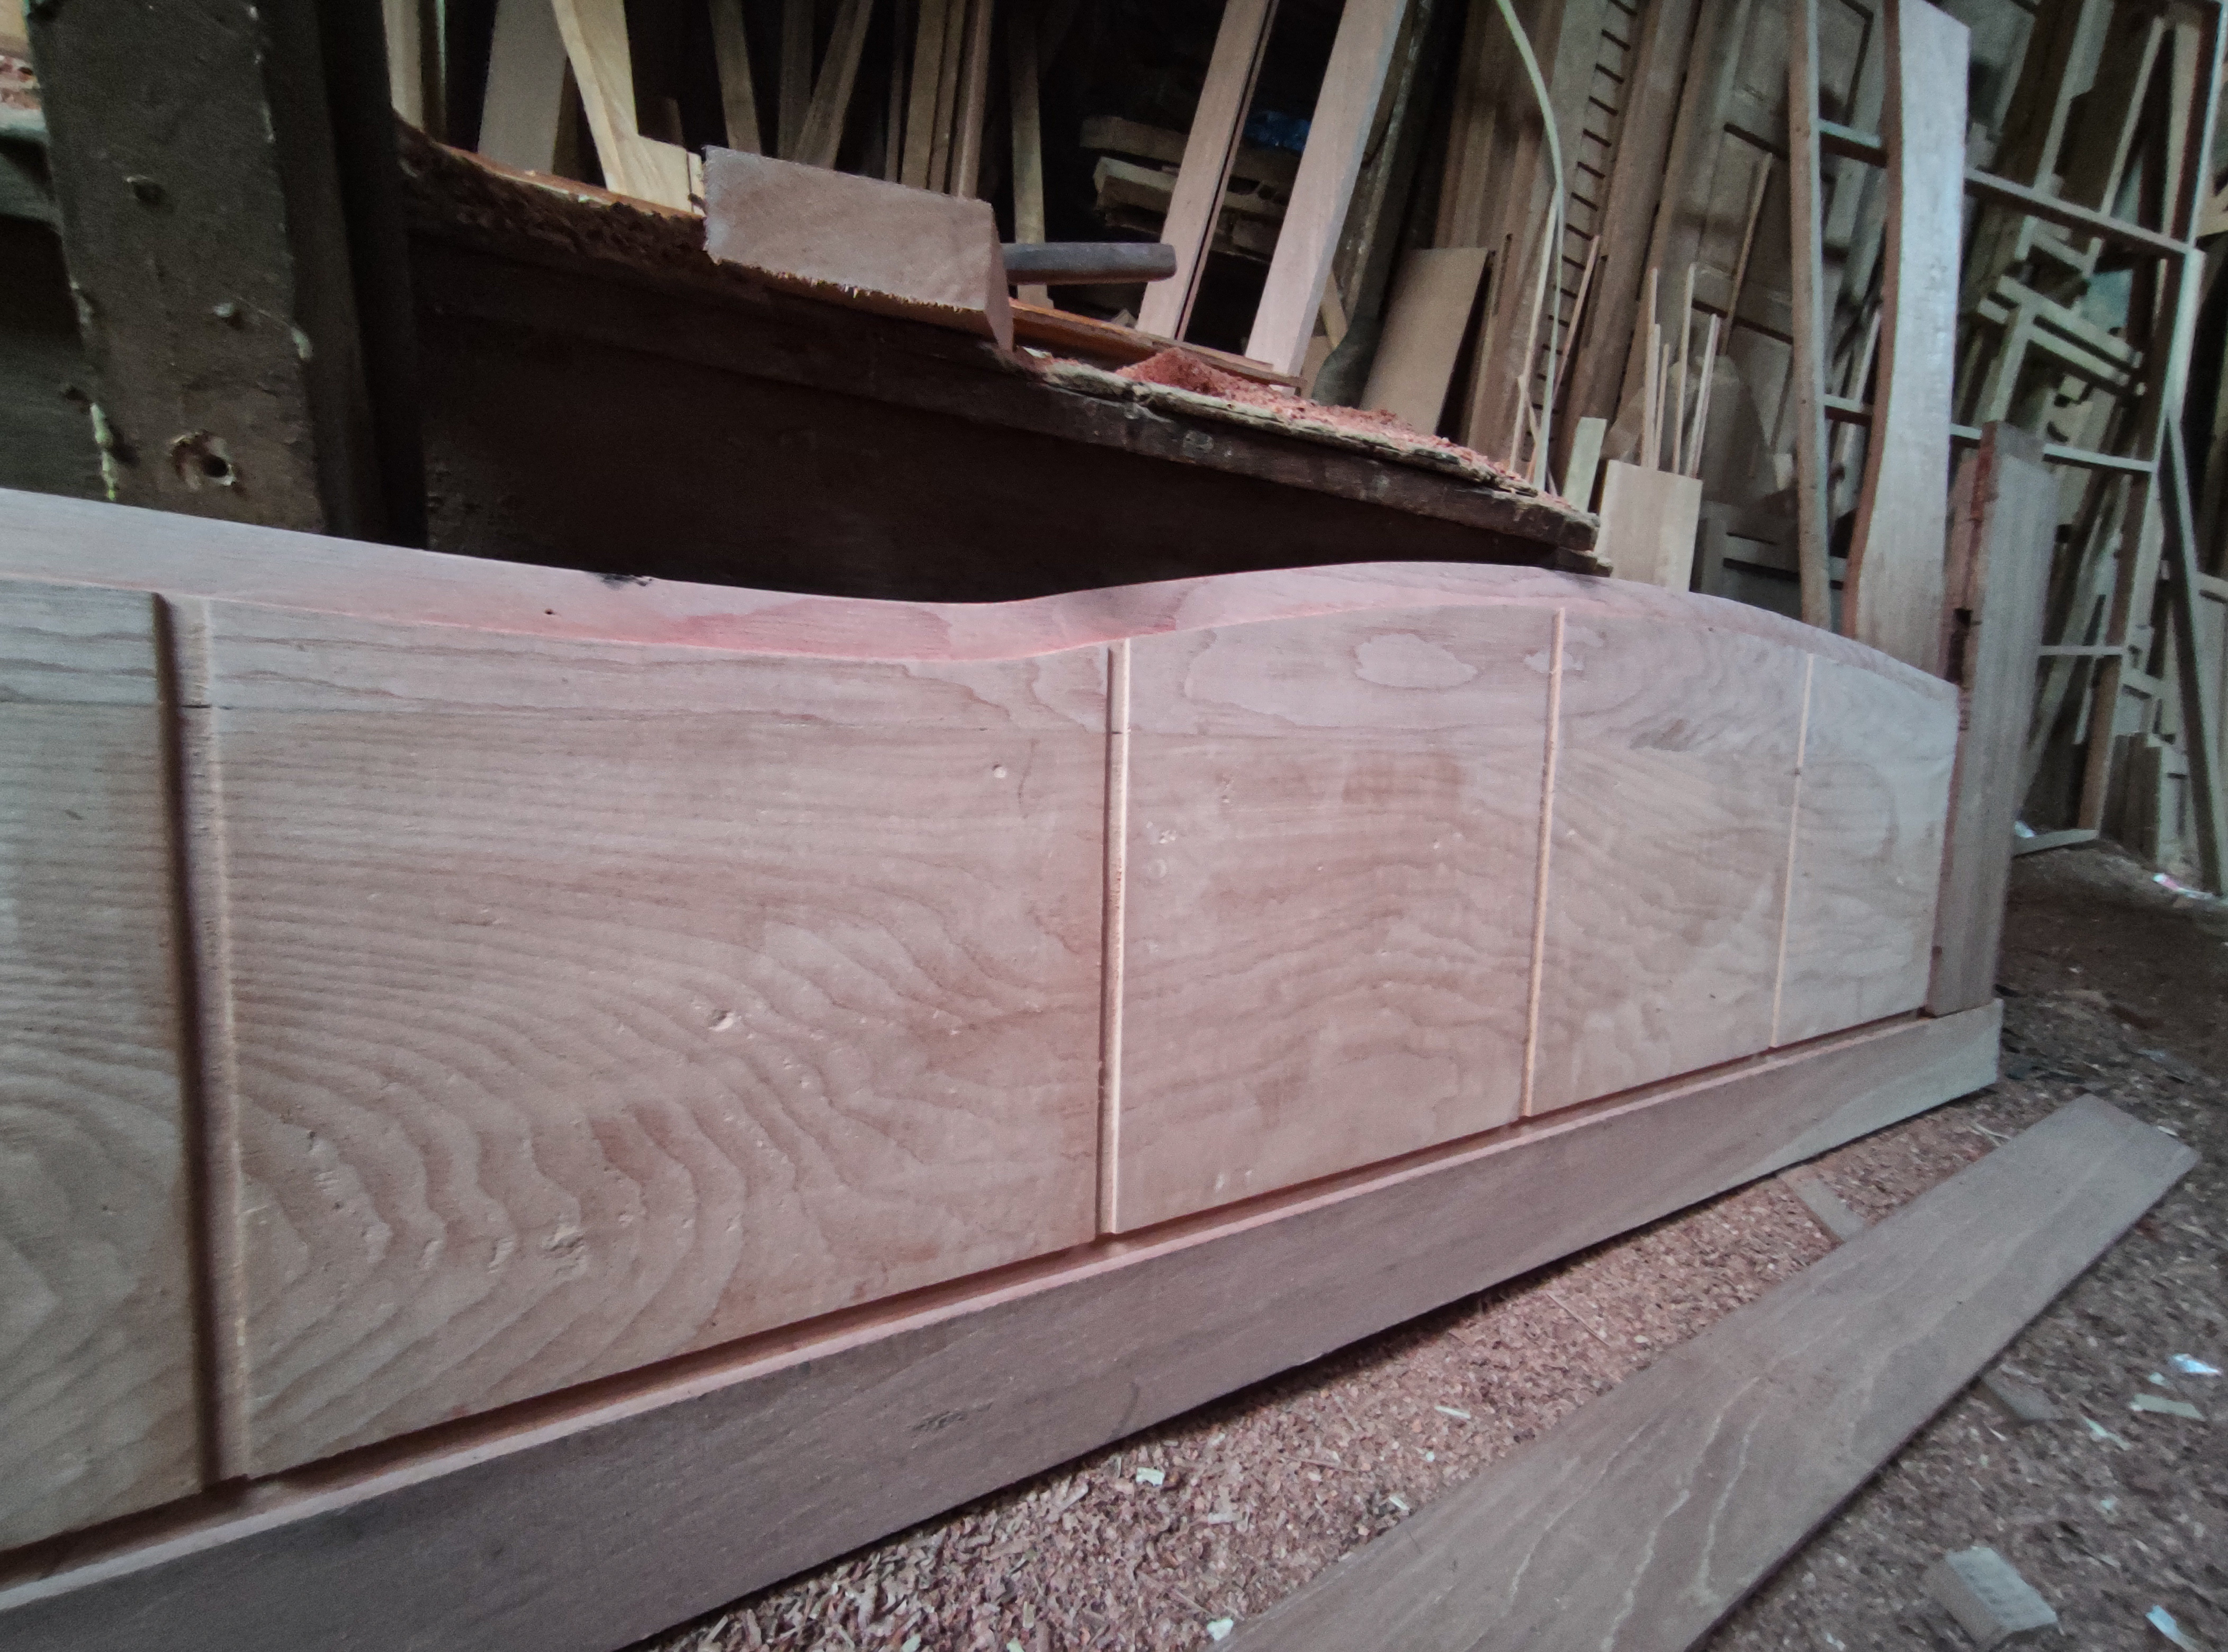
Now the first stage of preparation for the door leaf is complete, then I continue the process of the leaf nipple carving panel with a punting width of 1cm and a total area of 2.5cm and I do this process using a panel machine and this is how the process goes.

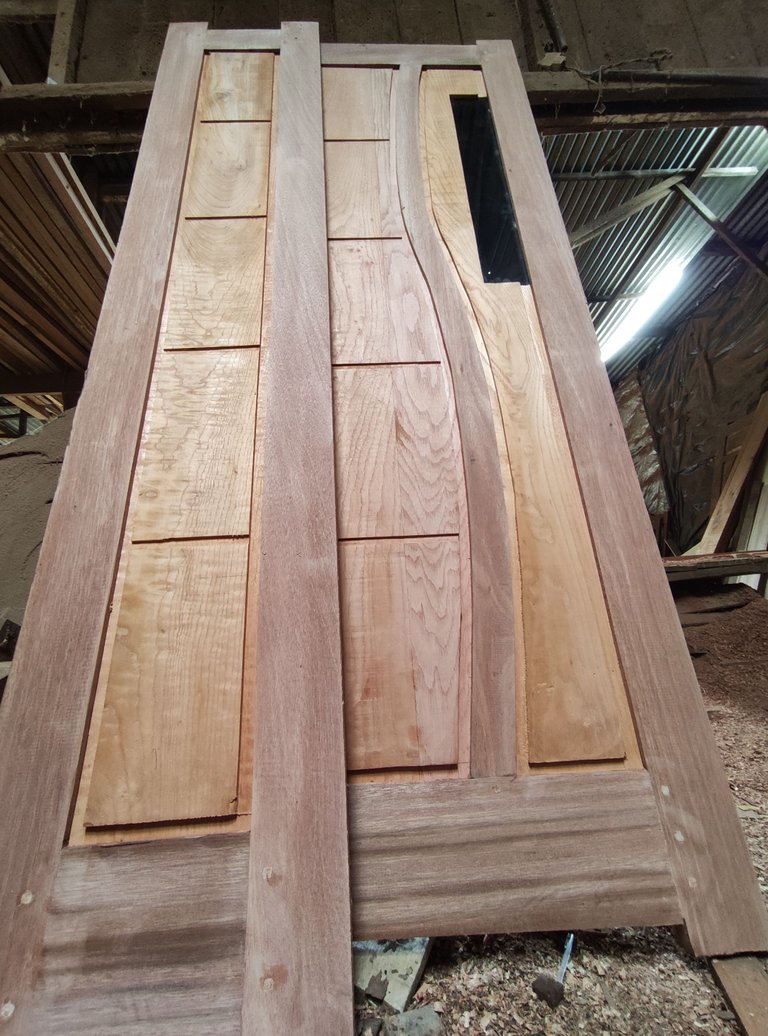
After the paneling and sanding process is complete, the leaves will look like this (only 3 sheets) and the preparation process is a bit complicated,2 boards for the door leaf that has a width of 80cm and 1 board for the door leaf width of 40cm .
Now I continue the process of installing the leaves on the door bulkhead circuit and in this process, I have to disassemble the entire series of doors and for the installation of the first leaf sheet I worked on a door measuring 40cm wide X 200cm high and this is how the process of installing the door leaf looks like.


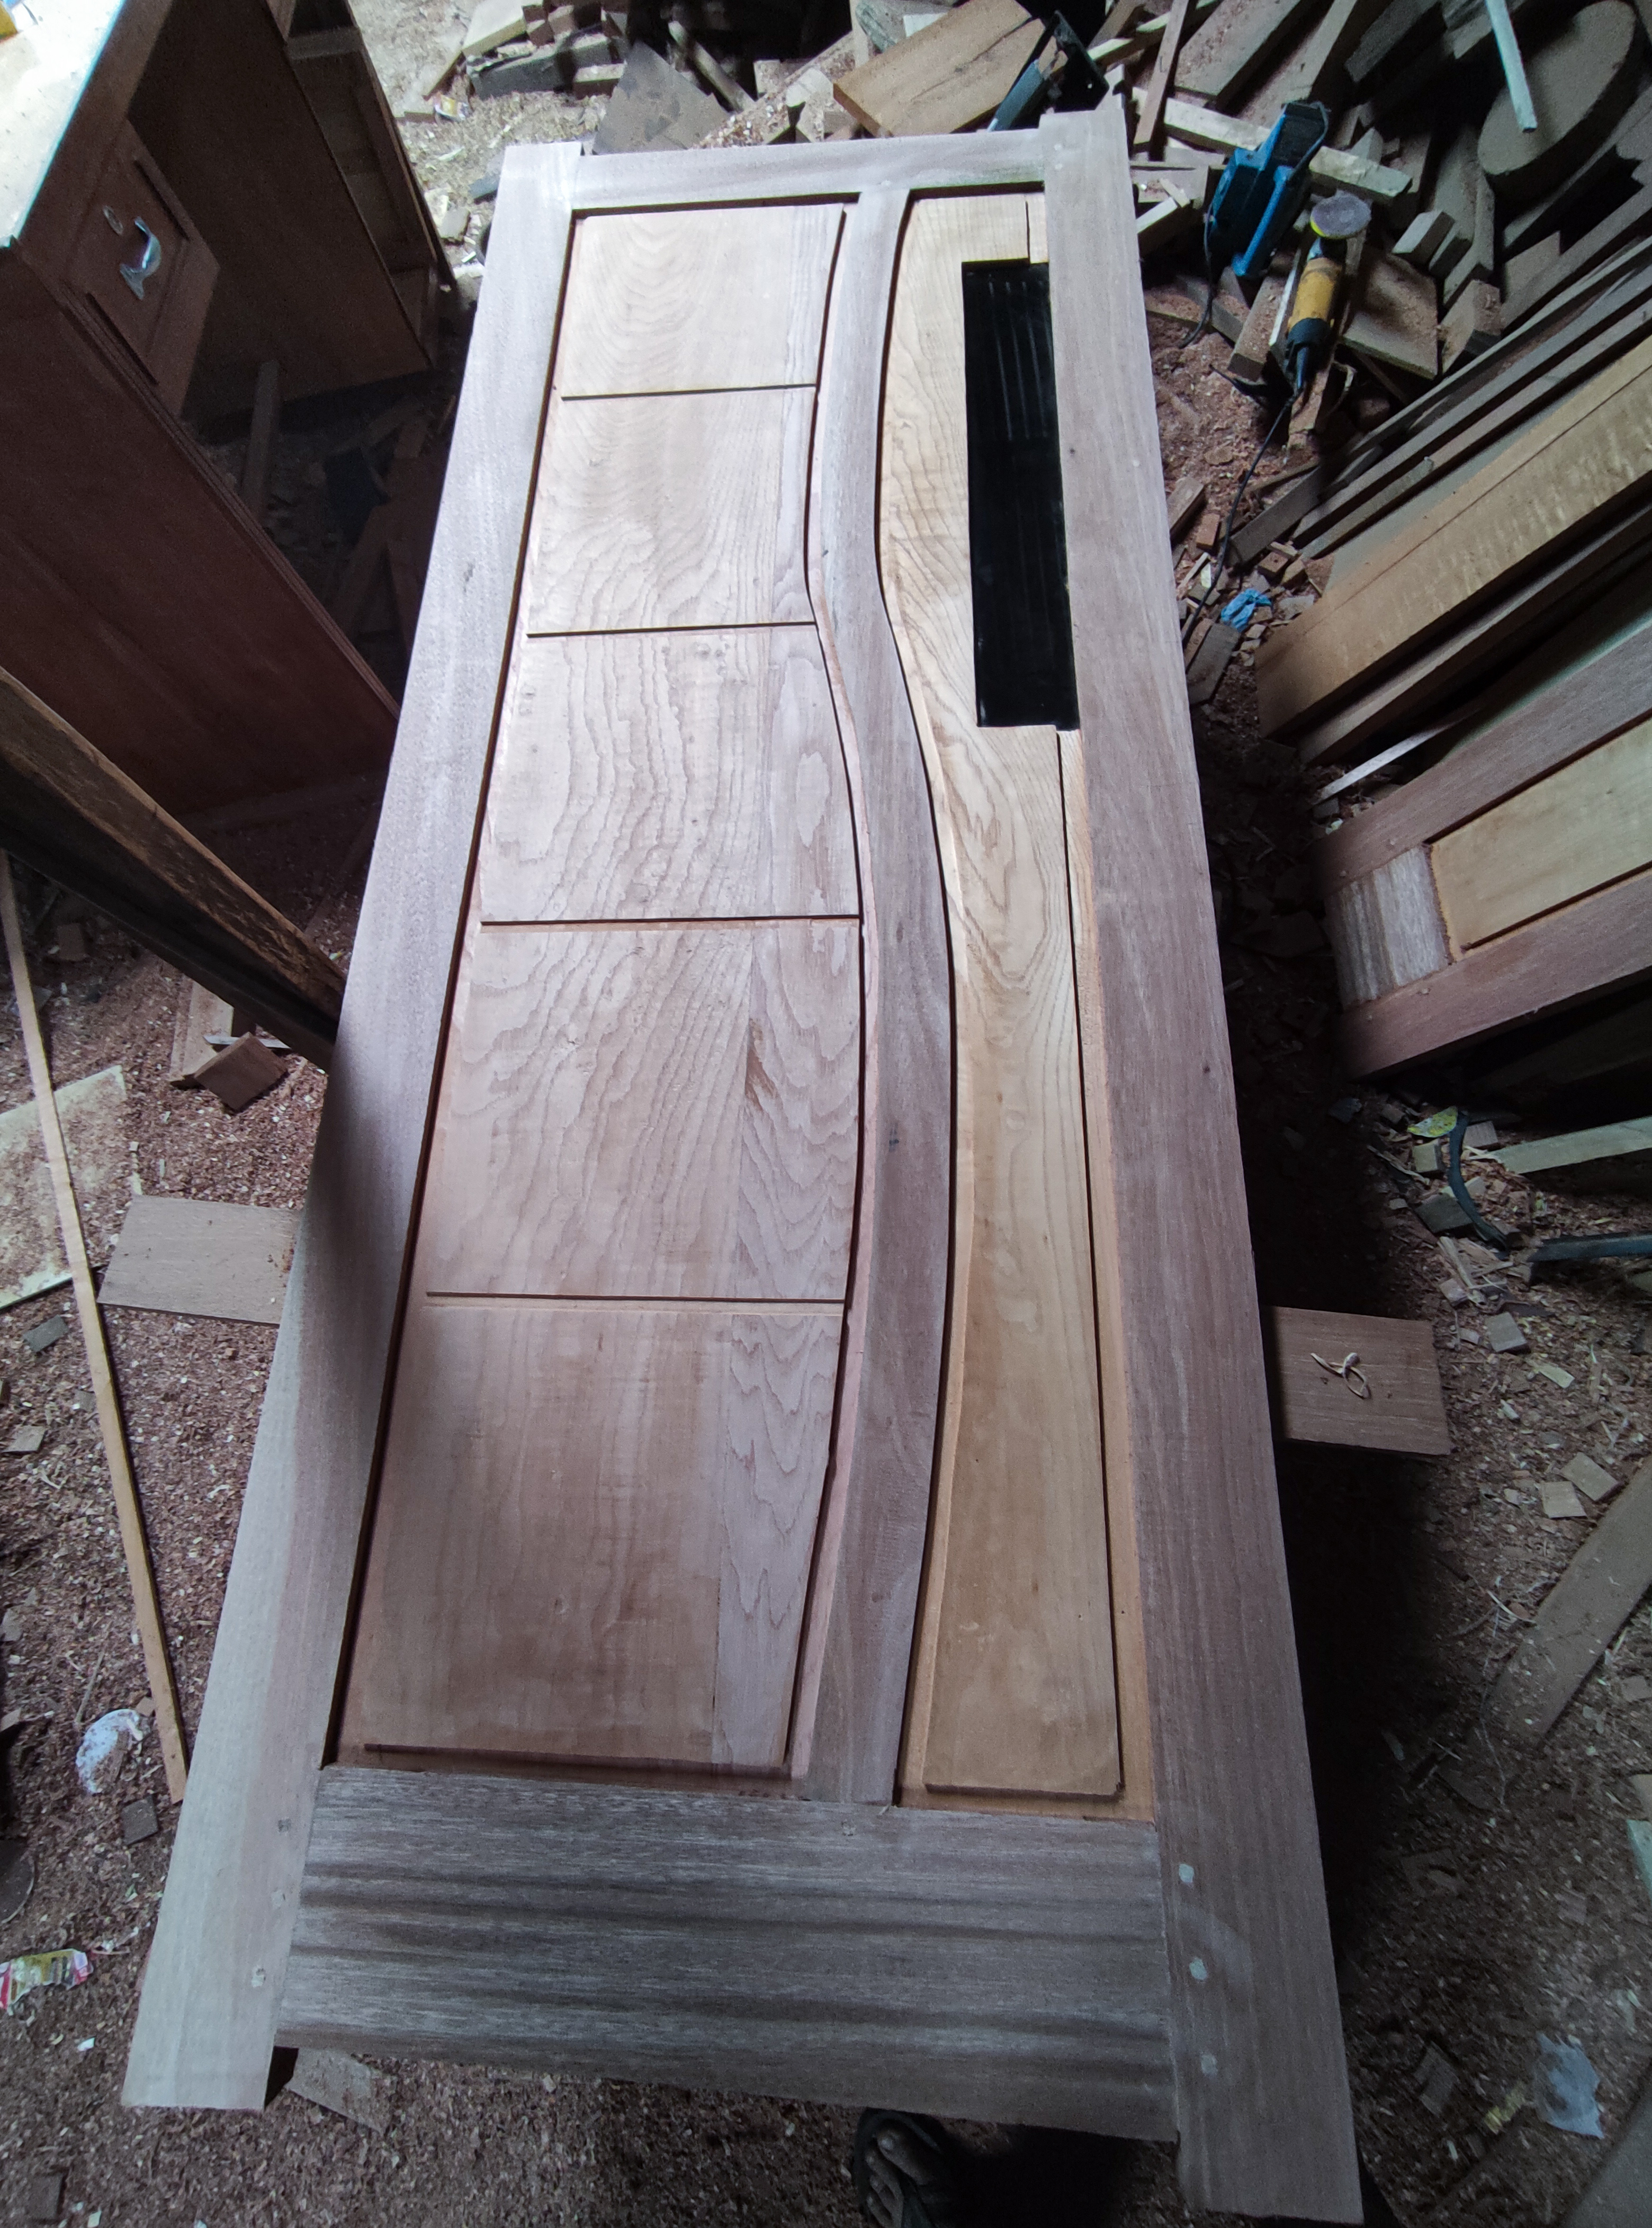
And for the installation of the leaf on the door measuring 80cm X 200cm wide, first I had to carve a glass holder between the pole and the front door leaf (top) with a glass width of 10cm and a length of 45cm.
After the process of giving the glass holder was completed, I continued to cut the glass for that door according to my customer's request, namely the color of the glass is black.
And after that I continued to dismantle the door chain and continued to install the leaves in a defensive way and the process continued like this.
Then, after the installation of the leaves of the two doors was complete, I continued the process of pressing the two doors.
In the process of pressing the door, in each connection bulkhead I gave glue and locked the circuit connection using wooden dowels and to provide the dowels, I first made holes in each corner of the joint using a drill machine.
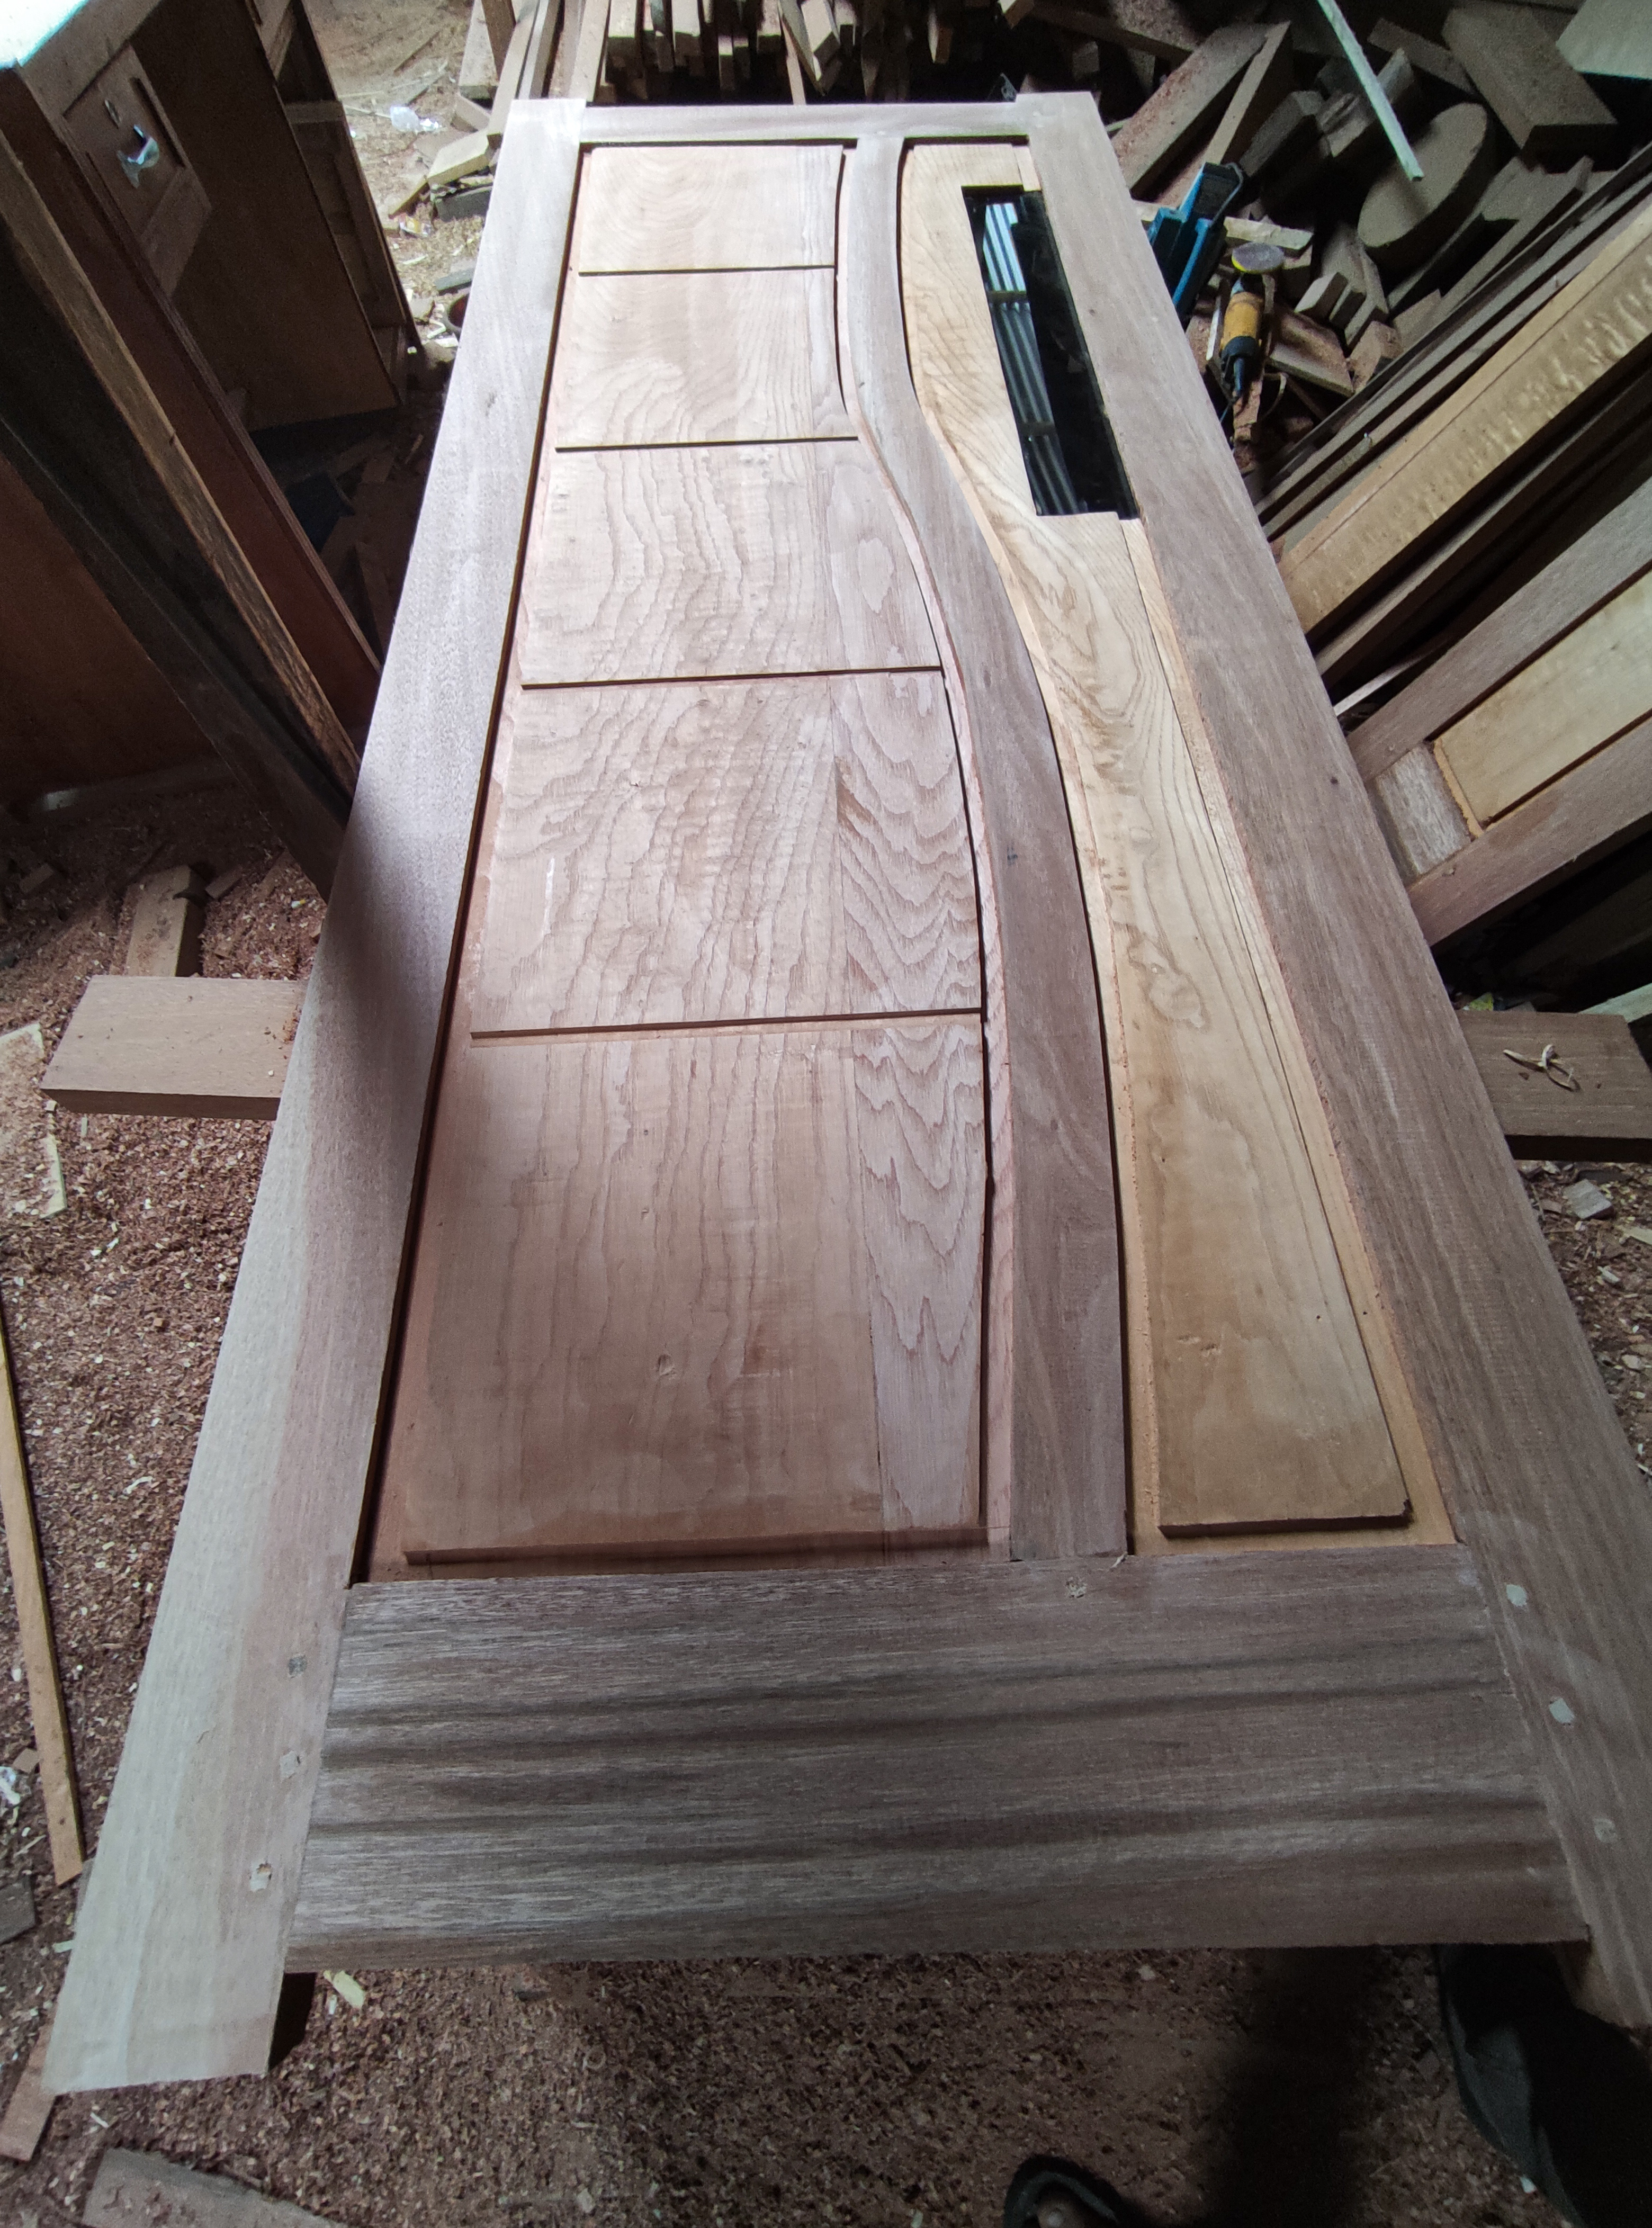
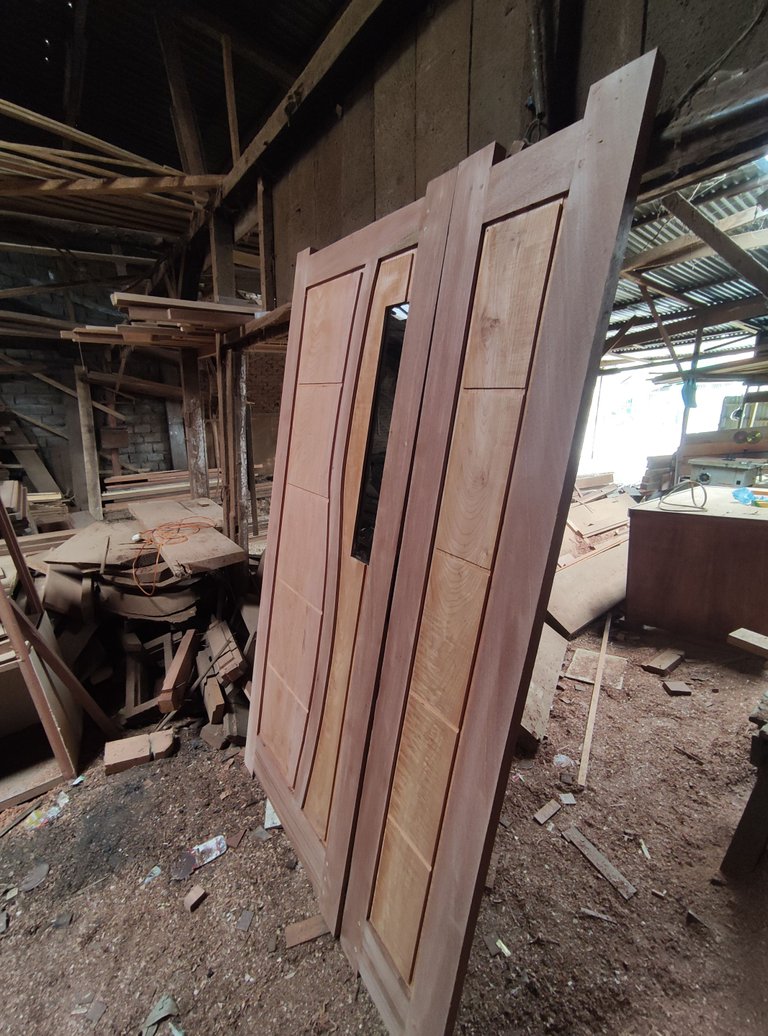
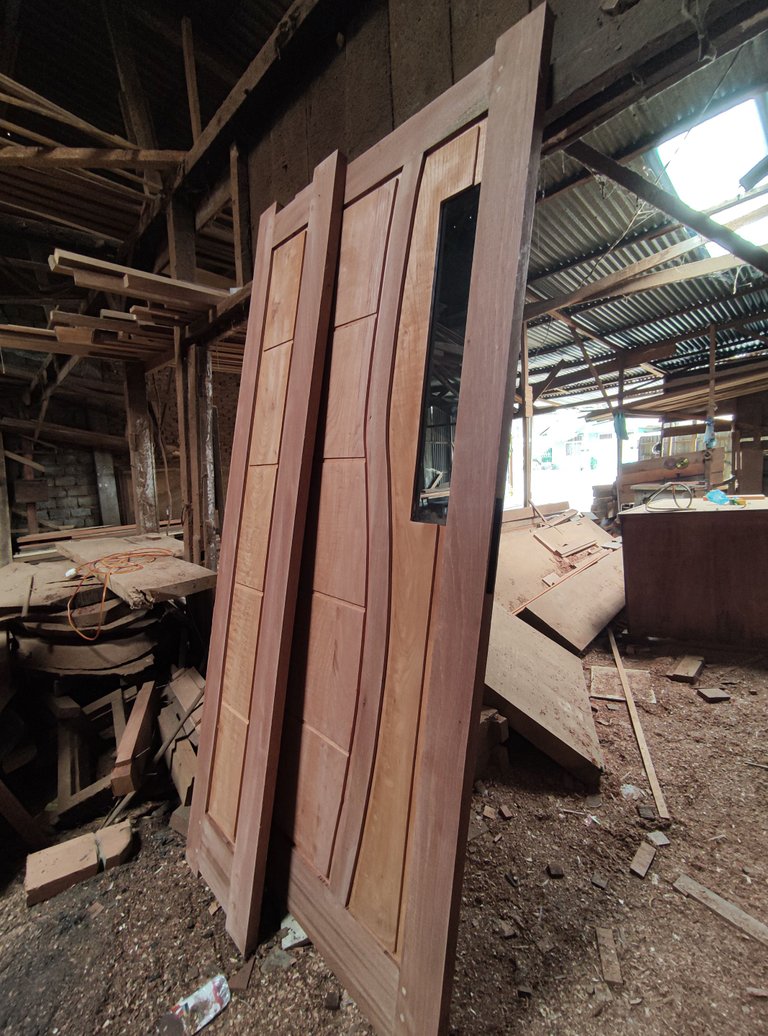
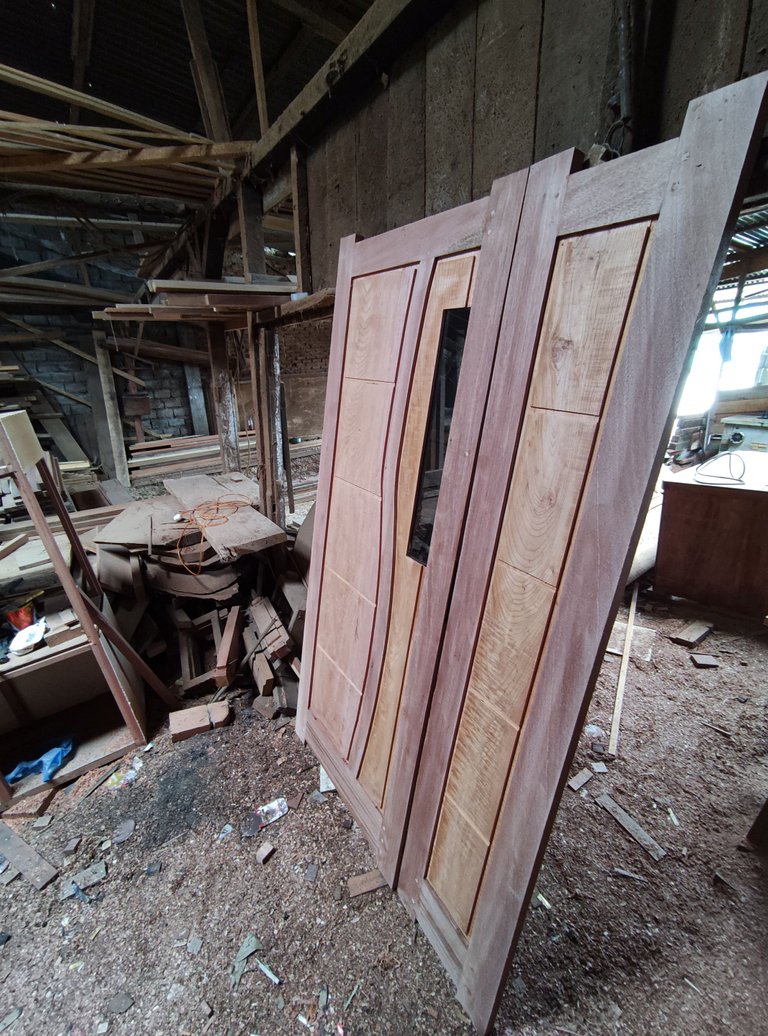
And after the pressing process is complete the door will look like this.
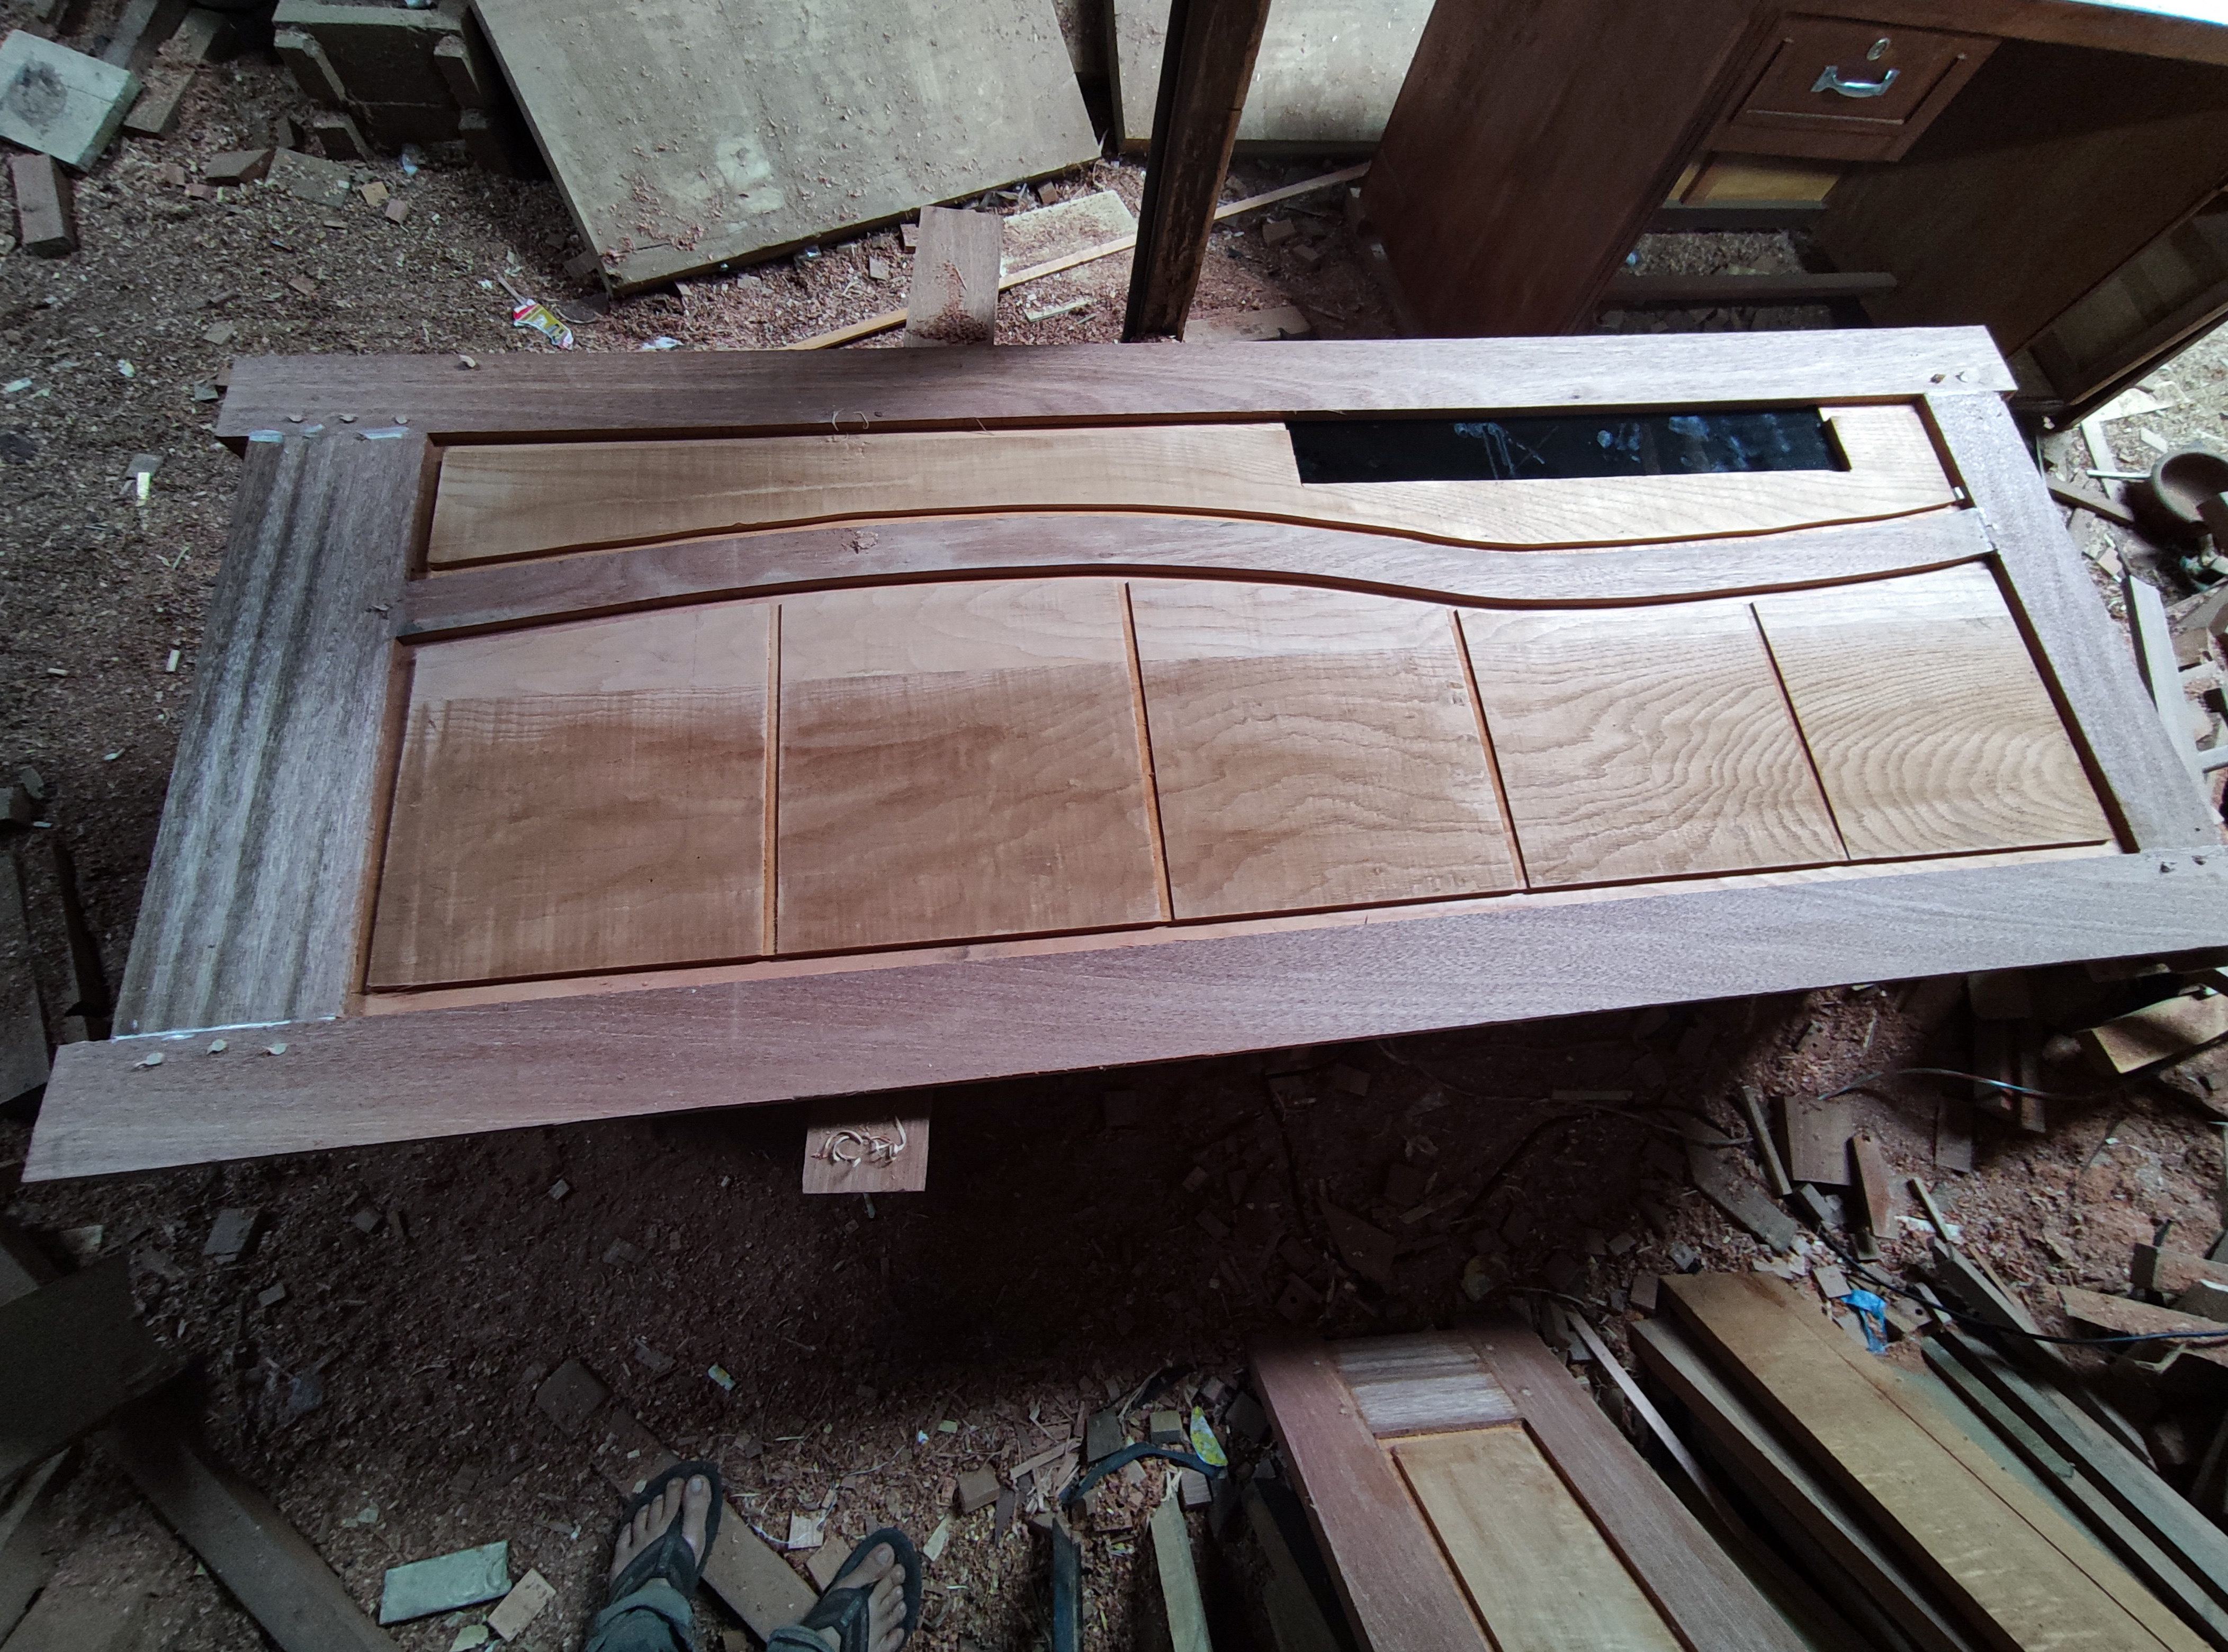

And the last stage of the process of making the door is sanding so that the door looks nicer and neater.
In the process of sanding that two doors, I used a grinding machine and sanded several times on the front and back of that two doors and after the sanding process is complete, this is the result of an ordered door belonging to a local community which is one of my works.


All of these pictures when i was working on that window and jalousie project ,all images were taken using a smartphone camera, if you want to enjoy my previous architectural design works, please visit the post link below.
1.Architectural design- simple cafe bar table
2.Architectural design - Wooden tray with natural wood color combination/utilization of wood waste
3.Architectural design - Flower vases / utilization of wood waste.
4.Architectural design-Simple architectural design of my baby crib basket.
5.Architectural design-Table simple the combination of natural wood colors and classic table tops
6.Architectural design- Shophouse frame jalousie
7.simple-minimalist-mini-wall-shelf-architectural-design-to-decorate-your-home-room
8.architectural-design-of-the-ventilation-jalousie - part 1
9.architectural-design-of-windows-house -part 1
10.interior-design-architecture-simple-makeup-mirror-frame.
11.architectural-design-simple-minimalist-wooden-window -part 2
12.architectural-design-window-designs-that-are-in-great-demand-by-local-residents
13.architectural-design-of-a-mini-table-and-a-simple-photo-frame
14.architecturaldesign-of-glass-windows-and-jalousies - house
15.Architecture + door design of local people's houses.
16.Furniture design architecture || Making multiplex doors for motorcycle workshops.
17.Architecture+furniture design || Simple comb design house door.
18.Architecture + furniture design || A pair of doors home belonging to local residents.
20.Architecture + Design || Double-faced house door part ll.
21.Architecture + design || Making window for villagers' houses.
![]()
https://twitter.com/deltasteem/status/1543647248168665088
The rewards earned on this comment will go directly to the people( @deltasteem ) sharing the post on Twitter as long as they are registered with @poshtoken. Sign up at https://hiveposh.com.
My, my... That's quite some build and neat tools you've got over there. It is a fancy door and a thing of beauty. The small details are incredible!
hello freind 😃thank you and this is my real daily work,
we have a lot of raw materials and waste, sometimes I often treat these wastes as table sheets and I have never published the processing.
but to process a musical instrument (guitar) a kind of musical instrument that you are working on, I have not tried it and I will try it another time,😃
Hey, it looks amazing. I envy the workplace you've got. It has everything needed and more.
You should try making an instrument. If you have a lot of material laying around it would be an easy job.
Thanks for sharing that process. The door looks awesome!
You are welcome, friend :)
I'll definitely try it in my spare time from work, because I've been curious about this instrument for a long time :)
Give it a try, you might like it! 😌
Congratulations @deltasteem! You have completed the following achievement on the Hive blockchain and have been rewarded with new badge(s):
You can view your badges on your board and compare yourself to others in the Ranking
If you no longer want to receive notifications, reply to this comment with the word
STOPCheck out the last post from @hivebuzz:
Support the HiveBuzz project. Vote for our proposal!
Congratulations @deltasteem! We're delighted to specially curate your awesome publication and award it RUNNER-UP in Architecture Brew #74. More power!
Thank you for subscribing to Architecture+Design, an OCD incubated community on the Hive Blockchain.
thanks @apusd and I hope the team that works there are always healthy ;)
Thank you for the wishes, dear @deltasteem 😃
Be healthy you too and have one successful week ahead!