I teach you how to make cute tendrils with recycled stress fabric in just a few steps. 💙💙 [ESP / ENG]
Welcome to my Blog.
Hola amigos espero se encuentren muy bien! Es un gusto compartir una vez más con todos los que hacen vida en está maravillosa comunidad de @jewelry., Hoy les quiero compartir un sencillo tutorial de cómo elaborar unos zarcillos muy lindos con retazo de tela stress espero les guste y se animen a intentar desde sus hogares, el color rosa este me encanta, revisando entre mis materiales encontré este retazo de tela así que me puse a pensar que crear con él? y pues se me ocurrió estos hermosos zarcillos así que te invito a seguir los pasos para elaborar este lindo accesorios para lucir siempre coqueta y a la moda:
Hello friends, I hope you are very well! It is a pleasure to be here once again with all those who make life in this wonderful community of @jewelry. Today I want to share with you a simple tutorial on how to make very cute earrings with a piece of stress fabric, I hope you like it and are encouraged to try from your homes, I love the pink color that's why I decided to choose this color you are free to your taste, reviewing among my materials I found this piece of fabric so I started thinking what to create with it? And well, I came up with these beautiful earrings, so I invite you to follow the steps to make this beautiful accessories to always look flirty and fashionable, my creative hands at work, take note:

Materiales:
💖Retazo de tela color rosa.
💖Tijera.
💖Silicón caliente.
💖Sujetadores.
💖Aritos pequeños.
Materials:
💖Scrap of pink fabric.
💖Scissors.
💖Hot silicone.
💖bras.
💖Small earrings.

Step by Step || Pasó a paso:
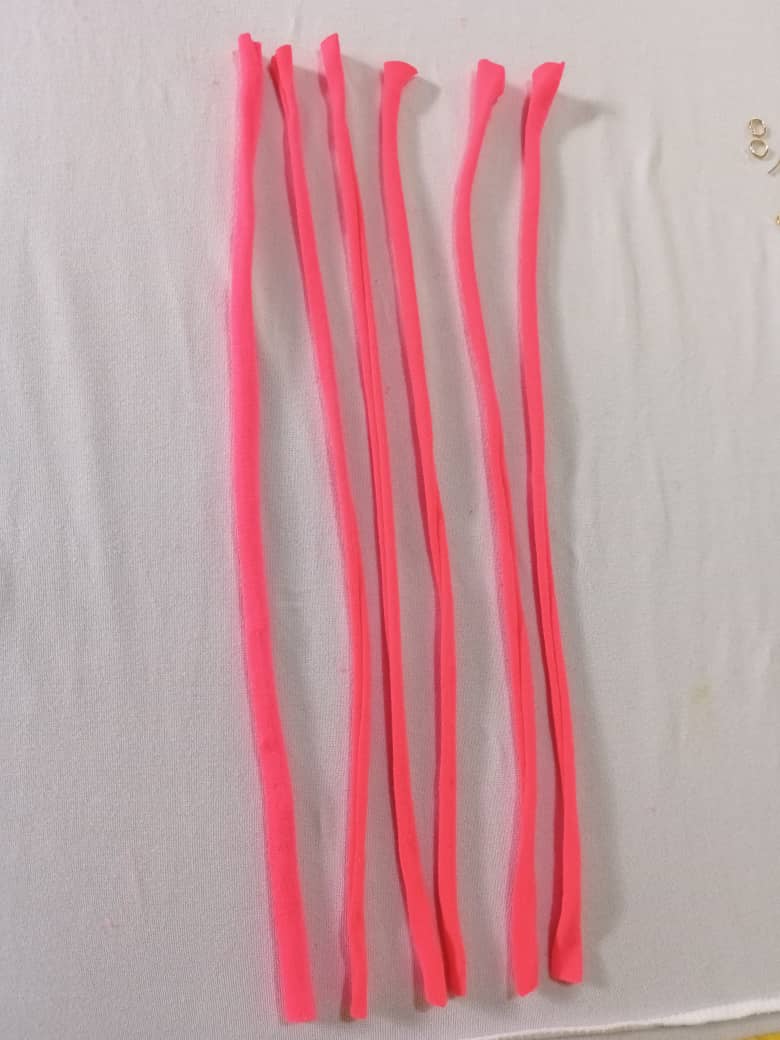
1er paso: Buenos mis Hivers amigos lo primero que vamos a necesitar es un pedazo de retazo de tela del color de tu preferencia en mi cajón quedaba esté muy llamativo por cierto por eso me encantó así que lo tome y marque 6 tiras de 25 centímetros cada una de largo por 2 centímetros de ancho y recortar.
1st step: Hello, my Hivers friends, the first thing we are going to need is a piece of scrap fabric of the color of your choice. In my drawer, it was very striking by the way, that is why I loved it, so I took it and marked 6 strips of 25 centimeters each. one long by 2 centimeters wide and cut.
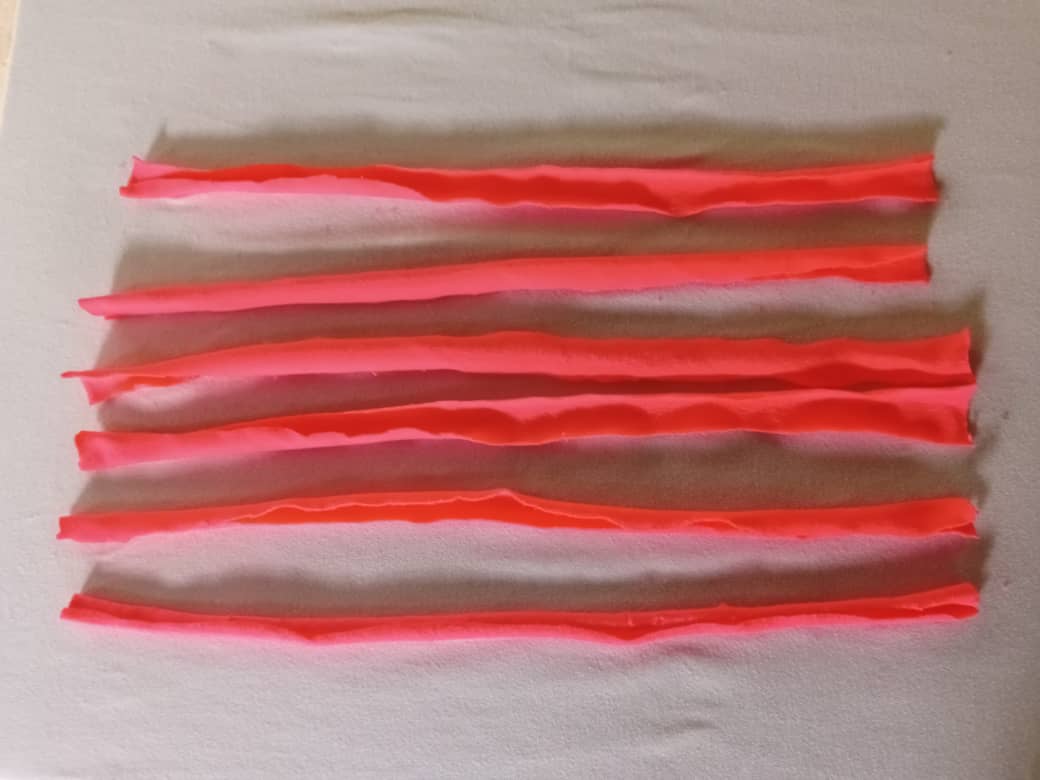
2do paso: Luego mis amigos de ya tener las tiras cortar procedemos a estirarlas para que tomen un efecto de cuerda lisa cómo se puede observar en las imágenes, preferiblemente que la tela sea de (algodón o stress), con una regla o cinta métrica tomamos nuevamente las medidas de 25centimetros de largo por 2centimetros de ancho y cortar los sobrantes.
2nd step: Then my friends, having already cut the strips, proceed to stretch them so that they take on a smooth rope effect, as can be seen in the images, preferably that the fabric is made of (cotton or stress), with a ruler or tape measure we take again measures 25 centimeters long by 2 centimeters wide and cut the excess.
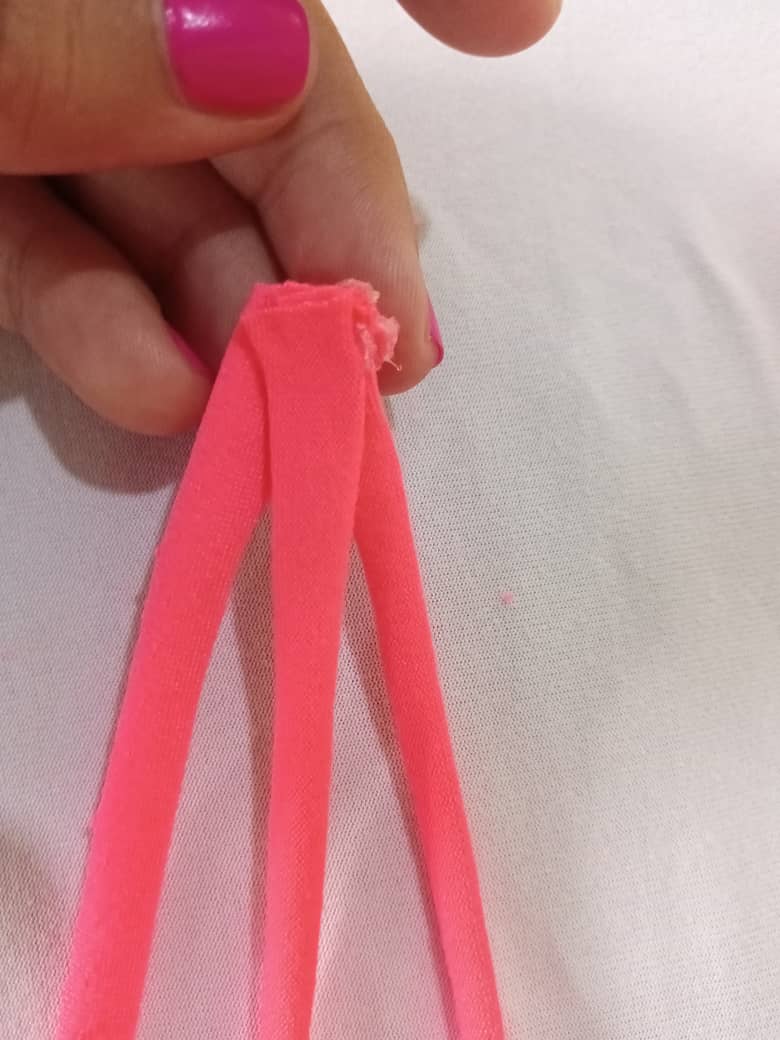
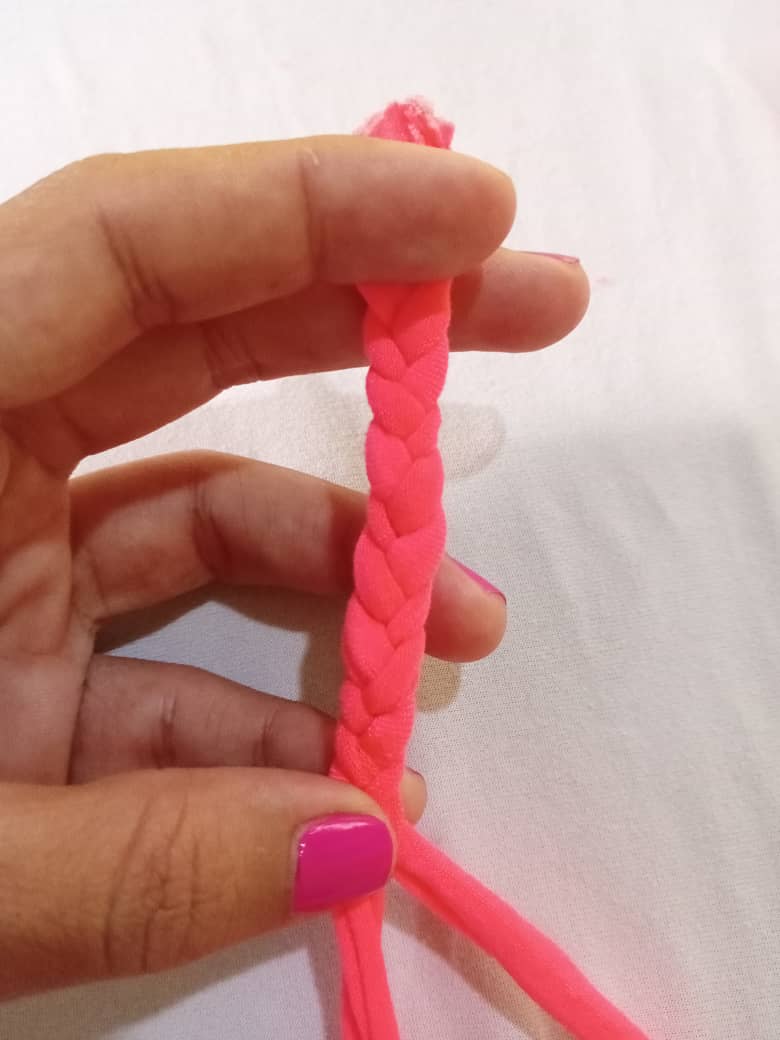
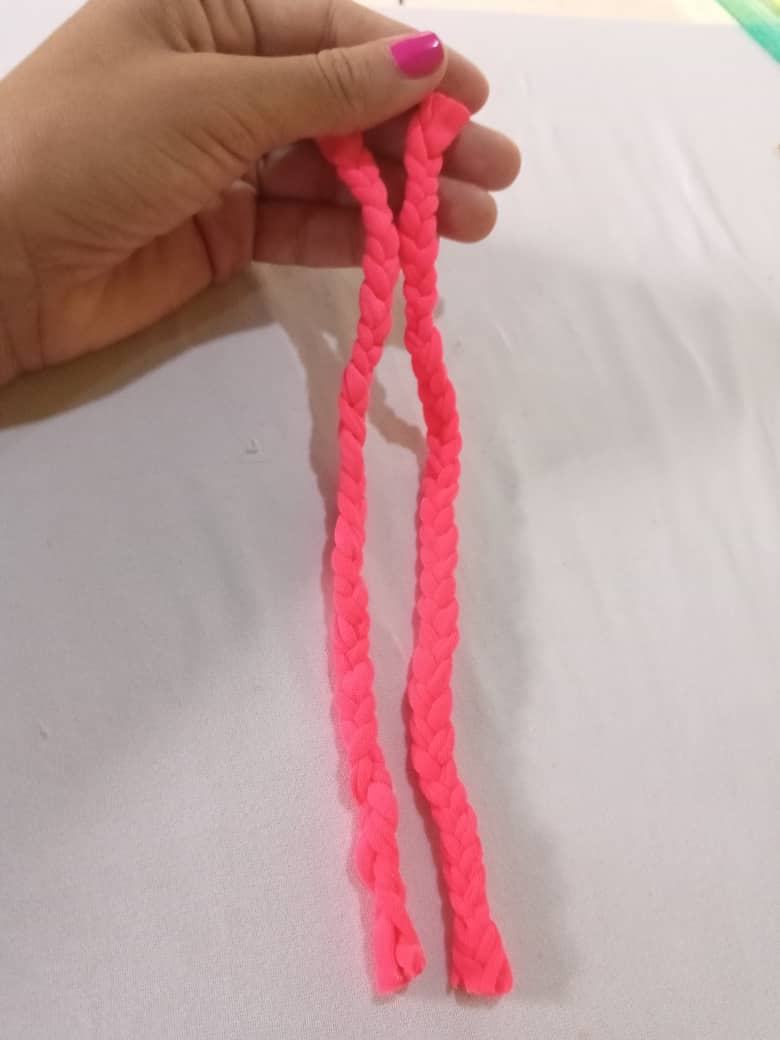
3er paso: Seguidamente tomaremos 3 tiras unimos por las puntas y pegamos con la pistola de silicón cómo lo pueden observar en las imágenes, luego sujetamos con una pinza para que se nos haga más cómodo y hacemos un trenzado básico y al finalizar sellamos con el silicón, necesitaremos 2 piezas del mismo tamaño.
3rd step: Next we will take 3 strips, unite them at the ends and glue with the silicone gun as you can see in the images, then we hold with a clamp to make it more comfortable for us and we make a basic braid and at the end we seal with the silicone , we will need 2 pieces of the same size.
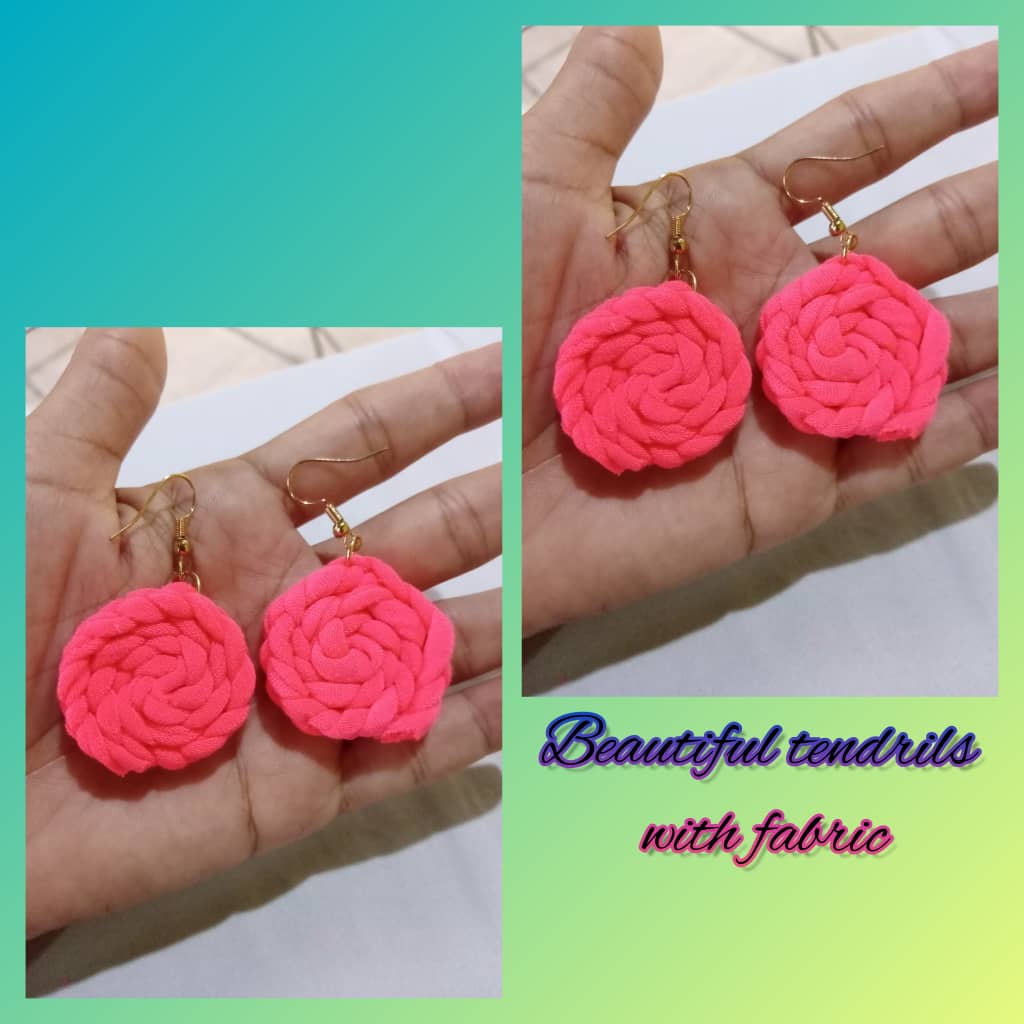
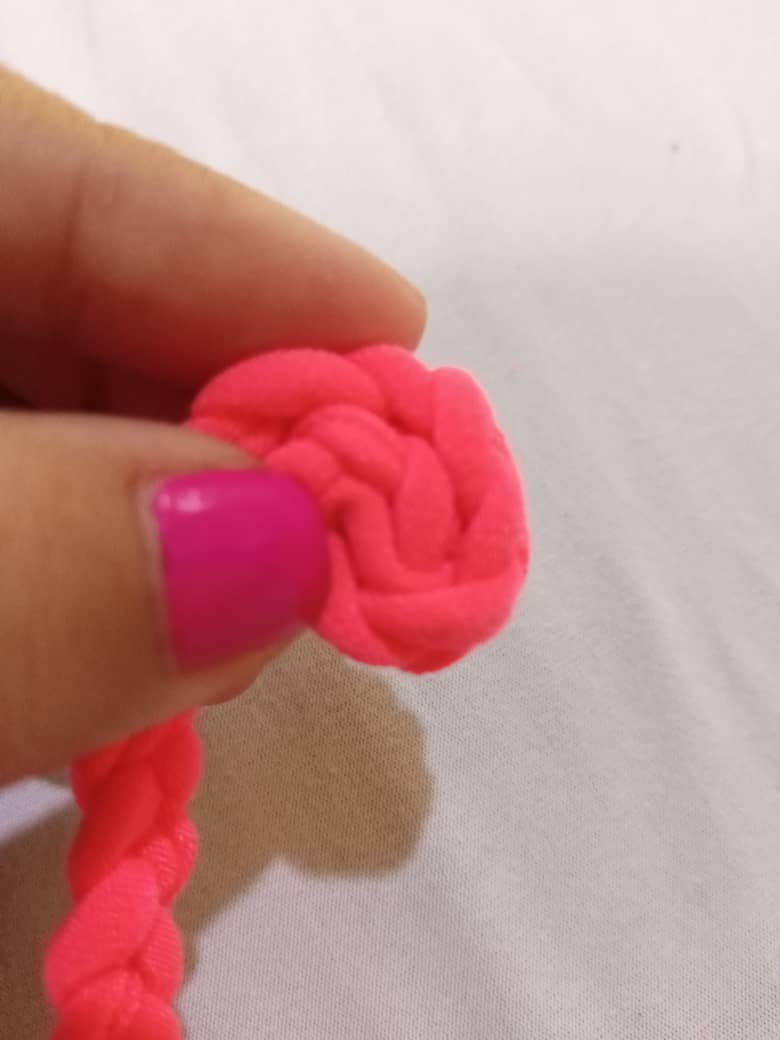
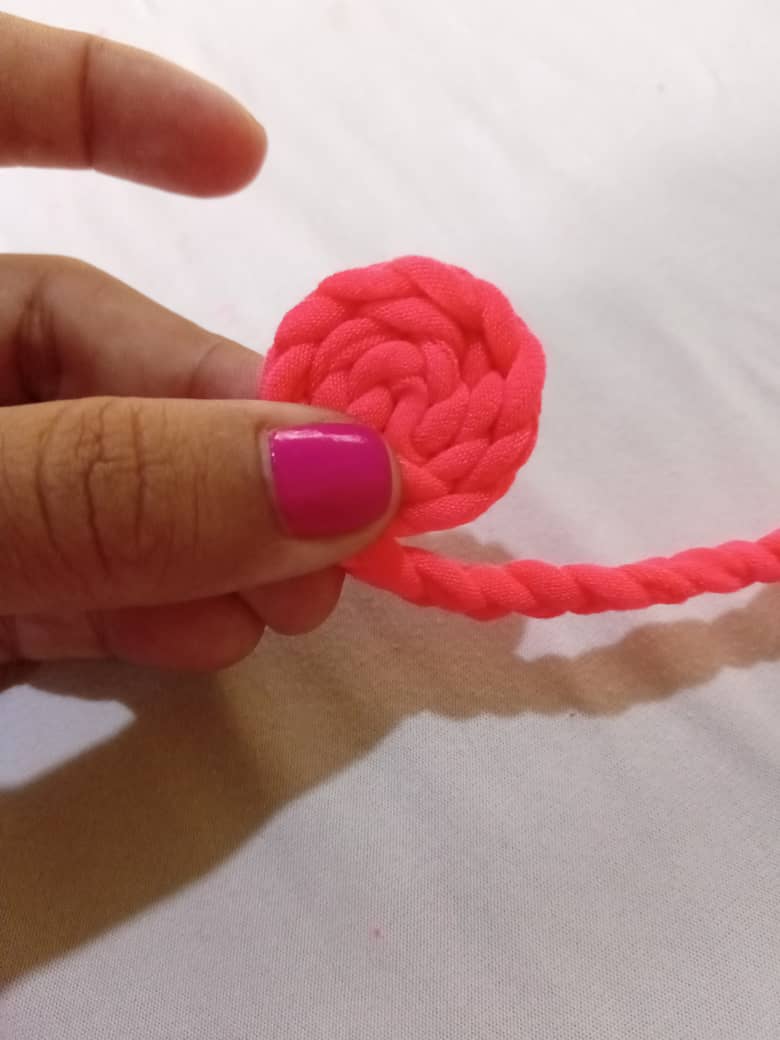
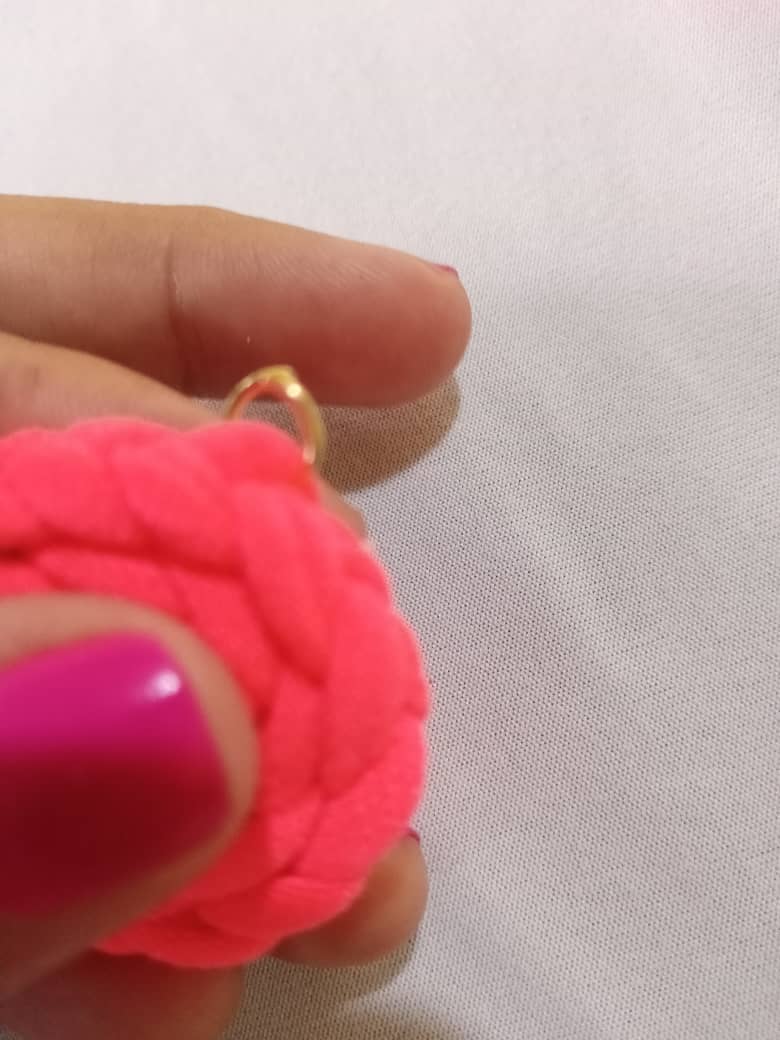
4to paso: Una vez listo ambos trenzados tomaremos y enrollamos desde el centro en forma de espirar y nos aseguramos de pegar bien con el silicón caliente para evitar que se despegue y quede bien fijo, después de asegurar ambas piezas, tomamos el arito y lo sujetamos a la base de tela junto al sujetador y listo para colgar y lucir unos hermosos zarcillos.
4th step: Once both braids are ready, we will take and roll from the center in the form of a spiral and make sure to stick well with the hot silicone to prevent it from coming off and stay well fixed, after securing both pieces, we take the ring and hold it to the fabric base next to the bra and ready to hang and show off some beautiful tendrils.

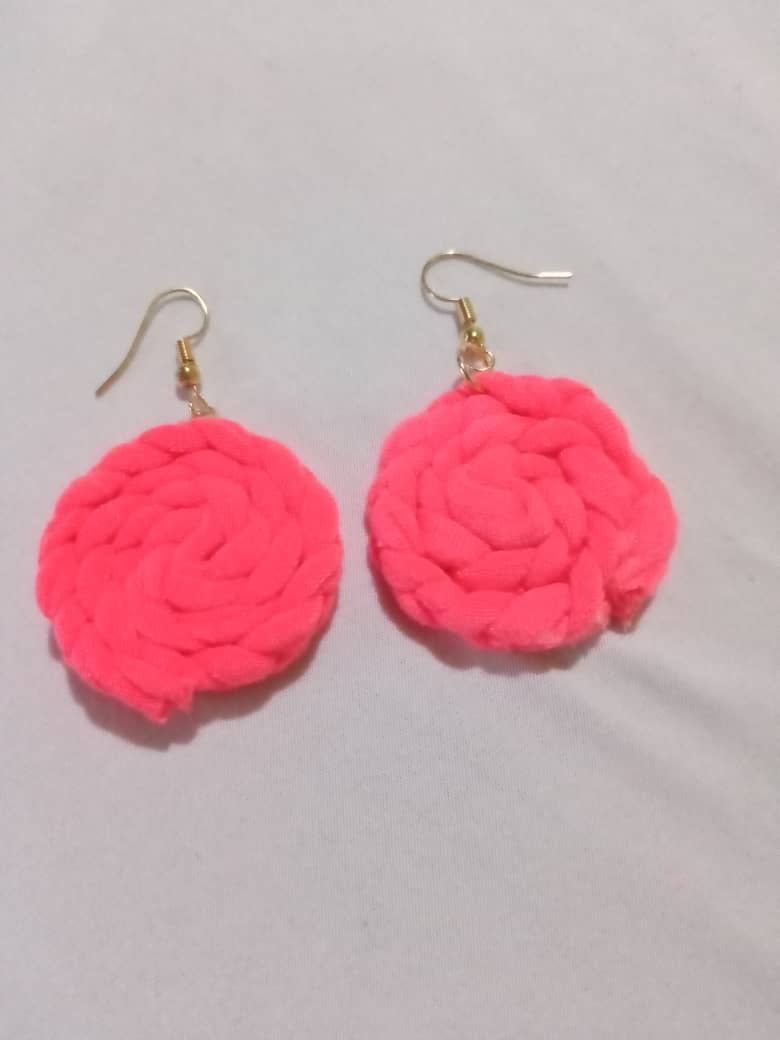
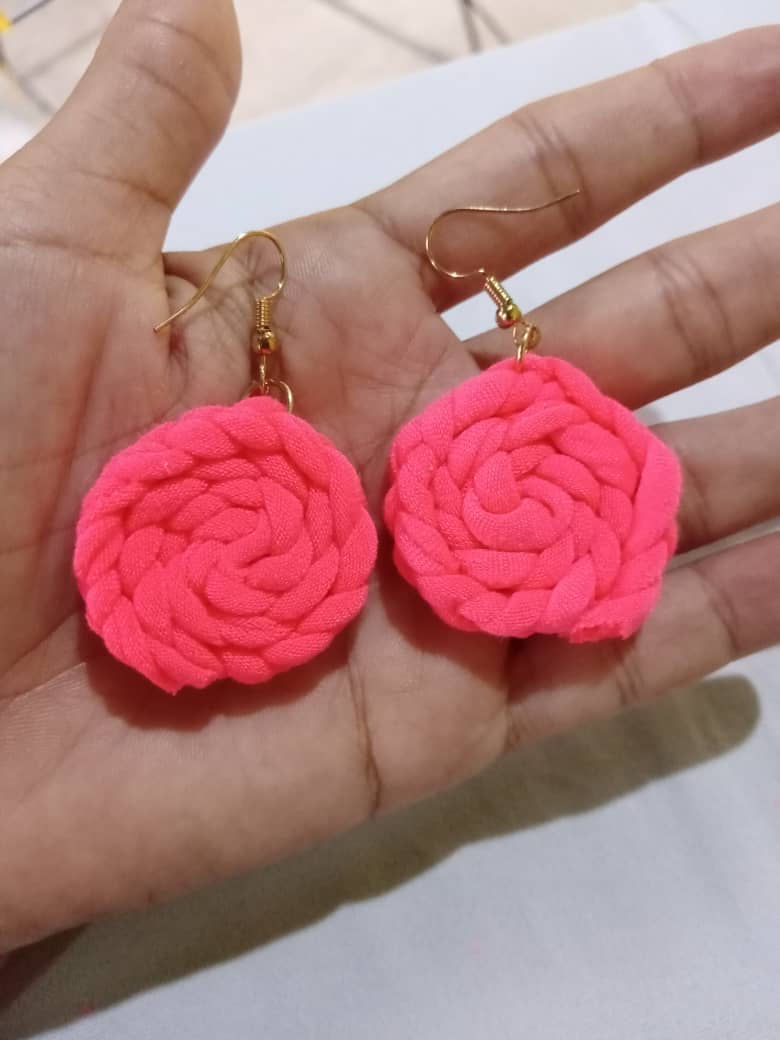
Amigos Hivers creativos cómo se pudieron dar cuenta son muy fáciles de elaborar y lo mejor de todo es que con muy poco material el resultado es maravilloso, así que anímate a reciclar para obtener resultados extraordinarios en muy pocos pasos, Estos zarcillos de color rosa son ideales para lucir muy femenina al momento de una ocasión especial, espero les haya gustado esté sencillo tutorial que les comparto a todos mis amigos que hacen vida en está gran comunidad de @jewelry y se animen a intentarlo. cómo siempre es un gran gusto formar parte de este grupo de amigos, deseo que se encuentren bien U
un caluroso abrazo virtual para todos y Bendiciones en todos sus emprendimientos.
Hello friends, I hope you are very well! It is a pleasure to be here once again with all those who make life in this wonderful community of @jewelry. Today I want to share with you a simple tutorial on how to make very cute earrings with a piece of stress fabric, I hope you like it and are encouraged to try from your homes, I love the pink color that's why I decided to choose this color you are free to your taste, reviewing among my materials I found this piece of fabric so I started thinking what to create with it? And well, I came up with these beautiful earrings, so I invite you to follow the steps to make this beautiful accessories to always look flirty and fashionable, my creative hands at work, take note:
Muchas gracias por visitar mi Blog
Thank you very much for visiting my Blog.

https://twitter.com/1503343212819369990/status/1590280757045776384
The rewards earned on this comment will go directly to the people sharing the post on Twitter as long as they are registered with @poshtoken. Sign up at https://hiveposh.com.
Un trabajo genial reciclando tela amiga @delvallecedeno, es sencillo el trabajo se puede ver por tu paso a paso, n9s encanta como le das forma haciendo el trenzado, felicidades 👏
Muchas gracias por la visita y su grato comentario @hive-189504. Un gusto compartir mis tutoriales. Saludos y le envío un cálido abrazo! 💖
Hola amiga que lindos te quedaron estos aretes, vaya que buena idea para hacer zarcillos de retrasos de telas que combinen con nuestras blusas... Me gustó mucho tu blog Éxito.
Hola amiga, muchas gracias por visitar mi blog y dejar tu lindo comentario. Un caluroso abrazo 🤗💖
Que belleza. No tenía ni idea de que era tela y que se trenzaba. Quedan fabulosos. Me encanta tu idea amiga.
Mucho éxito y bendiciones.
Muchas gracias amiga por visitar 😘 es muy grato para mi saber que te gustó. Un fuerte y caluroso abrazo amiga espero te encuentres bien.