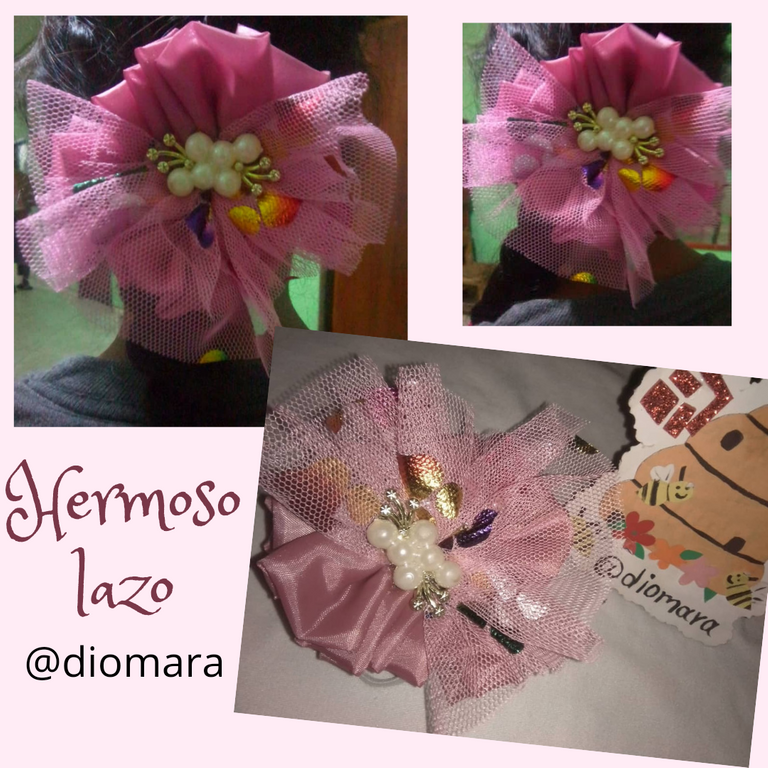
[Esp-Eng] Tutorial: Hermoso lazo para niñas hecho con retazos de tela. by: @diomara
Hoy les compartiré como realizar un hermoso lazo para niñas utilizando retazos de tela, espero sea de su agrado mi post y se animen a realizarlo.
Hello friends of the Hive, blessings to all of you happy Monday.
Today I will share with you how to make a beautiful bow for girls using scraps of fabric, I hope you like my post and I encourage you to make it.
Materiales utilizados en el proceso:
Retazo de tela
Tela Tull
Tijera
Aguja
Hilo
Gancho de cabello
Aplique decorativo
Pegamento
#Materials used in the process:**
Fabric scrap
Tull fabric
Scissors
Needle
Thread
Hair clip
Decorative applique
Glue

Manos a la obra | Let's get to work
Comenzamos recortando una tira gruesa y larga del retazo de tela, doblamos y cosemos.
We start by cutting a thick and long strip from the fabric, fold and sew.

Enrollamos formando una flor este proceso lo hacemos jalando la costura en la tira que doblamos.
We roll up forming a flower, this process is done by pulling the seam on the strip we folded.

Rematamos la flor realizada pegando ambos puntos con con costura y de igual manera en el centro.
We finish off the flower by gluing both stitches with stitching and in the same way in the center.

Luego recortamos una tira gruesa de tela Tull hacemos una especie de lazo y pegamos con una costura en el flor que realizamos.
Then we cut a thick strip of Tull fabric, make a kind of bow and glue it with a seam in the flower we made.

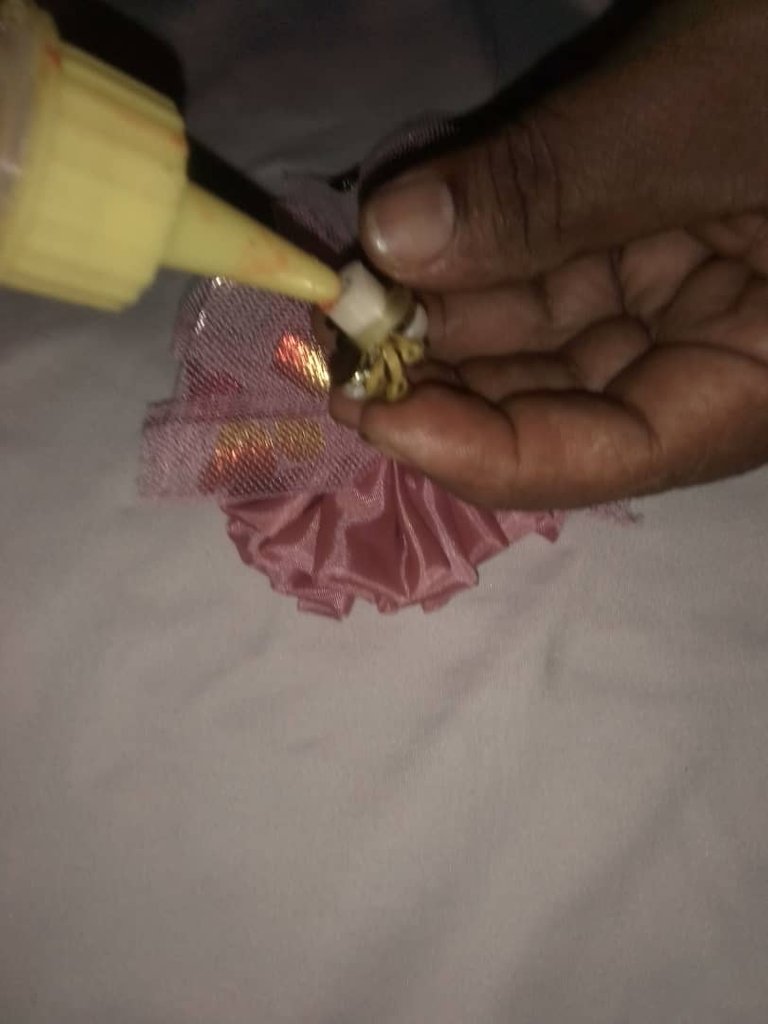
Pegamos el aplique decorativo en el centro de la tela Tull y la flor.
Glue the decorative applique in the center of the Tull fabric and the flower.
Para finalizar pegamos en la parte de atrás del lazo el gancho de cabello, recortamos un cuadro pequeño de tela, introducimos por el medio del gancho y pegamos los bordes con el silicón.
Finally, we glue the hair clip to the back of the bow, cut out a small square of fabric, insert it in the middle of the hook and glue the edges with silicone.
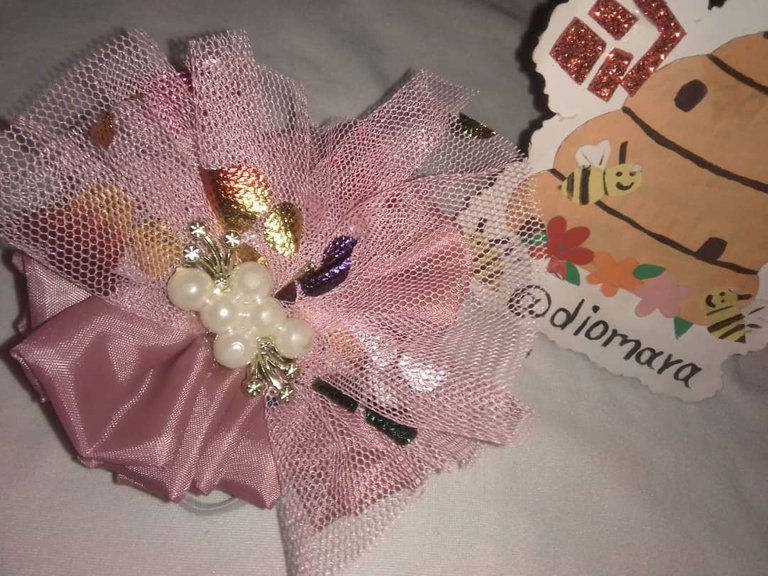
Así quedó este hermoso lazo ideal para nuestras consentidas:
This is how this beautiful ribbon was made, ideal for our spoiled girls:
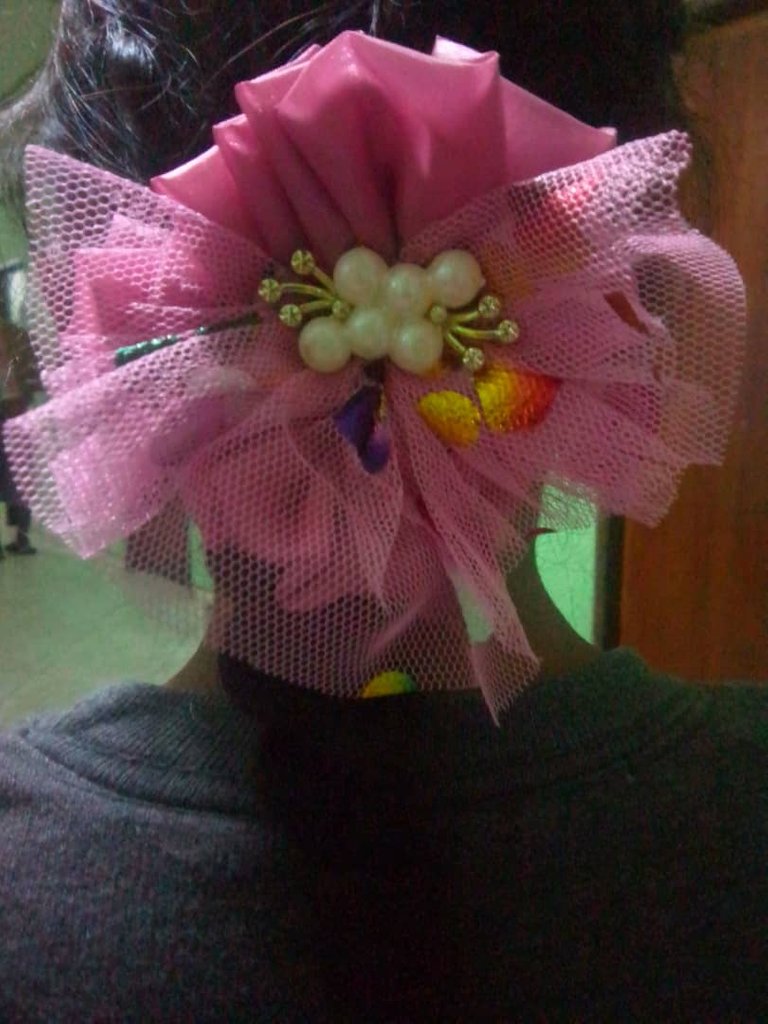
Espero les guste y se animen a realizar un lazo así como este.
I hope you like it and I encourage you to make a bow like this one.
Me despido hasta un próximo post, nos vemos.
I'll say goodbye until a future post, see you soon.
@diomara
Your content has been voted as a part of Encouragement program. Keep up the good work!
Use Ecency daily to boost your growth on platform!
Support Ecency
Vote for Proposal
Delegate HP and earn more
Wonderfully made! Seeng the photos you included in your post,I I thought it was so hard to do . Conratulations on doin it.
Thank you very much, yes the truth is that it is super easy to make. Greetings @yoieuqudniram 🤗
So Beautiful
Thank you 💖 @smilestitches
Your welcome
Very beautiful and elegant-looking decorative hair ribbon. I love it plus you showed how easy it was to make it. Thanks for sharing your project here and God bless.