Bata de Laboratorio para niños | Lab Coat for Kids
Español
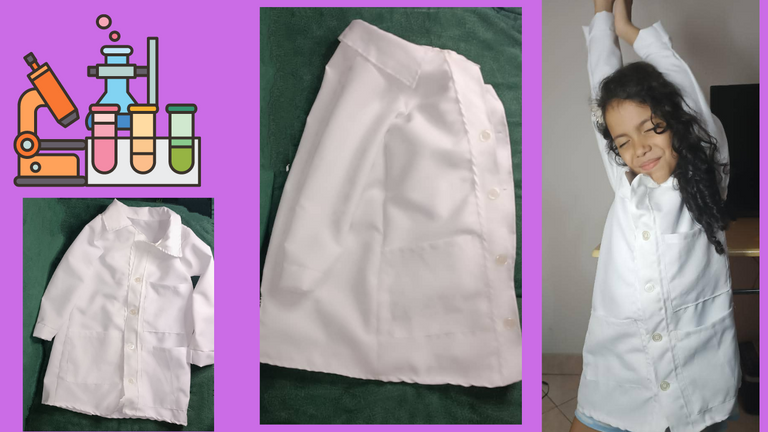
Hola queridos amigos de Hive! El dia de hoy quiero mostrarles la elaboración de una bata para niños de 6-7 años. Espero pueden disfrutar del diseño y la elaboración de esta bonita bata de laboratorio.

Materiales:
- 1 Metro y medio de tela blanca minimat
- 2 Hilo Blanco
- Botones
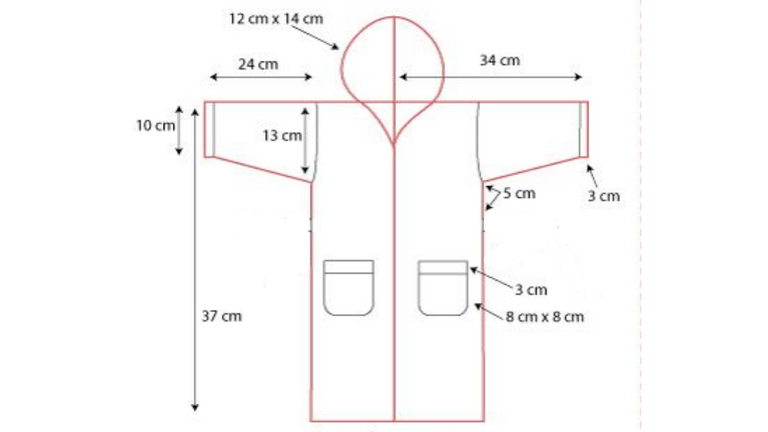
- patron guia
Paso 1
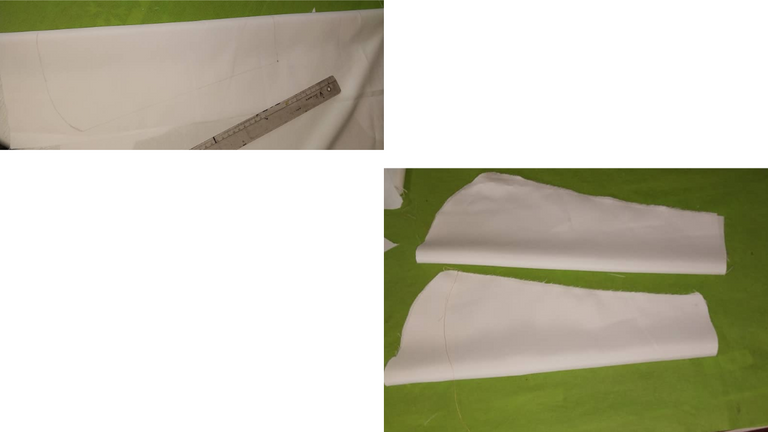
Se va a trabaj solo con la mitad de la bata, es decir que al momento de trazar el molde la tela debe ser doble.
De esta manera se toma el patron frontal y se coloca sobre la tela doblada a la mita.
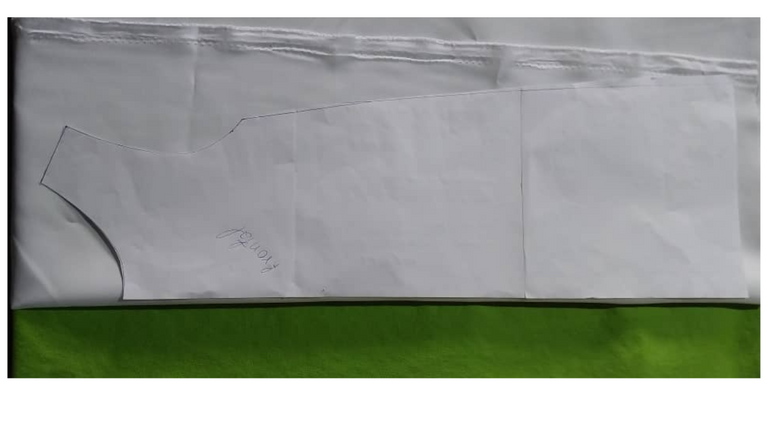

Asi se saca la otra pieza delanmtera de la bata.
2
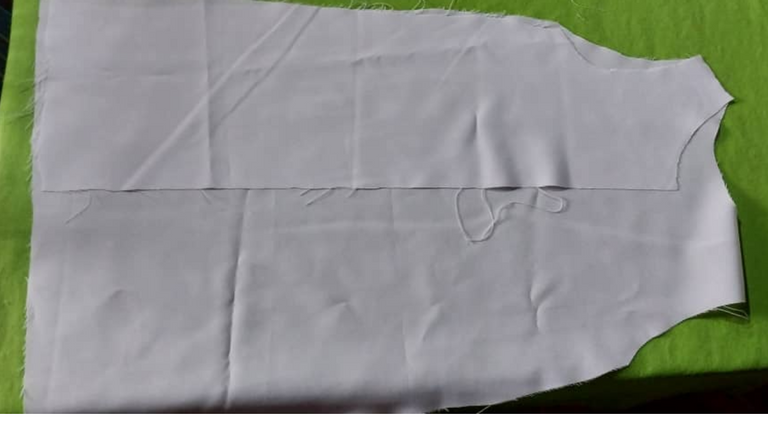
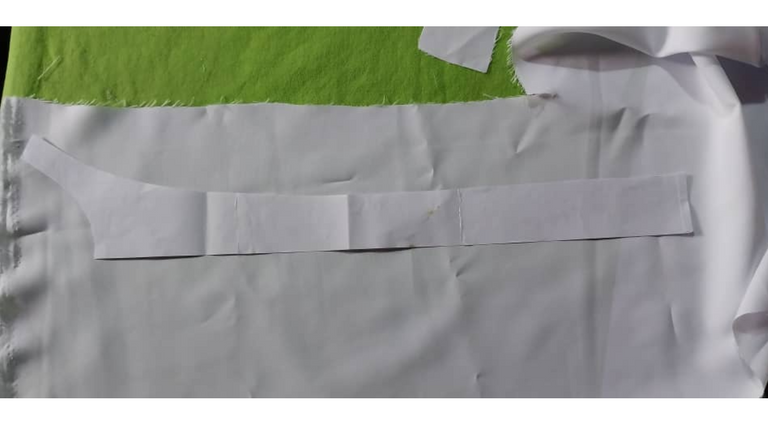
La parte trasera de la bata se crea uniendo las dos piezas frontales sin la division central.
3
Seguidamente se deben razar las mangas de la bata, para esto se toma el patron de las mangas y se traza en la tela doblando la misma a la mitad.
4
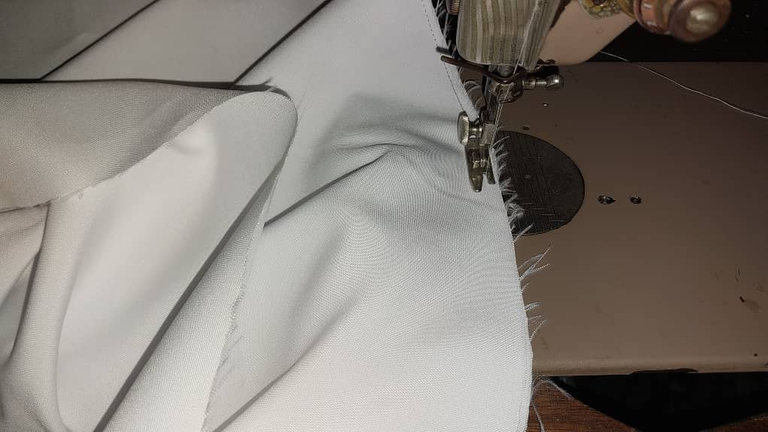
Luego se debe trazar en la tela el molde del cuello y tambien el area donde van los botones de la bata y los bolsillos tambien guiandonos del patron.
Union de las piezas
1
Se deben unir las piezas laterales a la pieza trasera de la bata a través de costura.
2
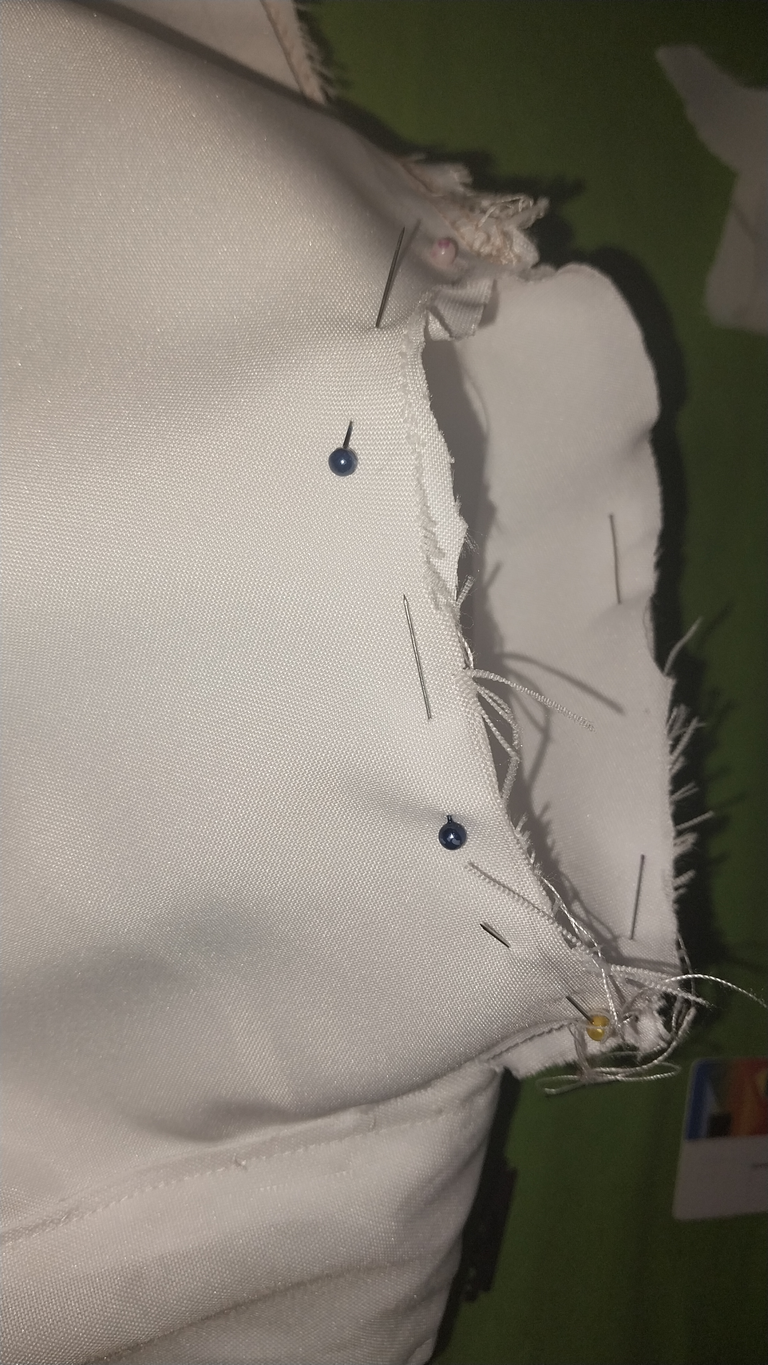
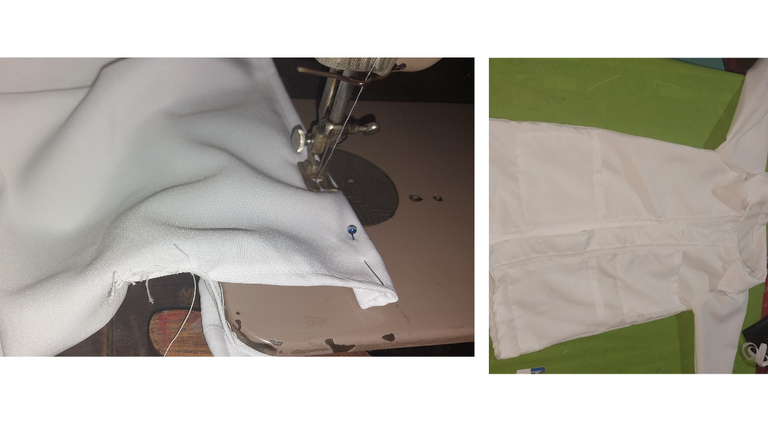
Se procede a unir las mangas
Seguidamente se debe coser las mangas a la bata, se une al controno de la sisa o de la axila con la ayuda de los alfileres.
3
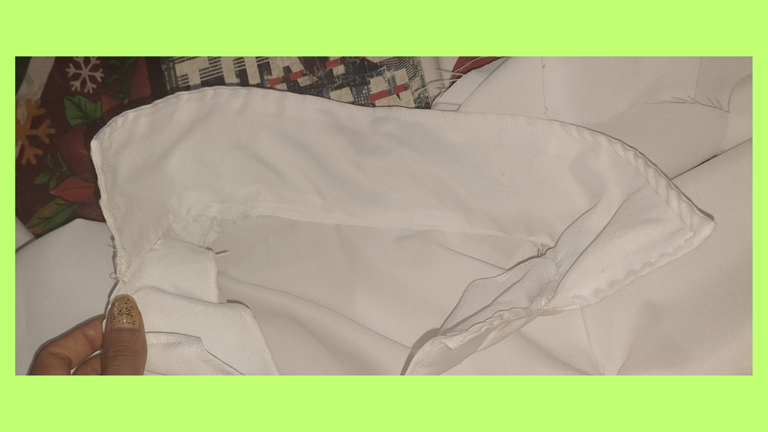
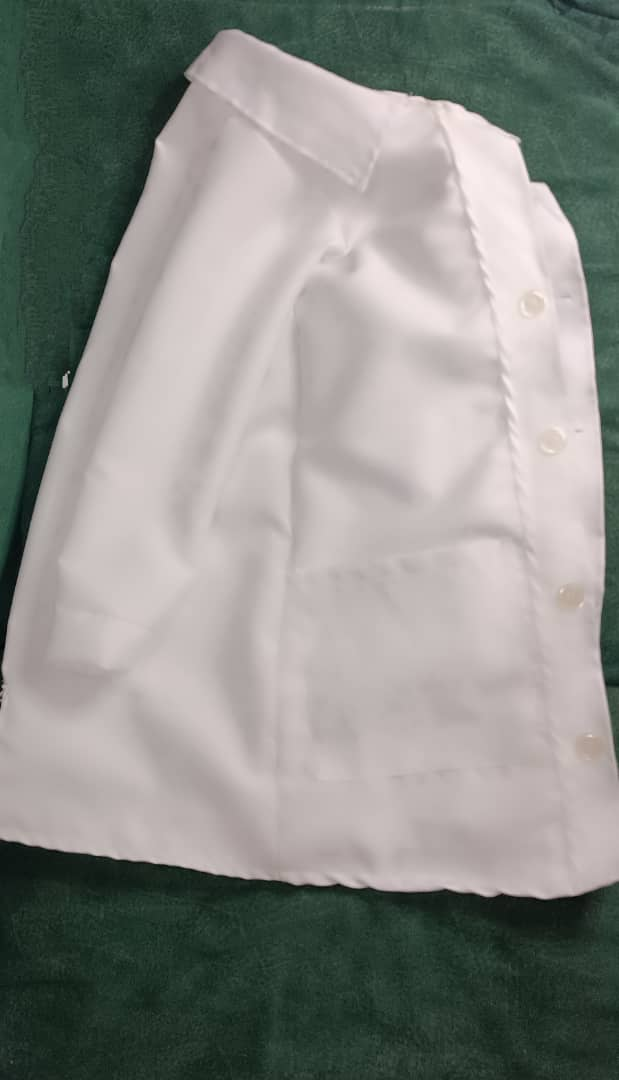
Seguidamente se cose el ruedo de la bata y el borde del area de los botones.
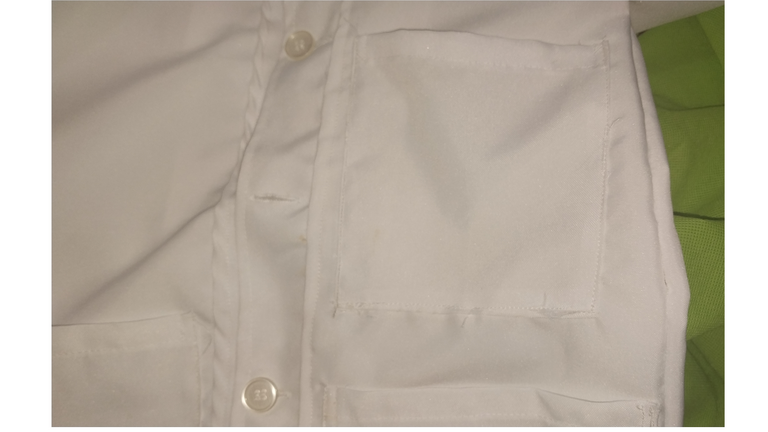
Asi mismo se cosen los bolsillos a nuestra bata.
4
Se debe coser el cuello de la bata una vez que se cose el borde de los botones.
5
Por ultimo se cosen los botones a esta bata.
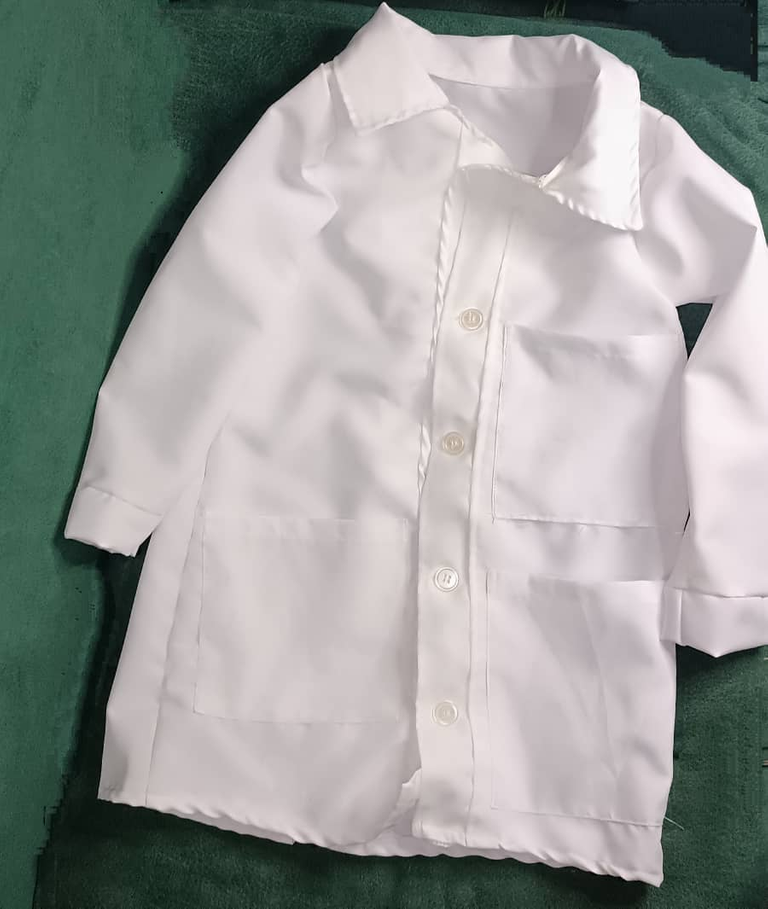
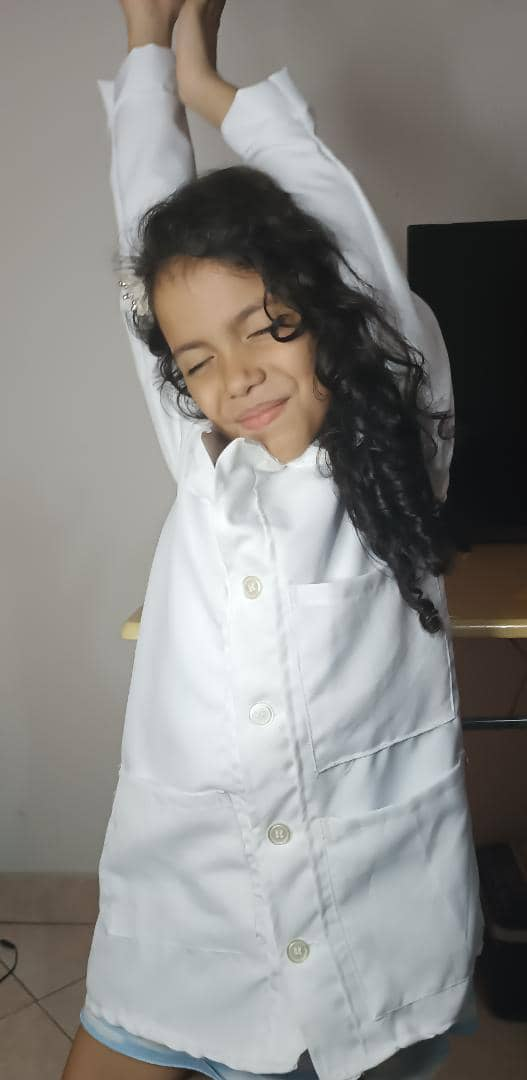
De esta manera, este sería el resultado fianl de esta linda bata de laboratorio.
Saludos y gracias por leer!
Créditos
Las imagenes me pertenecen
Traducción: DeepL
Miniaturas y banners: Canva
Modelo: Mi hermosa sobrina Elizabeth

English
Hello dear friends of Hive! Today I want to show you how to make a lab coat for 6-7 years old children. I hope you can enjoy the design and the making of this nice lab coat.
Materials:
- 1 and a half yards of white minimat fabric
- 2 White thread
- Buttons
- pattern guide
Step 1
You are going to work with only half of the robe, that is to say that at the moment of tracing the pattern, the fabric should be double.
In this way the front pattern is taken and placed on the fabric folded in half.
This is how you take the other front piece of the robe.
2
The back of the robe is created by joining the two front pieces without the center division.
3
Next, the sleeves of the robe must be traced, for this the pattern of the sleeves is taken and traced on the fabric by folding it in half.
4
Then trace on the fabric the pattern of the collar and also the area where the buttons and pockets will go, also using the pattern as a guide.
Joining the pieces together
1
Join the side pieces to the back piece of the robe by stitching.
2
The sleeves are then sewn together.
Next, the sleeves should be sewn to the gown, joining them at the armhole or underarm with the help of the pins.
3
Next, sew the hem of the gown and the edge of the button area.
The pockets are also sewn onto the gown.
4
The collar of the robe should be sewn once the edge of the button area is sewn.
5
Finally the buttons are sewn to this coat.
In this way, this would be the final result of this nice lab coat.
Greetings and thanks for reading!
Credits
Images belong to me
Translation: DeepL
Thumbnails and banners: Canva
Model: My beautiful niece Elizabeth
Que precioso, jejeje me encanta la ropa de niños , gracias por tu post😊
Doctor dress, wow well done, presentation was different.
Ha quedado hermosa amiga 👍
Muy útil y además parece comprada. Excelente trabajo 👍