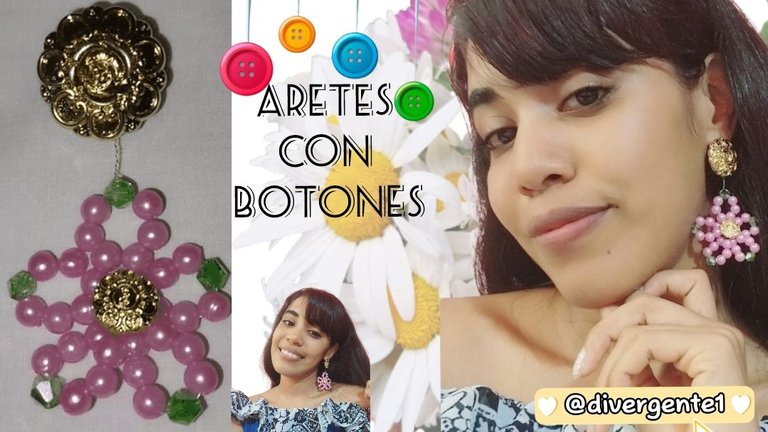
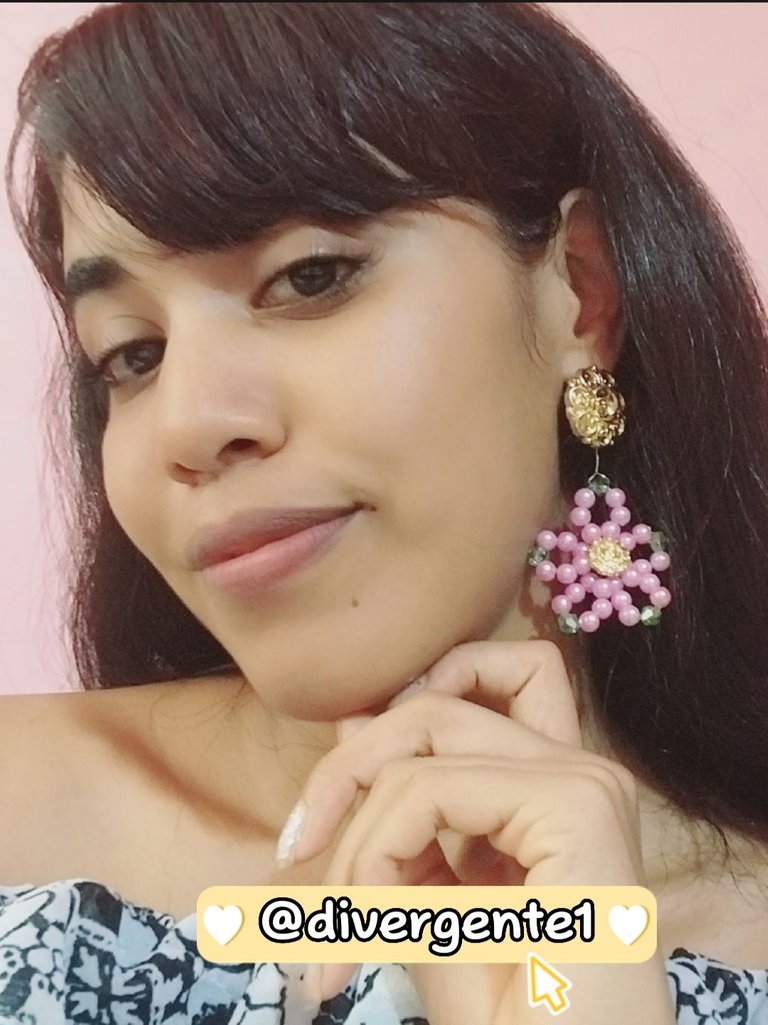
Hermosos Aretes de flores con Botones dorados | Beautiful floral earrings with Gold Buttons.
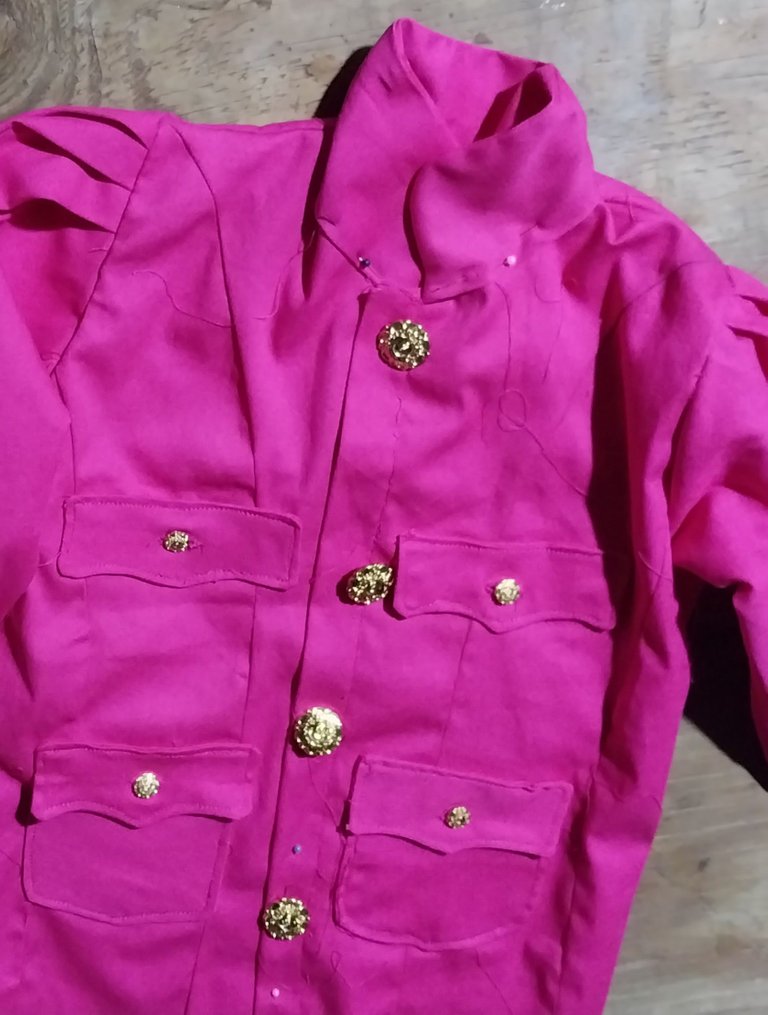
Hola queridos amigos de Hive, me uno a la iniciativa de poder crear accesorios partiendo del hecho de reutilizar los botones que podemos tener en casa. En estos días he estado realizando un liqui liqui (es el traje típico venezolano) y de este diseño me han sobrado algunos botones dorado. Este atuendo aun esta en proceso de elaboración, espero pronto compartir con todos este bonito traje.
Existen muchos modelos de botones, en particular los botones del liqui-liqui deben ser muy elegantes. Este modelo de botones tiene un diseño floral.
De esta forma les voy a mostrar el proceso de elaboración de estos hermosos aretes de flores. Antes quiero agradecer a mi amiga @lismarcarolina2 por invitarme a participar en este bonito concurso en nuestra querida comunidad de @Jewelry.
Materiales
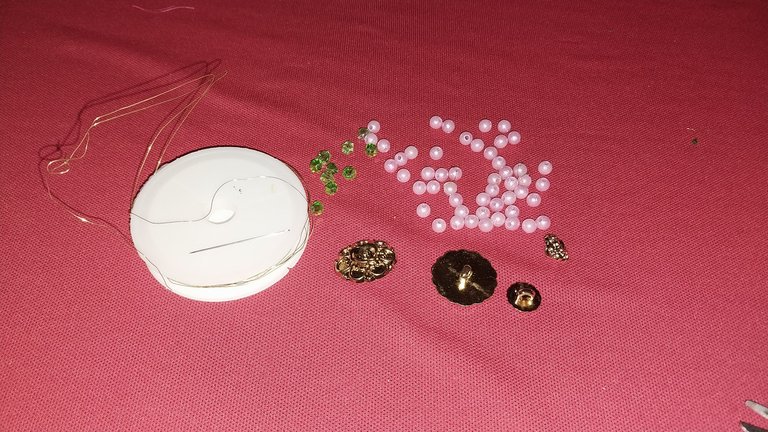
- 2 botones dorados grandes
- 2 botones dorados pequeños
- 10 cristales verdes
- 60 perlas rosadas⁶
- Alambre de cobre de 0,25mm
- Aguja de coser
Paso a Paso
1
Se toma el botón pequeño dorado y desde la parte trasera de este se iniciará a realizar cada uno de los pétalos. De forma que utilizaremos el agujero del botón para que sea la base de nuestro diseño.
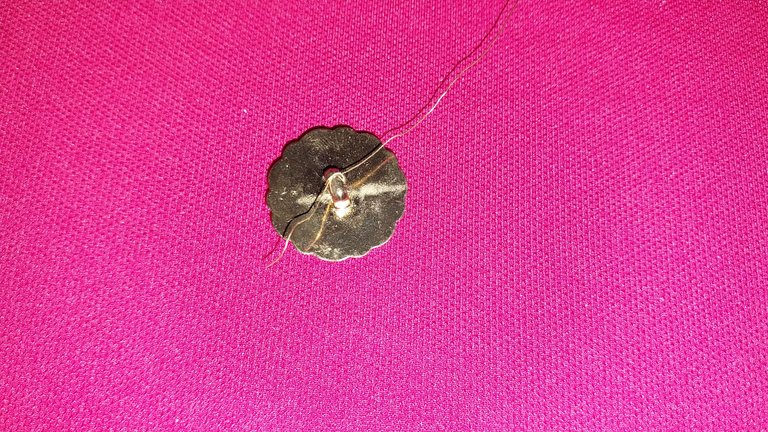
De esta forma se inicia tomando el alambre de cobre y se introduce en el soporte del botón de manera que se hace un nudo en este.
2
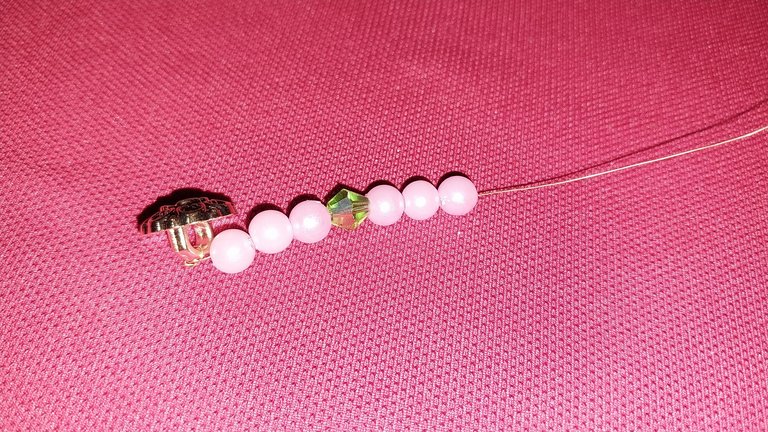
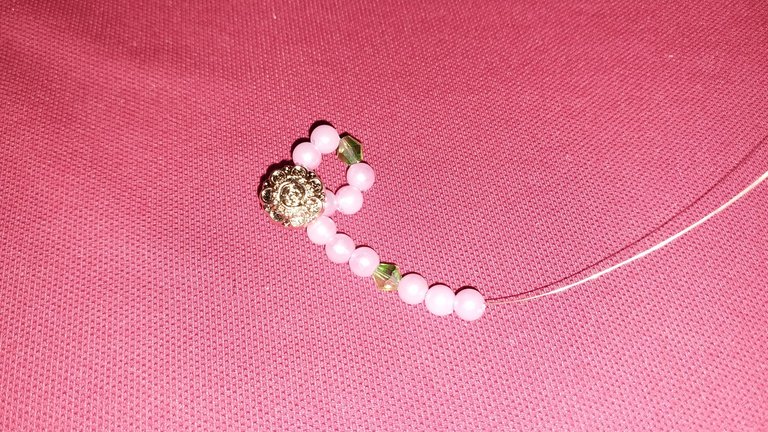
Después se debe introducir en el alambre de cobre las tres perlas rosadas tambien si queremos con la ayuda de una aguja de coser.

,3
Luego se debe introducir un cristal verde en el alambre y seguidamente se introduce nuevamente las tres perlas rosadas.
4
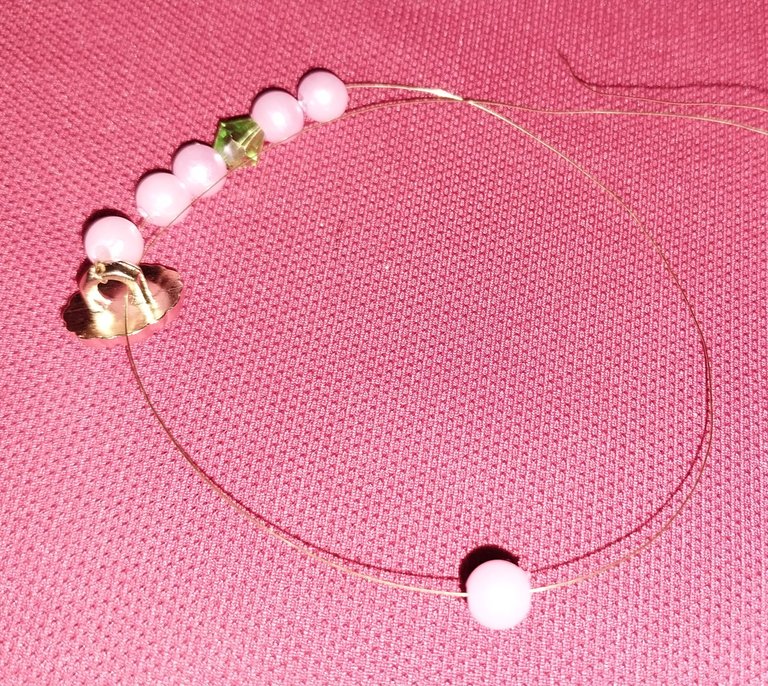
Una vez que se introduzcan las 6 perlas y la separación de cristal verde entre ellas, se debe tomar el extremo de la punta del alambr3 de cobre y pasarlo de forma cruzada por el agujero o el soporte que tiene este tipo de botones.
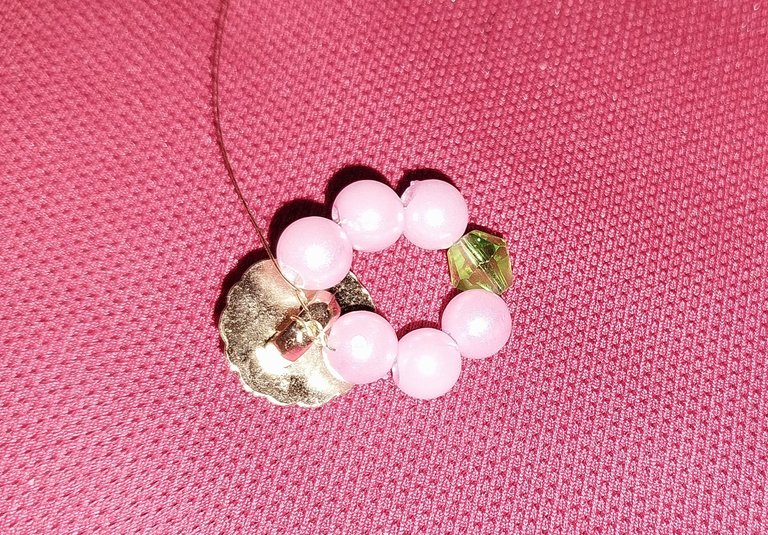
Seguidamente se debe hacer presión desde el extremo del alambre de cobre para que las perlas y el cristal tengan la forma ovalada que asemejen los pétalos al rededor de nuestro botón dorado.
5
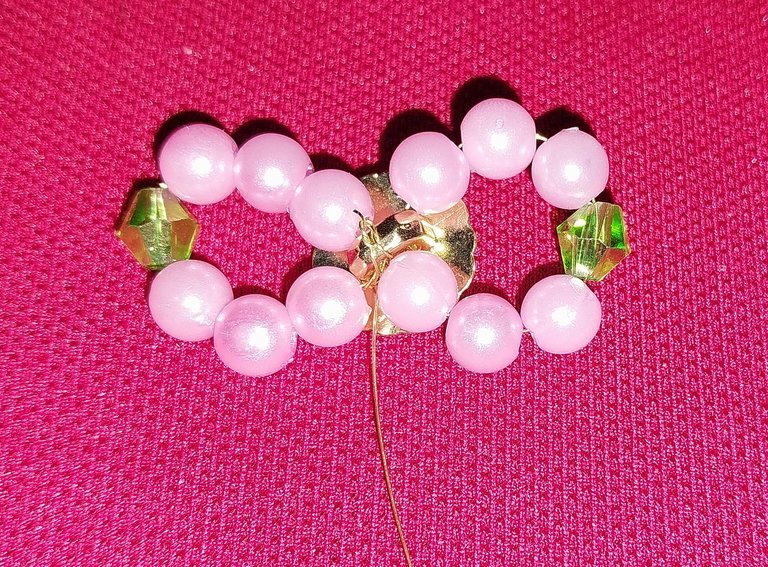
De esta misma forma se van a realizar cada uno de los pétalos de nuestra flor con un bonito pistilo central.
6
Luego se forma el tercer pétalo. Esta flor tendrá 5 pétalos, por lo que es importante tener en cuenta los espacios al momento de formar los pétalos con las perlas, si es necesario se le va dando la forma al material de cobre dándole algunas vueltas a este material para que este tome la forma y a la vez quede bien fijo al botón.

7

De esta manera se van a formar loa 5 pétalos en nuestra flor.
8
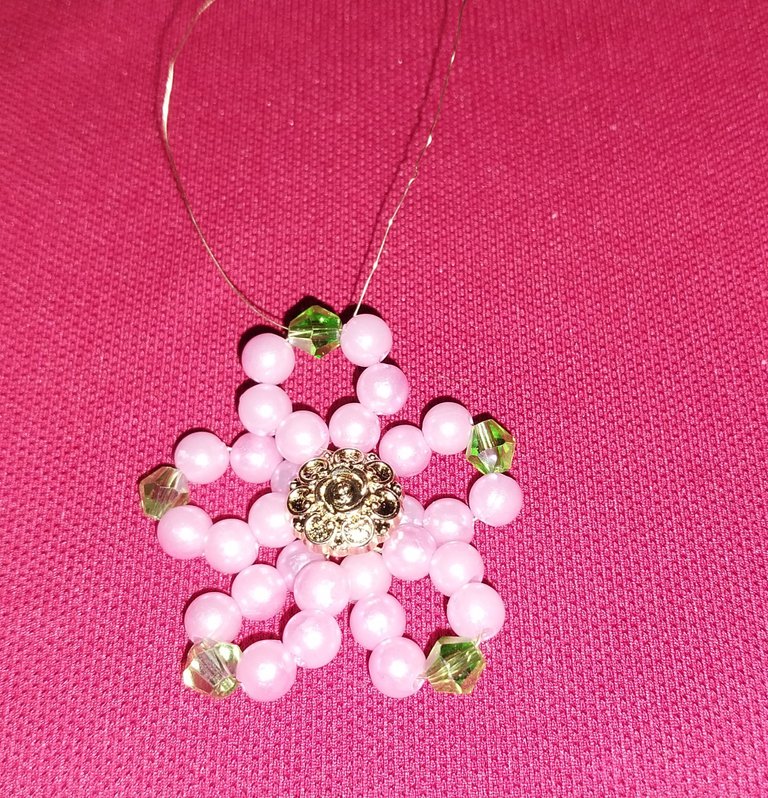
Desde uno de los cristales verdes centrales se va a introducir un pedazo de alambre de cobre, como se muestra en la imagen.
9
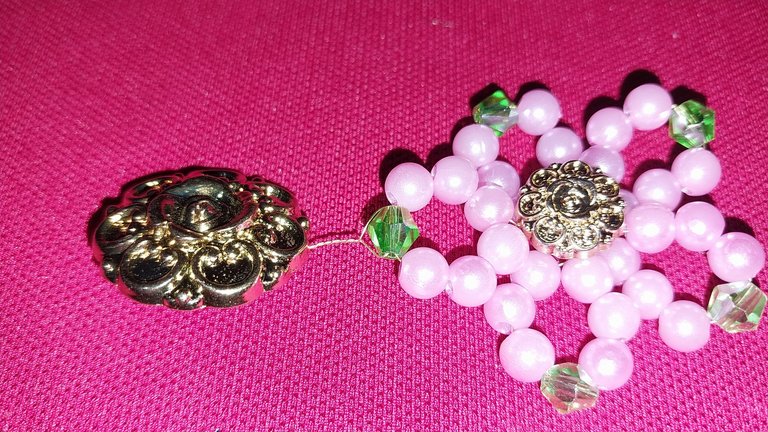
Luego se toma ambos extremos de él material de cobre y se procede a pasar estos por el agujero del botón dorado más grande y se hace un nudo en el soporte de este.
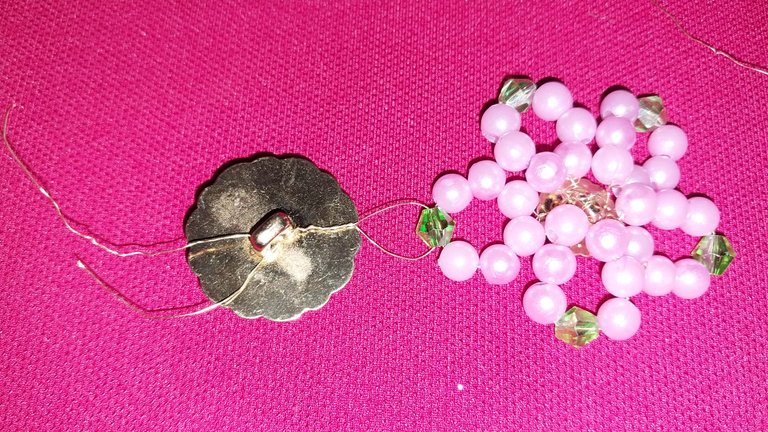
10
Finalmente se debe enrollar el material de cobre desde el botón más grande hasta el cristal verde.

Creditos
- Las imágenes me pertenecen fueron tomadas con un teléfono Samsung A23
- Traductor: Deelp Traslator
- Editor: Polish
Hello dear friends of Hive, I join the initiative of being able to create accessories based on the fact of reusing the buttons that we have at home. These days I have been making a liqui liqui (it is the typical Venezuelan costume) and I have some golden buttons left over from this design, it is still in the process of being made, I hope soon to share this beautiful costume with everyone.
There are many models of buttons, in particular the buttons of the liqui-liqui must be very elegant. This button model has a floral design.
In this way I am going to show you the process of making these beautiful flower earrings. First I want to thank my friend @for inviting me to participate in this beautiful contest in our beloved @Jewelry community.
Materials
- 2 large golden buttons
- 2 small golden buttons
_ 10 green crystals - 60 pink pearls
- 0.25mm copper wire
- Sewing needle
Step by Step
1
Take the small golden button and start to make each of the petals from the back of it. So we'll use the button hole to be the base of our design.
In this way, it begins by taking the copper wire and inserting it into the button support so that a knot is made in it.
2
Then the three pink pearls must be inserted into the copper wire, also if we want with the help of a sewing needle.
,3
Then a green crystal must be inserted into the wire and then the three pink pearls must be inserted again.
4
Once the 6 beads and the green glass separation between them are inserted, take the end of the tip of the copper wire and pass it crosswise through the hole or the support that has this type of buttons.
Then you must make pressure from the end of the copper wire so that the pearls and the crystal have the oval form that resemble the petals around our golden button.
5
In the same way each of the petals of our flower will be made with a beautiful central pistil.
6
Then the third petal is formed. This flower will have 5 petals, so it is important to take into account the spaces when forming the petals with the beads. If necessary, shape the copper material by turning it a few times so that it takes the shape and at the same time is well fixed to the button.
7
This will form the 5 petals on our flower.
8
From one of the central green crystals a piece of copper wire is going to be inserted, as shown in the picture.
9
Then take both ends of the copper wire and pass them through the hole in the larger gold button and tie a knot in the support of the button.
10
Finally the copper material should be wound from the larger button to the green crystal.
- The images belong to me were taken with a Samsung A23 phone.
- Translator: Deelp Traslator
- Editor: Polish
Han quedado muy hermosos amiga 👍
Muchas gracias amiga! ❤️
Saludos.
Hernoso amiga. Felicidades y los luces genial. Saludos
Muchas gracias amiga.
Saludos!
Me encantan bellísimos❤️❤️❤️❤️
Me encantan bellísimos❤️❤️❤️❤️
Me encantan bellísimos❤️❤️❤️❤️
Muchas gracias amiga!
¡Felicidades! Esta publicación obtuvo upvote y fue compartido por @la-colmena, un proyecto de Curación Manual para la comunidad hispana de Hive que cuenta con el respaldo de @curie.
Si te gusta el trabajo que hacemos, te invitamos a darle tu voto a este comentario y a votar como testigo por La Colmena.
Si quieres saber más sobre nuestro proyecto, te invitamos a acompañarnos en nuestro servidor de Discord.
I like it very how it looks 👌👌👌🤗😋 🌼
Thank you!
Yay! 🤗
Your content has been boosted with Ecency Points, by @foxkoit.
Use Ecency daily to boost your growth on platform!
Support Ecency
Vote for new Proposal
Delegate HP and earn more
Do you know you can buy and sell digital and physical goods on HiveList Store?
You can pay or get paid in cryptocurrencies including HBD on HiveList Store.
Click on the banner below to check out the store:
You can also buy and sell on Hivelist Classified Community. You can also advertise seeking services or products on Hivelist Classified Community.
For example, you may sell your creative works by posting classified ads for free in Hivelist Classified Community. You can advertise for job vacancies, home help, nursing services etc. in your locality. You may even get paid through upvotes for your ads.
When you post your ads to Hivelist Classifieds Community, use one or more of the Hivelist Tags appropriate to your ad. Your post will then be featured in the Hivelist Classifieds Community and also in Hivelist.org.
You have nothing to lose but everything to gain. Try it.
Click on the banner below to check out the Community:
😍 Muy bonitos estos aretes de perlas, pero tengo una duda. ¿Cómo lograste el enganche para colocarlos en la oreja?
Muchas gracias amiga. Ohh! Si falto ese paso, en realidad solo basto pegar el enganche al botón, con la ayuda del pegamento instantáneo.
Gracias!
Gracias, la verdad es que no sabía. Pensé que era con un anzuelo, pero ya quedé clara. Te agradezco por estas ideas. 🤗
Si, también se puede! Cualquier idea que bien se pueda aplicar. Saludos amiga. 🙂 gracias!
Los ameee💞
Gracias amiga! 🙂
te quedaron súper! se veía más complicado pero con tu explicasión, es sencillo de elaborar 😃 excelente post!
Muchas gracias mi querida amiga! Saludos