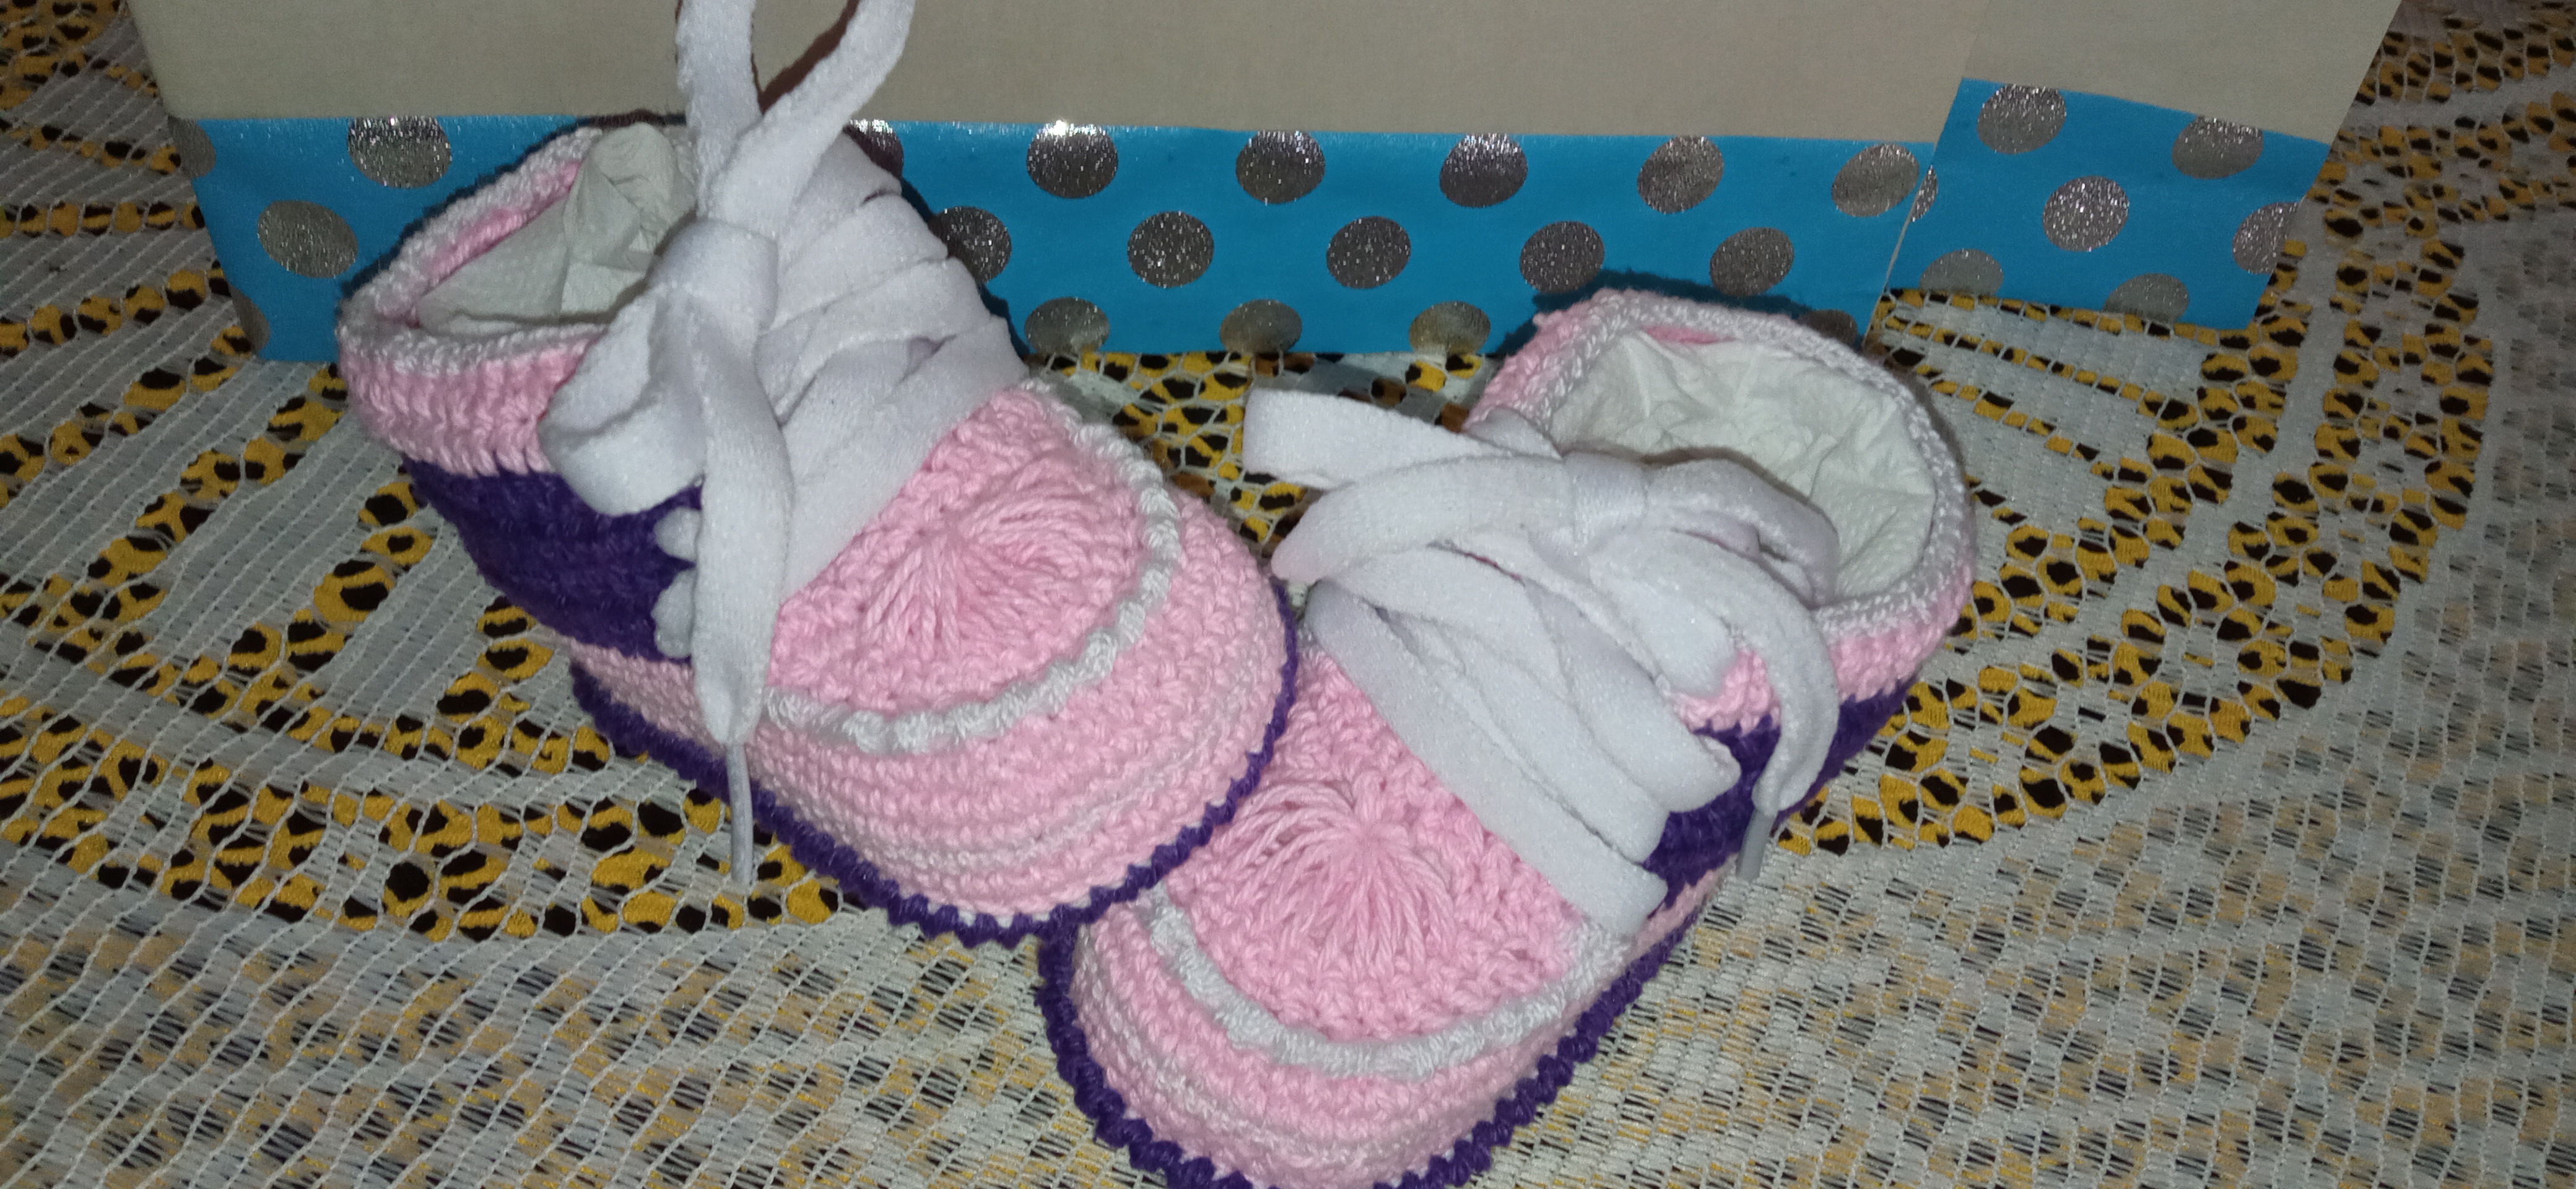
BRAIDED SHOES FOR GIRLS | ZAPATOS TRENZADOS PARA NIÑAS
BRAIDED SHOES FOR GIRLS | ZAPATOS TRENZADOS PARA NIÑAS
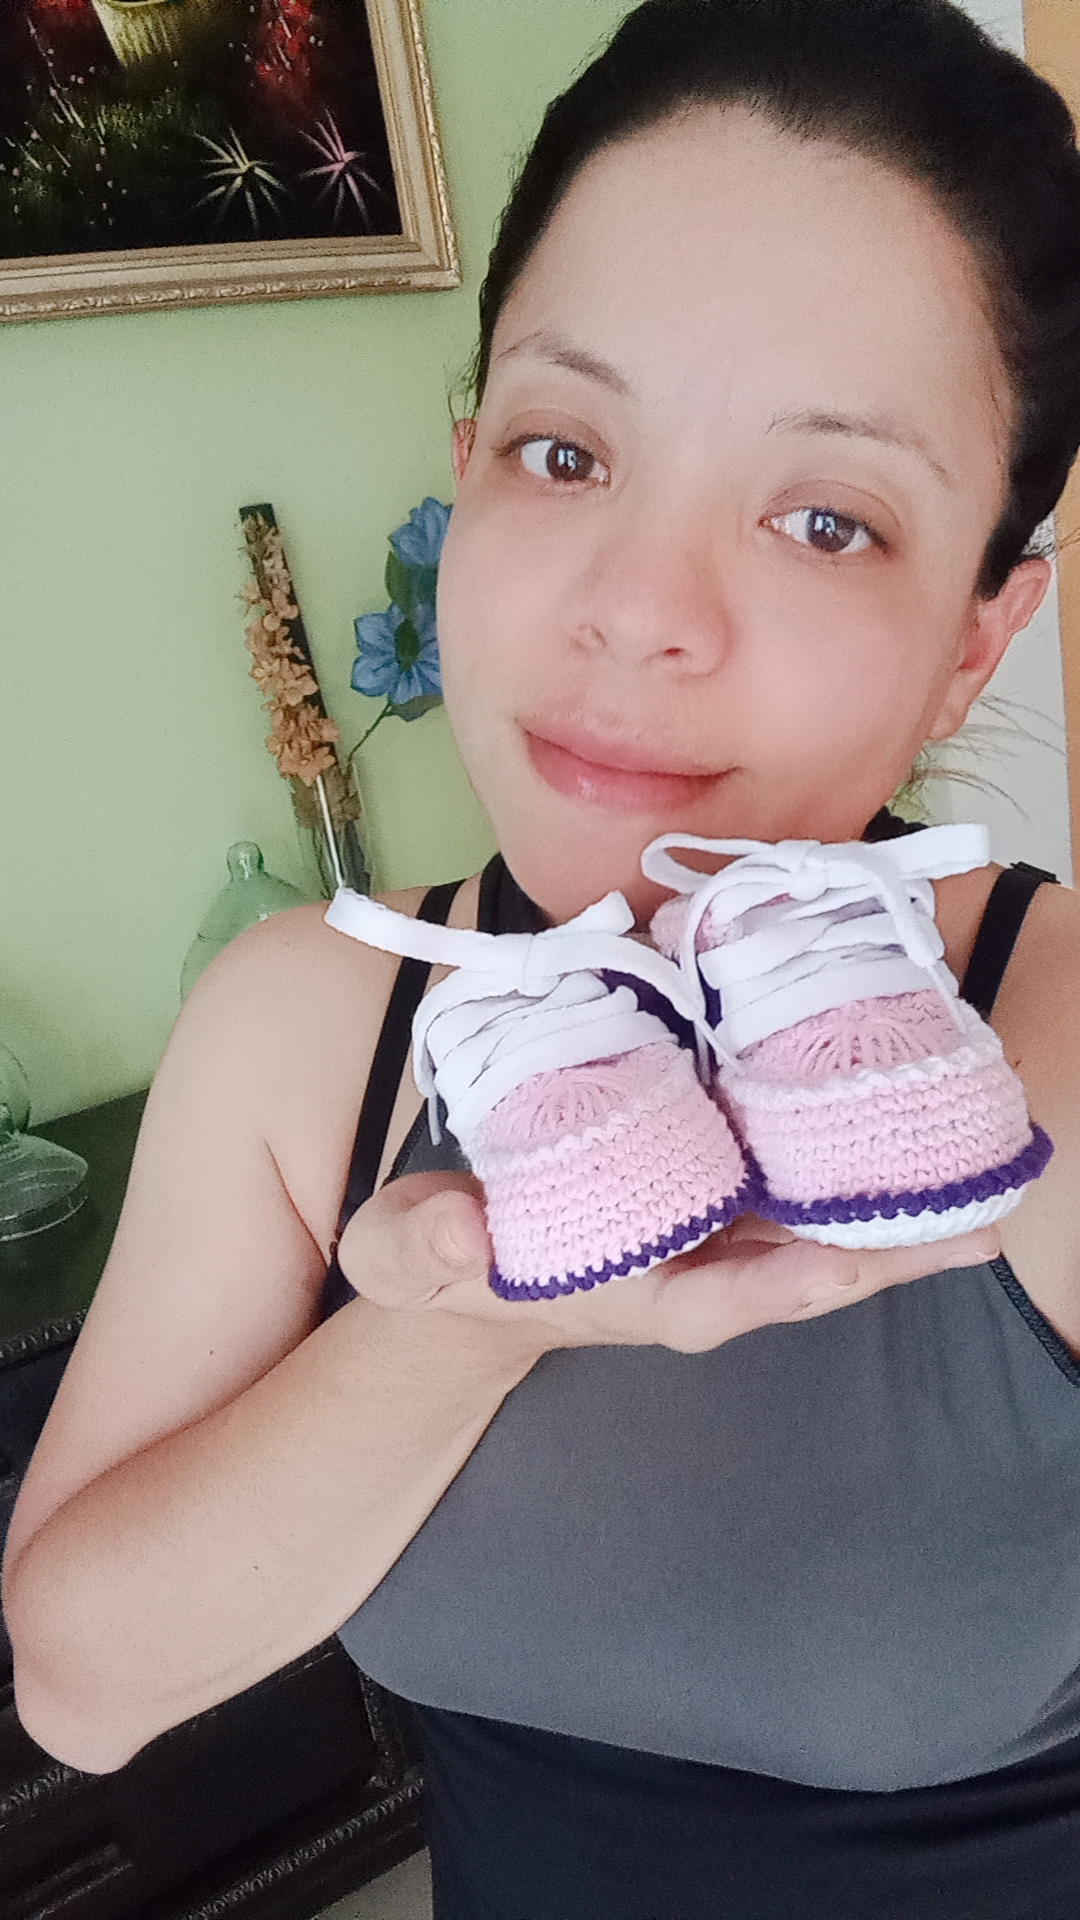
Hello dear friends of #hivediy, it is a pleasure to be able to present my work in this beautiful community.
Hola queridos amigos de #hivediy es un placer poder presentar mi trabajo en esta preciosa comunidad.
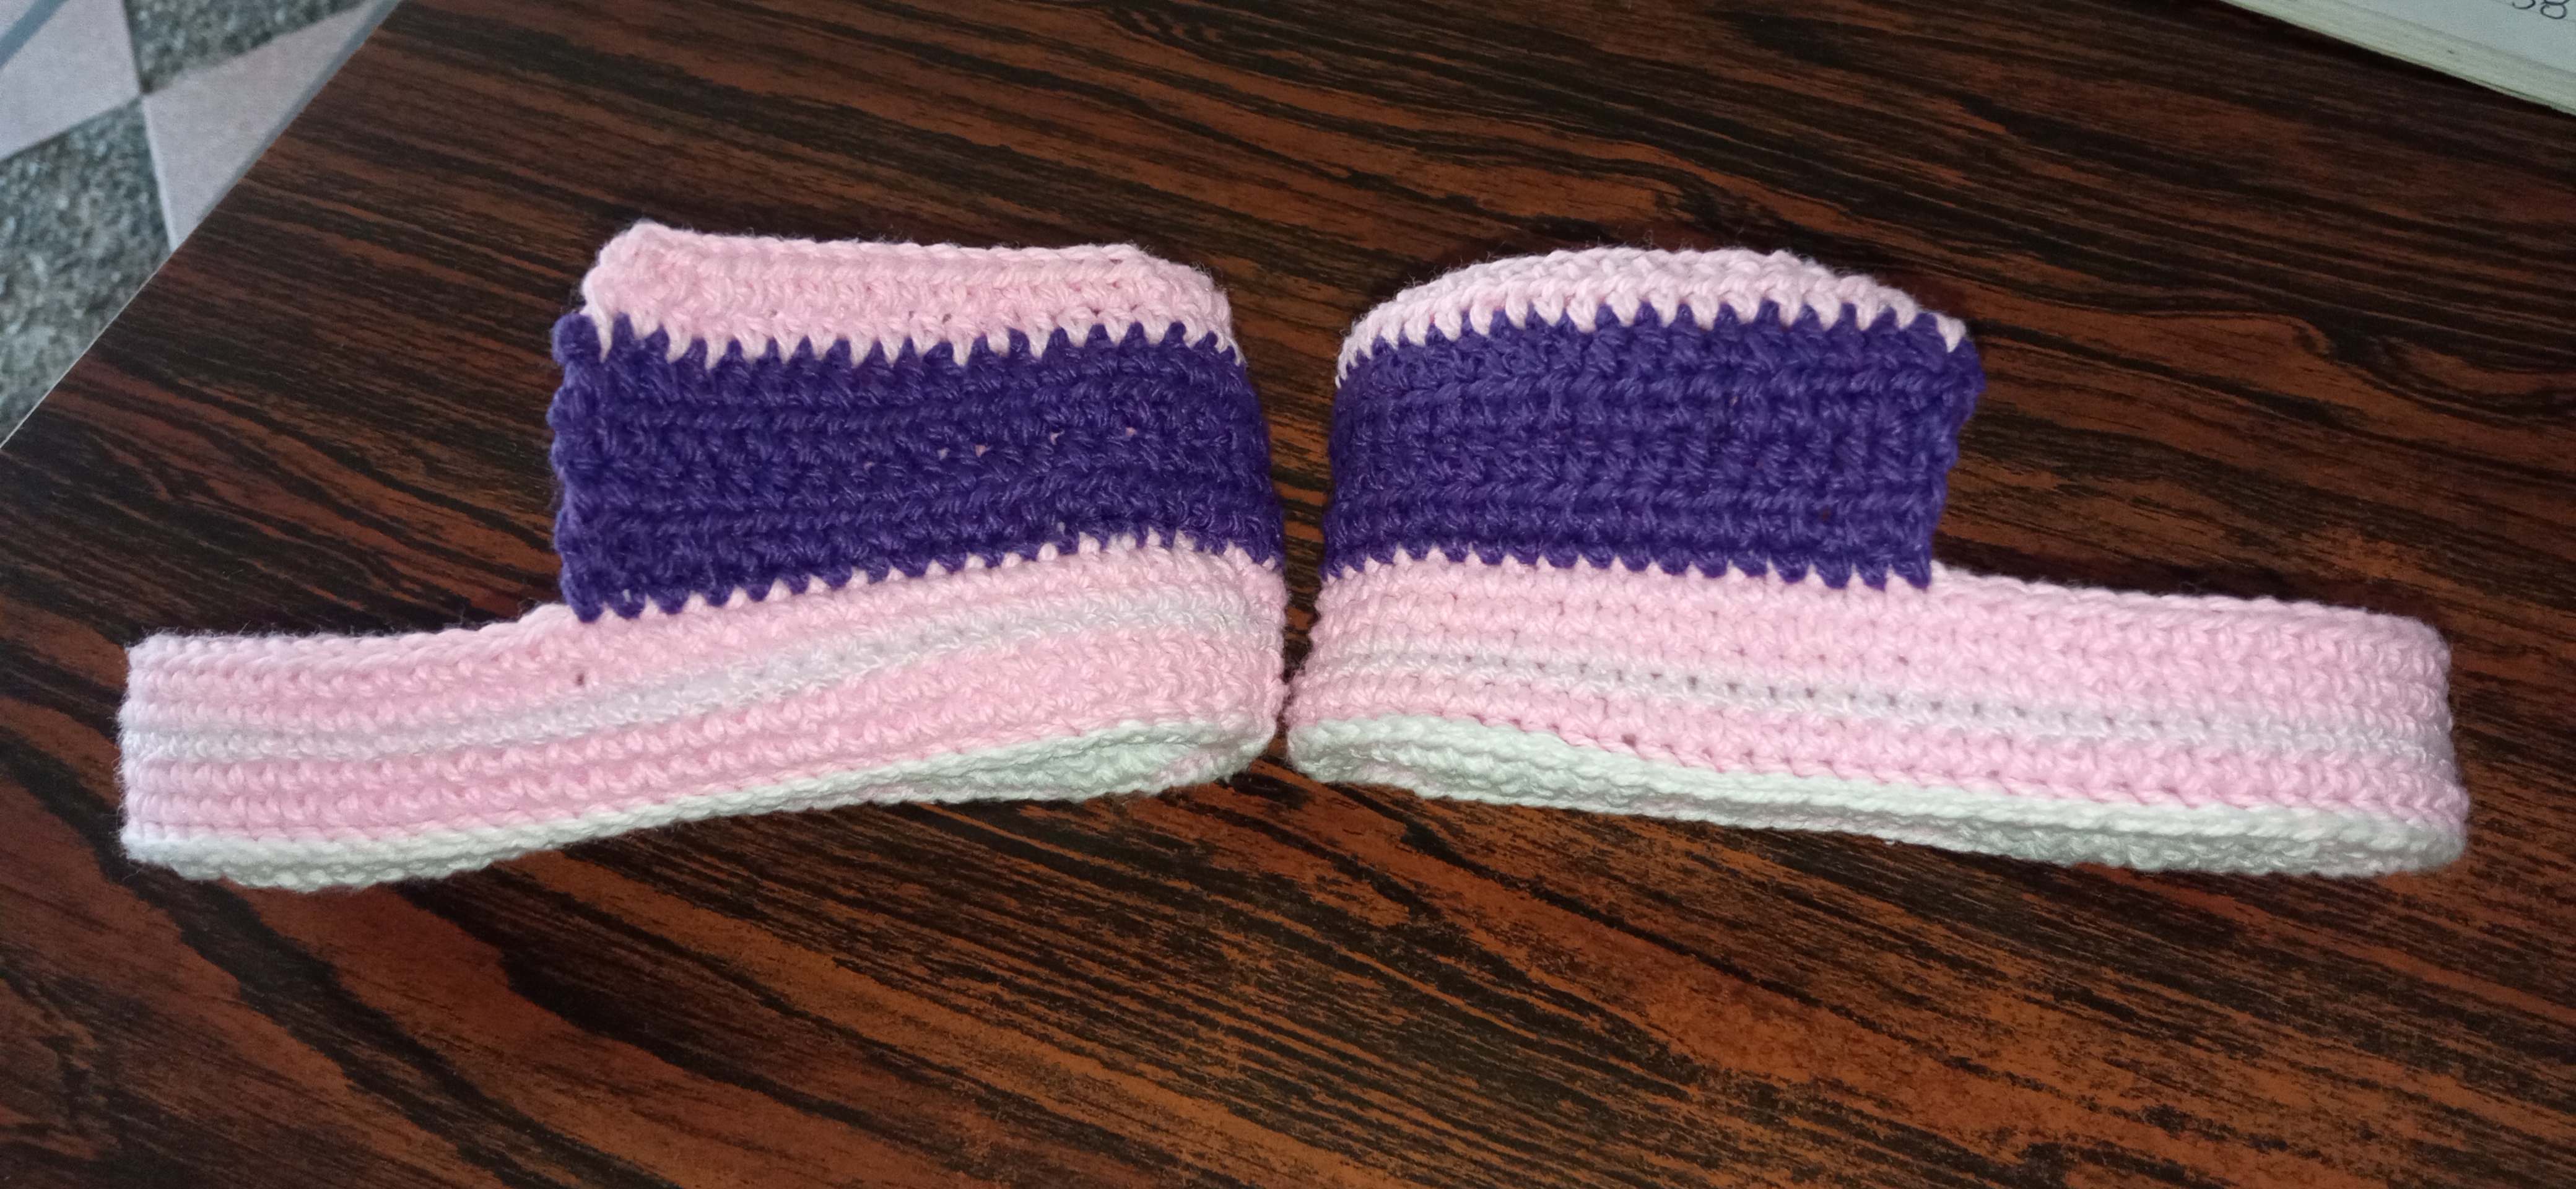
I recently made a similar pair but with a white sole and purple details as well as some extra appliqués, this creation has a white sole with a pink detail and no appliqués.
Recientemente elabote un par similar pero con la suela blanca y detalles morados al igual que con unas aplicaciones extra, esta creacion es de suela blanca con detalle rosado y sin aplicaciones.

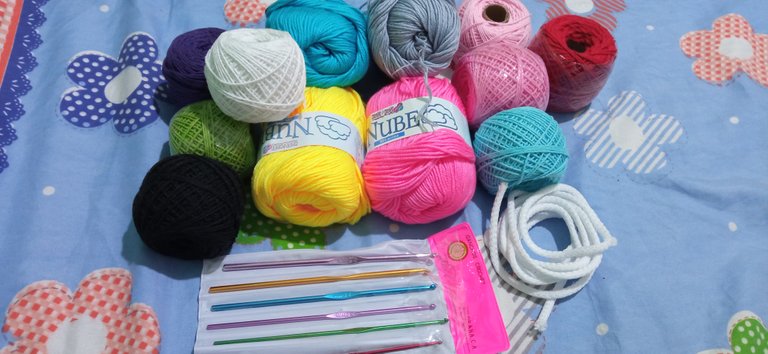
MATERIALS:
- Pink, purple and white yarn
- Sewing needle
- White sewing thread
- Knitting needle
- White Shoe Braids
MATERIALES:
-Hilo rosa, morado y blanco
-Aguja de coser
-Hilo de coser blanco
-Aguja de tejer
-Trenzas de zapatos blancos
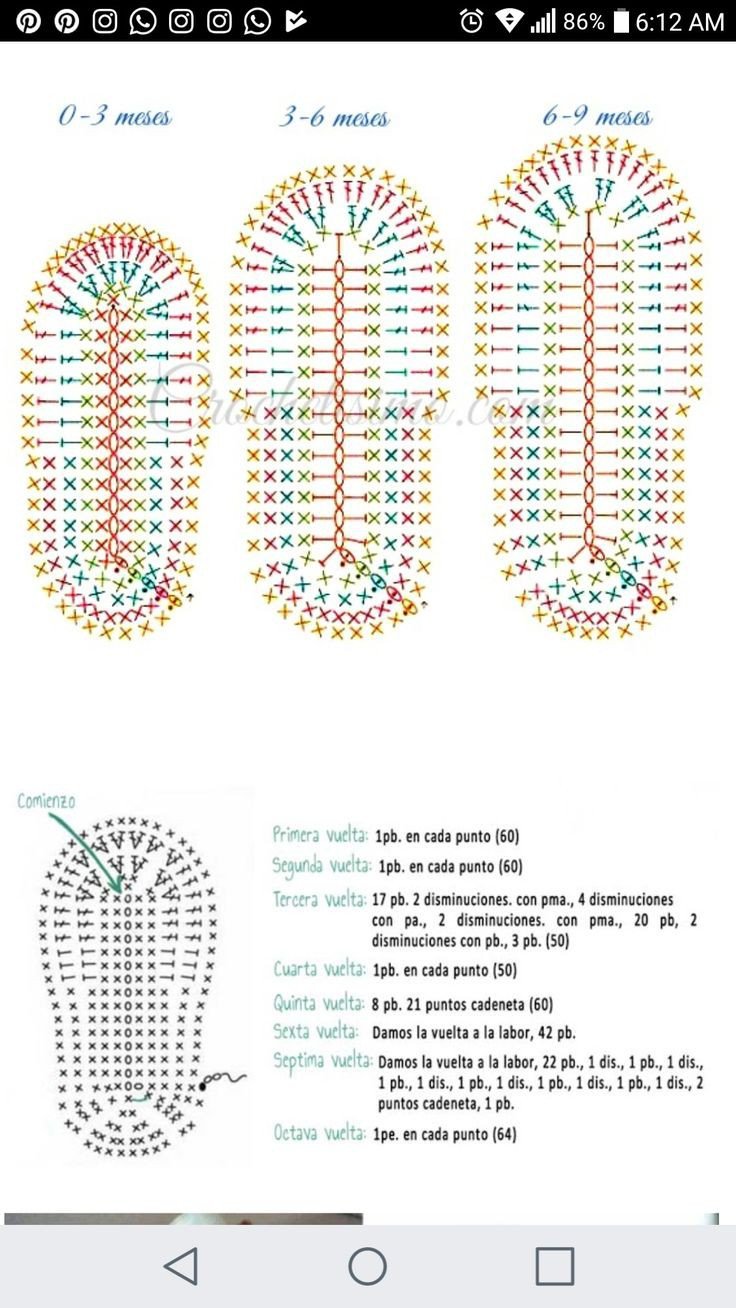
Before starting I want to leave you the pattern that I always use to make the template of any shoe:
BRAIDED SHOES FOR GIRLS | ZAPATOS TRENZADOS PARA NIÑAS
Step 1:
As I always tell you, it is important to keep in mind that counting the stitches is very important since missing one will affect the entire pattern. I began to make my sole following the steps of the pattern that I left you previously.
Paso 1: Como siempre os digo, es importante tener en cuenta que contar los puntos es muy importante ya que faltar alguno afectará a todo el patrón. comence a elaborar mi suela siguiendo los pasos del patron que les deje anteriormente.
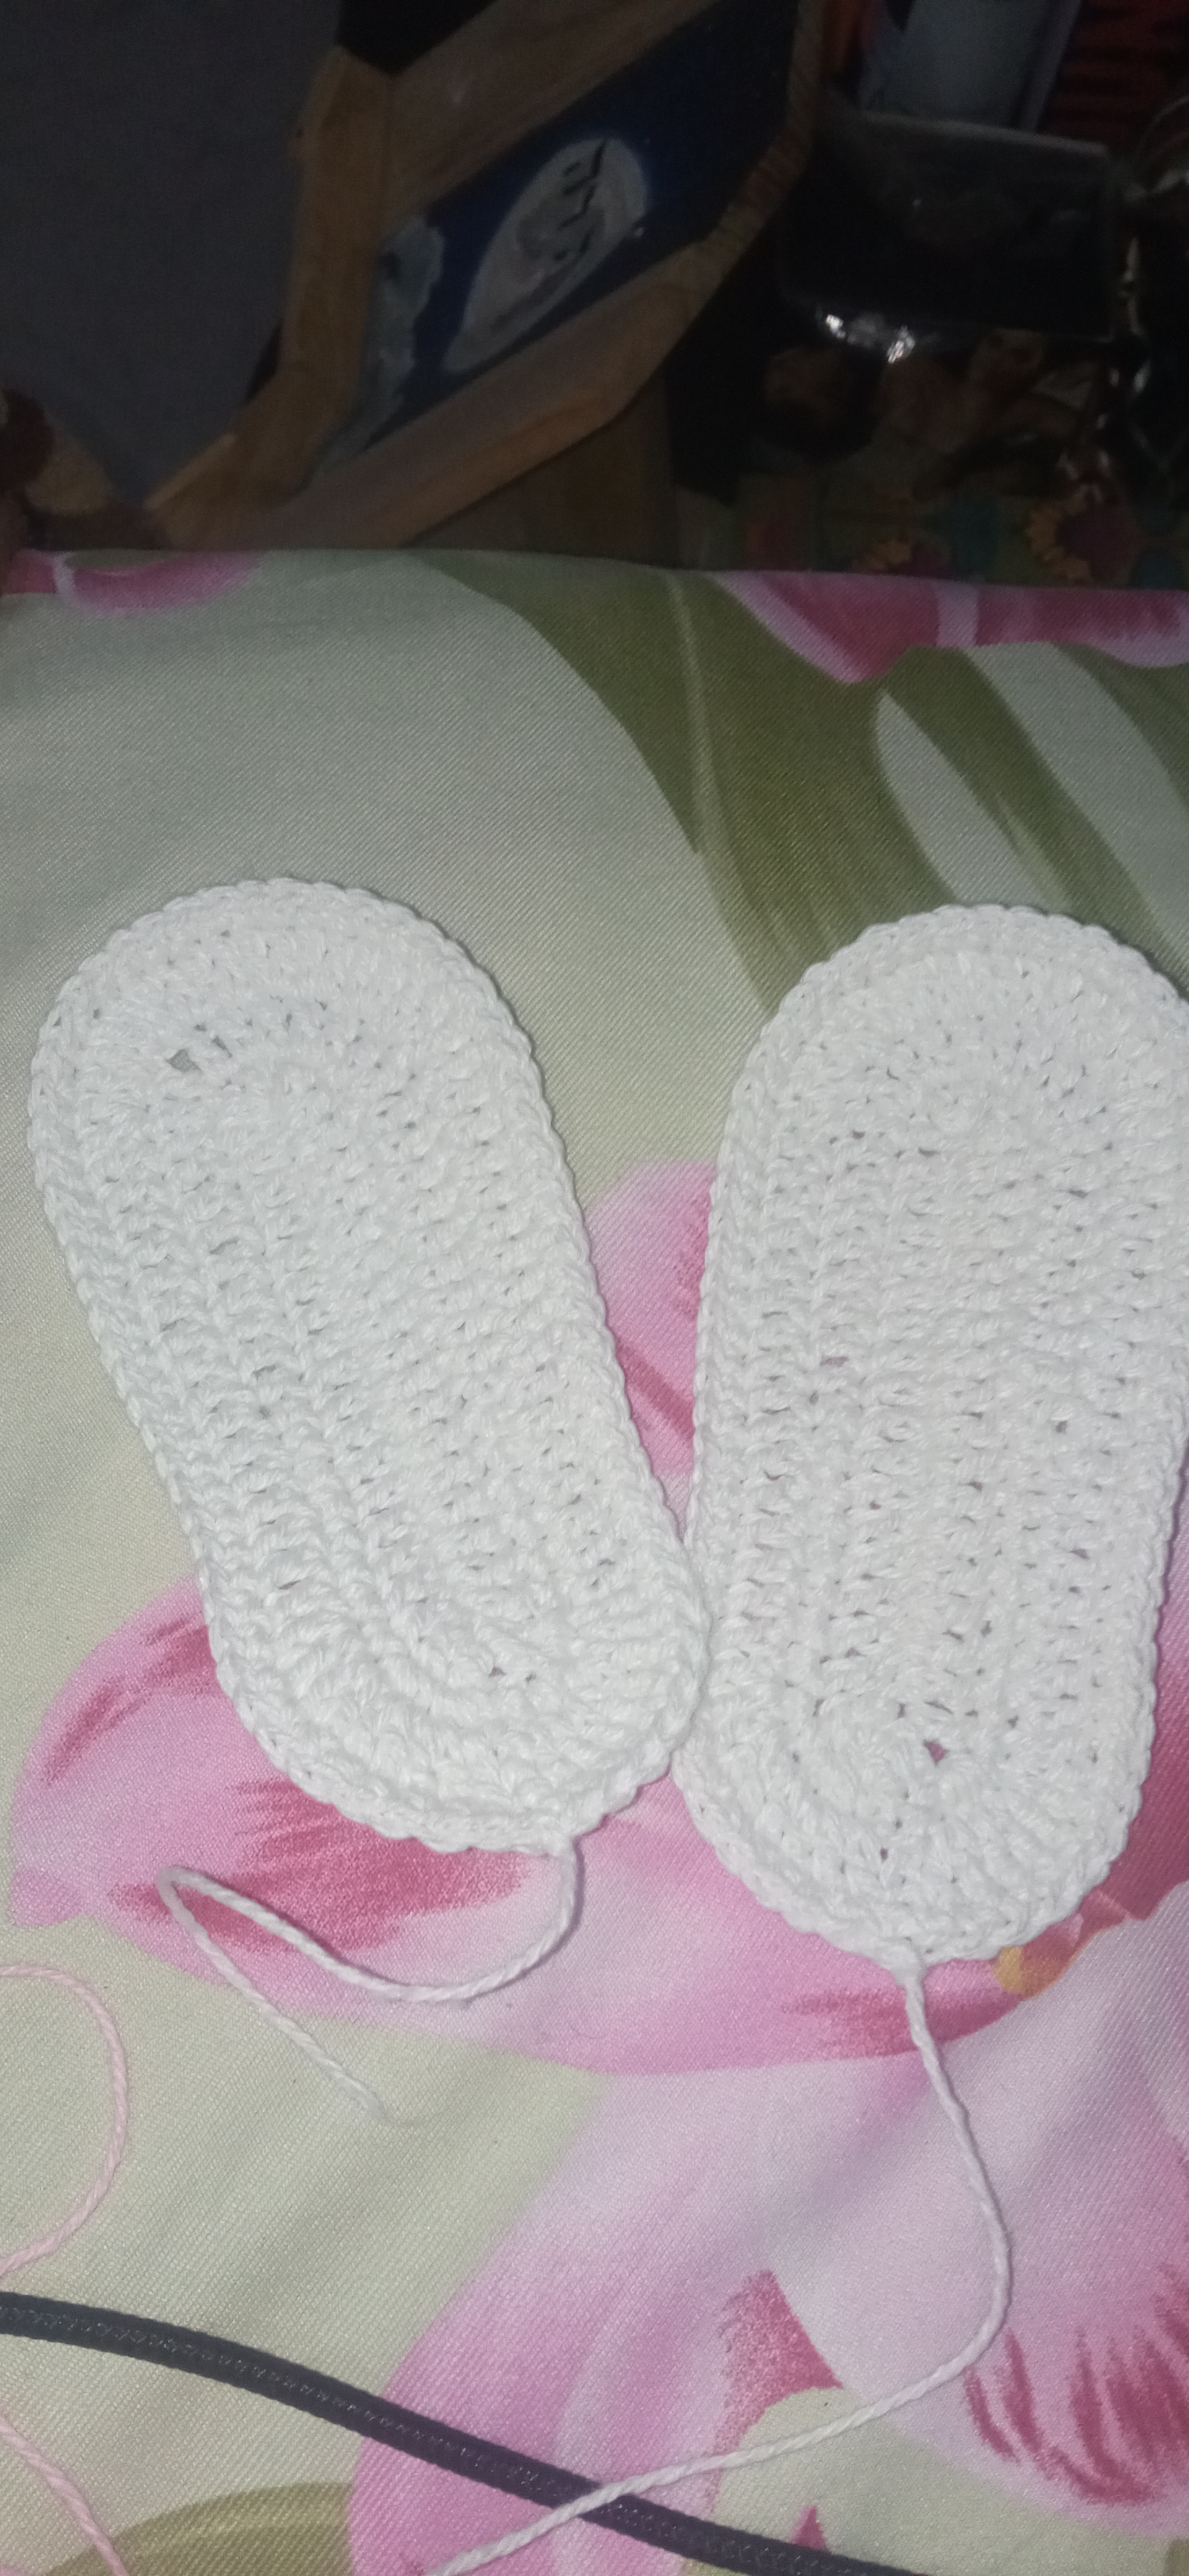
I try to weave the shoes in pairs so as not to make mistakes
trato de ir tejiendo a par los zapatos para no equivocarme
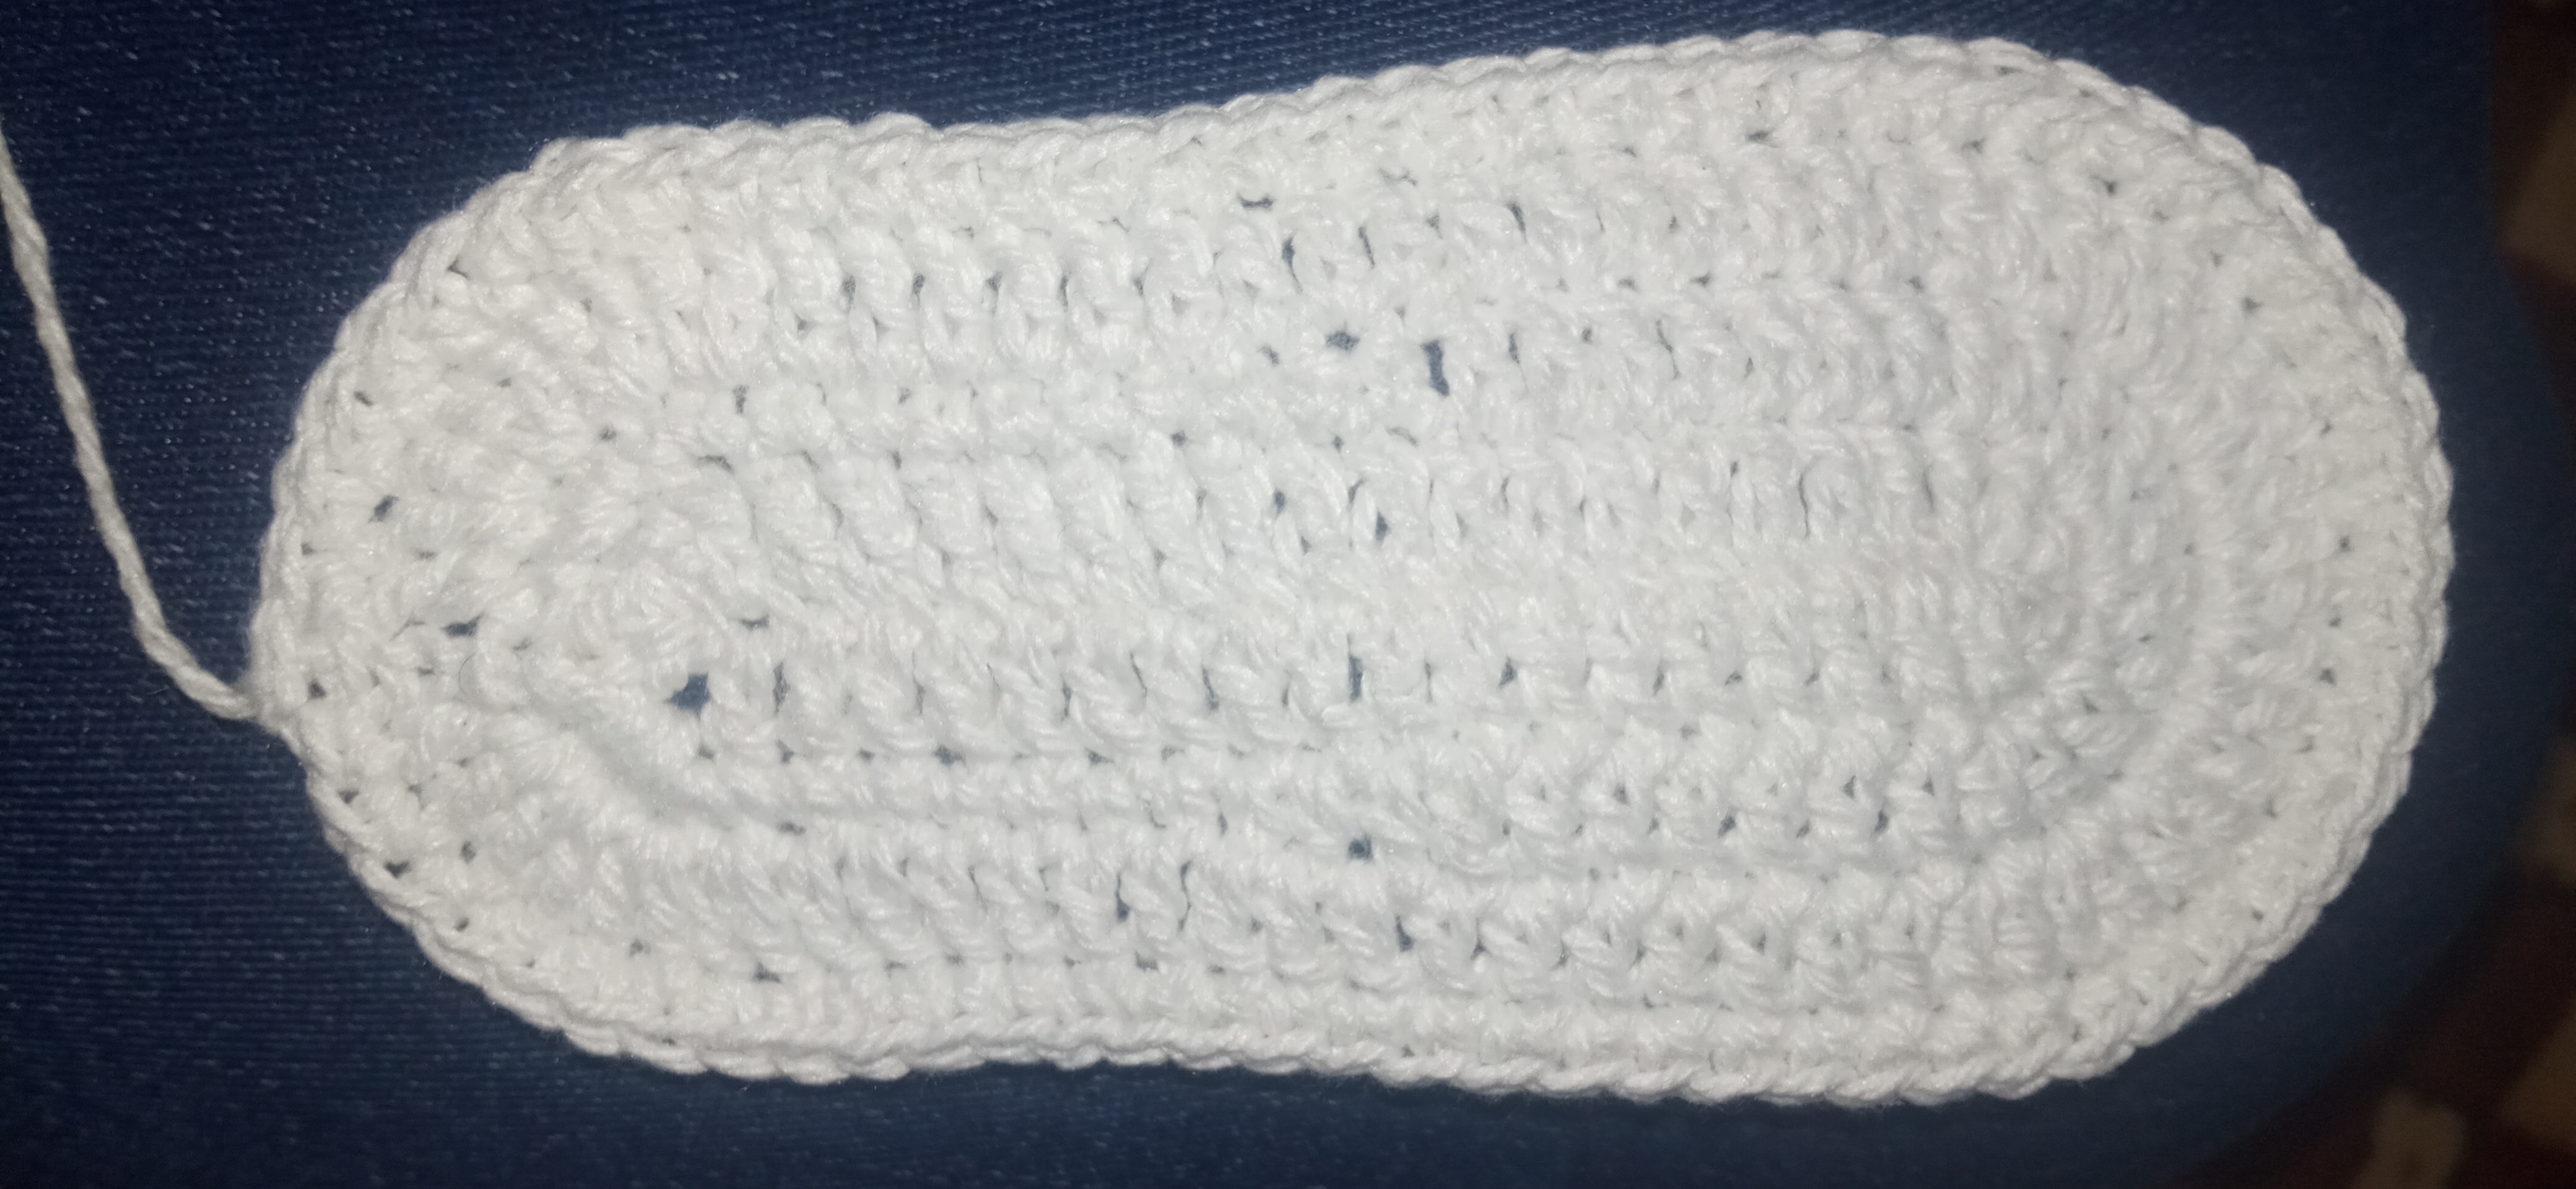
Step 2:
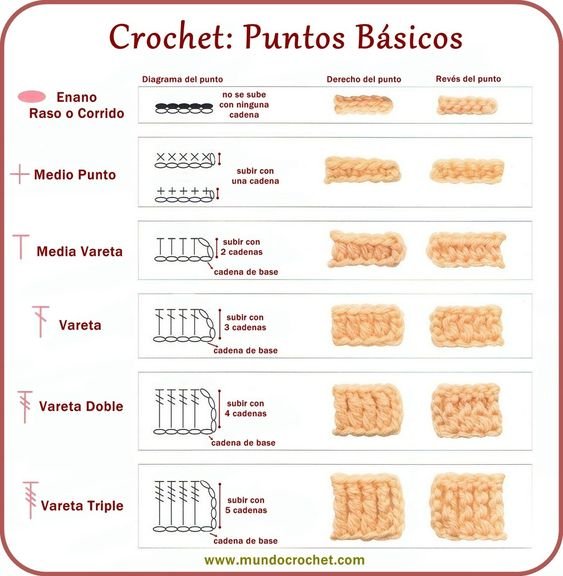
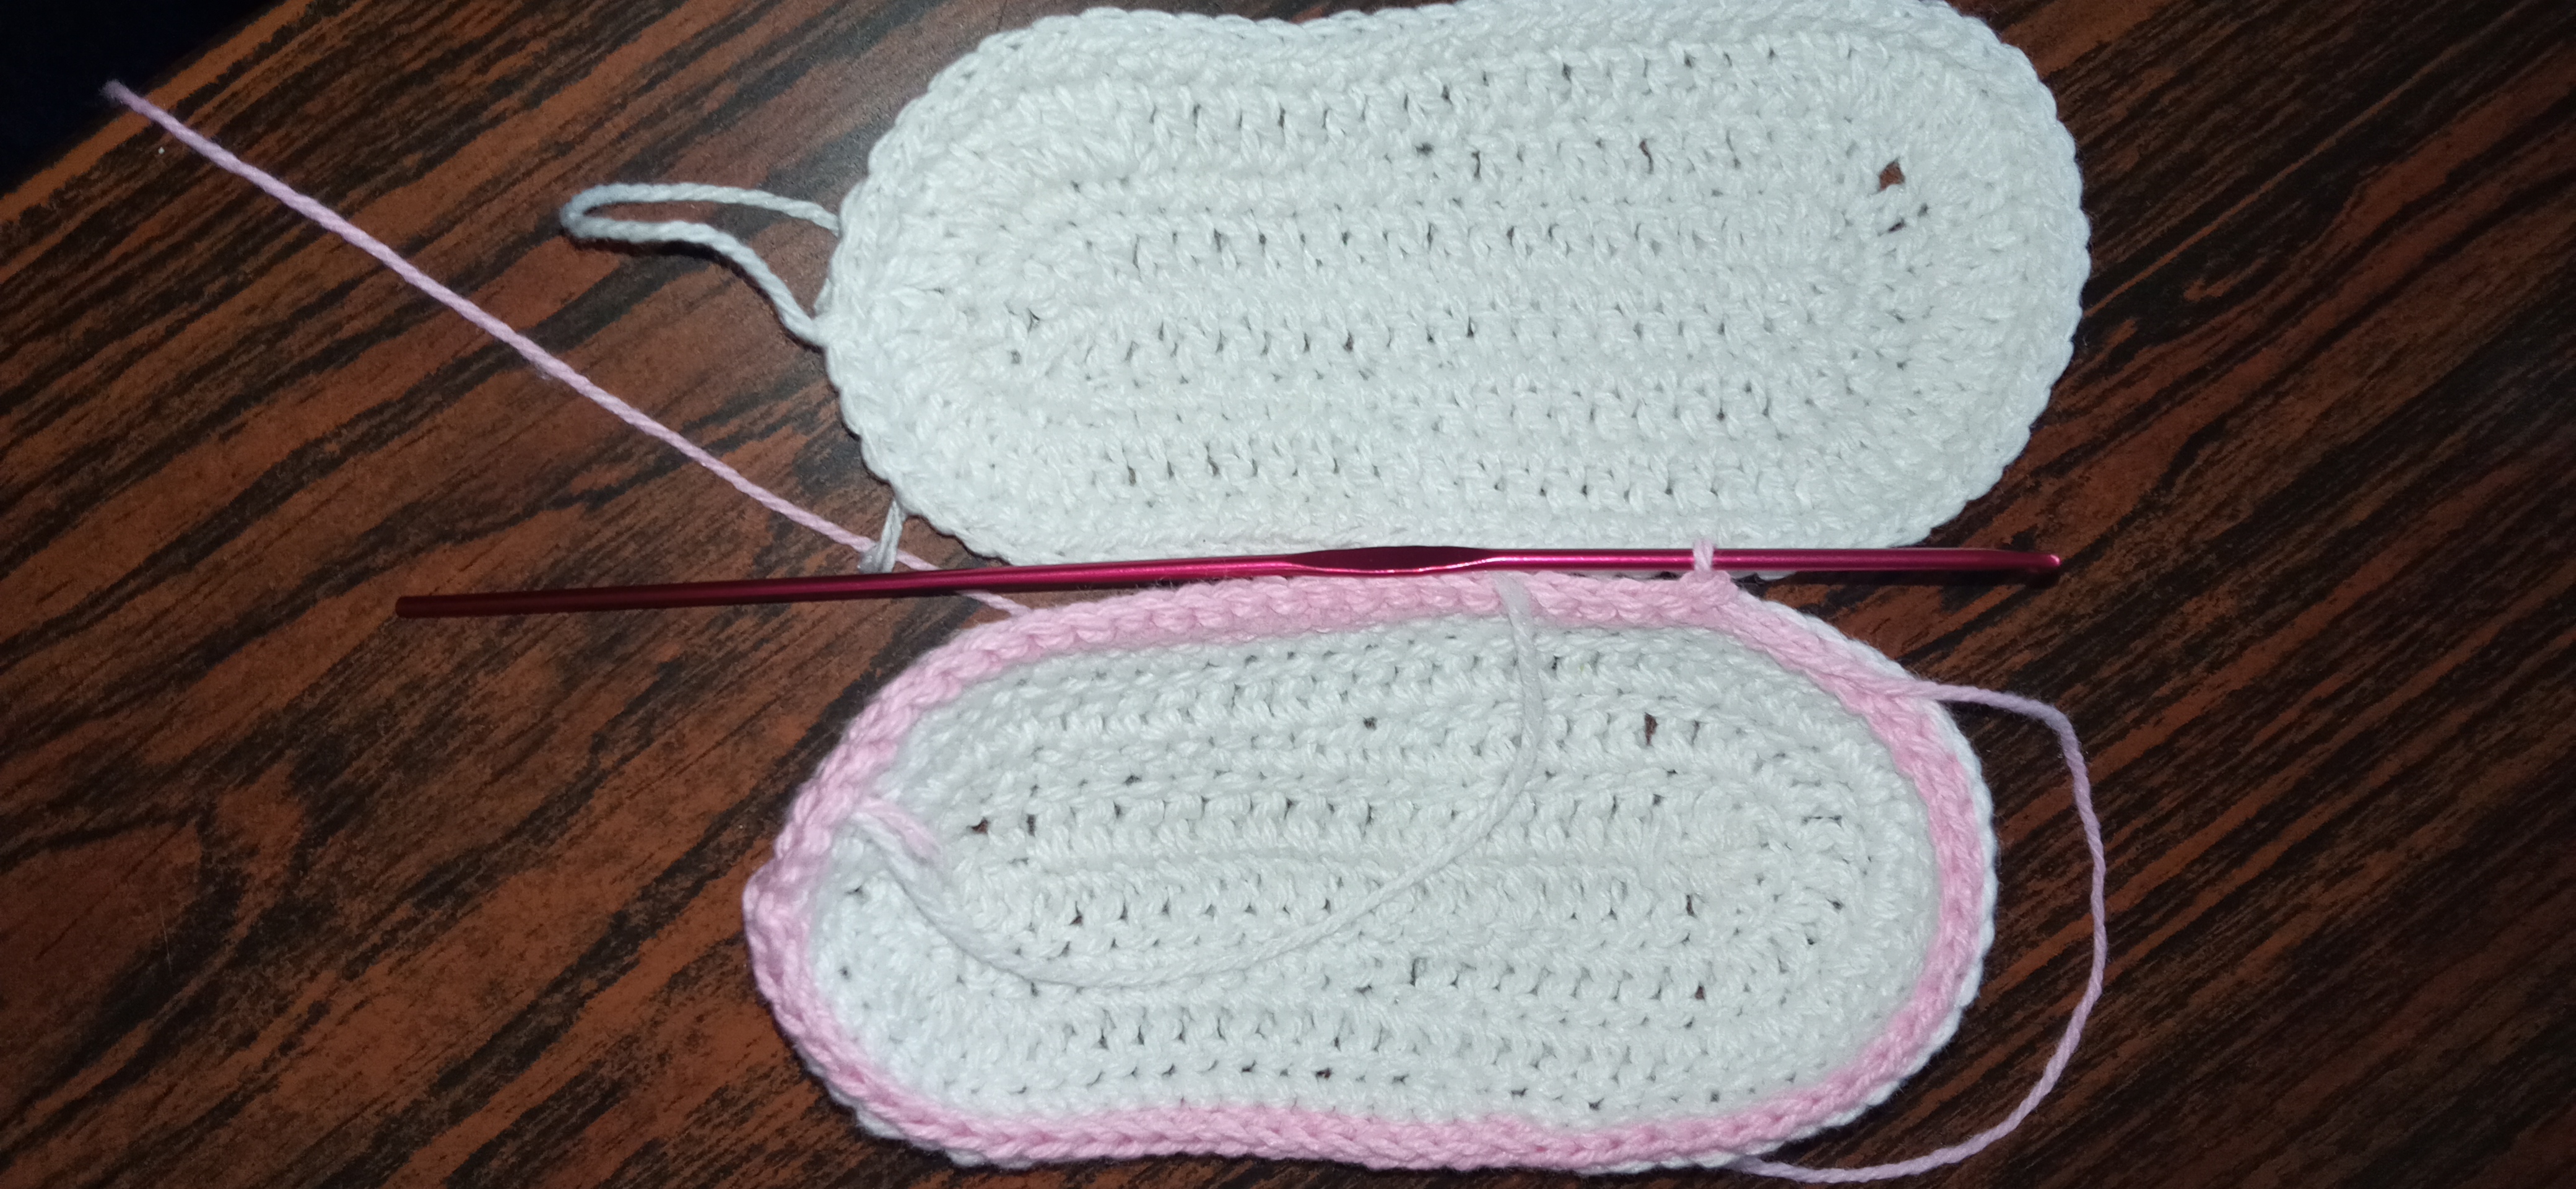
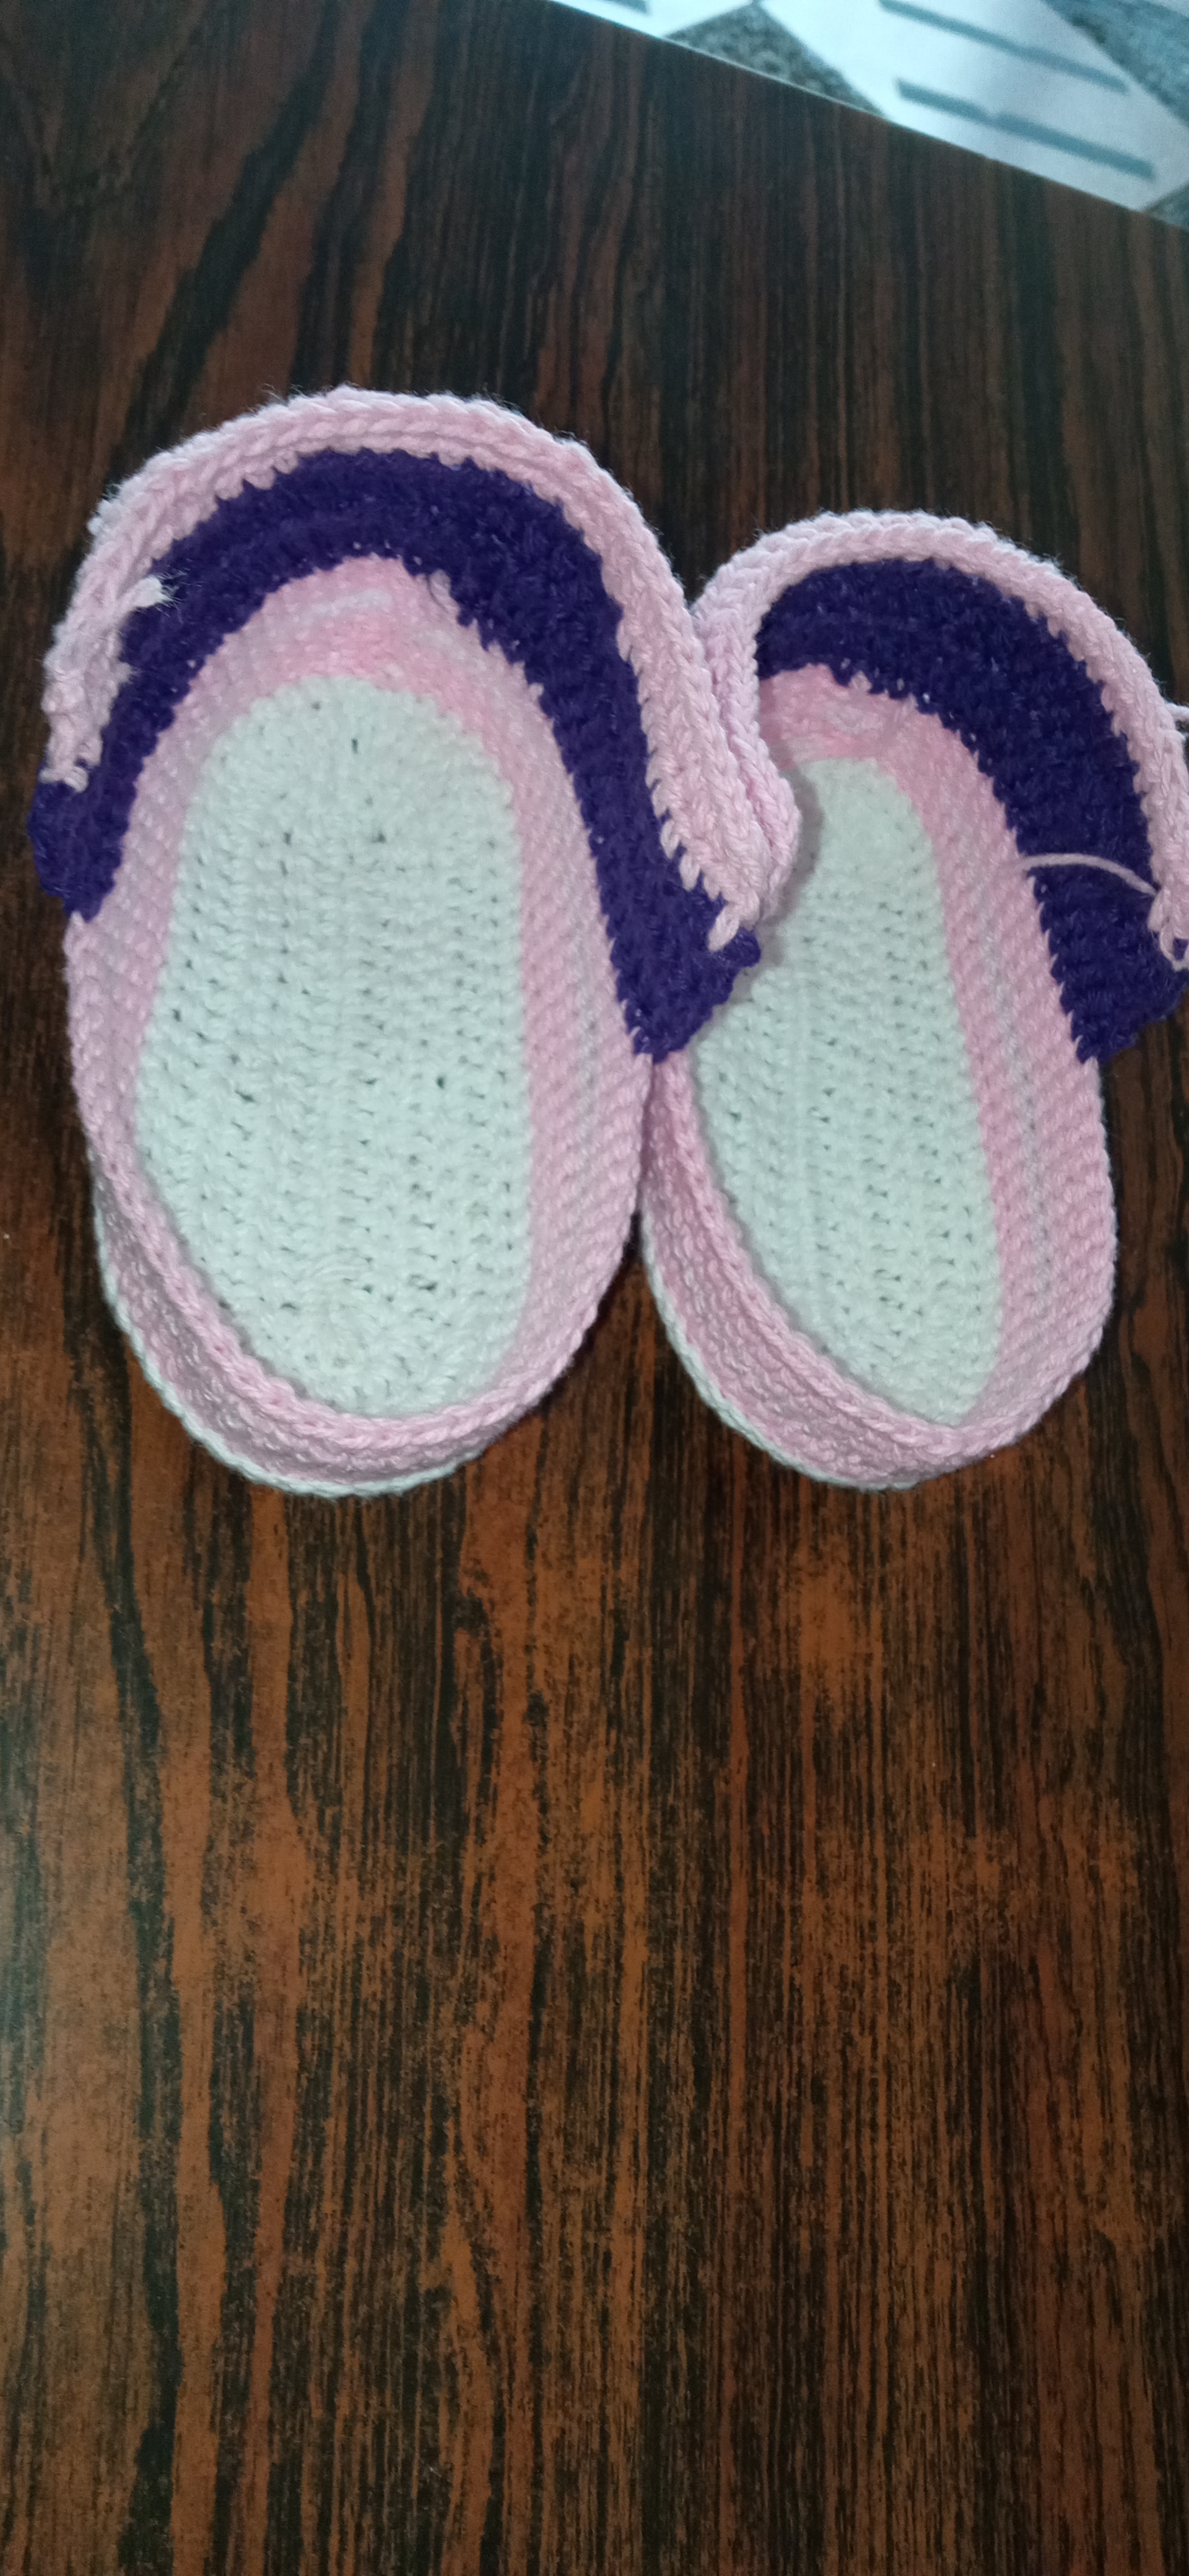
For the sole make 4 rounds of single crochet; The first round with white thread and in the 2nd turn the thread is changed to pink, only 1 turn of that color and it is changed again to the pink thread to give 2 more turns.
Paso 2: Para la suela realice 4 vueltas de punto bajo; La primera vuelta con hilo blanco y en la 2ª cambia el hilo por rosado, de ese color solo se da 1 vuelta y se vuelve a cambiar al hilo rosa para dar 2 vueltas más.
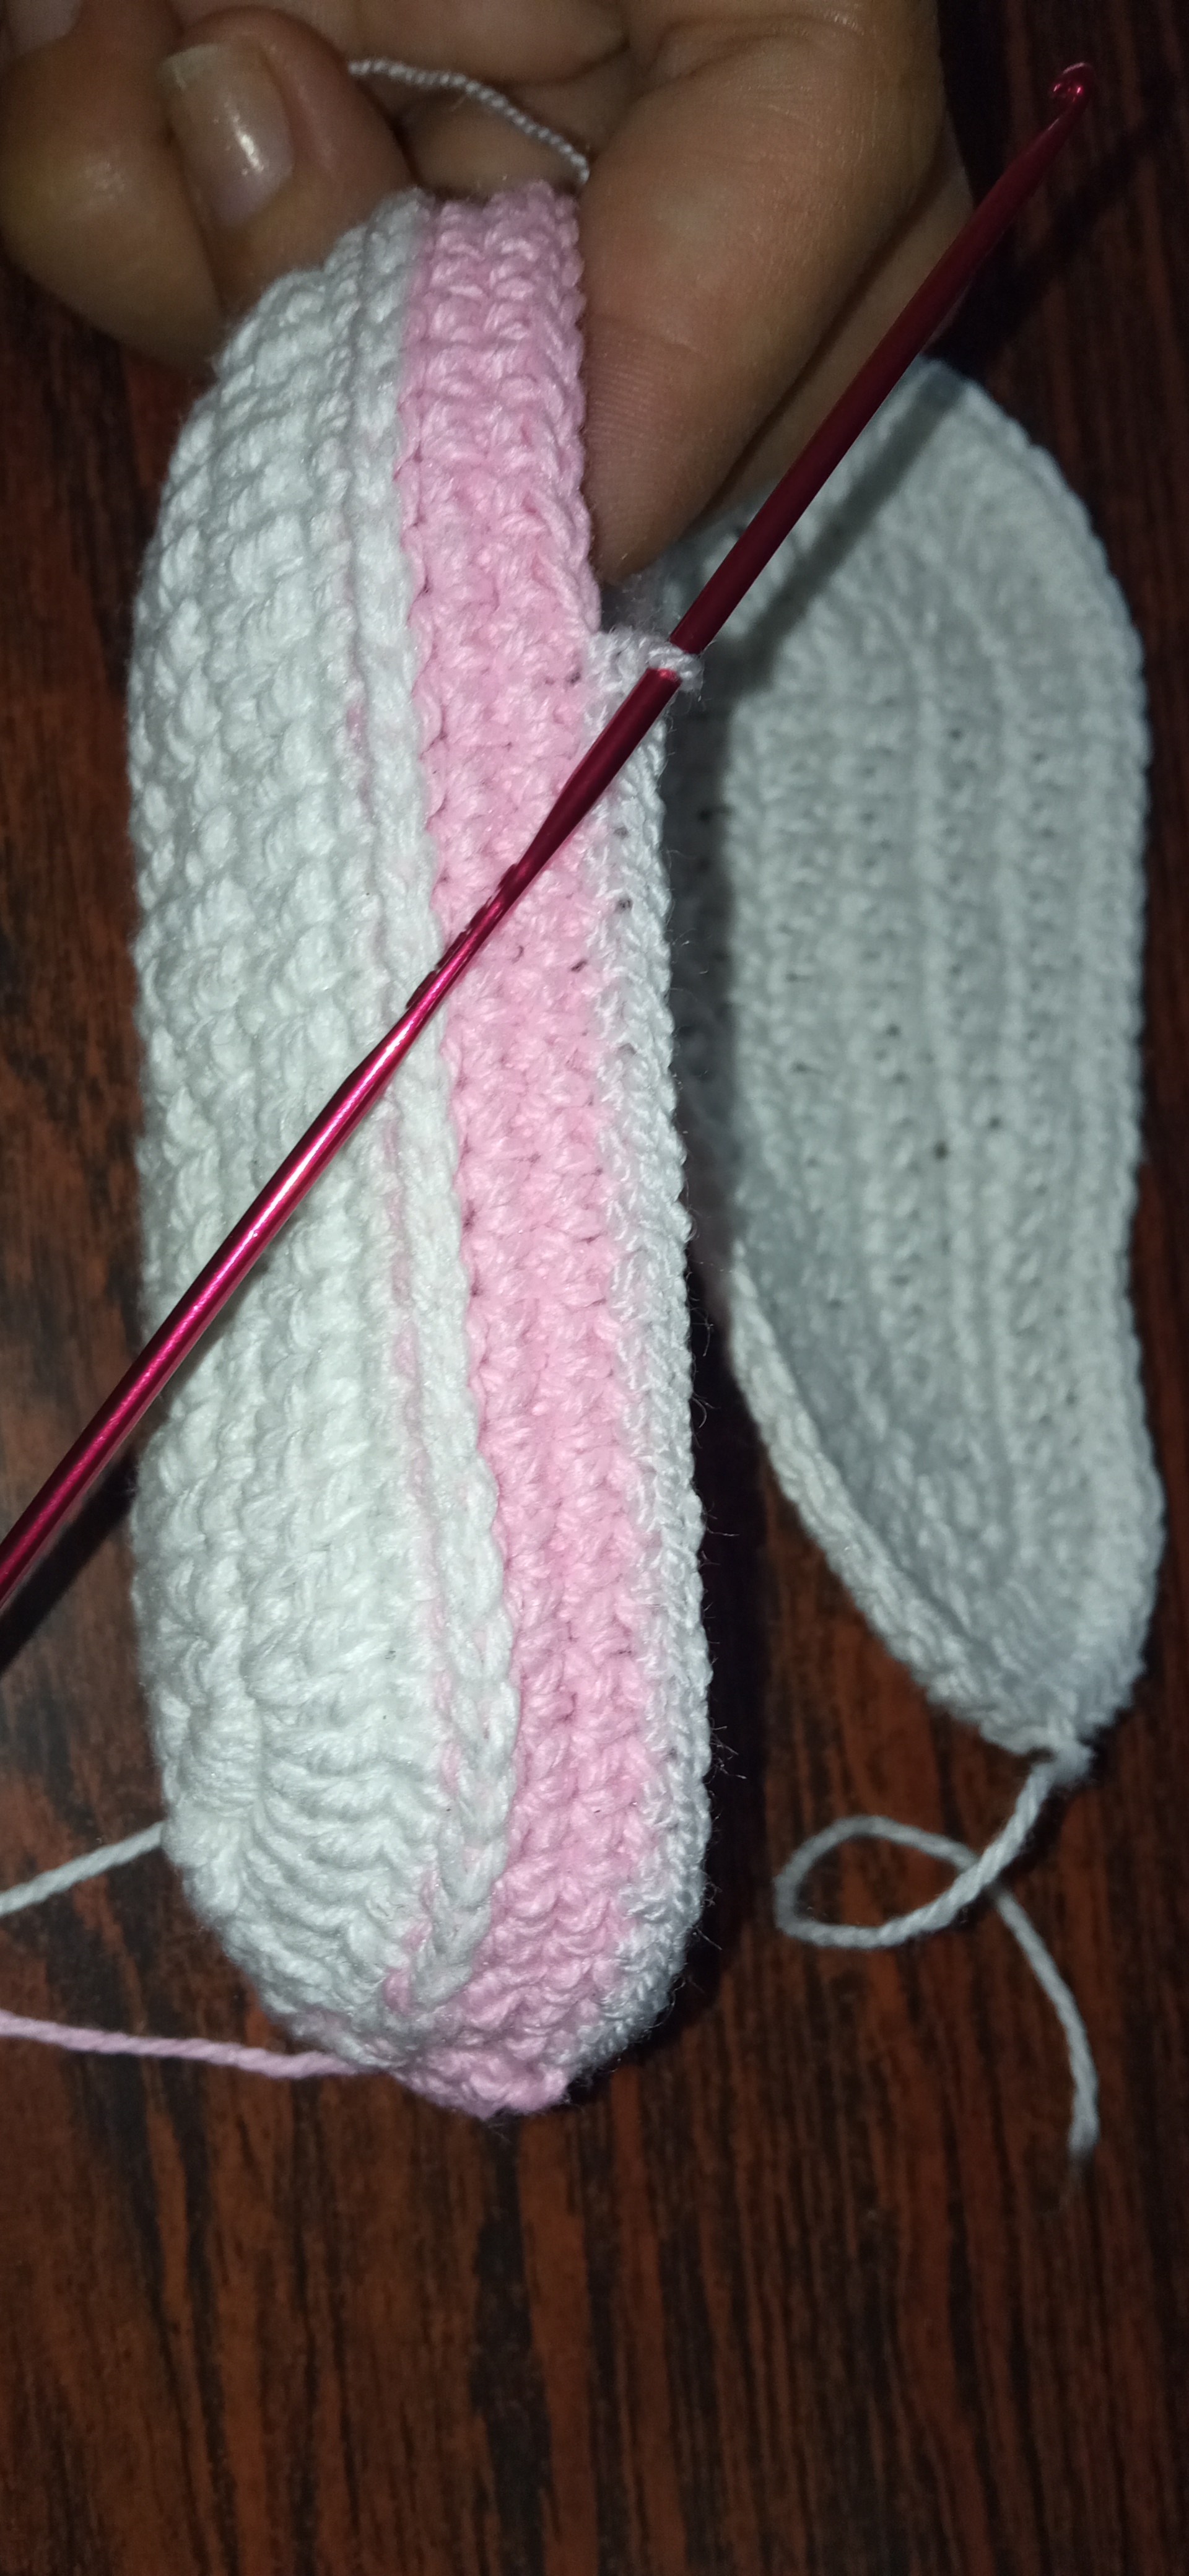
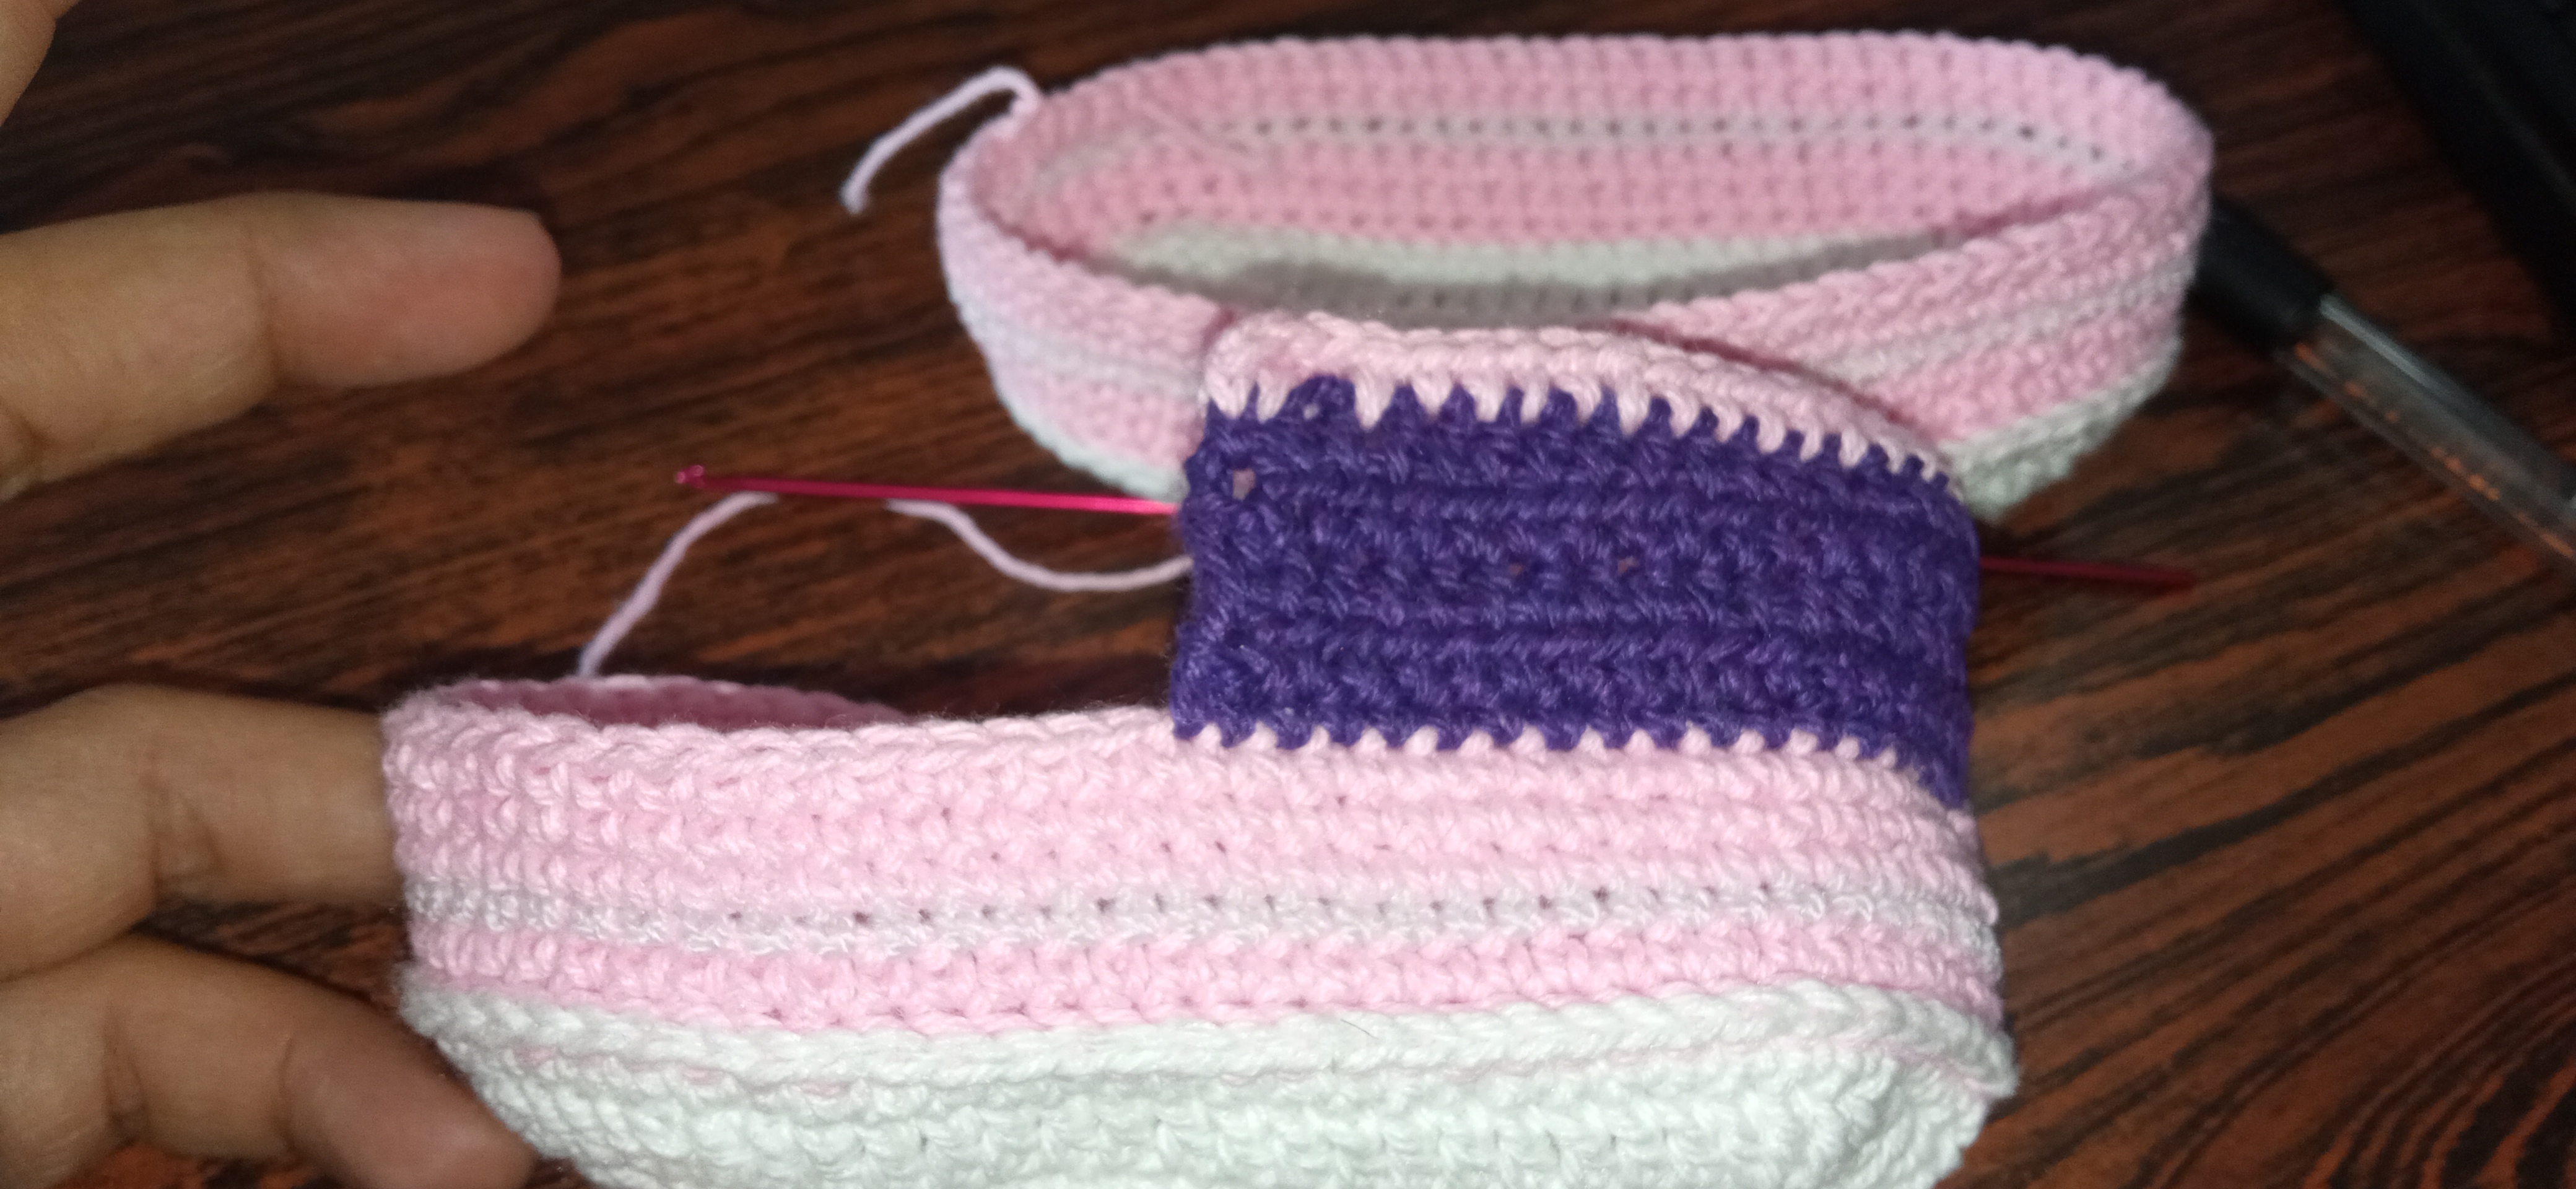
Step 3:
We will count from the middle of the sole 14 stitches from side to side for a total of 28 stitches and we are going to place a marker at point 1 and 28, in my case I did not use them but if it helps you to place it. It is very important, girls, to count and settle the points. We start with single crochet from point 1 to 28 (IN THE LONGEST PART OF THE SHOE), up to 12 rows of which 8 will be purple and the rest pink.
Paso 3:
Contaremos desde la mitad de la suela 14 puntos de lado a lado para un total de 28 puntos y vamos a colocar un marcador en el punto 1 y 28, en mi caso no los usé pero si te ayuda colocarlo. es muy importante chicas contar e ir acomodando los puntos. Empezamos con puntos bajos del punto 1 al 28 (EN LA PARTE MAS LARGA DEL ZAPATO), hasta subir 8 vueltas de las cuales 5 seran moradas y el resto rosada
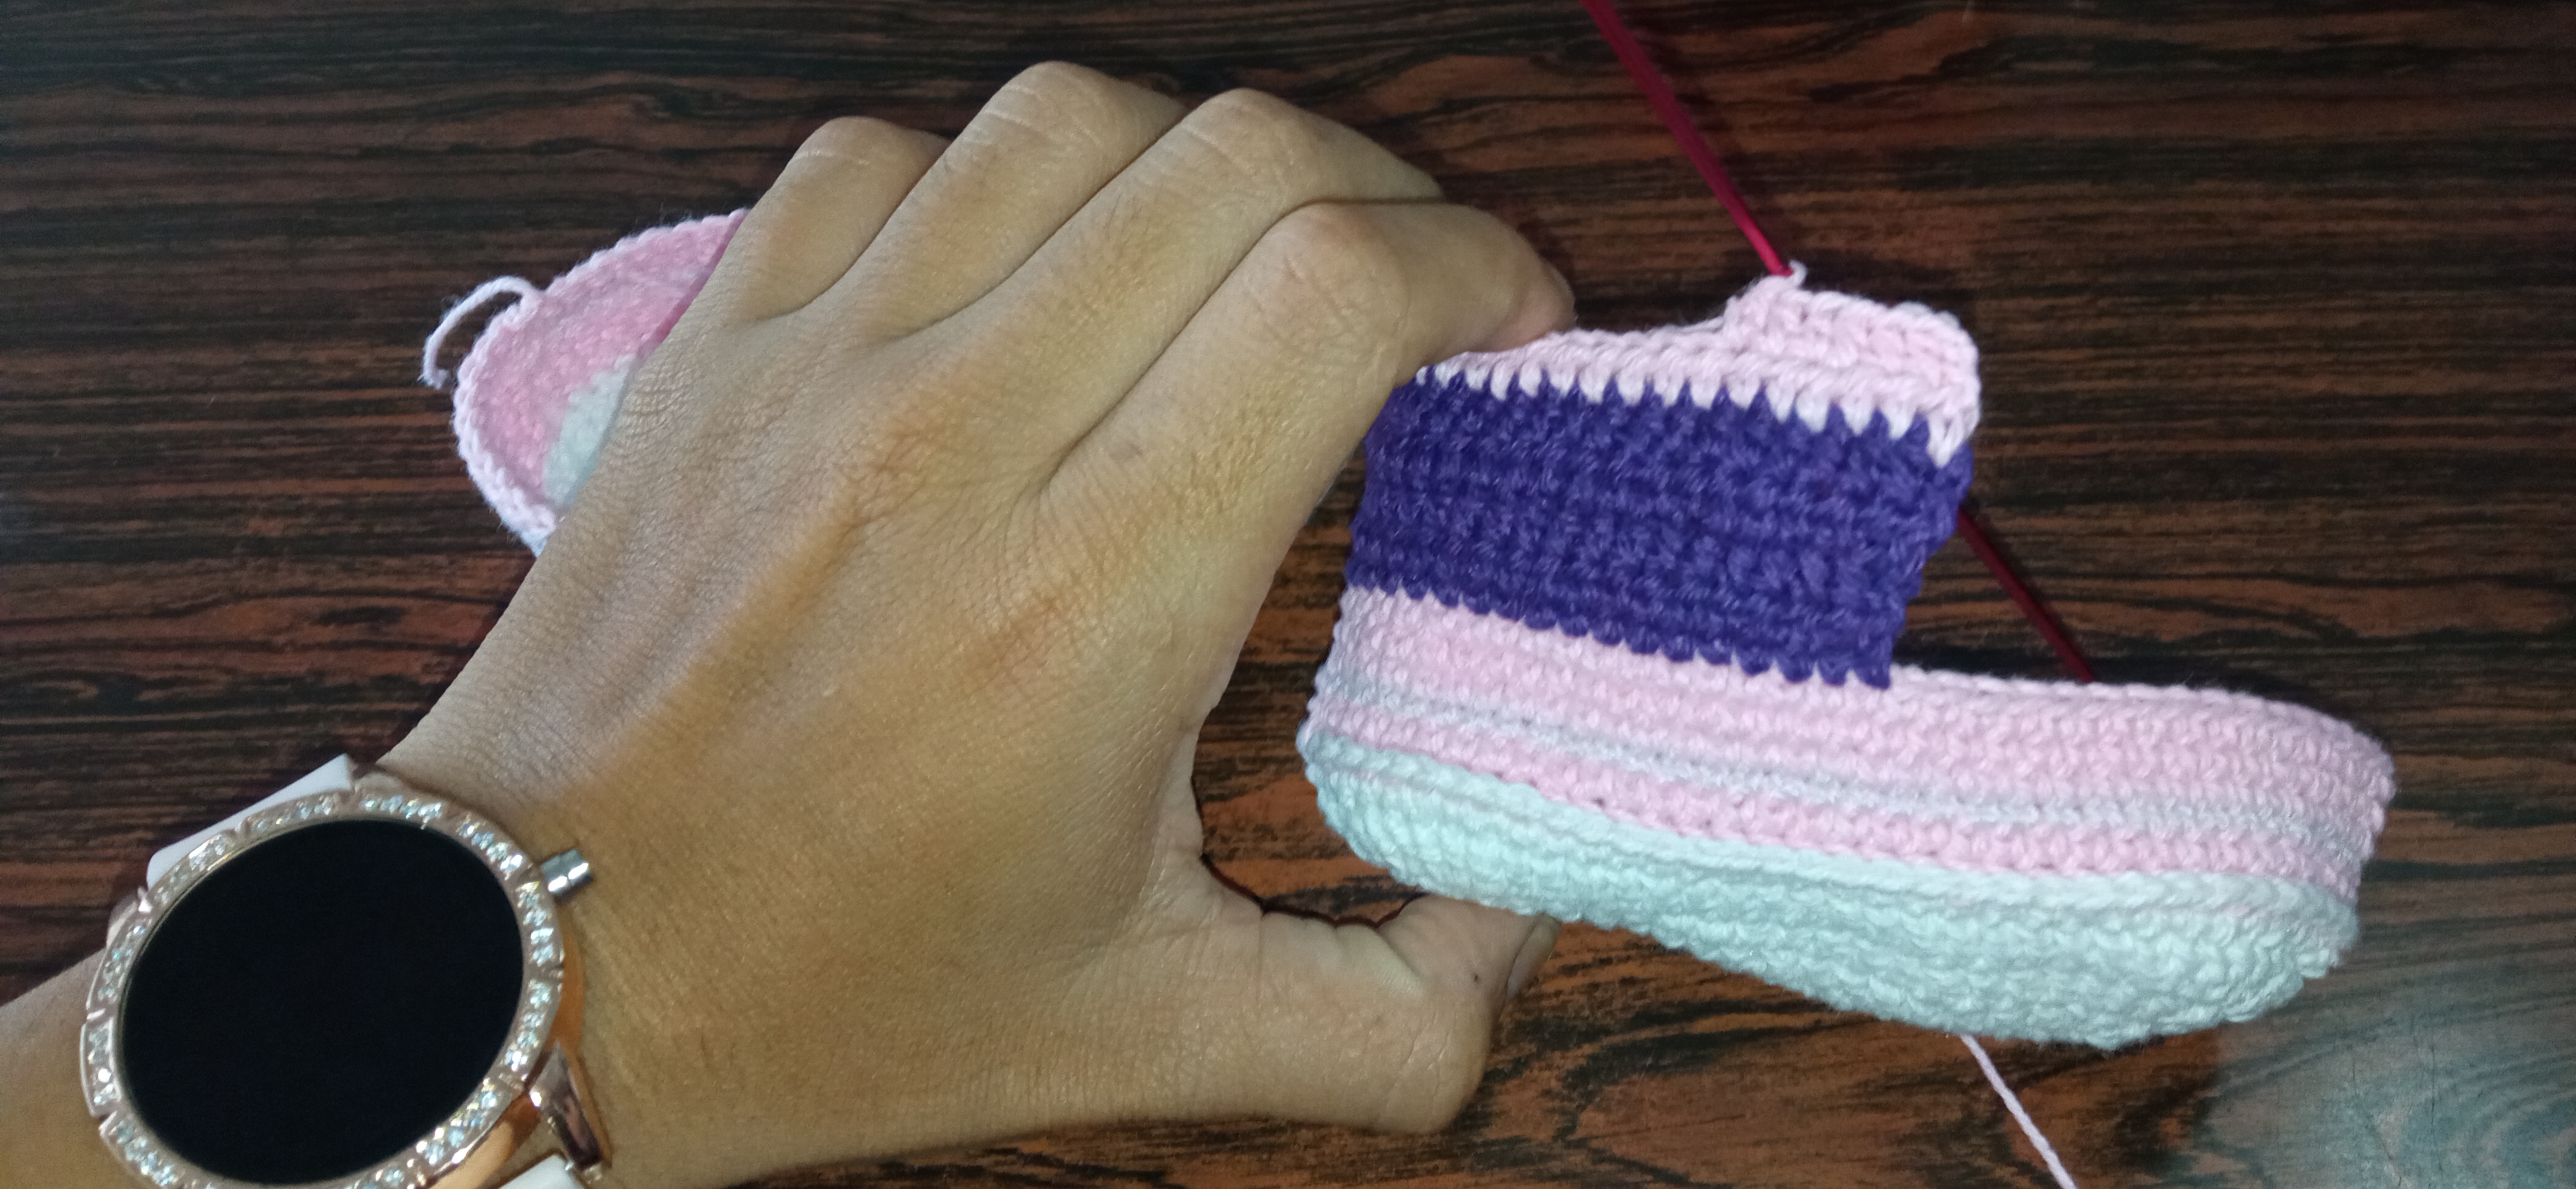
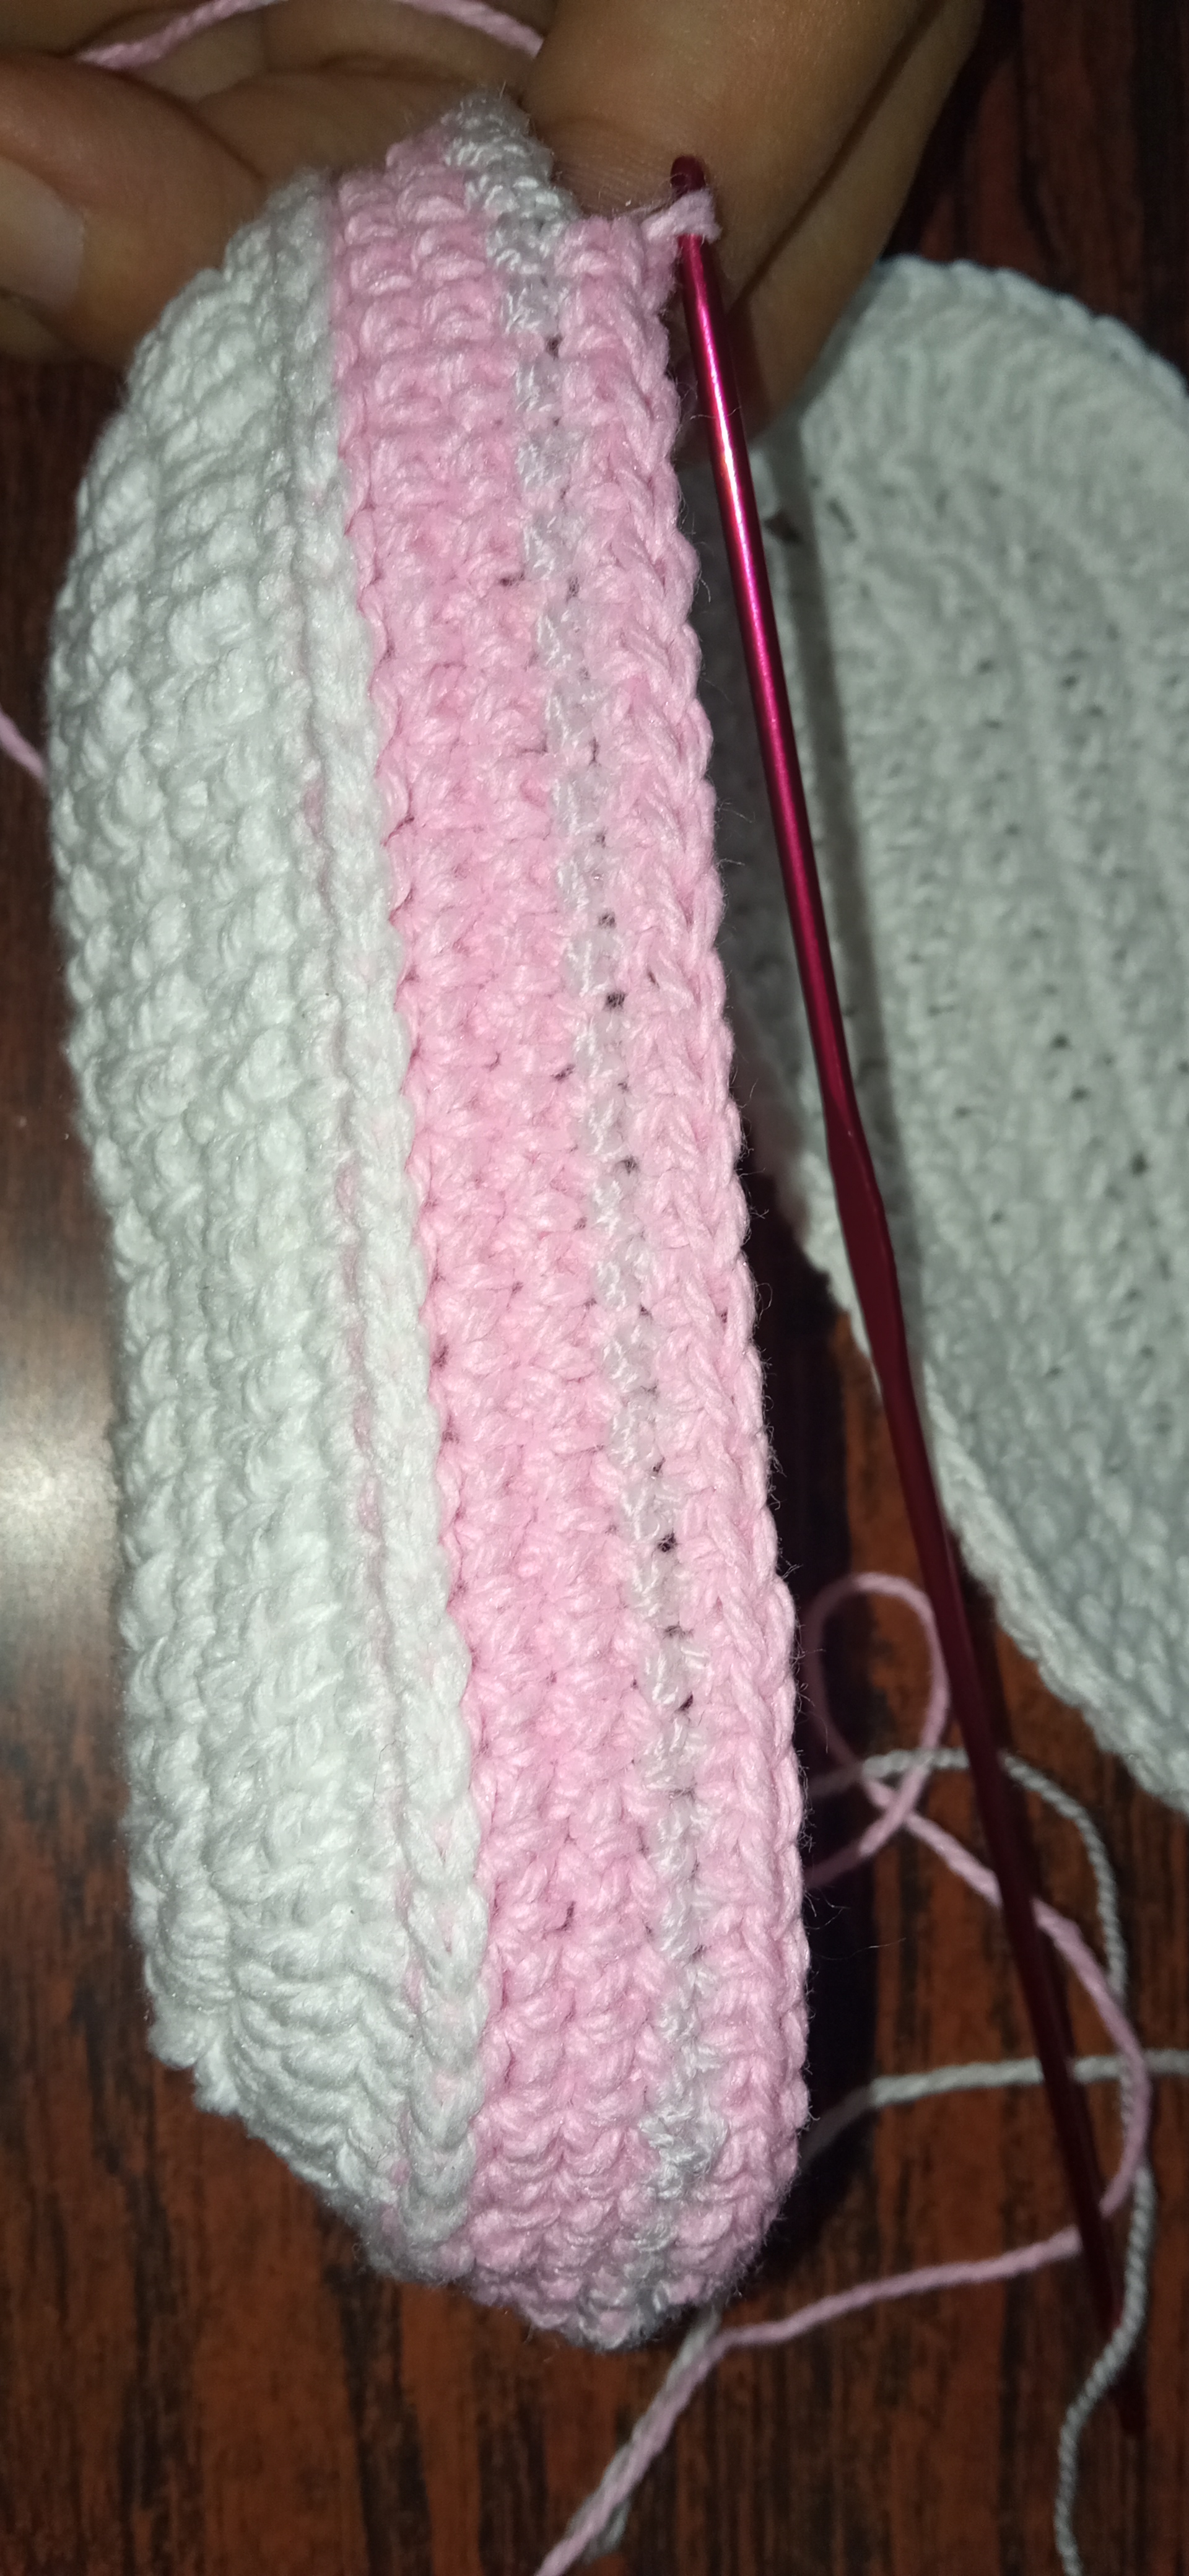
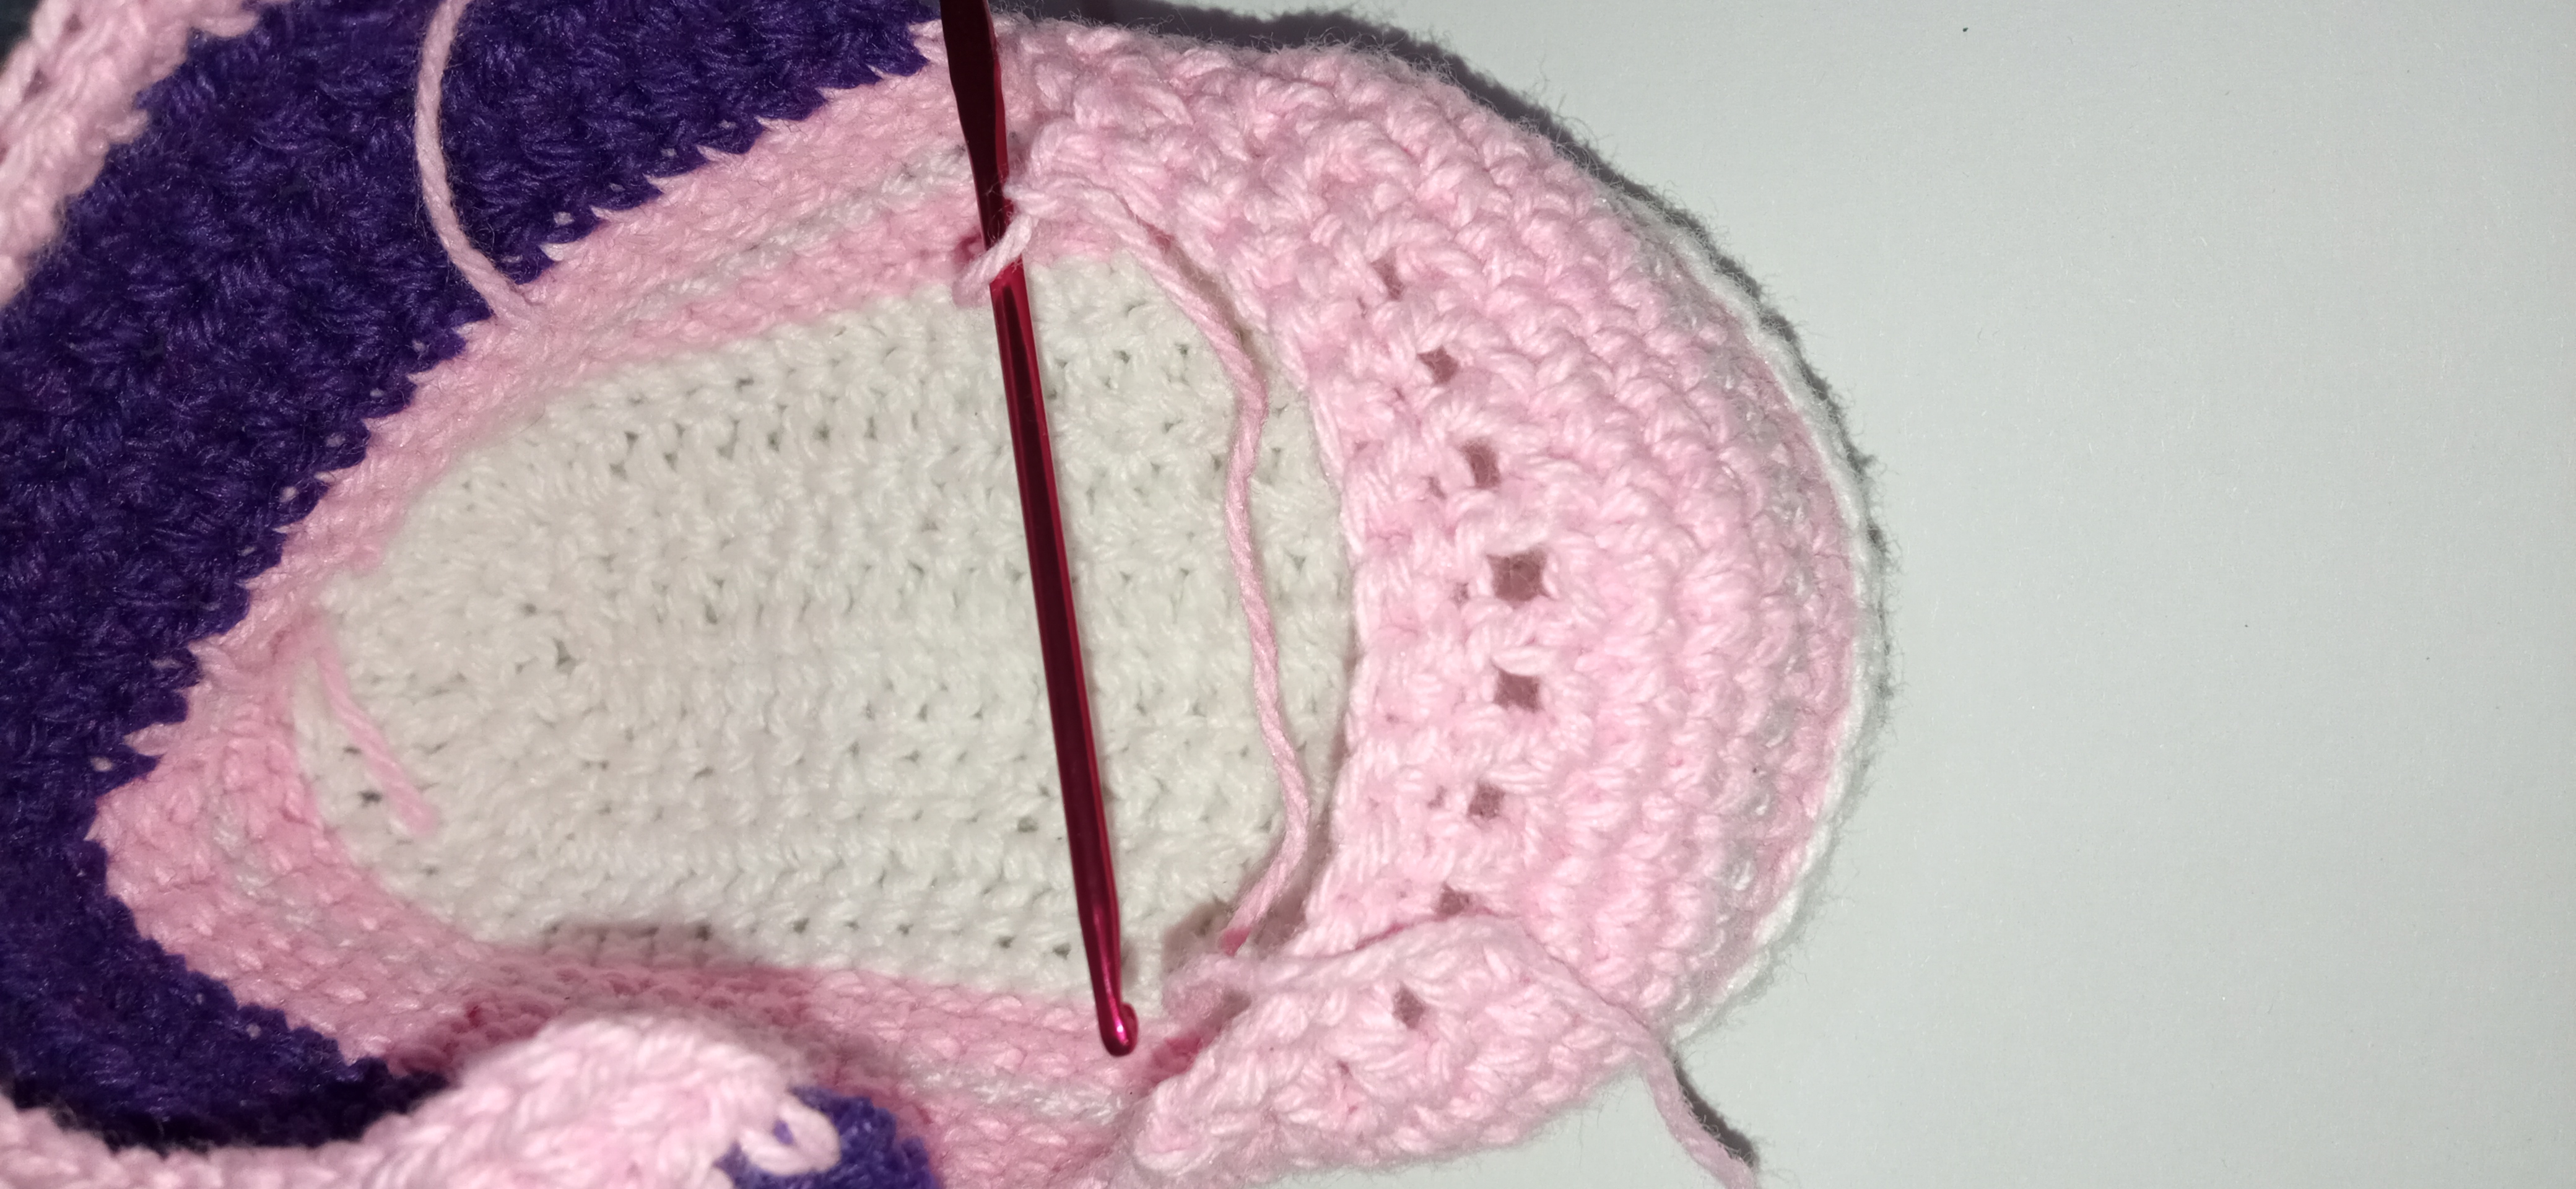
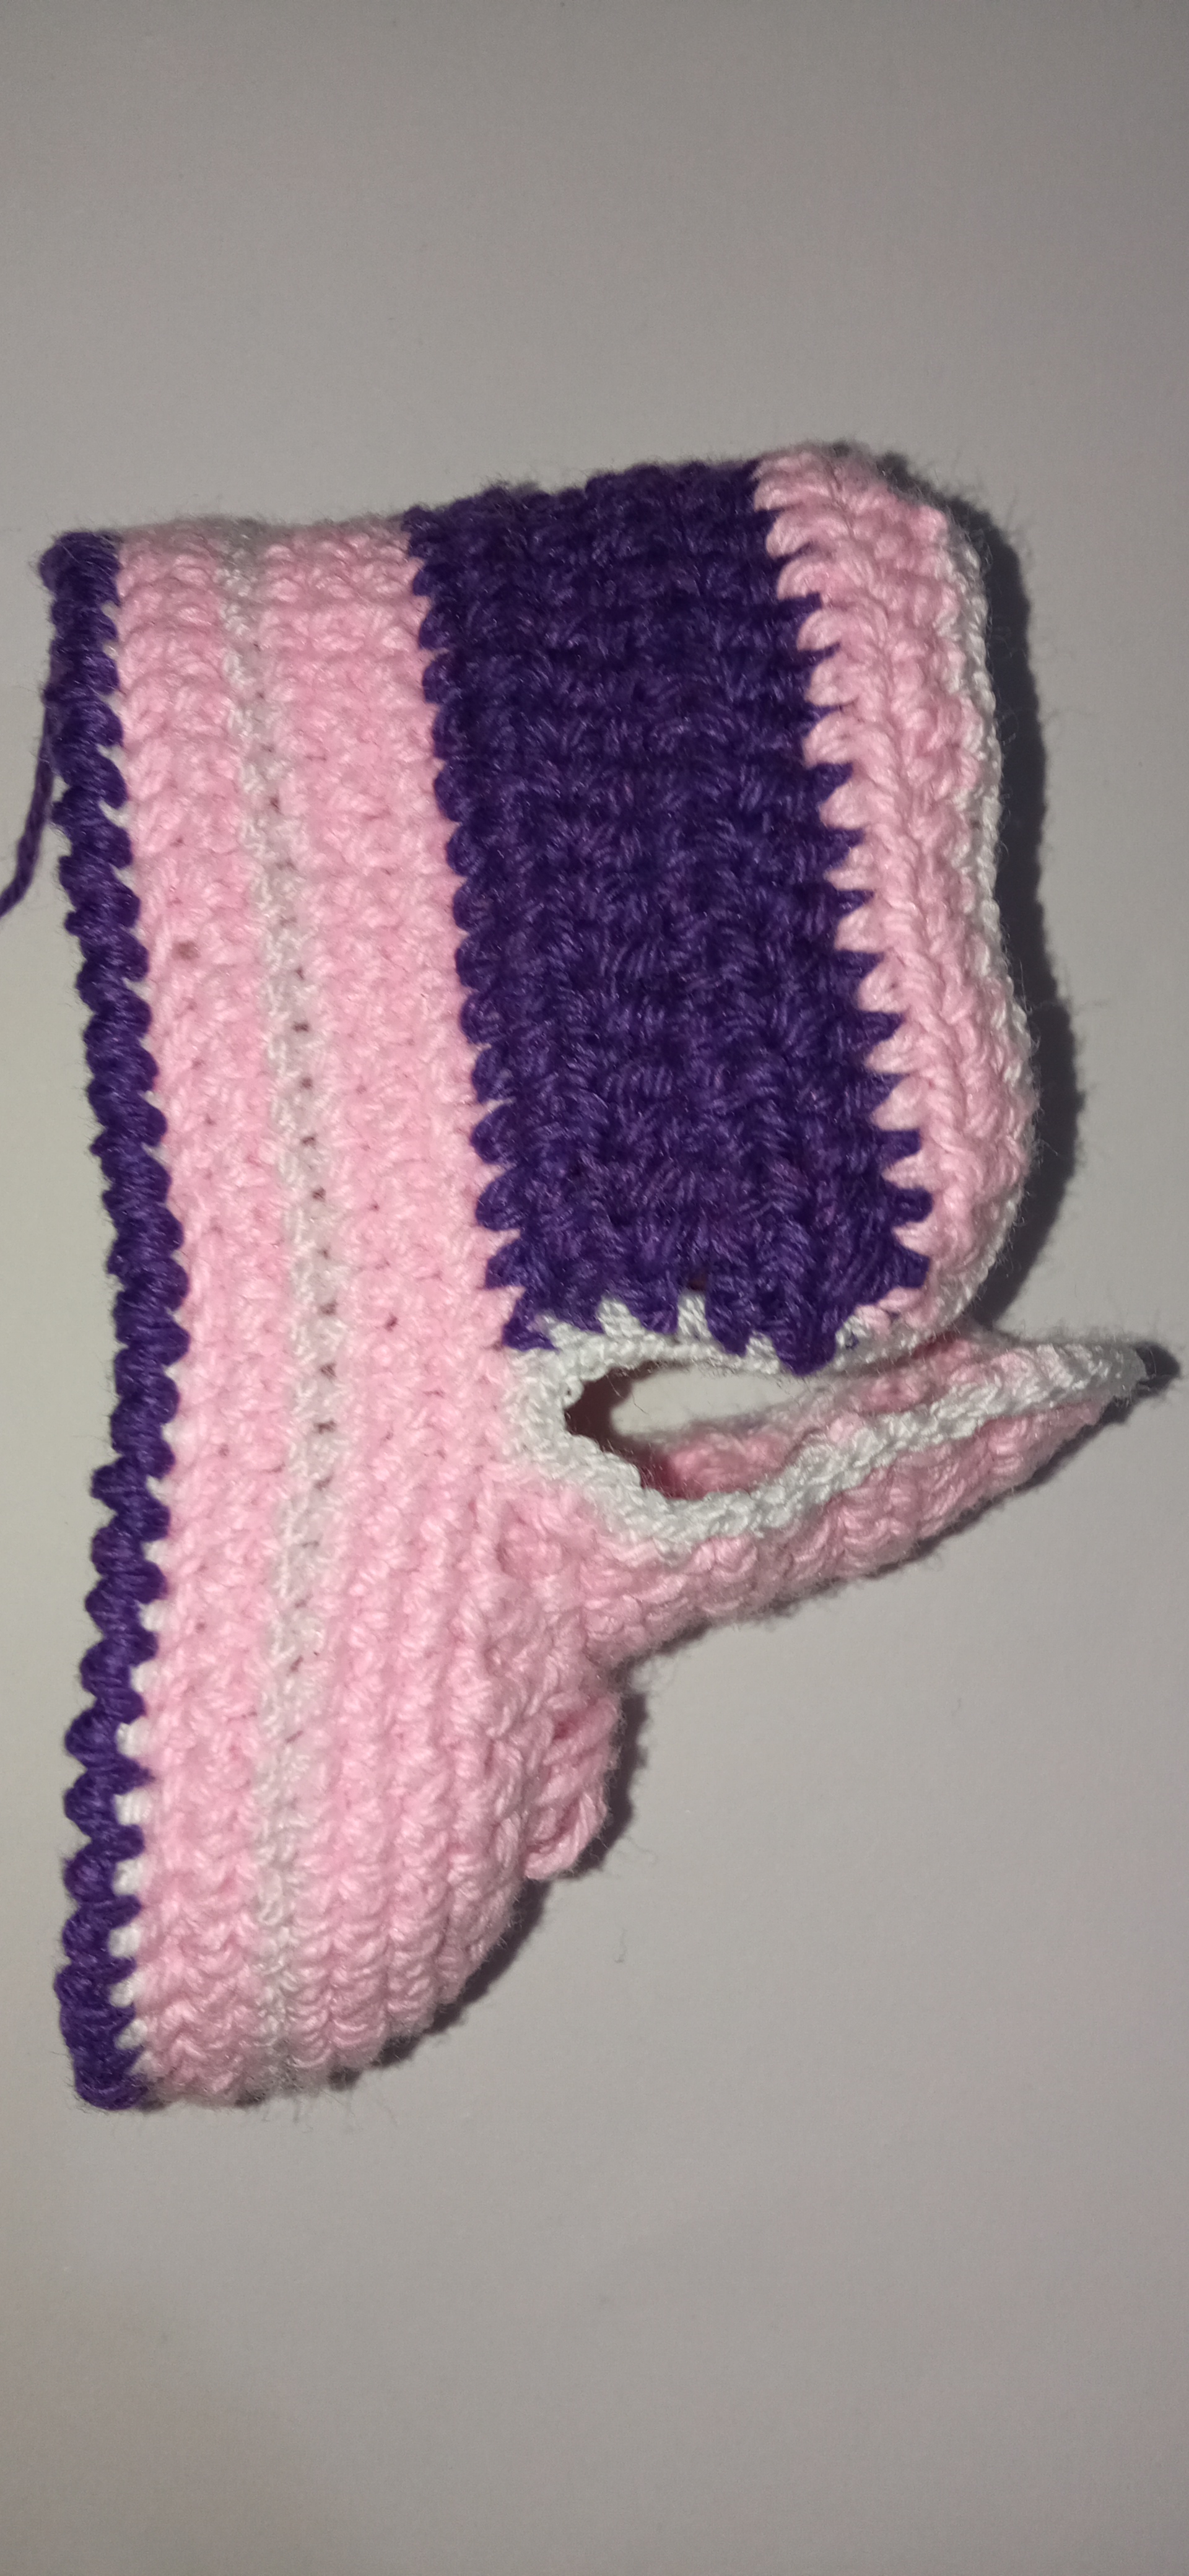
Step 4:
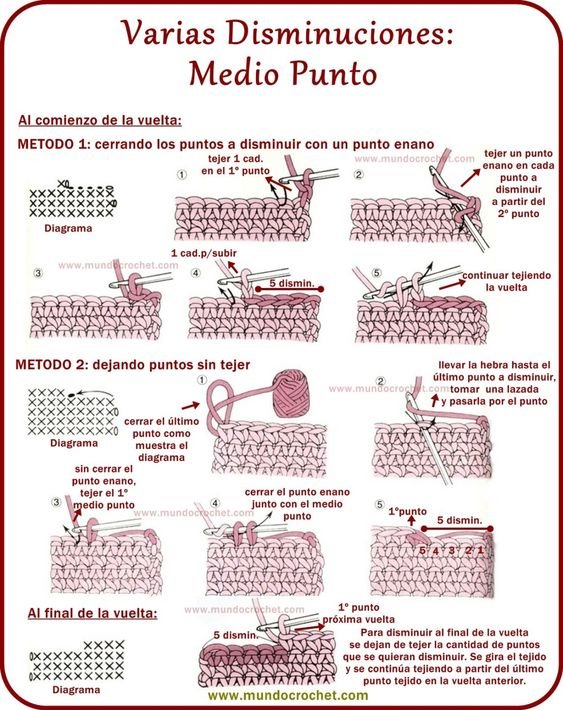
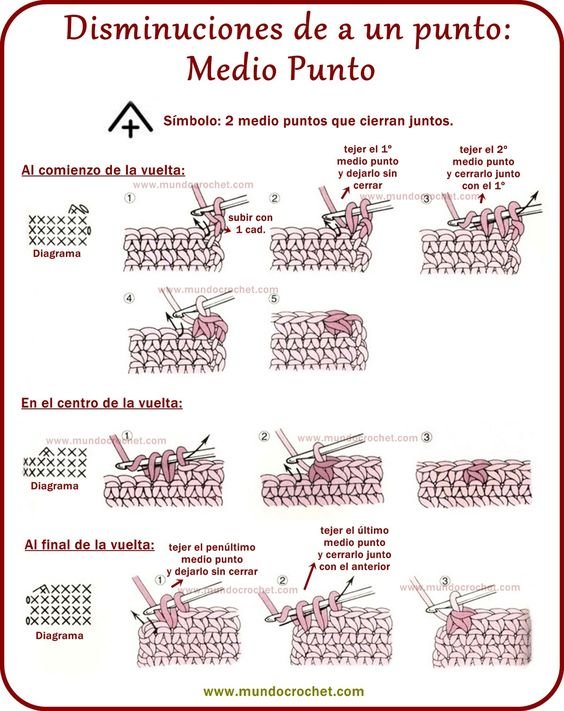
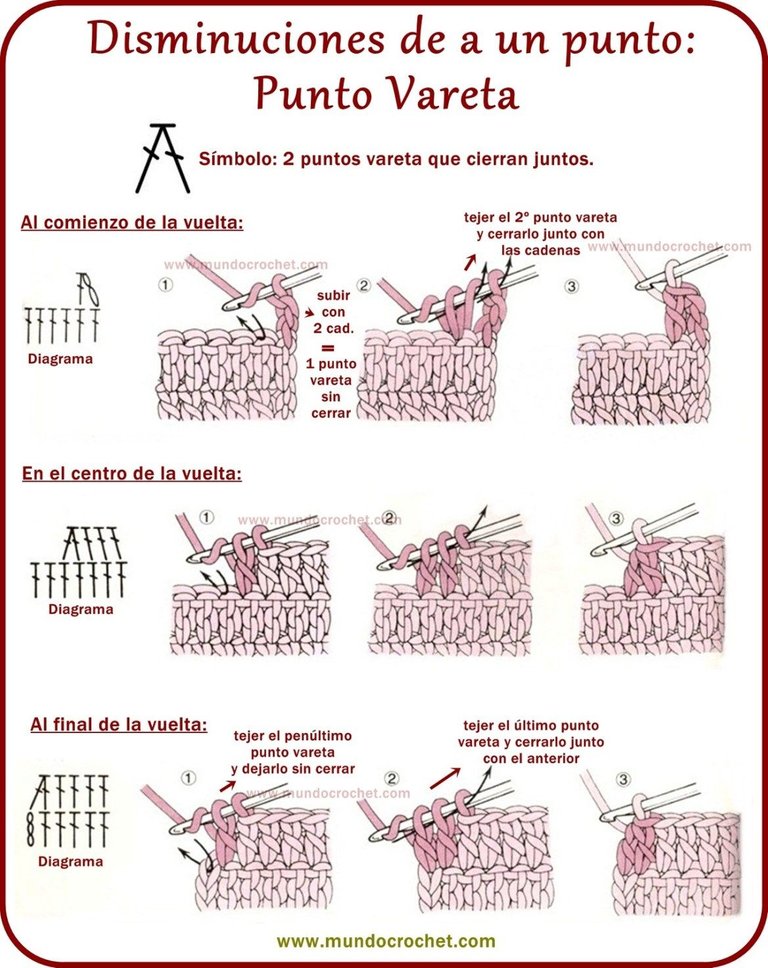
Here we will begin to close the upper part of the shoe, then we will make 14 double crochet decreases, in the last stitch we make a chain to go up and we return with 7 double crochet decreases and close and then make single crochet in a straight line for the edge of the upper part of the shoe; from there we went up in low points 24 laps to achieve the booty tongue.
Paso 4:
Aquí comenzaremos a cerrar la parte superior del zapato, luego haremos 14 disminuciones de puntos altos, en el último punto hacemos una cadeneta para subir y volvemos con 7 disminuciones de puntos altos y cerramos y luego hacemos puntos bajos en un línea recta para el borde de la parte superior del zapato; a partir de ahí subimos en puntos bajos 24 vueltas para lograr el botín lengua.
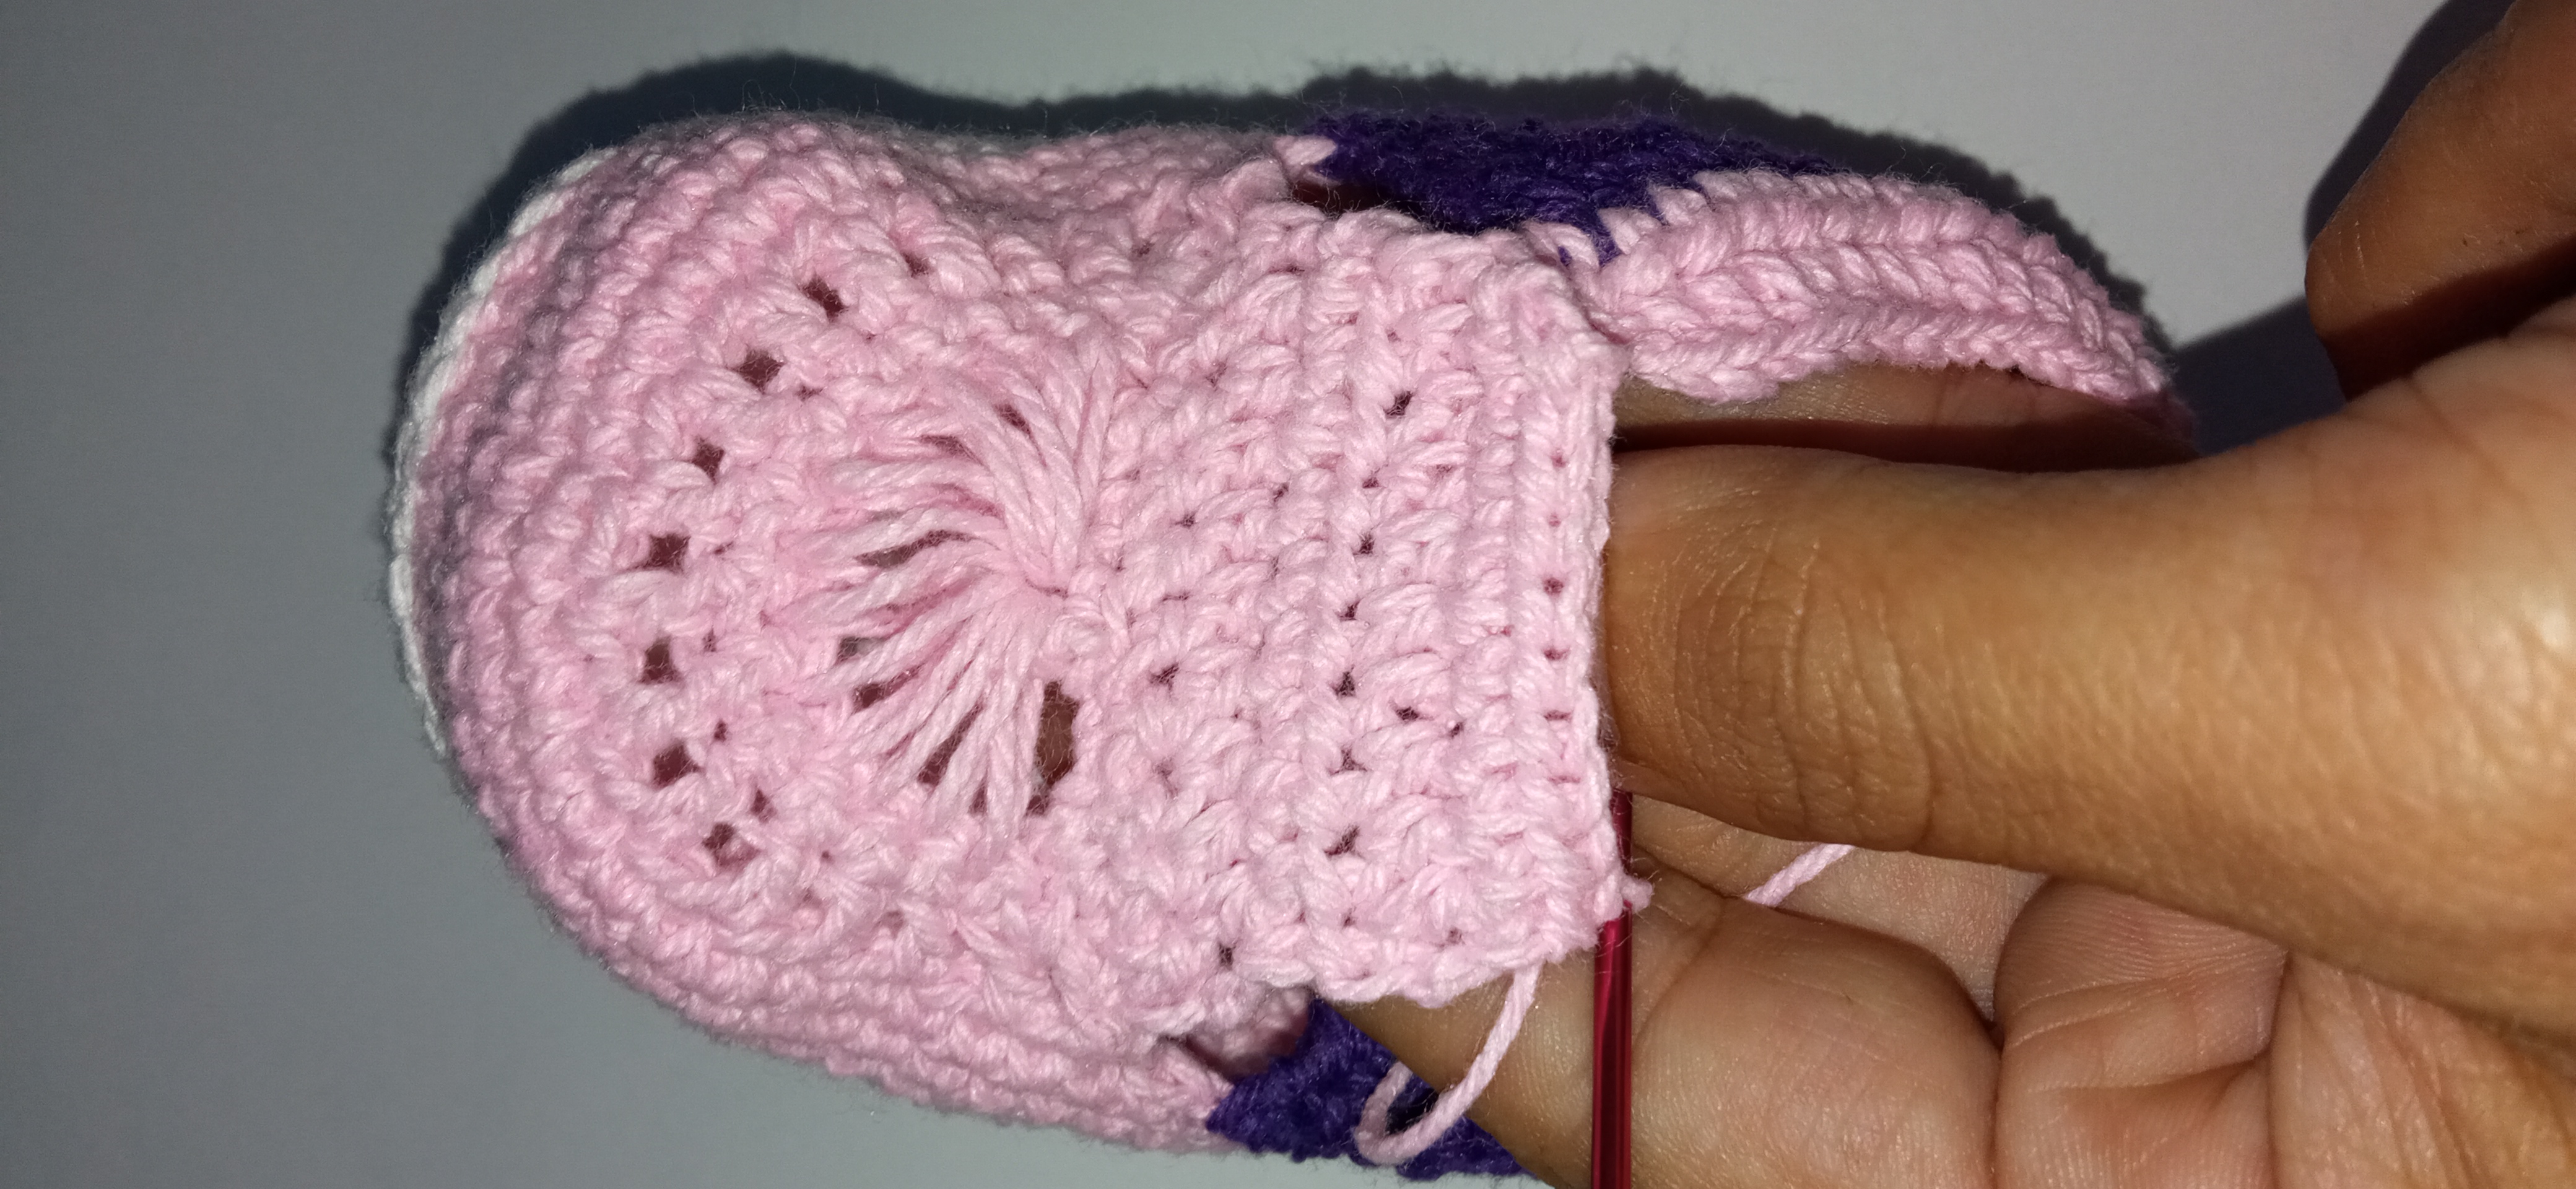

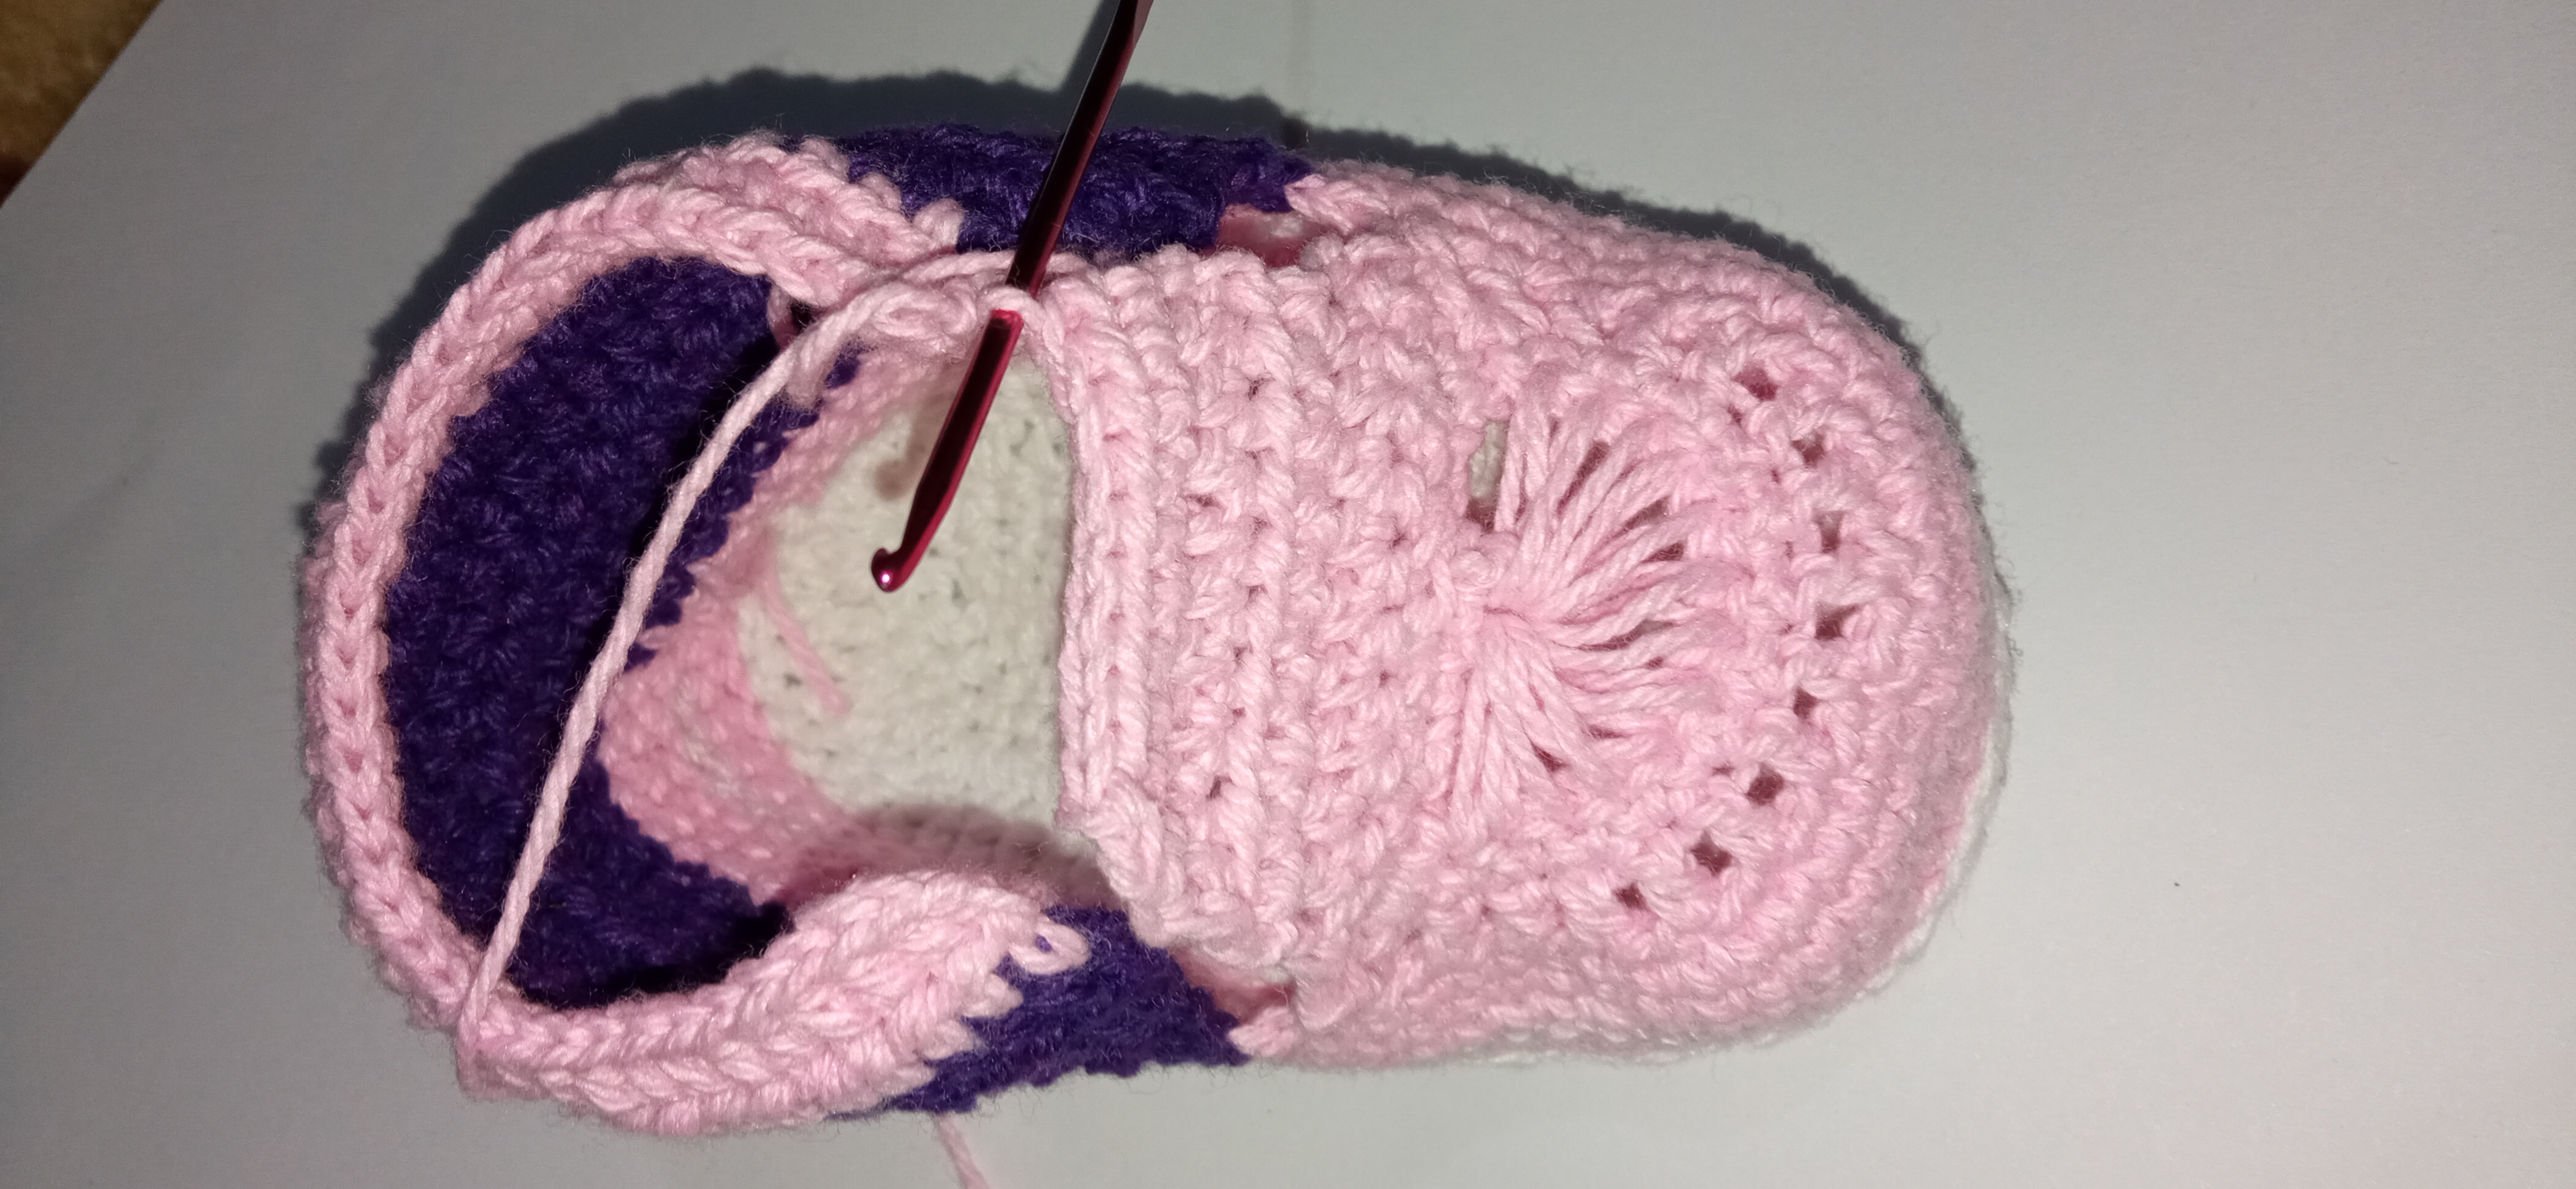
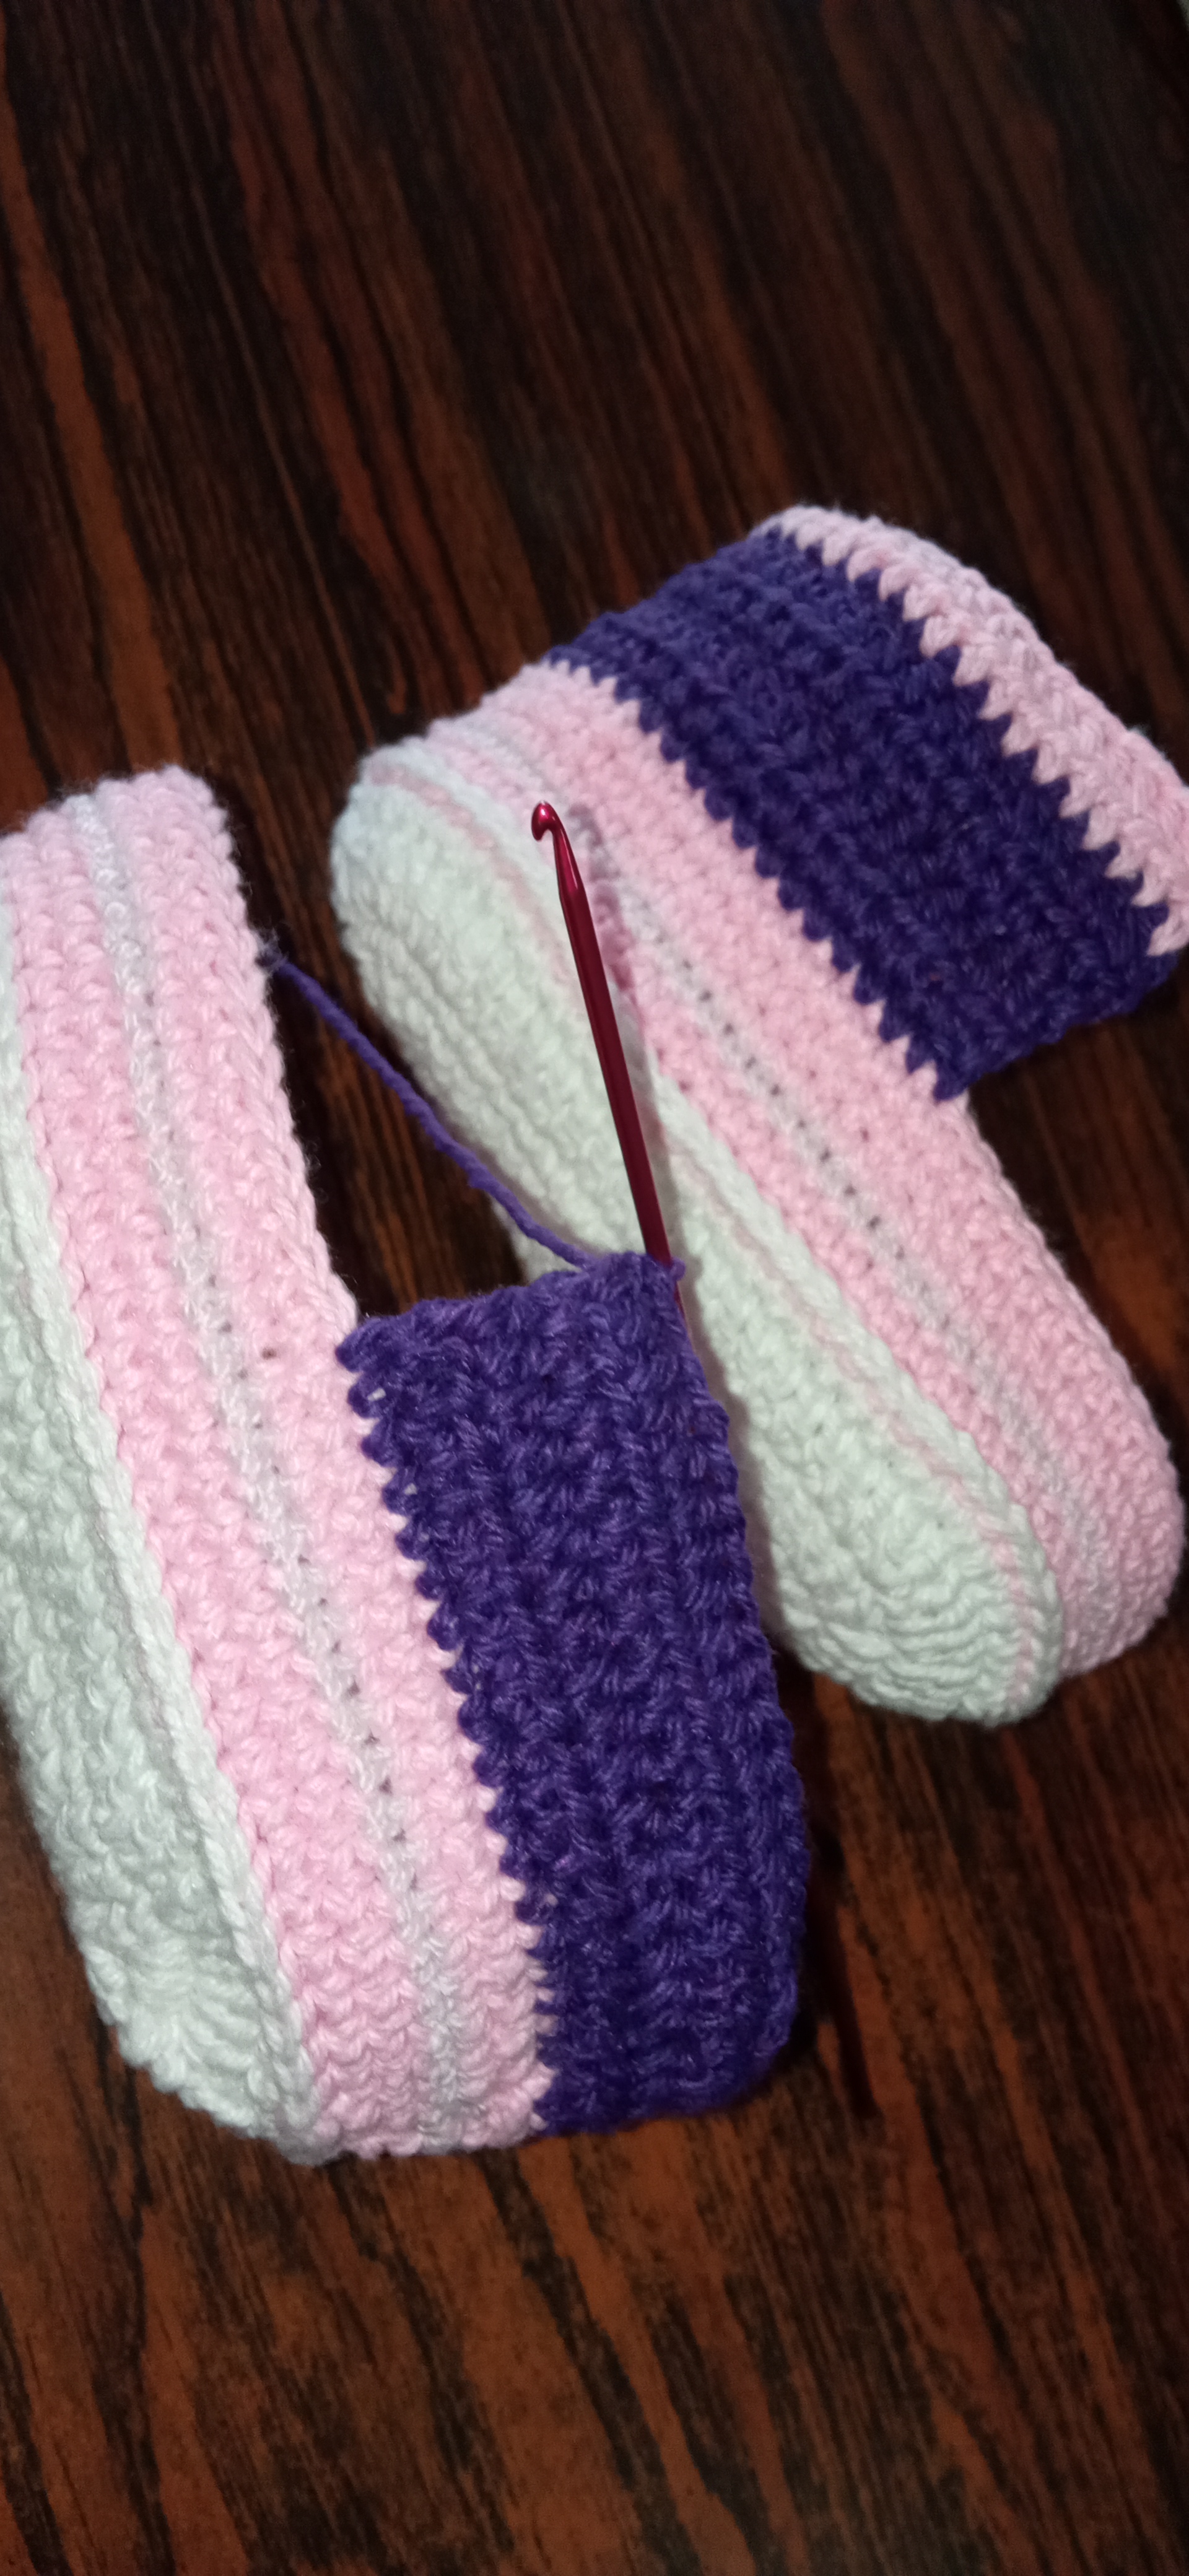
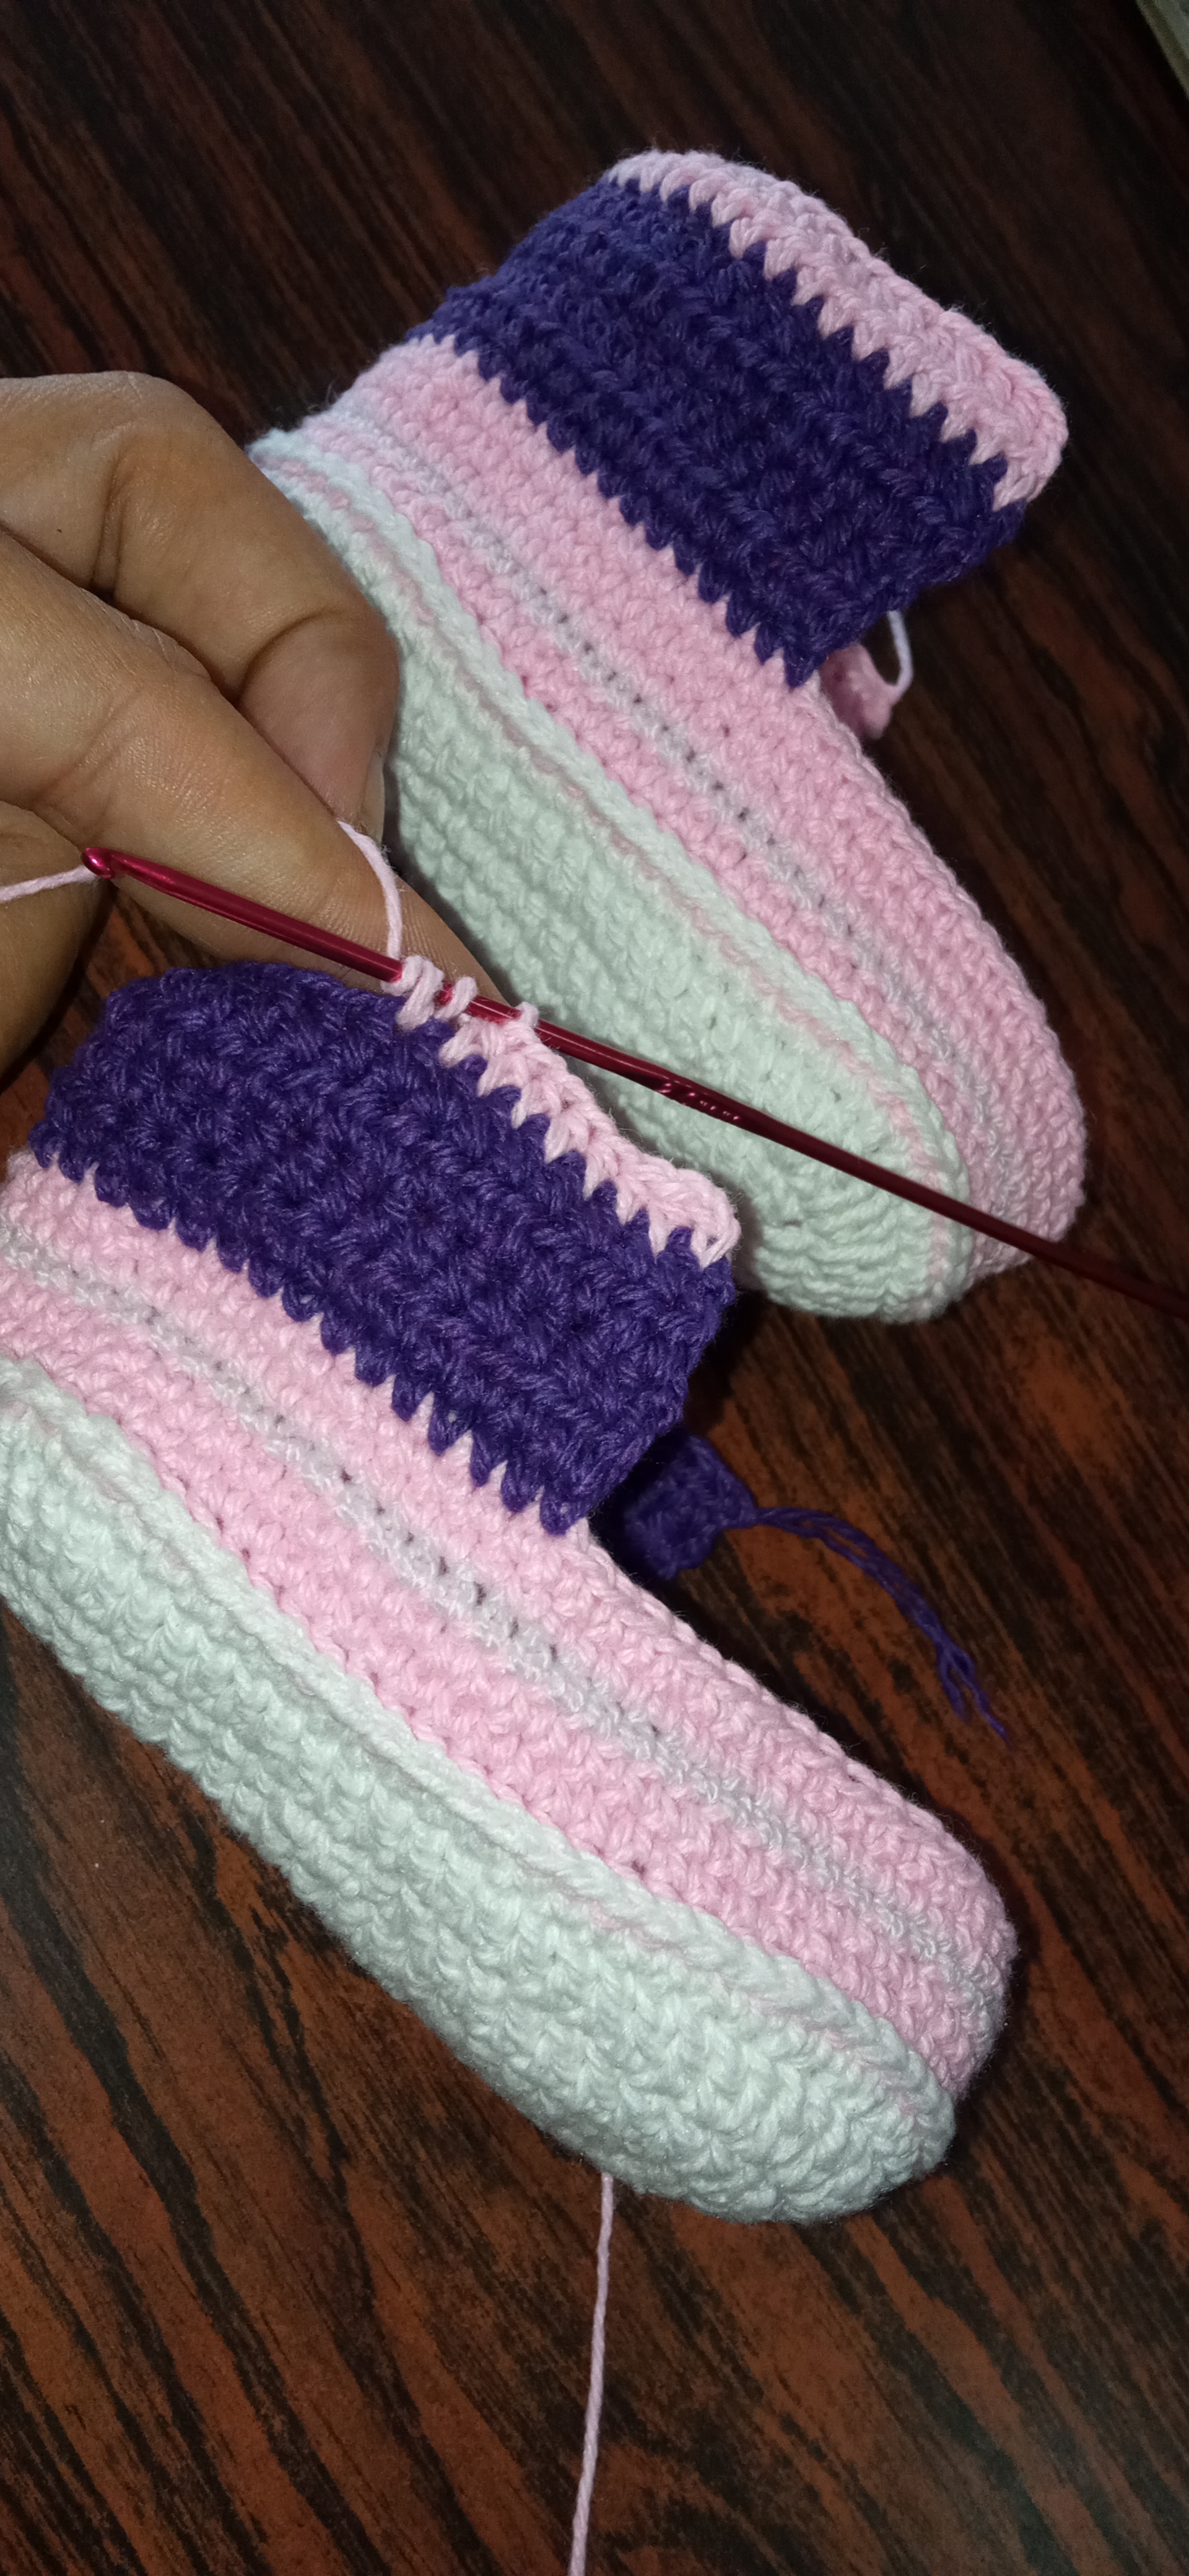
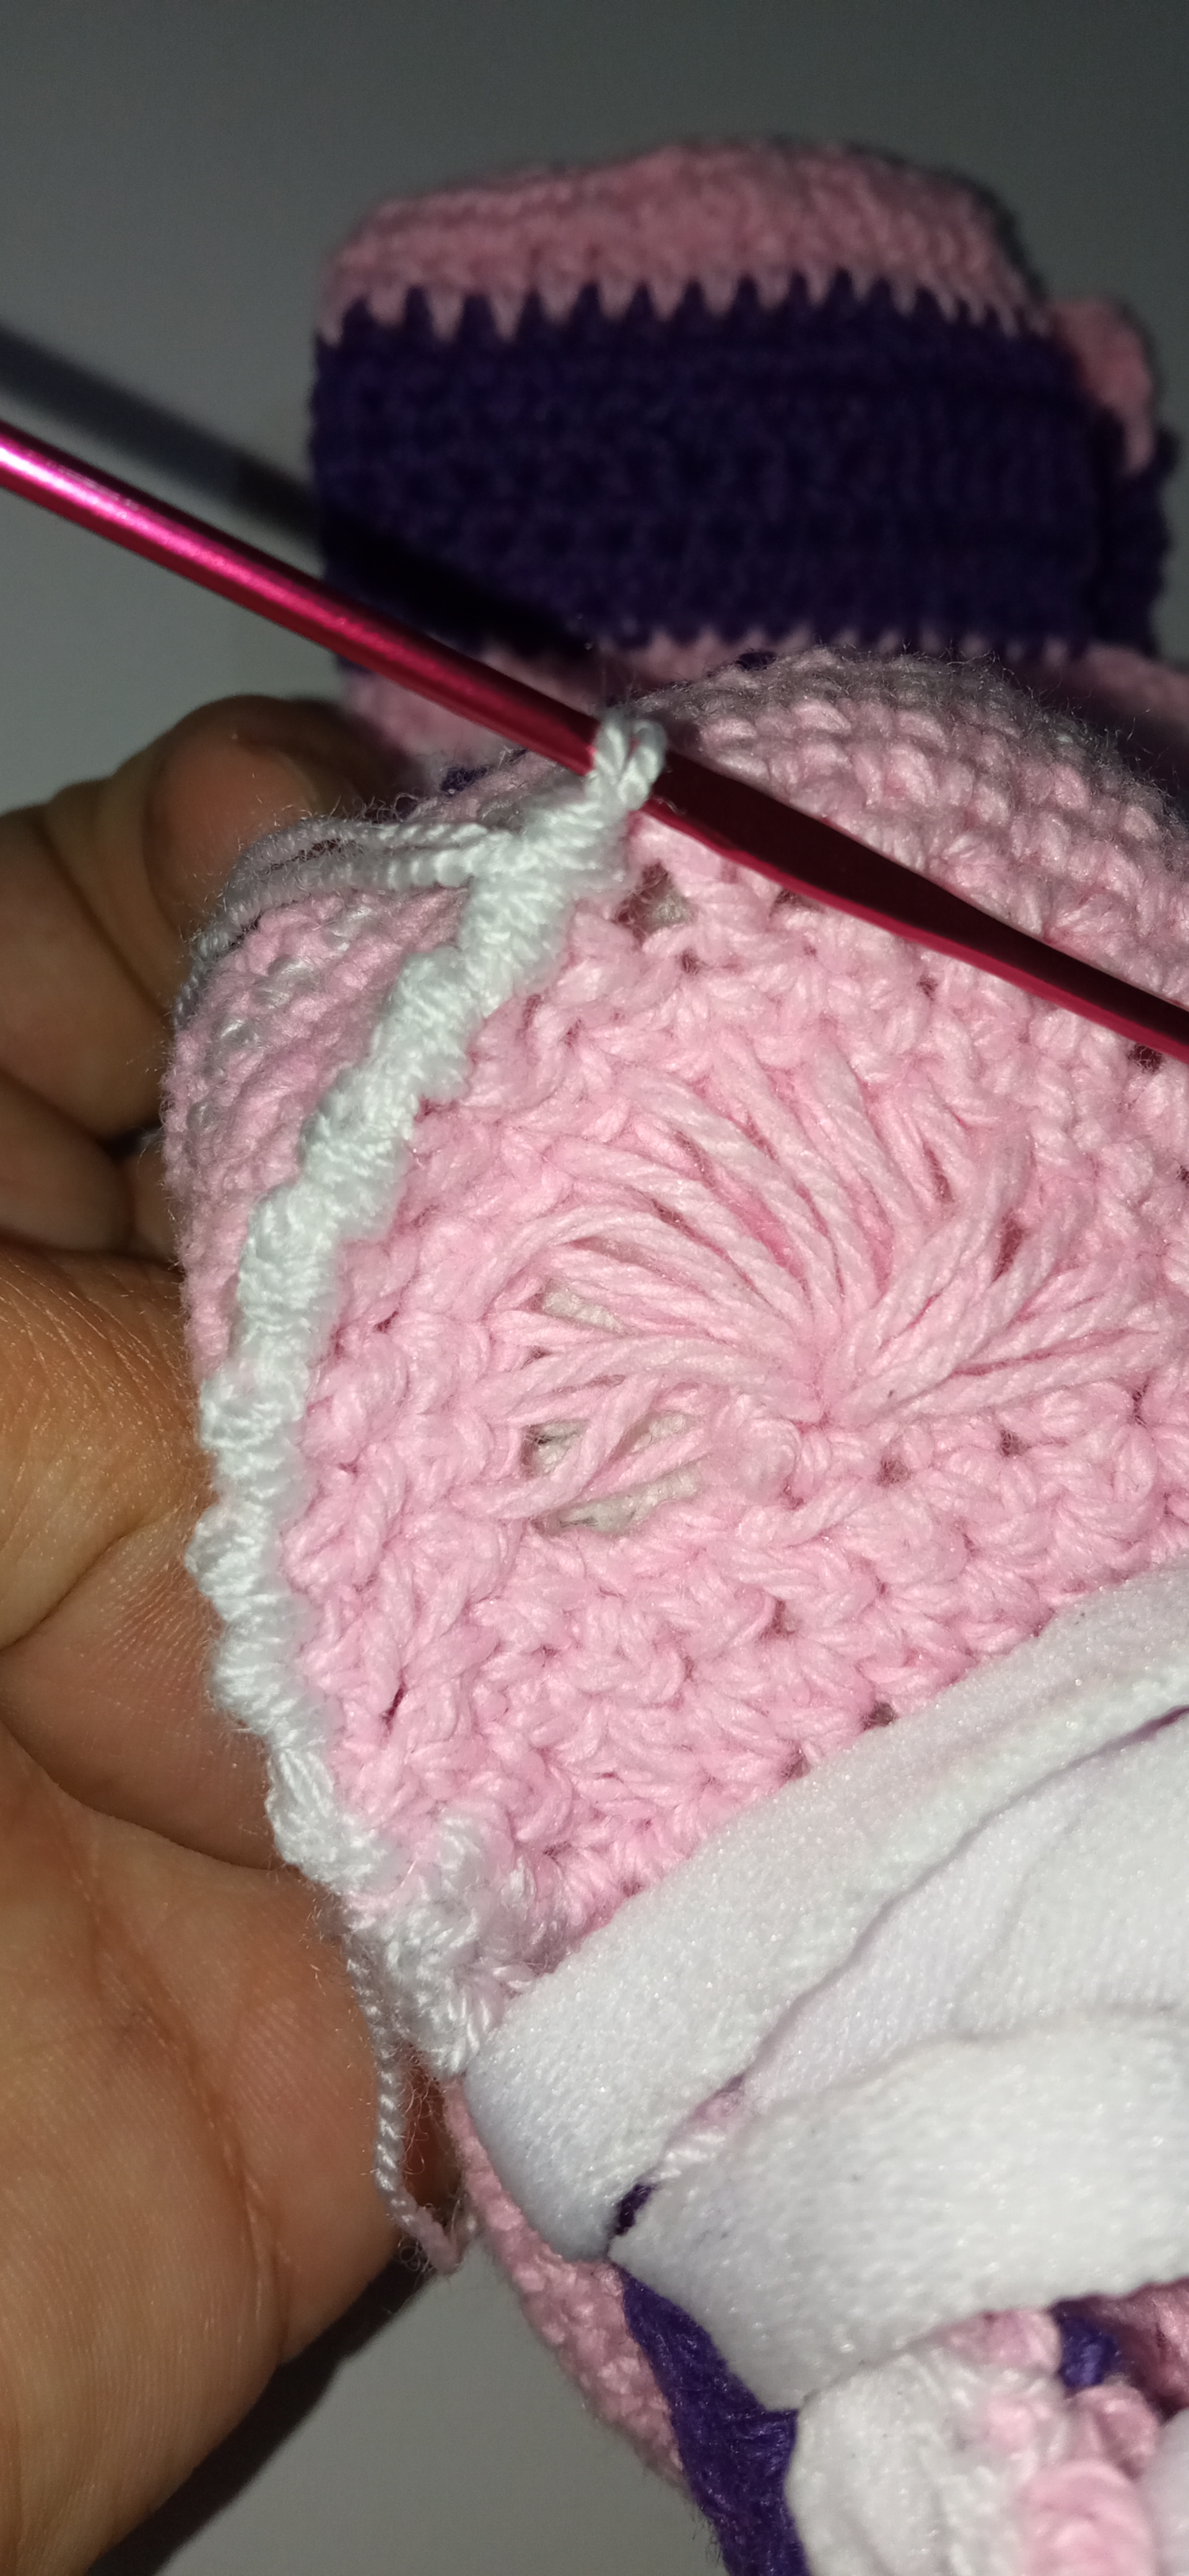
Step 5:
To give a nice finish to the sole and on the top of the boot we will make the famous crab stitch and for them I will leave a youtube link so they can do it correctly:
Paso 5:
para darle un lindo acabado a la suela y en la parte de arriba de la bota haremos el famoso punto cangrejo y para ellos les dejare un link de youtube para que lo puedan hacer correctamente:
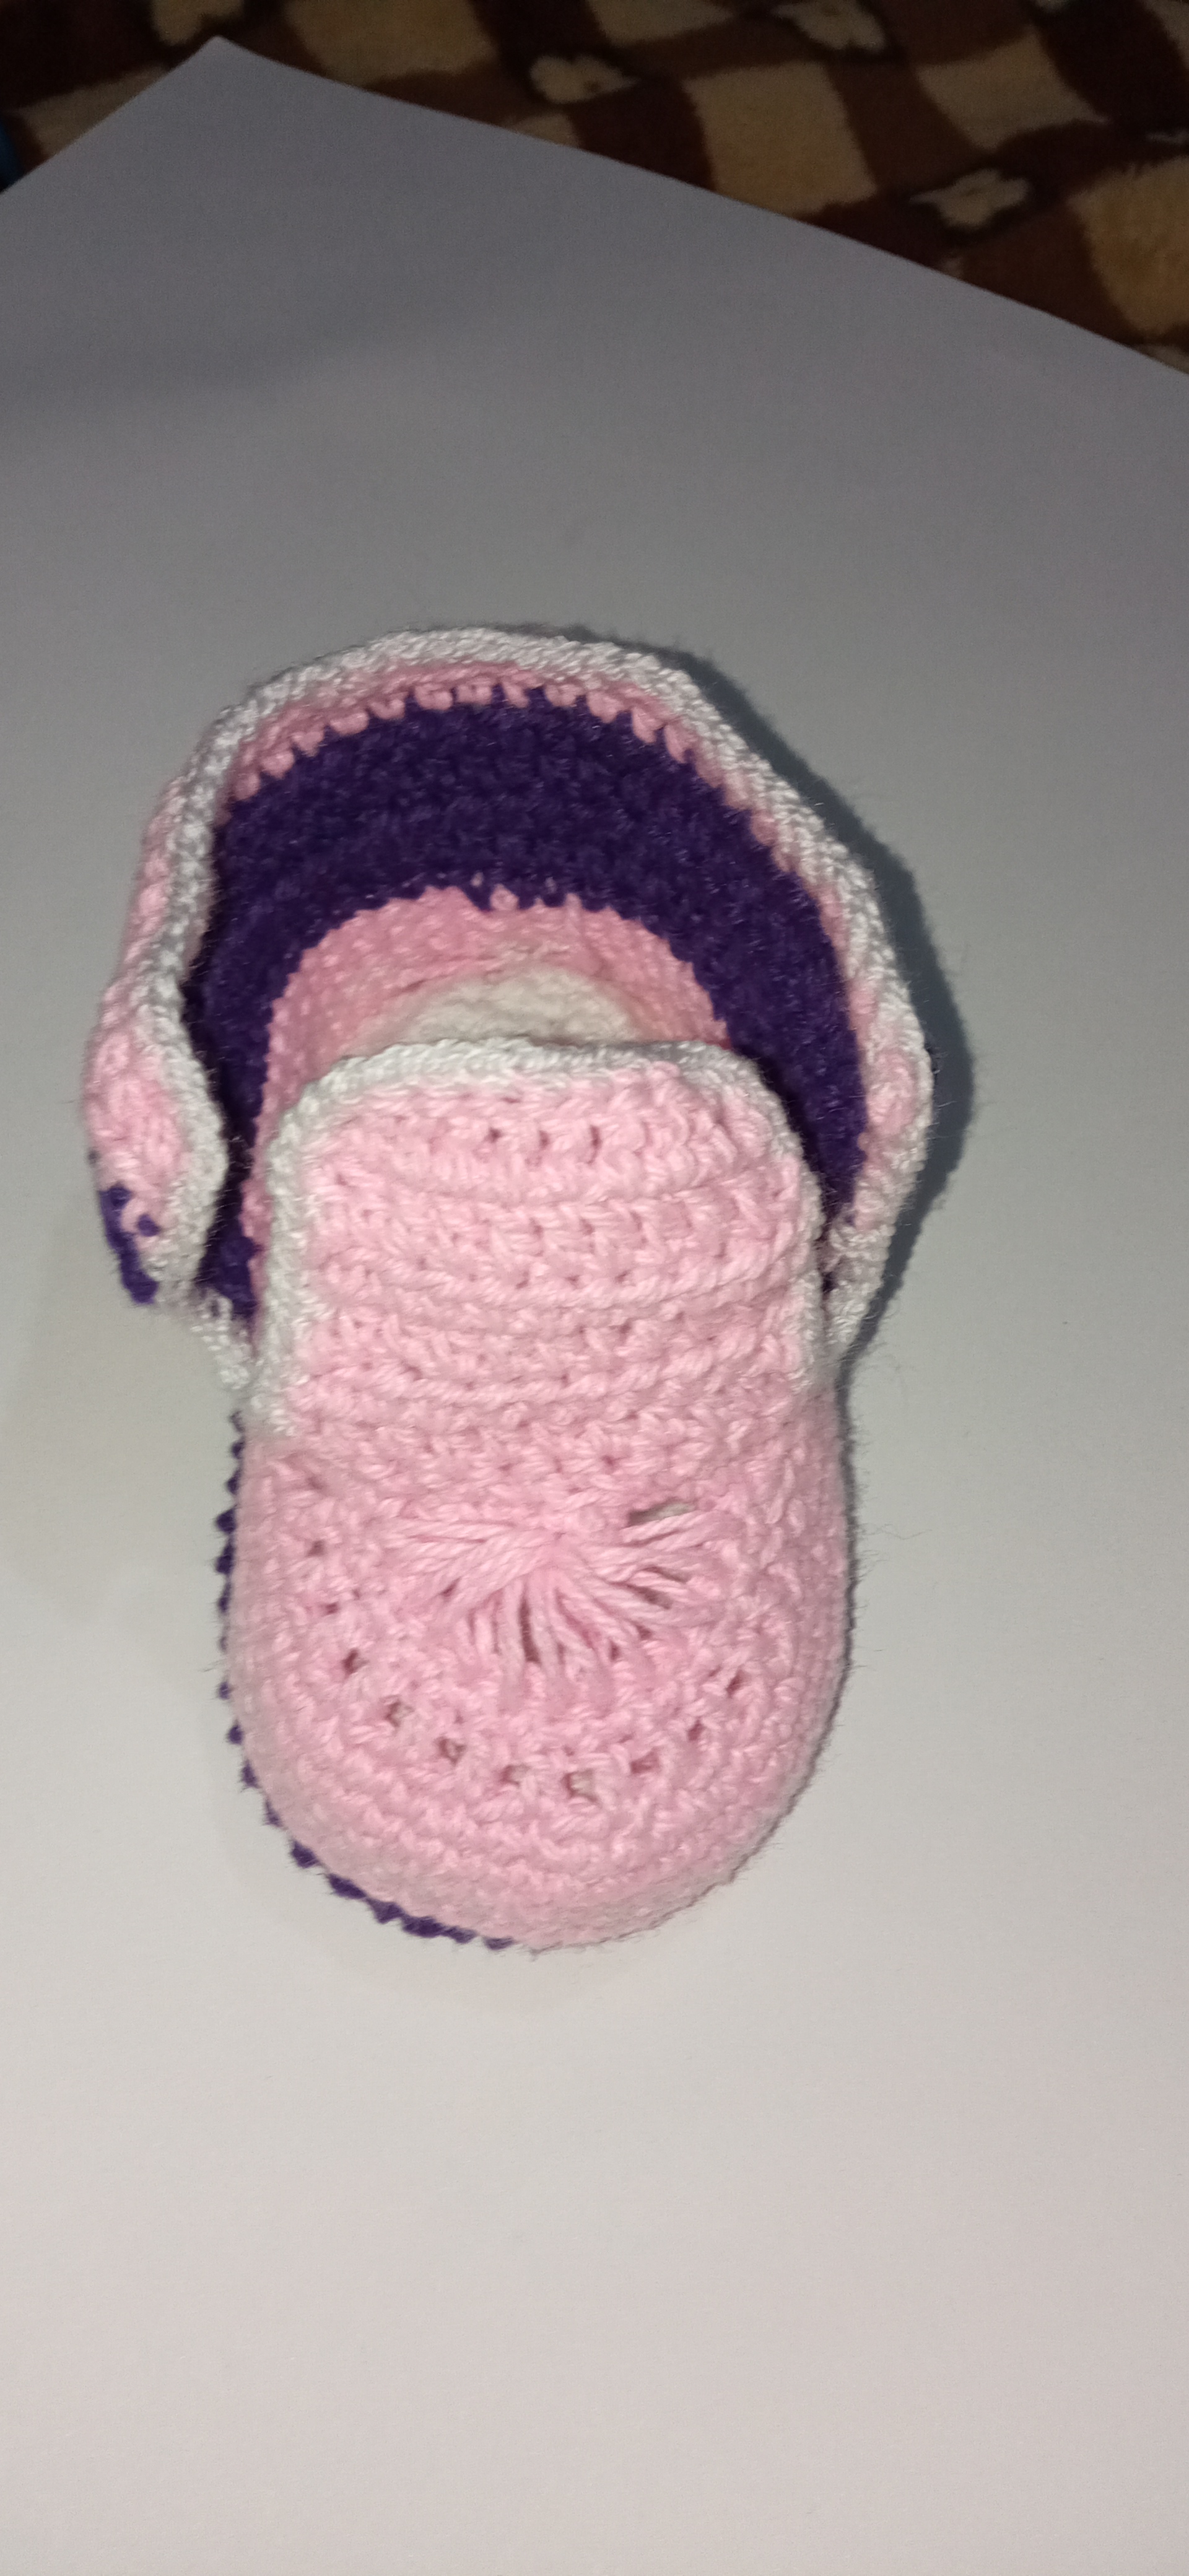
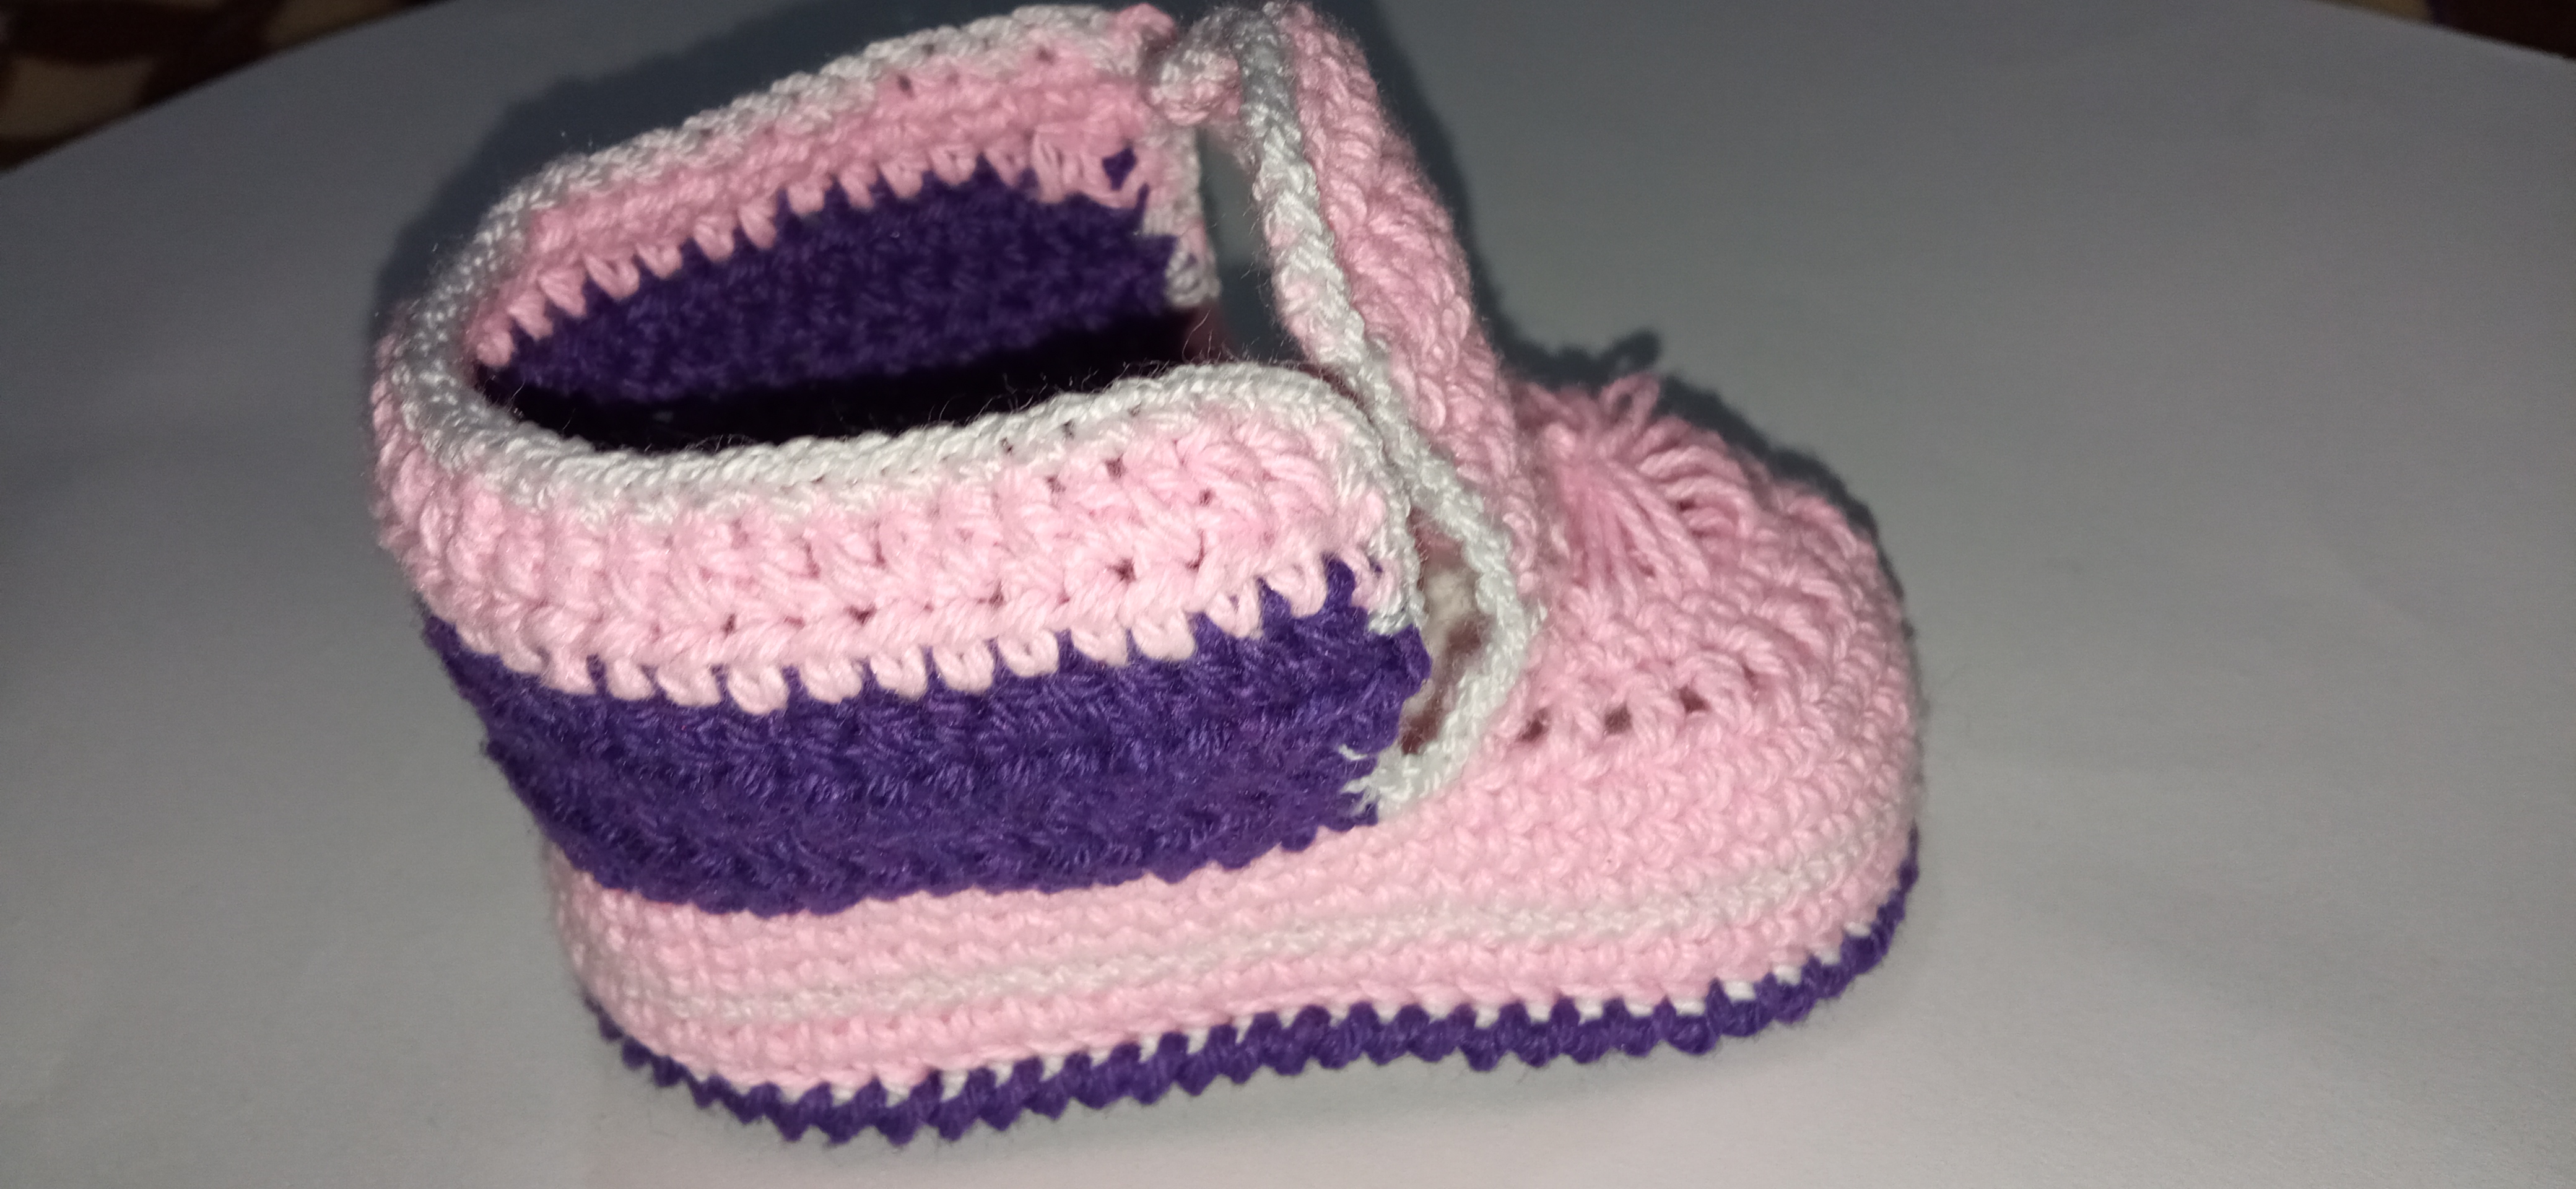
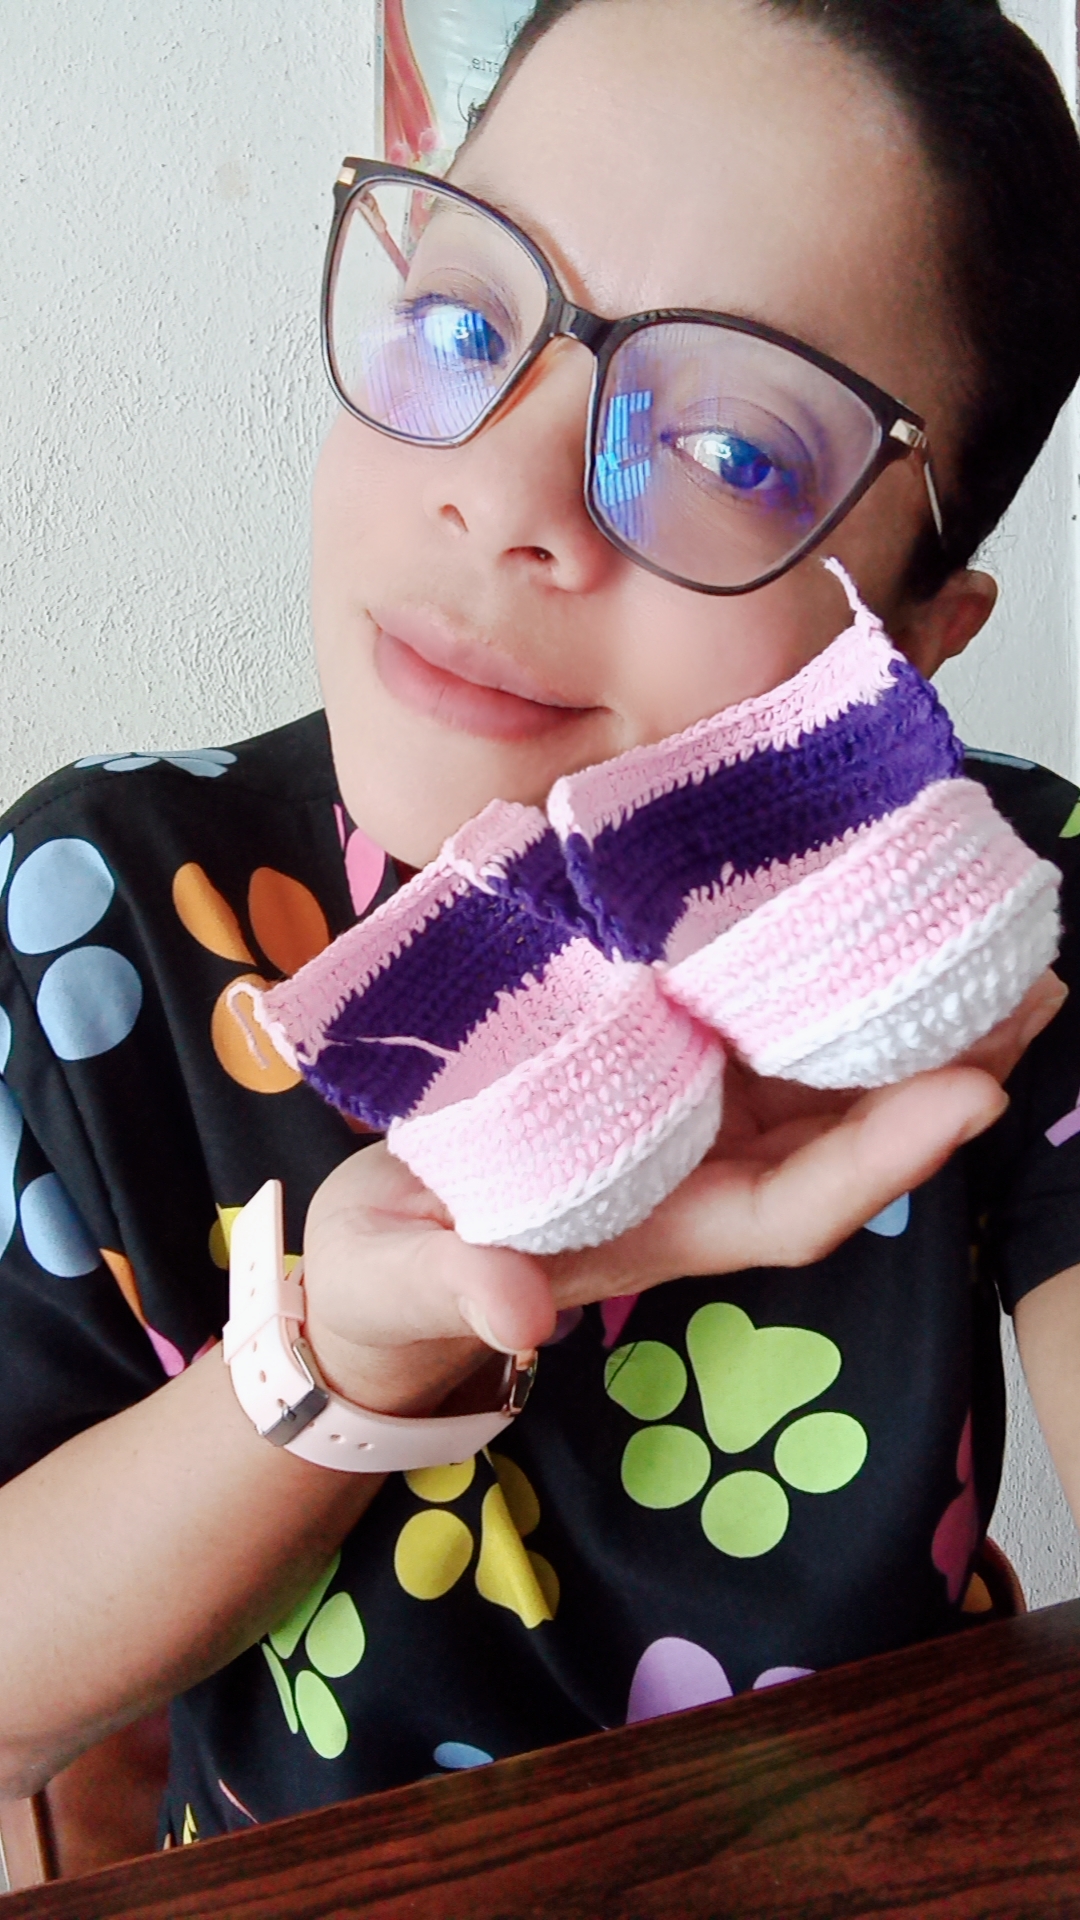
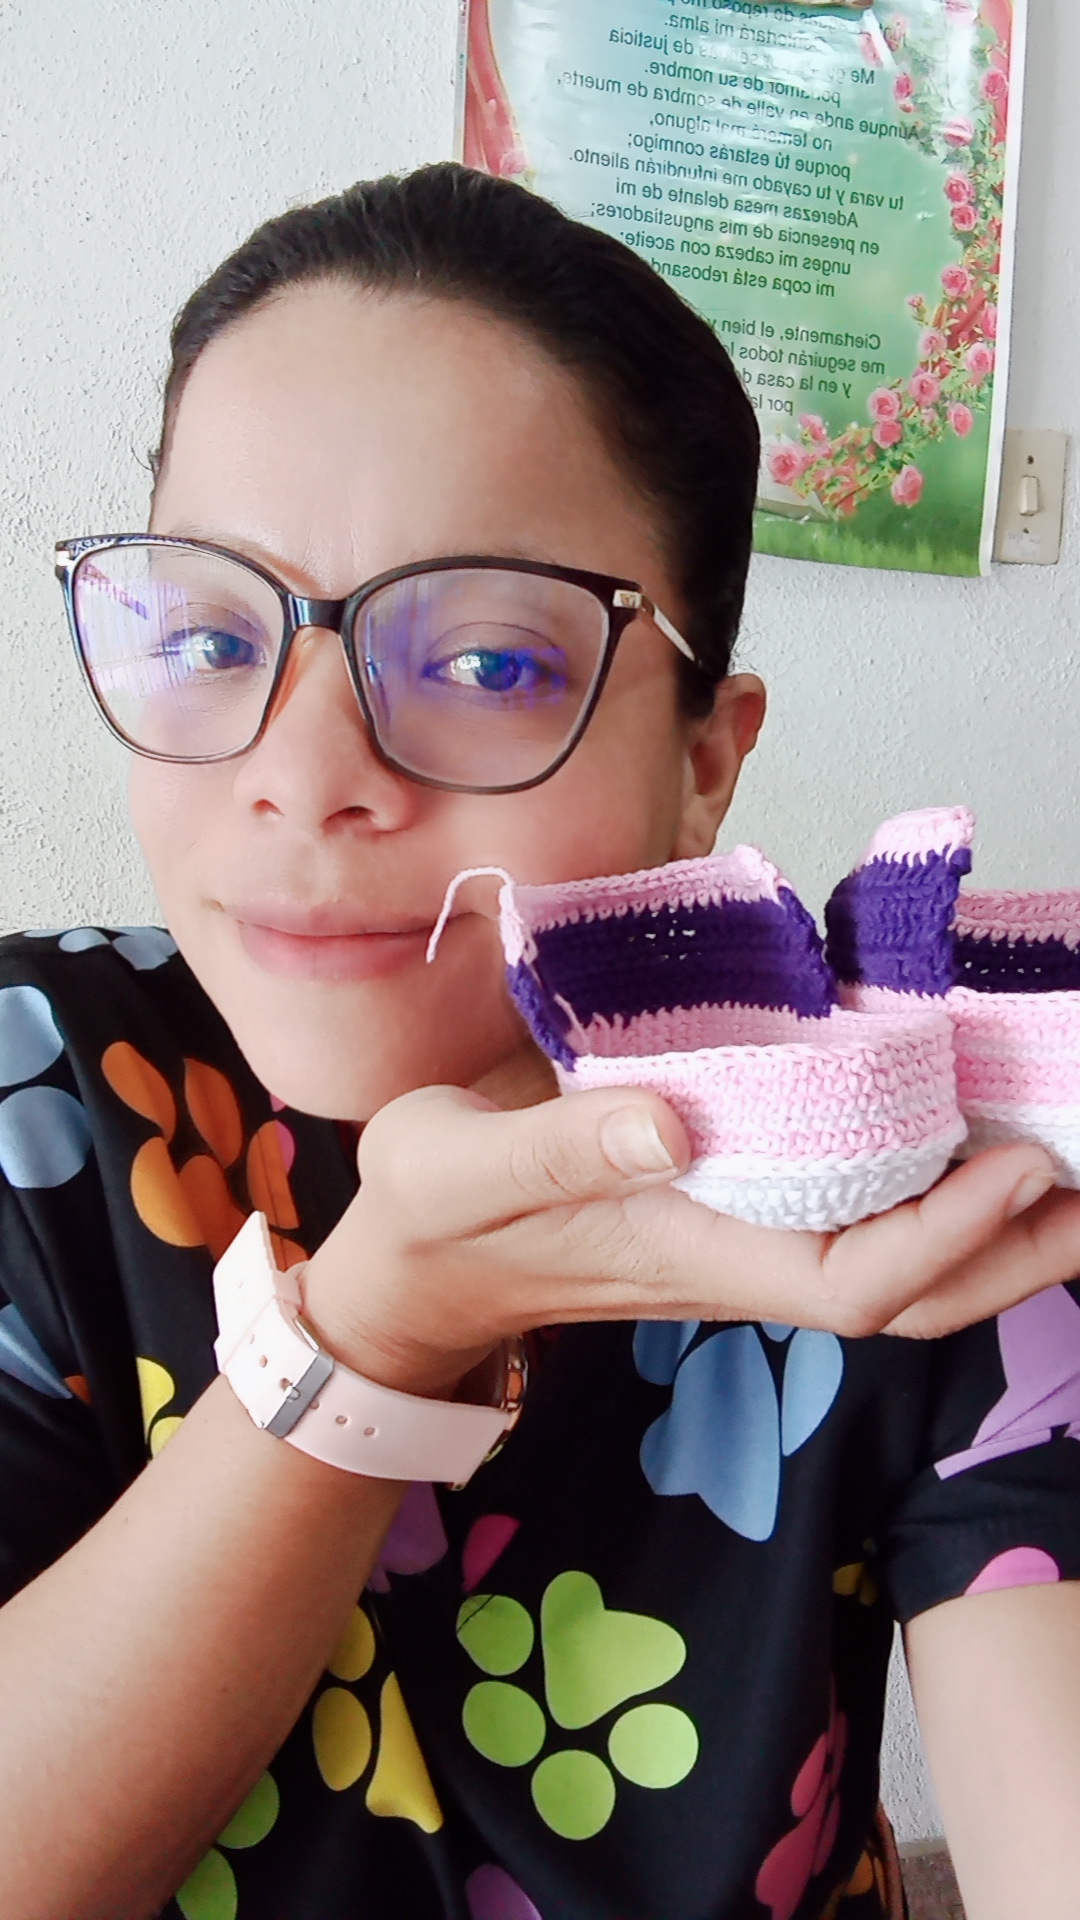
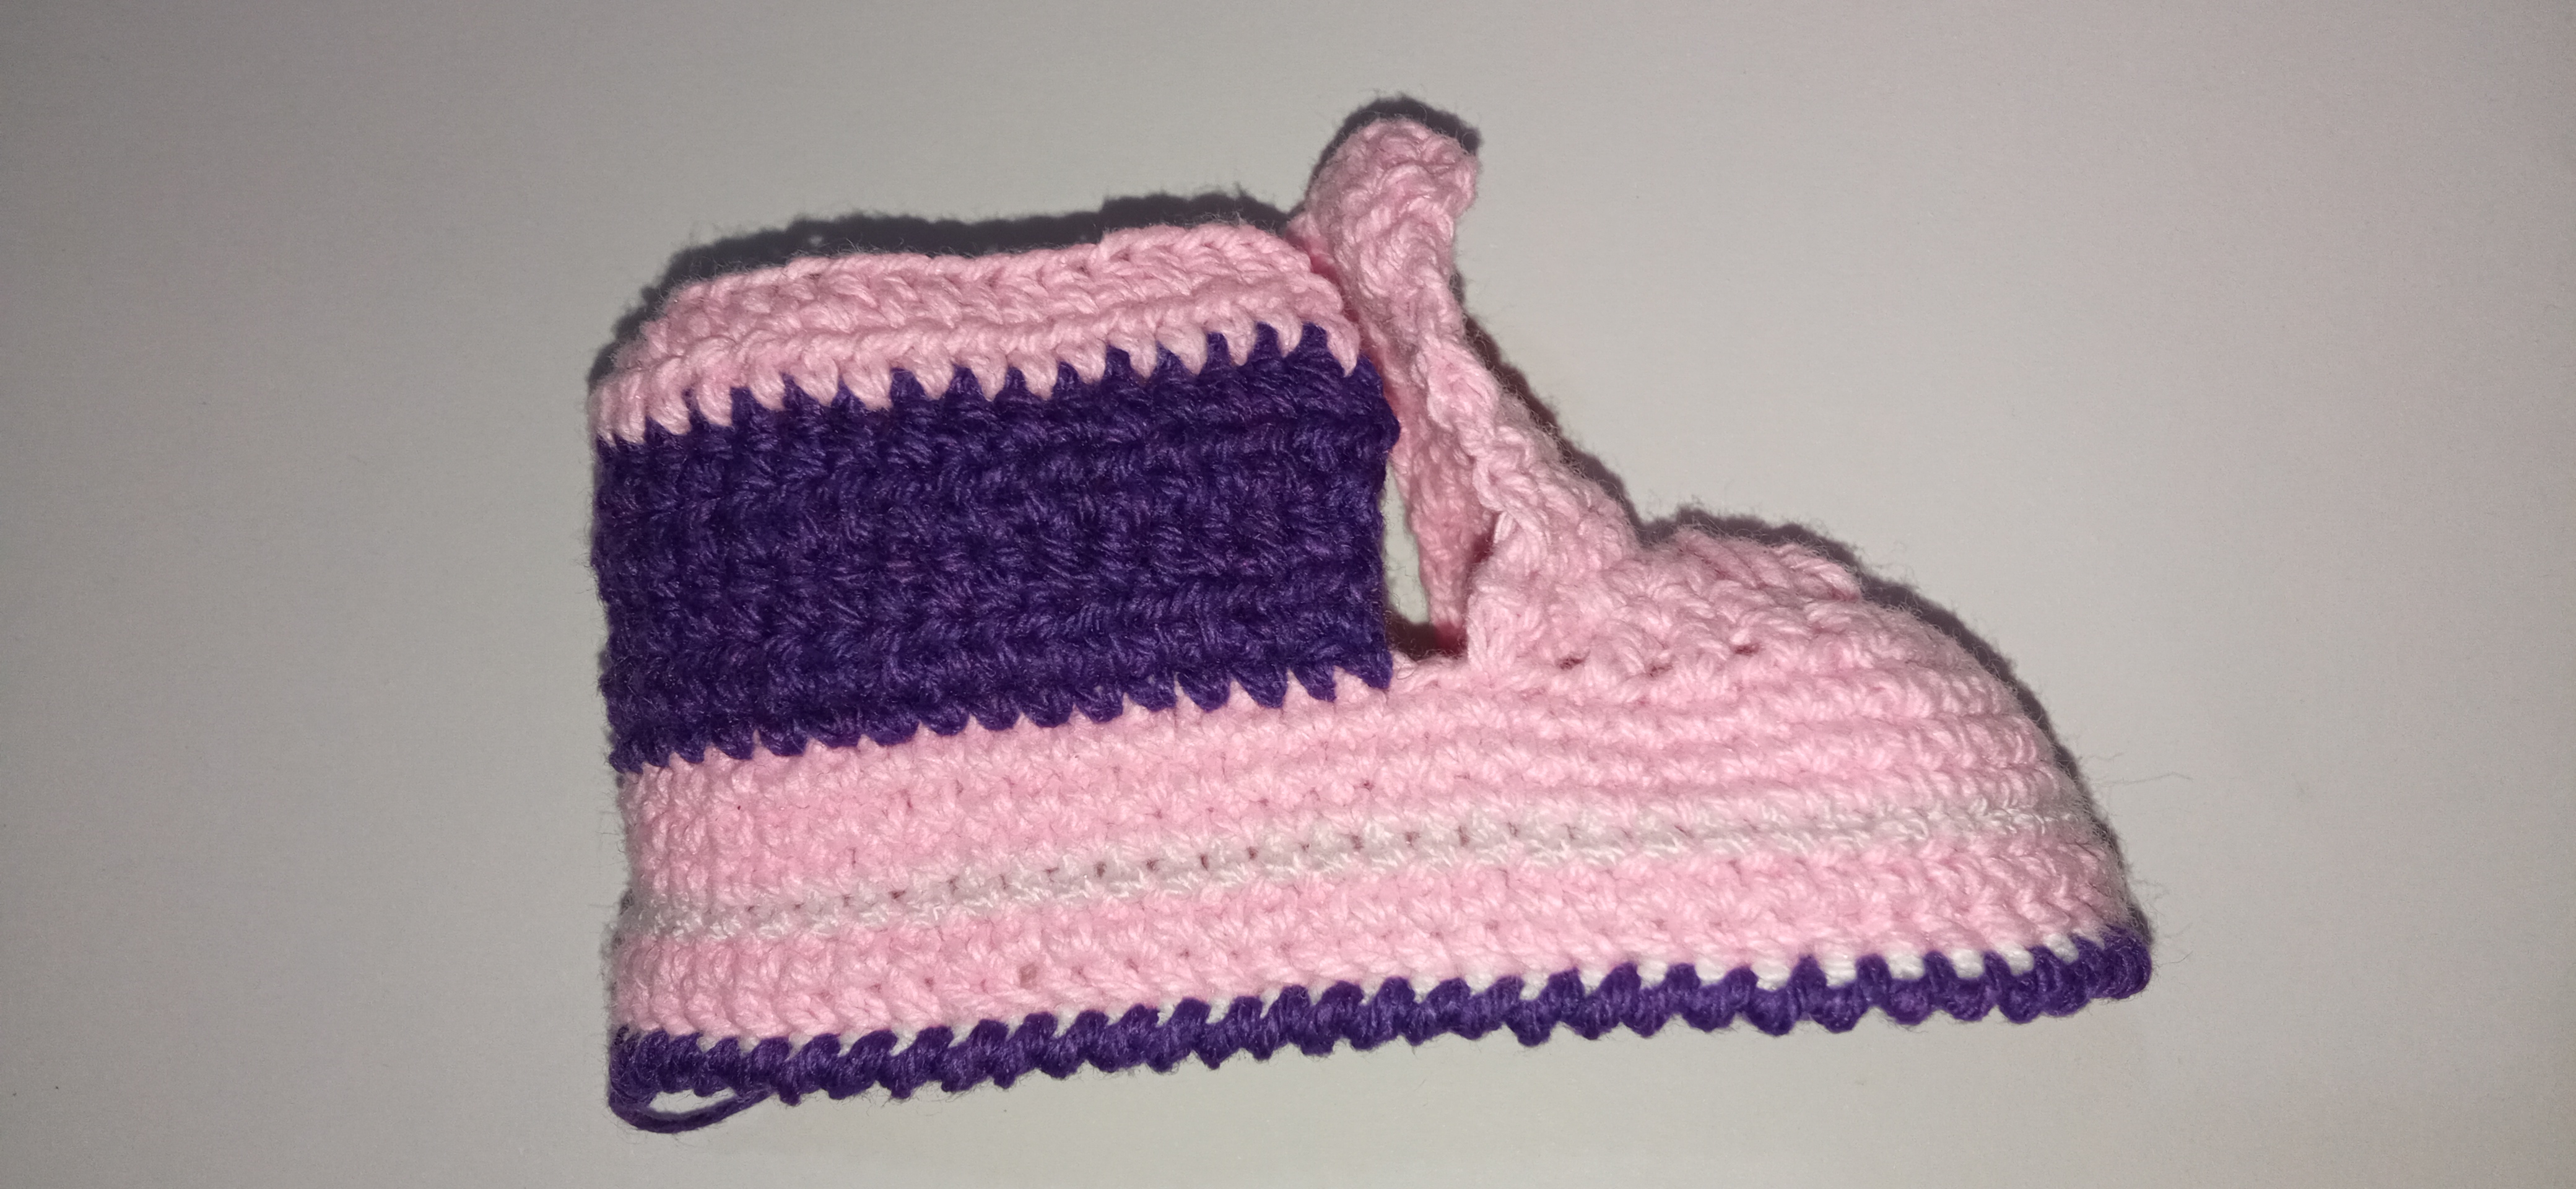
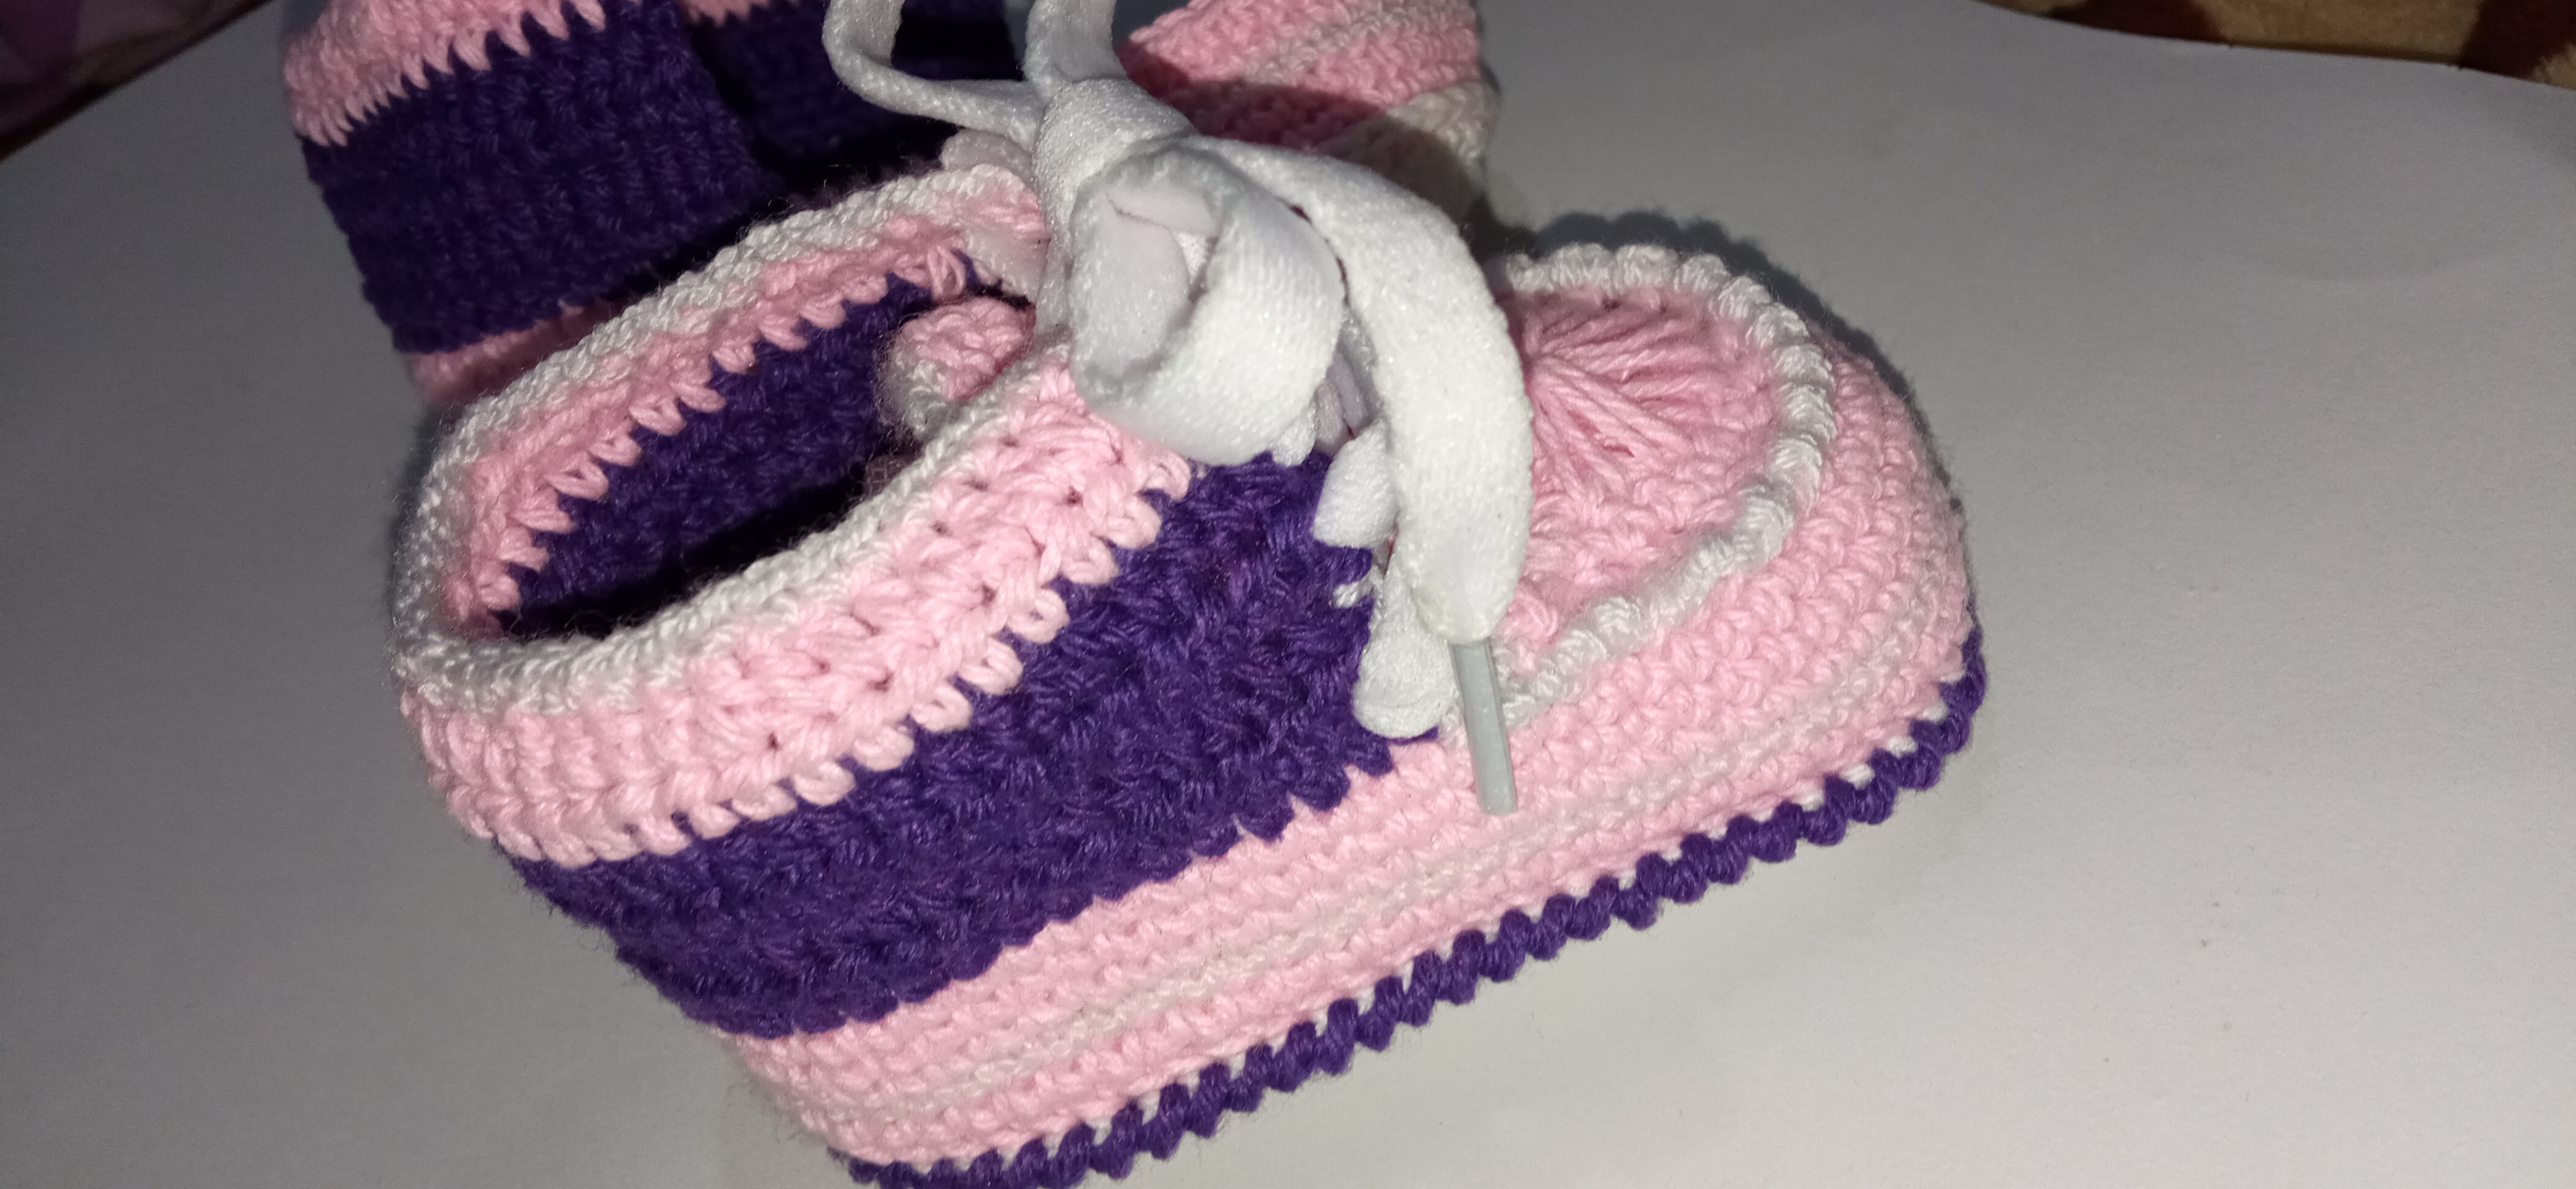
WE GLUED THE FLOWER APPLICATIONS THAT I CHOSE AND THE BRAIDS AND THIS WAS THE RESULT OF THE ANKLE BOOTS ❤️🌈 Y ESTE FUE EL RESULTADO DE LOS BOTINES
Thank you for your visit, see you in another creative opportunity.
Gracias por tu visita, nos vemos en otra oportunidad creativa.
Source: SEPARATORS AND EDITED IN POWER POINT
Fuente: SEPARADORES Y EDITADOS EN POWER POINT
Amiga que cosa tan preciosa eso zapatos tejidos. Excelente tu tutorial además de los recursos que usaste para ampliar la explicación. Felicitaciones.
muchas gracias amiga por visitar mi post 💓
Que bonitos son 😍
El trabajo que has hecho es admirable!
que lindo comentario 💓🤗 muchas gracias 💓
Hola @dloreantdisenos. Están lindísimos, te felicito.🙋
muchas gracias amiga 🤗💕💕
Those are too cute 😍 Your crocheting looks great.
thanks You so mucho 🤗🤗💕
Congratulations @dloreantdisenos! You have completed the following achievement on the Hive blockchain and have been rewarded with new badge(s):
Your next target is to reach 3500 upvotes.
You can view your badges on your board and compare yourself to others in the Ranking
If you no longer want to receive notifications, reply to this comment with the word
STOPCheck out the last post from @hivebuzz:
Support the HiveBuzz project. Vote for our proposal!
Que hermosos, me encantaron, te felicito por tu trabajo
hola amiga 💕🤗 muchas gracias por visitar mi trabajo.. feliz día para ti.