Splinterlands Battle Mage Secrets Weekly Challenge - Even Stevens

RULESET: Even Stevens

Description: Only units with even mana costs may be used.
This rule does not apply to summoners.
A straightforward rule - only monsters with even mana costs can be used.

The Strategy

I still have get to accustomed to rulesets in the Gold tier. I'm really not used to considering rulesets of three in my battles because you have to consider the implications of all three when choosing your monsters. For this battle, the two rulesets which stood out was Briar Patch and Up Close & Personal.
Since we can only choose melee monsters and monsters with even mana costs, it was a matter of scouting which combination of monsters will work.
The Summoner
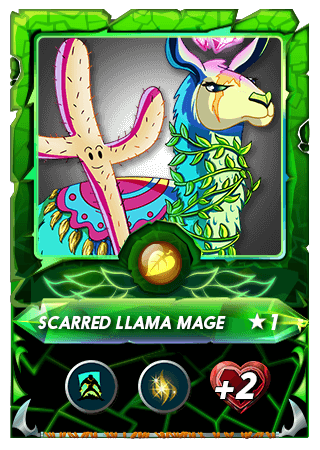
I was happy to see the Even Stevens rule come up with this battle and I'm always excited when I see the Up Close & Personal because the summoner for such battles almost always becomes automatic for me - I always choose Mylor Crowling because of the thorns ability he gives to all monsters.
However, for this battle, another rule that's active is Briar Patch which gives all monsters the Thorns ability and choosing Mylor Crowling becomes a waste. As such, I chose my favorite legendary Earth summoner - Scarred Llama Mage.
Our selection of Scarred Llama Mage was more of instinct rather than logic due to the number of battles I've won with it.
1st Slot - Shielded Monster Mycelic Infantry
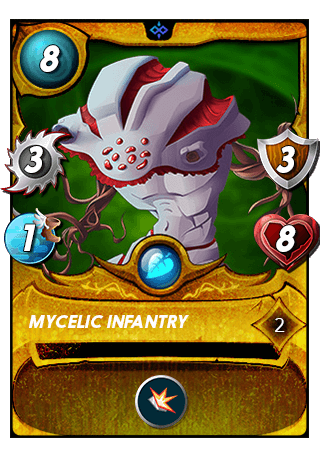
One of the few gold foil cards I have. I chose this monster at tank because of its shield ability which reduces the damage it gets from melee and range attacks. Combining Shield with demoralize is a pretty tough combination specially with the Briar Patch rule active.
However, I only found out that the monster I often use - Disintigrator - is not available because of its odd mana of 7.
2nd Slot - Second Shielded Monster Dumacke Orc
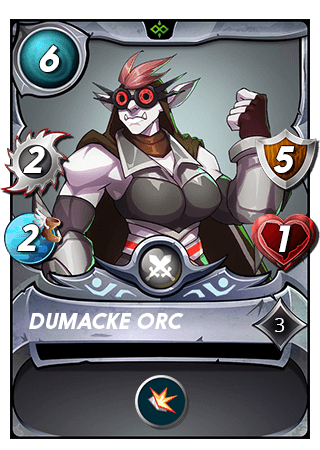
Since we have the Briar Patch active, we want to get all the shielded monsters we can get and Dumacke Orc is one of those.
3rd Slot - Opportunity Monster Battering Ram
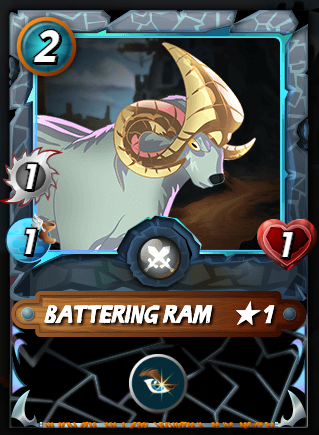
Chosen not because of logic but because of filler to use the remaining mana.
4th Slot - Self Heal Flesh Golem
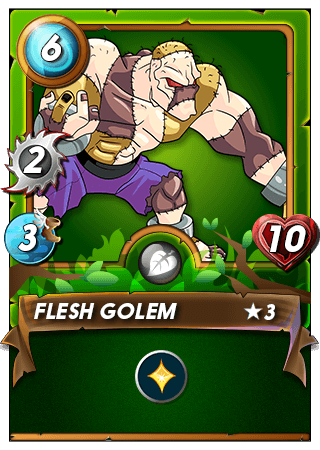
I actually have a level 5 Flesh Golem, but because of the available summoner - legendary level 1 - it was automatically degraded to level 3 which still included the heal ability. In the event that it becomes the only remaining monster, combining it with our summoner's last stand is a pretty tough combination to beat.
This completes our lineup.
The Battle

After buffs and debuffs applied:
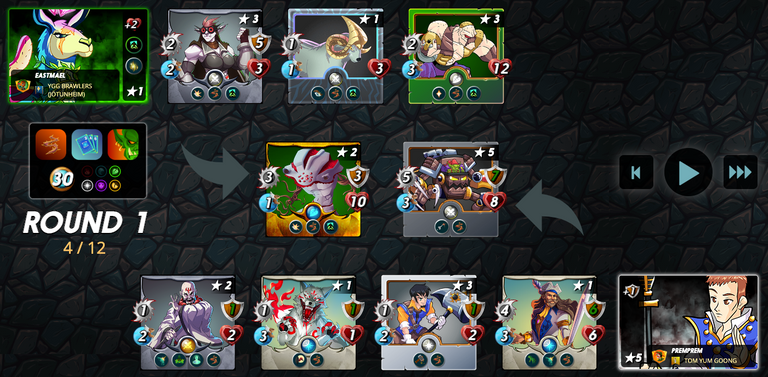
There were a lot of factors I failed to consider in this battle. First, I wasn't expecting to face Armorsmith (which has the repair ability) because at lower levels it didn't have any attack ability. However, at level 3, it does have a 1 melee damage.
And second, Corsair Bosun and Venator Kinjo's reflection shield ability. This ability pretty much voids the thorn rule. The only way to take down these monsters was to directly attack them.
From the looks of the lineup, this battle seems to be not in our favor. Let's see.
End of Round 1
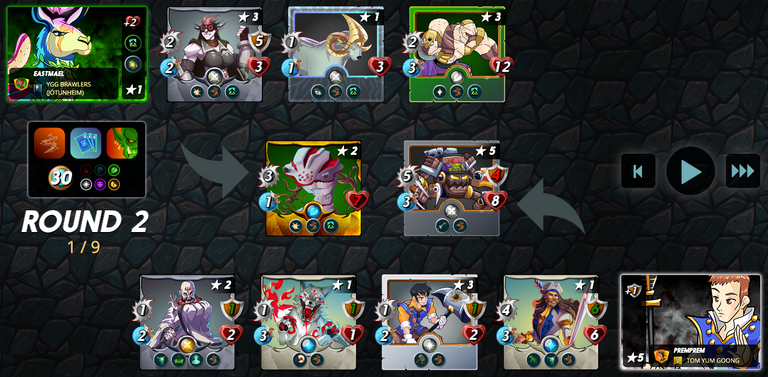
As expected, we really weren't able to do much damage to their lineup because of Armorsmith's repair ability and Corsair Bosun's reflection shield.
However, the opponent was able to completely destroy our tank's armor and take down it's health to 7.
Battering Ram, with its opportunity ability (but slow speed), missed Vulguine as such its armor was still intact.
Let's see how Round 2 goes.
End of Round 2

The same story with round 1, Mycelic Infantry's health is now down to 1. Battering Ram however was able to hit Vulguine and destroy its armor, Hope it won't miss on the second round. It did however receive a return damage of 2 from thorns.
Let's see how Round 3 goes.
End of Round 3

The opponent was finally able to take down our initial tank and Vulguine's Scavenger ability increased its health to 2 which made Battering Ram attack an armored Armorsmith. The 2 damage it took from thorns took it down in this round and we're now left with two monsters.
Let's see how round 4 goes.
End of Round 4
As expected, we're now down to our last monster. The Last Stand ability from our summoner took effect and Flesh Golem's stats all increased.
The opponent's lineup's still intact. At this stage, I actually thought the battle's over, but you know what, don't judge it by the number of remaining monsters.
Let's see how the next round goes.
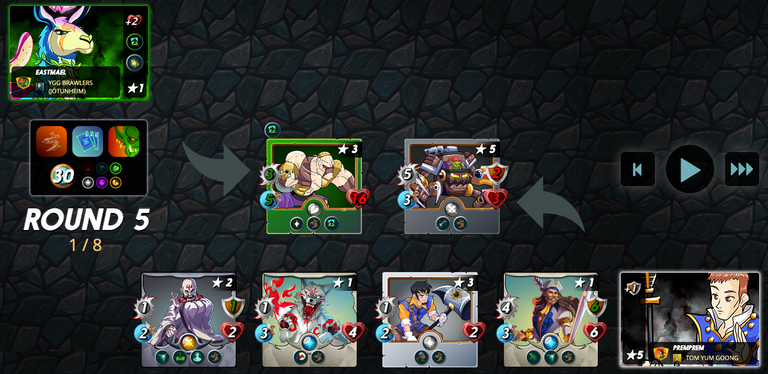
End of Round 5

Looking at the previous round, it seems that we really haven't done any significant damage to the opponent's lineup, but if you look closely, the opponent's tank's health is down to 1. Flesh Golem's health though is down to 7.
Let's see how the next round goes.
End of Round 6
Due to Flesh Golem's increase speed, Goblin Mech and Corsair Bosun's melee attacks missed it. Goblin Mech though received another armor repair.
Let's see how the next round goes.
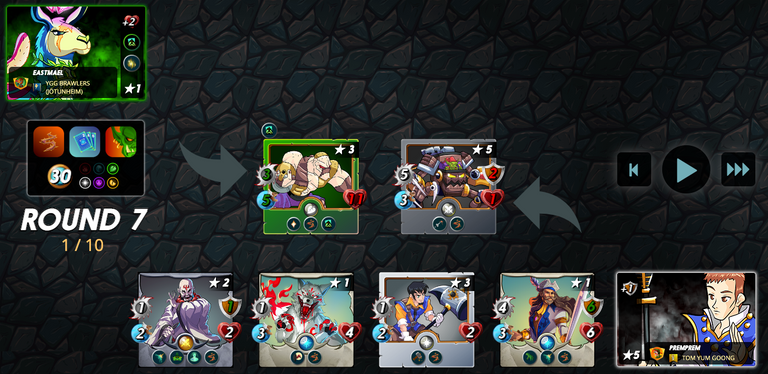
End of Round 7
Battle now seems to have to started to make a turn. We were able to take down their initial tank and now face Corsair Bosun at tank.
Let's see how the next round goes.
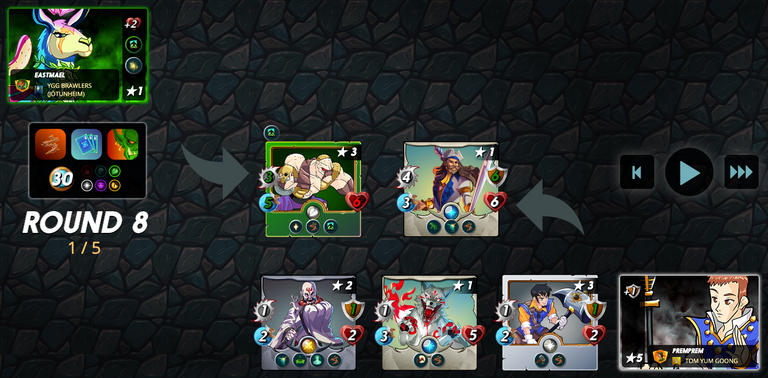
End of Round 8
Nothing much changed except that Flesh Golem's health increased to 10 from 6.
Because of Corsair Bosun's Reflection Shield and Armorsmith's repair, the battle will continue like this until round 20 where fatigue on monsters kick in.
Fast Forward to End of Round 21
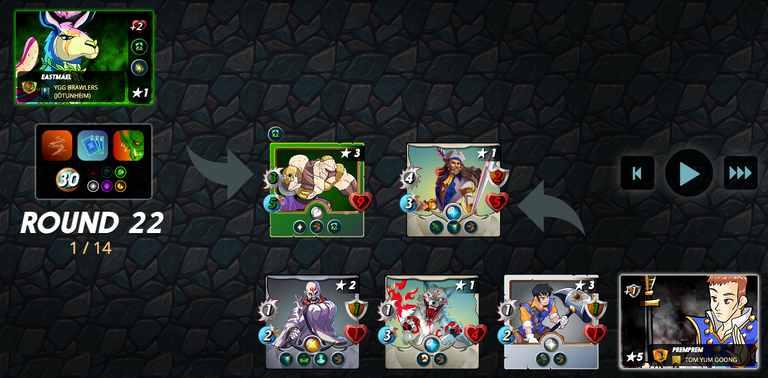
As we can see, fatigue has now kicked in and all monsters get a 1 damage to health.
End of Round 22
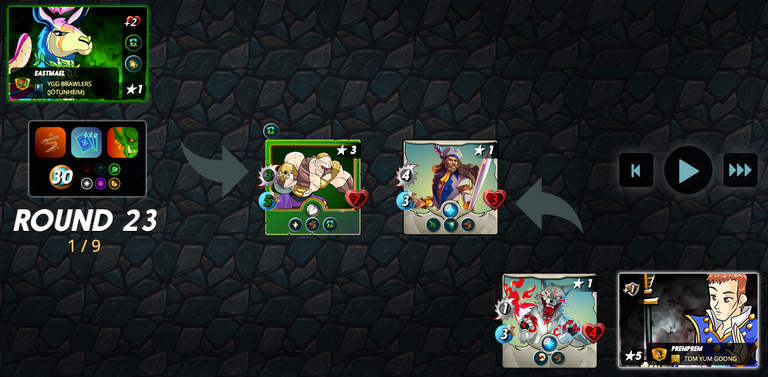
With Armorsmith down, Corsair Bosun's now open to direct attacks and no more armor to shield it.
End of Round 23
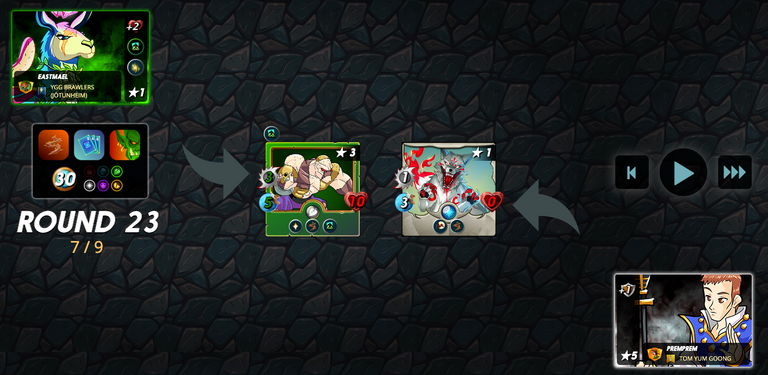
Fatigue took down Corsair Bosun and Vulguine scavenged. Since Armorsmith's no longer around to repair, Flesh Golem made the final blow. Even if it got a 2 damage from thorn, it was still able to withstand the blow and take the win.
Some battles are won by wit, some are won by luck. This battle falls under the latter.
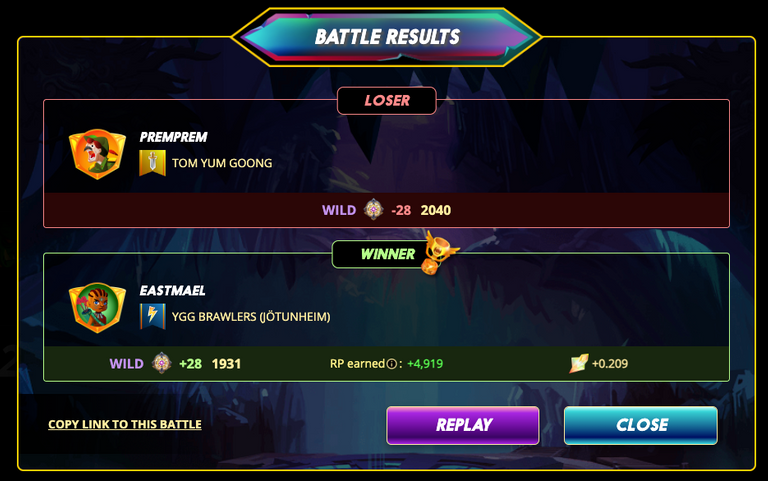
Battle Result
We get a nice +28 boost to ranking and 0.209 SPS to our SPS HODL stash!
Do you know you can win a Chaos Legion pack and many other things just by following some simple steps ?? Check out our Latest Daily Showcase and Participate our latest Giveaway. Thanks
Thanks for sharing! - @alokkumar121
