Splinterlands Battle Mage Secrets Weekly Challenge - Fire & Regret

RULESET: Fire & Regret

Description: All units receive the Return Fire ability at the start of the battle. Enemy units that attack with ranged attacks receive damage back.
Damage returned is equal to damage of the attacker divided by 2, rounded up.
Ranged attack units with the Reflection Shield ability do not take damage from reflected range attacks.
The Amplify ability increases damage.
One of the powerful damages I've encountered were range attacks. Having this rule active in a battle increases the odds that your opponent won't be using these attacks in the battle.

The Strategy

With the fire and regret rule active, unless the pros outweigh the cons, we should avoid using monsters with range attack in our lineup.
Looking at the ruleset, we also have Close Range which means that ranged attacks can be used in the first position. We will choose to ignore this rule since we won't be using ranged attack monsters.
We have a high-mana battle with 49, and we have fire, water, earth, and life elements active. Fire's strength is in melee and range, water and earth is magic, and life is range. Since we will be assuming that range attack monsters won't be used in this battle, we will assume that we will be dealing with melee and magic attacks.
We will strategize our lineup with these two attacks in mind.
The Summoner
As we move up the higher leagues, one of the lessons we've learned in our battles is to consider the combination of attacks or damages that our opponent can or may use. May it be a combination of melee, magic, and/or range.
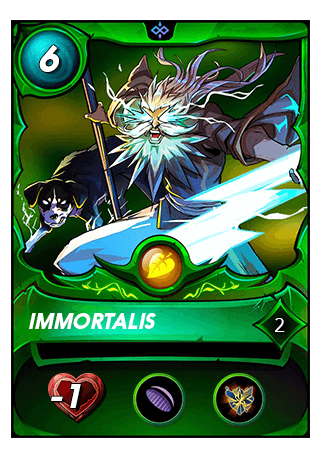
For this battle, we will be coming up with a line-up with this in mind. To debuff magic attacks, we will be using Immortalis's void to grant the ability to all our cards.
Let's also not forget the other abilities that it grants to our cards - minus 1 to health and shatter which destroys our opponent's monsters armor when hit.
1st Slot - Hard to Miss Coeurl Lurker
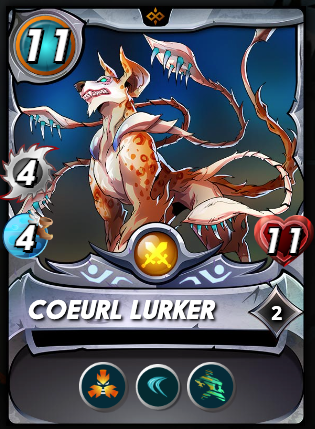
One of the toughest monsters I've encountered because of its Phase and Dodge skills. Combining this with Void and Taunt, makes it a very tough monster to put down.
2nd Slot - Legendary Reach Monster Oaken Behemoth
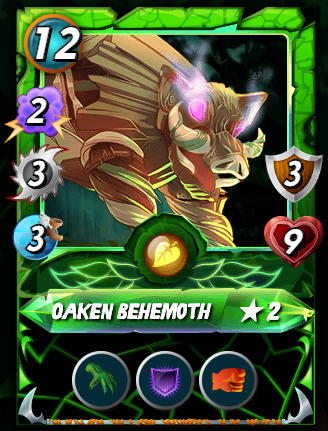
Chosen because of its dual attack of magic and melee. Its Reach ability makes it a logical choice at second position. Let's also not forget its void armor that makes magic damages hit its armor first before its health.
3rd Slot - Tank Healer Goblin Psychic
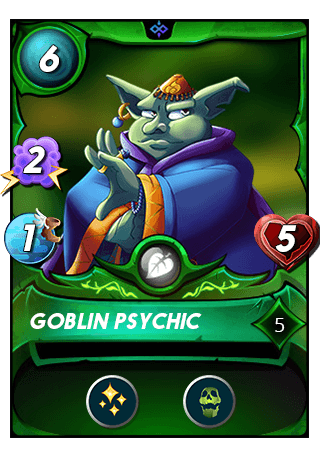
One of the abilities that our tank monster's missing is heal. As such, we need to compensate this ability with tank heal. One of the common monsters that has this ability is Goblin Psychic.
4th Slot - Legendary Protective Amplify Monster Queen Mycelia
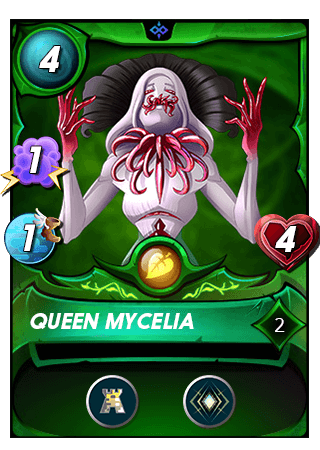
Since we have the Fire & Regret rule active, we can use Queen Mycelia's amplify ability to make the returned range damage double if ever our opponent makes the mistake of using range attacks.
Also, since most of our monsters do not have armor, Queen Mycelia's protect ability grants +2 armor to our defense.
5th Slot - Armor Repair Monster
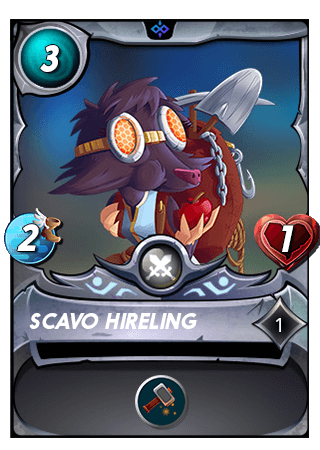
To help defend our monster at tank, we add Scavo Hireling to help repair our tanks armor. We currently have it at level 1.
6th Slot - Anti-Sneak Magic Monster Spirit Miner
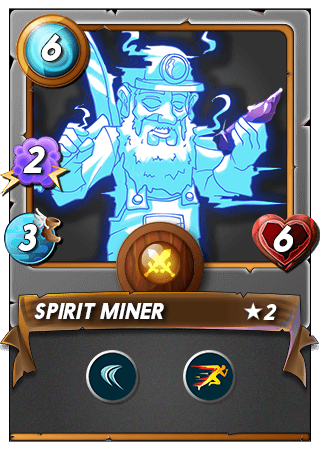
Another lesson we've learned in our battles are sneak attacks. Although we have taunt ability at tank, putting a monster with Dodge at the last spot or at rear decreases the effectiveness of such attacks.
This completes our lineup.
The Battle
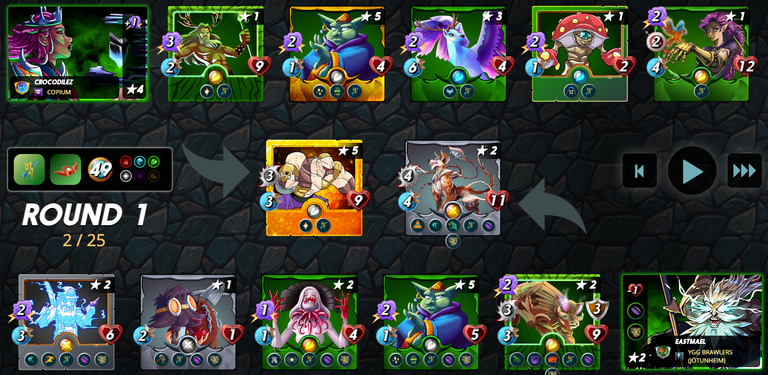
Afer buffs and debuffs applied:
As presumed, the opponent chose a magic lineup by choosing Obsidian as its summoner. From this initial info, choosing Immortalis helps reduce or counter the +1 magic damage that Obsidian adds to its magic attacks.
Our opponent however used a magic silencer with Mushroon Seer, as such all our magic attacks or damages has been reduced by 1.
Let's see how the battle pans out.
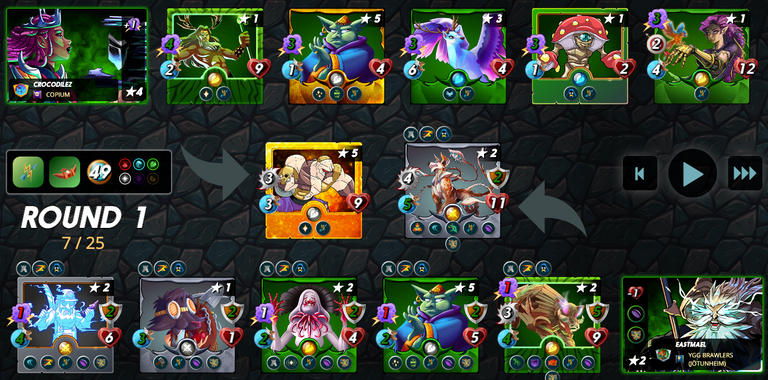
End of Round 1
With Coerl Lurker's 4 melee damage and Oaken Behemoth's dual attack of 3 melee damage and 1 magic, we were easily able to take down their monster at tank and didn't give it any chance to heal.
We now face another legendary monster Kron the Undying with heal ability.
Let's see how Round 2 goes.
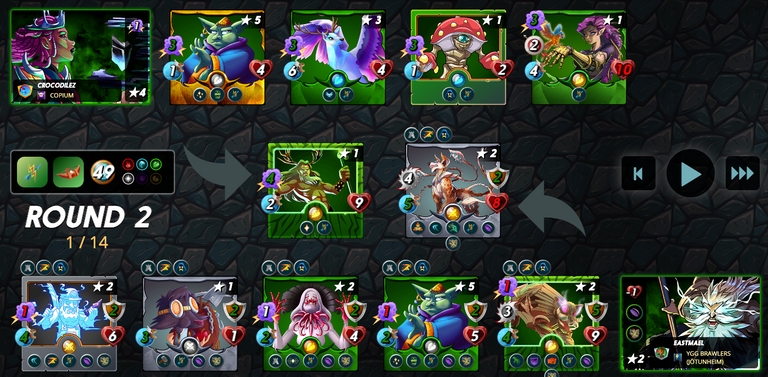
End of Round 2
Again, the combination of our monster at tank and second position proved effective against our opponent's lineup. We were able to take down Kron the Undying's 9 health with 4 melee damage from Coeurl Lurker and 3 melee and 1 magic damage from Oaken Behemoth which totaled to 8 damage. The remaining 1 damage was actually already dealt by a faster monster - Spirit Monster - with a speed of 4.
Let's see how Round 3 goes.
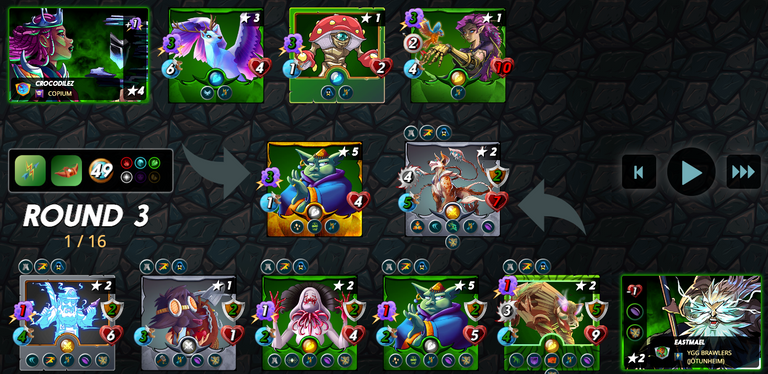
End of Round 3
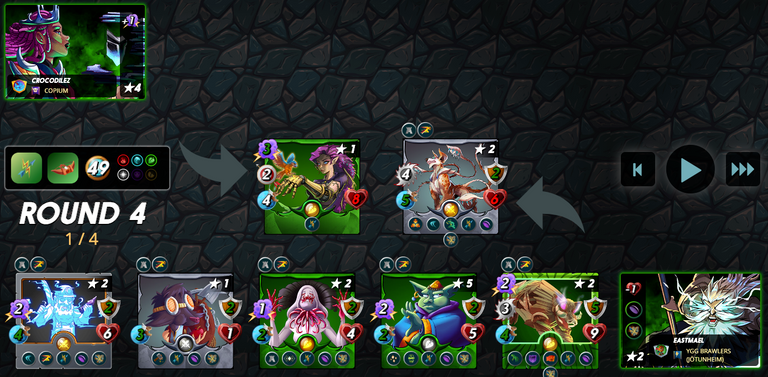
Due to the low health of the remaining monsters, they were easily got taken down at round 3 and now only have one remaining monster - Runemancer Florre. Given that its a range monster, it already took damage from its range attacks, as such its health has now been reduced to 8 from 12.
We've also taken down the opponent's Magic Silencer Mushroom Seer as such our lineup's magic attacks increased.
The order of attacks for this round which took down our opponent's remaining monster and win us the battle - 4 melee damage from Coeurl Lurker, 2 magic damage from Spirit Miner, and 2 magic damage from Oaken Behemoth (it used magic attack first before melee), which totaled to 8.
That ends the battle and validates the importance of anticipating your opponent's attacks and coming up with a good combination of monster abilities.
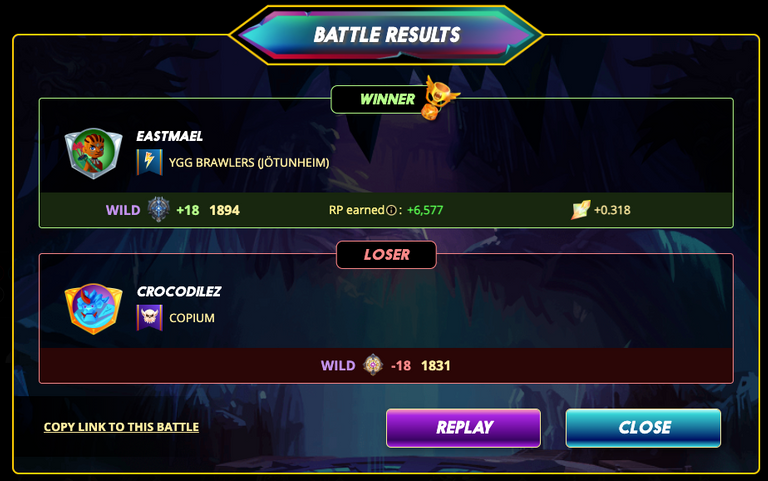
Battle Result
We get a nice +18 boost to ranking and 0.318 SPS to our SPS HODL stash!
Do you know you can win a Chaos Legion pack and many other things just by following some simple steps ?? Check out our Latest Daily Showcase and Participate our latest Giveaway. Thanks
Thanks for sharing! - @alokkumar121
