Esp/Eng Instalando mi primer aire acondicionado Split/Installing my first Split air conditioner
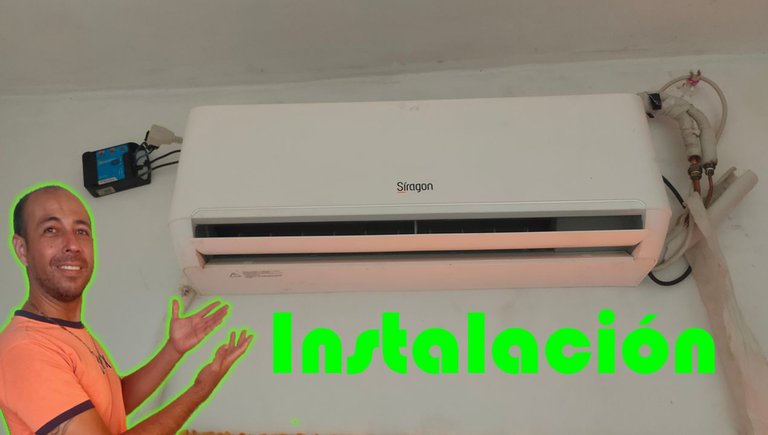
Saludos comunidad como saben estoy haciendo, servicio técnico ahora también a la parte de refrigeración en el día de ayer tuve la oportunidad de instalar desde cero un aire tipo Split, siempre le había hecho mantenimiento a este tipo de aire pero nunca lo había instalado desde cero, realmente lo que más me daba miedo es instalar la parte del cableado de electricidad soy más de informática y conozco poco de electricidad le tengo ciertos respeto, por eso yo lo instalé pero bajando los breques de esta manera tuve más confianza de colocar los cables.
Greetings community as you know I am doing technical service now also on the refrigeration side yesterday I had the opportunity to install from scratch a Split type air conditioner, I had always done maintenance on this type of air but had never installed it from scratch, what really scared me the most was installing the electrical wiring part I am more of a computer guy and I know little about electricity I have a certain respect for it, that's why I installed it but lowering the brekes in this way I had more confidence to place the cables.
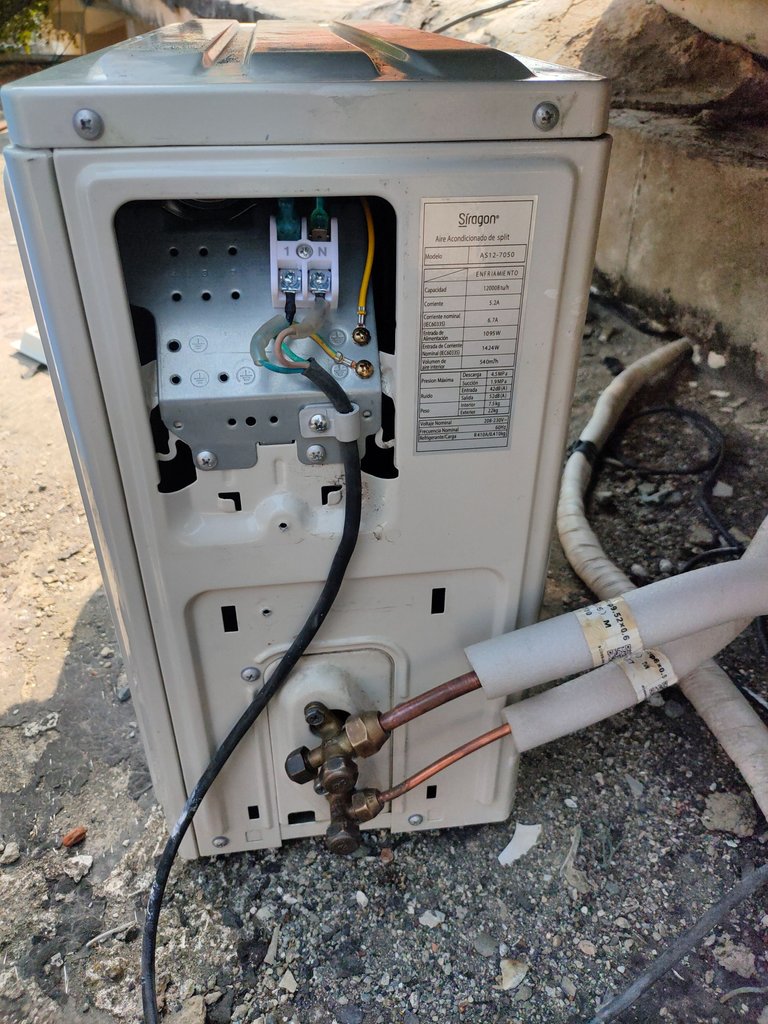
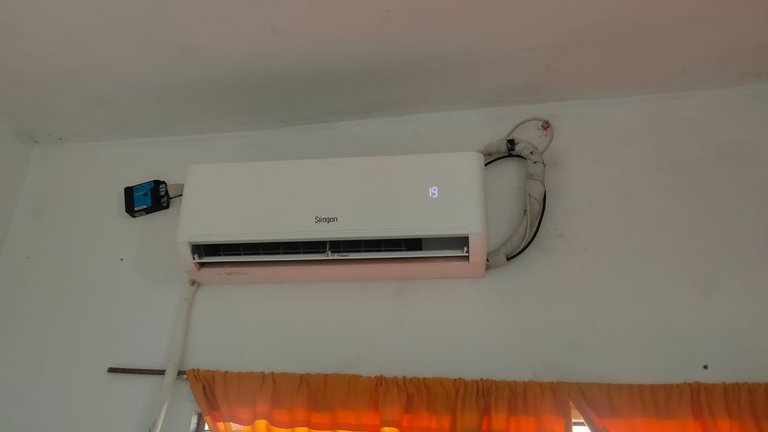
primero monté toda la estructura o como se dice la parte mecánica subir el condensador a la parte del techo donde iba a estar ubicado atornillaré la base del Split en donde iba a estar ubicada dentro del cuarto y luego coloqué el Split Para irle dándole forma a la tubería está tubería es de bronce y se tiene que ir doblando poco a poco para evitar fracturas o un doblez no debido, luego de eso coloqué la tubería la pasé por un orificio que ya estaba hecho en la pared y pasé los dos tubos que van conectados al condensador de esta manera conecté la parte del Split atornillando bien cada uno de los tubos y luego subí a conectar los tubos dentro del condensador aproveché de pasar el cable que va desde el Split hasta el condensador por el mismo orificio y de igual manera los cables que venían de la alimentación de la corriente los pasé hacia dentro del cuarto para dejar el protector dentro y sólo el condensador en la parte del techo.
first I mounted the entire structure or as it is said the mechanical part raised the condenser to the part of the ceiling where it was going to be located I screwed the base of the Split where it was going to be located inside the room and then I placed the Split To begin shaping the piping this piping is bronze and it has to be bent little by little to avoid fractures or undue bends, after that I placed the piping I passed it through a hole that was already made in the wall and passed the two tubes that are connected to the condenser in this way I connected the Split part by screwing each of the tubes well and then I went up to connect the tubes inside the condenser I took advantage of passing the cable that goes from the Split to the condenser through the same hole and in the same way the cables that came from the power supply I passed them into the room to leave the protector inside and only the condenser on the ceiling.
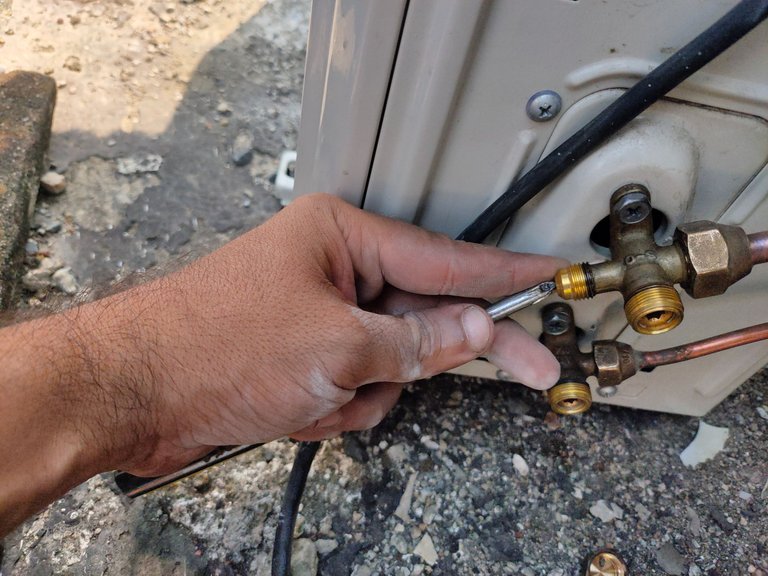
luego de realizar todas estas conexiones fui a la parte del techo donde está el condensador para abrir las válvulas y comenzar a pulgar el sistema esto se debe hacer porque normalmente en la tubería queda aire del ambiente y estas tienen que estar completamente libres o vacías Así que la forma de purgarlo es en el condensador donde va conectada la tubería de baja presión sobresale un gusanillo Normalmente se usa con un manómetro, pero aún no lo tengo disponible sin embargo la forma de hacer esto de manera manual es con un destornillador presionar el gusanillo durante 3 segundos para votar el aire y hacer este mismo procedimiento tres veces de esta manera nos aseguramos de votar la presión que tienen los tubos en el sistema.
after making all these connections, I went to the part of the ceiling where the condenser is to open the valves and start purging the system this must be done because normally there is air from the environment in the piping and these have to be completely free or empty So the way to purge it is in the condenser where the low-pressure pipe is connected a little screw sticks out It is usually used with a pressure gauge, but I don't have it available yet however the way to do this manually is with a screwdriver press the screw for 3 seconds to release the air and perform this procedure three times this way we ensure to release the pressure that the pipes have in the system.
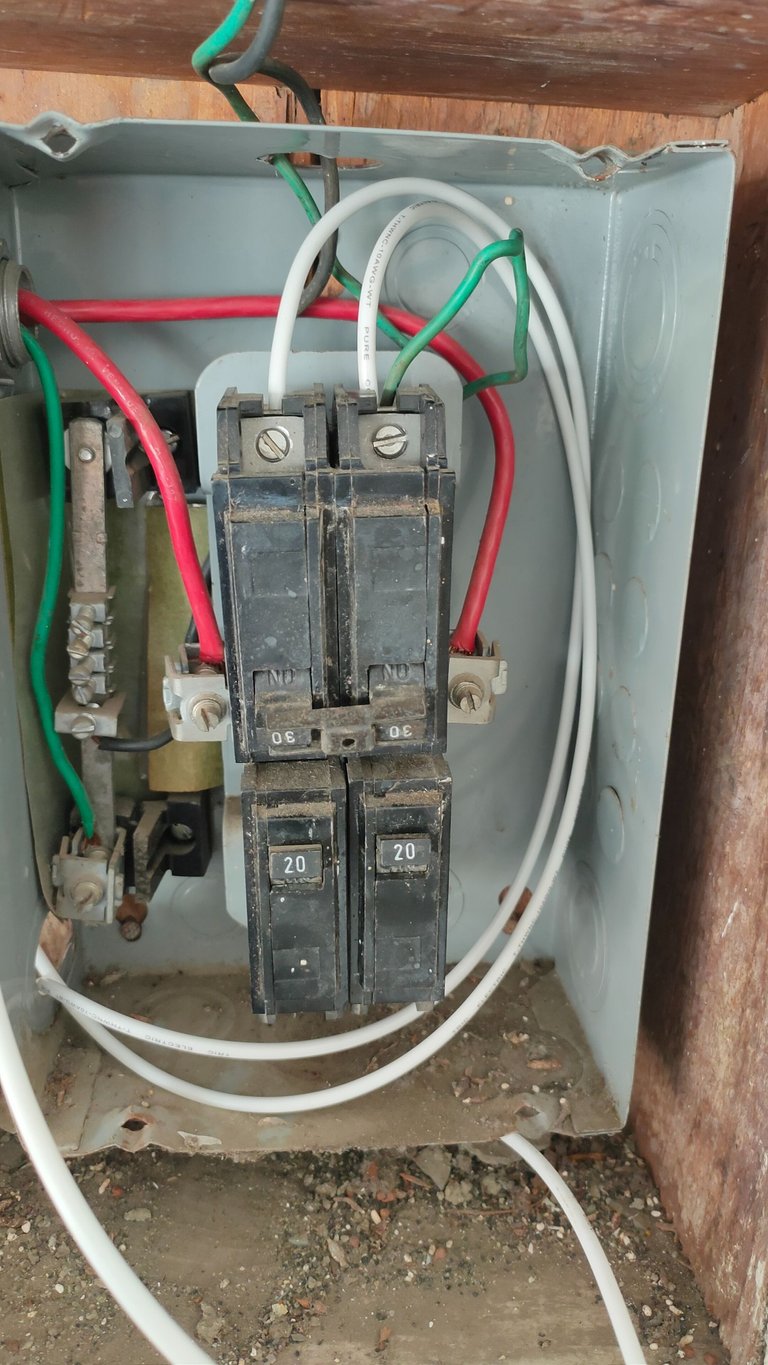
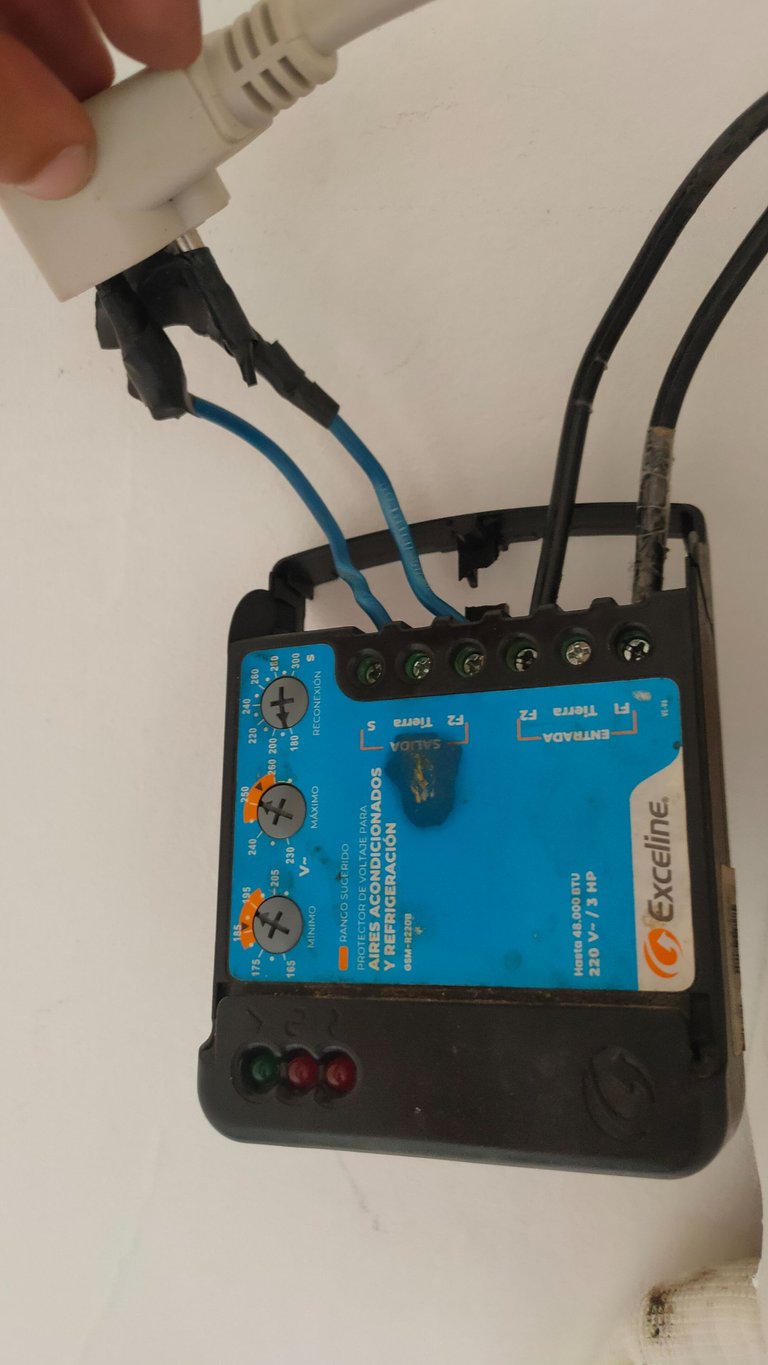
luego de haber purgado el sistema fui a la parte de adentro para hacer las conexiones eléctricas, conecté el protector a la entrada de electricidad y para no dañar el enchufe del Split le conecté dos cables con un poco de teipe para conectar esos dos cables al protector de corriente y listo conecté los cables al breaker y luego encendí el aire para ver que todo funcionaba de una manera correcta para mí fue mi primera instalación desde cero completamente solo porque mi ayudante no estaba disponible ese día pero me fue bastante bien. Gracias por ver mi contenido todas las imágenes fueron tomadas desde mi teléfono nos vemos en una próxima oportunidad hasta luego.
after purging the system, I went inside to make the electrical connections, I connected the protector to the power input and to avoid damaging the Split plug I connected two cables with a little tape to connect those two cables to the power protector and ready connected the cables to the breaker and then turned on the air conditioner to see that everything was working correctly for me it was my first installation from scratch completely alone because my helper was not available that day but it went pretty well. Thank you for watching my content all the images were taken from my phone see you next time see you later.
Translated and formatted with Hive Translator by @noakmilo.


My social networks
Hive: @elfino28
https://twitter.com/ElFino28
https://www.instagram.com/ElFinoNFT
https://www.youtube.com/@ElFino28

Para ser tu primera vez @elfino28 está bien, no te niego que hay cosas que mejorar, pero seguro las aprenderás porque era una persona curiosa, así me pasó con mi primer aire, recuerdo que saque la tubería por la ventana y no rompí la pared jeje, lo que si te aconsejo es mejorar la conexión eléctrica del aire y el protector pero por medida de seguridad. Éxito amigo.
si claro falta un poco manejar la estetica pero poco a poco voy aprendiendo gracias por el comentario y las sugenercia para ir creciendo.
From Venezuela, our witness drives decentralization and the adoption of Web3 technology, creating opportunities for the local community and contributing to the global ecosystem. // Desde Venezuela, nuestro testigo impulsa la descentralización y la adopción de la tecnología Web3, generando oportunidades para la comunidad local y contribuyendo al ecosistema global.
Sigue, contacta y se parte del testigo en: // Follow, contact and be part of the witness in:
@tipu curate
Upvoted 👌 (Mana: 20/70) Liquid rewards.
Congratulations @elfino28! You have completed the following achievement on the Hive blockchain And have been rewarded with New badge(s)
Your next target is to reach 54000 upvotes.
You can view your badges on your board and compare yourself to others in the Ranking
If you no longer want to receive notifications, reply to this comment with the word
STOPÉpale mano todo bien, vertale te felicito por la instalación, le hechas te un camión, porque instalar esto da como miedo pero poco a poco uno va aprendiendo, yo trabajé con un tío por mucho tiempo con la refrigeración, el asia el trabajo sucio, yo solo lavaba los aires