(ENG/ESP) Making of a mini bunny for the little princesses of the house, made with fabric and ribbons.
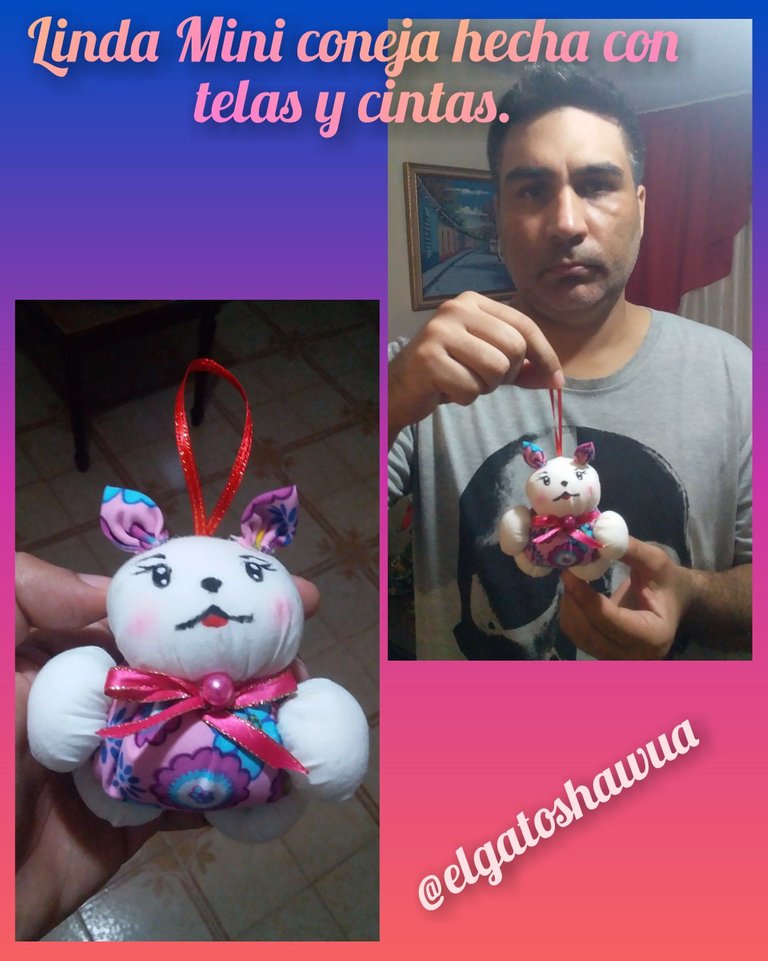
Happy Friday have all my panitas and especially all those who make life in this respected community #NeedleWorkMonday, I send you a big hug and today I want to present a nice and simple craft work framed in sewing and I present a mini bunny stuffed which will allow us to give to the little princesses of the house.
Feliz viernes tengan todos mis panitas y en especial todos aquellos que hacen vida en esta respetada comunidad #NeedleWorkMonday, les mando un fuerte abrazo y hoy quiero presentarles un bonito y sencillo trabajo de manualidades enmarcado en la costura y les presento una mini conejita de peluche qué nos va a permitir obsequiar a las princesitas de la casa.
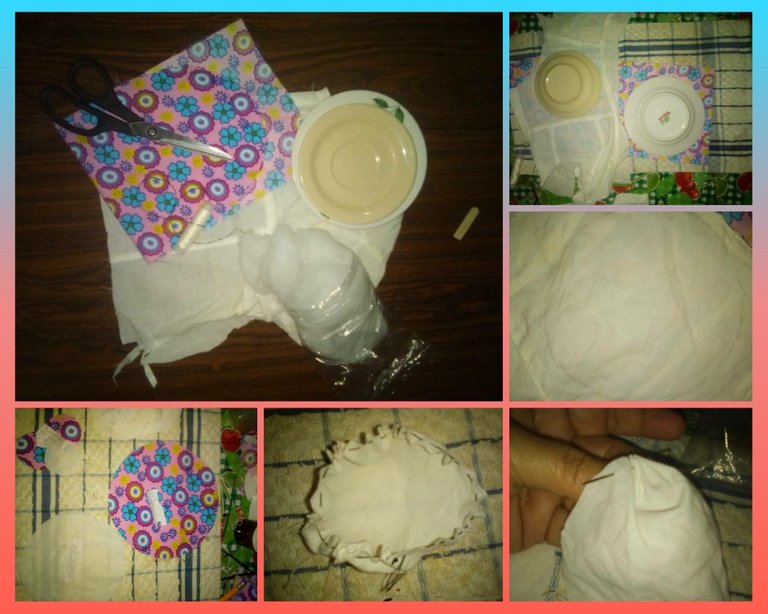
Materials:
Purple with pink printed fabric, white fabric, stuffing or wadding, thread, needle, scissors, fuchsia ribbon/sphere, thin red ribbon, silicone, black pencil, white/red paint, pink shadow.
Materiales:
Tela estampada morada con rosado, tela blanca, relleno o guata, hilo, aguja, tijera, cinta/ esfera fucsia, cinta delgada roja, silicón, lápiz negro, pintura blanca /roja, sombra rosada.
Step by step:
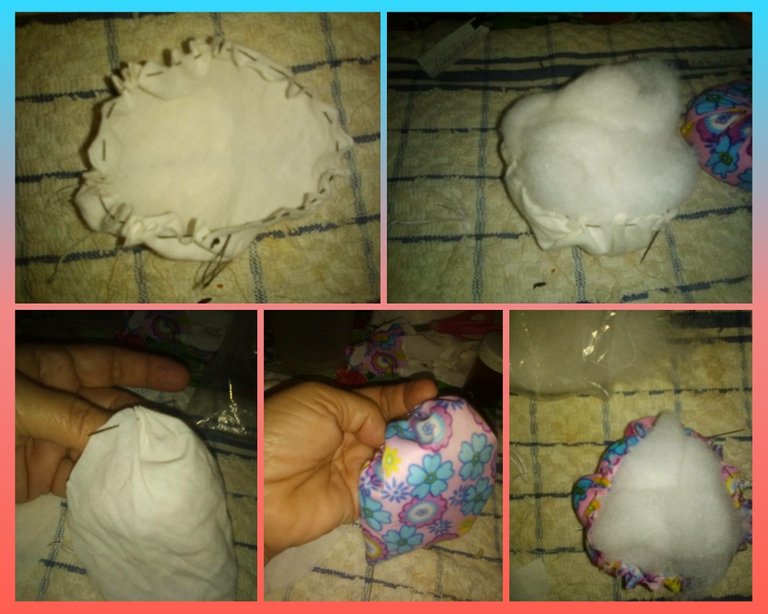
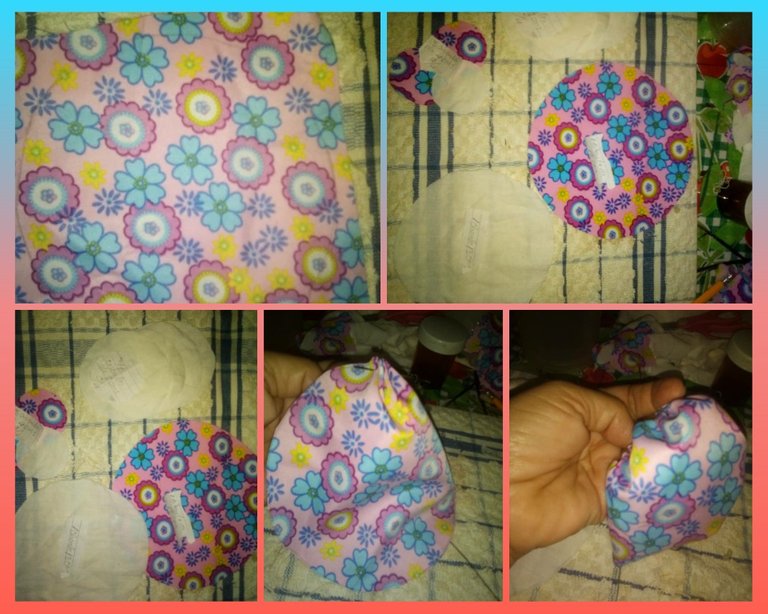
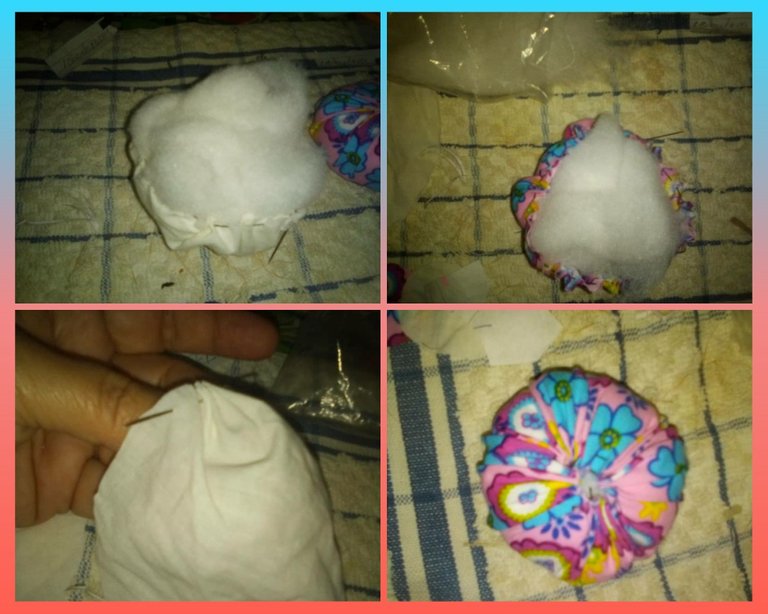
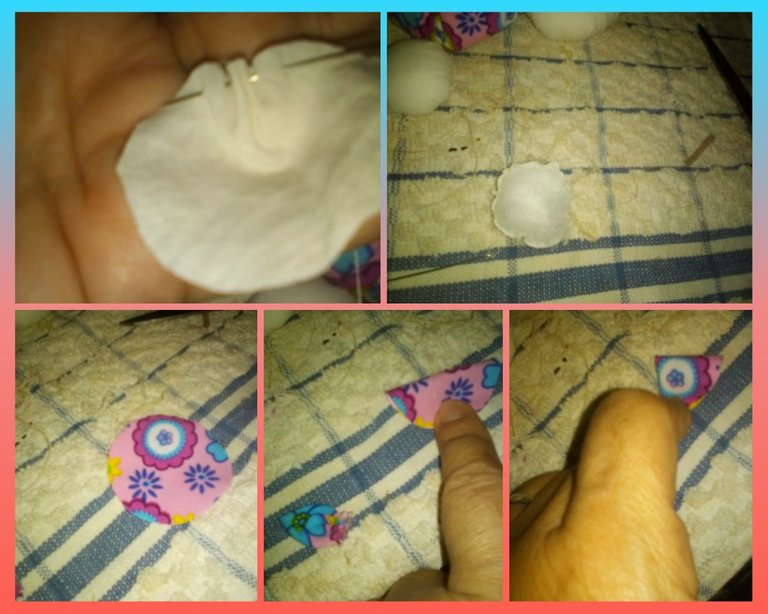
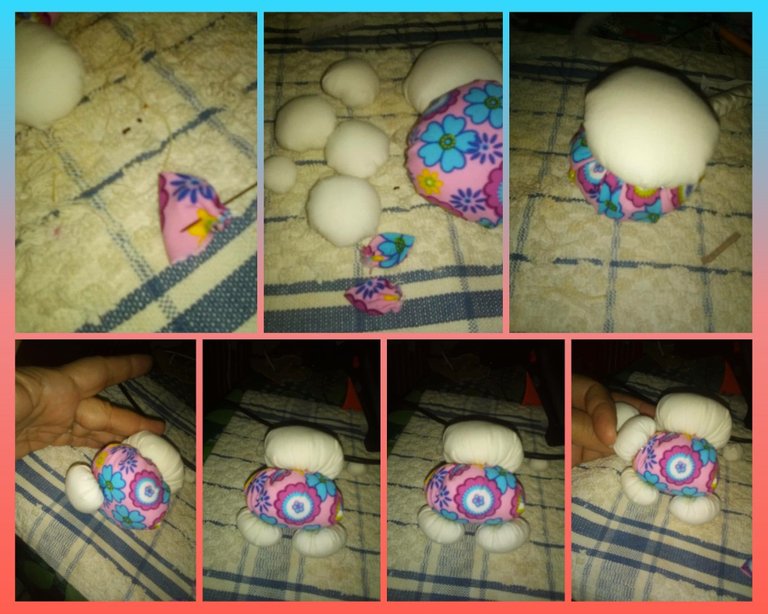
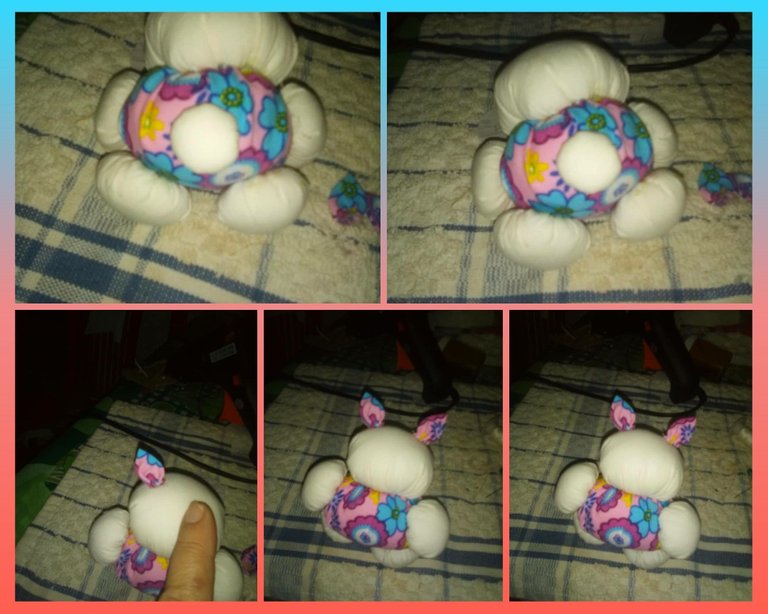
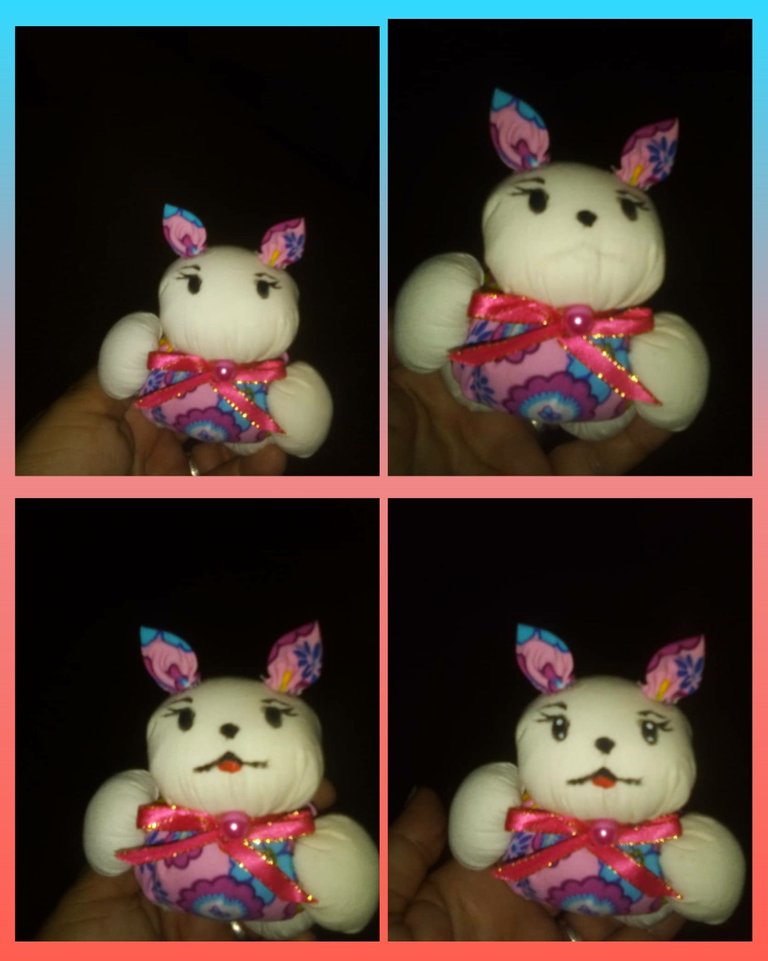
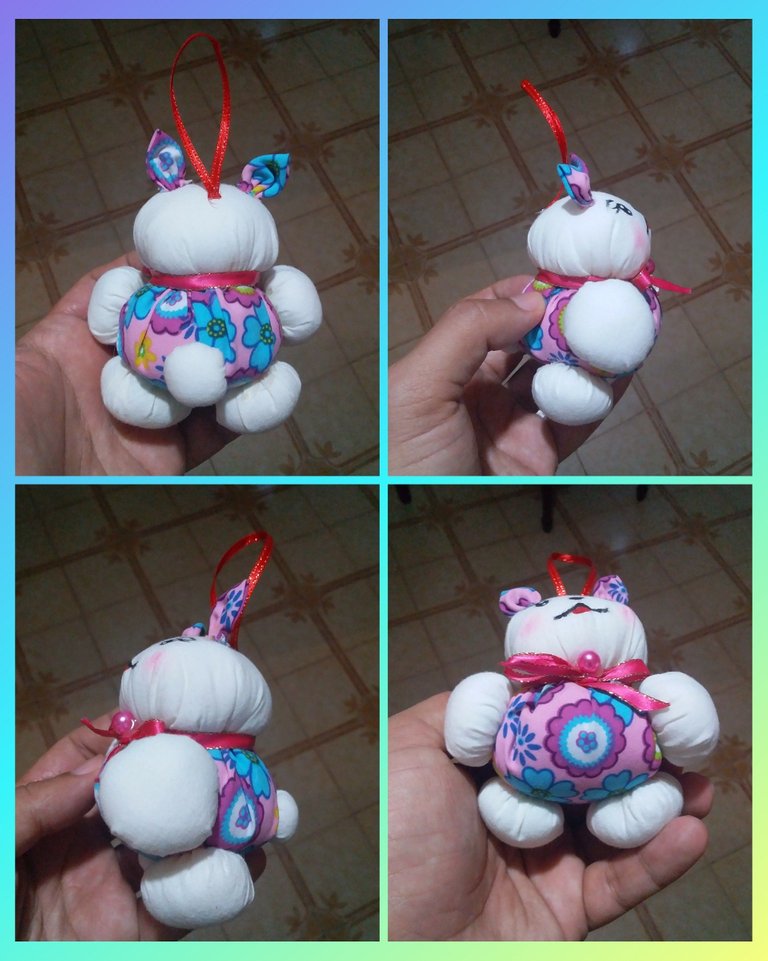
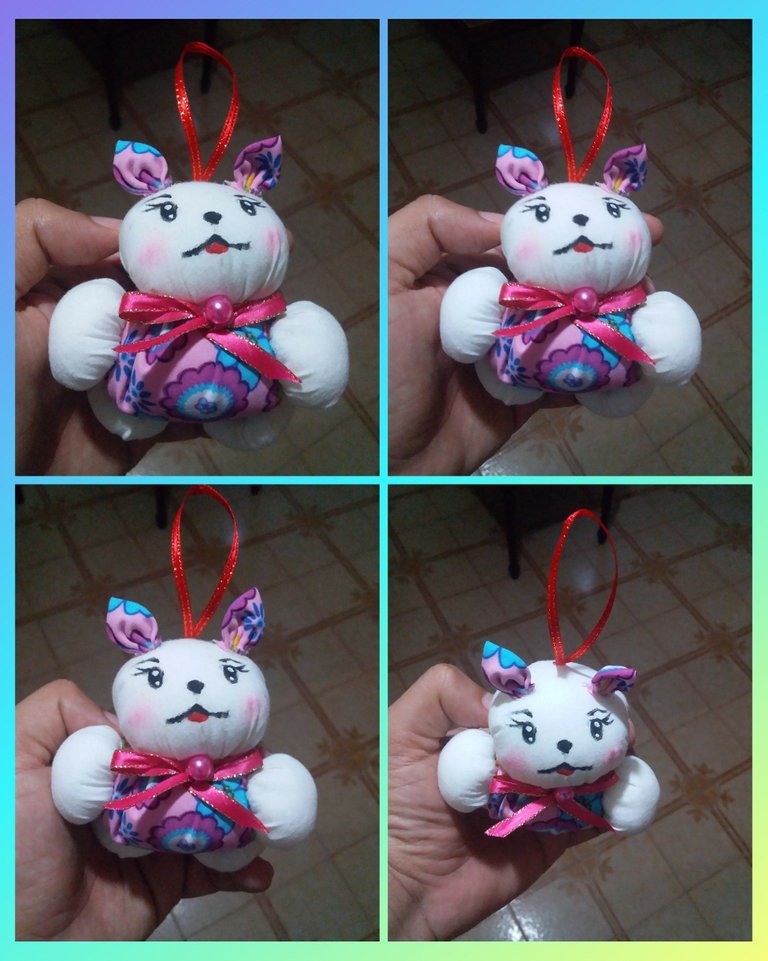
We start this work relying on different round plates that we have in our house marking from the printed fabric a larger circumference we proceed to cut out then we will sew along the edge, crease to go closing and fill with wadding and close then we will cut out 1 circle smaller than the first and repeat the above procedure, sew along the edge, gather, stuff and sew to close and join with the printed ball to form the body of the bunny in the same way glue the ribbon and fuscia sphere to achieve a better appearance, we will also cut from the white fabric 4 circles of the same size but smaller than the previous one, which will make the bunny's paws, we are also going to repeat the same procedure and when we have them ready we are going to sew on the lower part which will make the legs and the other two on the sides, all this will be sewn to the printed fabric after the printed fabric cut out 2 mini circles which we will fold in half and sew on the top of the head of the rabbit and the same will simulate the ears on the other hand we will sew the ends of the thin red ribbon which we will fix on the head of the rabbit which will allow us to hang and to give a better appearance and coquetry to our pretty rabbit with the black pencil we will outline the eyes, nose, mouth and with the red paint we paint the mouth and a little bit of blush on the cheeks, being like this as I show you in the pictures.
Paso a paso:
Iniciamos este trabajo apoyándonos con diferentes platos redondos que tengamos en nuestra casa marcando de la tela estampada una circunferencia de mayor tamaño procedemos a recortar después vamos a coser por la orilla, arruchamos para ir cerrando y rellenar con guata y cerrar luego vamos a recortar 1 círculo más pequeño que el primero y repetimos el procedimiento anterior, coser por la orilla, arruchar, rellenar y coser para cerrada e ir uniendo con la pelota estampada para formar el cuerpo de la conejita de igual manera pegar la cinta y esfera fuscia para lograr una mejor apariencia, igualmente vamos a recortar de la tela blanca 4 círculos del mismo tamaño pero más pequeñas que la anterior, la cual van hacer las paticas de la conejita también vamos a repetir el mismo procedimiento y al tener las listas vamos a coser en la parte inferior qué van a hacer las patas y las otras dos en los laterales, todo esto va a ir cosido a la tela estampada después de la tela estampada recortar 2 mini círculos qué doblaremos a la mitad y coser en la parte superior de la cabeza de la coneja y las mismas van a simular las orejas por otro lado vamos a cocer los extremos de la cinta roja delgada qué fijaremos en la cabeza de la coneja la cual nos va a permitir guindar y para darle una mejor apariencia y coquetería nuestra bonita coneja con el lápiz negro vamos a delinear los ojos, nariz, boca y con la pintura roja pintamos la boca y un poco de rubor en las mejillas, quedando así como les muestro en las fotos.
Photos by me @elgatoshawua.
Translated by DeepL.
Fotos de mi autoría @elgatoshawua.
Traducido por DeepL
https://twitter.com/JessHer00376336/status/1482398755479592962
The rewards earned on this comment will go directly to the person sharing the post on Twitter as long as they are registered with @poshtoken. Sign up at https://hiveposh.com.